
 |
|
|||||||
| Home | Rules & Guidelines | Register | Member Rides | FAQ | Members List | Social Groups | Calendar | Mark Forums Read |
| Builds (and builds only) Got a build thread? It goes here, build threads anywhere else on the forum will be locked and never moved. |
 |
|
|
Thread Tools | Display Modes |
|
|
#1 |
|
Leaky Injector
 Join Date: Feb 2016
Location: Sacramento CA
Age: 27
Posts: 112
Trader Rating: (2)
 Feedback Score: 2 reviews
|
Another Rocket Bunny S13 *Bat mobile*
Bat Mobile  Backstory This entire build started back in the states while i was halfway across the world wrenching away on helicopters in the middle of bumf*ck nowhere Kuwait (Its almost a real deployment). You can call me a fanboi or whatever but i guess what started it all was running across images of Greddys 380sx Bensopras S13 build one day and ever since then, i told myself i gotta have it.  Anywayss, Lets get to it. *note: I foresee alot of back n forth while writing this as im in currently in Iraq and typing this up on my time off so ill probably lose track of where i was going with it.  Stage 1 / Build Up Being halfway across the world, and still several months to go before i was going to be back home, i started piecing things to make my dream a reality. I mean what else are u supposed to do with a shit ton of overseas money just sitting in your bank account? With the help of local facebook groups and people ive never met before, the process had started. Found an ad on facebook, local car shop, Affinity Performance in Rancho Cordova, was selling a somewhat affordable shell, no engine or engine harness, transmission, etc.. Just a rolling shell, with some old skool cusco coilovers, power brace, spc rear arm package, sway bars, and a welded diff. The guys at Affinity Performance were awesome as far as understanding my situation, being overseas and even went the extra mile by delivering the shell to a friends house. (Wife didnt know what i was getting my self into just yet) Friends stored the shell for me until my return and luckily i got home just in time! By the time i got there a tree was literally an inch from dropping on it! (twigs dont count) 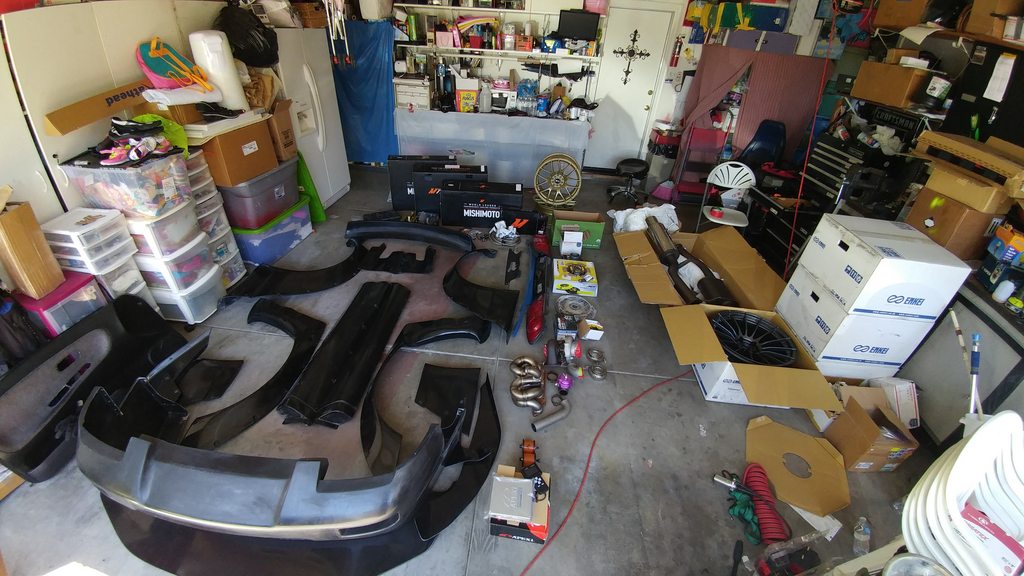 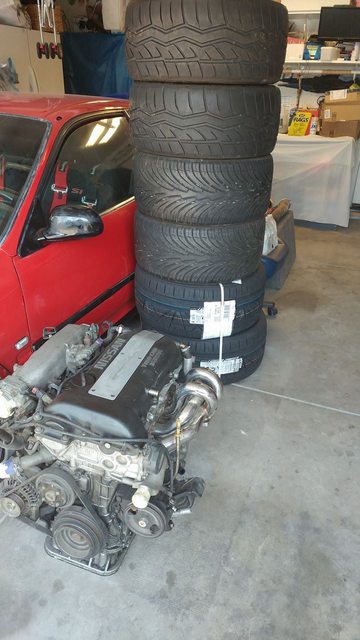 If my memory serves me correctly, i had about 5-6 months in Kuwait, that i spent ordering parts. As you can see above, ITS A SH*T TON. Probably way much more than your average builder out there. Before i had left, i had acquired an SR20DET thats sat in storage for 7-8 years that i picked up from an acquaintance at work. Pretty much Full drop in swap S14 SR, manifolds, t28 turbo, transmission, cut up engine harness, plus its accessories, ecu. So i was pretty set on the matter that i was gonna throw this sucker in. Then with more money funneling in, Inception happened to me, i knew the engine sat for YEARS so it was gonna have to get freshened up. new seals, new gaskets, bearings, etc, then came the idea, well? why not bullet proof it, SR's are known to be weak for this n that, and this plus that, might as well do it right from the get go right? Id spend more time and money coming back if i cheap out on it now, so lets do it correctly. 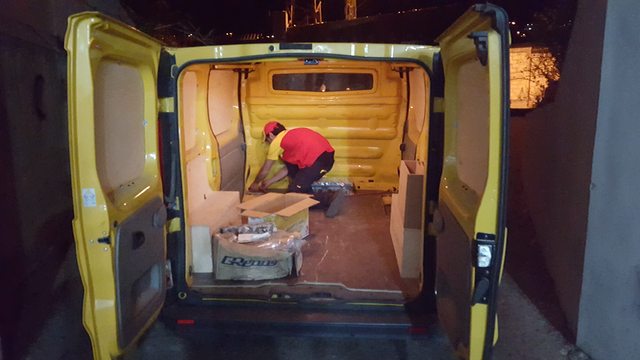 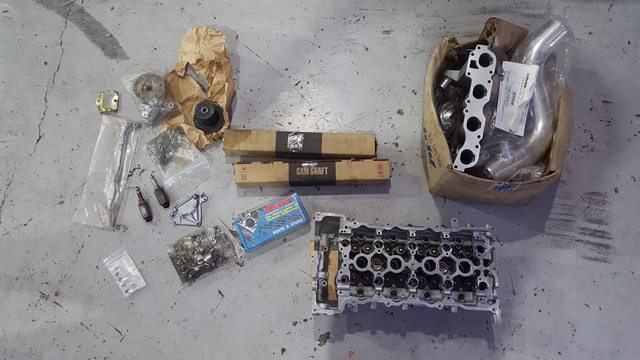 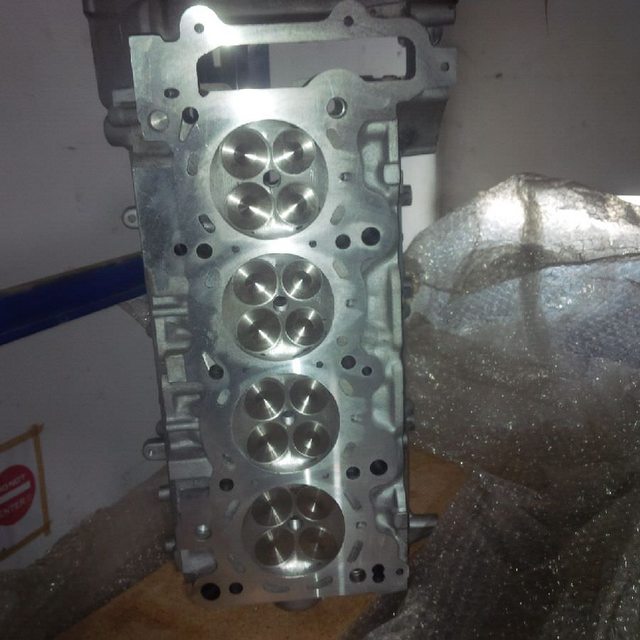 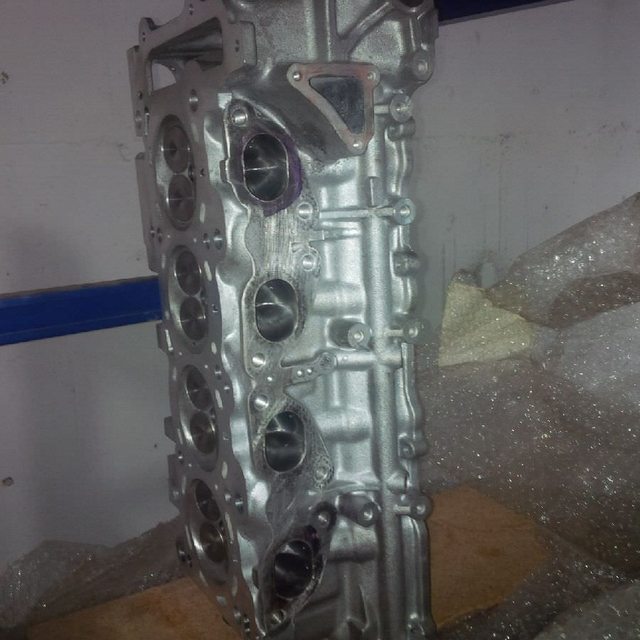 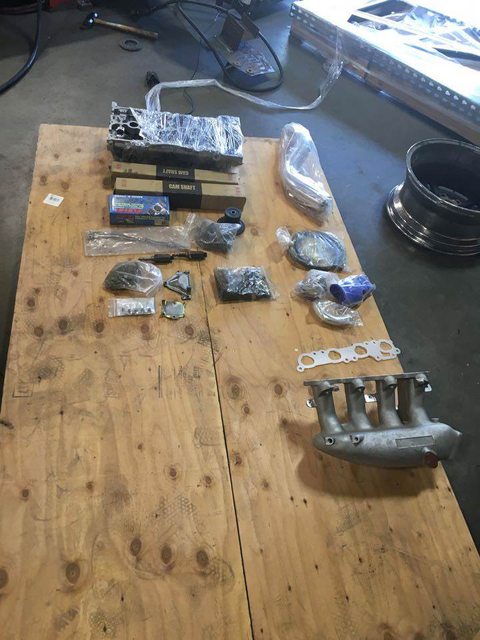 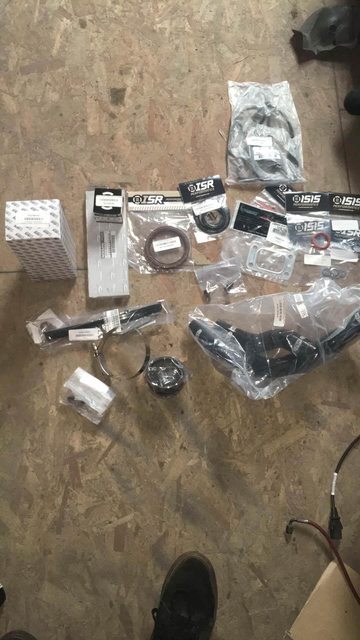 With that being said, my block was in storage and no one else could access it, so i went back to the same shop that sold me the car, Affinity Performance, and reached out to them with my idea. Build me an SR since mines locked up in storage and i literally cant fly a full days worth just to come get it out. Luckily they had spare blocks laying around, freshly polished, balanced crank. Shopping across zilvia, i found another guy who happened to work for Hydra Performance over in Lebanon iirc.. Ended up giving me a sweet deal on a head that was serviced over at mazworxs along with a bunch of goodies. S14 Greddy manifold, Misc Greddy Intercooler pipes, ARP Head Studs, HKS Stage 2 264 Cams, Gaskets, and stickers. The stickers were the deal breaker tbh lmao. The head went through alotttt of machining work, Stage 2 Valve Job, Bored out to 87mm, Oversized Supertech Intake Valves, BC Springs, PnP, Oil Galleys were drilled out, cleaned, retapped, and sealed off, Dual rocker guide conversion, Supertech valve guides, seals, all in all, 2k in just the head was done at Mazworxs(Sales order in hand) Rest of the stuff i ordered and sent it to the shop. 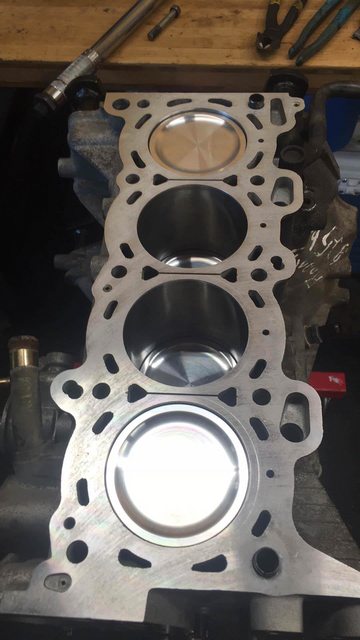 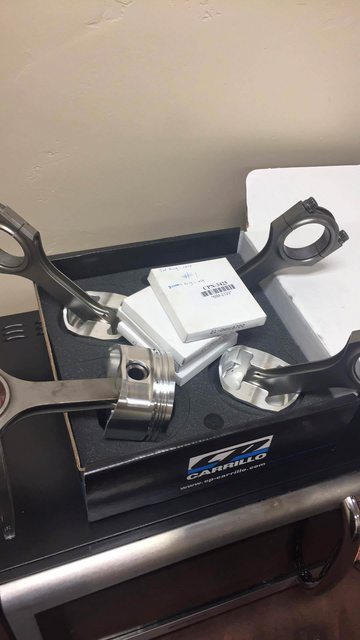  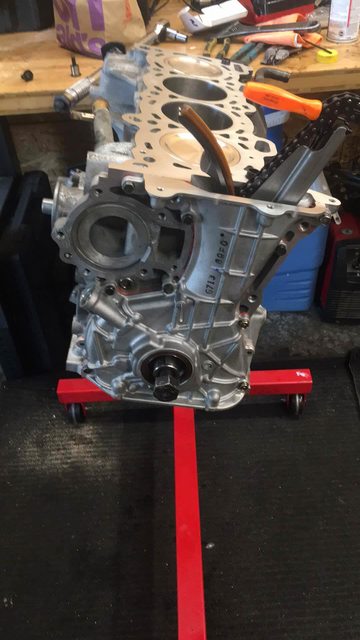 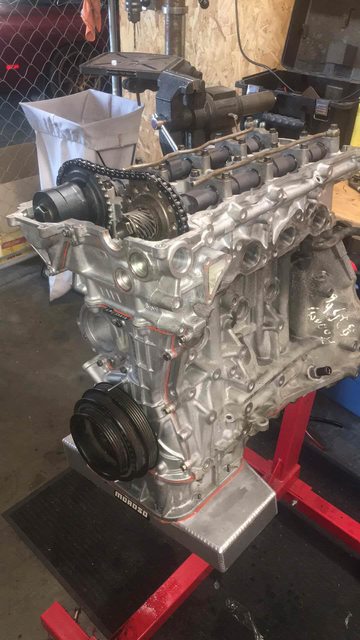 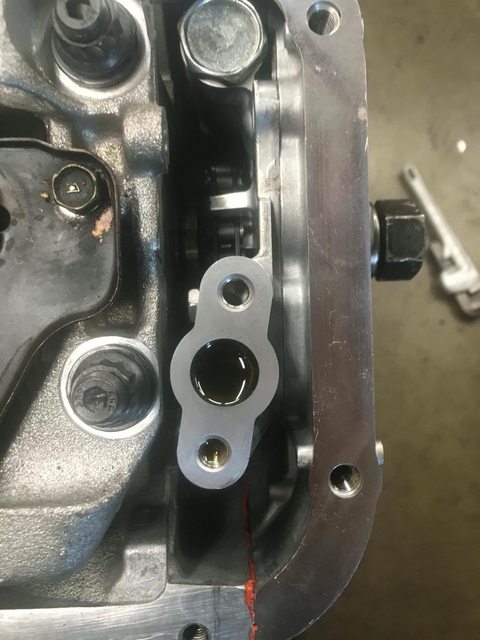  Full Engine Brake Down S14 SR20DET HKS Stage 2 264 Cams Oem Sprockets VTC Sprocket OEM Lifters PnP Stage 2 valve Job 87mm Bore Supertech Valves/Guides +1mm Intake Thermal Intake gasket CP Pistons/Rings 9.1:1 iirc Moroso Oil Pan ACL Race Bearings New Chains Mixed OEM/ISR Seals, Gaskets APEX'I 1.5mm Headgasket ARP Head/main Studs New OEM Oil Pump/Housing Peakboost T3 Top Mount Tial 44mm Wastegate Precision Turbo 6262 1600CC Five-O Racing Black Ops Injectors ATI Super Damper Apex'i D-Jetro Wiring Specialties Pro Harness ...i came home and the engine still wasnt ready lolol Stage 2 // Assembling In the process of everything else that was going on, i convinced a friend of mine who happens to own a parts distribution shop, MMI Vehicle System (MMI stands for Me, Myself, and I, i sh*t u not)Got him to sponsor me on this build and im super thankful for it, cause id probably be in debt, bankrupt, no 240 if it wasnt for them ha! This next phase consists of everything else, not engine related, in way? Kinda? They did hook it up on the Apex'i Headgasket. i digress. So eventually I had to let my wife know what was going down... 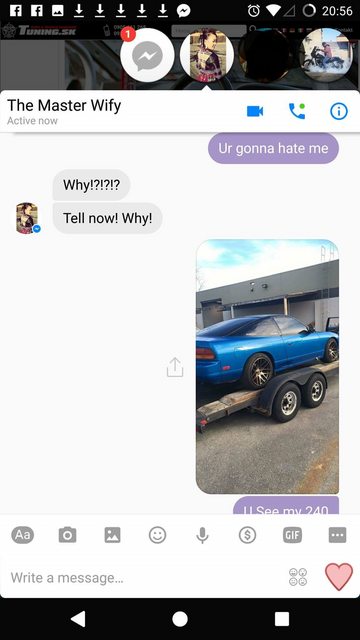 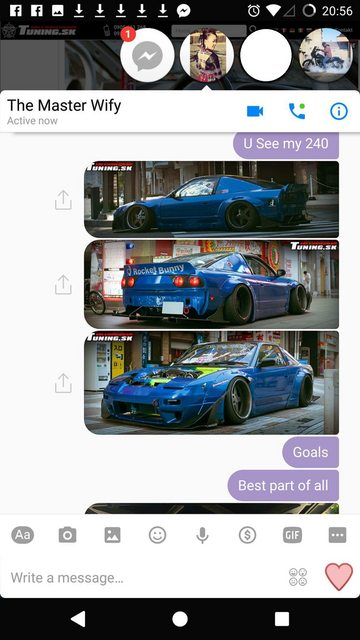 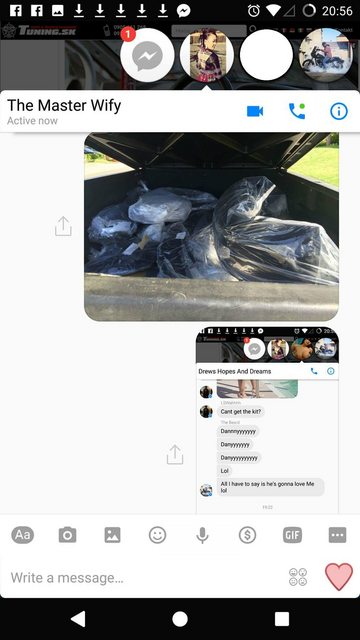  Spoiler alert, she divorced me  Luckily for me, Tony(MMI) was in L.A. for an Auto Show and was able to go to Greddys warehouse directly and pick up my body kit along with other things like my wheels, mishimoto stuff, fuel components, brakes, etc. Lets get to piecing the body now. 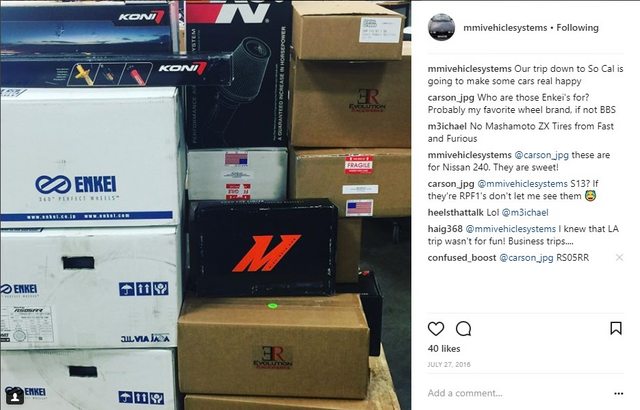 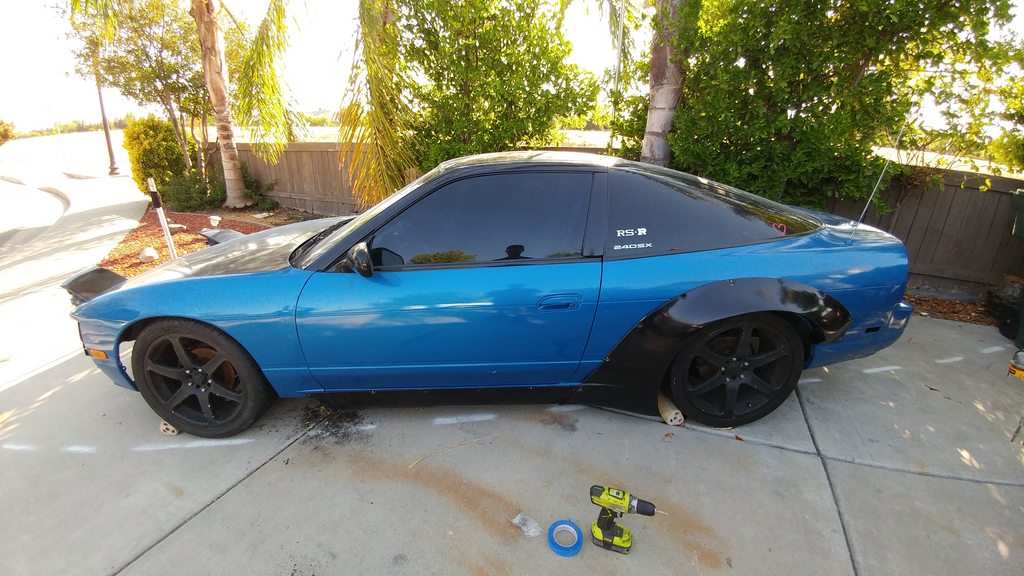 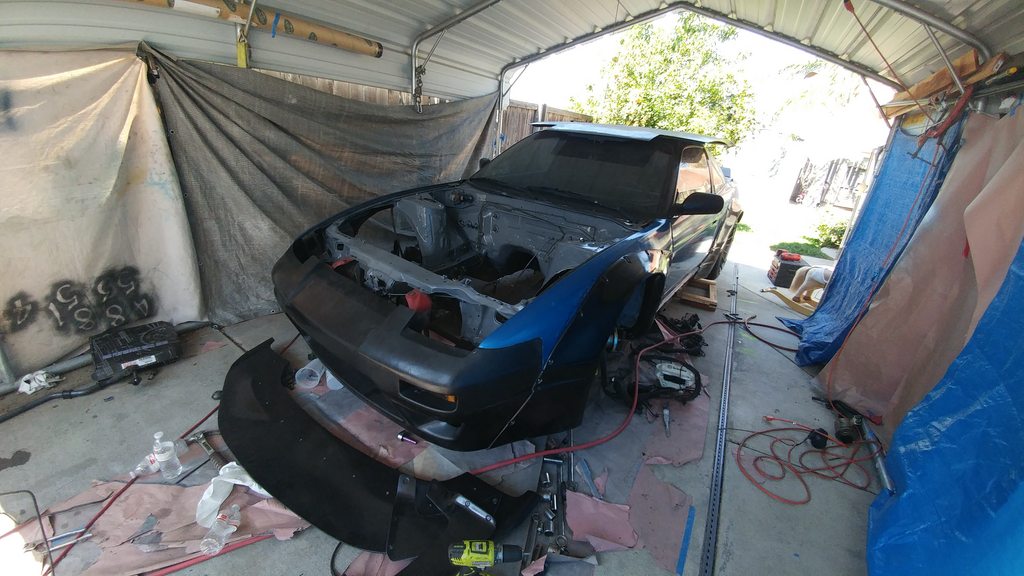 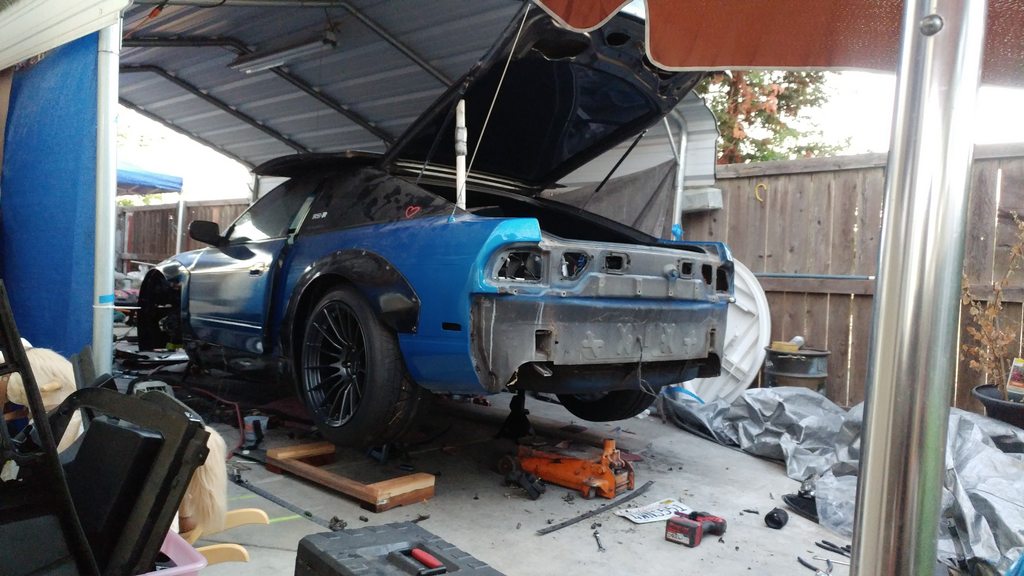 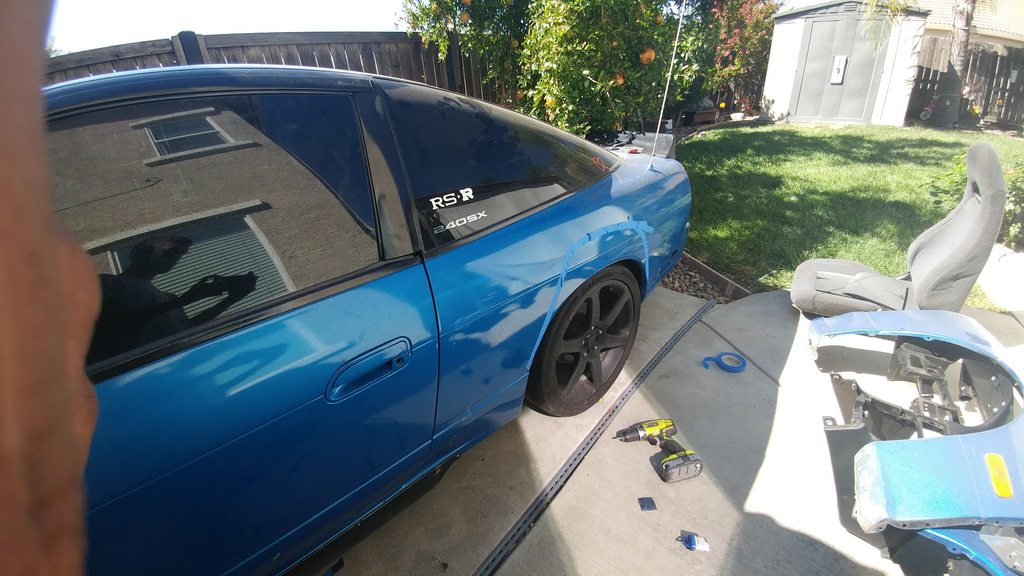 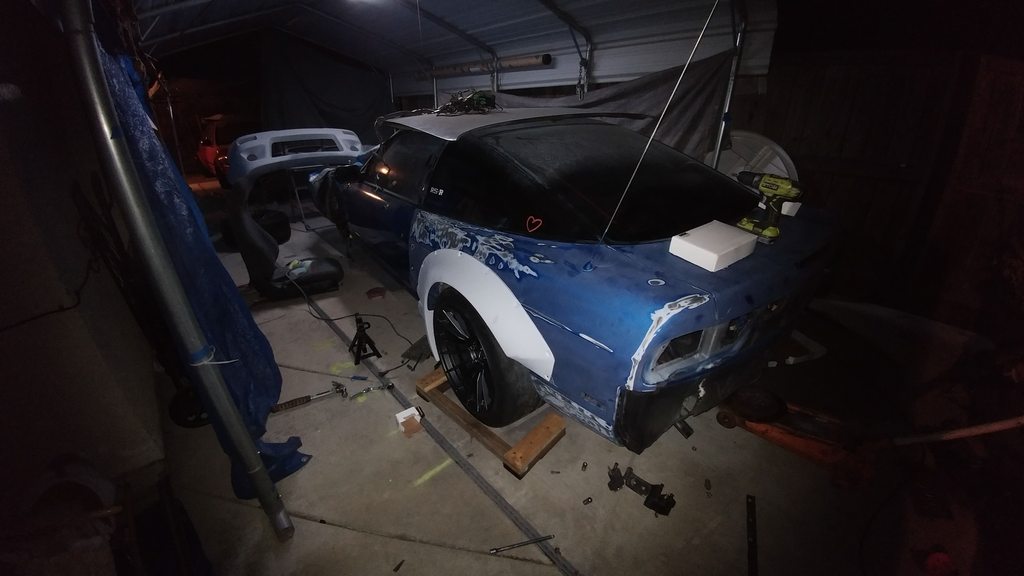 At this point of the build after, mocking up the kit, i realized the wheels werent wire enough LOL. i miscalculated the offset. btw, im running Enkei RS05RR 18x11+16 SQUARE. I somehow dont have pictures of cutting up the quarter panels. Sorry fams. i ended up cutting what needed to be cut, and the wheel well extra, smoothed out, extended past the quarter panel, welding it to the Quarter Panel, cutting the excess and applying sealant over it. not the prettiest job but itll do. 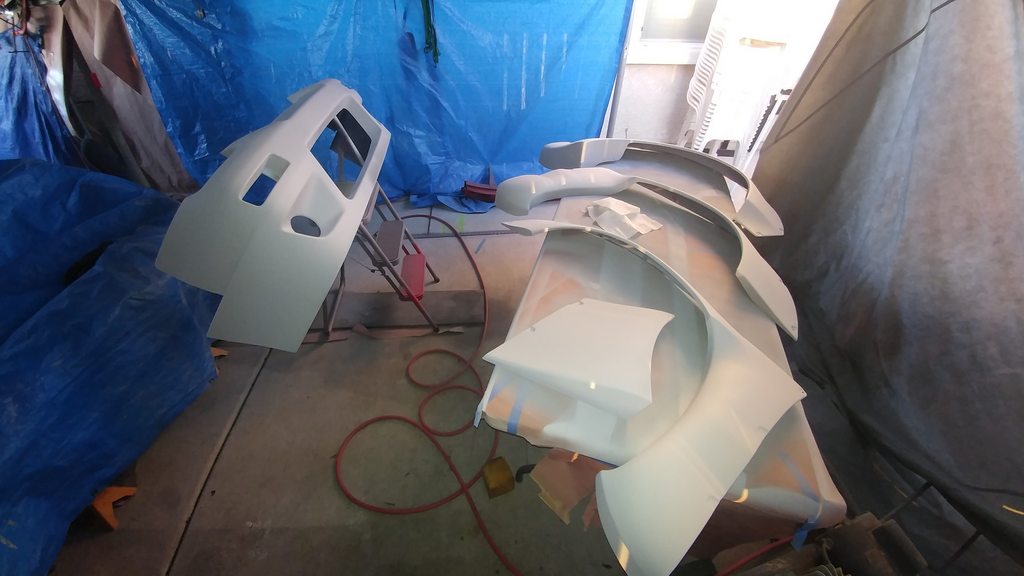 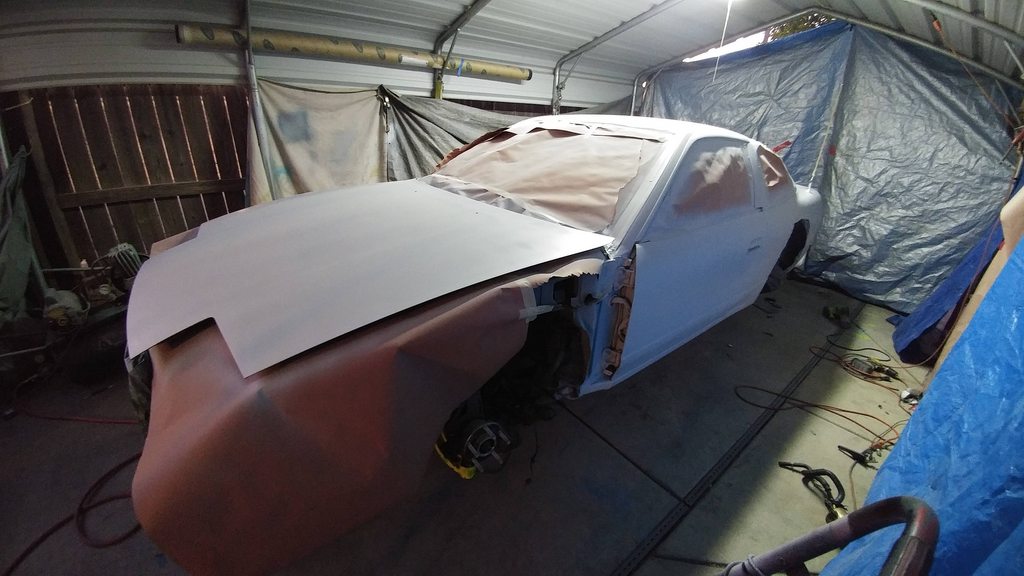 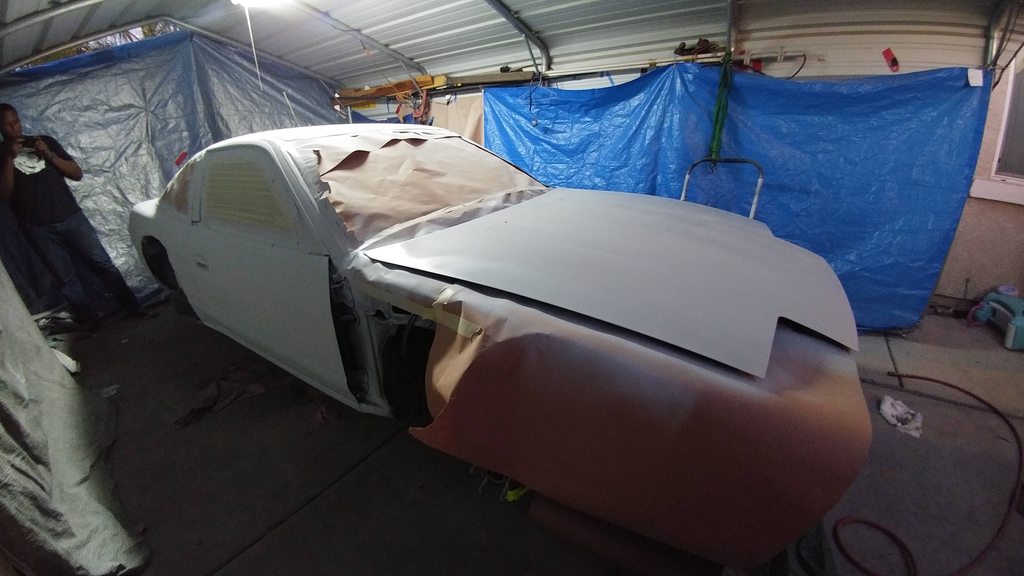 Here i used some automotive primer at a local paint shop. Dont remember much as far as brand and type goes. 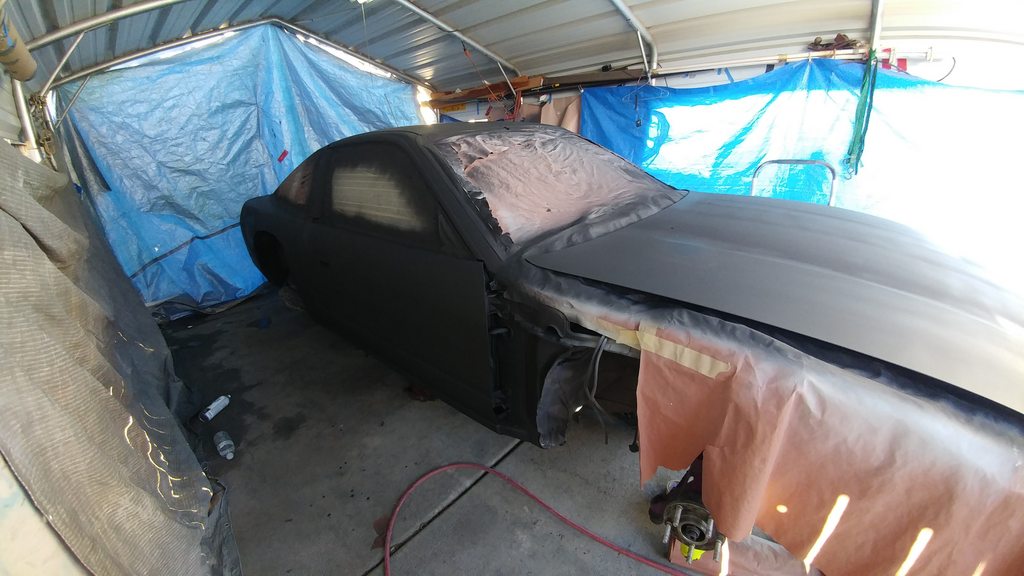 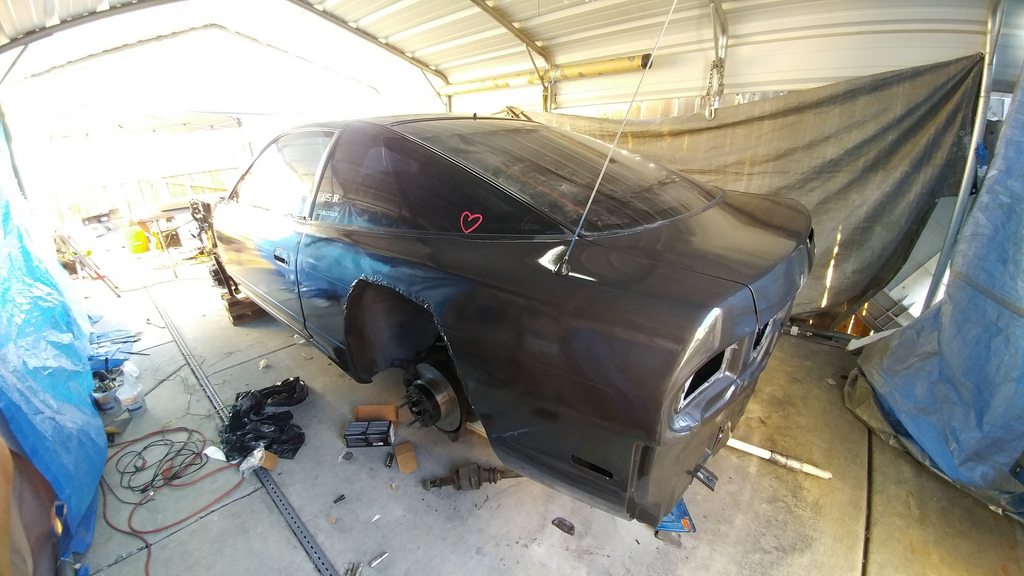  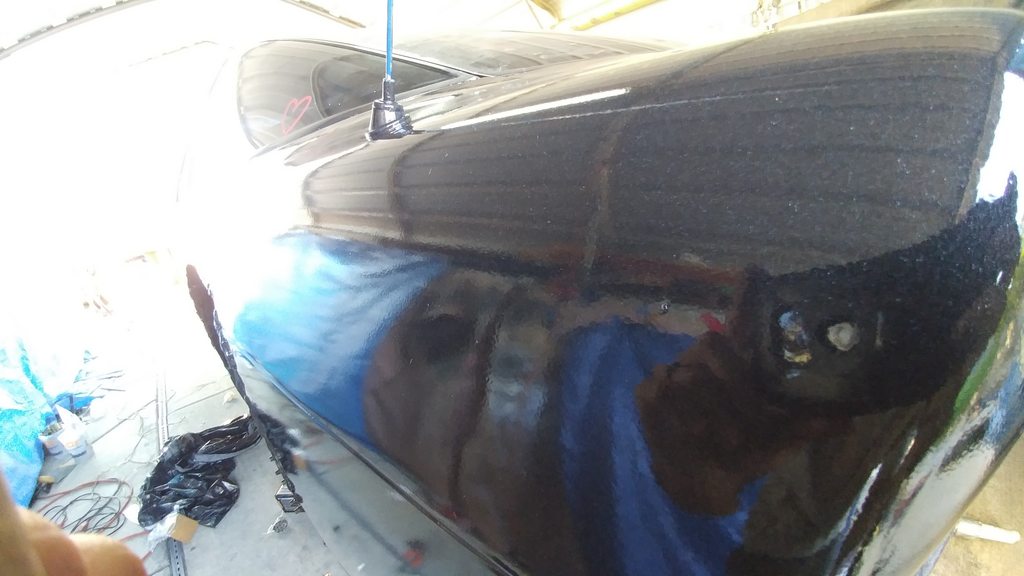 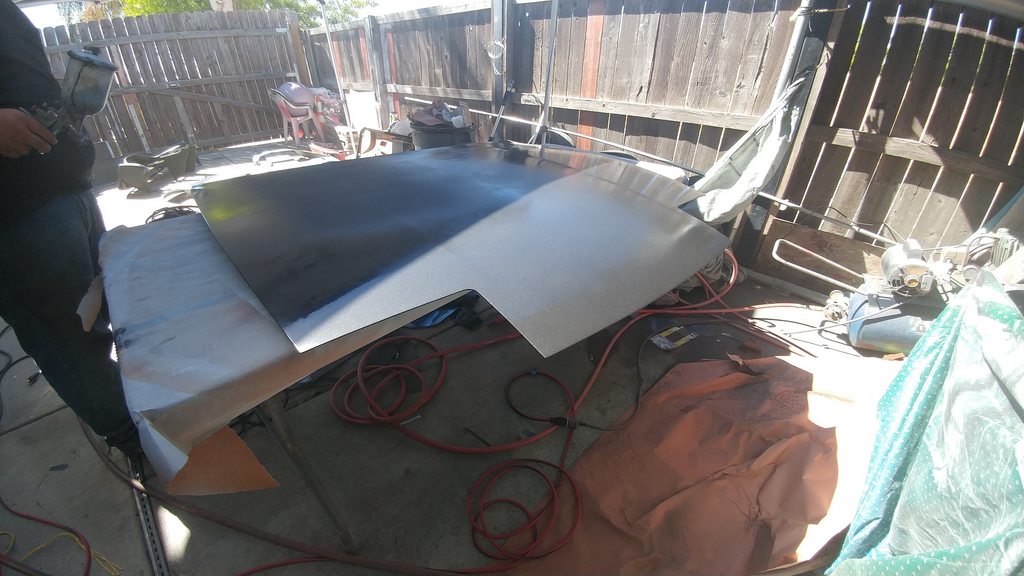 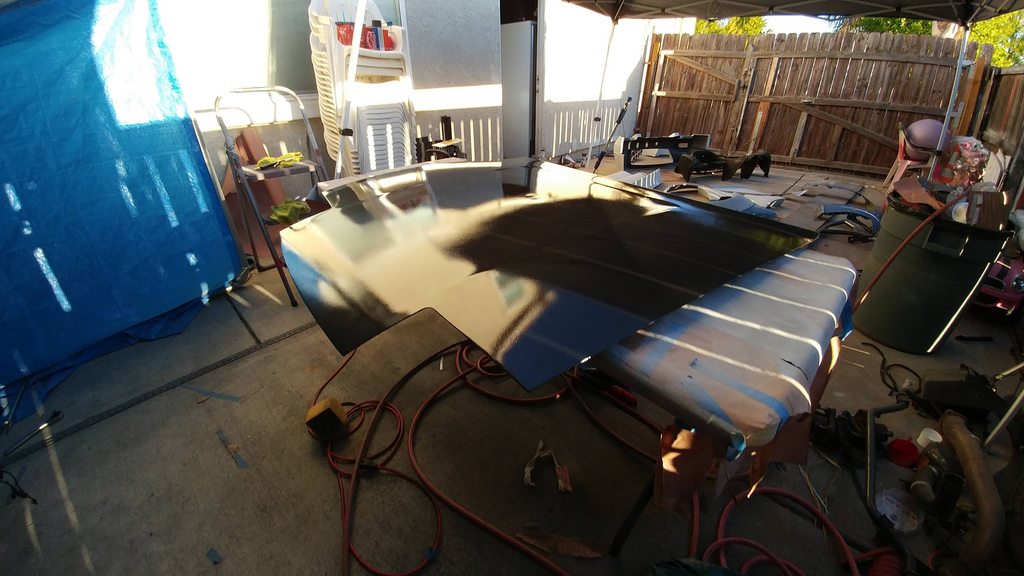 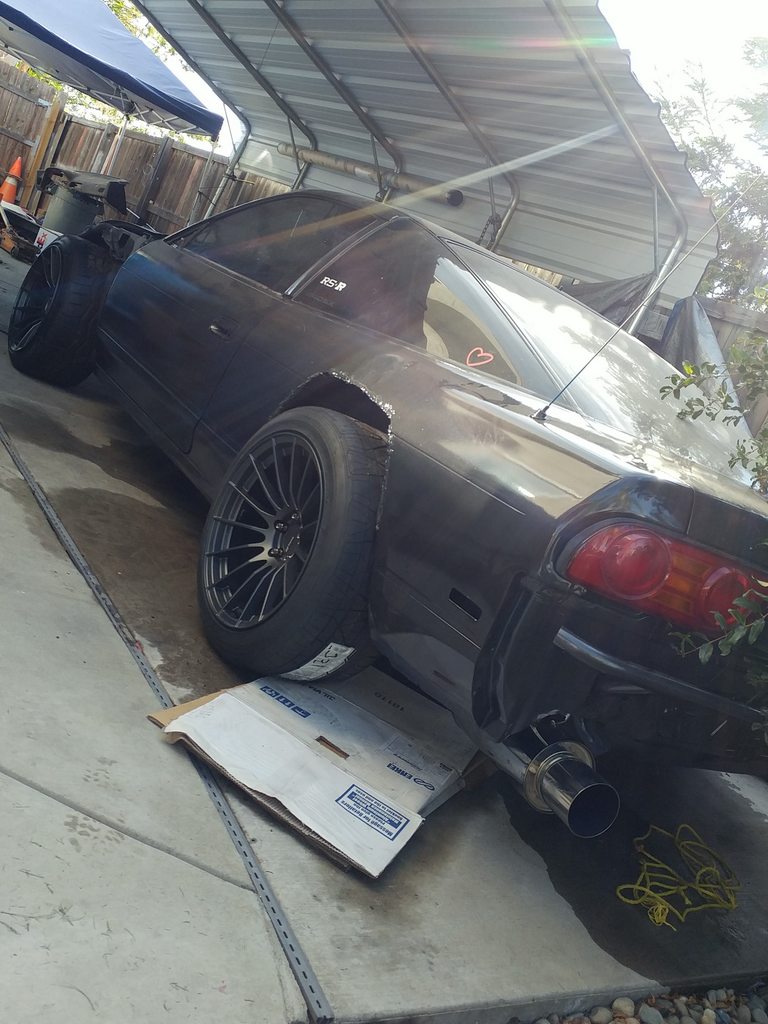 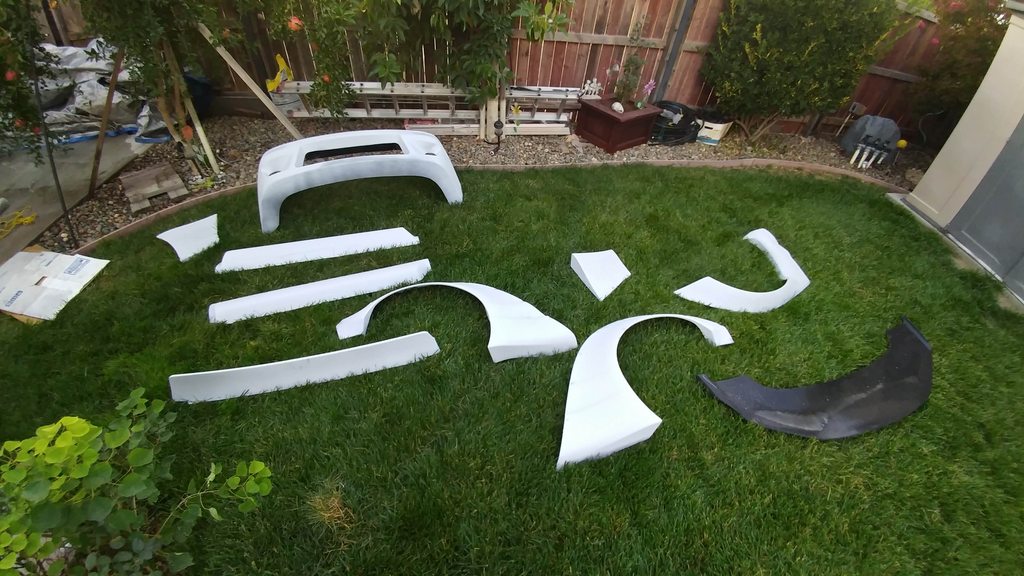 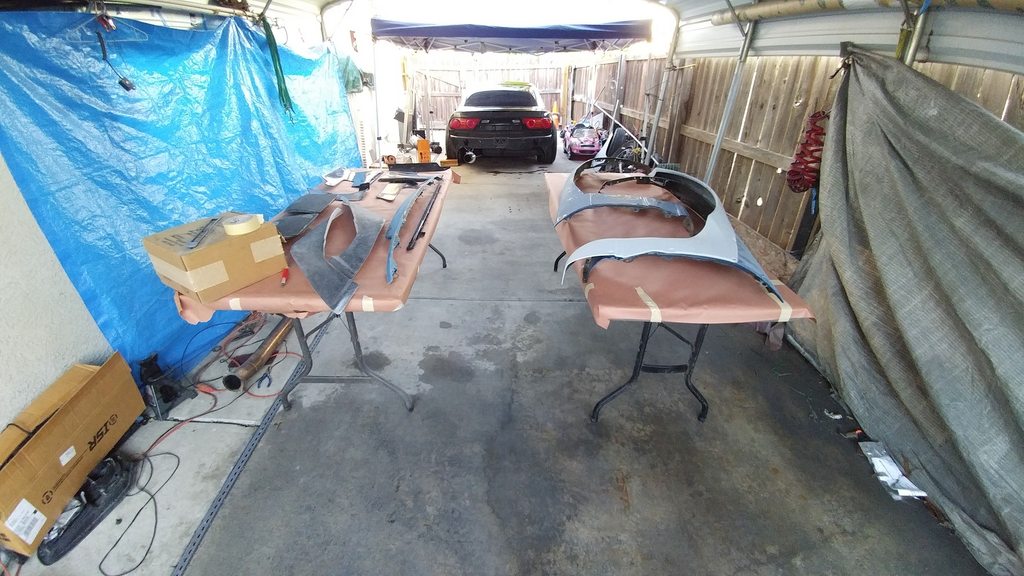 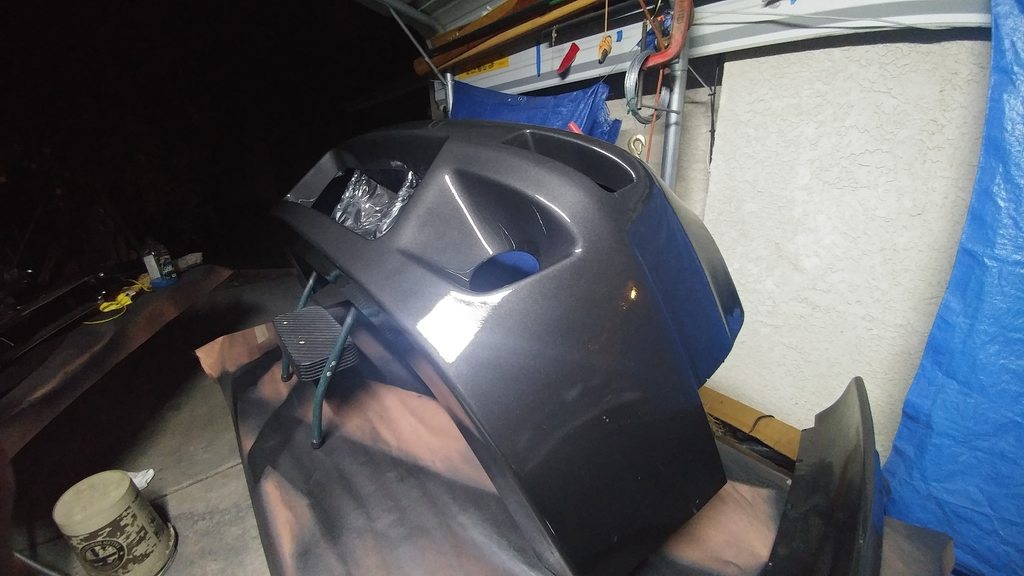 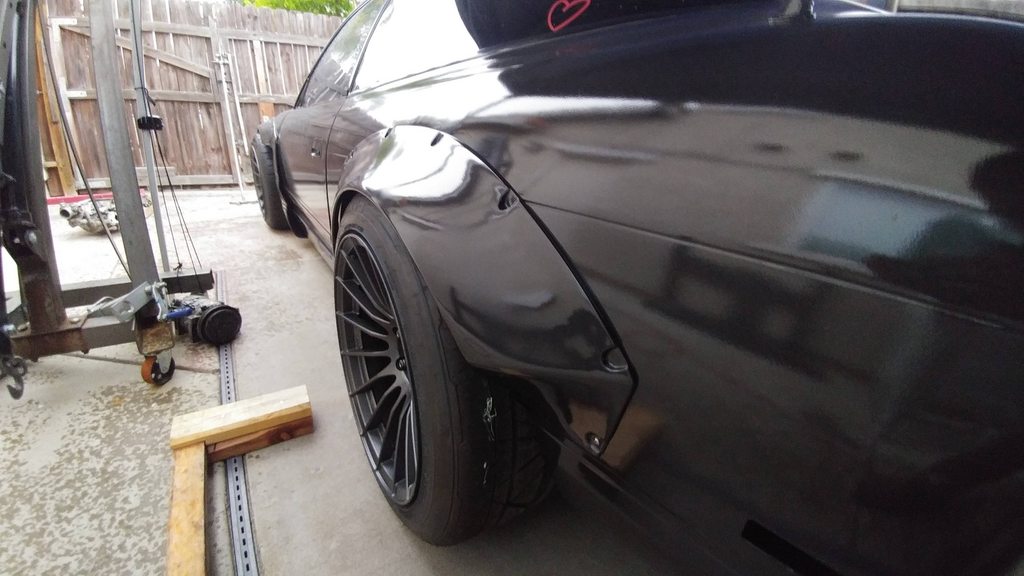  Ended up going with a dark charcoal grey, pretty nice and cheap paint with tons of flake in it. in the Day time the grey really stands out, shadows looks a bit dark chocolatety... and night time, just straight up murdered out. More of the body laterrrr. Now its time to get to the engine bayy 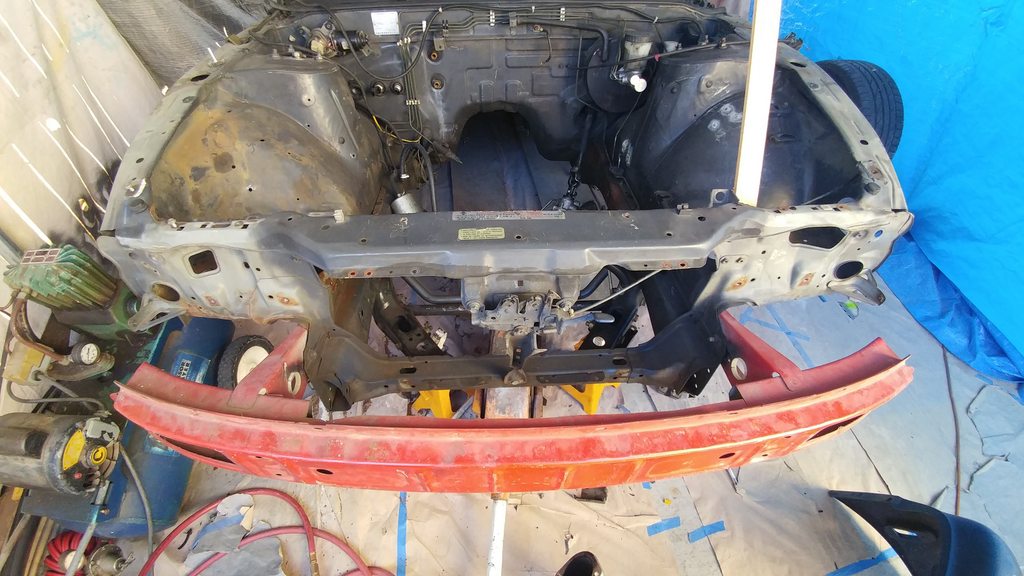 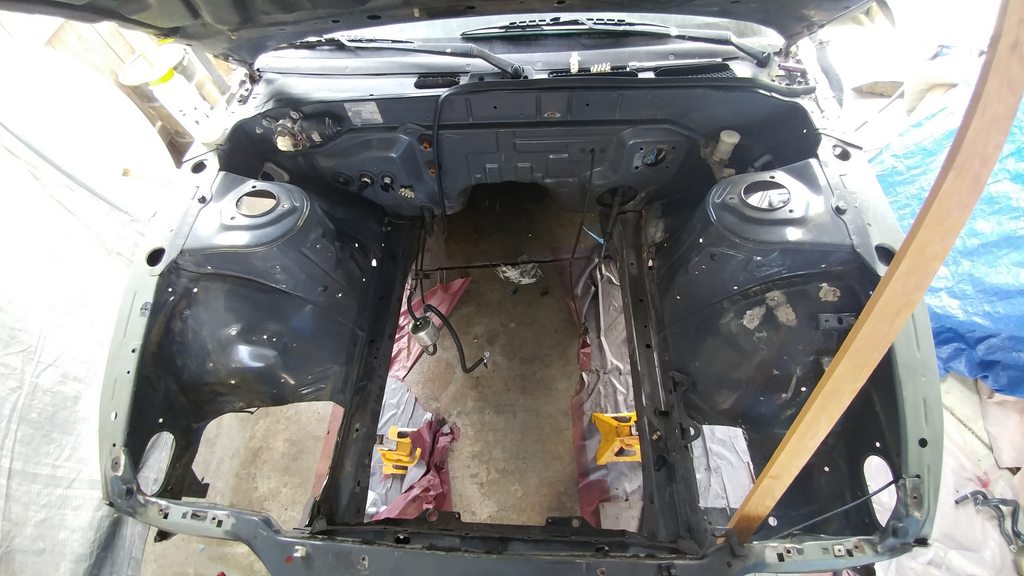 Pretty much what i got work with. typical 240s with rust. the entire side where the battery goes was donee, i started cutting away , and where i thought was enough rust cut out and i could save, still wasnt enough. and then to my surprise, though i should have seen it coming, having wideass wheels upfront, it was making contact with the wheel wells anyways! so to hell with it all! 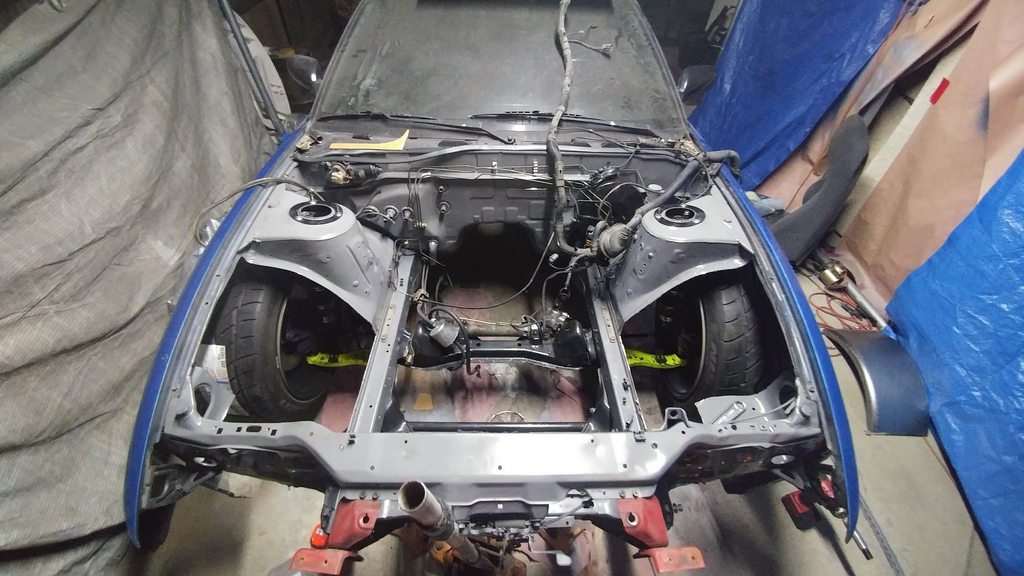 Engine bays rattle canned, cause shit gets dirty and scratched up, so its easier and cheaper for touch ups lol 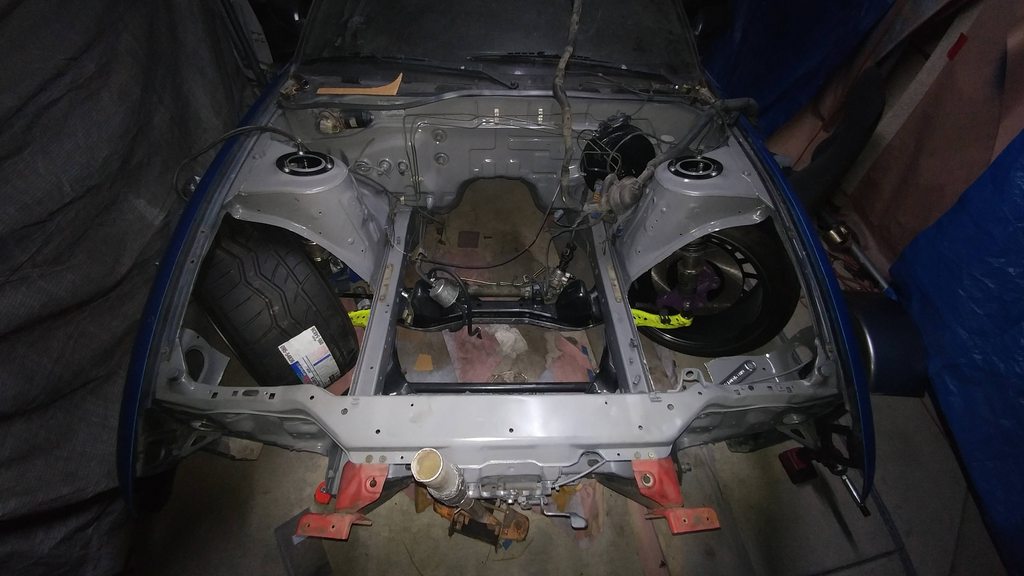 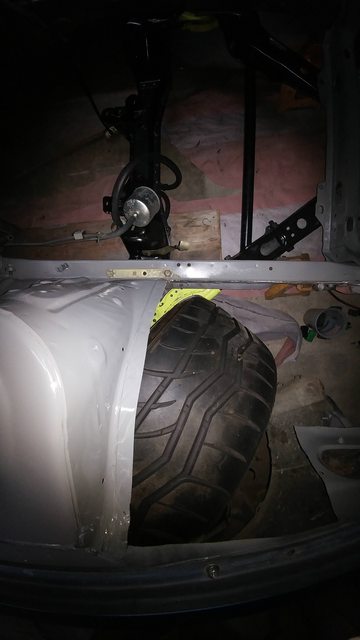 But that angle doee! Now for some tubss Last edited by djtoonjr; 12-22-2017 at 01:33 PM.. Reason: Didnt finish my posttt |
|
|

|
| Sponsored Links |
|
|
#2 |
|
Leaky Injector
 Join Date: Feb 2016
Location: Sacramento CA
Age: 27
Posts: 112
Trader Rating: (2)
 Feedback Score: 2 reviews
|
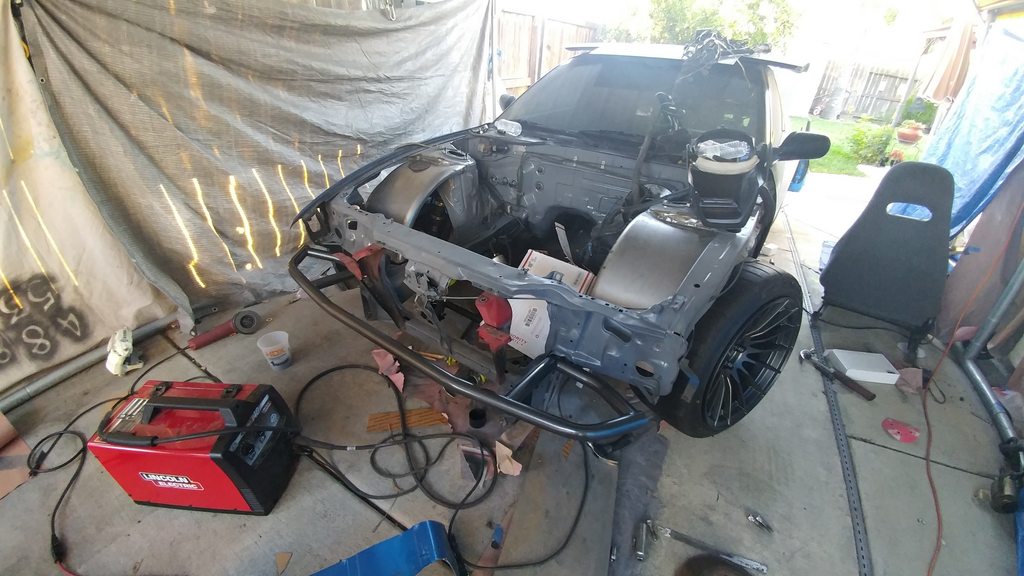 some good old trailer fenders from etrailer.com 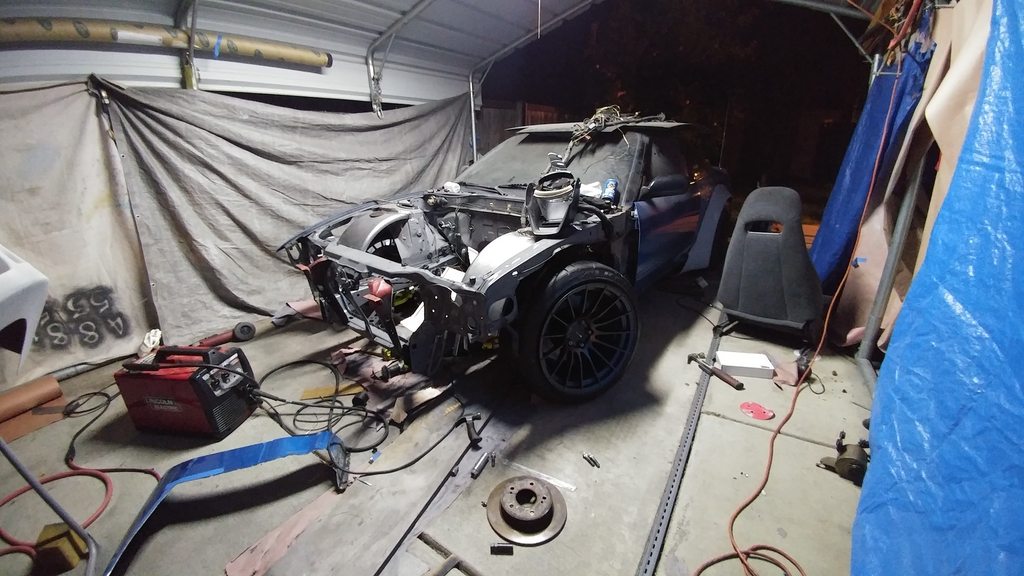 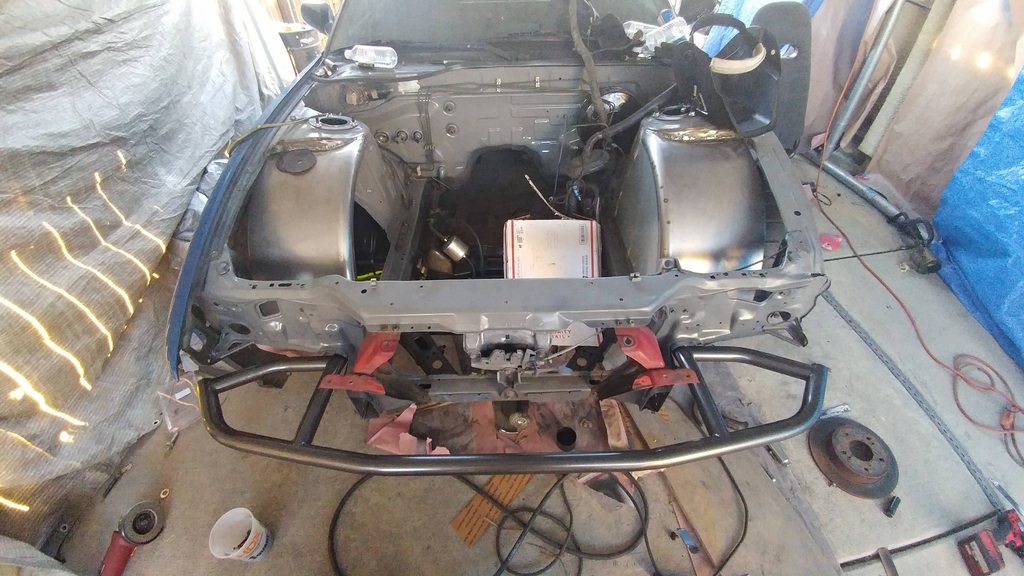 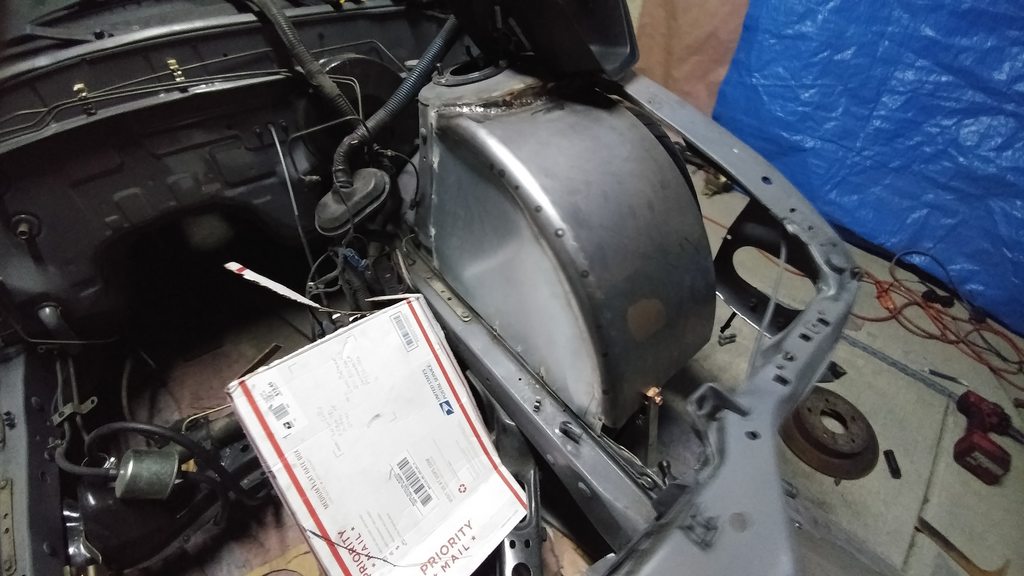 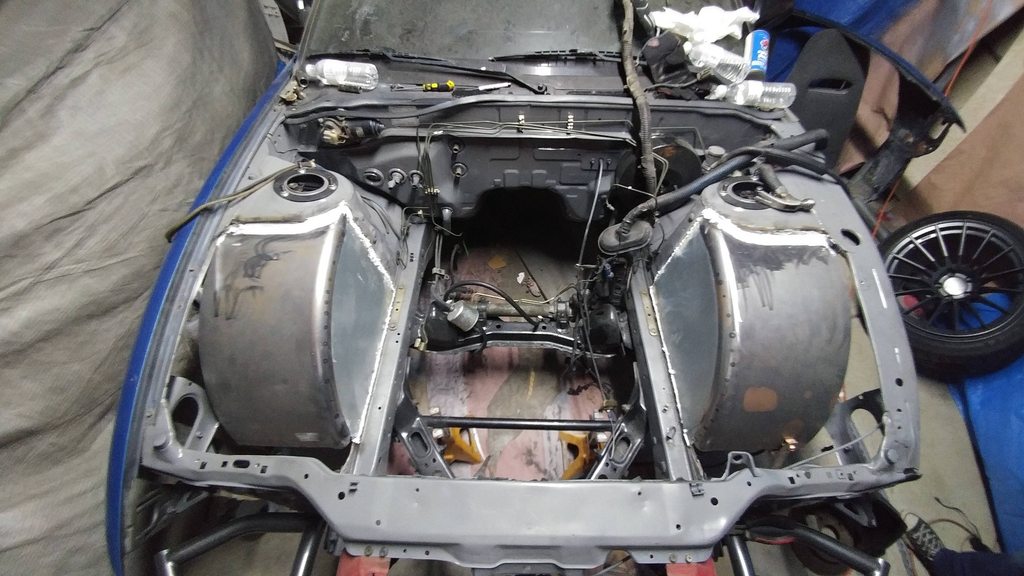 I didnt do the welding so dont judge lmao. but after it was nice and solid, grabbed some flat sheet metal, and close up the sides and then tacted it from the inside, then cleaned it up and covered it up with some sealant. leading up to thiss 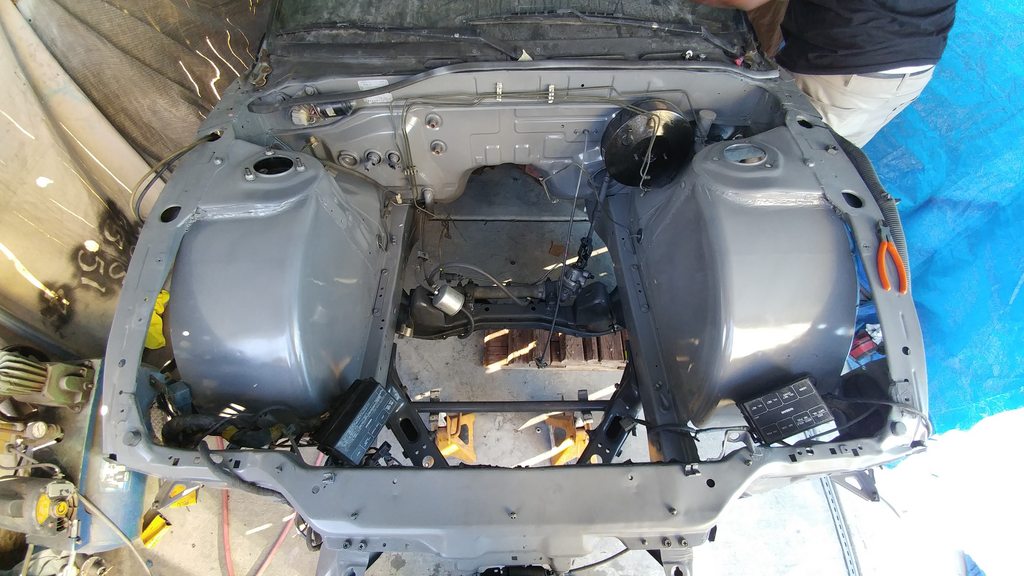  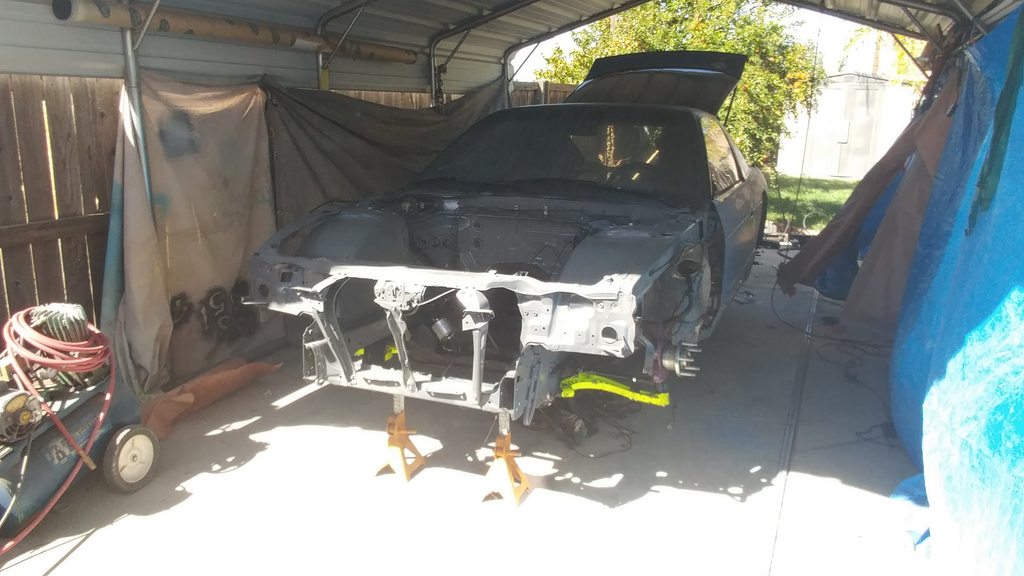 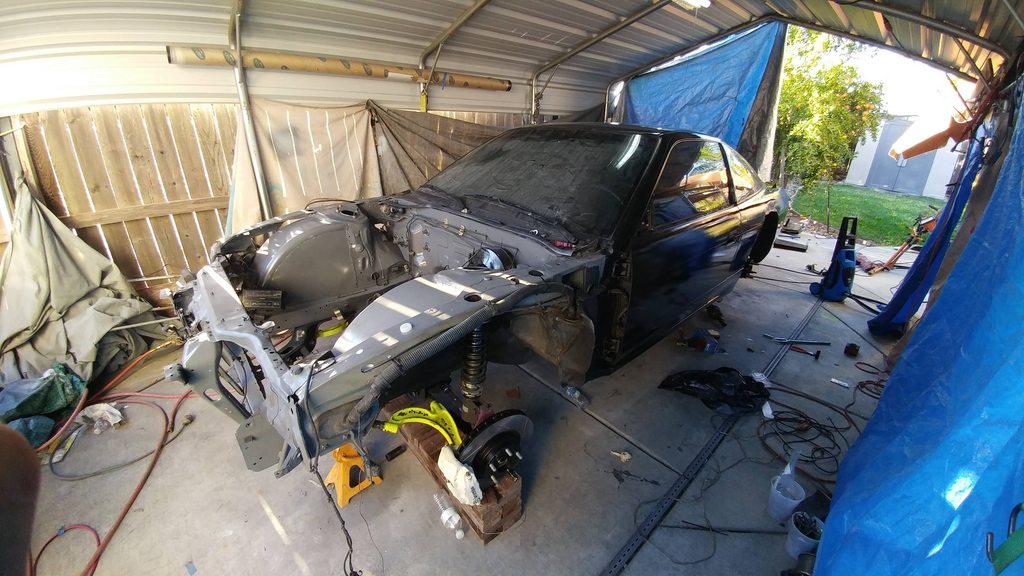 Thats pretty much where it ended up. real simple engine bay, enough room to do what i wanted. Enough clearance for the wheels to clear even tho we havent talked about that too much yet. If you turn your attention to this upper picture here, youll notice some of the suspension and braking is starting to go in as well. Another rookie mistake was made here. Wide body kit+Wide wheels with lower offset+Extended LCA =Mexiflush. who woulda figured lmao. At that point i wanted to kill myself, youll see what im talking about later. So instead of following the traditional way and just getting some z32s upfront, i went with the 350z Brembo 4 Pots. straight bolt on with the exception of drilling out the earlobe to 14mm??? or was it 12mm? its 2am bare with me here. Doing this let me utilize 350z Track Rotors as well, which in this pic were Slotted Stoptech rotors at 324mm/12.76" Diameter. Already a massive upgrade from just stock s13 brakes LOL. So get this, with extended LCA,u get moreeeeee camber! Crazy right? Yeah i totally overlooked that part. i maxed out my camber and realized i done f*cked up. so i order some goodies from GKTech, new camber plates,Well, the actual slots? grooves? you know the part that you loosen up to adjust camber? well it was too wide to accept the new camber plate, anyways long story short, i had different top end pieces for the shock, undid the center nut thing that holds it all together(nut+sleeve cause cusco?) and it was old, seized, my 3/8" Impact at 325FTLBS wouldnt take it off so i use my buddies 1/2" Impact that has like over 9000 ftlbs of torque and this happened...  Yep, snapped the whole threaded piece off. To hell with it, i ended up ordering some custom spec'd Feals 441 for Road Racing 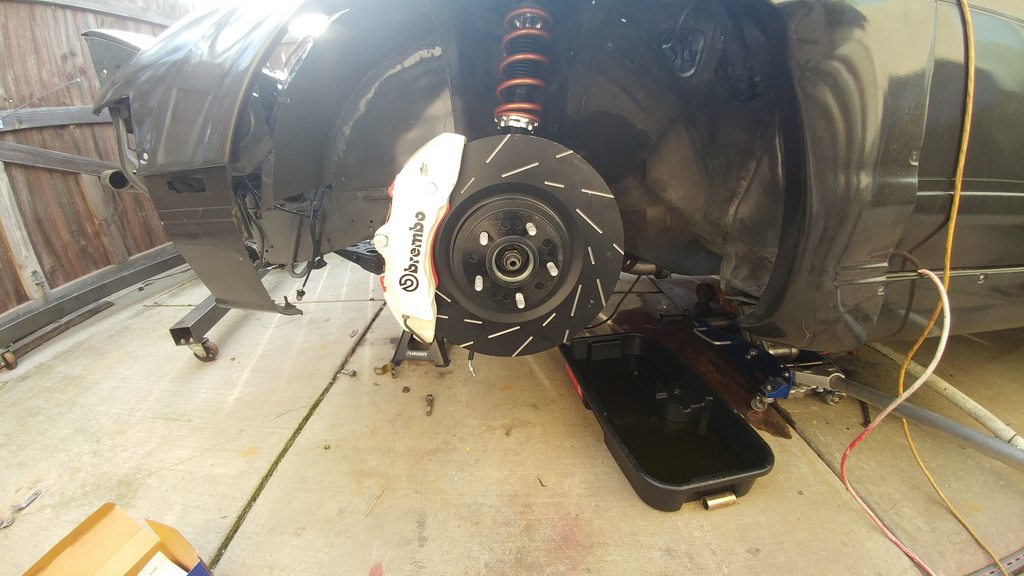 Oh heyyyyy, Fresh coilovers, but wait a minute.. those brakes, and rotors.. Those.. dont look like they're the same 350z brakes from the last picture..? Something happened i forget, i found a buyer for my 350z Brembos even tho i didnt even get to use em LOL. SO i went even BIGGER. These here are from a 2010 Porsche Cayenne...? 6 Piston Brembos, matched to 370Z Track edition 14" EBC USR Rotors with the help from Eximious Custom Parts for the adapters and hardware. 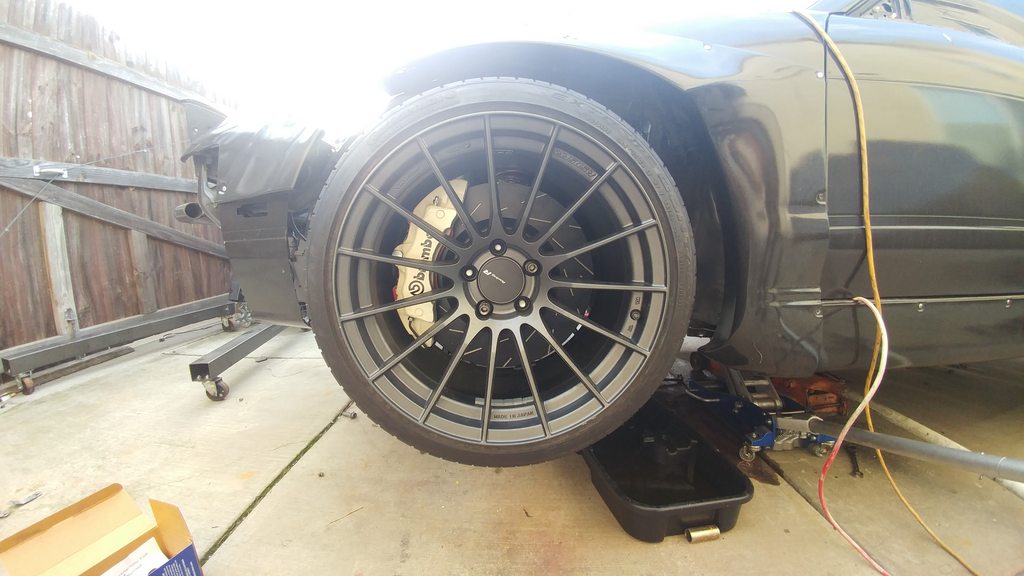 Fill the wheels up real nicely i think. Time to start cramming the engine in finally.  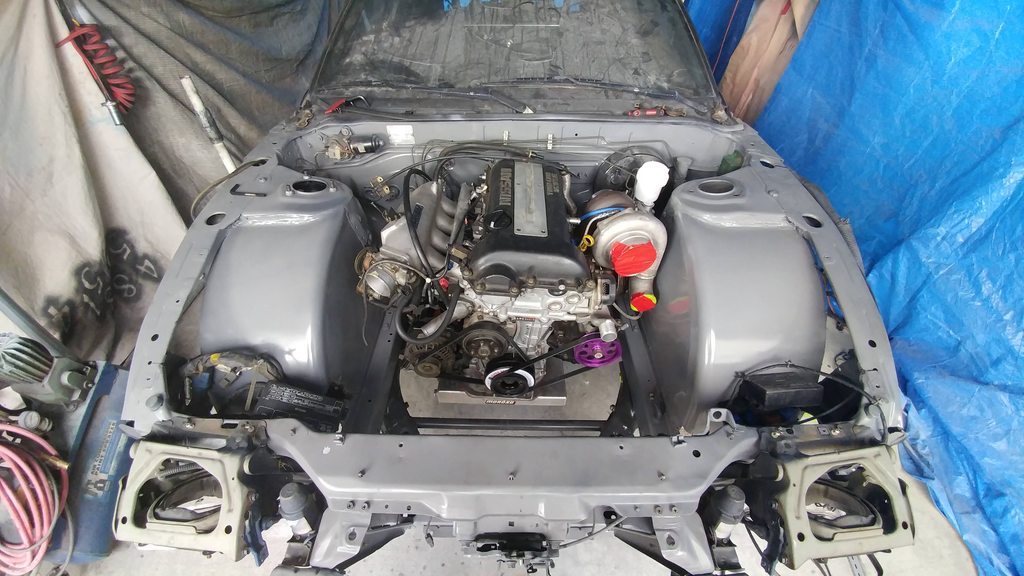 Like a glovee. Here you can see got the engine fully seated, brake/clutch lines ran, and fuse box mocked up to where they'll belong. 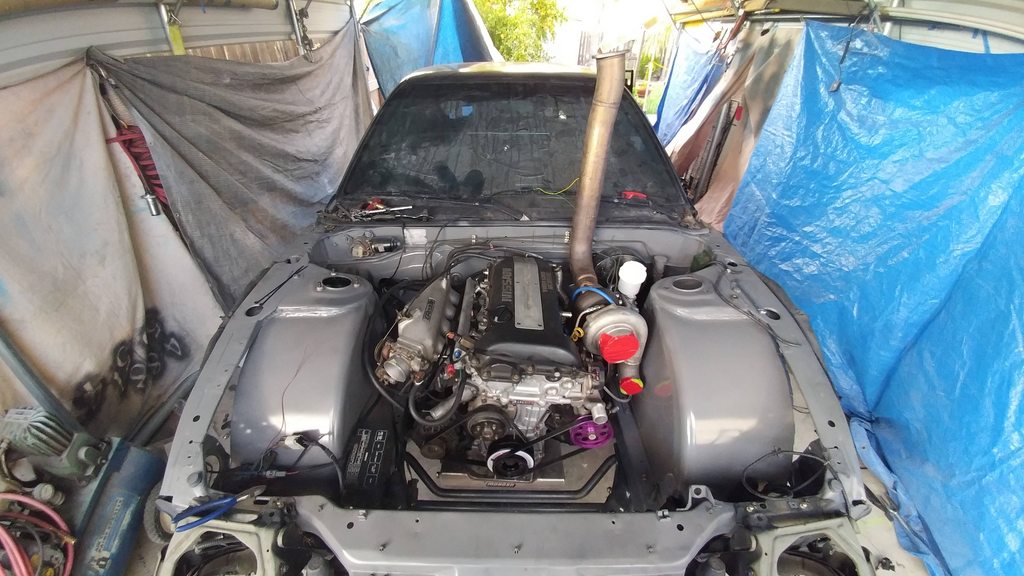 I wish i could start it like this, not gonna lie. ha!  Here i added an AEM fuel pressure regulator, steel braided/e85 rated fuel lines from the hardlines to FPR to Fuel rail.  FMIC from Mishimoto mocked up, started to see what pieces of my piping i already had would fit.Plenty of space behind Street Factions front bash bar with corner bracing. 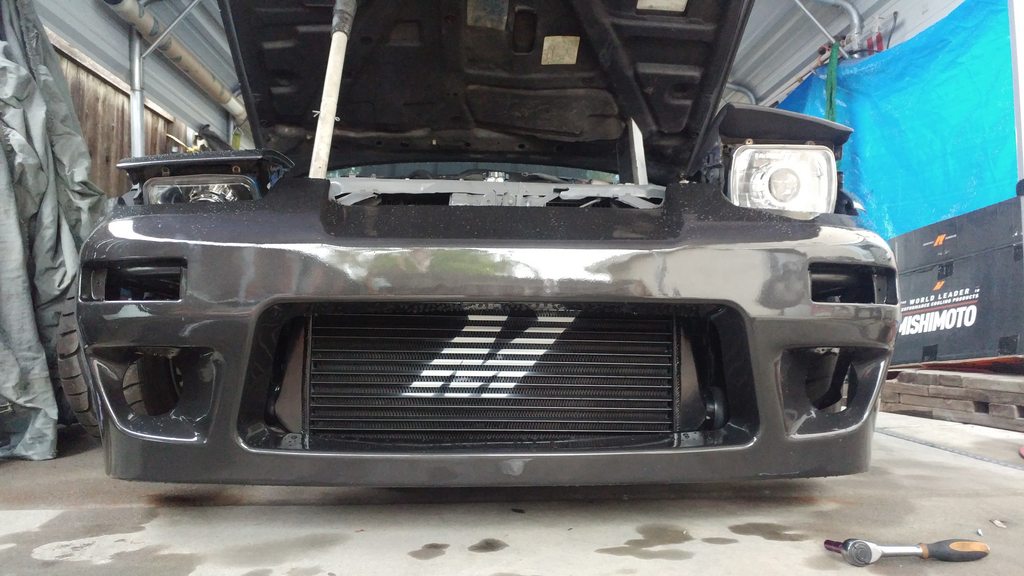  That same night my daily, Honda Civic was stolen from my driveway. Lucky found it the next day, kids took battery, radio, steering wheel, and my loose change, nothing else, i felt like i just got insulted tbh, like thats it>? not my cheapass wheels< swap, seats? Bruh.. i digress. So i finally got to rebuilding the axles, i knew i was gonna swap to a new diff, either Q45, or J30 and the axles i had were torn up, so i stripped em down, inspected, regreased, and rebuilt.  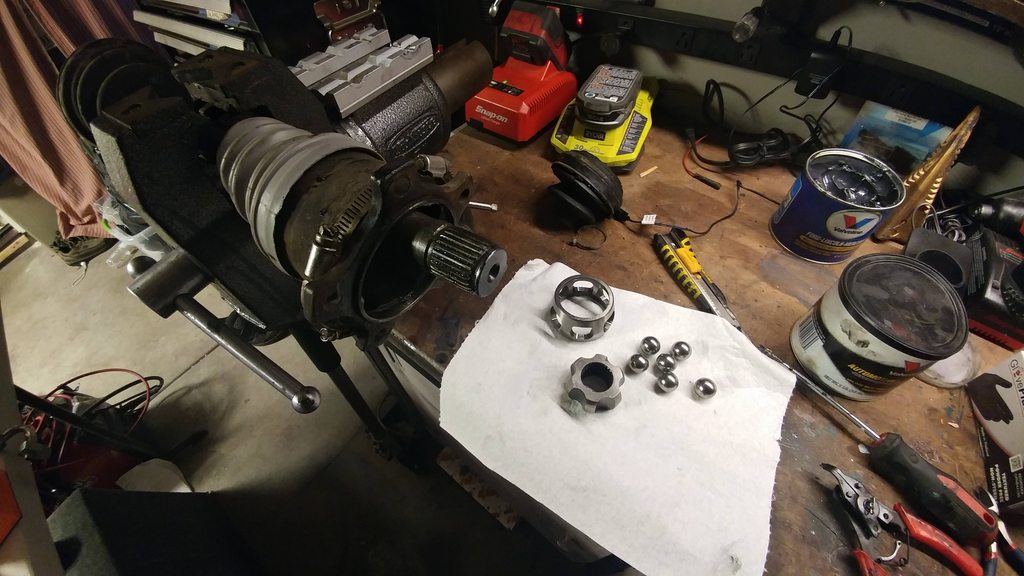 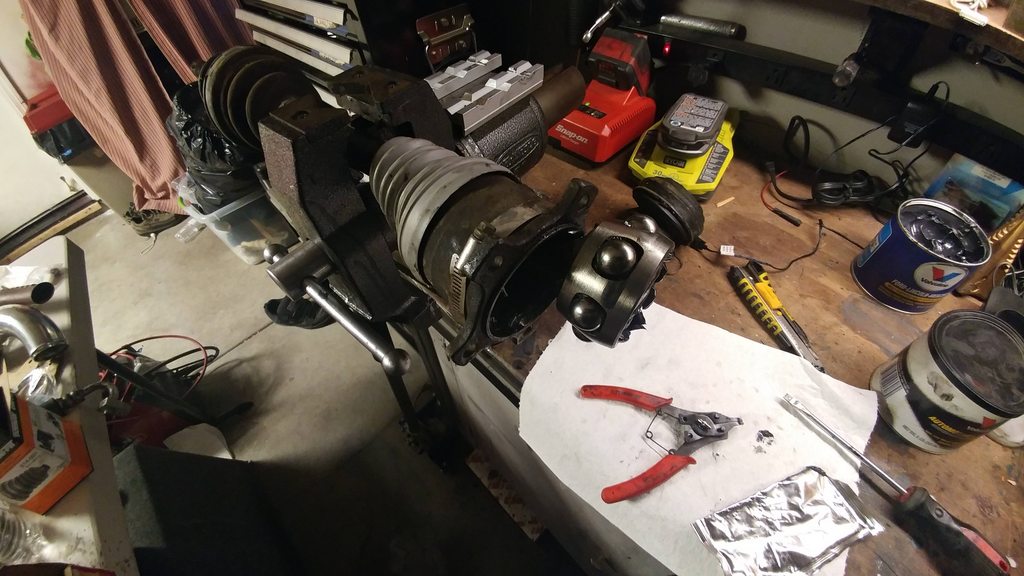  It was about this time that my wide told me she wanted to divorce me soooo i kinda put the whole car away for a while. Started doing some winter cleaning. Tires started stacking up. 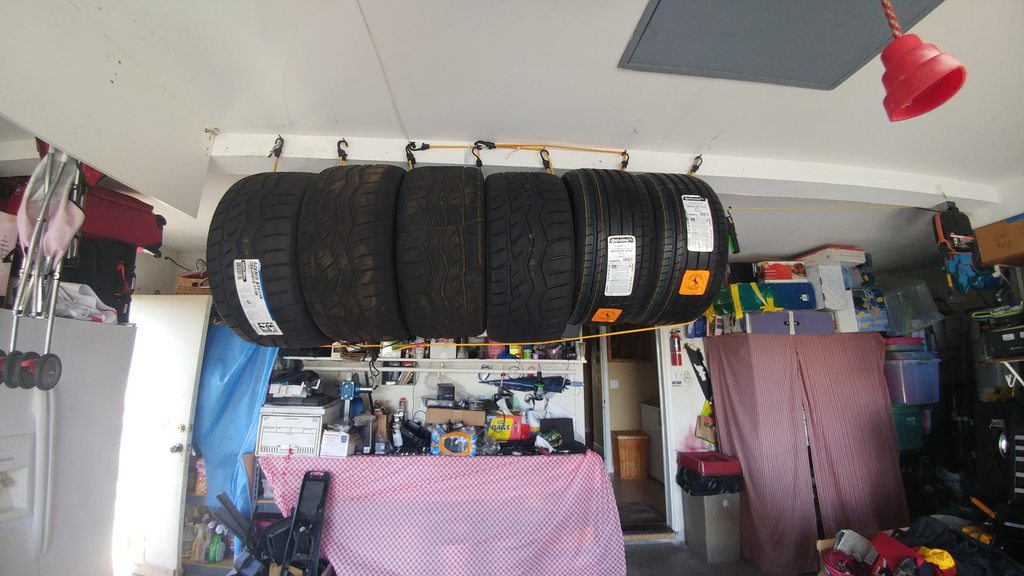 I got a good deal on a set of 4, Falken Azenis RT-615k 295/40/18 2 Brand new, 2 slightly used, and 265/35/18 Continental Extreme Contact DW. 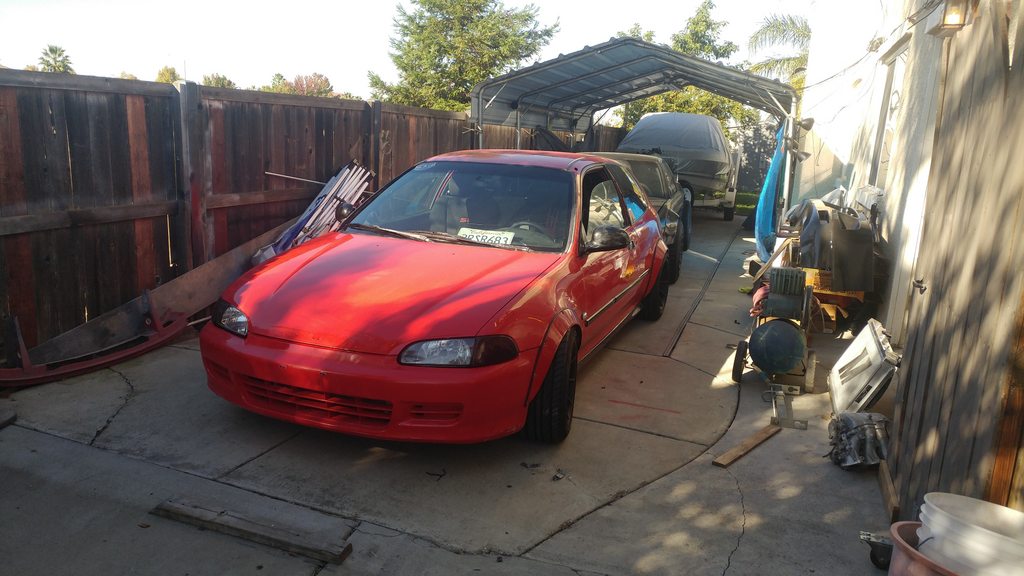 Put all the toys away in the backyard for the holidays Fast Forward about 2 months, i finally got it somewhat complete. 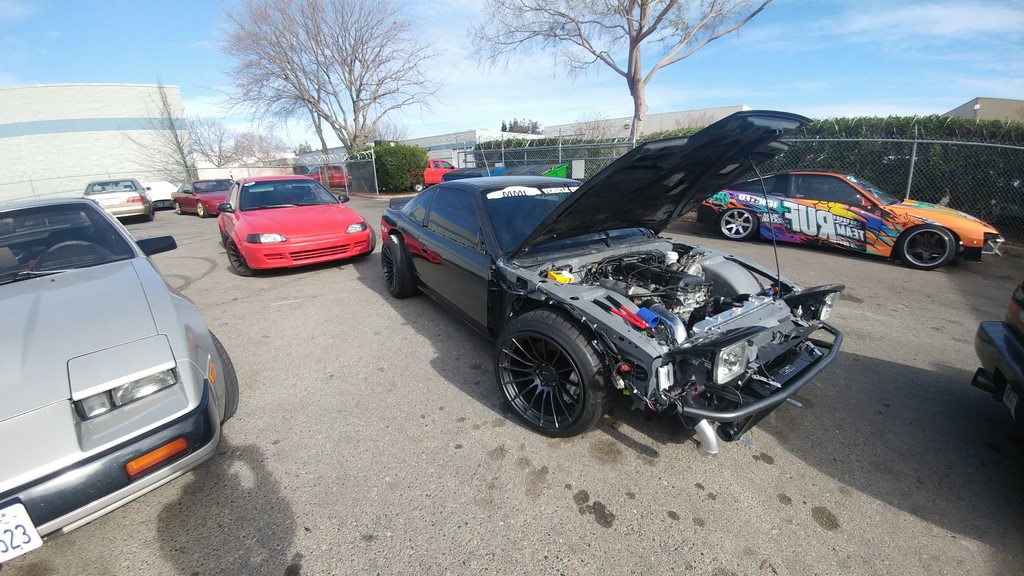 Motors in, cold side piping done, fuel lines ran, fuse box mounted. fluids topped off. at this point, The brakes werent bled, No ebrake. No interior what so ever. No dash, no seats, no panels, just wiring and carpet. i really wish i had pictures but dont unfortunately. 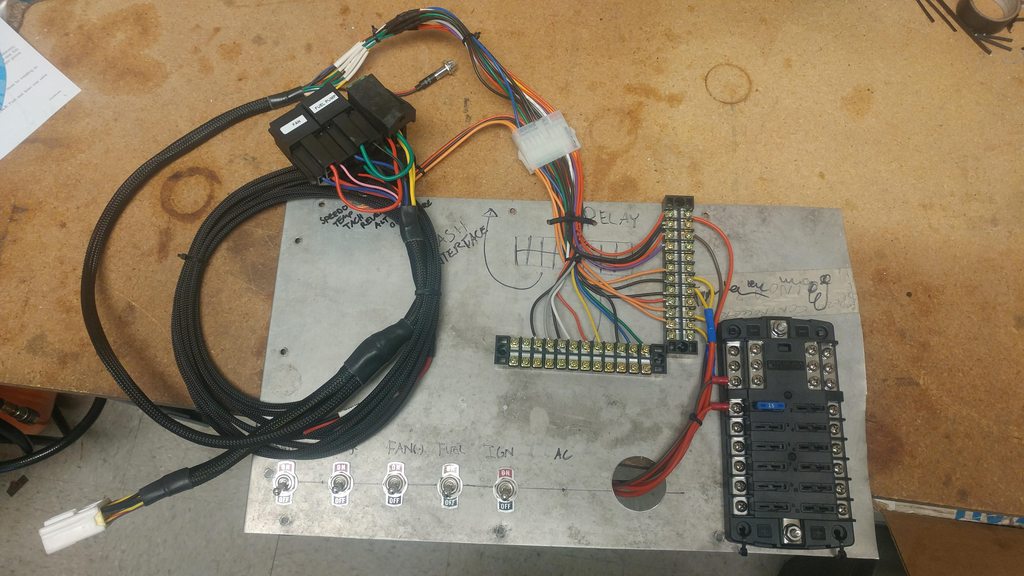 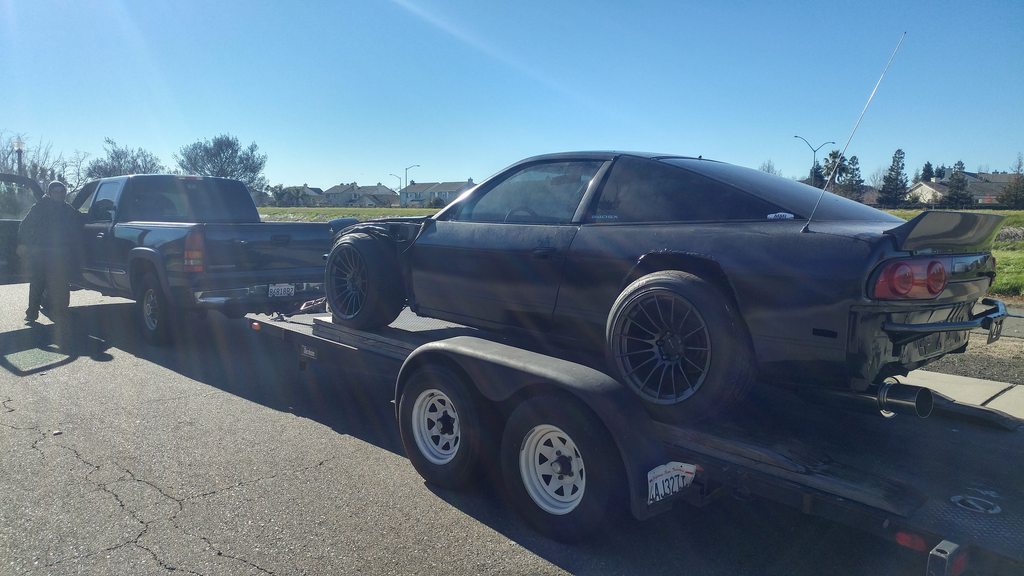 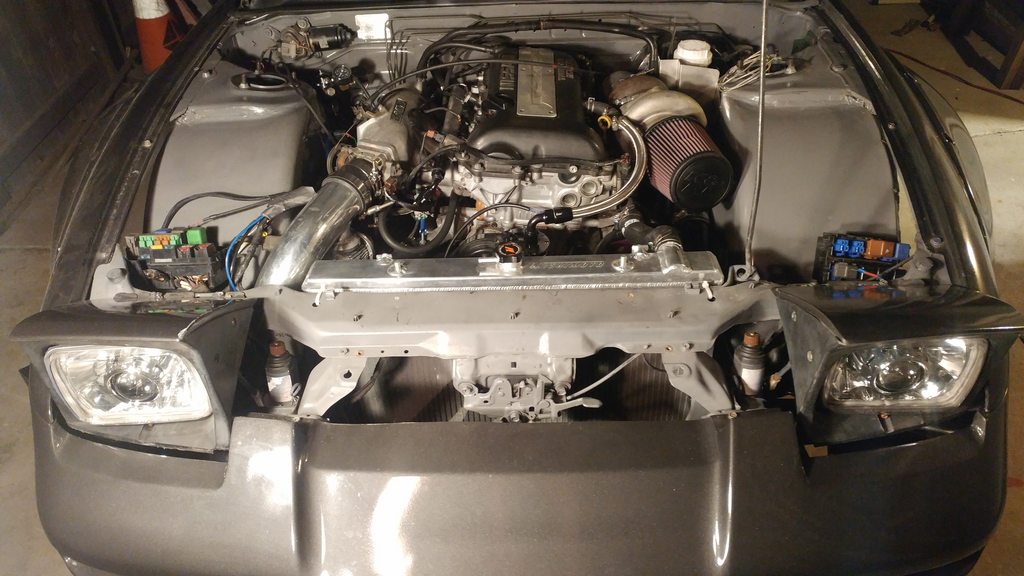 So i was battling Fuel+Ignition issues for a while, i swear i tried everything. i had standalone Chassis harness/fusebox, just the bare basics(note wasnt completely done wiring.) i did this cause no dash, and i suspected the chassis harness was mess up somewhere and screw wire gremlins. i had a 2 week mission to go to in Texas so i dropped the car off at the same shop to have them try to figure it out. dudes call me back 3 hours later. Ended up being just a bad CAS. wasnt sending Injector signals to the ecu or ignition signals for the coil packs. Just my luck, i swapped it out with another CAS that i had laying around and turns out both of em were bad lmao.  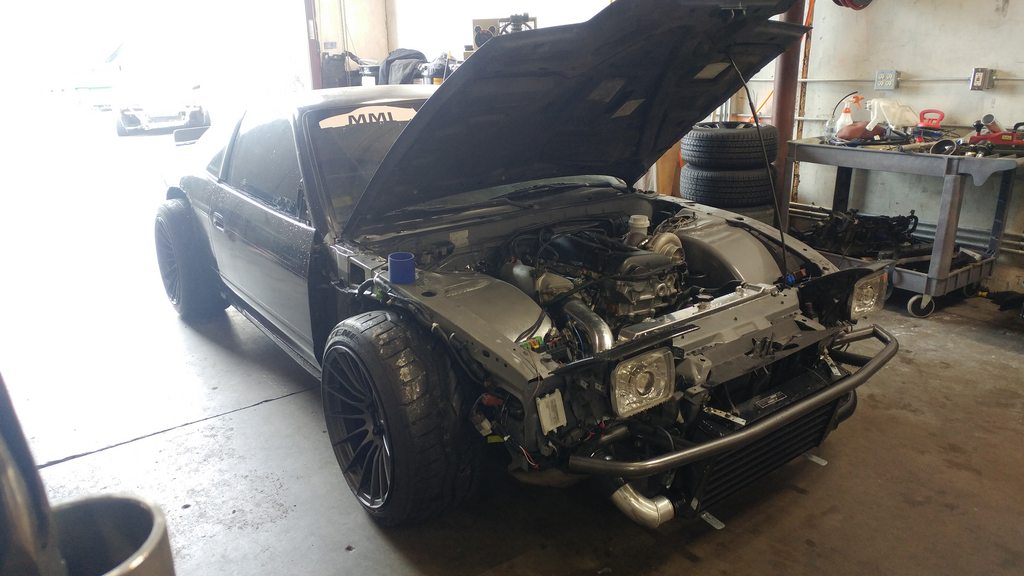 With the car dropped off, i also had them build me up a cold side fmic piping, install new diff,(went with a J30) and new axles, and install driveshaft too, just cause it was the simple shiz and i want it to be ready by the time i came back from my mission, along with an alignment. First start up, No tune, Super Rich, Hand tight exhaust, No interior, checking for leaks.  //END STAGE 2 /////// \\\\\\\ STAGE 3 /// On it's own Judgement Day This is where i bounce around a bit not in sequence but to catch up my readers. To compliment my Front 6 piston Brembos, i went ahead and upgraded the rears, i actually had just 6 pistons upfront and s13 single pistons in the rear for a bit, i drove it to a local car meet down the block from me and i actually straight locked up the brakes. lol. Anyways,  S13 Rotor, meet 370z Track Rotor  Eximious caliper Brackets, 2015 Camaro SS Rear Caliper, Honda Civic Brake lines LOL. THe calipers were cheap, like 250ish brand new on eBay. didnt even bother repainting or powdercoating em. WIth these rotors, i was able to convert over to z32 TT Hubs, and utilizing the drums for ebrake still. 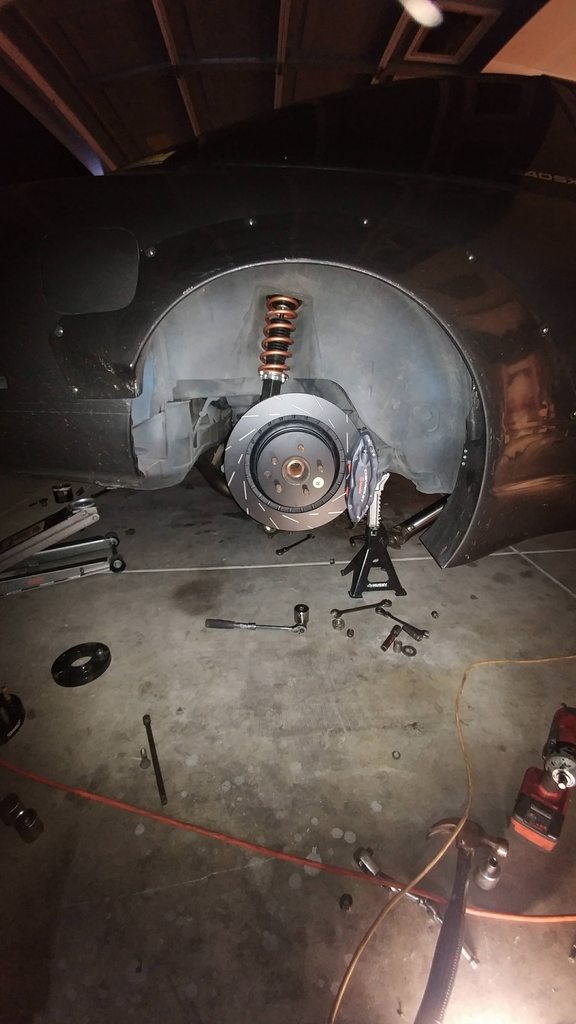 Not Fully bolted down, didnt have the right nuts lol, just mocking up and testing clearances. 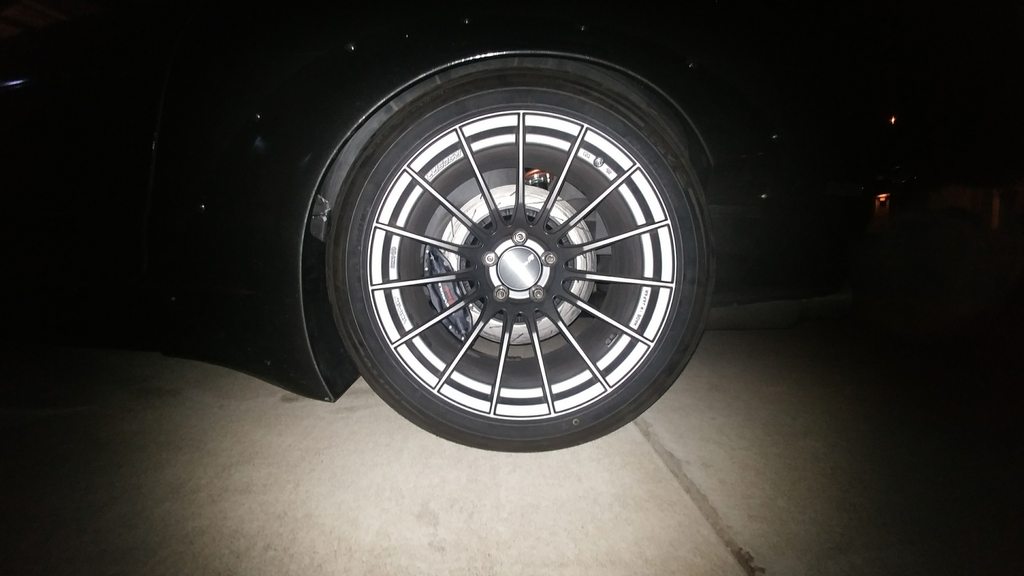 Alright, So now we have everything ready to go, after only turning the motor on 2 times, checking for leaks, fixing oil leaks, rerouting vacuum diagrams, we're ready to finally get it to move on its own, under its own power! I tell u, such a nerve racking day, i took the day off from work. lol  Note: i only drove it out form the side yard cause i couldnt get it over the bolted down 240 in front of it on my own lmao. its on stock tune with APEX'i PFC D Jentro. NO TUNE, if it idled for 5 minutes or so, the engine would just flood itself and faul the plugs. I loaded it onto a trailer lol. 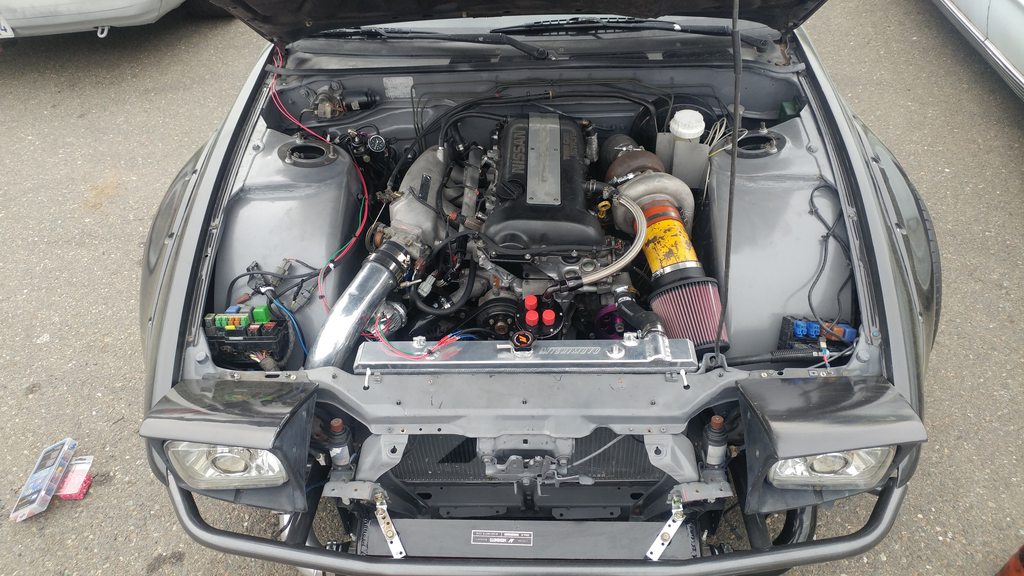 Basically how it sat for just a road tune tp break it in. 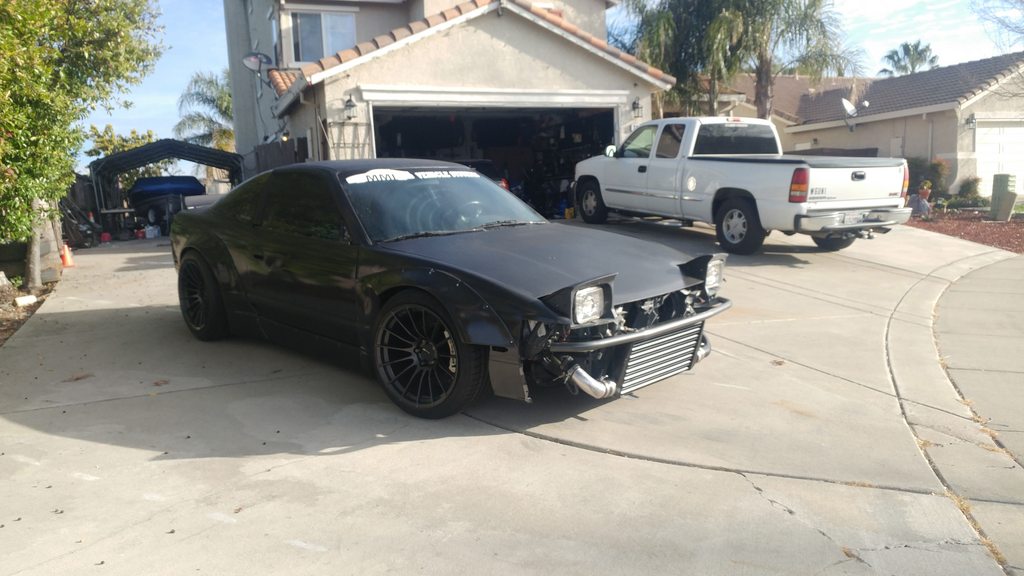 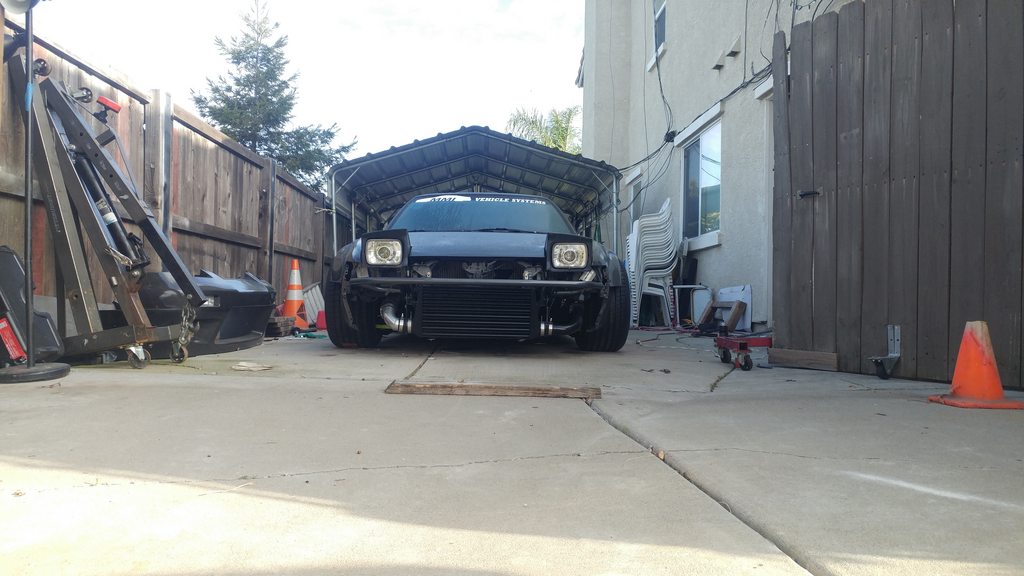 Sitting Pretty for the local tuner to come by and work his magic. i ran over to the DMV to pick ups plates and tags. Also installed the side mirrors so i wouldnt get pulled over for little shiz while road tuning. 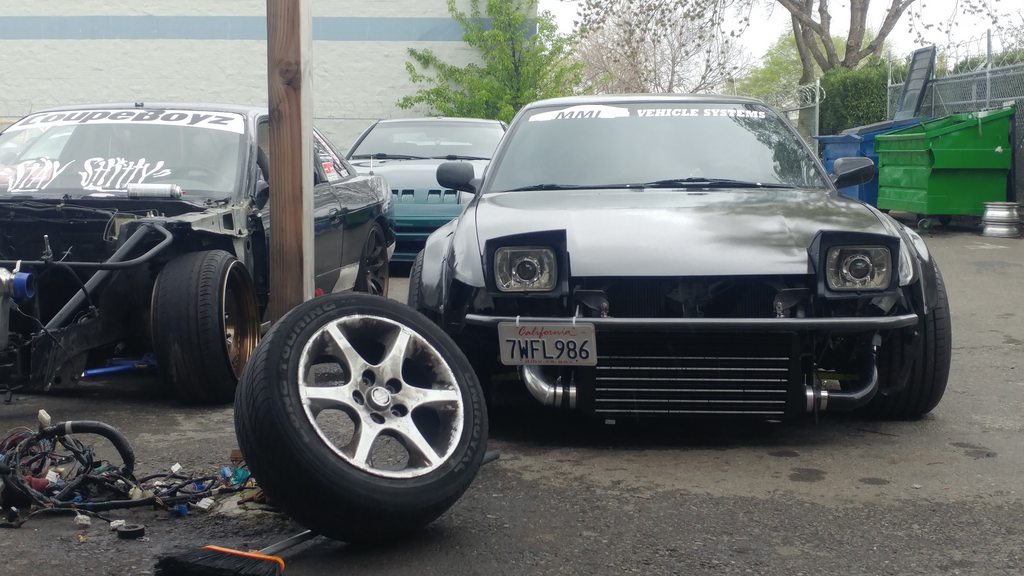 Success! The car was now road worthy! Drove the car over from the shop to my work place! such a sweet moment. NOTE: IF youve made it this far, give yourself a round of applause, cause this is a sh*t ton of reading LOL. Keep in mind, This thing is still gutted on the inside, but for now enjoy some more pics. 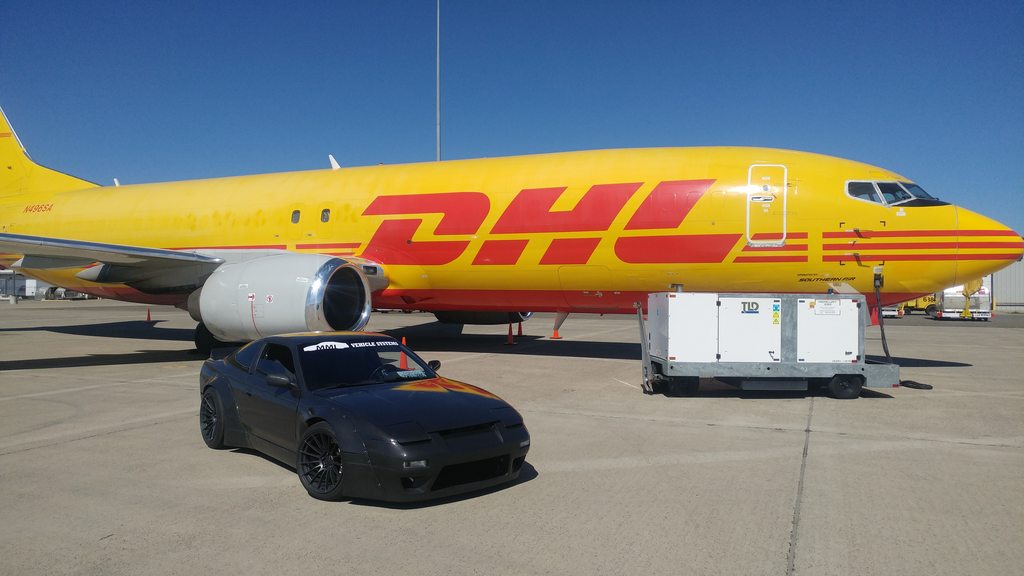 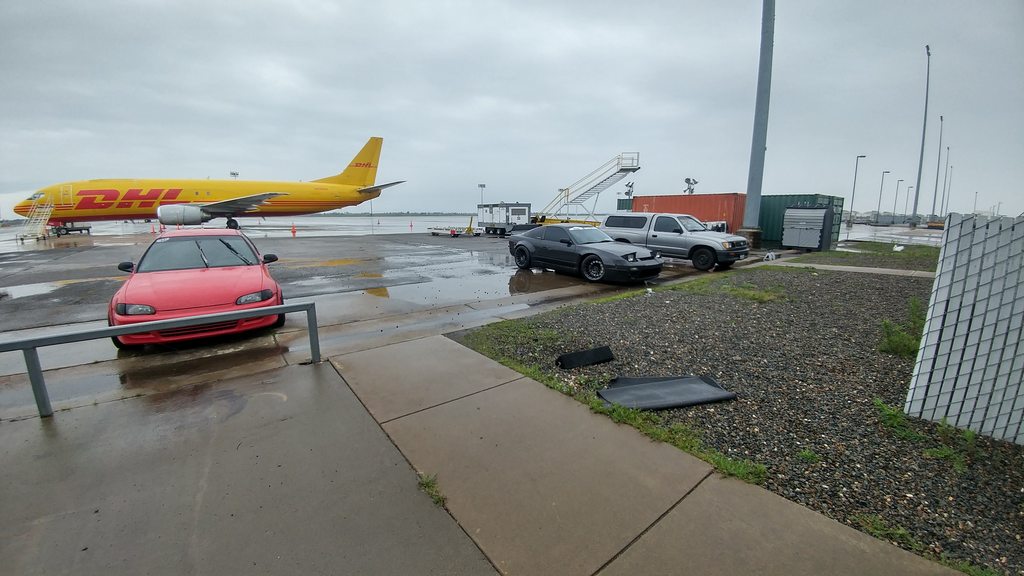 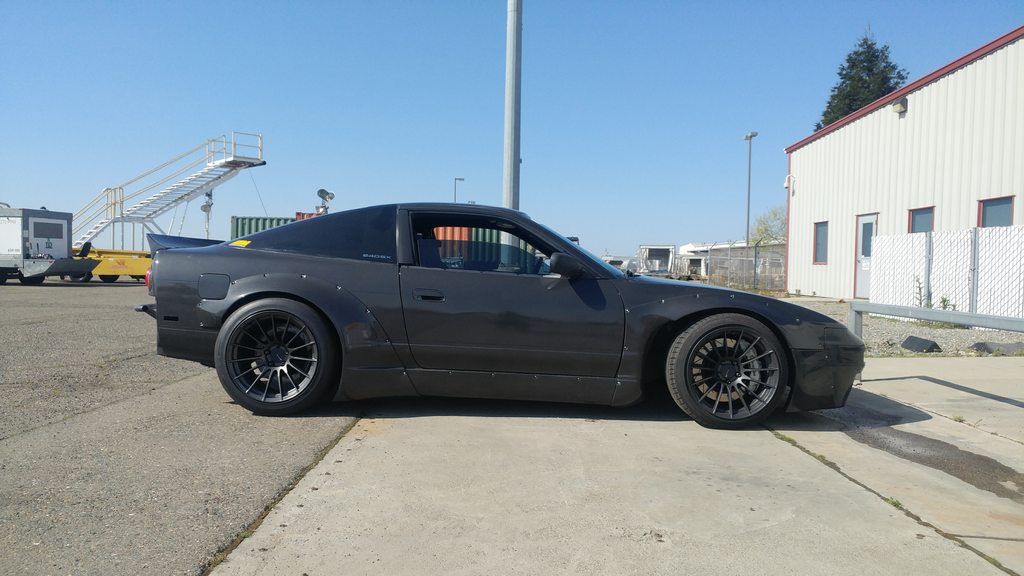 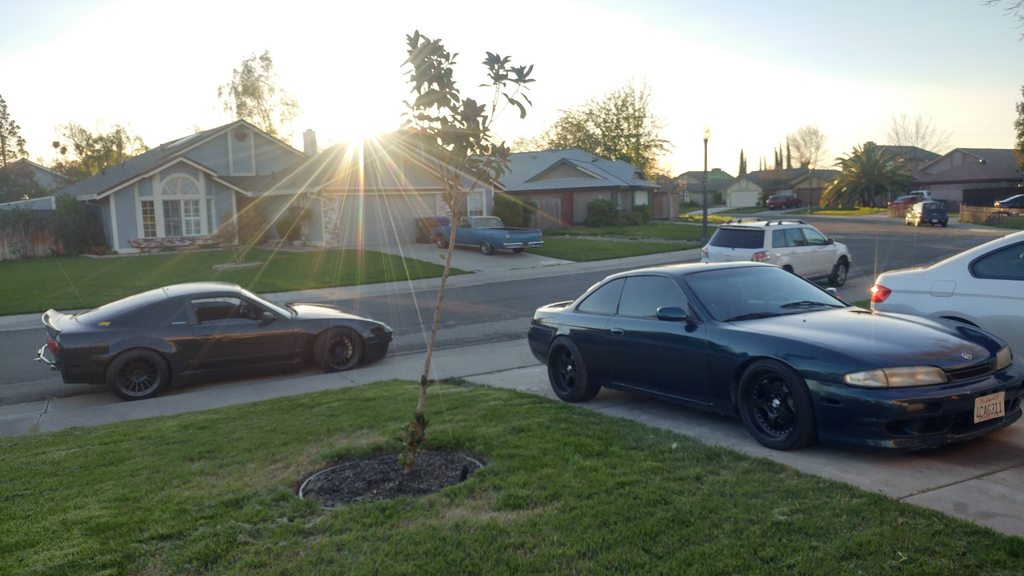 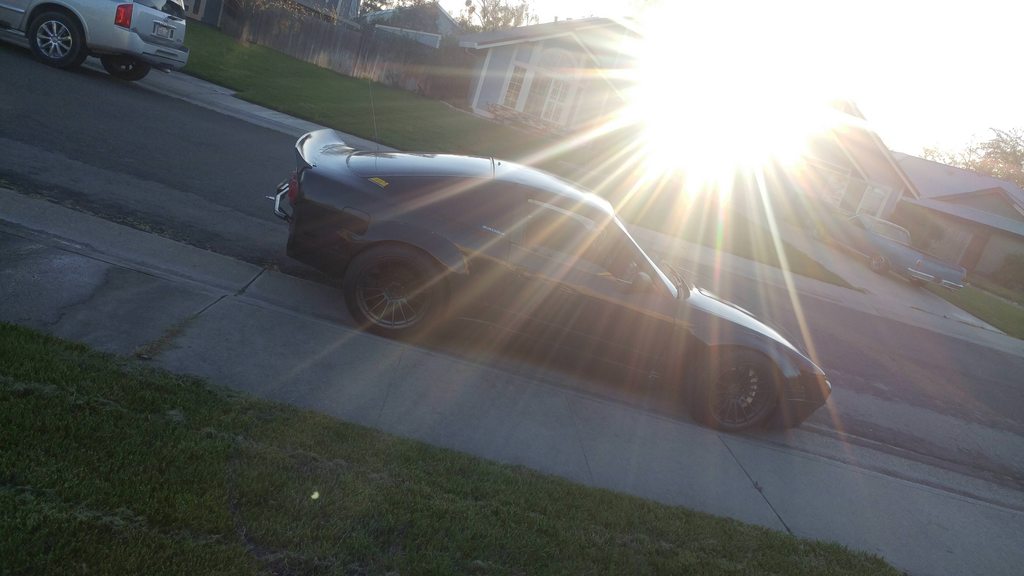 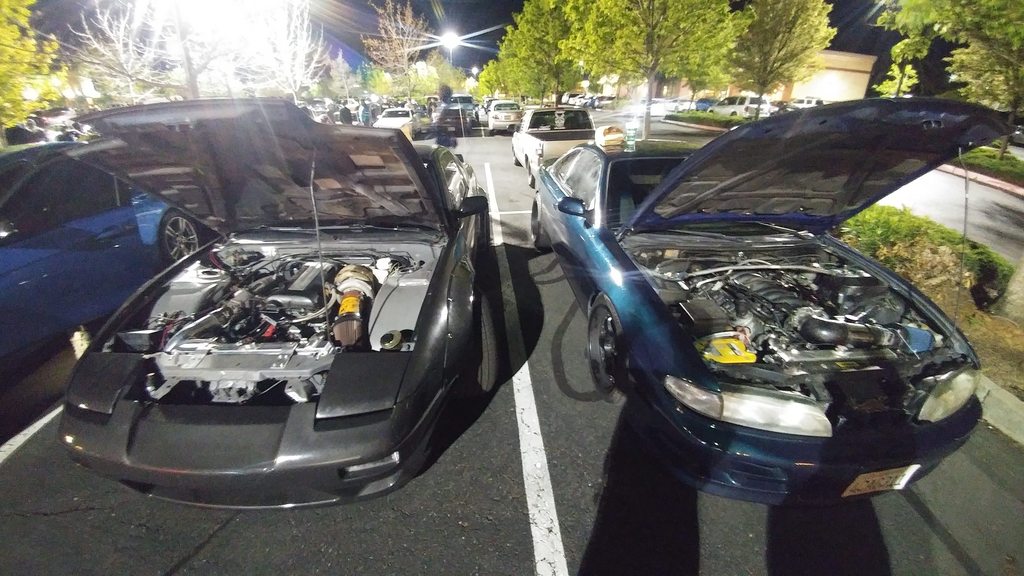  Last edited by djtoonjr; 12-22-2017 at 03:30 PM.. Reason: Updating with pictures |
|
|

|
|
|
#3 |
|
Leaky Injector
 Join Date: Feb 2016
Location: Sacramento CA
Age: 27
Posts: 112
Trader Rating: (2)
 Feedback Score: 2 reviews
|
The interior went through some rough stages. 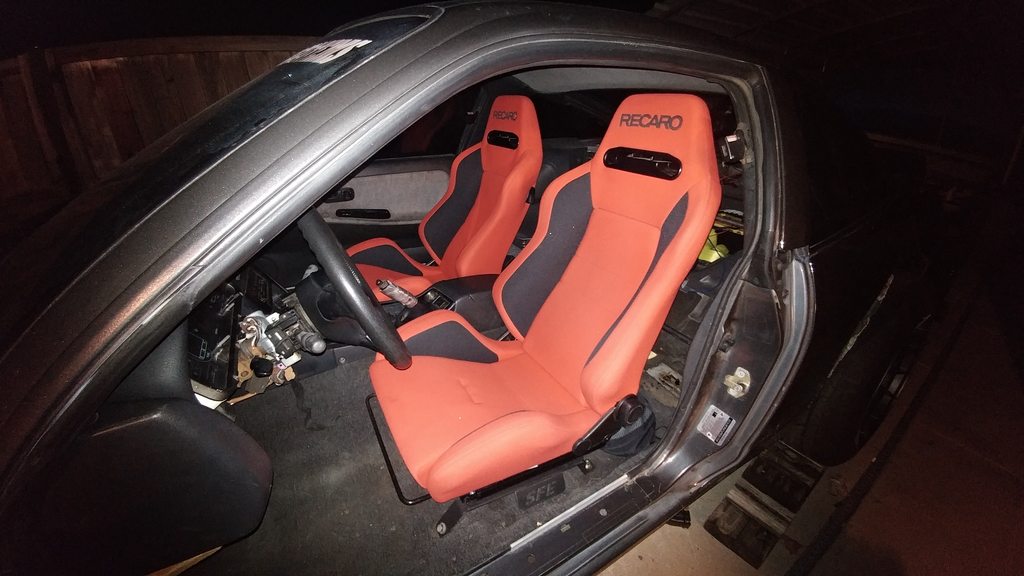 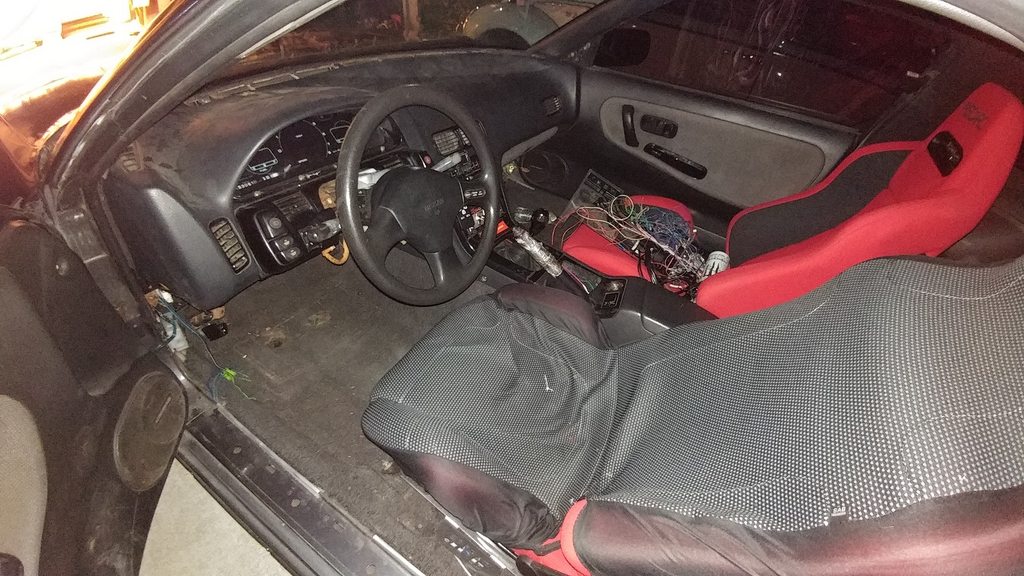 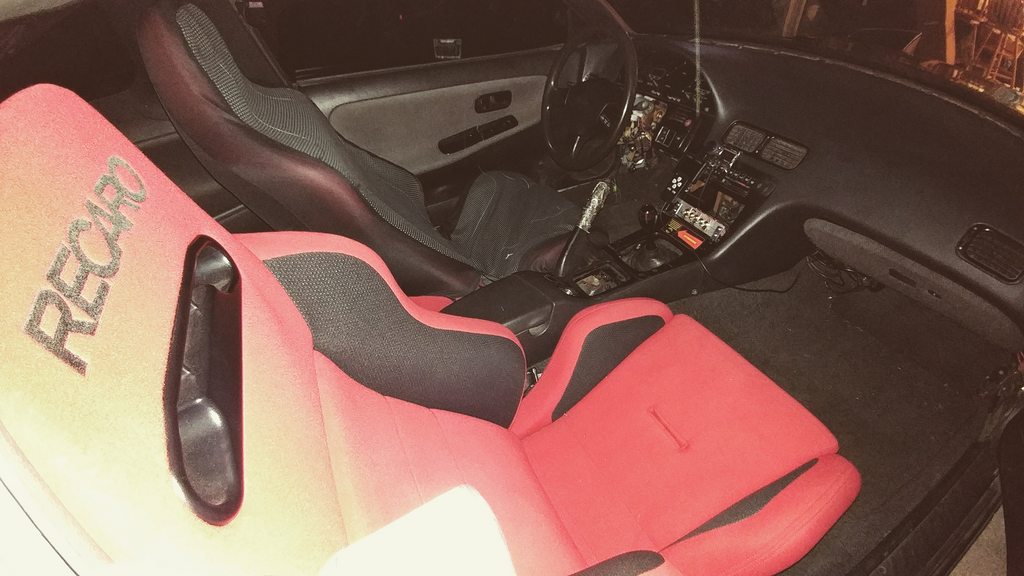 Did i mention that i went with an NX1600 Cluster!? ProSport Fuel Pressure gauge <<<<< >>>>> AEM AFR APEX'i PFC Commmander, Greddy OLED Boost Controller 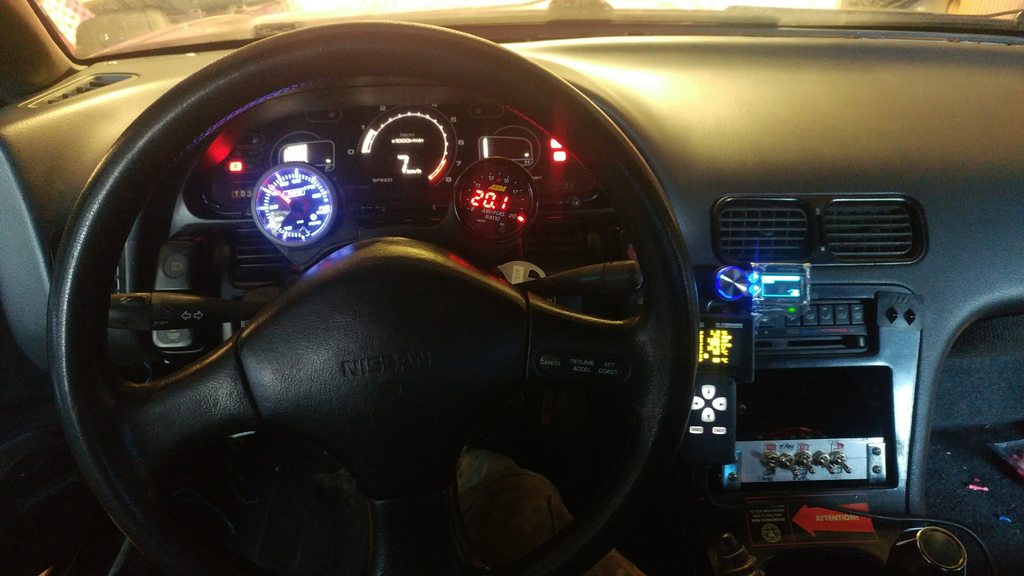 I didnt have a radio, so i made a small switch board to control my Gauges, Fans, Starter cause ignition cylinder was acting up, fuel pump, etc.  Coming together 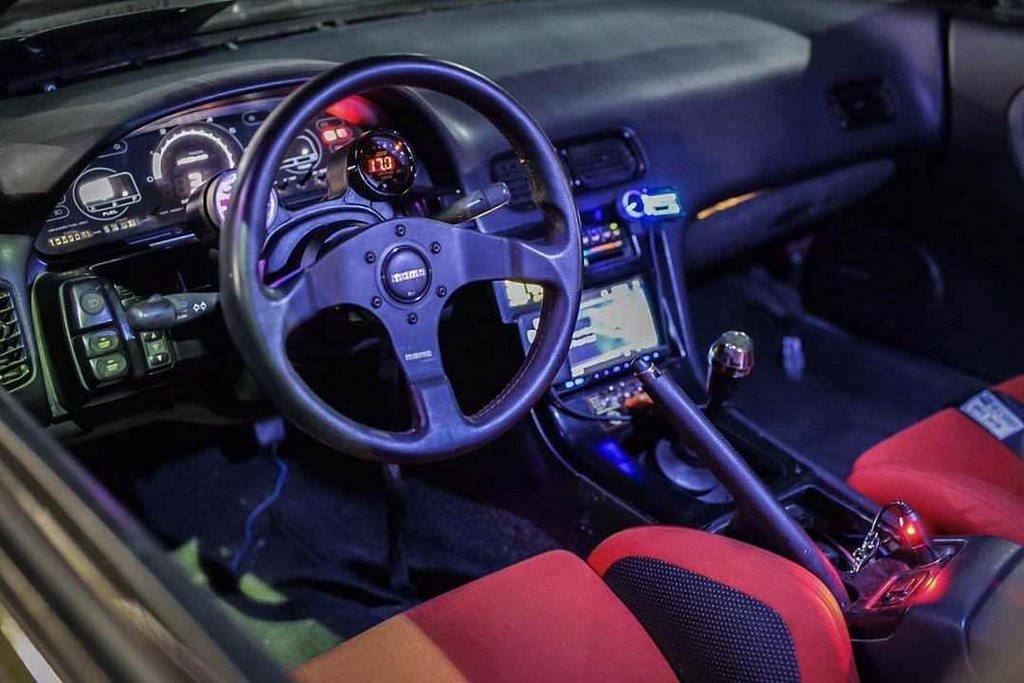 And here we have the finished product! 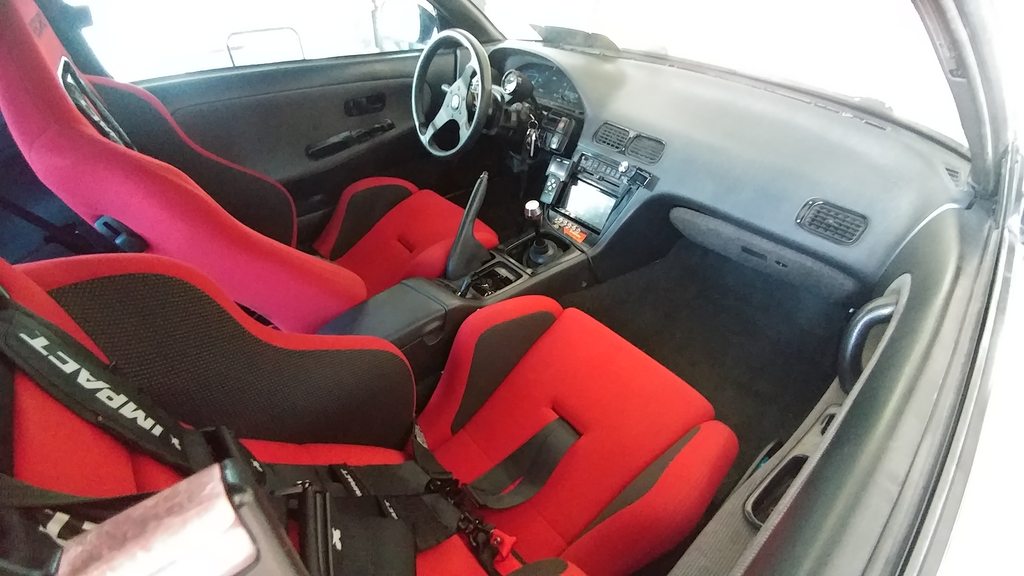 \\\\\\ End Stage 3 ////// Stage 4 //// Retain Dailyness This part is basically just finally driving it around after 7 months of building it. Local carmmets, new girlfriends house, best friends house, at work, breaking shit. Enjoy fams! Attending my sponsors BBQ, yeah im the only Nissan in a huge BMW community LMAO  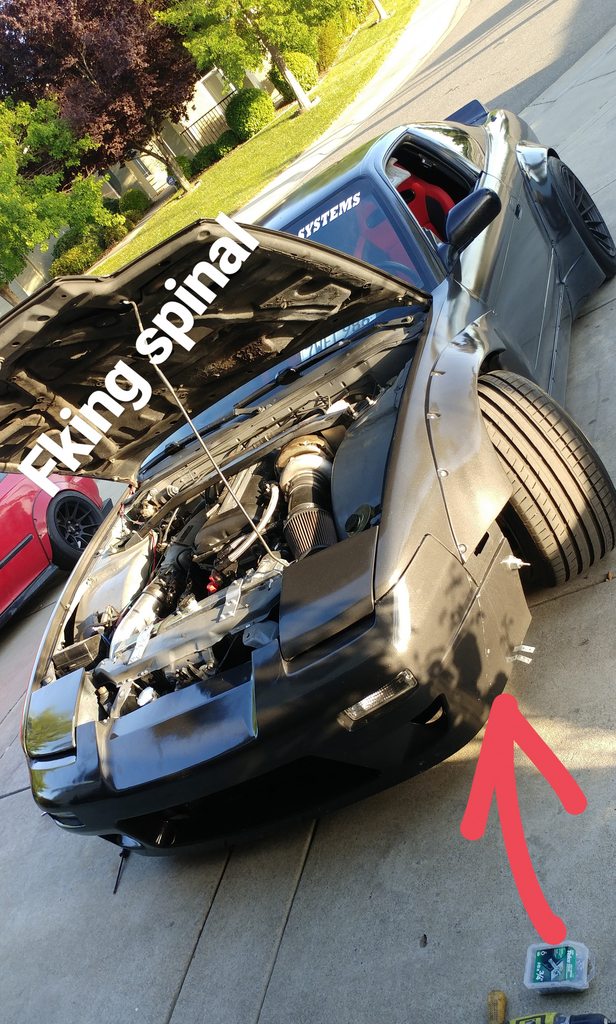 I FKING LOST THIS PIECE THE FIRST DAY OF DRIVING FAMS! 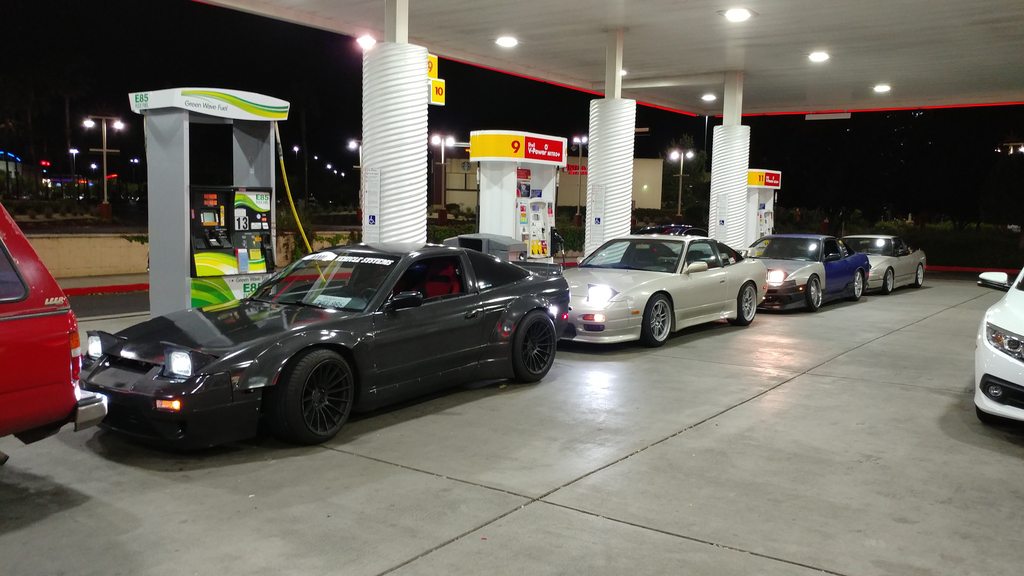 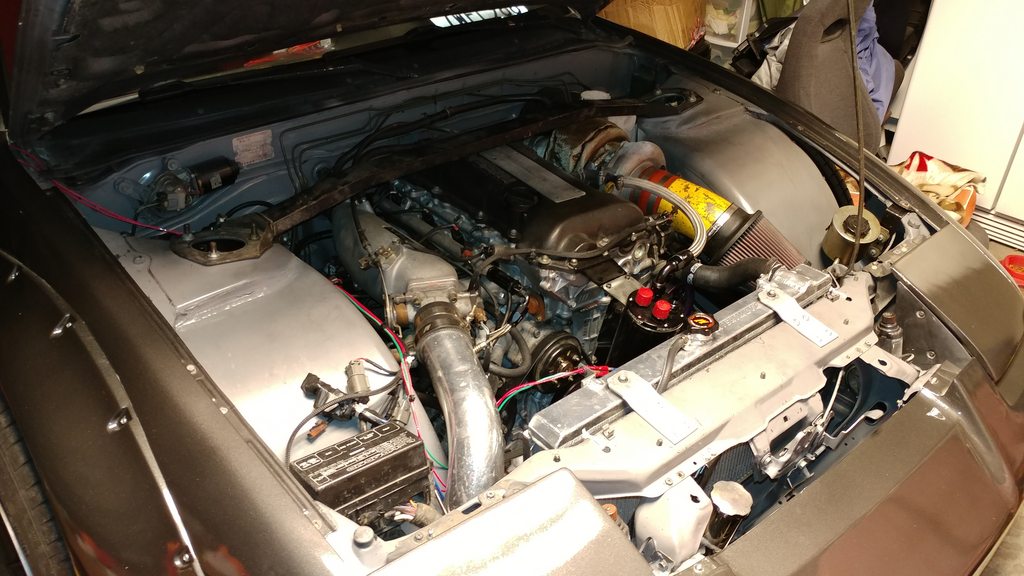 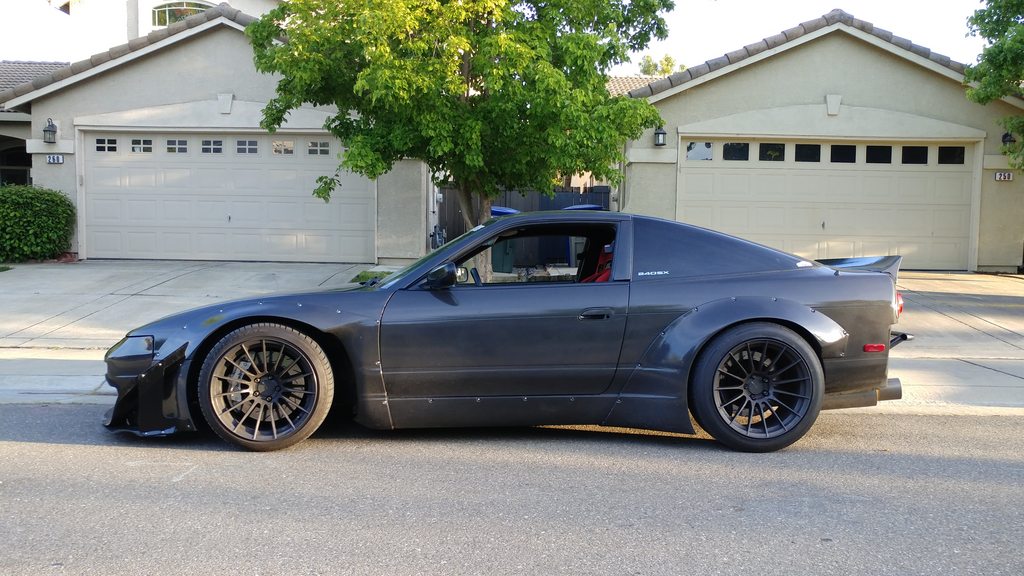 had time to add Rocket Bunnys Front splitter. 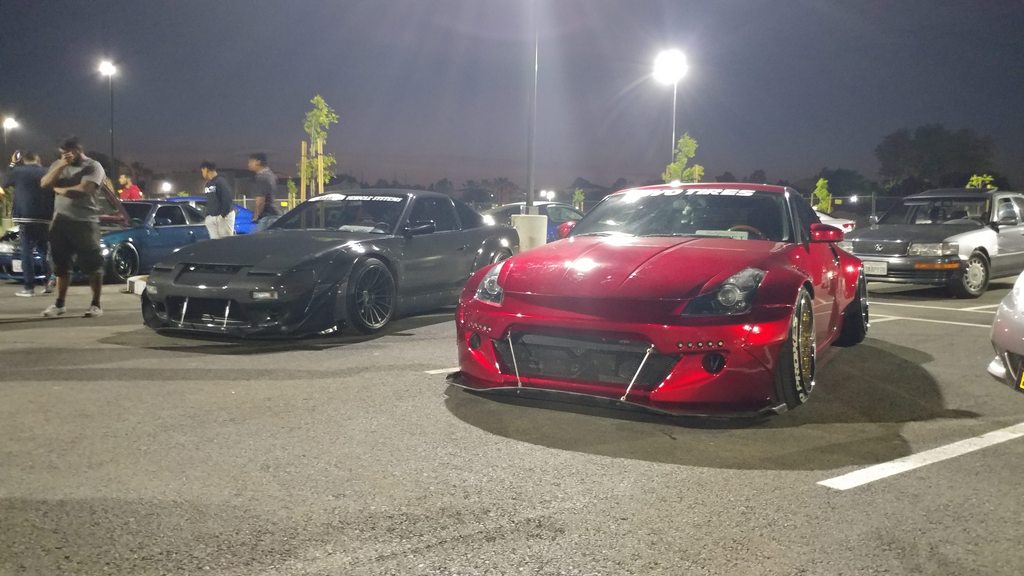 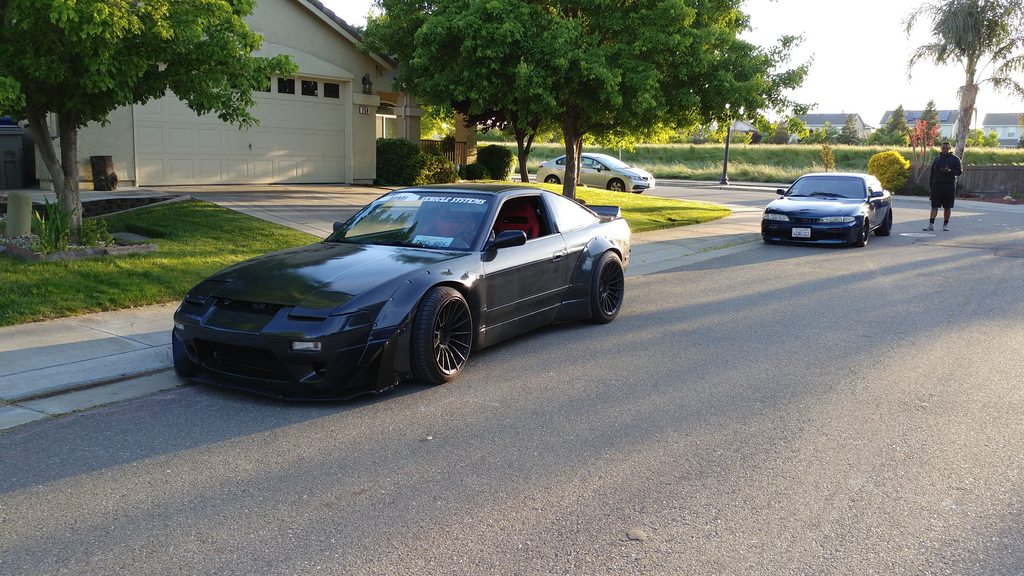 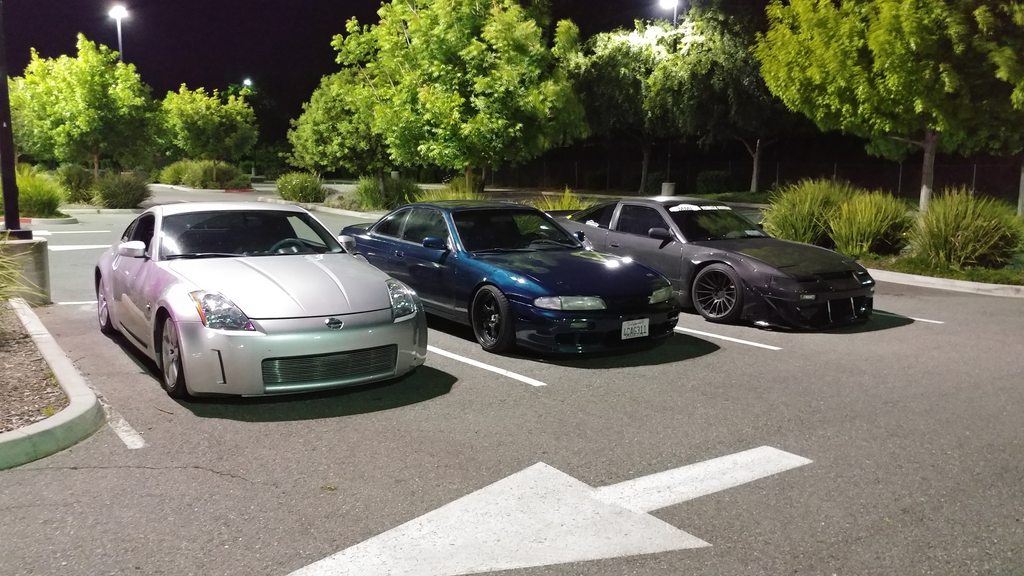 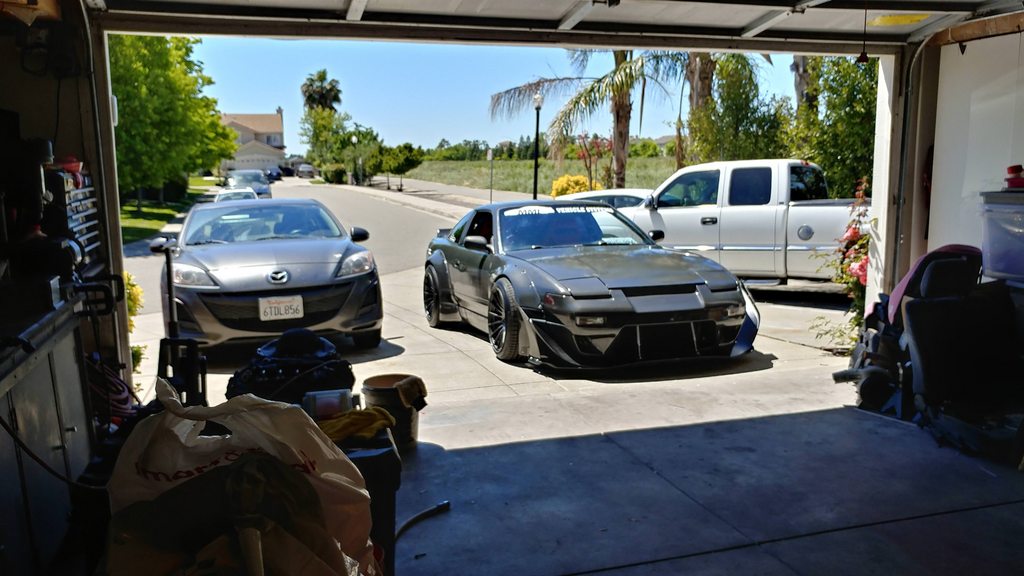 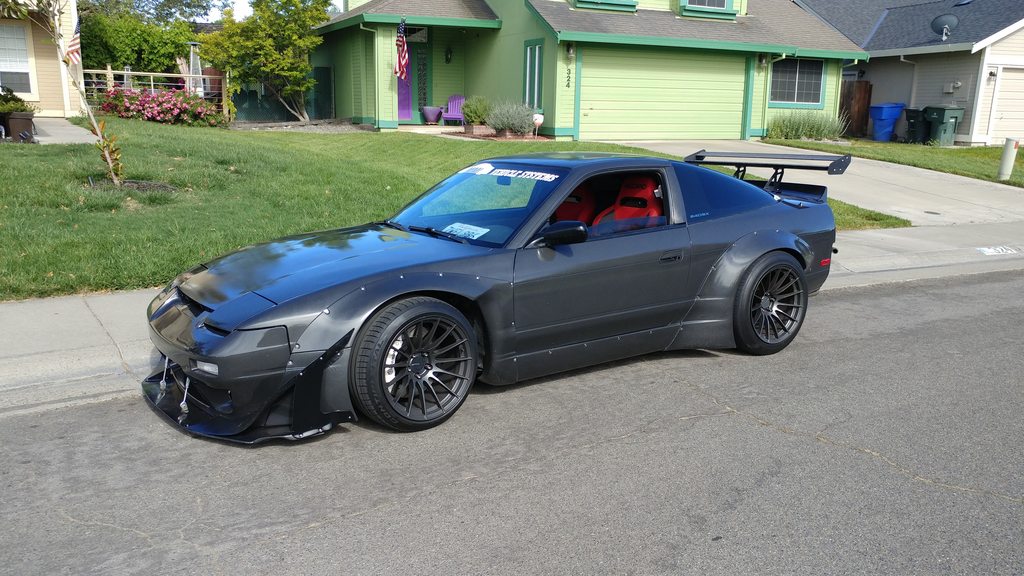 Check out the spoiler tho! LOL 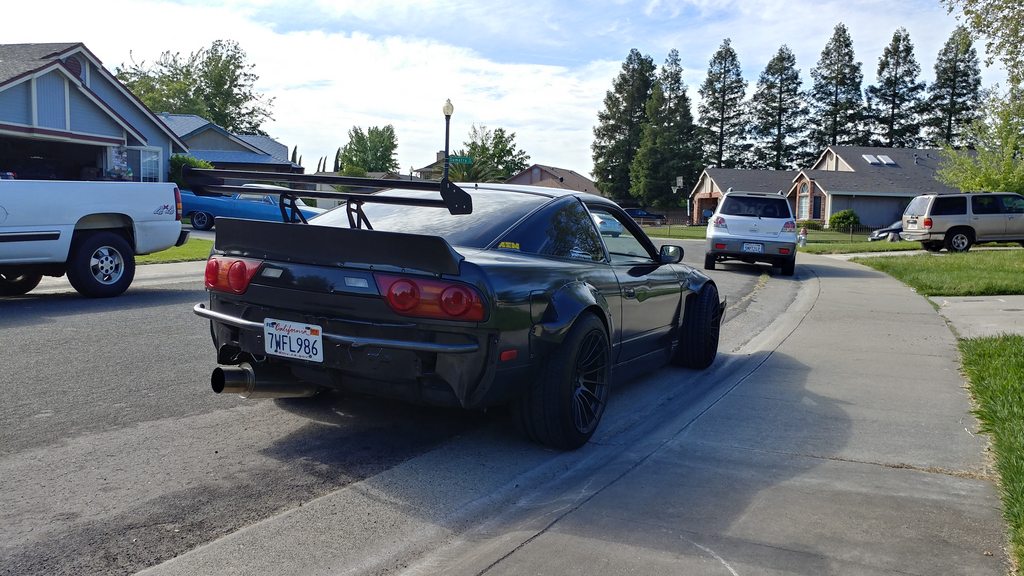 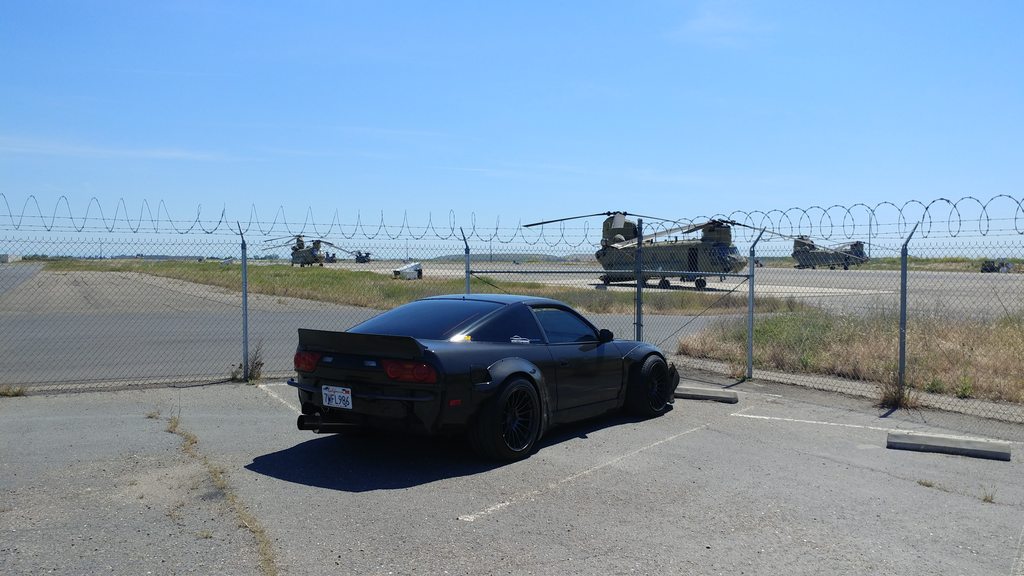 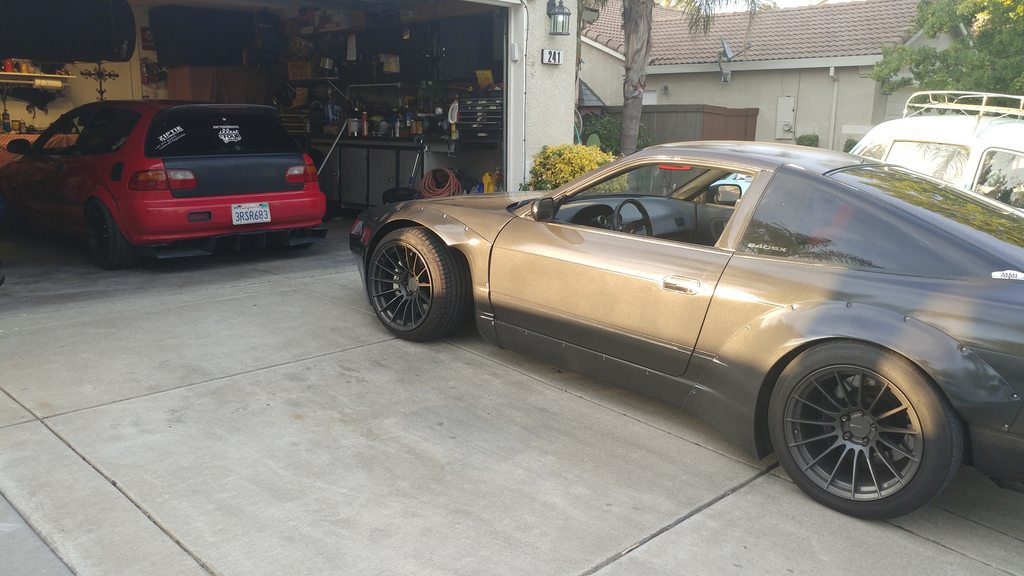 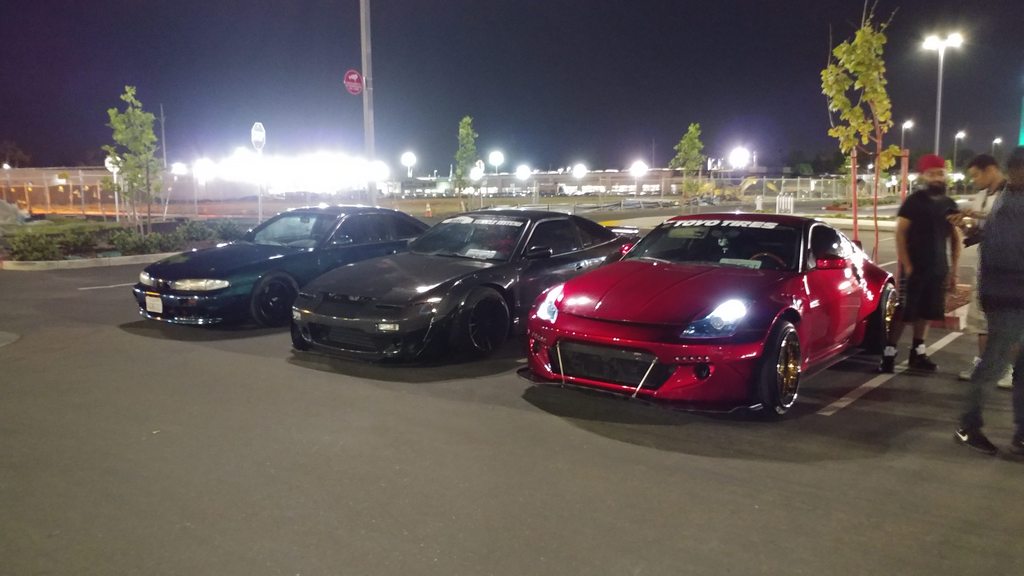 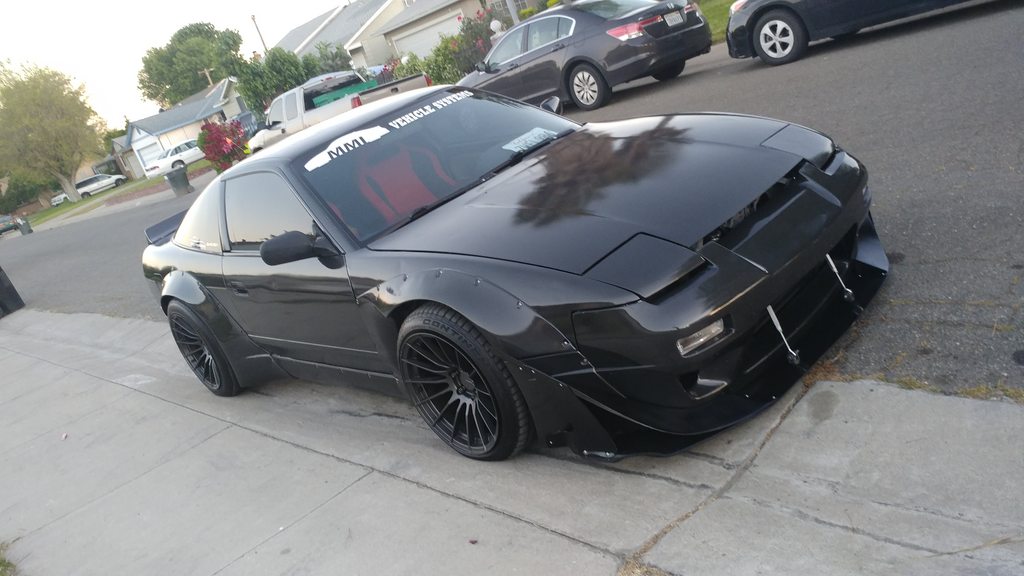  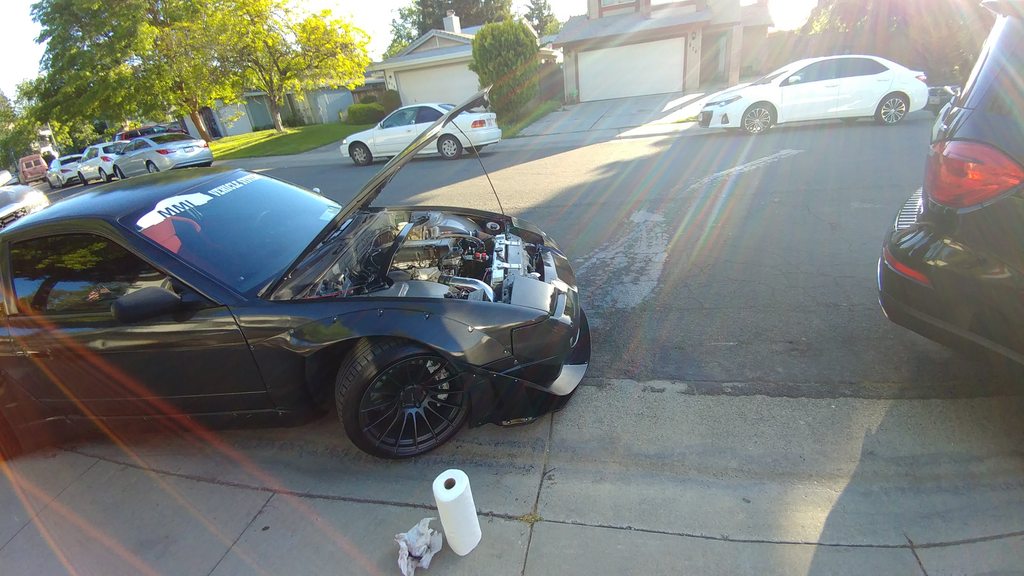 Power Steering line blew on me.... 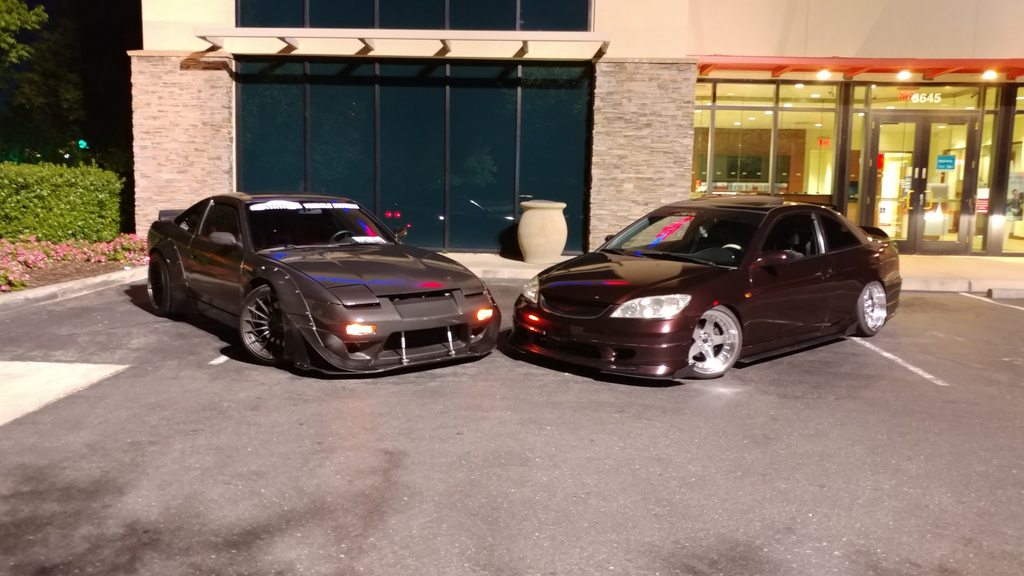 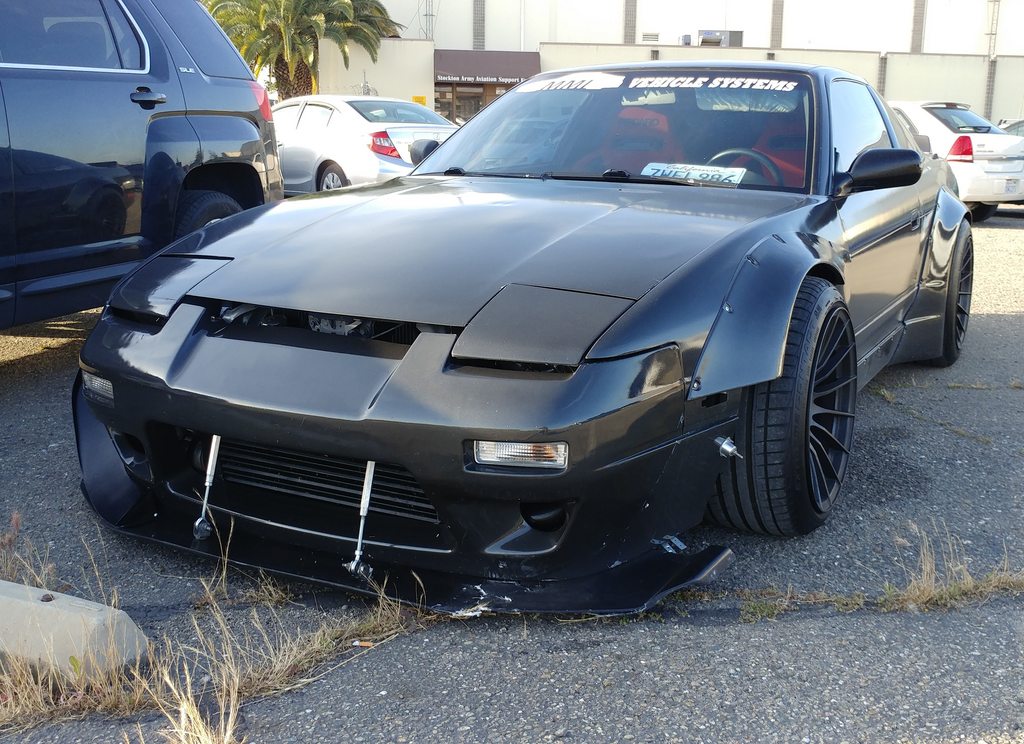 California Highways SUCK. SAME DAMN SIDE lol 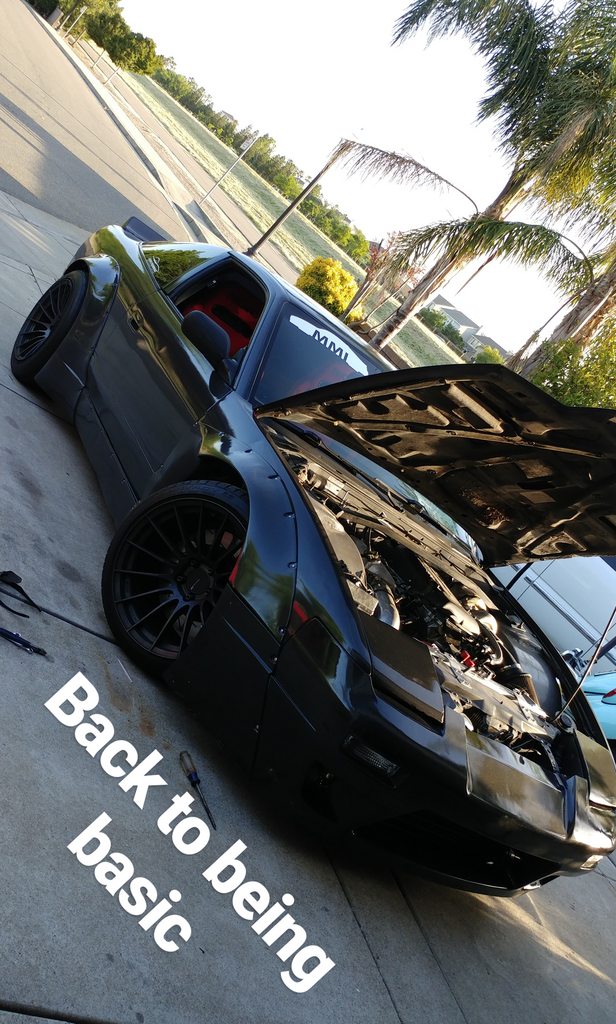 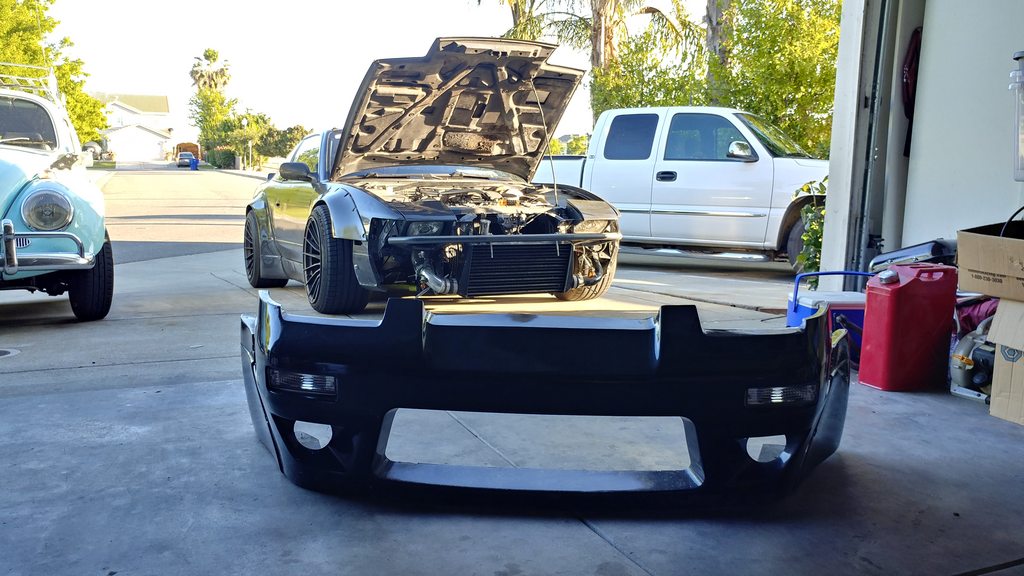 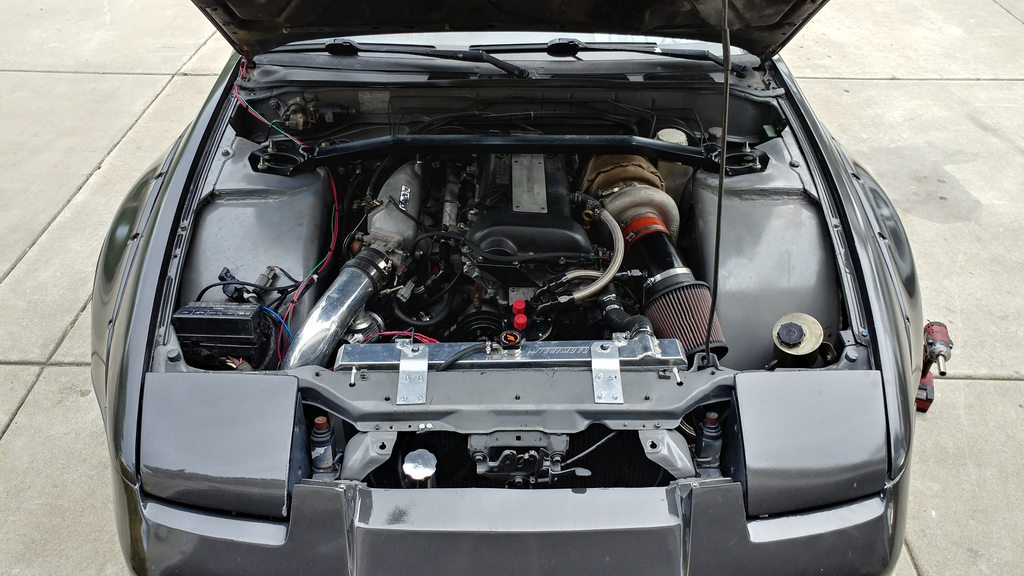 \\\\\\ End Stage 4 ////// ~~~~~~~~~~~~~~~~~~~~~~~~~~~~~~~~ Stage 5 ///// Track Day Its fun driving this beast on the streets daily. Theres no other feeling. Smiles per mile. But now was the time to push it and learn its strengths and weaknesses for sure. To start things off, we're gonna need to strip this baby down again and give it some freshness.  My moms like, Really Danny!? Really? Again? storms off inside lmao. 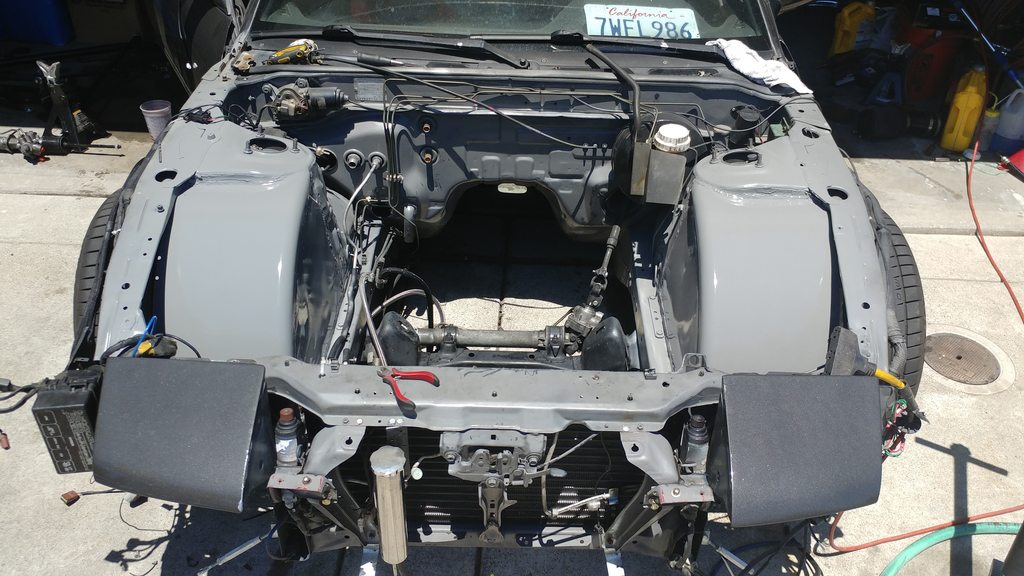 Cleaned up the engine bay once again, started to add heat protection to brake components and tucking wires, relocationg engine harness, fixing some leaks again, etc.  Monster trucking. if only it was AWD, this thing would be a beast, r32 Drivetrain swap in the future? 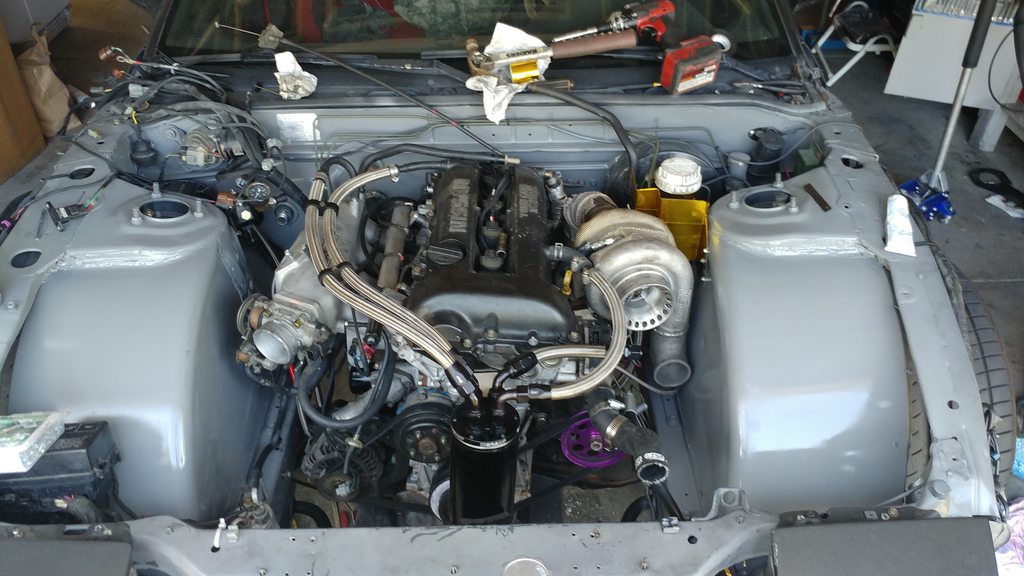 Catch Can finalized, with check valves. 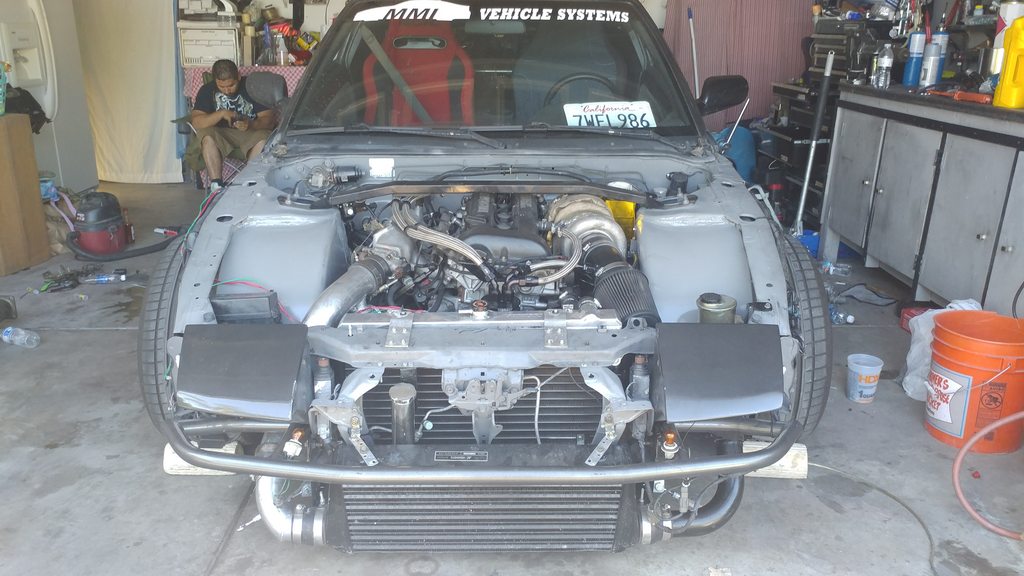 Put back together, 2 day task really, prepping for A?C as well. 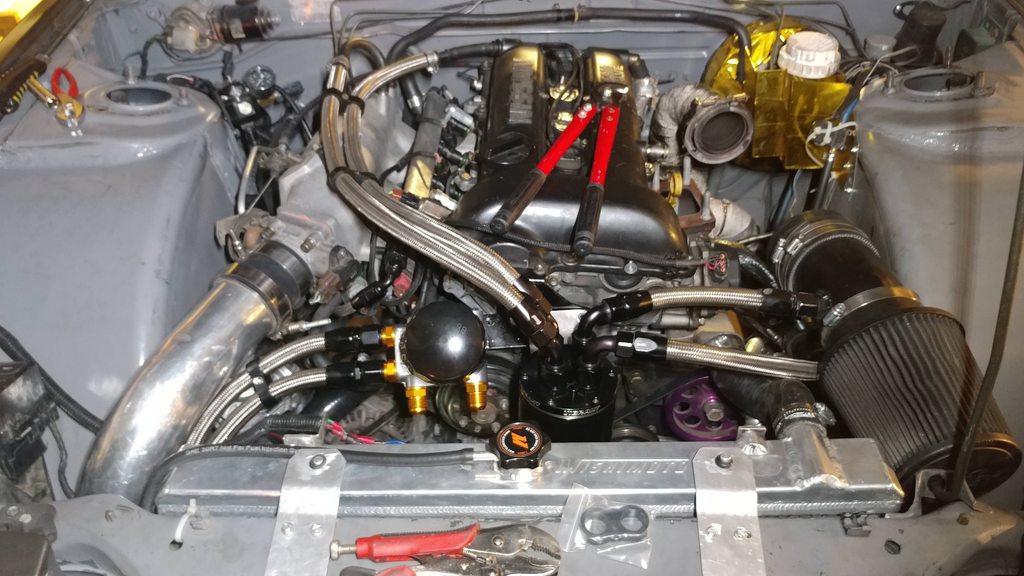 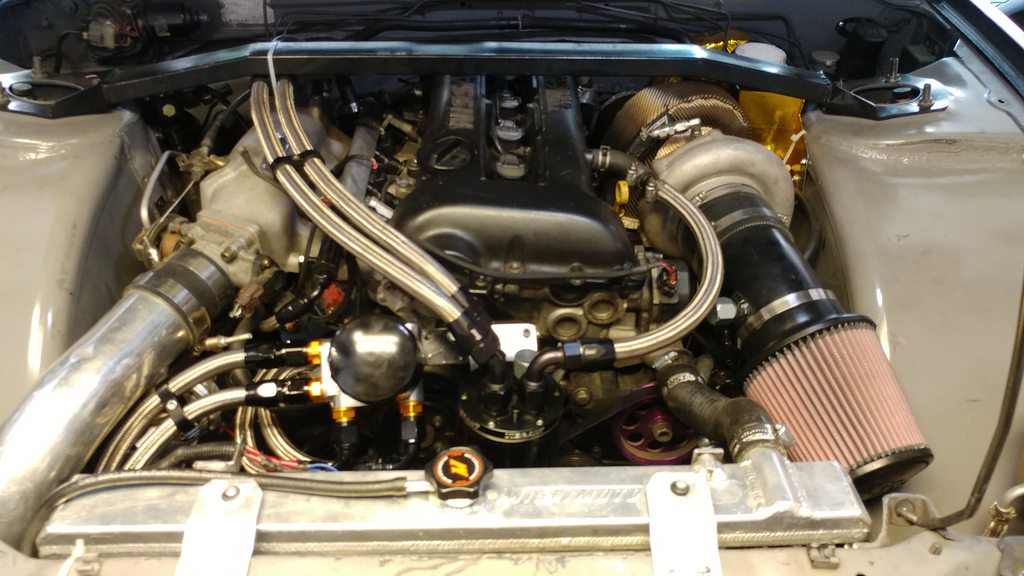 Finally ran the Oil Cooler set up that i had laying around for year, literally. Fair note to everyone, dont cheap out on fittings,. THEY WILL LEAK UNDER HIGH PRESSURE. any fitting with a bend ended up costing me atleast $20 a piece! Tomei N1 Oil Block Greddy GREX Oil Filter Housing + Thermostat Mishimoto Oil Cooler Earls Line + Fittings 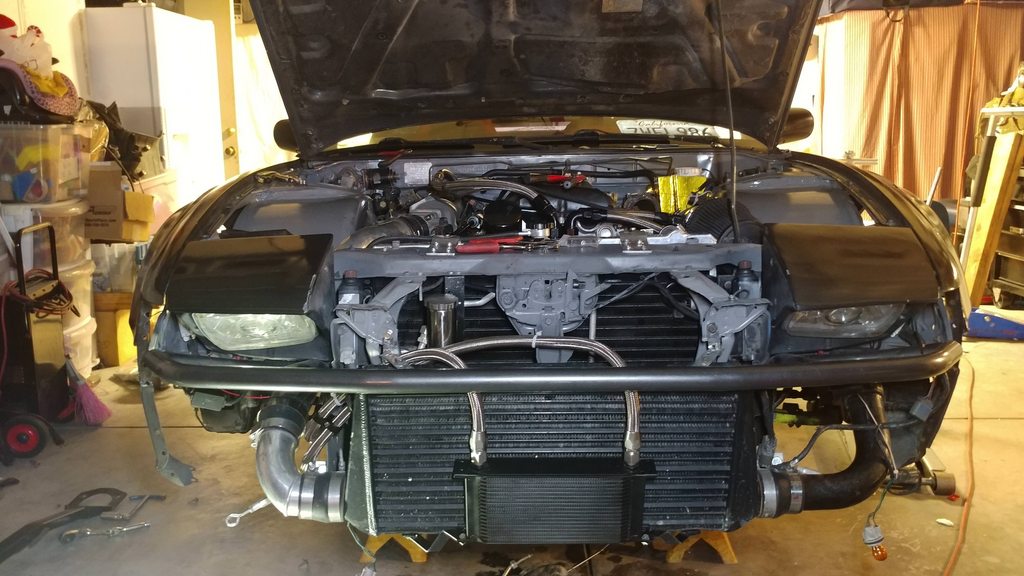 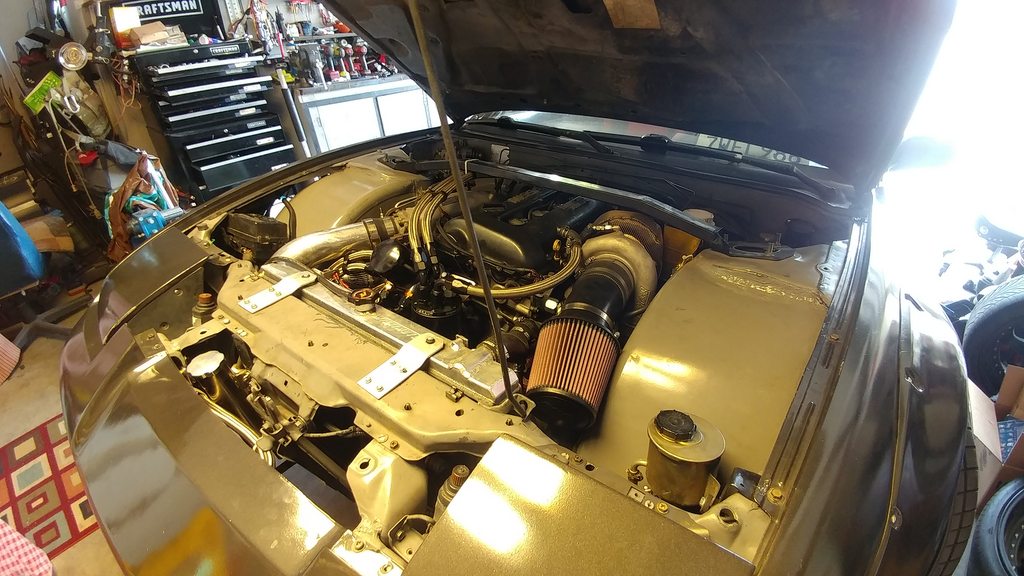 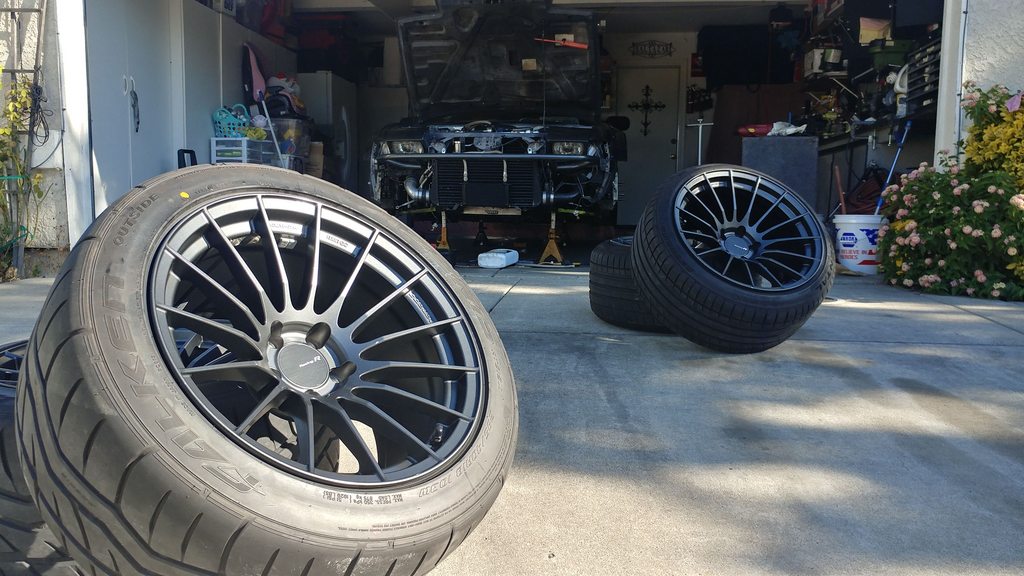 New tires mounted, also got the wheels deep cleaned and ceramic coated Falken Azenis RT-615k 295/40/18 in the rear for more sticky ness  Where she stands.  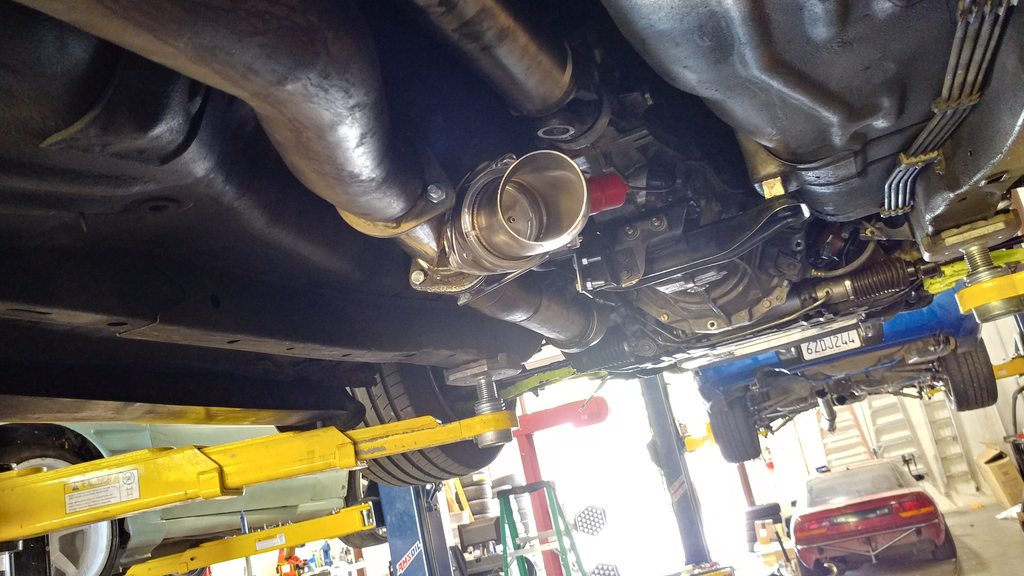 Got a decent electric e-cut out installed, HKS exhaust too quiet sometimes. lol 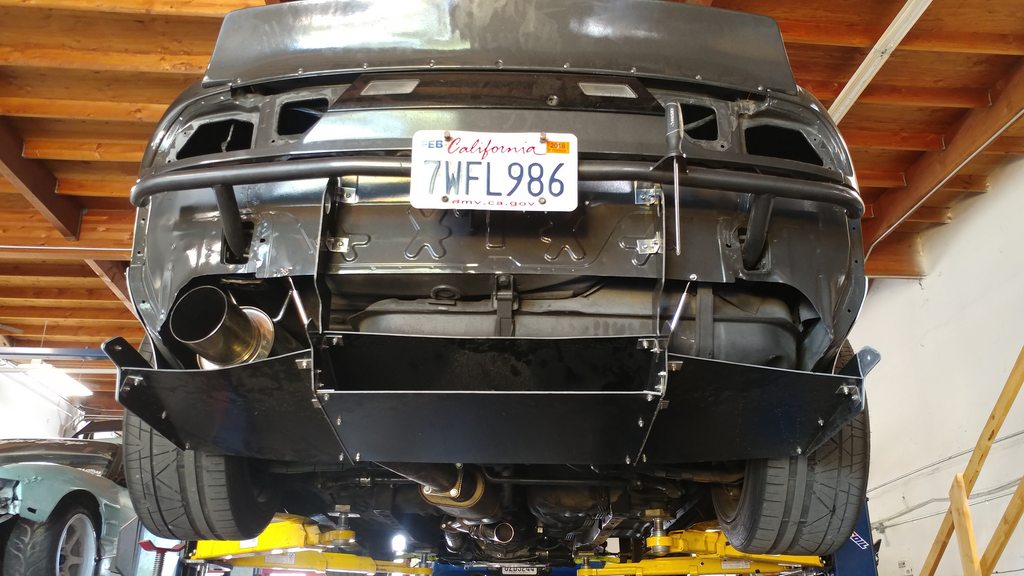 Diffuser mocked u Exhaust getting repositioned about 2 inches higher to clear it. Ended up destroying this diffuser so i ordered an aluminum one a few weeks later. 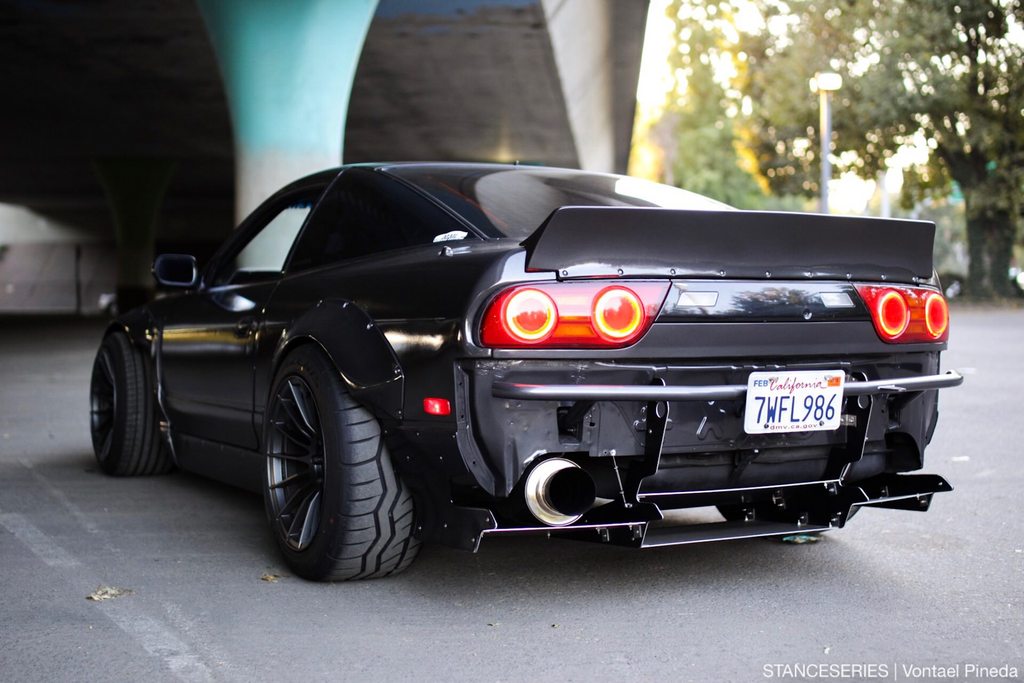 Back on the streets for a local group photoshoot! 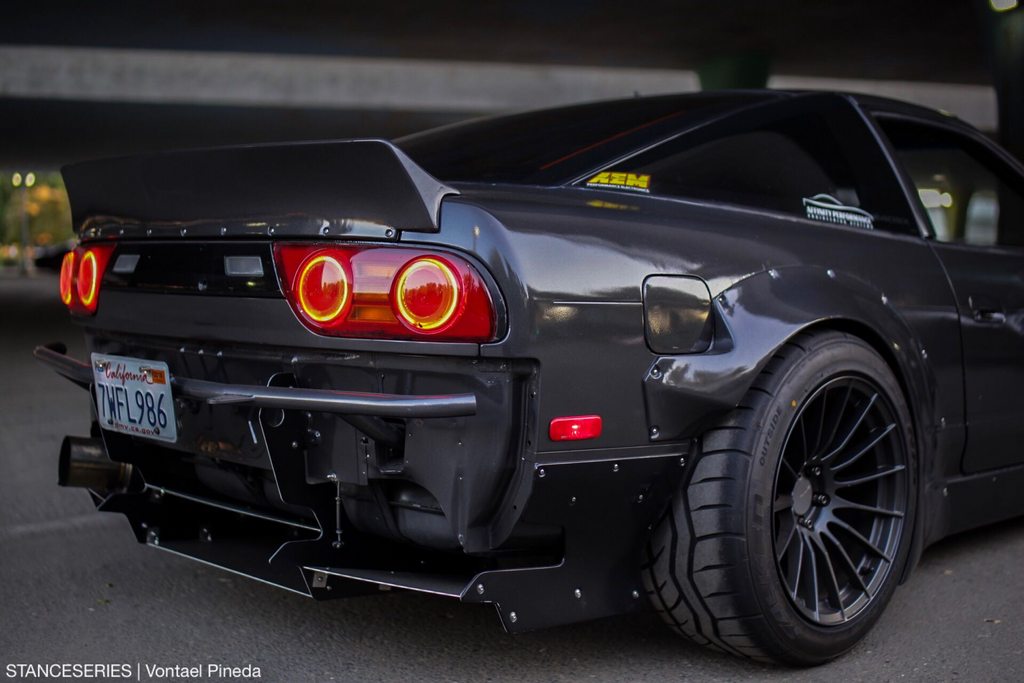 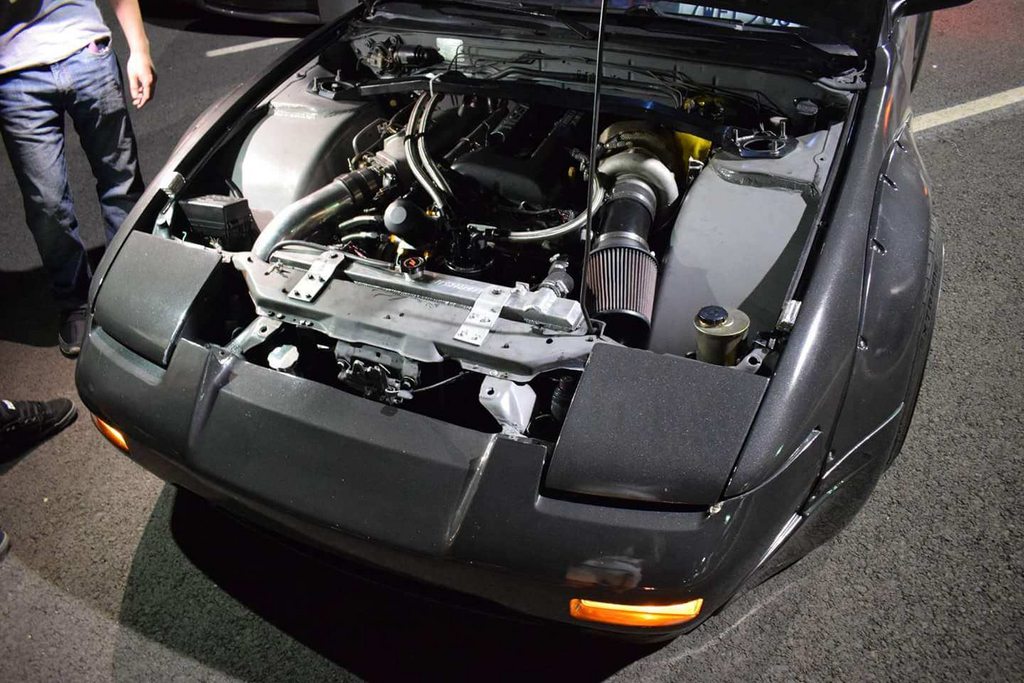 Last edited by djtoonjr; 12-22-2017 at 05:00 PM.. Reason: Added Pictures |
|
|

|
|
|
#4 |
|
Leaky Injector
 Join Date: Feb 2016
Location: Sacramento CA
Age: 27
Posts: 112
Trader Rating: (2)
 Feedback Score: 2 reviews
|
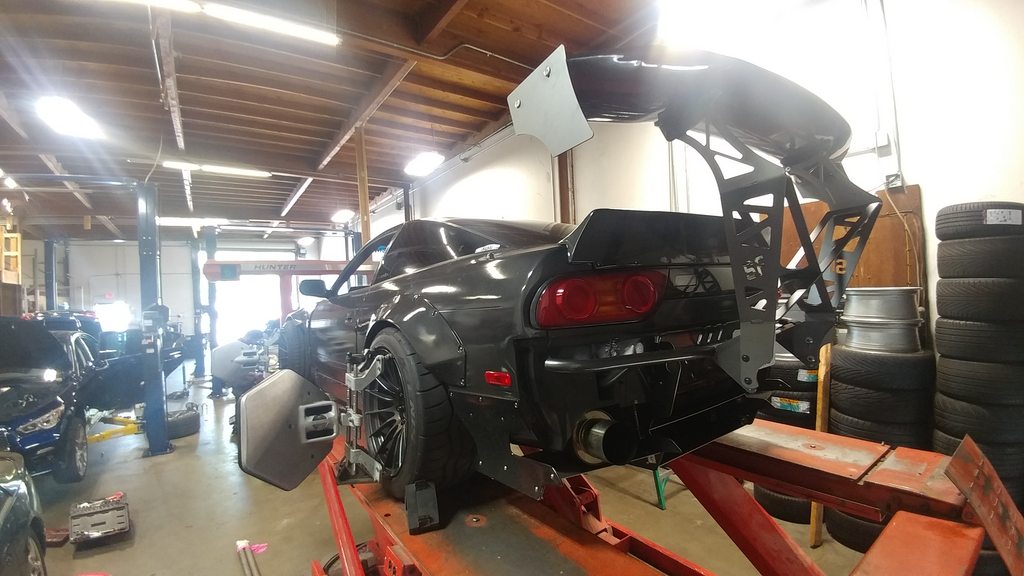 That wing thooo. Got my order from Street Faction just in time! Got the car corner balanced, and aligned for track  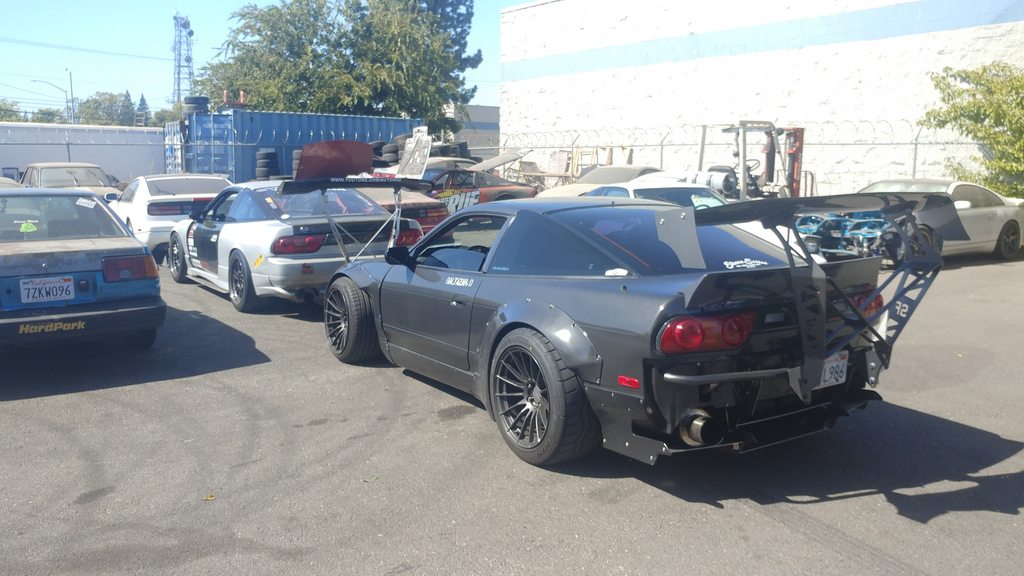 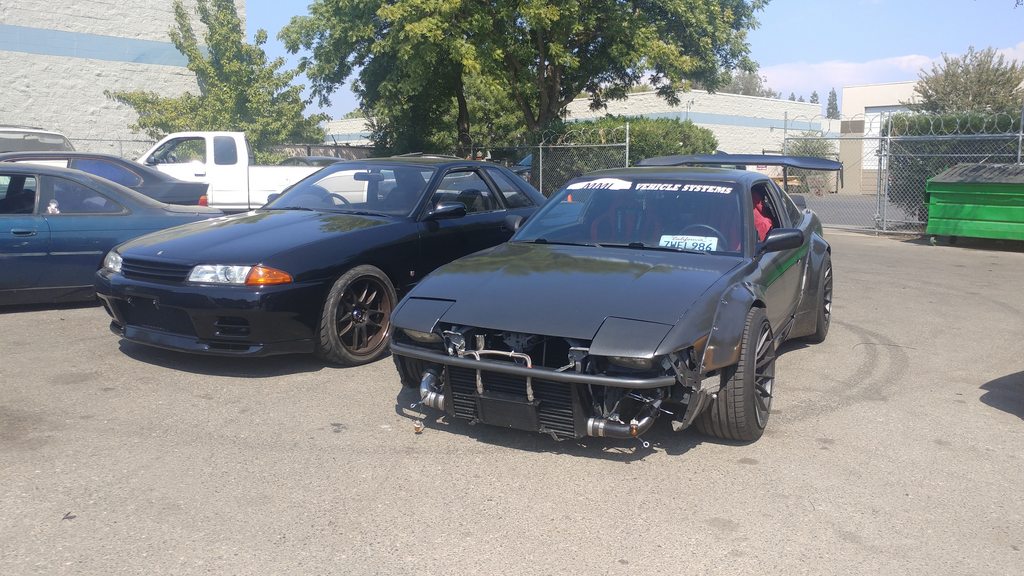 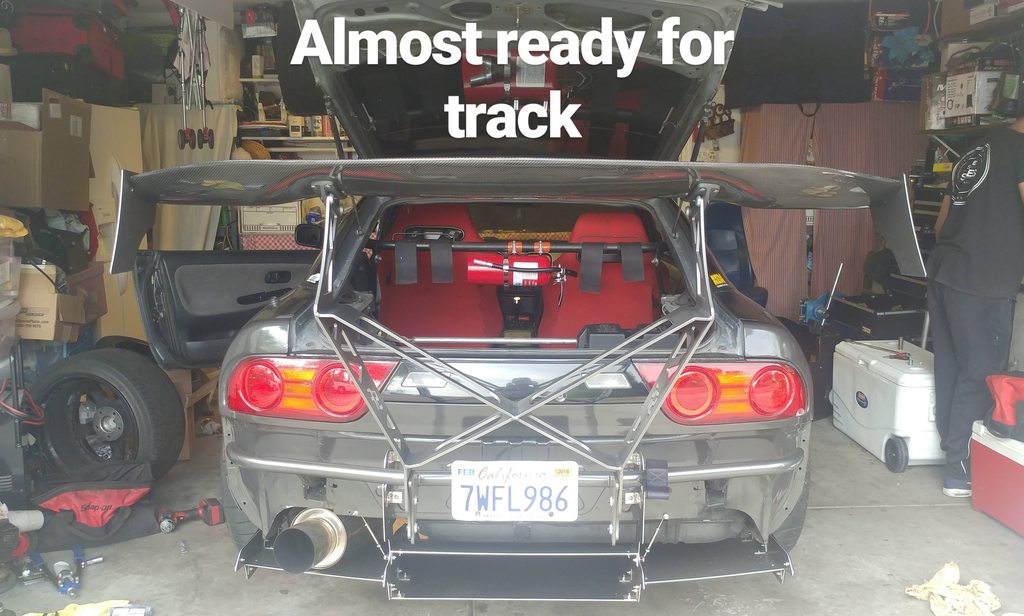  Thunderhill Track up in Willows California. 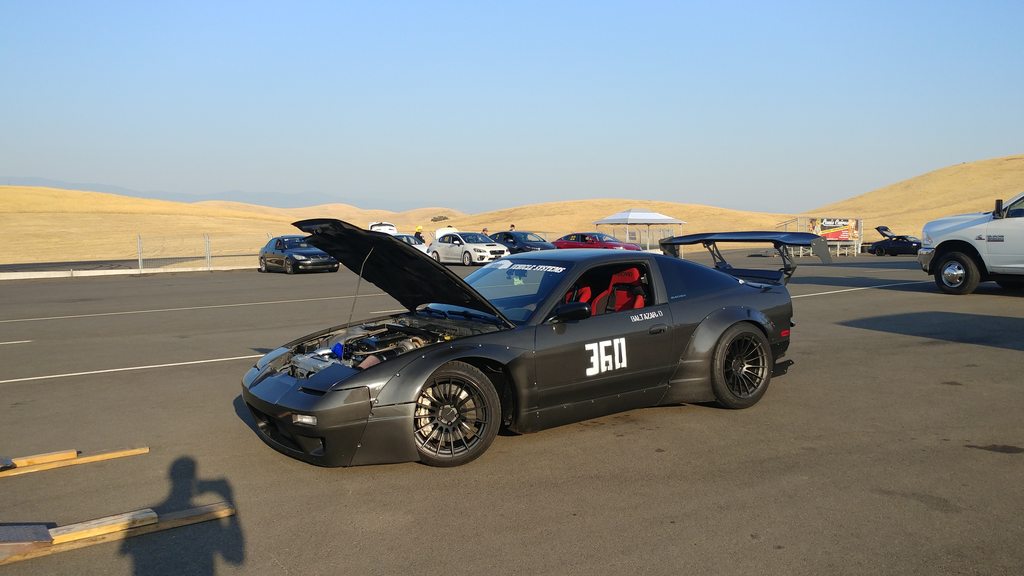 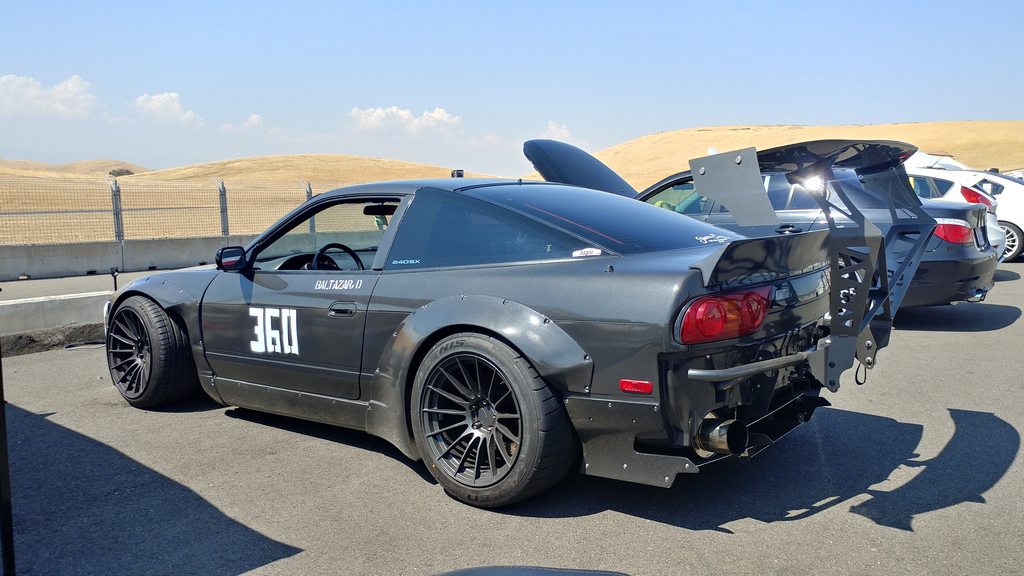   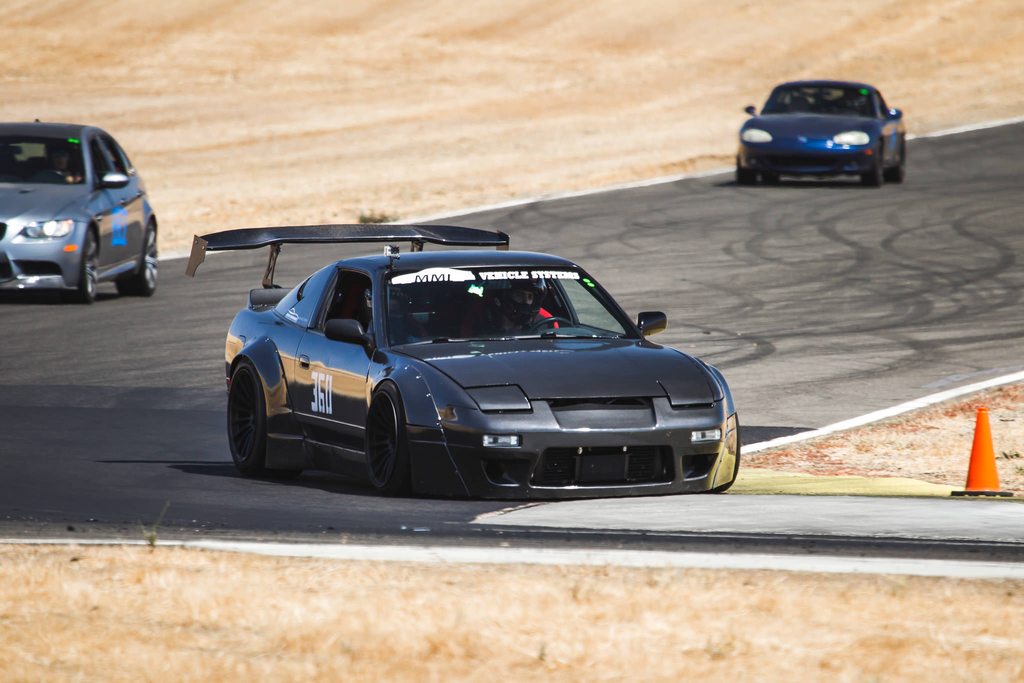 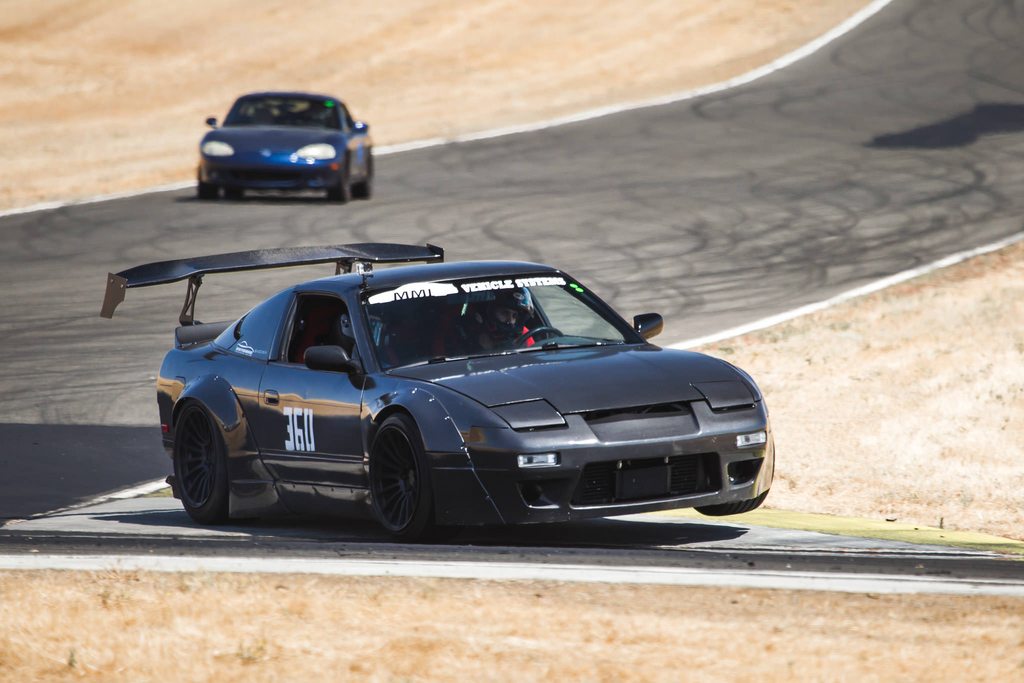 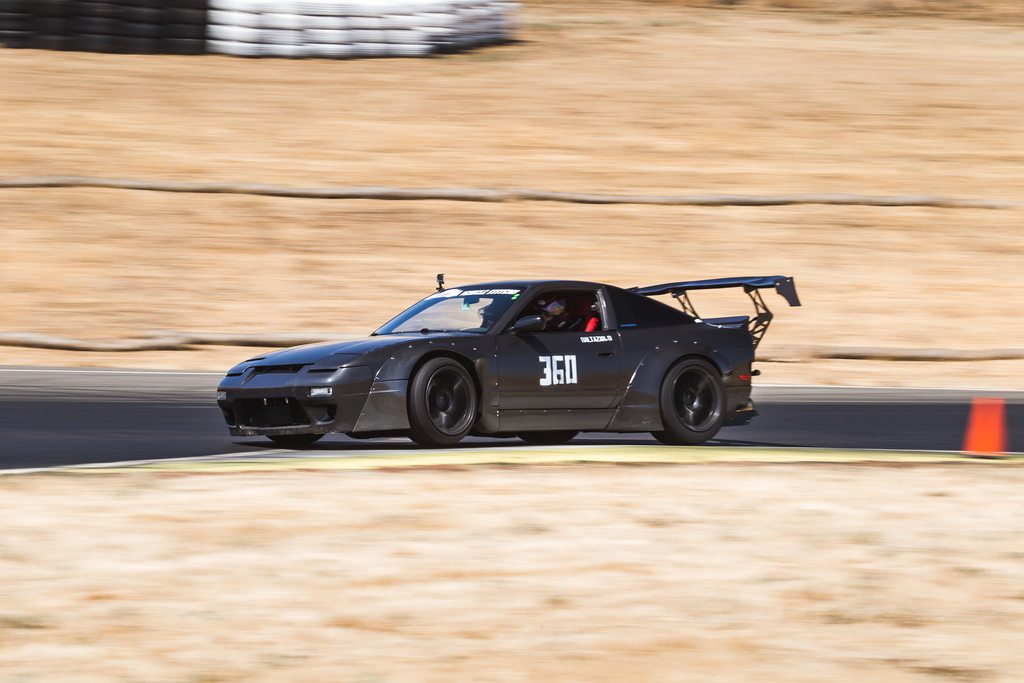 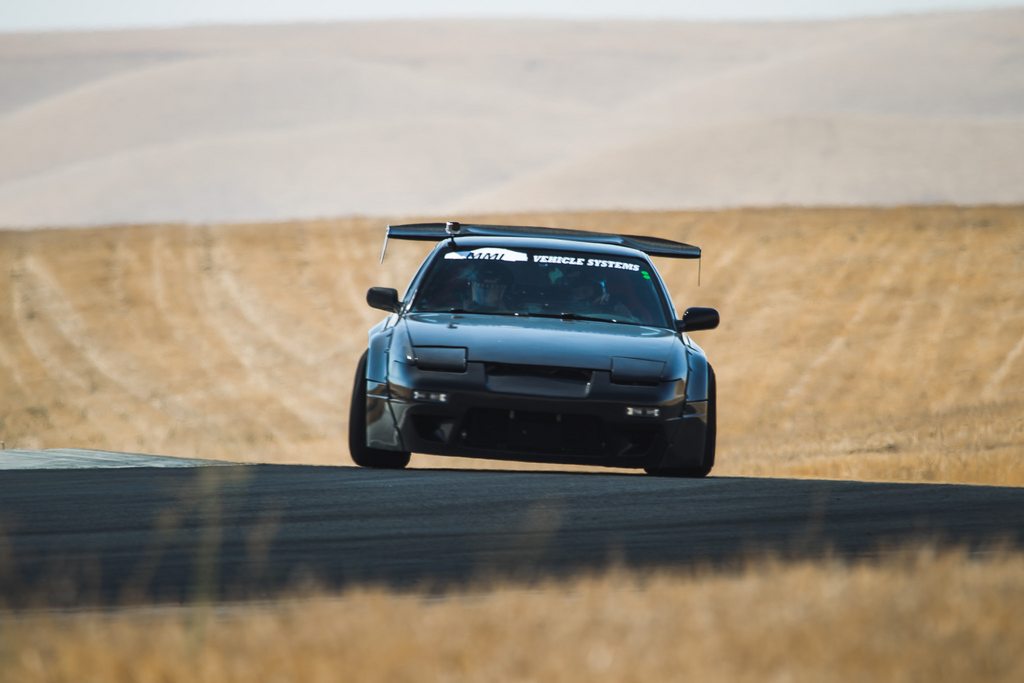  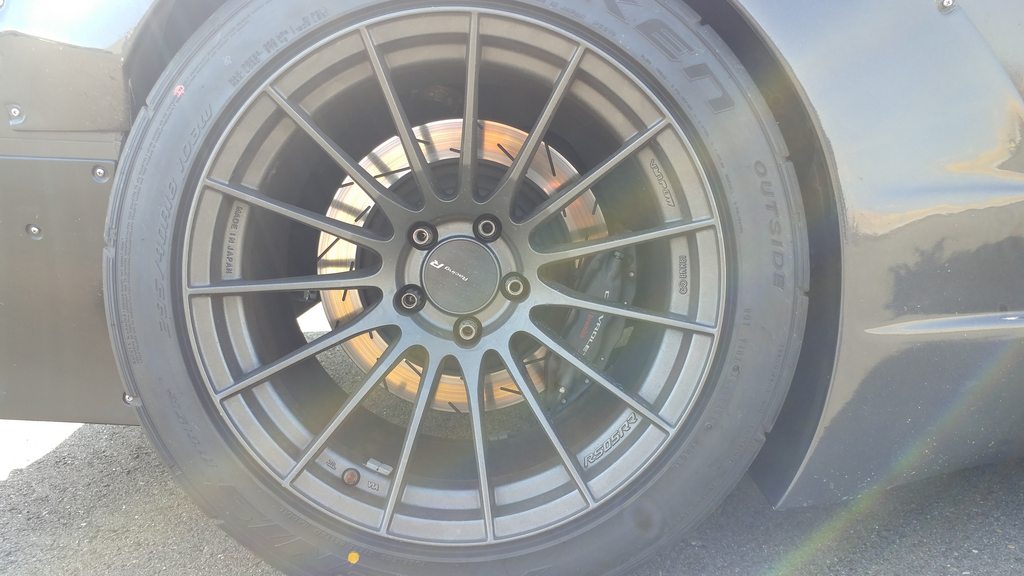 Putting those brakes to work! 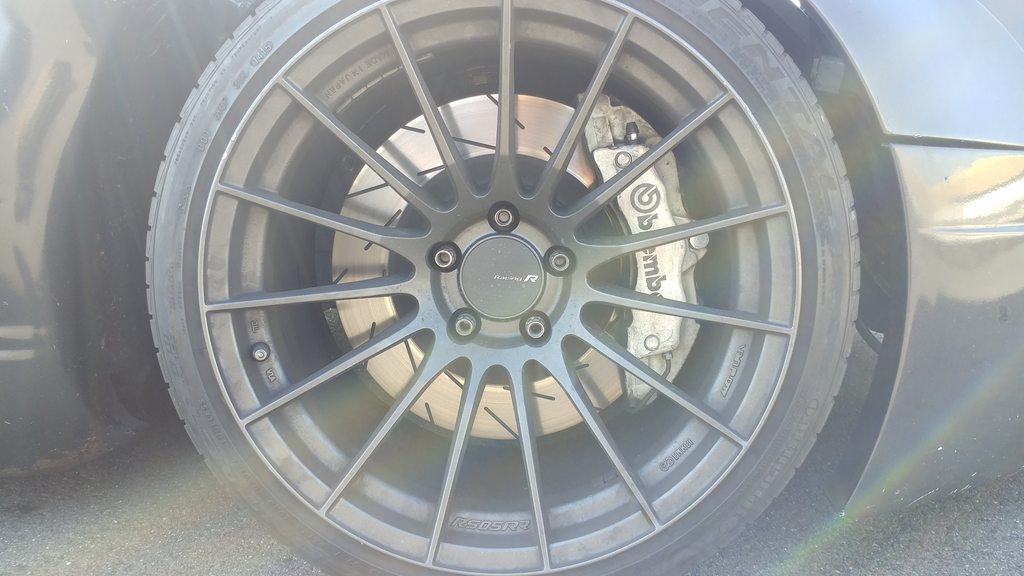  The crew at Affinity Performance always down to lay a hand and support me and this being, always going the extra mile with this beast, much love and respect for these guys. To conclude this chapter, i gave this baby one last ride.  Packed my bags, and set off for one last ride. 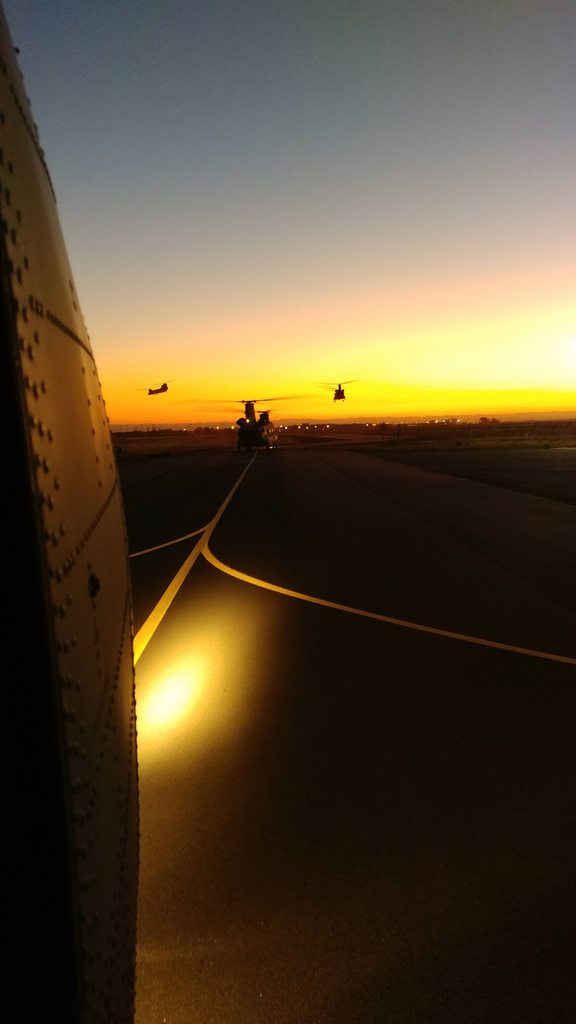 Into the sunrise i went  The car sits back at home with a broken transmission after my last rip in her, thee night prior to my departure. its gonna sit idle for a whole year as im away on a tour in Iraq. Thanks for reading, ill continue this chapter upon my arrival, got some big plans and new parts waiting for me back already. Last edited by djtoonjr; 12-22-2017 at 05:00 PM.. |
|
|

|
|
|
#7 |
|
Nissanaholic!
 |
dopeee im not a fan of the V2 kit but im rocking the V1 kit with origin overs all around on my build but this looks amazing so far!
|
|
|

|
|
|
#8 |
|
Leaky Injector
 Join Date: Feb 2016
Location: Sacramento CA
Age: 27
Posts: 112
Trader Rating: (2)
 Feedback Score: 2 reviews
|
Posts updated, finished for now, i missed a few details here and there, sorry in advance for all the pictures blasted on just one page. Thanks for reading.
|
|
|

|
|
|
#10 | |
|
Leaky Injector
 Join Date: Feb 2016
Location: Sacramento CA
Age: 27
Posts: 112
Trader Rating: (2)
 Feedback Score: 2 reviews
|
Quote:
Local computer store. It's a power supply extension for a motherboard. Cut it in half, bam, quick disconnect connector with male and female end with leads |
|
|
|

|
|
|
#11 |
|
Premium Member
 Join Date: Jun 2003
Location: torrance, ca
Age: 39
Posts: 12,407
Trader Rating: (129)
           Feedback Score: 129 reviews
|
Not gonna lie, not a fan of rocket bunny or that damn scaffold wing, but excellent job on the build, and for writing up an entertaining build thread. we're severely lacking in good threads these days.
also thank you for your service! |
|
|

|
 |
| Bookmarks |
| Thread Tools | |
| Display Modes | |
|
|