
 |
|
|||||||
| Home | Rules & Guidelines | Register | Member Rides | FAQ | Members List | Social Groups | Calendar | Mark Forums Read |
| Builds (and builds only) Got a build thread? It goes here, build threads anywhere else on the forum will be locked and never moved. |
 |
|
|
Thread Tools | Display Modes |
|
|
#61 |
|
Leaky Injector
 Join Date: Sep 2013
Location: Kalamazoo, Michigan
Posts: 127
Trader Rating: (0)
 Feedback Score: 0 reviews
|
If you really wanted you could make custom vents that direct out of the sides of the hood and direct air flow to them through ducting. This would direct the warm/hot air away from the itb's. Just a thought. This build is pretty sweet! cant wait to see more
|
|
|

|
| Sponsored Links |
|
|
#62 |
|
Zilvia Member
 |
It would, yes, but i REALLY want to use the koguchi power hood. And ducting going side to side would just clutter the engine bay up more so than the single center duct would
__________________
My S13 Build http://zilvia.net/f/showthread.php?p=6005967#post6005967 |
|
|

|
|
|
#63 |
|
Zilvia Member
 |
Finally got some progress made, not the amount of progress i wanted to make, but progress none the less. Finally got a bottle of gas and got the welder setup to go %100. Started out by throwing on one of the gktech subframe gussets and then making a set of gussets/ load plates for where the trans mount would be welded.
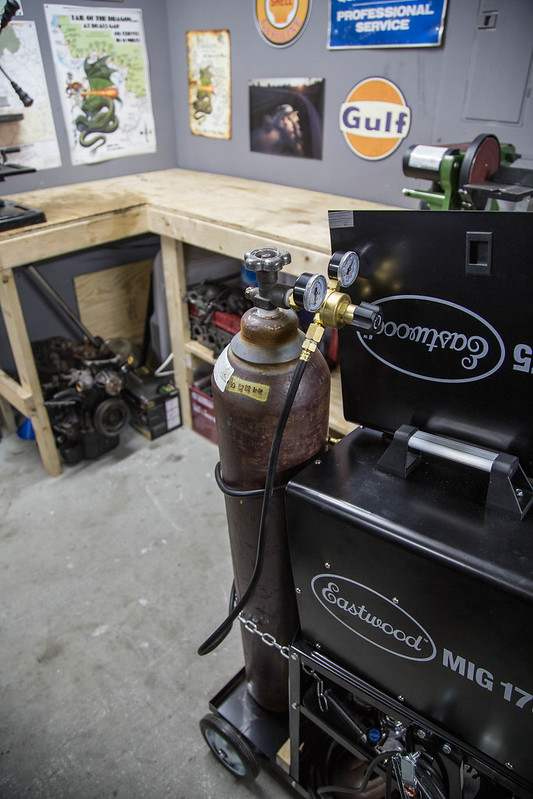 untitled (3 of 17)-3 by lawrx, on Flickr untitled (3 of 17)-3 by lawrx, on Flickr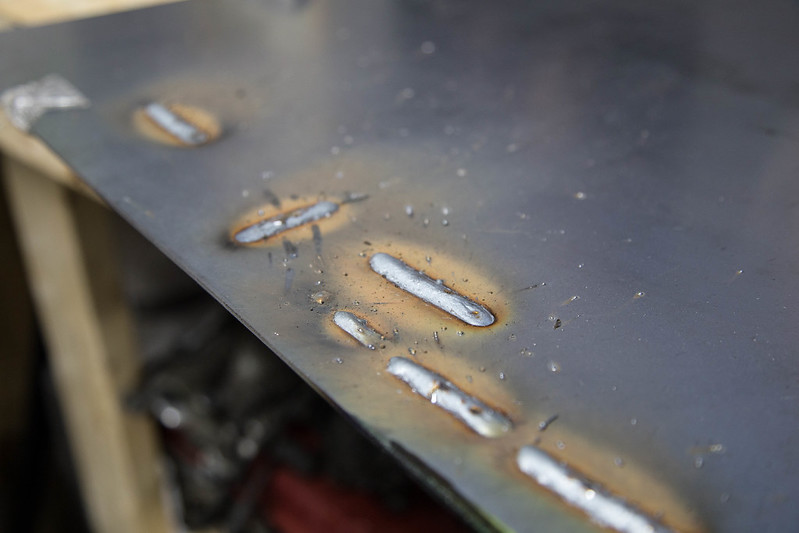 untitled (4 of 17)-3 by lawrx, on Flickr untitled (4 of 17)-3 by lawrx, on Flickr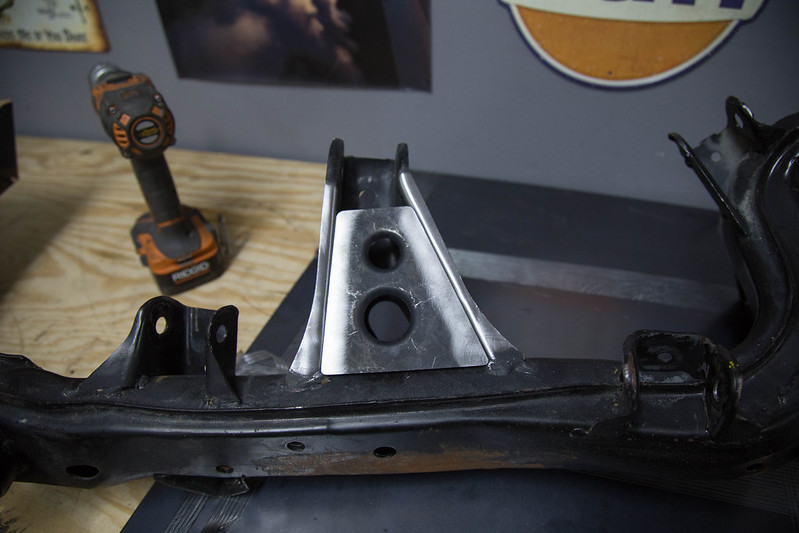 untitled (6 of 17)-3 by lawrx, on Flickr untitled (6 of 17)-3 by lawrx, on Flickr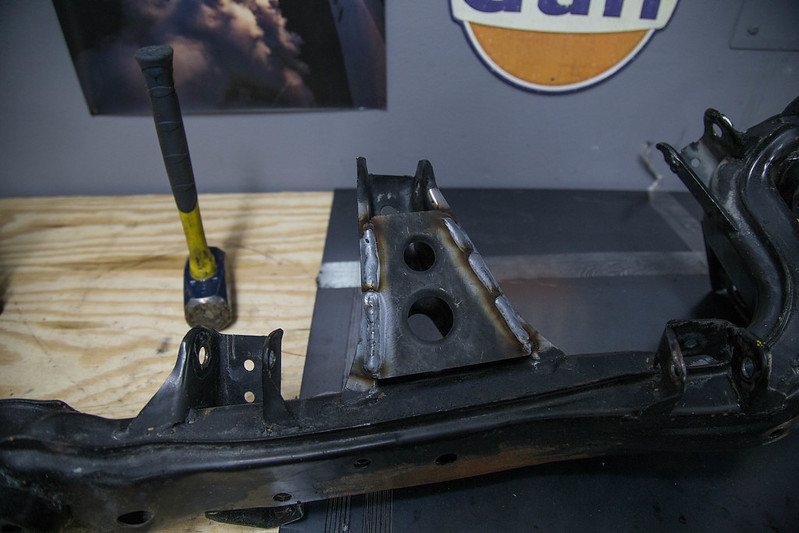 untitled (7 of 17)-3 by lawrx, on Flickr untitled (7 of 17)-3 by lawrx, on Flickr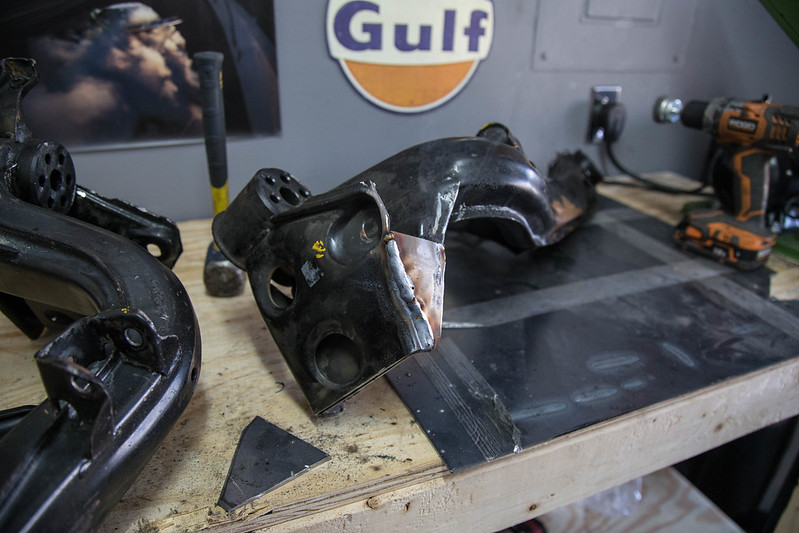 untitled (8 of 17)-3 by lawrx, on Flickr untitled (8 of 17)-3 by lawrx, on Flickr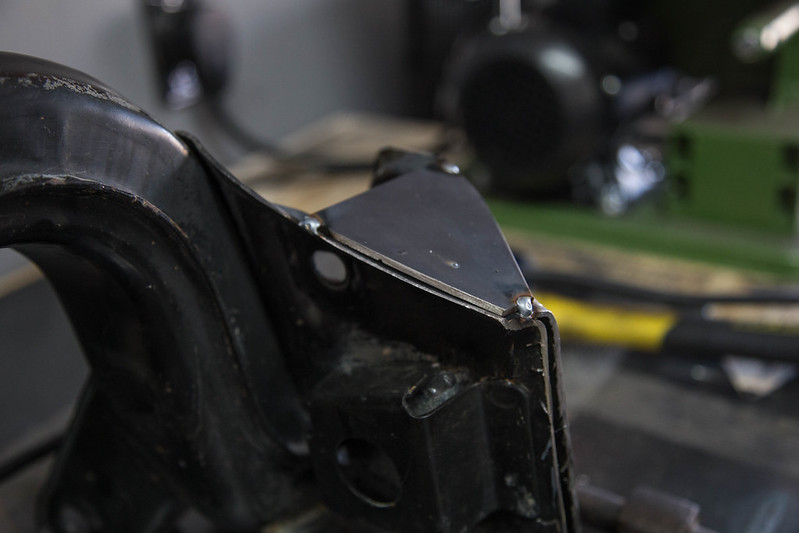 untitled (9 of 17)-3 by lawrx, on Flickr untitled (9 of 17)-3 by lawrx, on Flickr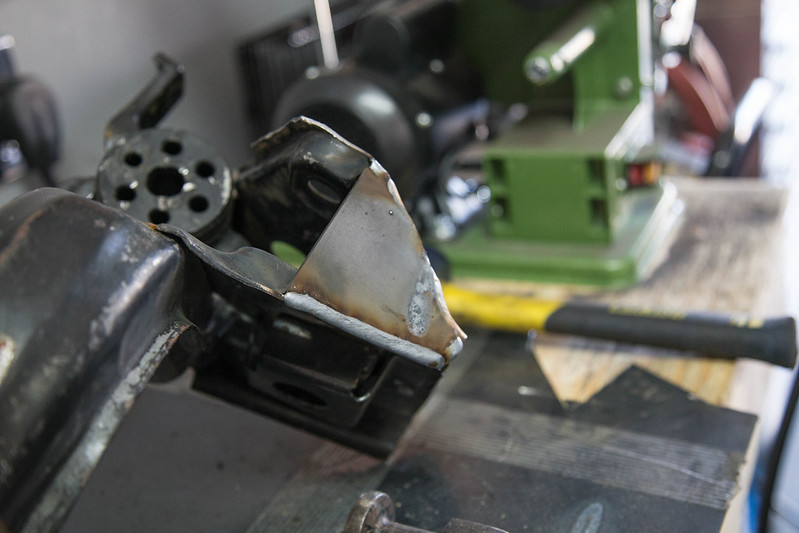 untitled (10 of 17)-3 by lawrx, on Flickr untitled (10 of 17)-3 by lawrx, on FlickrOk so i finally also bought a daily. Decided against taking out a small loan on one the cars i wanted and picked up a truck. With a baby 4 months out id rather not have the second car note to deal with while trying to adjust funds with the newfound money sucker upper that is an infant. Plan is to drive it for a year and get something nicer next summer. Maybe ill get me my 911 I've been wanting for, well, ever lol Well here she is in all her glory. 04 silverado, needs a little love but she was cheap and a decent buy. Should come in handy towing racer stuff in the future. 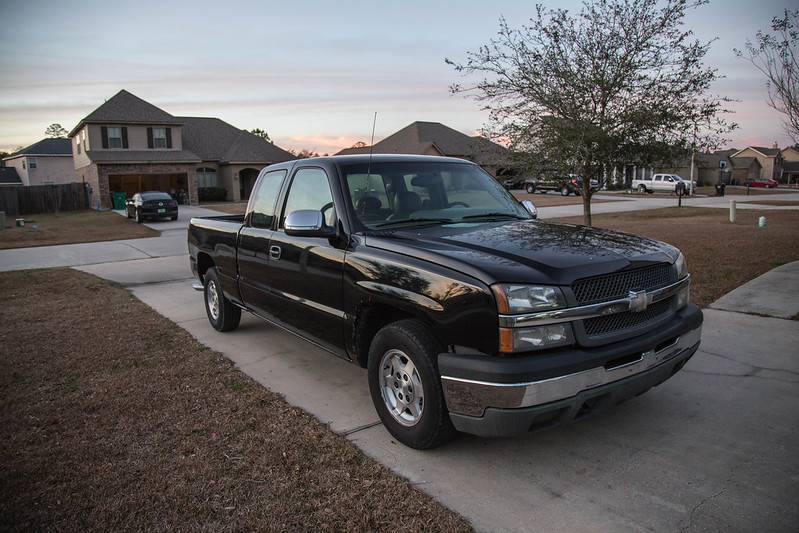 untitled (11 of 17)-3 by lawrx, on Flickr untitled (11 of 17)-3 by lawrx, on Flickr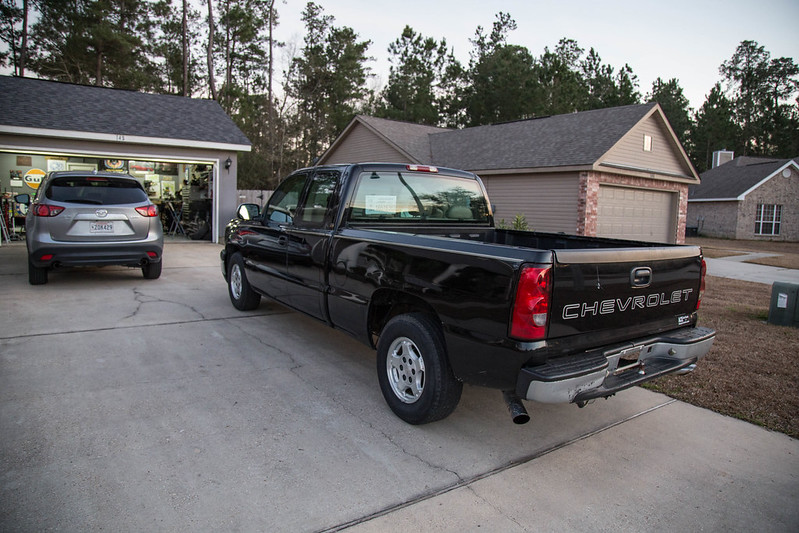 untitled (12 of 17)-3 by lawrx, on Flickr untitled (12 of 17)-3 by lawrx, on FlickrAlright, so the wheel escapade, here are some shots showing how the machined smaller edge site in relation to the barrel and the reinforcement bracket on the Lmt2's. The bracket has a 90* shape to it so as to acts as part of the wheel to press against the lip when bolted down, i dont see any reason it shouldn't work like Ray's or Nismo intended. Here are some detailed shots on how it mounts. Dont mind the face being upside down in the barrel, i was lazy....  untitled (13 of 17)-3 by lawrx, on Flickr untitled (13 of 17)-3 by lawrx, on Flickr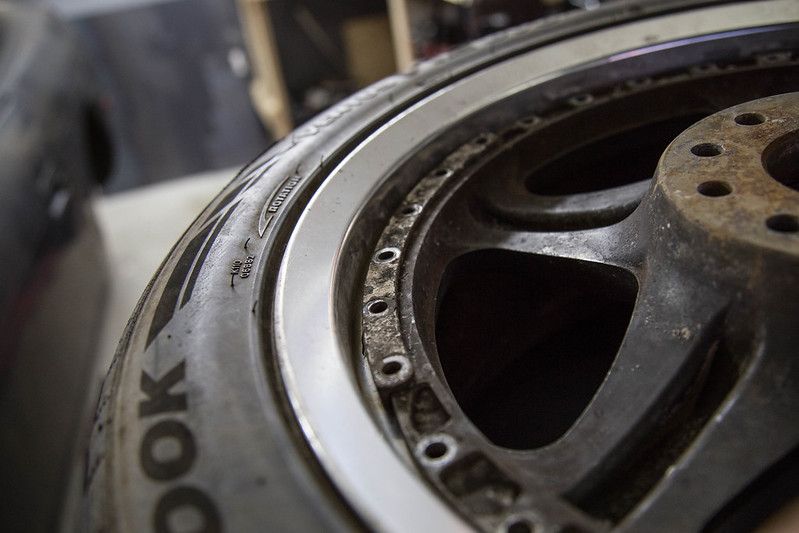 untitled (14 of 17)-3 by lawrx, on Flickr untitled (14 of 17)-3 by lawrx, on Flickr untitled (15 of 17)-3 by lawrx, on Flickr untitled (15 of 17)-3 by lawrx, on FlickrAlso got a bit more work done on my motor mounts, got all the slag off from the plasma cutter and started to drill some mount holes and marked off some weight reduction holes. Drilling through 1/4" plate takes few minutes even with a drill press, and i wasn't really feeling that great tonight i just called it a night and will pick back up tomorrow. Was really wanting the drivetrain under its own weight by now but just ran out of time. 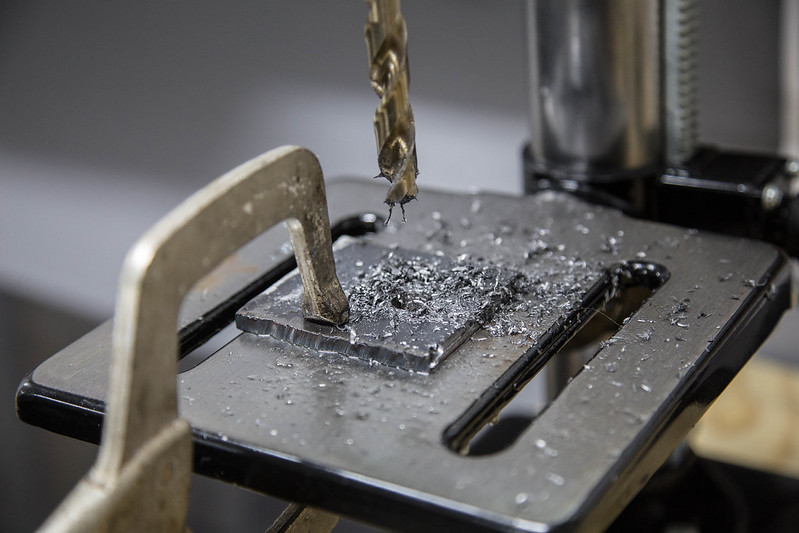 untitled (16 of 17)-3 by lawrx, on Flickr untitled (16 of 17)-3 by lawrx, on Flickr untitled (17 of 17)-3 by lawrx, on Flickr untitled (17 of 17)-3 by lawrx, on FlickrLastly, i did a bit of measureming and came to a bit of a predicament. The front tires i will be running vs the ride height i want to run is causing a bit of an issue clearance wise. Between tire, height, suspension travel room, and ground clearance, there just isn't quite enough room between the ground and the upper rail where the strut mount. So with that being said i will be chopping off the strut towers and relocating them in up and back a little bit along with removing the upper rail entirely and creating my own new upper rail that ties into the dash bar and roll cage. I won't say yet what size tire i will be running, but it will require a bit of wide body massaging for a bit of t300 esque fender looks for wheel and tire fitment, but not full race car, but not full stanced either. regardless its gunna be worth the wait.  untitled (1 of 17)-3 by lawrx, on Flickr untitled (1 of 17)-3 by lawrx, on Flickr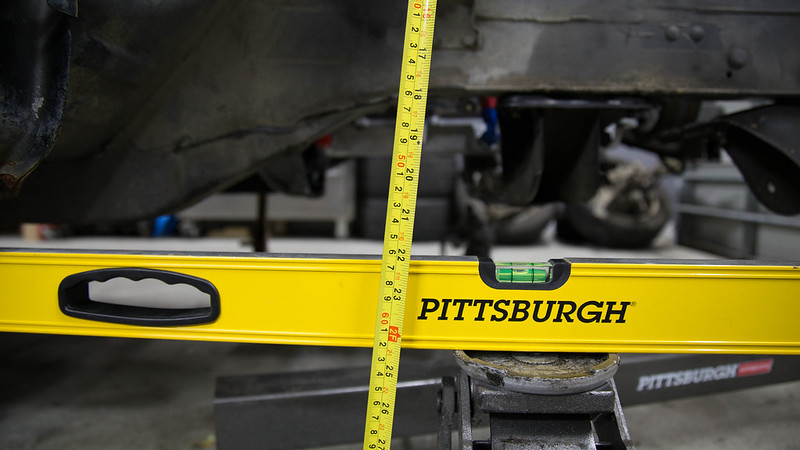 untitled (2 of 17)-3 by lawrx, on Flickr untitled (2 of 17)-3 by lawrx, on Flickr
__________________
My S13 Build http://zilvia.net/f/showthread.php?p=6005967#post6005967 Last edited by laextreme5; 03-14-2016 at 09:42 AM.. |
|
|

|
|
|
#66 |
|
Zilvia Member
 |
All the wide. Heres a hint if you can figure it out. My front tire size will be larger than the current largest production car front tire, regarding width. Have fun with google.

__________________
My S13 Build http://zilvia.net/f/showthread.php?p=6005967#post6005967 |
|
|

|
|
|
#68 |
|
Zilvia Member
 |
production FRONT tire
__________________
My S13 Build http://zilvia.net/f/showthread.php?p=6005967#post6005967 |
|
|

|
|
|
#71 | |
|
Zilvia Member
 |
Quote:
Thanks!
__________________
My S13 Build http://zilvia.net/f/showthread.php?p=6005967#post6005967 |
|
|
|

|
|
|
#73 |
|
Post Whore!
 Join Date: Dec 2010
Location: SoCal 909
Age: 28
Posts: 4,737
Trader Rating: (42)
           Feedback Score: 42 reviews
|
So Chevy claims the Z28 has the biggest which is a 305 which I'm pretty sure is not 5 he biggest front on a production car
But either way you were hiding it like it was something amazing like a 335 plus lol had me excited |
|
|

|
|
|
#74 | |
|
Zilvia Junkie
 Join Date: Jan 2014
Location: Vancouver, BC
Age: 27
Posts: 568
Trader Rating: (2)
 Feedback Score: 2 reviews
|
Quote:
And a t300? like a kenworth t300? Interesting analogy, im very interested to see how wide this car will be when you're done with it! |
|
|
|

|
|
|
#75 | |
|
Zilvia Member
 |
Thanks, was a pain in my ass lol varis kit is still up in my attic waititng for a buddy to purchase it.
Quote:
Whoops mistyped. Meant gt300, the japanese racing gt class. It will be fairly wide. Not saying what im doing until i have the pieces in hand, thats gunna stay a surprise.
__________________
My S13 Build http://zilvia.net/f/showthread.php?p=6005967#post6005967 |
|
|
|

|
|
|
#77 |
|
Zilvia Member
 |
They will be justifiable, low weight, v8 torque, lots of aero load etc.
__________________
My S13 Build http://zilvia.net/f/showthread.php?p=6005967#post6005967 |
|
|

|
|
|
#79 |
|
Zilvia Member
 |
Thanks man me too, hopefully it comes out as i envision.

__________________
My S13 Build http://zilvia.net/f/showthread.php?p=6005967#post6005967 |
|
|

|
|
|
#81 | |
|
Zilvia.net Advertiser
 Join Date: Nov 2005
Location: Michigan
Age: 33
Posts: 5,431
Trader Rating: (16)
           Feedback Score: 16 reviews
|
Quote:
I'd just like to point out, if the tire is something that requires heat for it to work effectively, you may not be able to get it to temp with such a light vehicle. Anyway, keep going, this should be cool.
__________________
Build: http://zilvia.net/f/showthread.php?t=643065 Friends don't let friends buy knock-offs. |
|
|
|

|
|
|
#82 | |
|
Zilvia Member
 |
Quote:
Tires will be r888s, thanks for the insight tho.
__________________
My S13 Build http://zilvia.net/f/showthread.php?p=6005967#post6005967 |
|
|
|

|
|
|
#83 |
|
Zilvia Member
 |
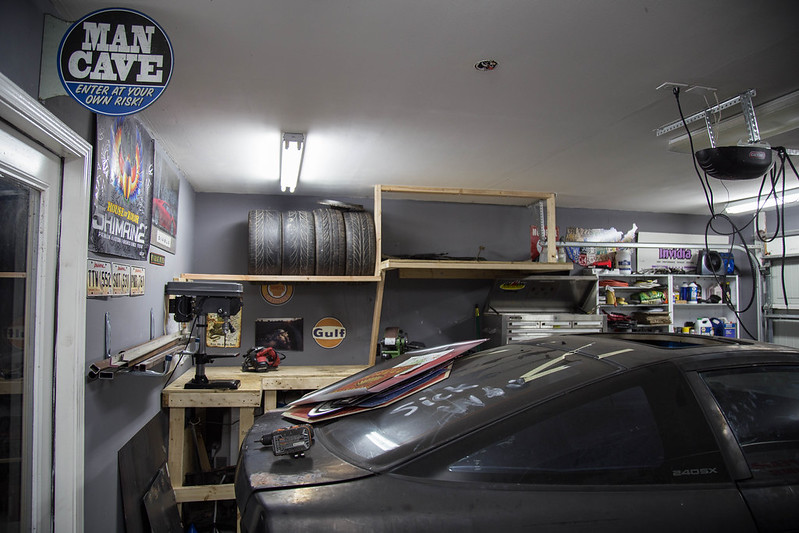
Well, this past week has been a bust. Last weekend i was hoping to get the motor mounts finished and drivetrain all mounted up but ran out of time. This week has also sucked, I've been sick all week and had zero energy to touch the car. Today had a friend come by and help me build a storage shelf and wheel shelf. super excited how it came out, easily fit 2 9'' wheels and 2 10'' wheels with room for probably 2 more. Also got some planted seat mounts in, but can't do much of anything with them until my contact gets back with me on pricing for a seat. Need the seat to set main roll cage hoop location so i can set front down bar location which is needed to connect to the dash bar and front strut tower tubes. Its all a connect to dot game, and I'm patiently waiting my turn.
 untitled (1 of 3) by lawrx, on Flickr untitled (1 of 3) by lawrx, on Flickr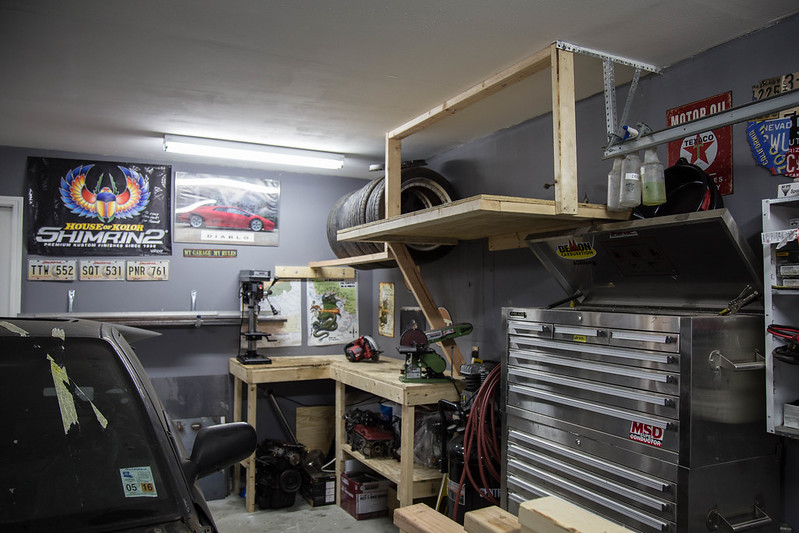 untitled (2 of 3) by lawrx, on Flickr untitled (2 of 3) by lawrx, on Flickr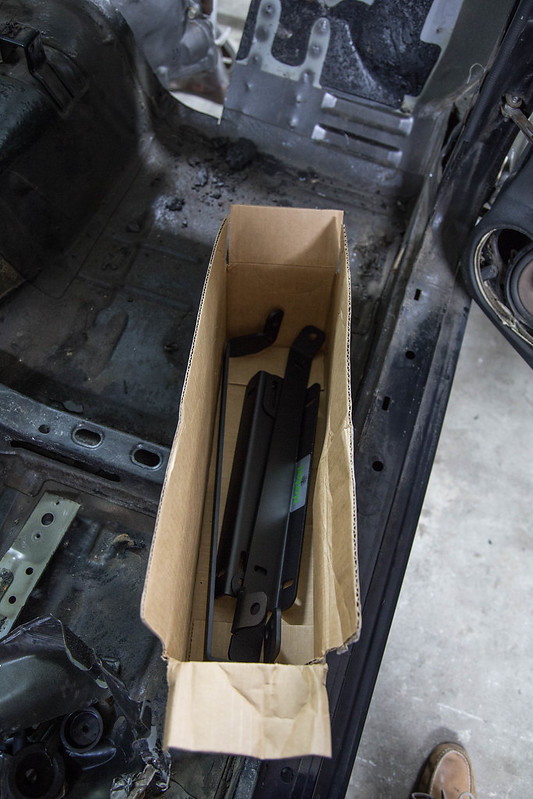 untitled (3 of 3) by lawrx, on Flickr untitled (3 of 3) by lawrx, on Flickr
__________________
My S13 Build http://zilvia.net/f/showthread.php?p=6005967#post6005967 Last edited by laextreme5; 03-14-2016 at 09:43 AM.. |
|
|

|
|
|
#84 |
|
Zilvia Member
 |
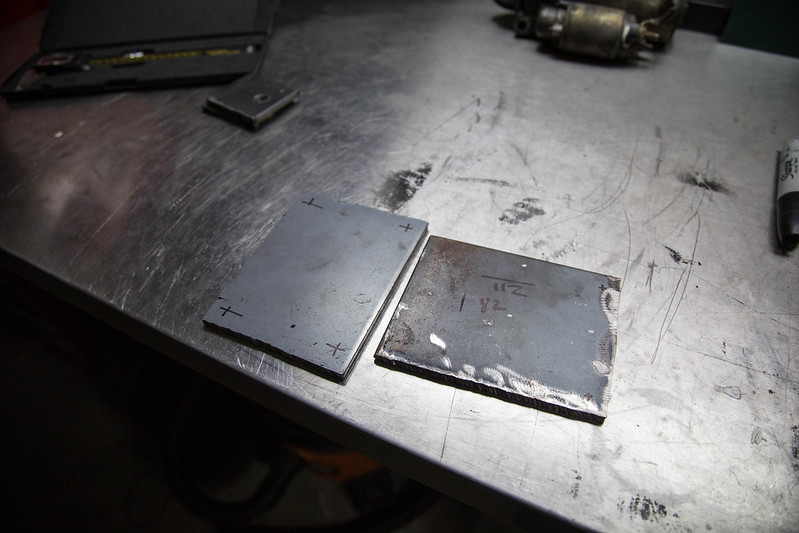
Finally able to get some sorta work done after the last two weeks sucking. Finished drilling the mount holes for one side of motor mounts, cut out the connecting pieces and welded them in. So one motor mount is complete, hopefully knock the next one out this weekend,
 untitled (1 of 9)-2 by lawrx, on Flickr untitled (1 of 9)-2 by lawrx, on Flickr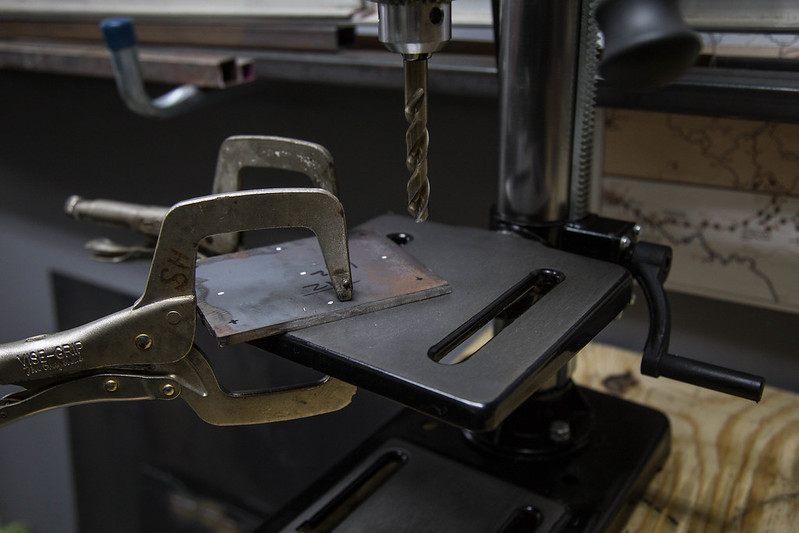 untitled (2 of 9)-2 by lawrx, on Flickr untitled (2 of 9)-2 by lawrx, on Flickr untitled (3 of 9)-2 by lawrx, on Flickr untitled (3 of 9)-2 by lawrx, on Flickr untitled (4 of 9)-2 by lawrx, on Flickr untitled (4 of 9)-2 by lawrx, on Flickr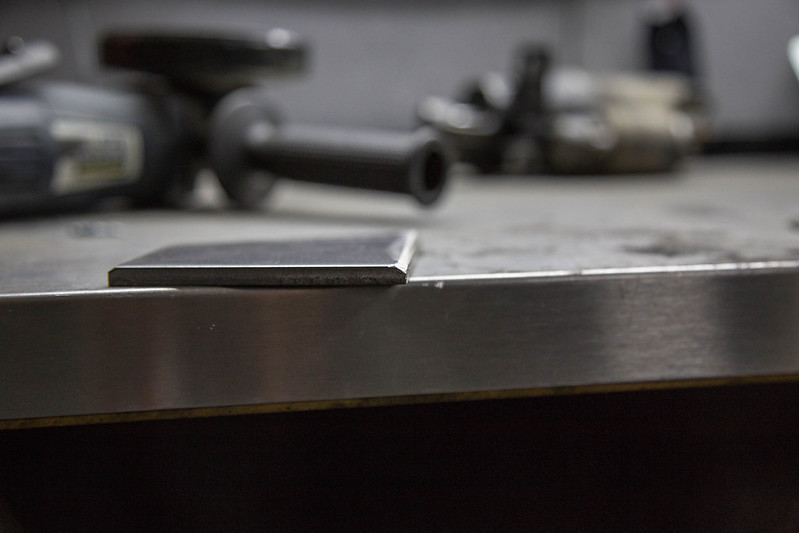 untitled (5 of 9)-2 by lawrx, on Flickr untitled (5 of 9)-2 by lawrx, on Flickr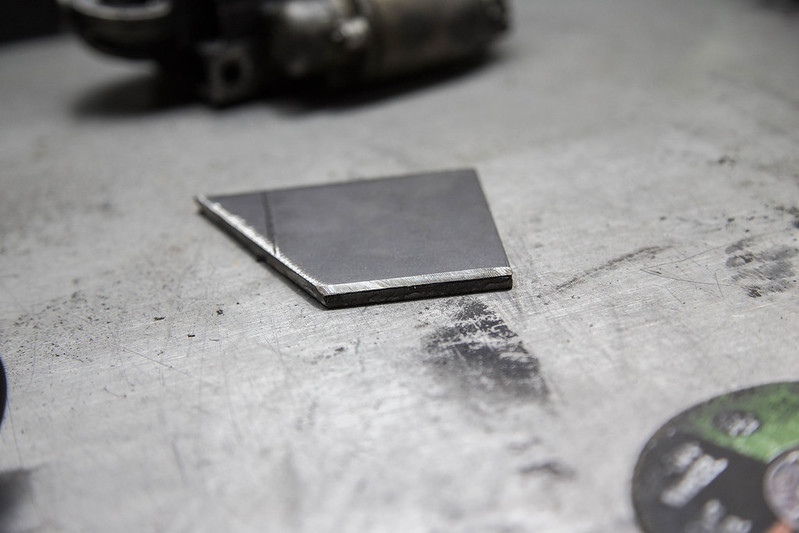 untitled (6 of 9)-2 by lawrx, on Flickr untitled (6 of 9)-2 by lawrx, on Flickr untitled (7 of 9)-2 by lawrx, on Flickr untitled (7 of 9)-2 by lawrx, on Flickr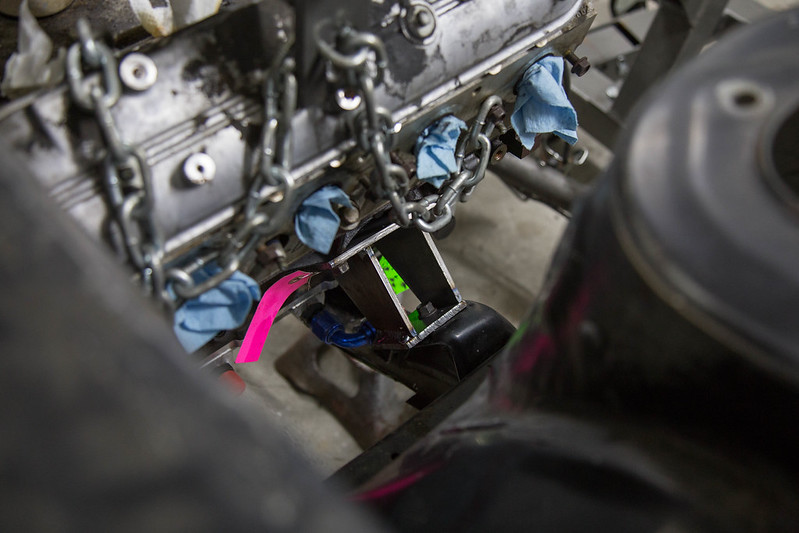 untitled (8 of 9)-2 by lawrx, on Flickr untitled (8 of 9)-2 by lawrx, on Flickr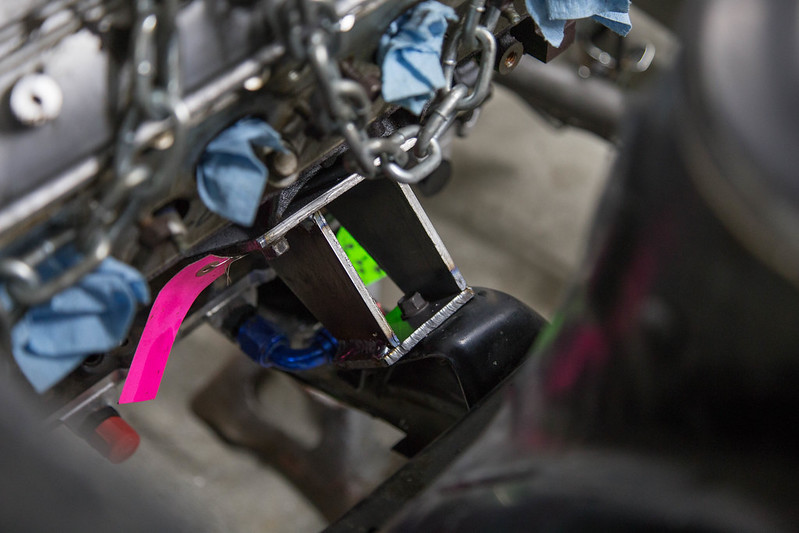 untitled (9 of 9)-2 by lawrx, on Flickr untitled (9 of 9)-2 by lawrx, on Flickr
__________________
My S13 Build http://zilvia.net/f/showthread.php?p=6005967#post6005967 Last edited by laextreme5; 03-14-2016 at 09:43 AM.. |
|
|

|
|
|
#86 |
|
Zilvia Member
 |
__________________
My S13 Build http://zilvia.net/f/showthread.php?p=6005967#post6005967 |
|
|

|
|
|
#87 |
|
Zilvia Member
 |
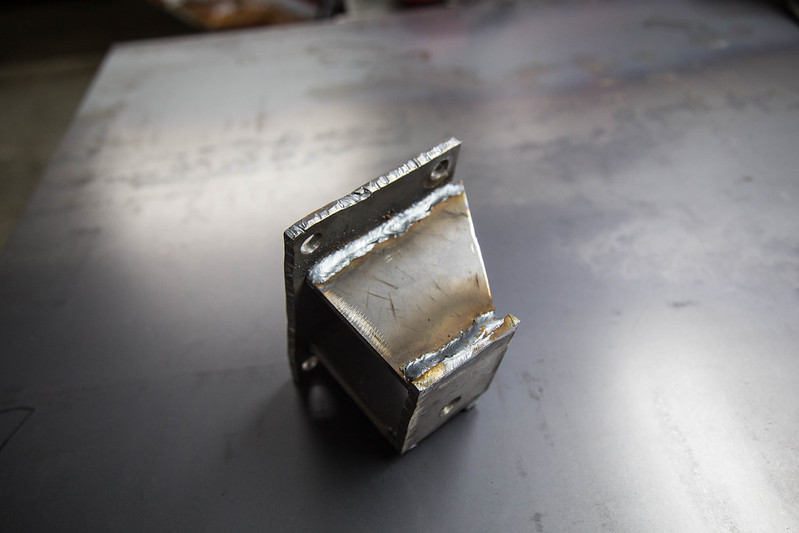
Was able to knock ou the other side motor mount today. They still need some cleaning up of the edges from the plasma cutter and a bit of splatter from welding but they came out decent. Also started on making the metal to shut in the drop out section of the front subframe. Good ole loose leaf paper makes for great template making. Once subframe is welded shut i can start on making the jig to locate the front lca front mount position and the front strut tower placement as well in prep of the front tubular setup.
 IMG_1386 by lawrx, on Flickr IMG_1386 by lawrx, on Flickr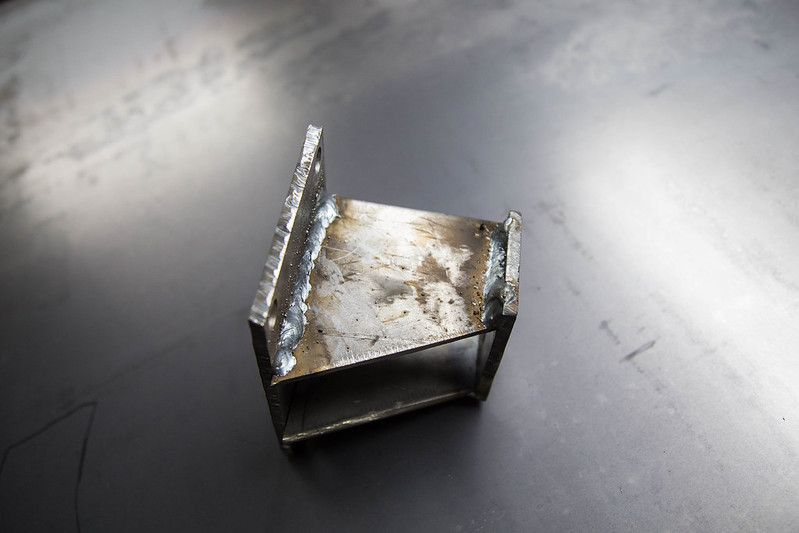 IMG_1387 by lawrx, on Flickr IMG_1387 by lawrx, on Flickr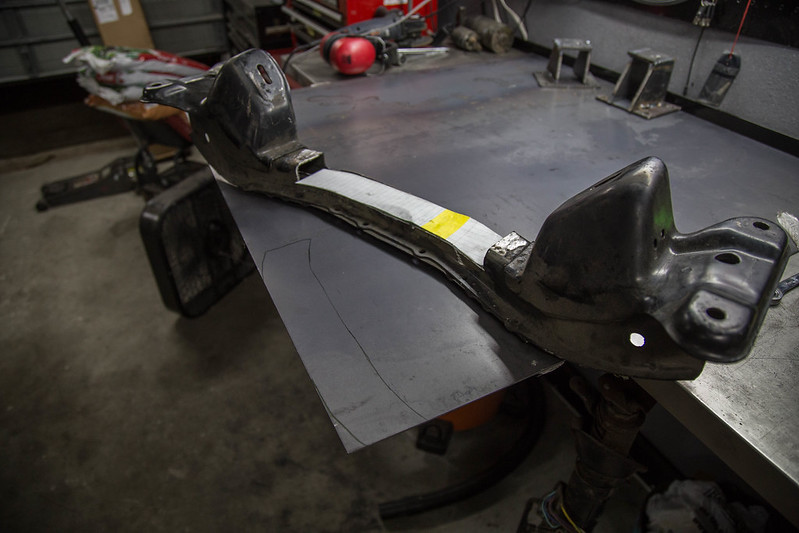 IMG_1389 by lawrx, on Flickr IMG_1389 by lawrx, on Flickr IMG_1390 by lawrx, on Flickr IMG_1390 by lawrx, on FlickrAlso went out this morning to support my dad and a friend of ours who we did the bodywork and paint on at World of Wheels car show in the Superdome down in New Orleans. Both ended up winning 1st in class, so pretty awesome to have had a hand in each build and them place so well, there were some decent cars there as well. Dont mind the wife, she's not fat she is just prego haha 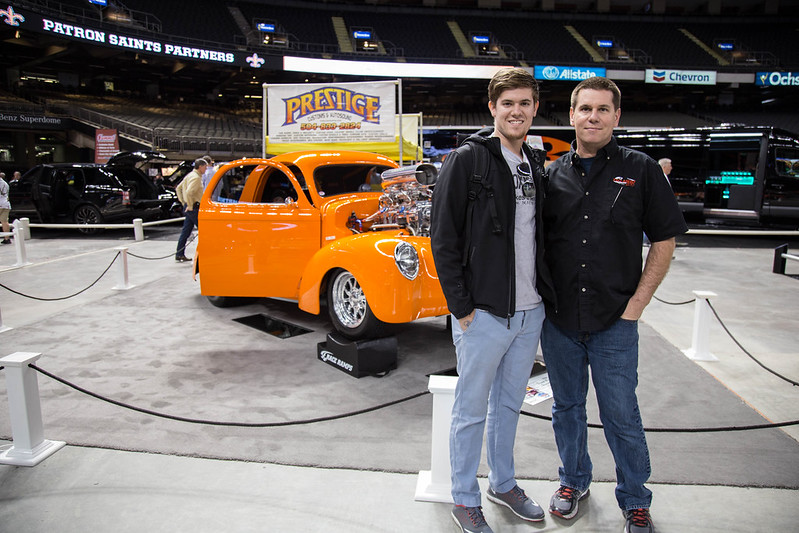 IMG_1367 by lawrx, on Flickr IMG_1367 by lawrx, on Flickr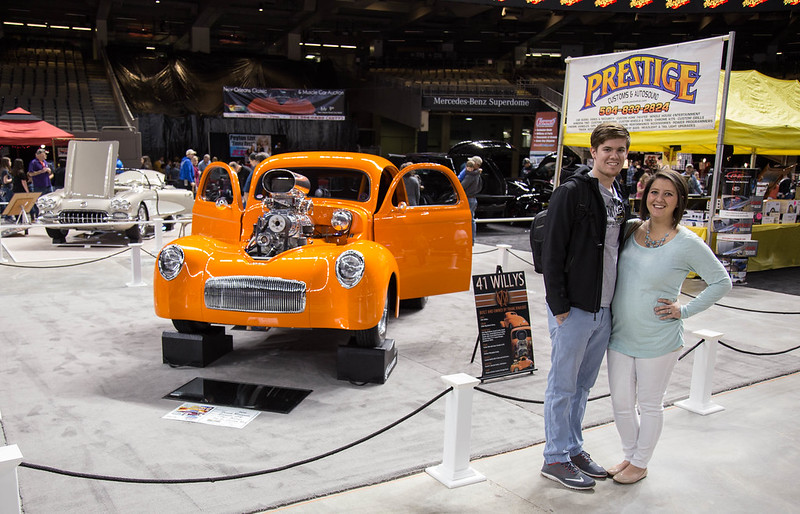 IMG_1374 by lawrx, on Flickr IMG_1374 by lawrx, on Flickr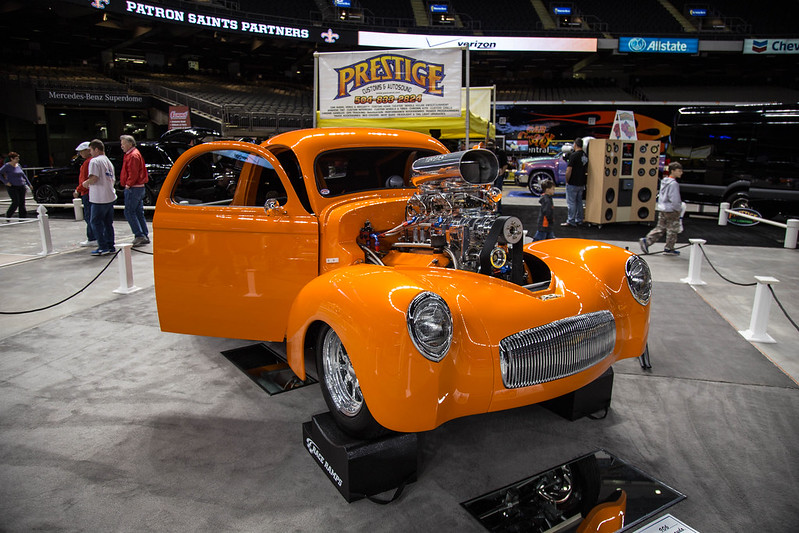 IMG_1352 by lawrx, on Flickr IMG_1352 by lawrx, on Flickr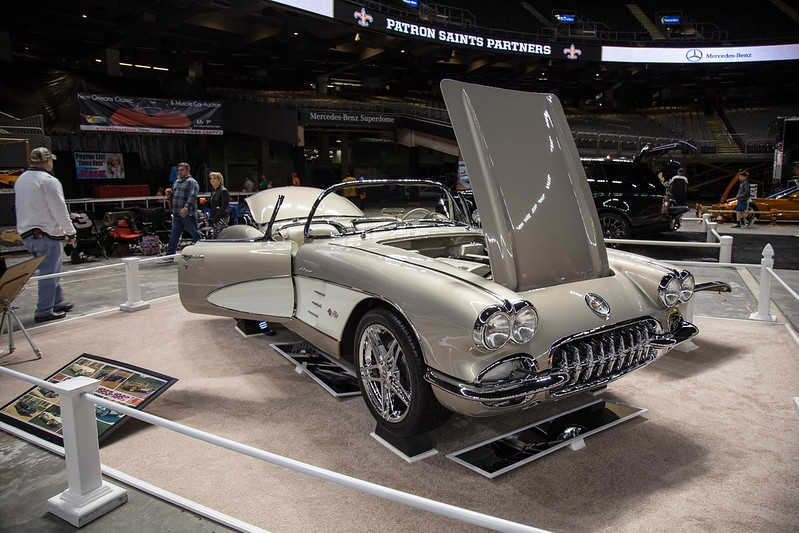 IMG_1351 by lawrx, on Flickr IMG_1351 by lawrx, on FlickrAlso have parts and tools on the way, should have few more parts on way once my contact gets back with me. Ready to start on the roll cage to get the front end moving!
__________________
My S13 Build http://zilvia.net/f/showthread.php?p=6005967#post6005967 Last edited by laextreme5; 03-14-2016 at 09:43 AM.. |
|
|

|
|
|
#88 |
|
Zilvia Member
 |
Well ended up having some time today to get some work done, had a few alignment cancellations so i was able to head home early and get some shit done.
Welded up the indention i cut into front subframe, still need to work on my welding once there is heat in the metal. I, not compensating in my speed for it so I'm ether too fast or too slow. So I'm either almost burning through or not quite getting enough penetration.  IMG_1399 by lawrx, on Flickr IMG_1399 by lawrx, on Flickr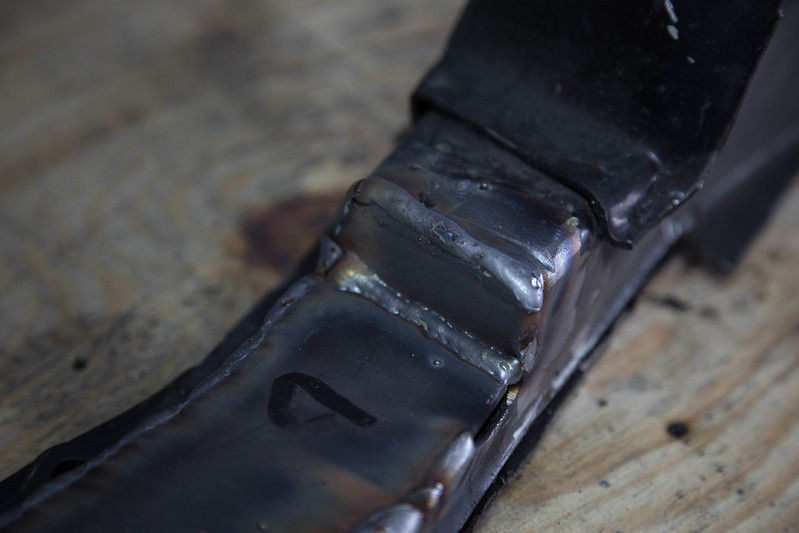 IMG_1400 by lawrx, on Flickr IMG_1400 by lawrx, on FlickrI had gotten home with some daylight left so i took some shots with actual sunlight on the car with where the motors final resting place is in respect to the engine bay. 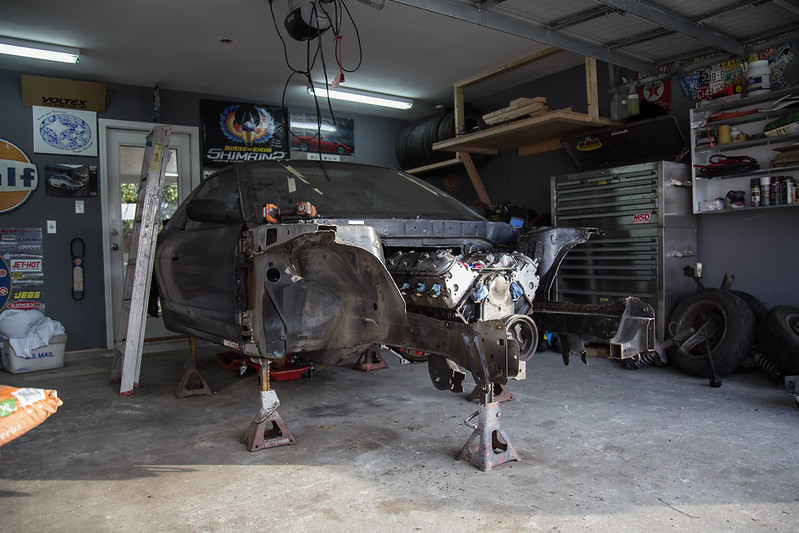 IMG_1401 by lawrx, on Flickr IMG_1401 by lawrx, on Flickr IMG_1403 by lawrx, on Flickr IMG_1403 by lawrx, on Flickr IMG_1416 by lawrx, on Flickr IMG_1416 by lawrx, on FlickrPicked up a used truck starter to use for mock up to check oil line clearances and header room as well. Header wise i should have plenty of room to make what i want. Regarding dry sump oil lines, I'm not able to run the center port as it will hit the motor mount/ subframe. When i first put the starter on i wasn't thinking i could run the rear most port. But once i put the 90* fitting on i think i can just manage to get it to run and be out of the way by massaging the motor and starter a bit. By massaging i mean grinding on the motor and a hammer on the starter for a slight indentation haha Also dont worry about the rubber line, i will be using braided stainless line on the actual install. 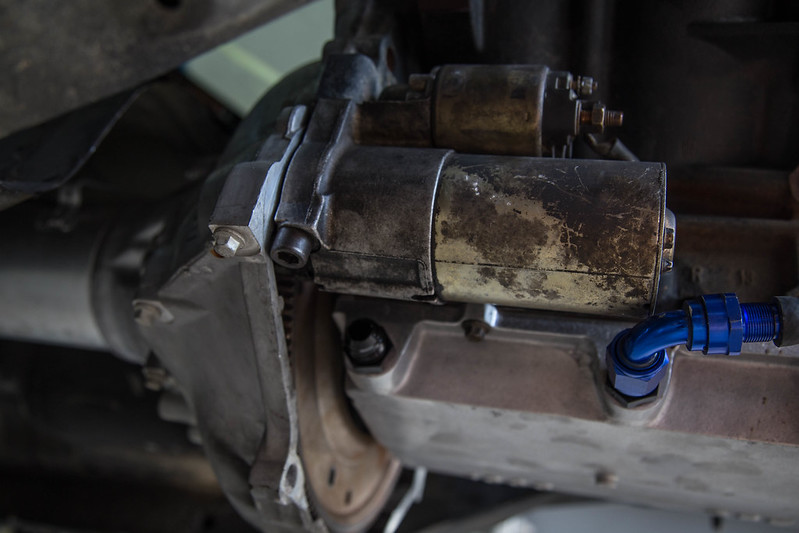 IMG_1405 by lawrx, on Flickr IMG_1405 by lawrx, on Flickr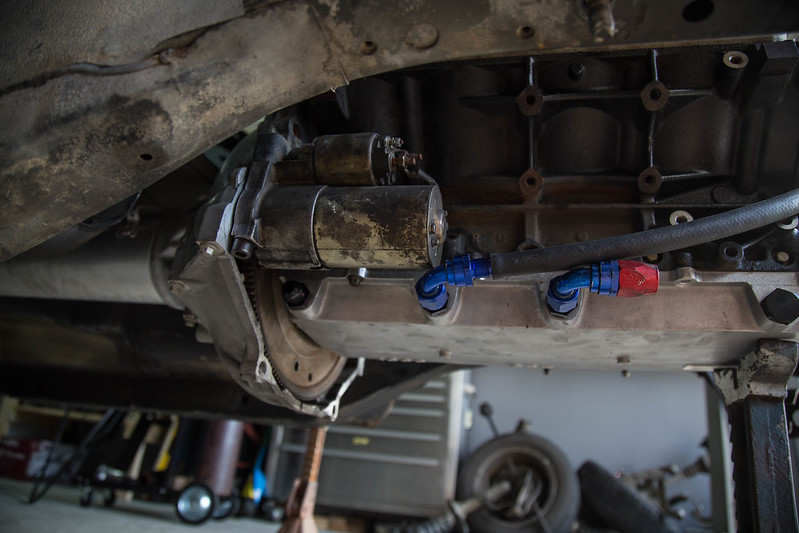 IMG_1406 by lawrx, on Flickr IMG_1406 by lawrx, on Flickr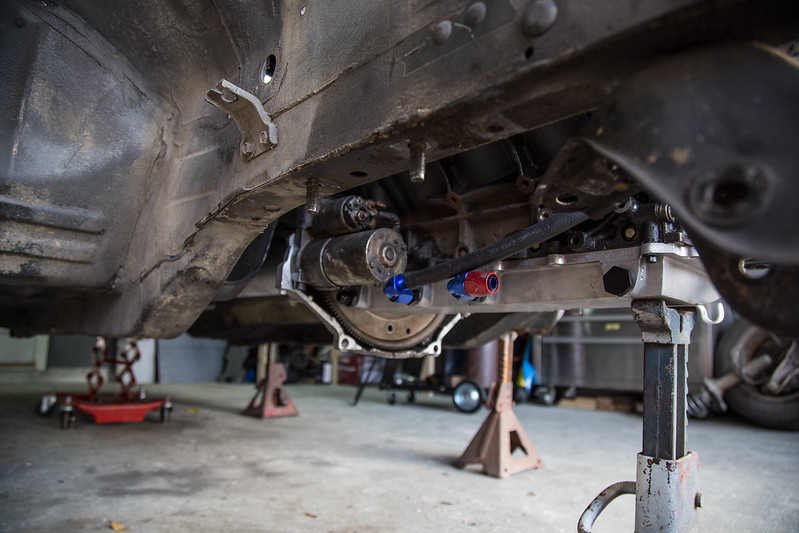 IMG_1407 by lawrx, on Flickr IMG_1407 by lawrx, on Flickr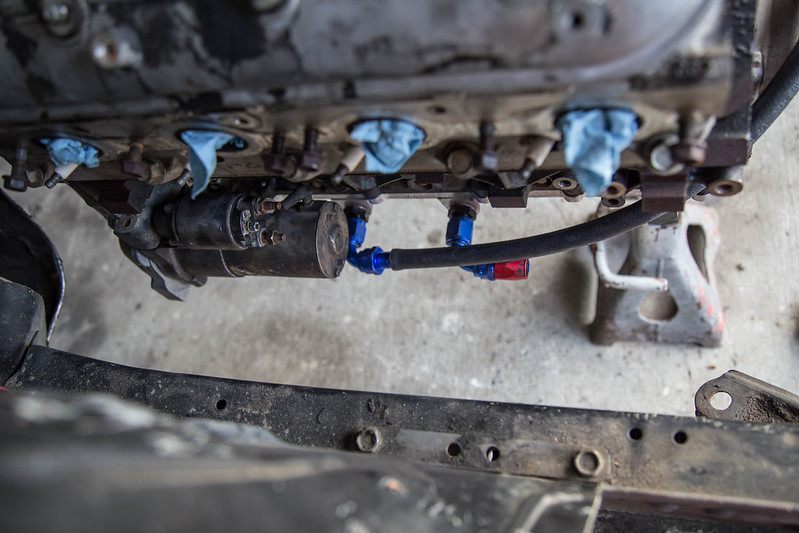 IMG_1408 by lawrx, on Flickr IMG_1408 by lawrx, on Flickr IMG_1409 by lawrx, on Flickr IMG_1409 by lawrx, on Flickr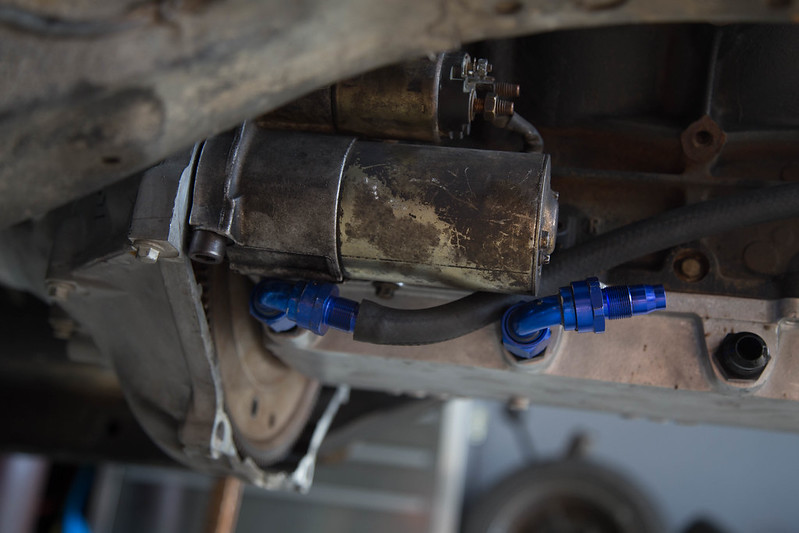 IMG_1410 by lawrx, on Flickr IMG_1410 by lawrx, on Flickr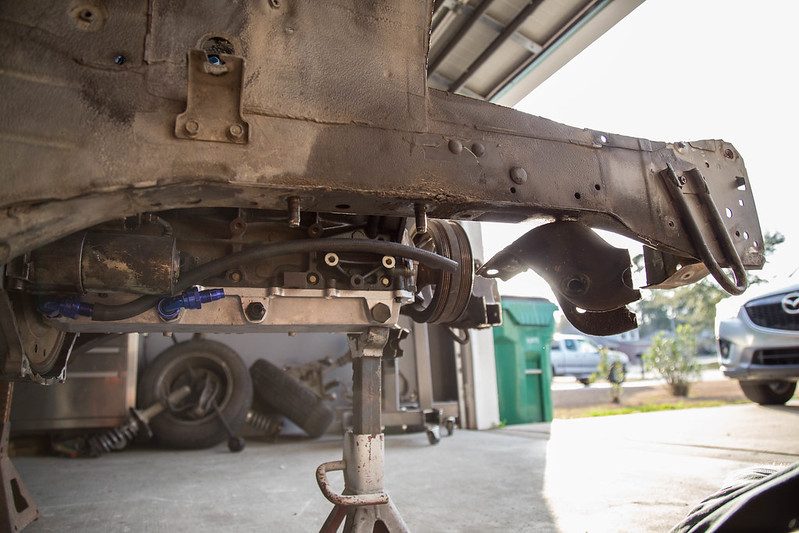 IMG_1413 by lawrx, on Flickr IMG_1413 by lawrx, on FlickrOnce the subframe was welded up, i pulled the motor out and bolted the subframe up to start measuring and mock up for the new mounts for the steering rack. I ended up having to notch the passenger side mount to go around the nipple for where there hardline connects to the rack 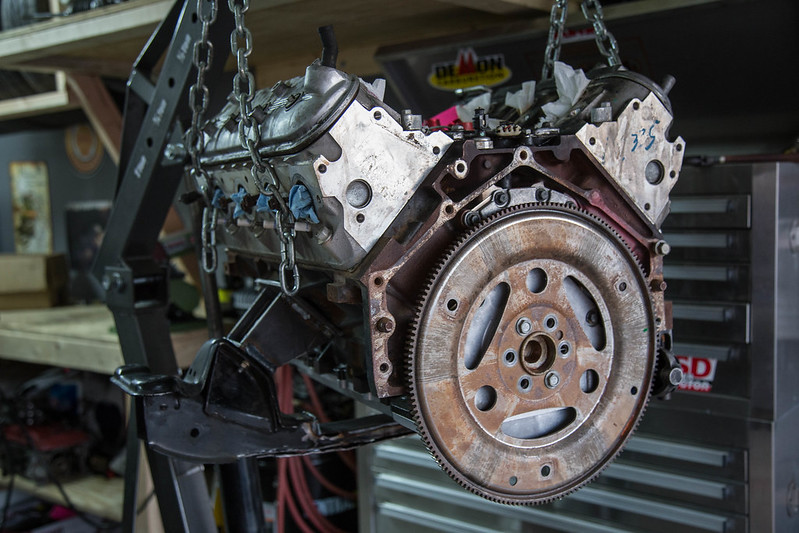 IMG_1420 by lawrx, on Flickr IMG_1420 by lawrx, on Flickr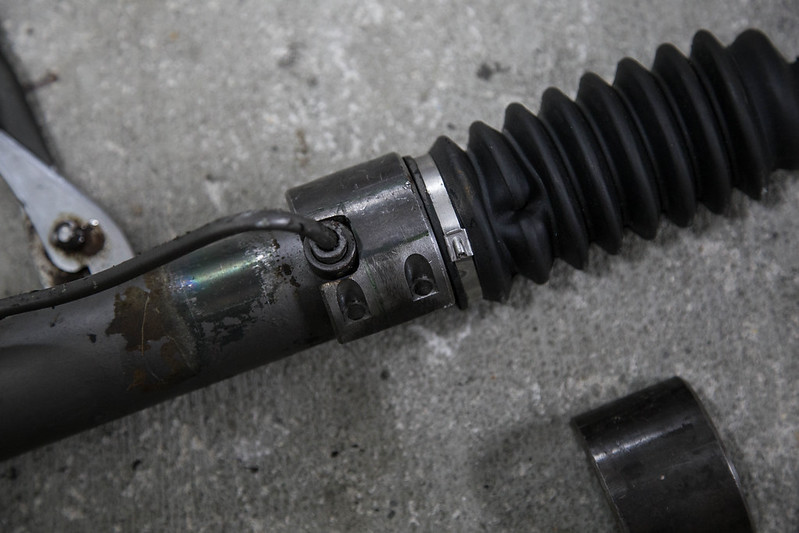 IMG_1423 by lawrx, on Flickr IMG_1423 by lawrx, on Flickr IMG_1424 by lawrx, on Flickr IMG_1424 by lawrx, on Flickr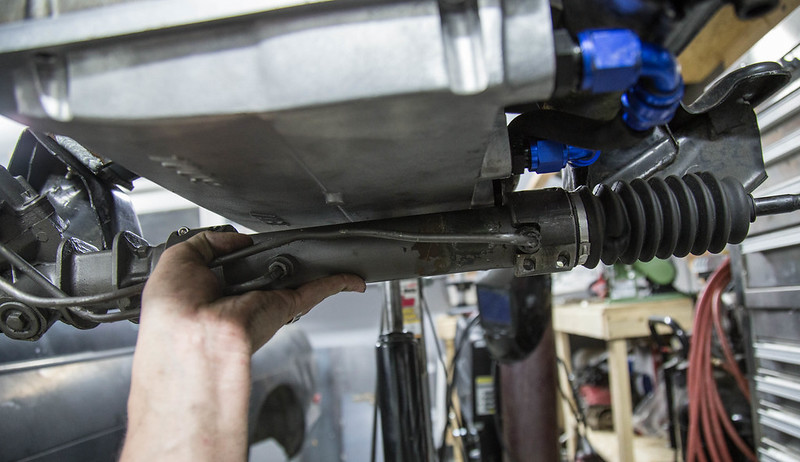 IMG_1426 by lawrx, on Flickr IMG_1426 by lawrx, on Flickr
__________________
My S13 Build http://zilvia.net/f/showthread.php?p=6005967#post6005967 Last edited by laextreme5; 03-14-2016 at 09:44 AM.. |
|
|

|
 |
| Bookmarks |
| Thread Tools | |
| Display Modes | |
|
|