
 |
|
|||||||
| Home | Rules & Guidelines | Register | Member Rides | FAQ | Members List | Social Groups | Calendar | Mark Forums Read |
| Builds (and builds only) Got a build thread? It goes here, build threads anywhere else on the forum will be locked and never moved. |
 |
|
|
Thread Tools | Display Modes |
|
|
#1 |
|
Nissanaholic!
 Join Date: Jun 2007
Location: Kathleen, GA
Age: 50
Posts: 1,938
Trader Rating: (0)
 Feedback Score: 0 reviews
|
Hey everbody. My name is Mike; I've been trolling here for a few yrs... and decided to post my last few yrs work. If any of y'all were in Okinawa between 2005 & 2008, and into cars; you may remember my old 180SX that I built up from fairly stock form:
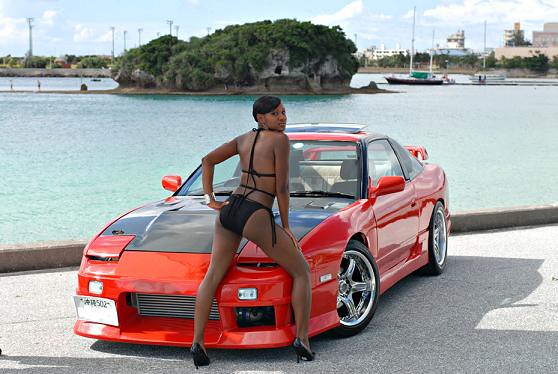 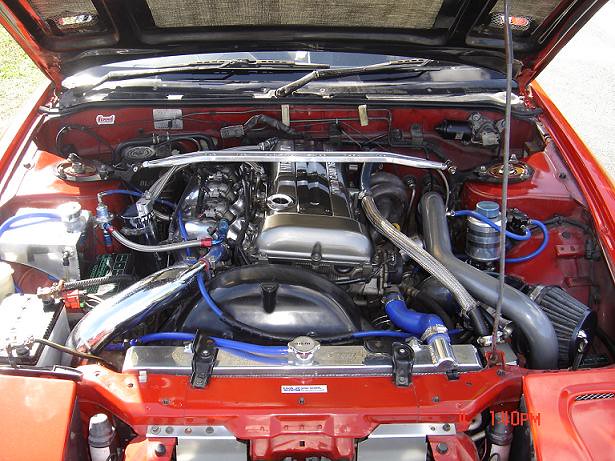 ^^That's not me lol... She was a friend of mine who wanted to pose with it for a swimsuit calendar. ANYWAY... When it came time for me to leave, I packed up just about everything from the FMIC to the tailpipe & brought it back to the states and sold the body. My dream has been to reicarnate that car in LHD form; so in 2009, I flew down to Dallas for a nice, rust-free car to bring up to St Louis and get to work on. Here it is (was lol): 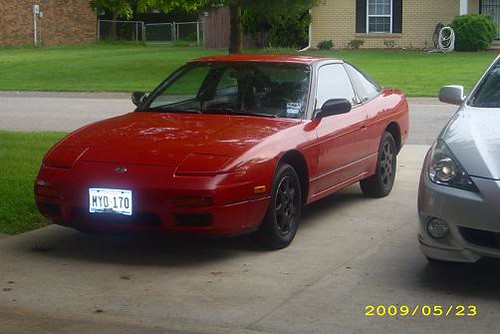 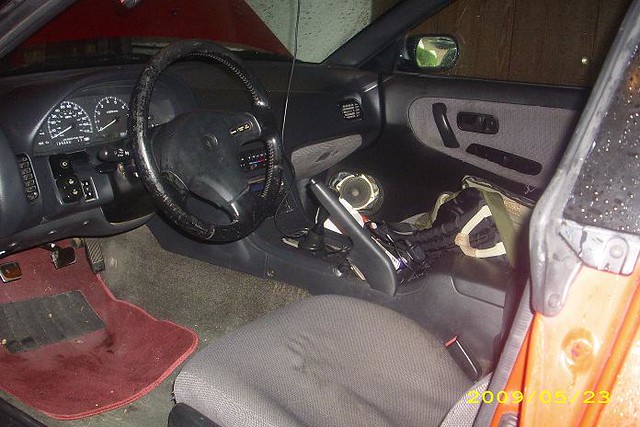 First order of business was to rip apart the interior and redo it. So I tore it all out, cleaned and/or repainted everything; then added sound deadener. 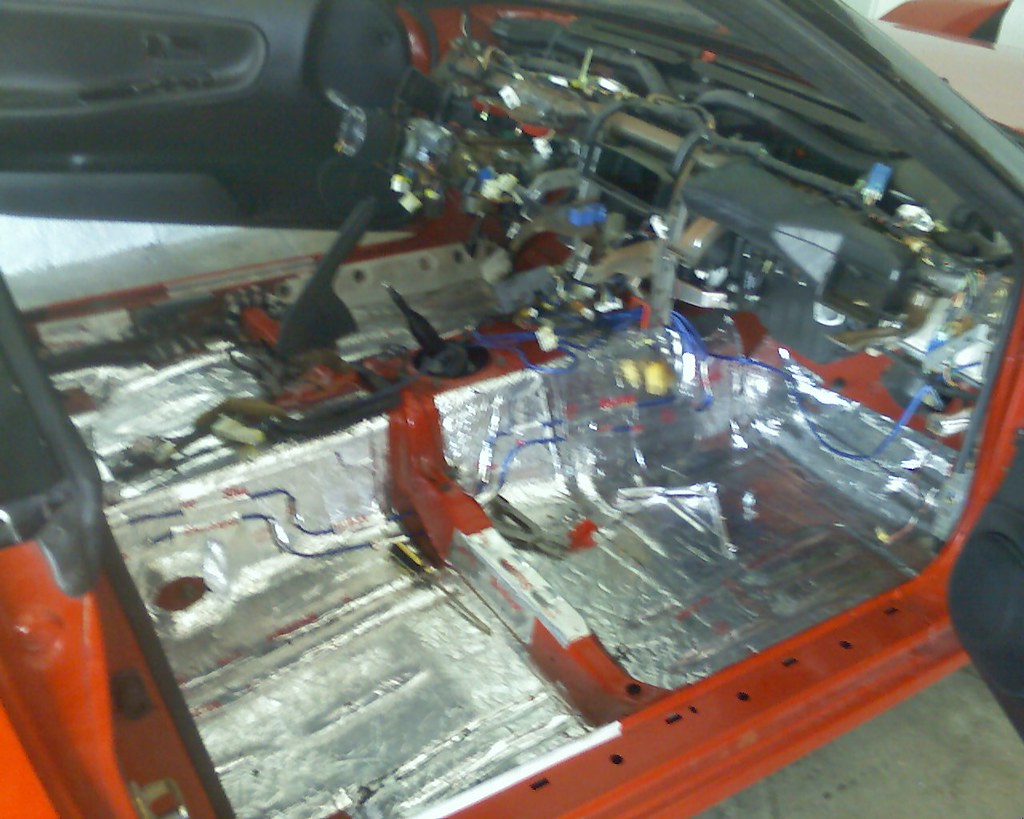 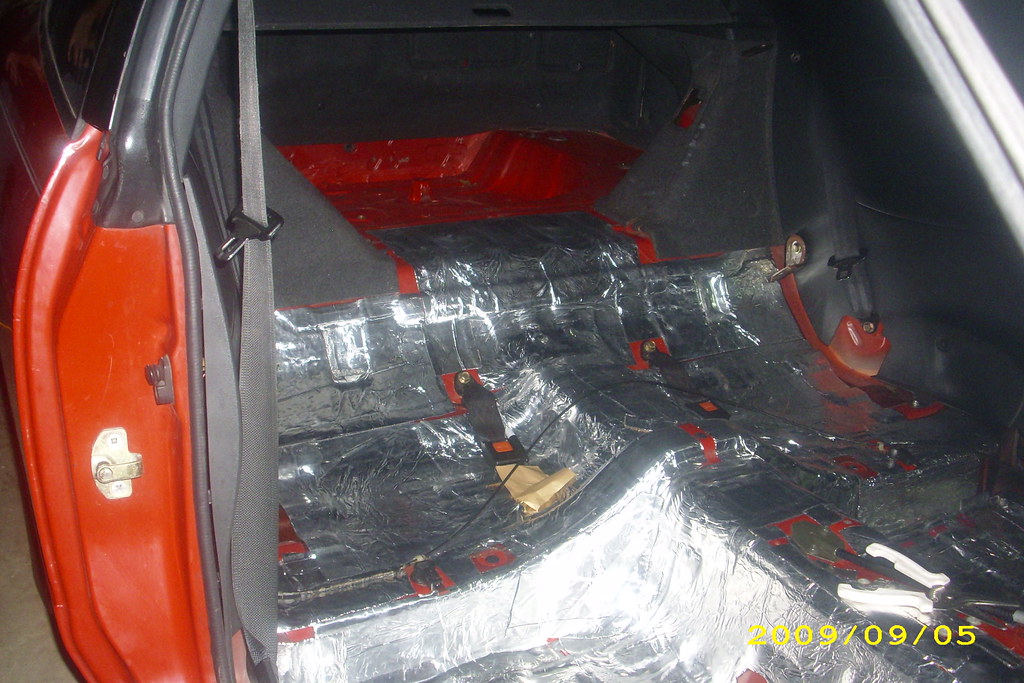 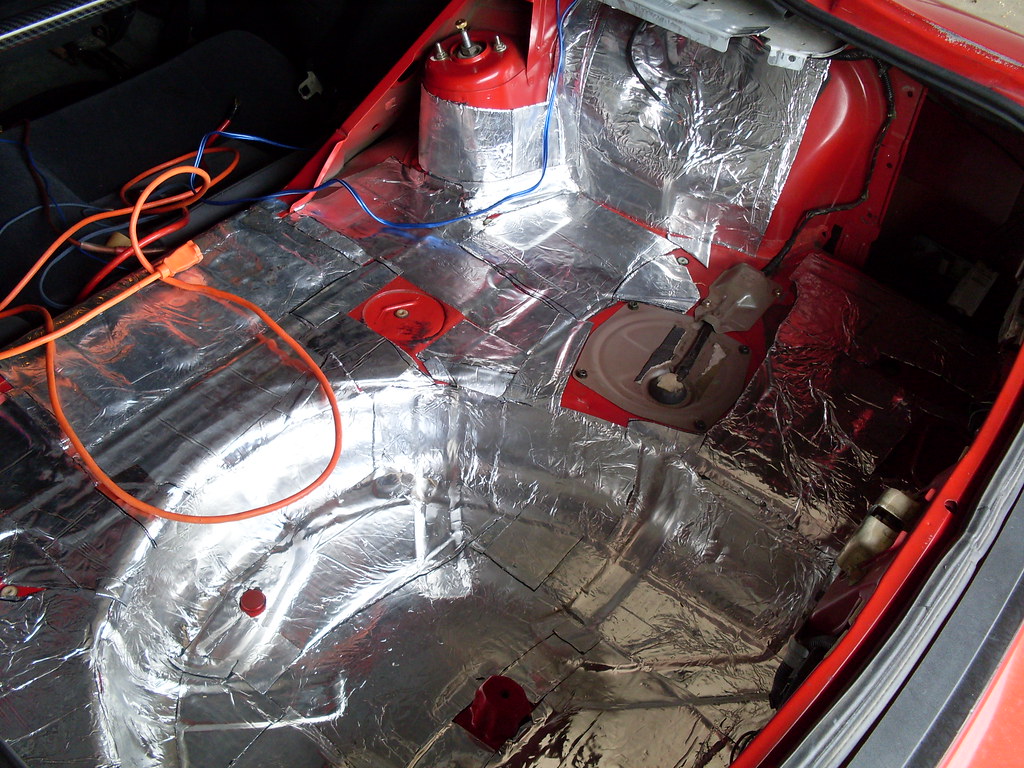 Then put it all back together nice & clean with: - R33 seats - Kouki 180SX rear seat - New [to me] dash - New OEM speaker grills & shift boot - New Essex carpet - Nismo floor mats - New headliner w/fixtures & visors dyed to match the darker shade of grey - New power window switches - hydrographic carbon map light - New Canadian-spec A & lower B pillar side panels - 180SX seat belts & upper B-pillar panels - LED dome - 180SX cluster - 180SX digital climate control - Painted glove box door (graphite) - carbon scuff plates - Razo carbon pedals - Momo wheel - Kenwood Excelon deck w/Pyle Red label speakers, 320w amp & Kicker Impusle 15" sub - carbon C-pillar bar - Cusco carbon rear tower brace - GT Spec trunk cross brace Looks & smells lie a whole new car in there lol! 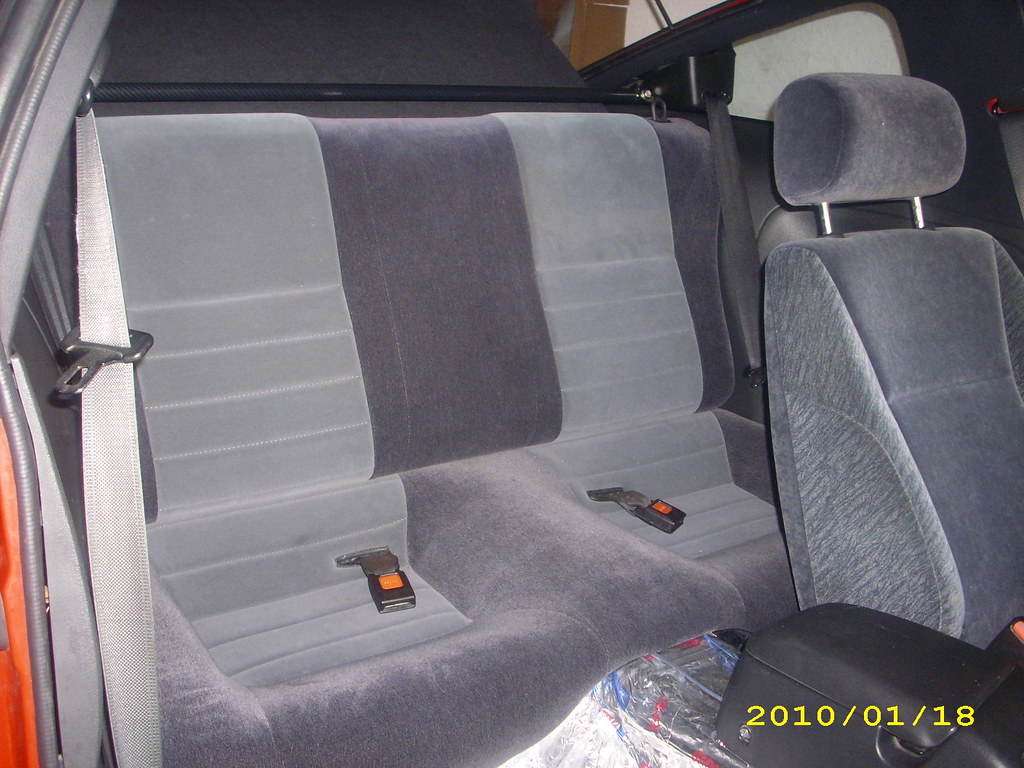 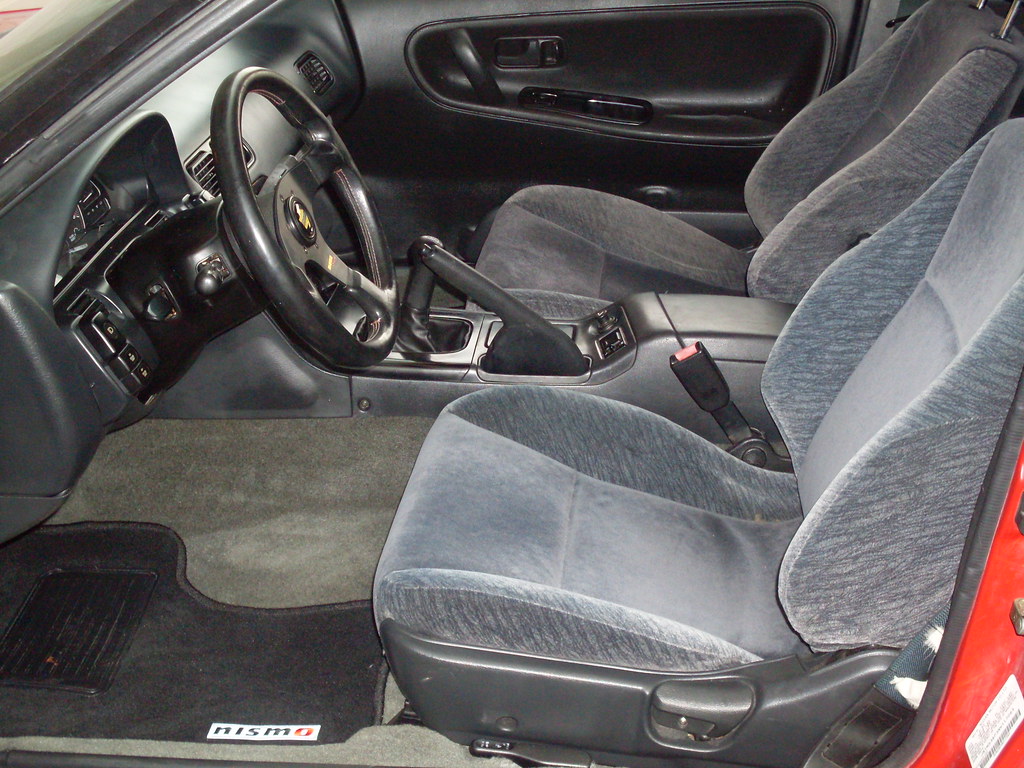 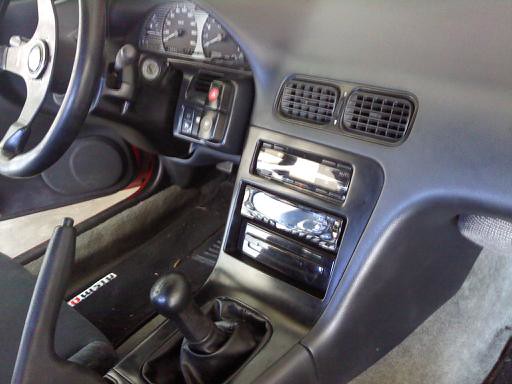 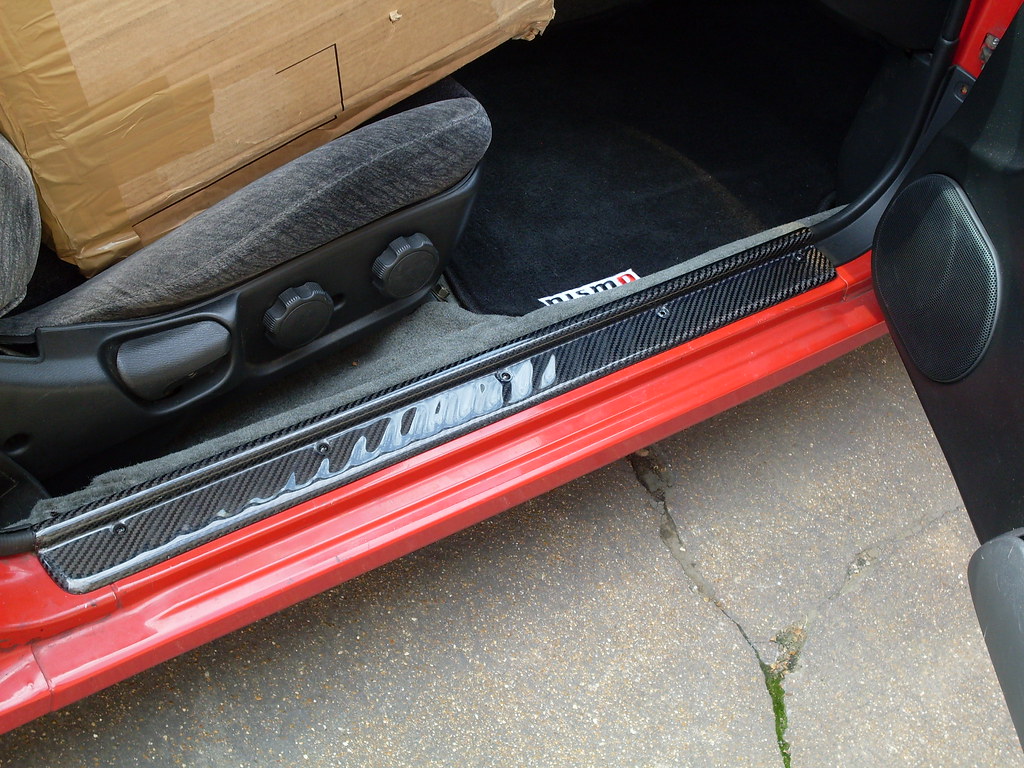 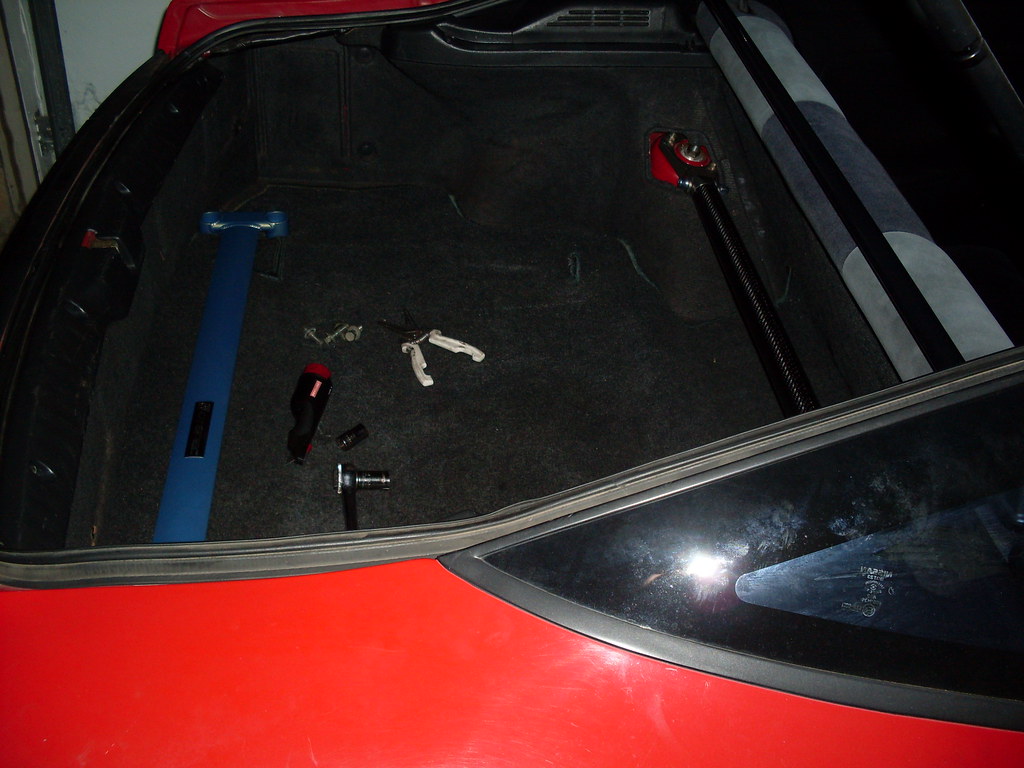 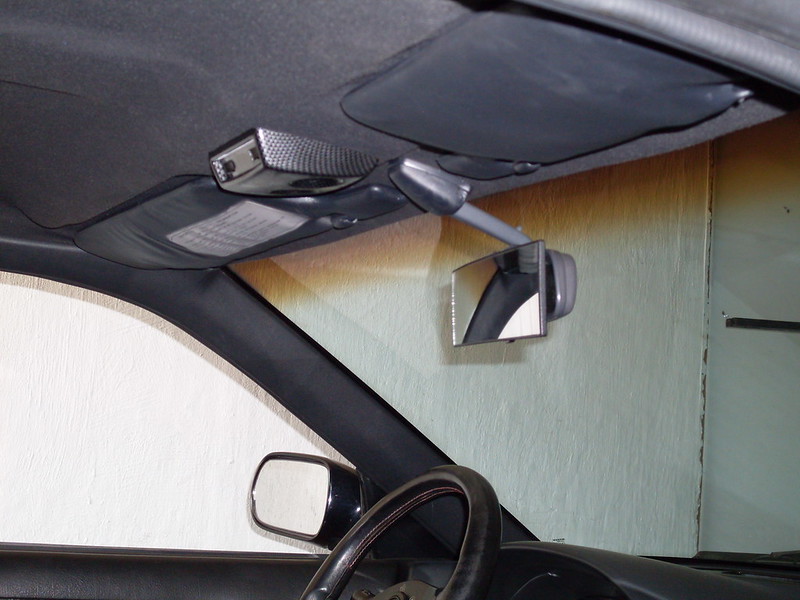 - There are still a few things left to do to the interior, but it's SO much nicer than it was... and there were a lot of other things I did to it as well, but I am trying to keep the narrative short. In between some the above work, I did a 1yr stint in Afghanitraz. While there, I bought a whole bunch more stuff for it on top of what I brought home from Okinawa. When I got back 8 months ago, I did some other prep work & started on the rear underbody portion of the build... - Completely redid fuel tank (cleaned, undercoated/repainted) - Summit -6AN braided fuel lines - Walbro 255 h.p. pump - Deleted evap system - Undercoated entire underside & rear fenderwells with Herculiner - Had rear member, sway bar, spindles, lateral supports & LCA's powder coated - Moog ball joints - Energy urethane subframe bushings - RS-R urethane main bushings - R32 GT-R rear brake/5-lug swap - 300ZX (2+2) ebrake cables / extension brackets - Ray's Volk Racing GT-C wheels 17 x 9 +13 / Nitto 555R 275/40/ZR17 drag radials - HKS Hipermax Performer coils - Drift-Spec RUCA/toe control rods - GT-Spec lower tie brace - 180SX VLSD - Driveshaft Shop Alum driveshaft 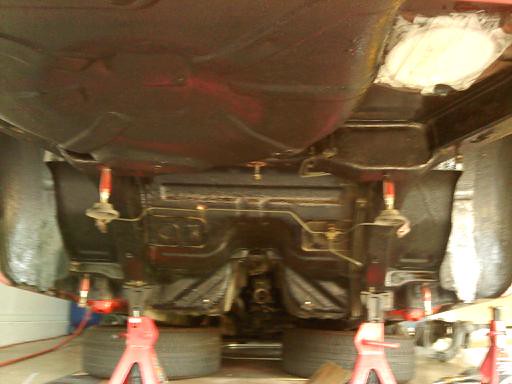 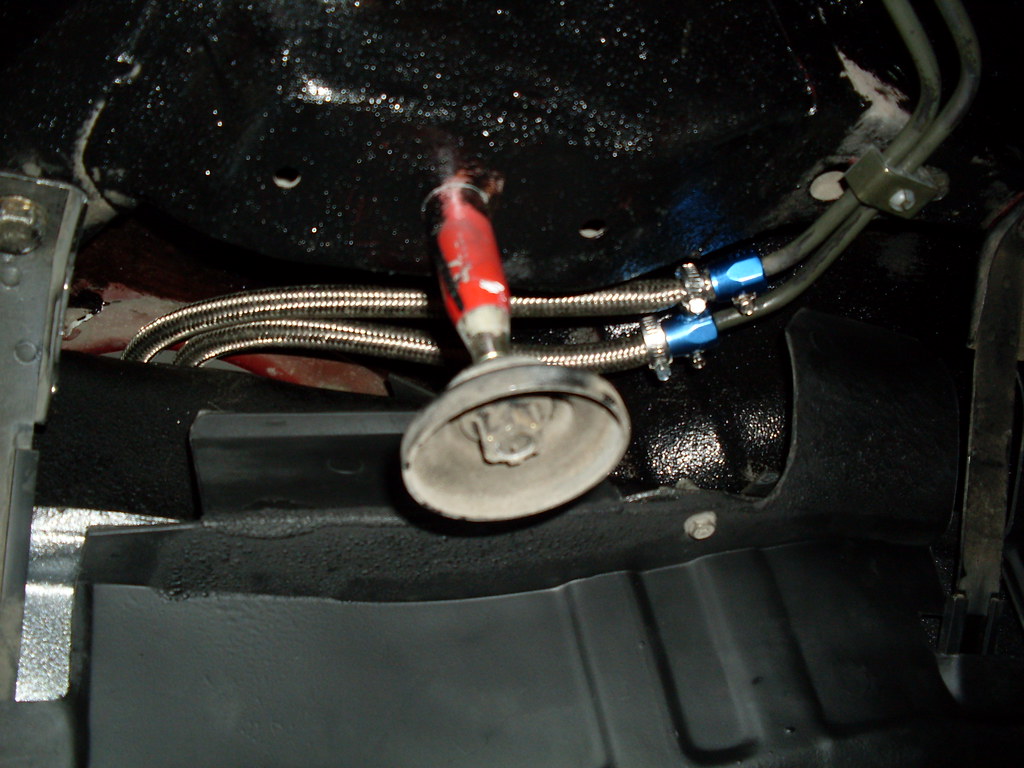 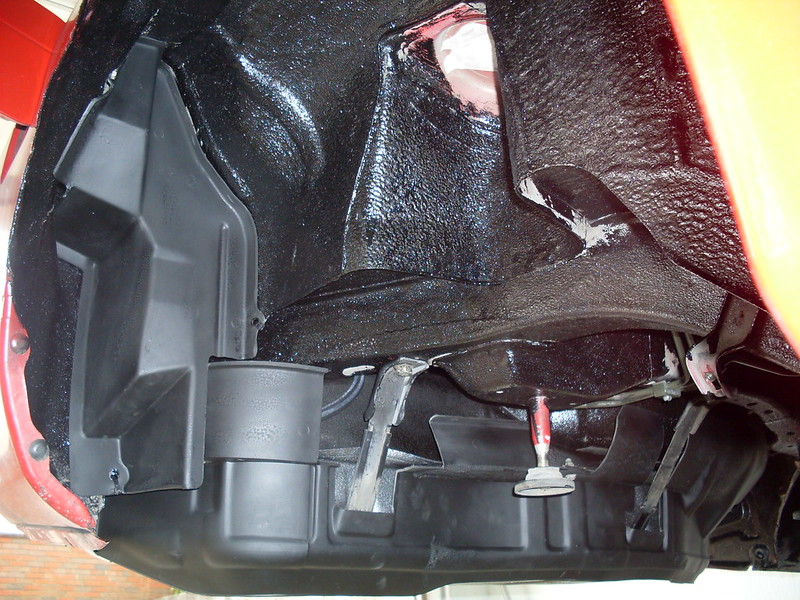 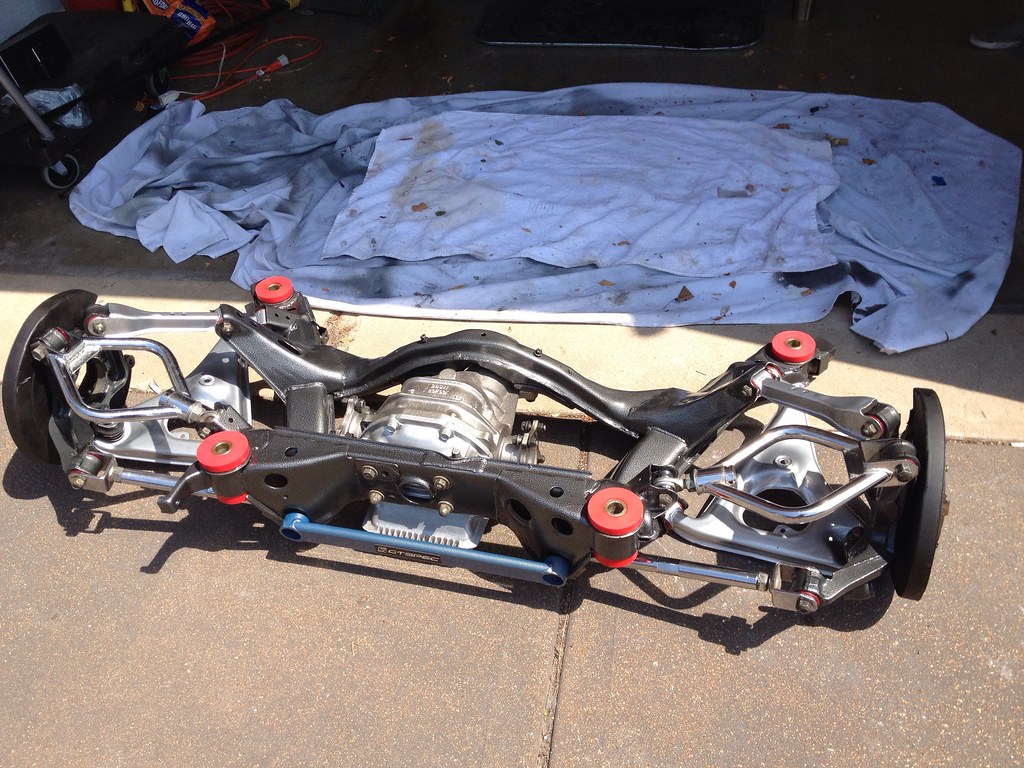 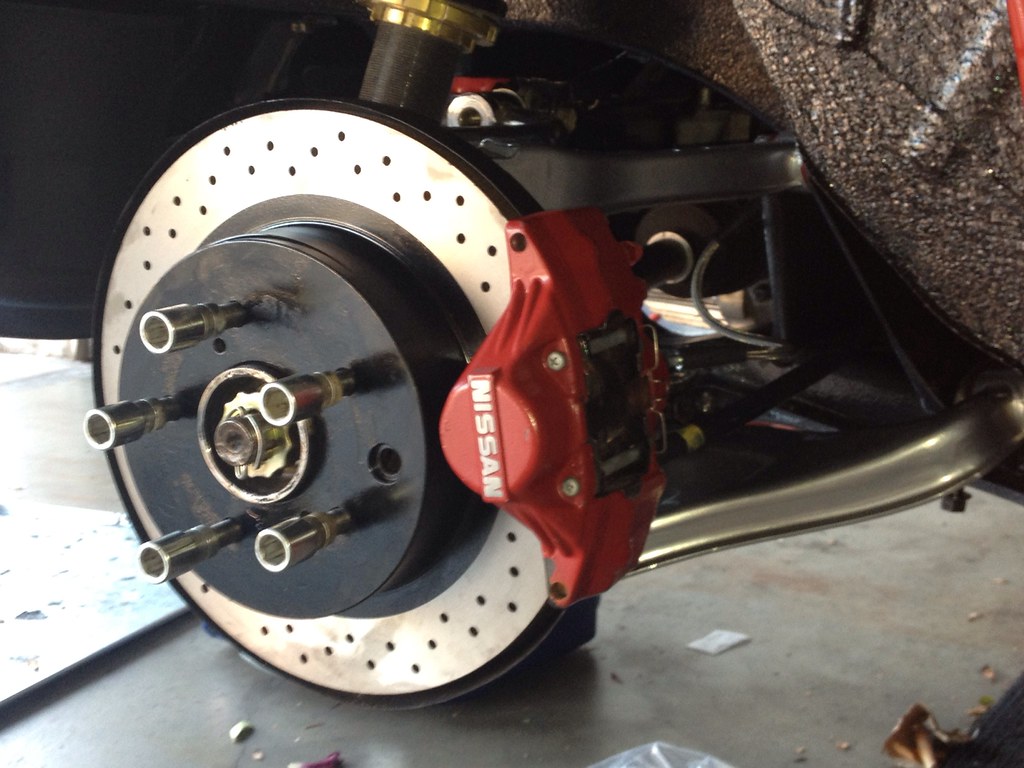 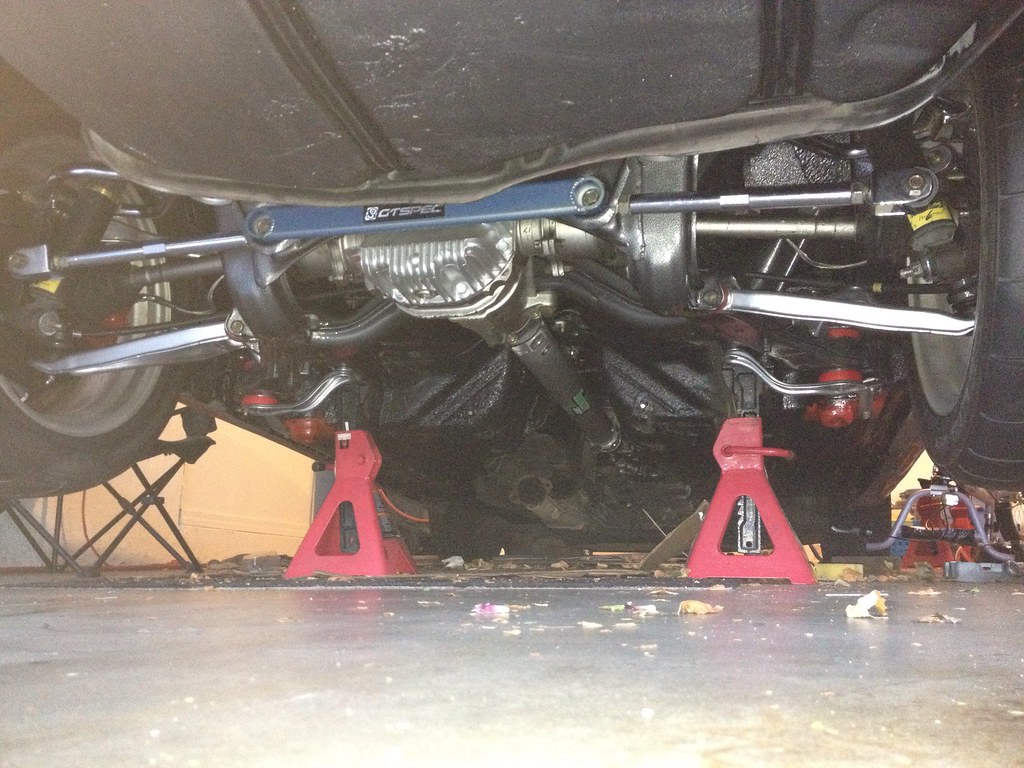 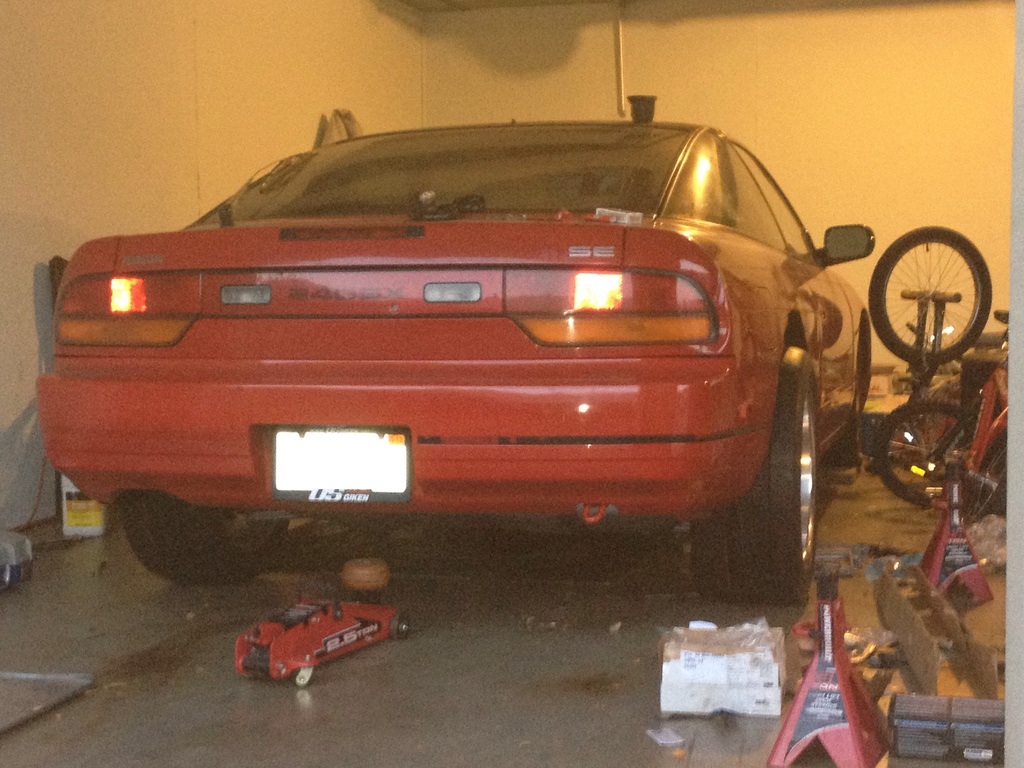 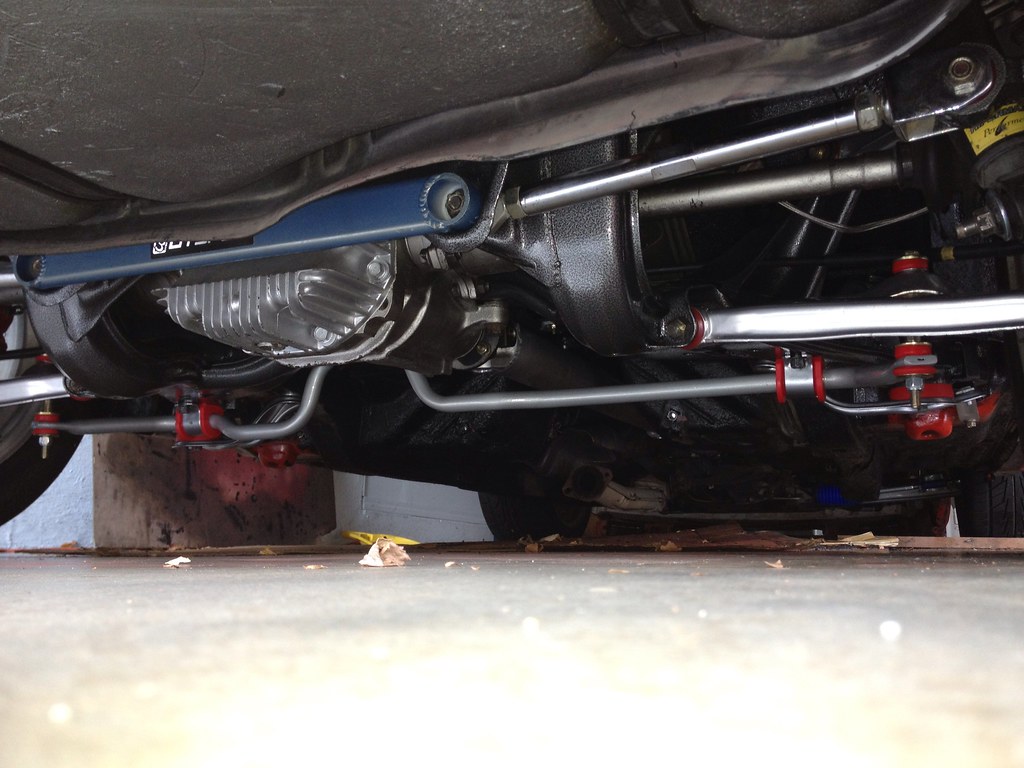 Then I got started on the front underbody prep 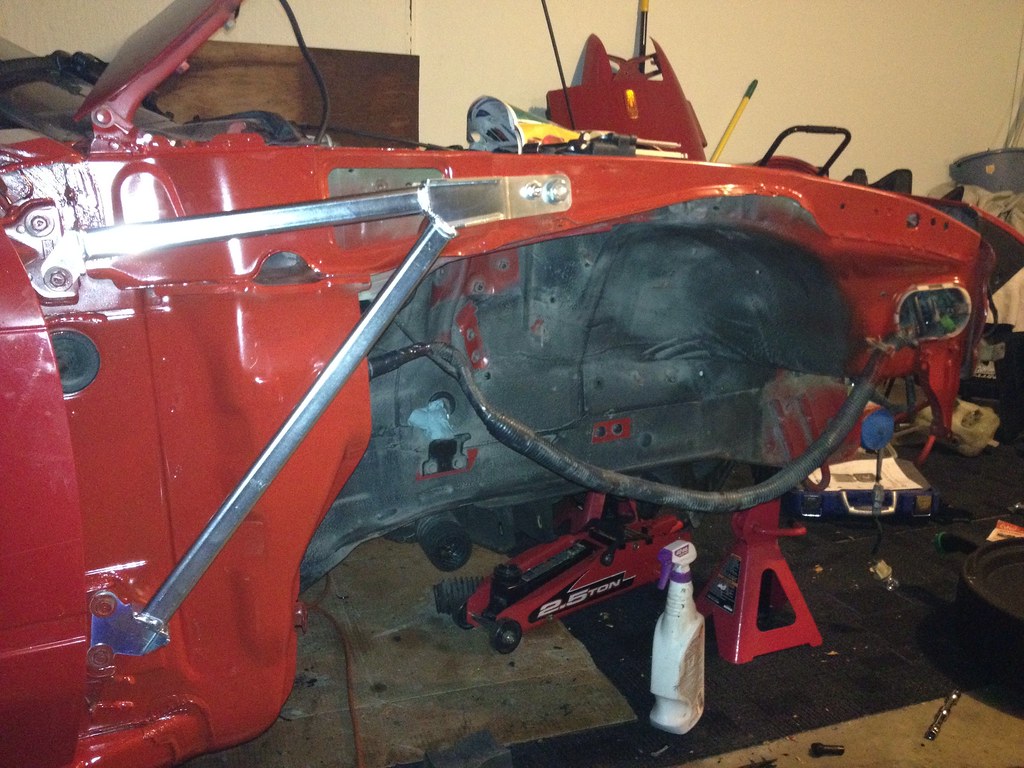 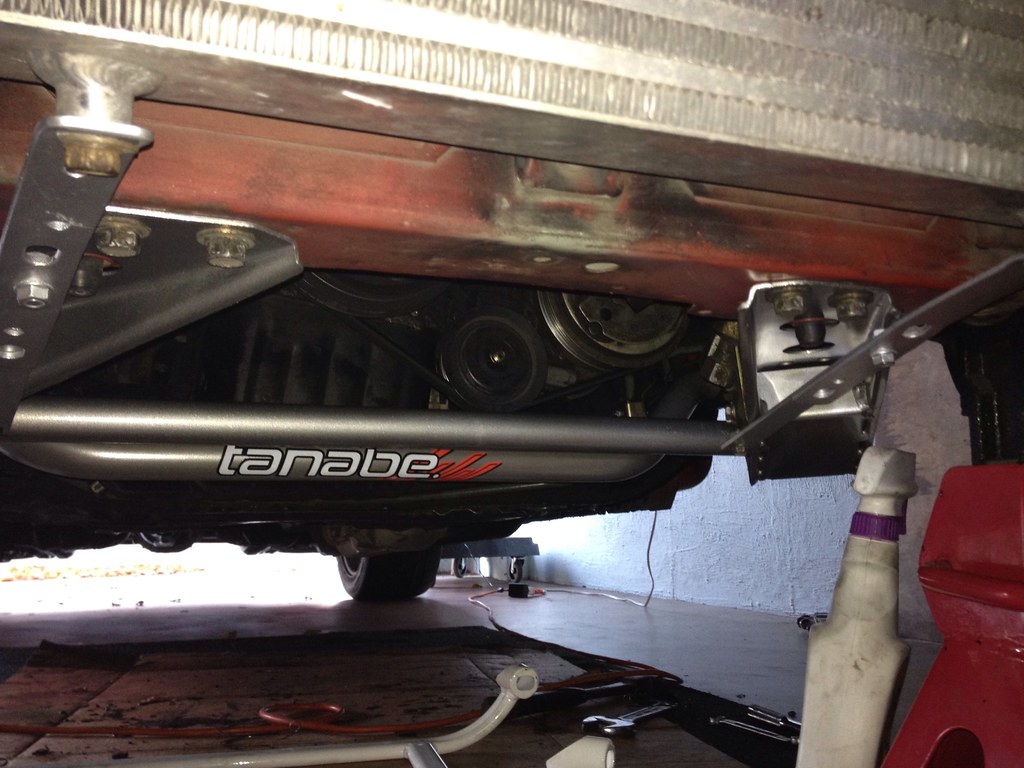 Aside from all of that, I did a bunch of other prep-type stuff done while waiting for the front stuff to get back from powder coat... Like the tranny lol! - CA18DET tranny w/SR bell housing - Cusco baffled center plate - HKS return springs - Nismo pivot ball - C's short shift - Circuit Sports urethane mount 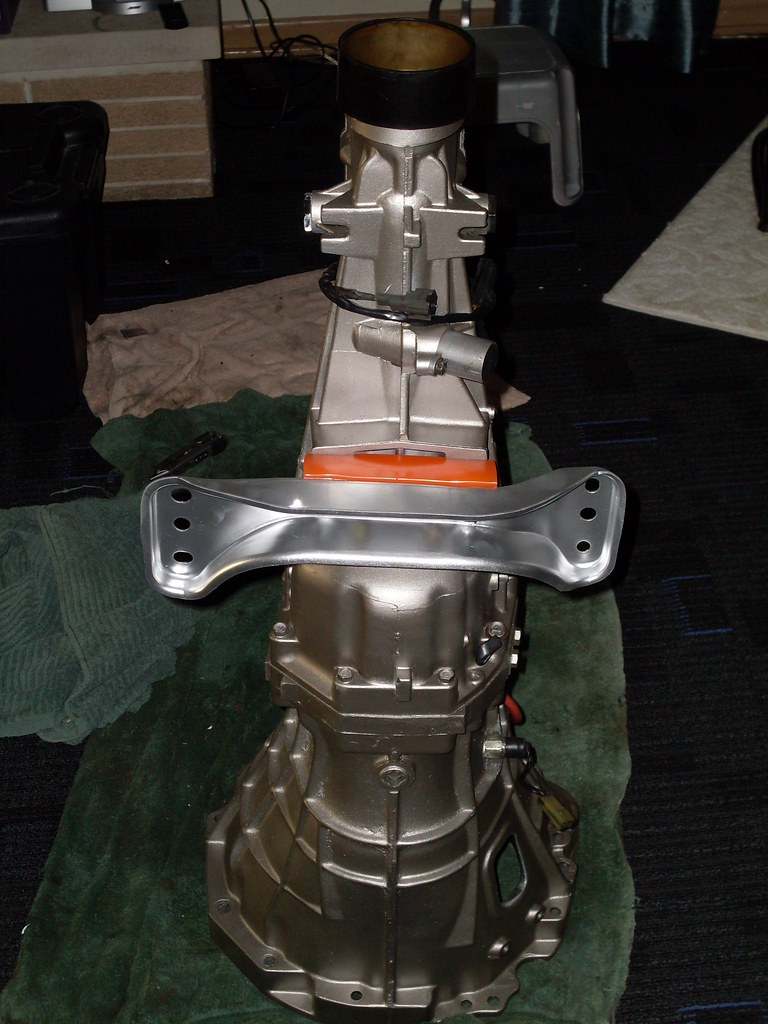 Sent the manifold to Jet-Hot- very happy with the turnout=) 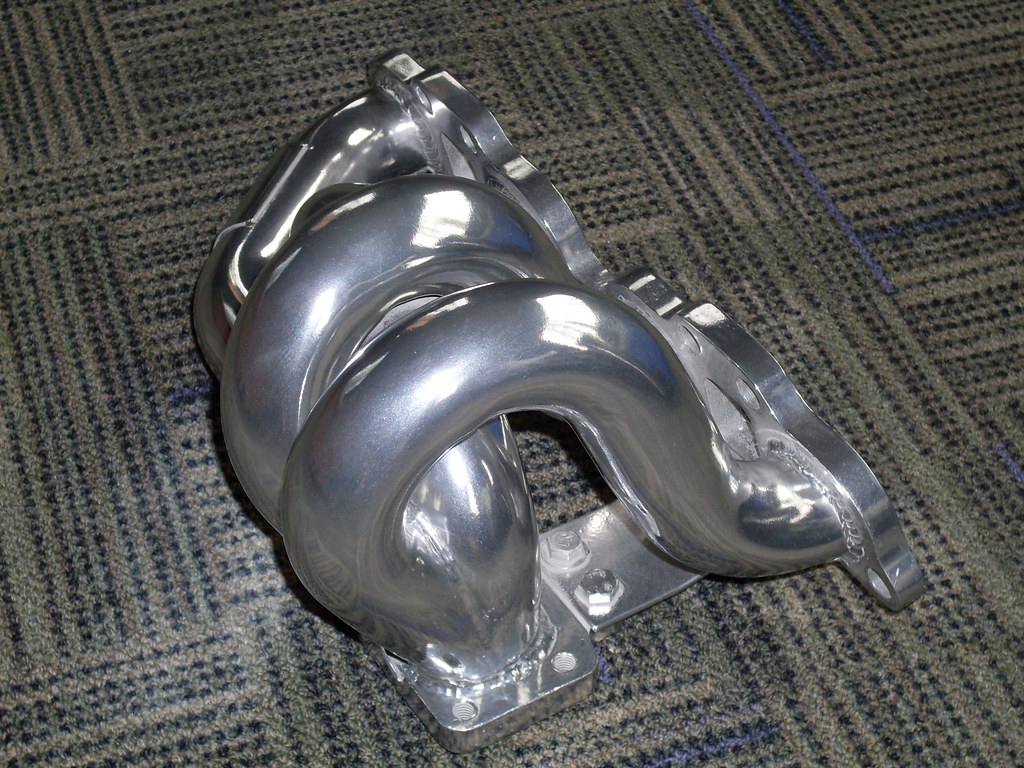 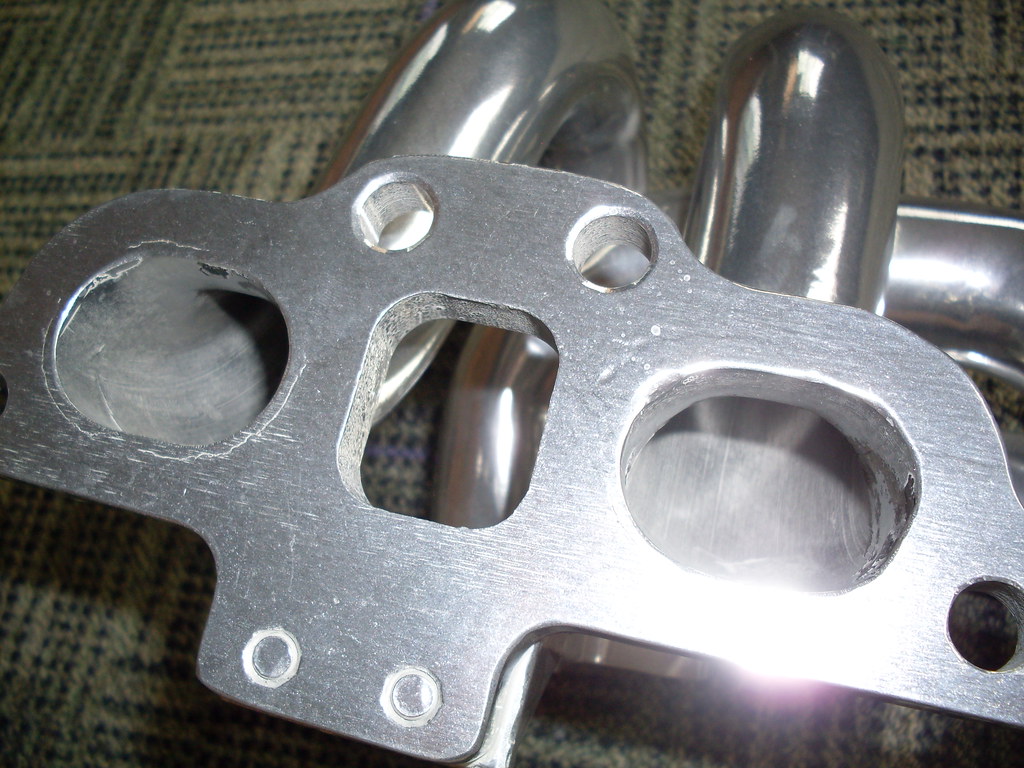 Looks damn near new- I beat the piss out of it in Okinawa for 2+yrs. FReddy intake... Got it free: 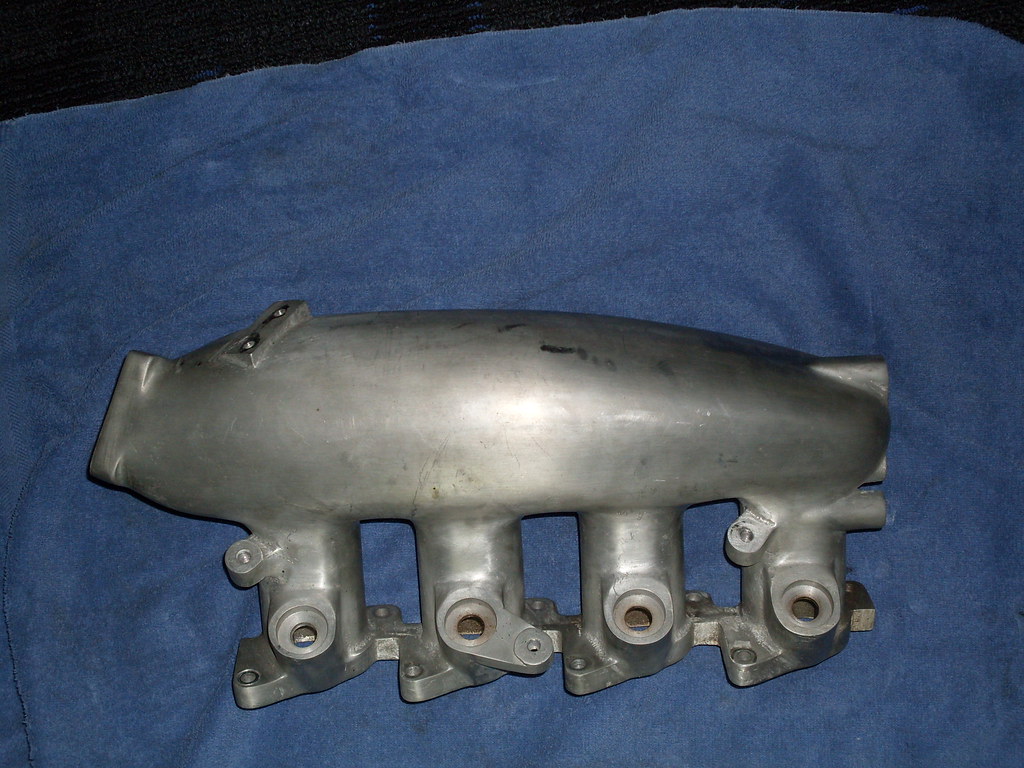 Sent it to St Louis Plating for polish: 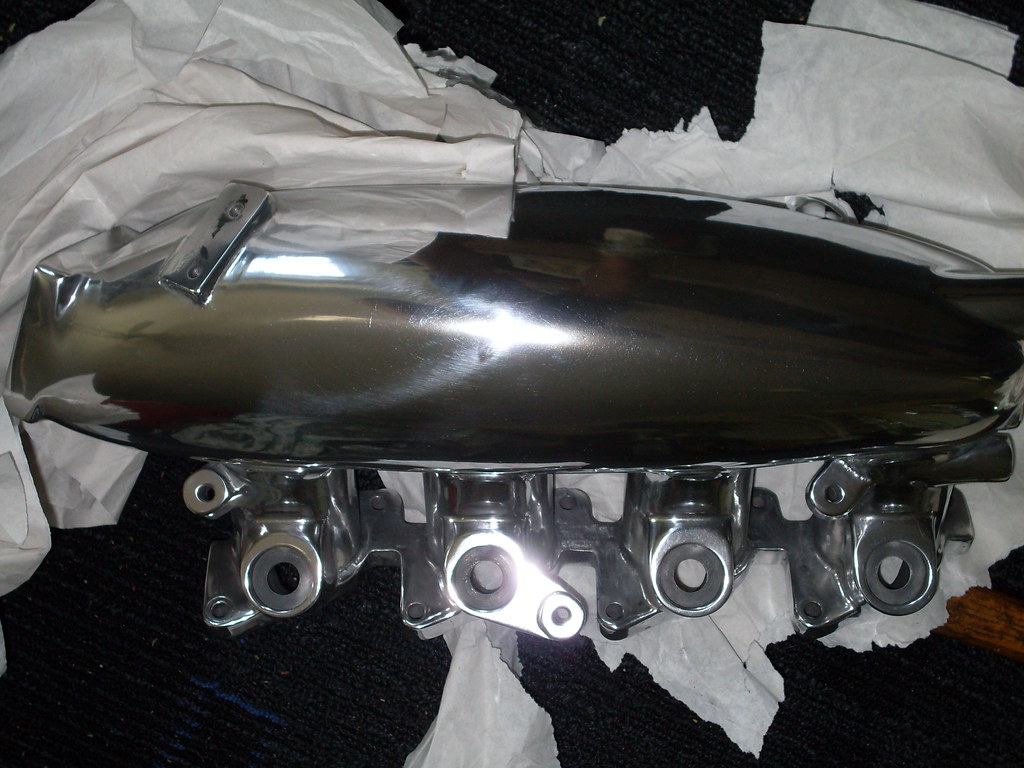 Cleaned 20 yrs worth of shit out from behind the old tails & garnishes... Slapped the new setup in 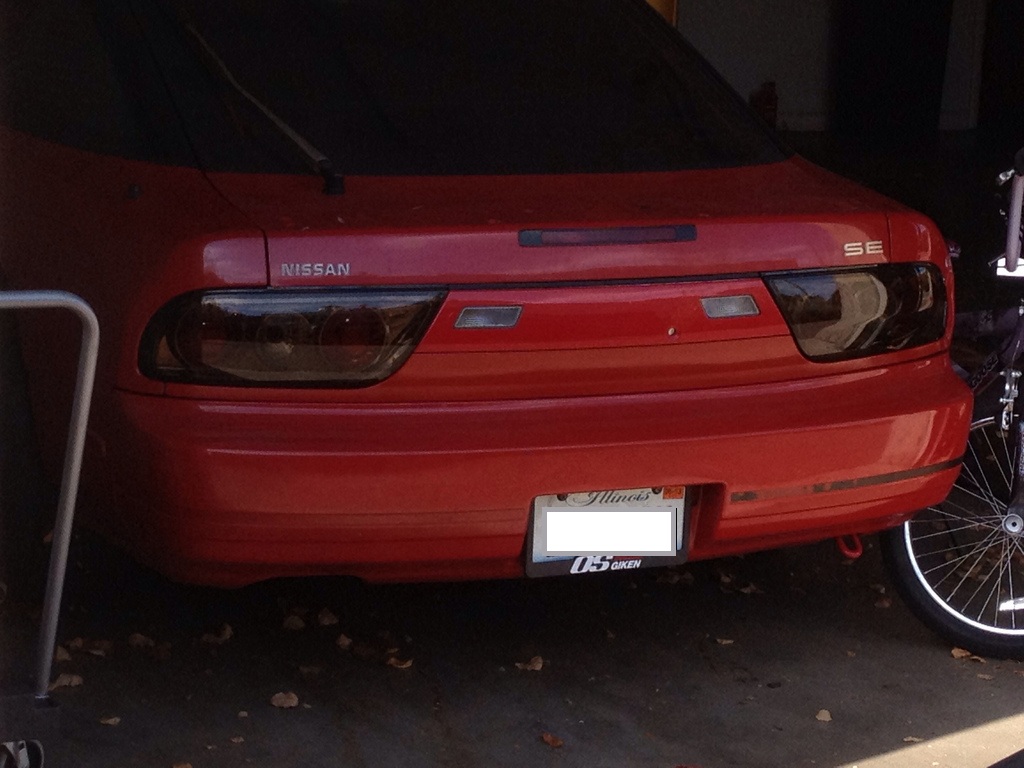 Continued front prep 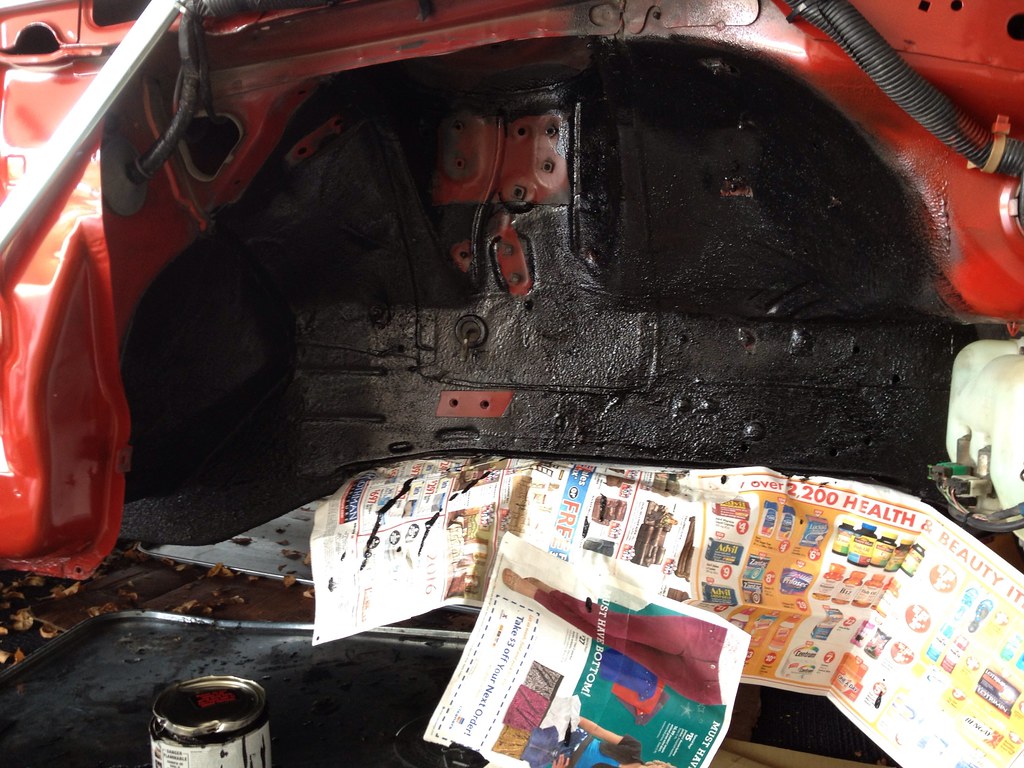 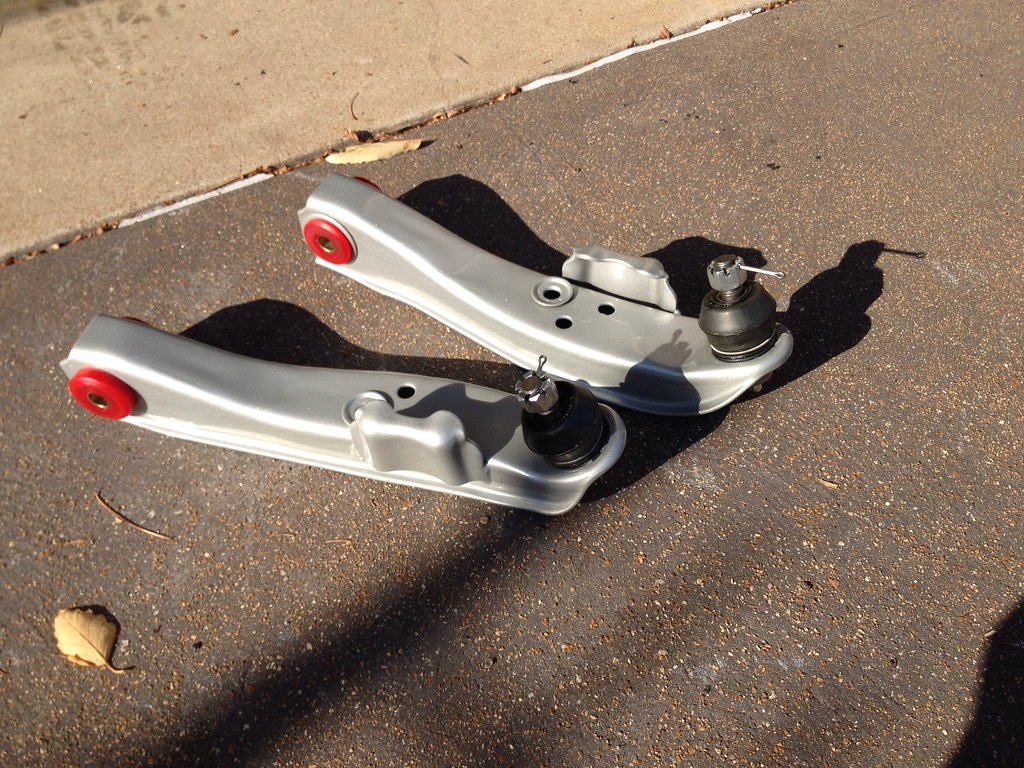 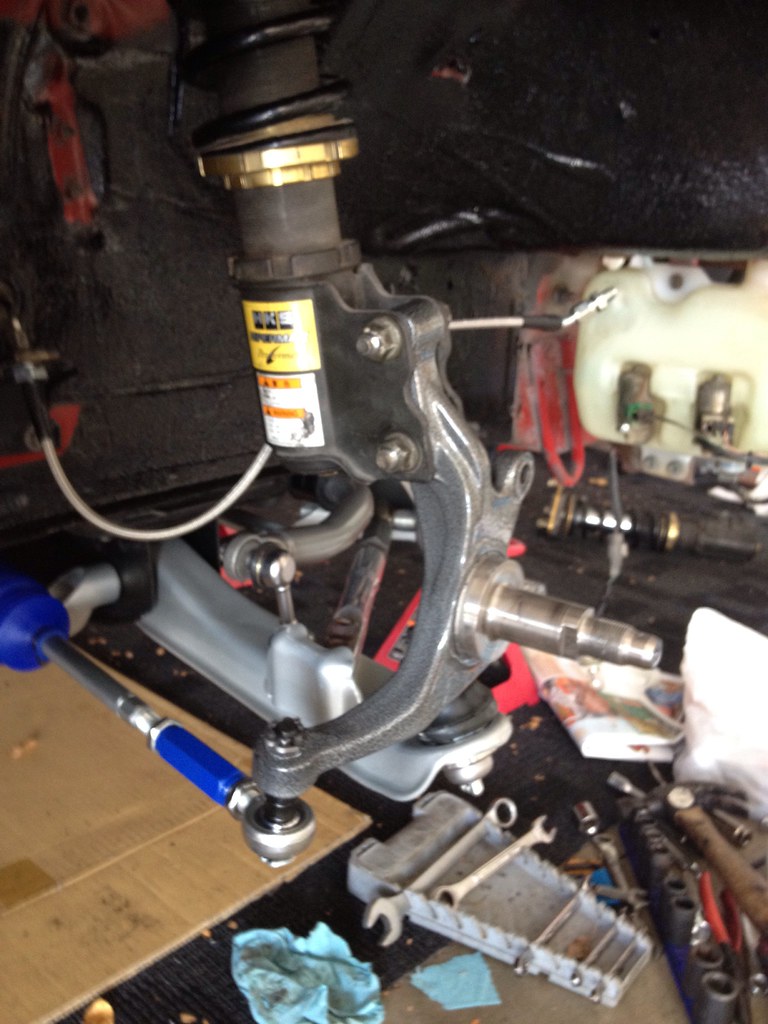 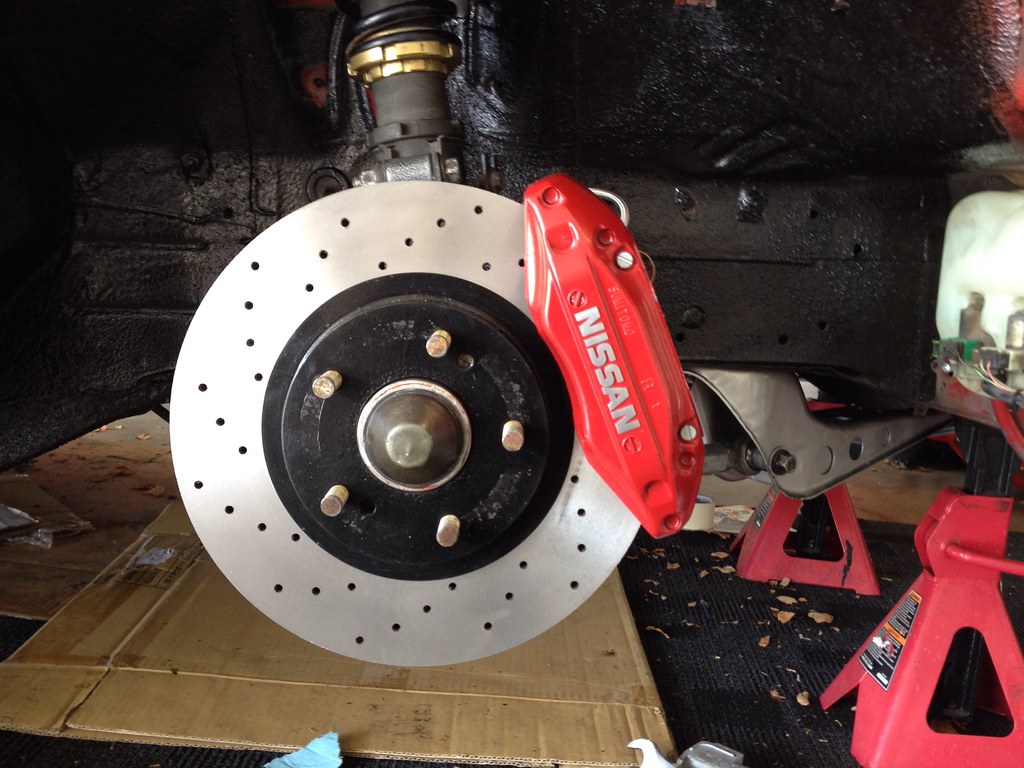 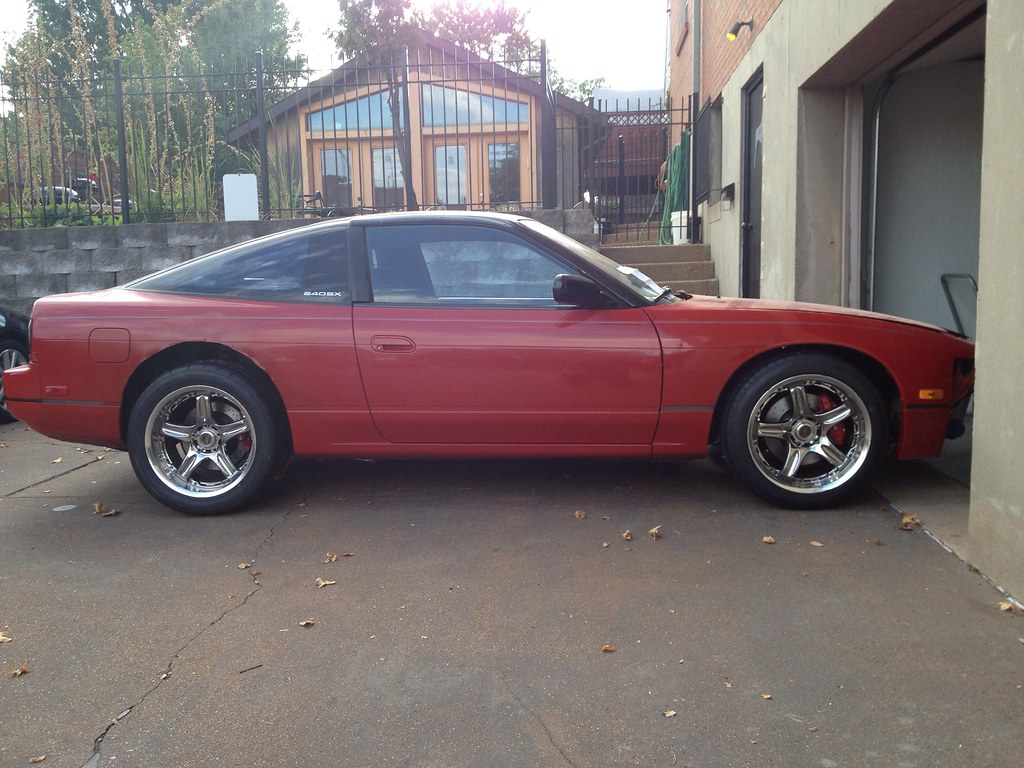 ^^Had the rear cut up to the body line & pinch-welded in prep for overfenders. 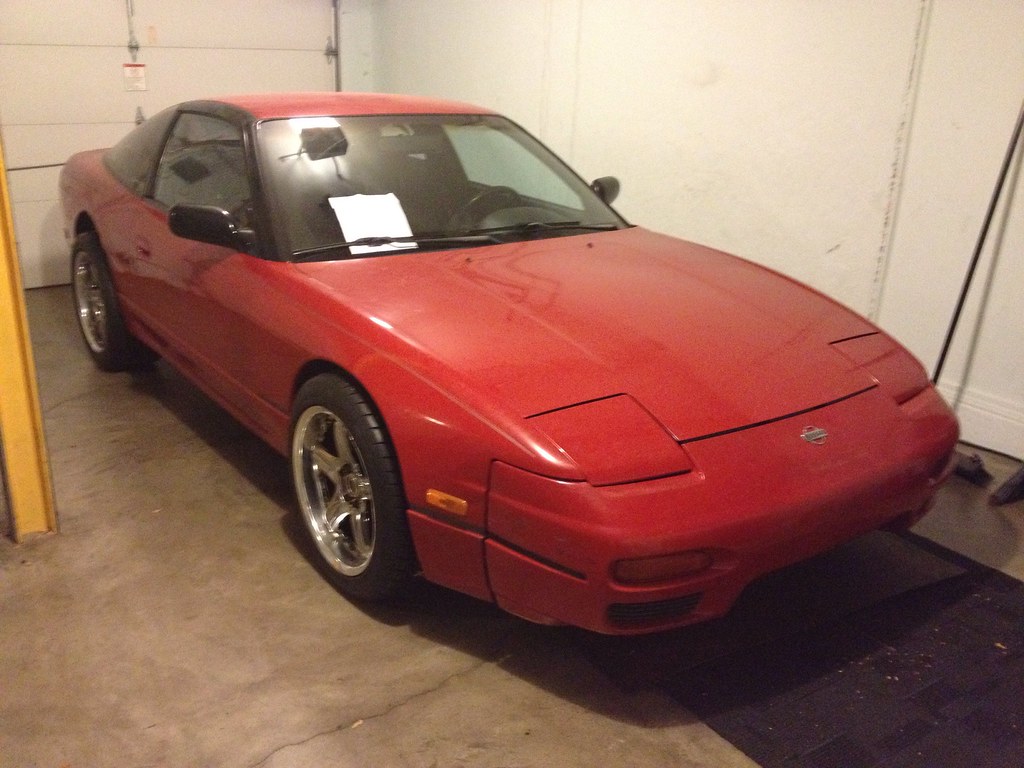 DIF/Tokico Z32 MC 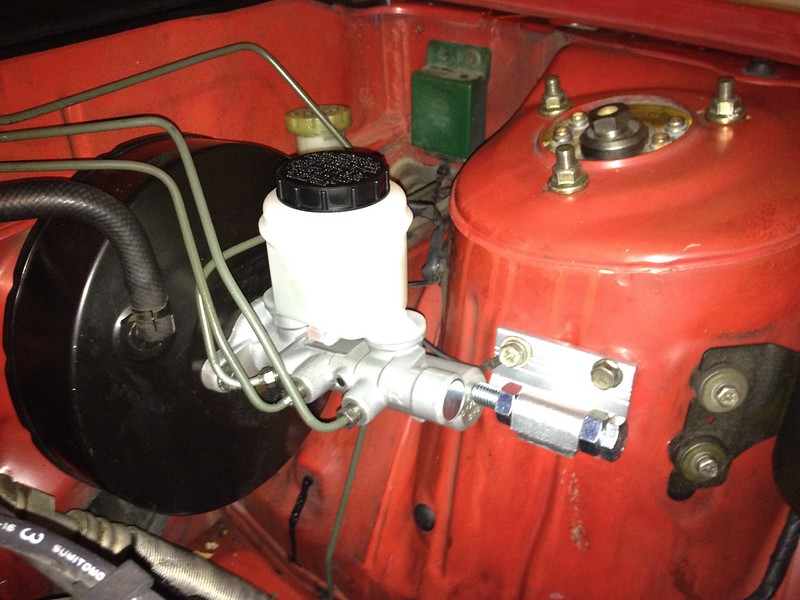 Now that it finally had brakes again; and good ones at that, it was time to to drive it... 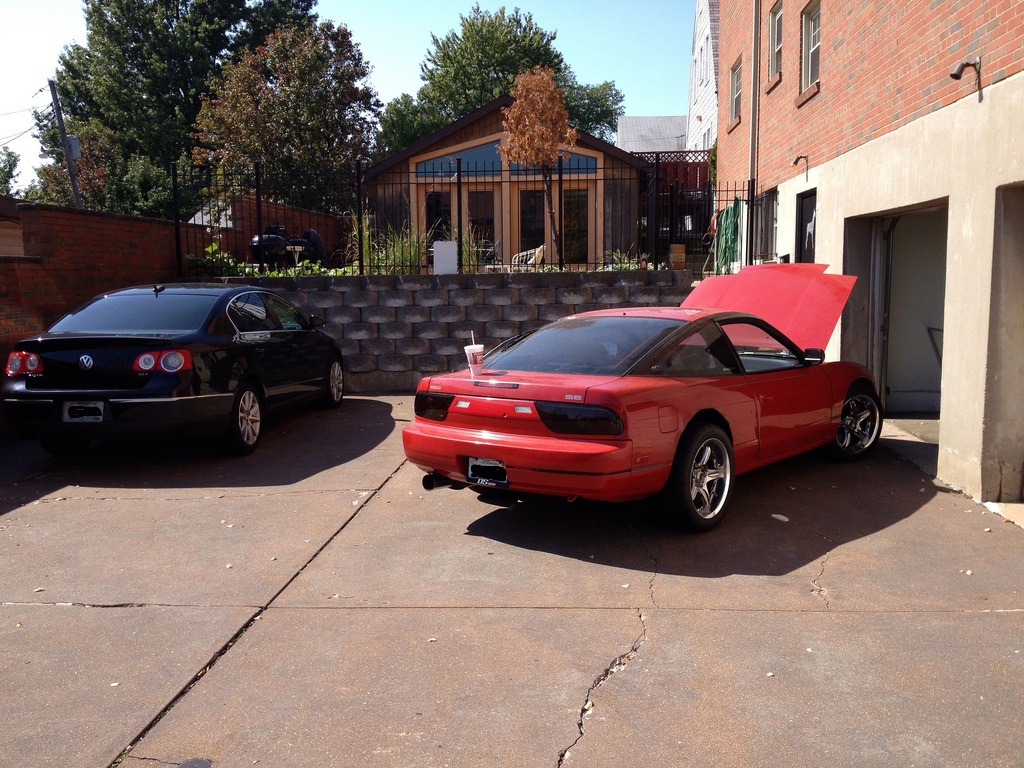 Felt like a whole new, yet underpowered car!!! LOVE the URA's tails~ Picked up the motor from the builder (Adrenaline Motorsports, St Peters, MO) Very happy with their work~ 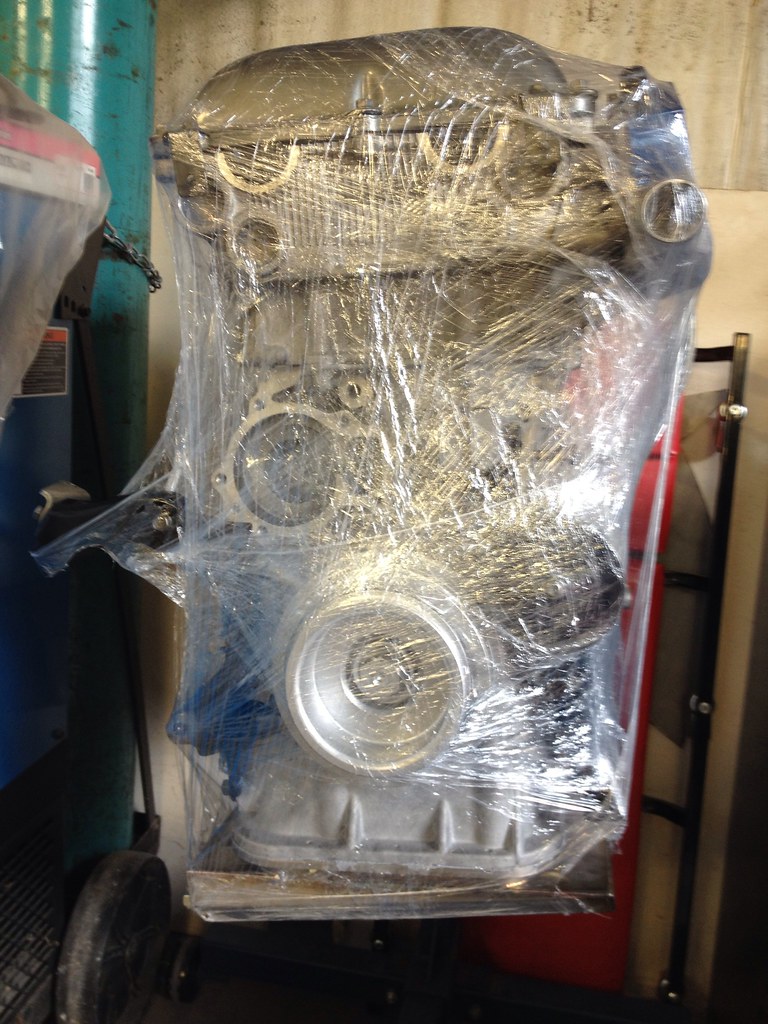 Typical machine work (hone, tank, deck, polish crank, line bore etc), all new [OEM] bearings, thrust washers, gaskets yadda yadda... PLUS some other stuff: - Wiseco 86.5mm forged pistons (9.0:1) - Eagle rods (kit comes with ARP HW) - ARP main studs - ARP head studs - BC valve springs/retainers - Tomei solid lifters - Tomei 260* solid-type Procams - Powder coated crank pulley & bracketing - Billet blue CAS cover - Nismo ratchet-style oil cap - Tomei Super oil block - Tomei oil pan 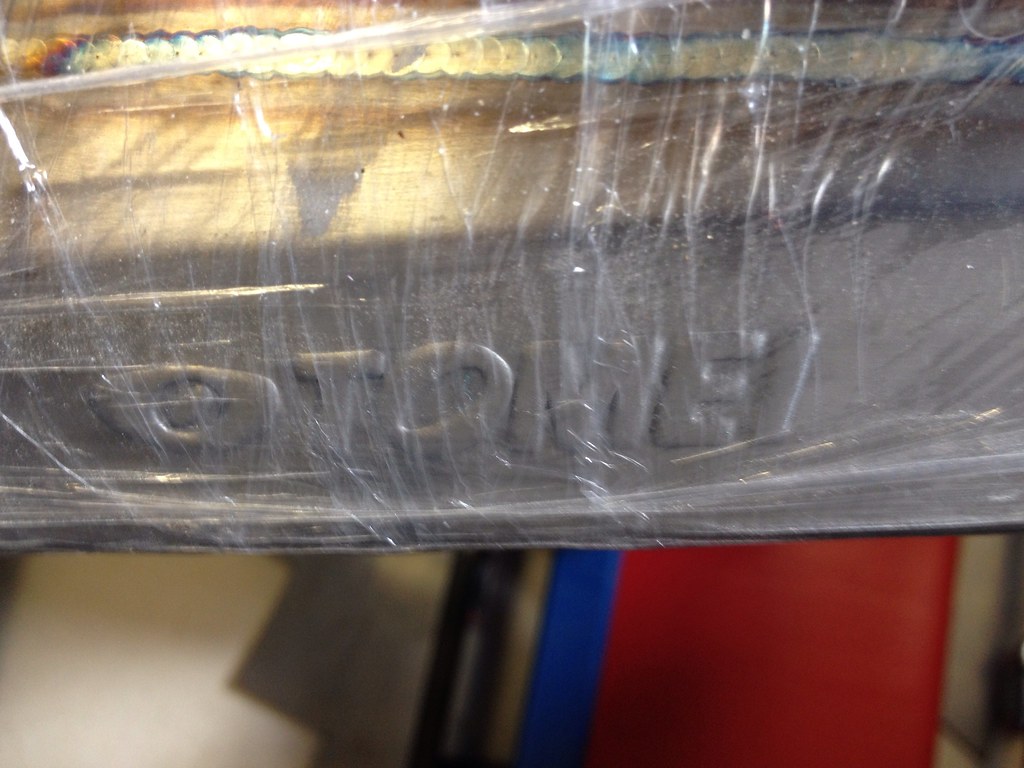 ^^Mmmm sexy~ It was time to my buddy's shop to toss the KA, start building up the SR and get the engine bay ready for paint... so I got some stuff ready for it. 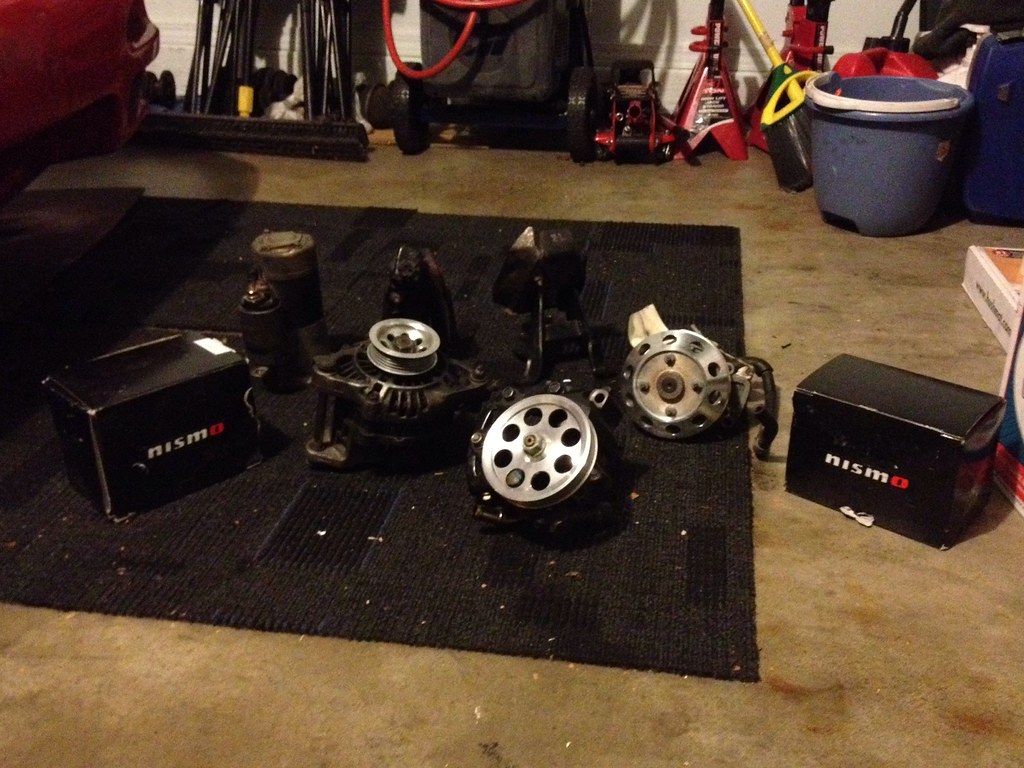 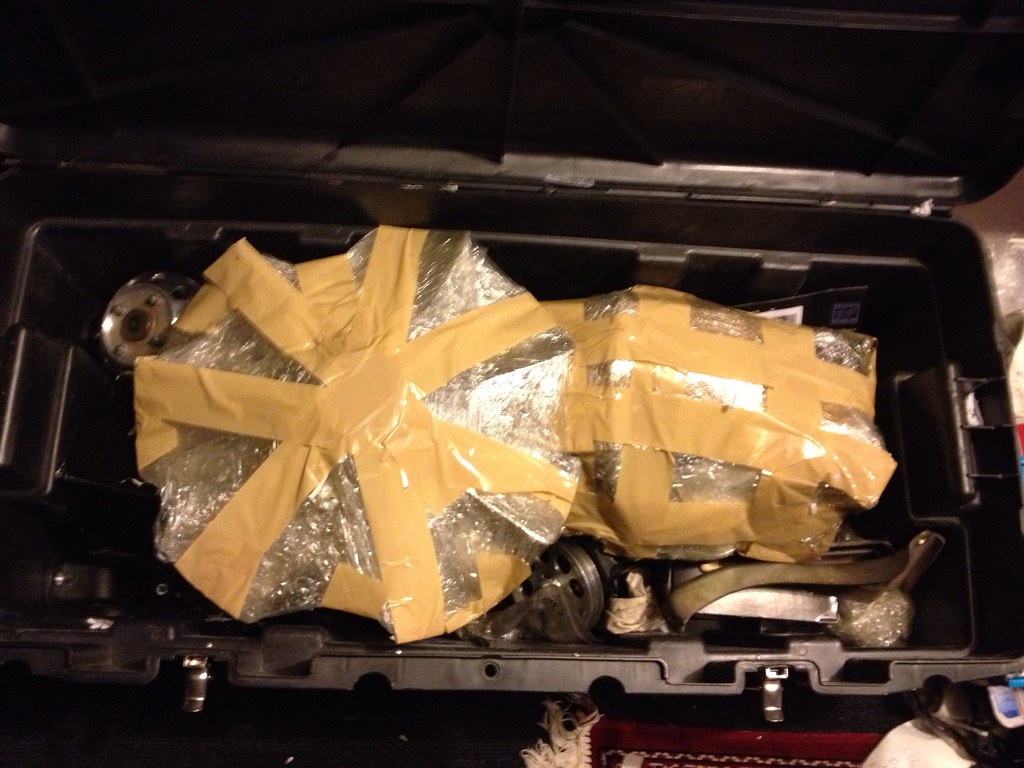 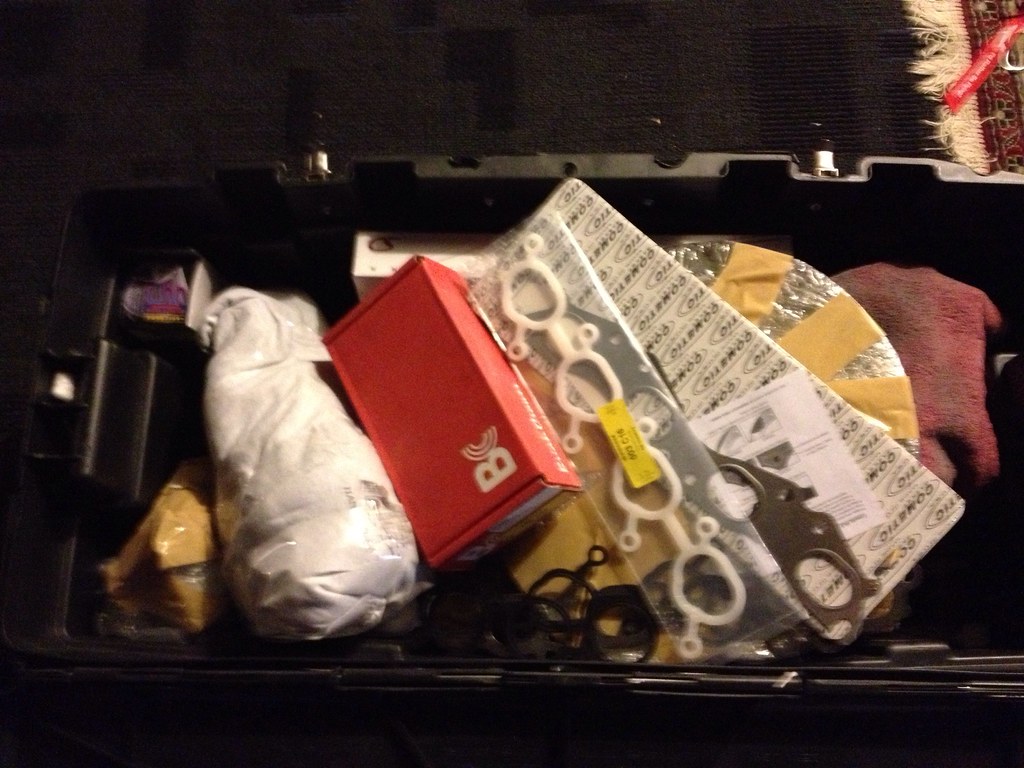 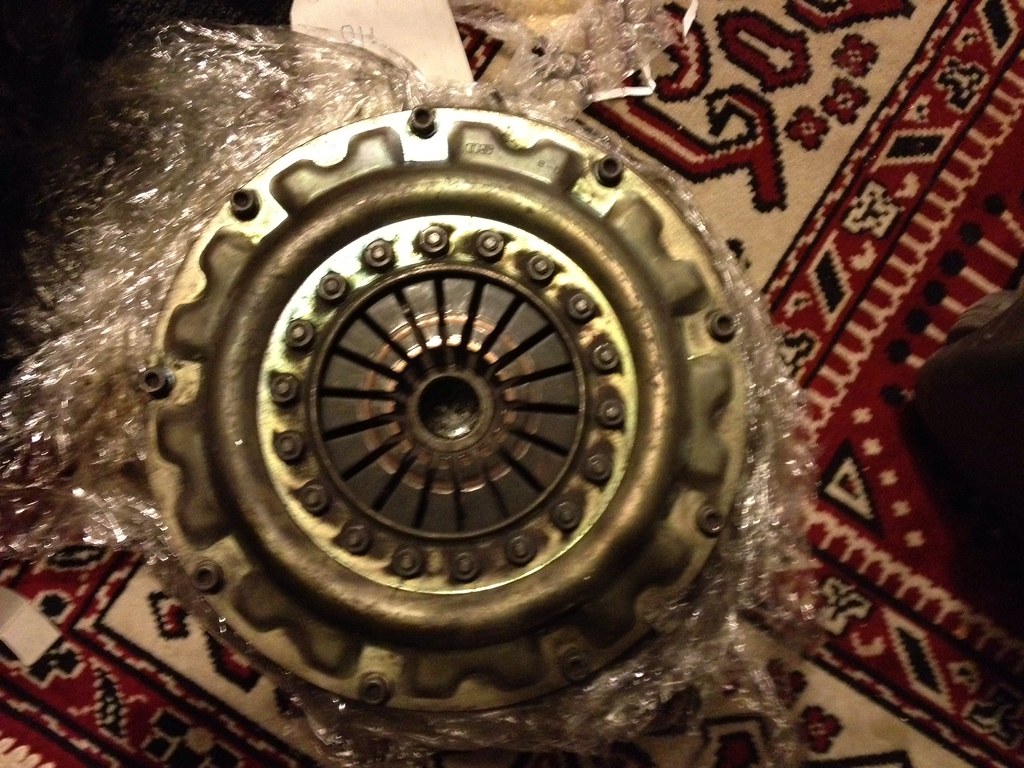 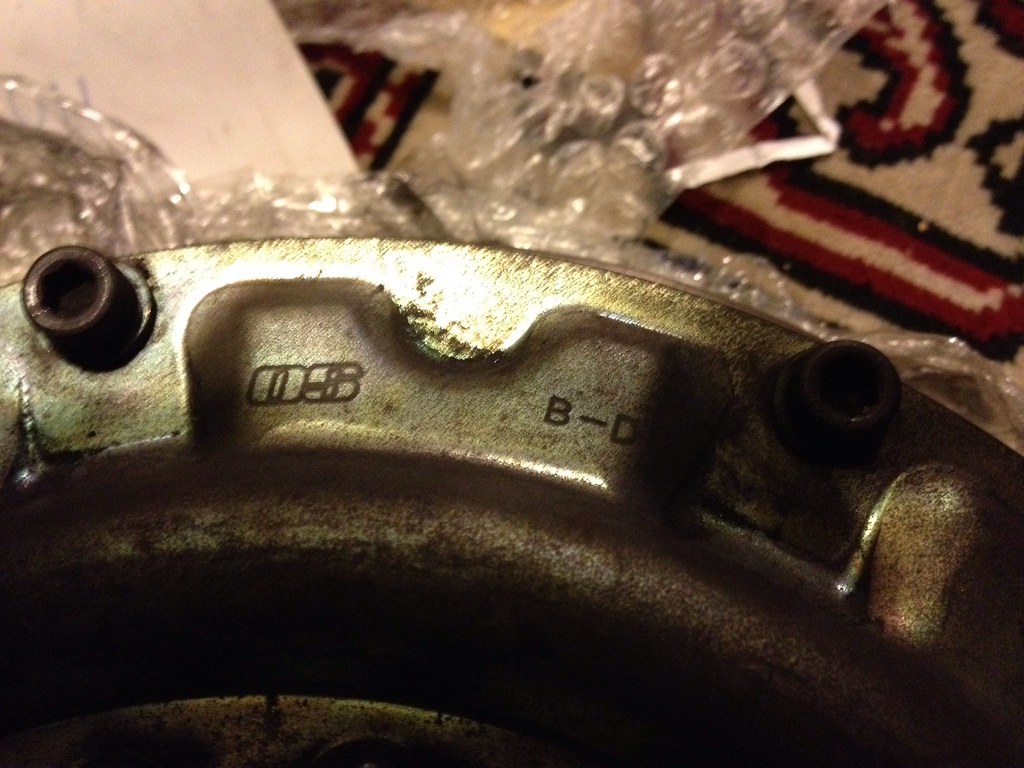 Pulled in and went to town: 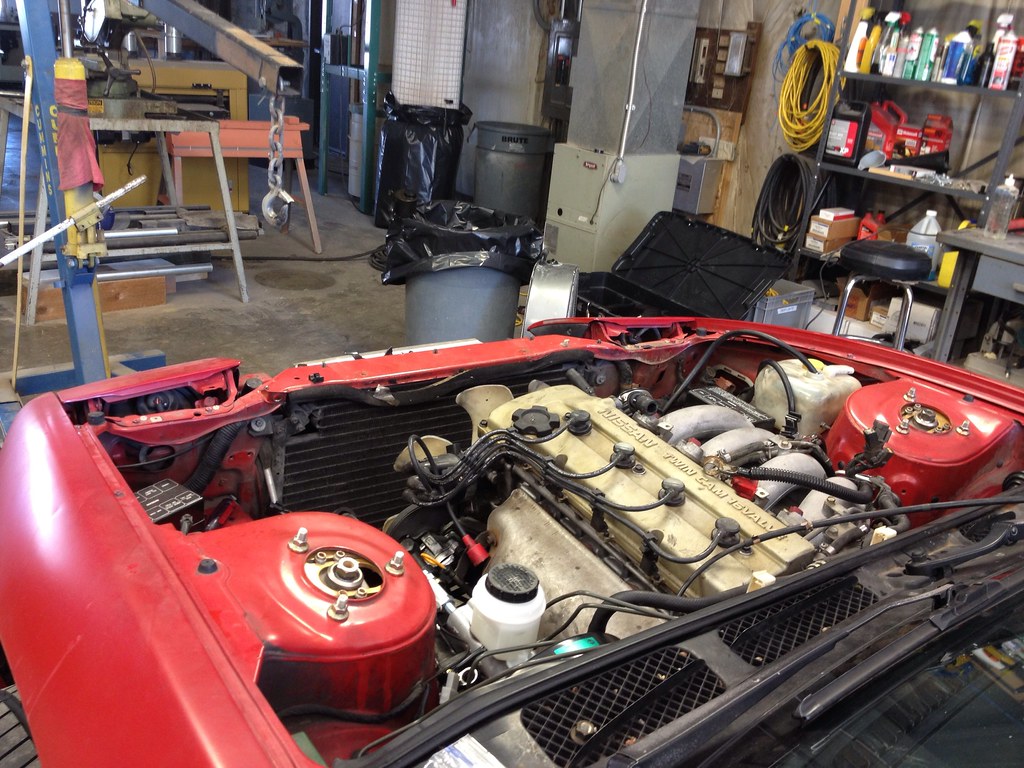 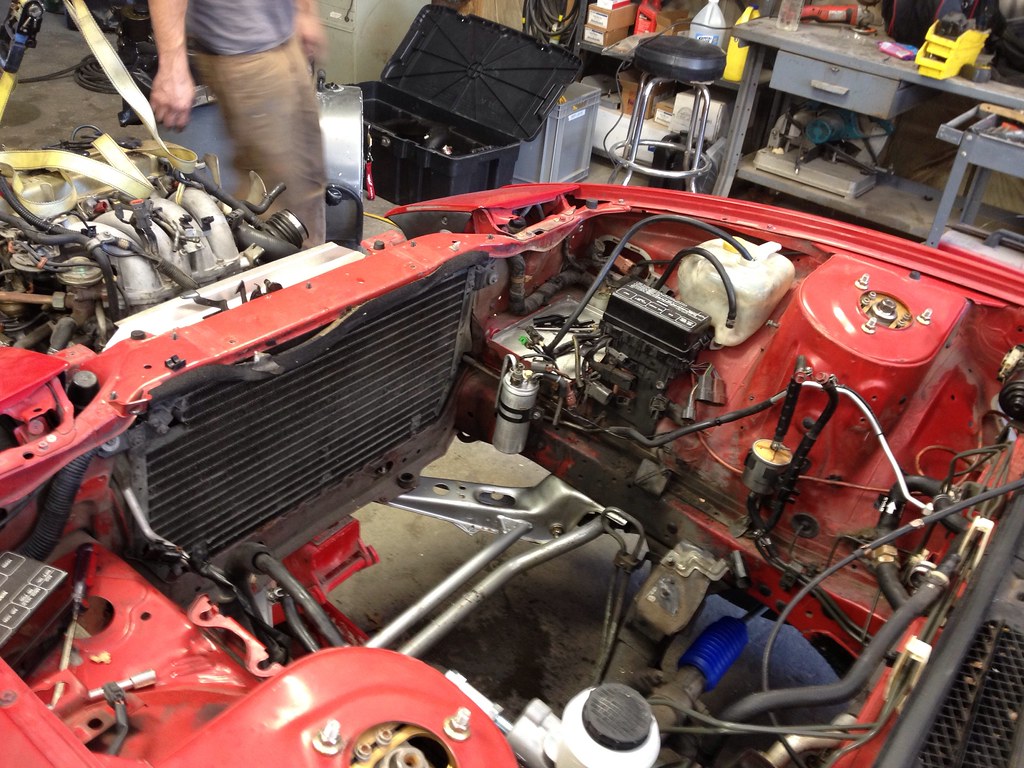 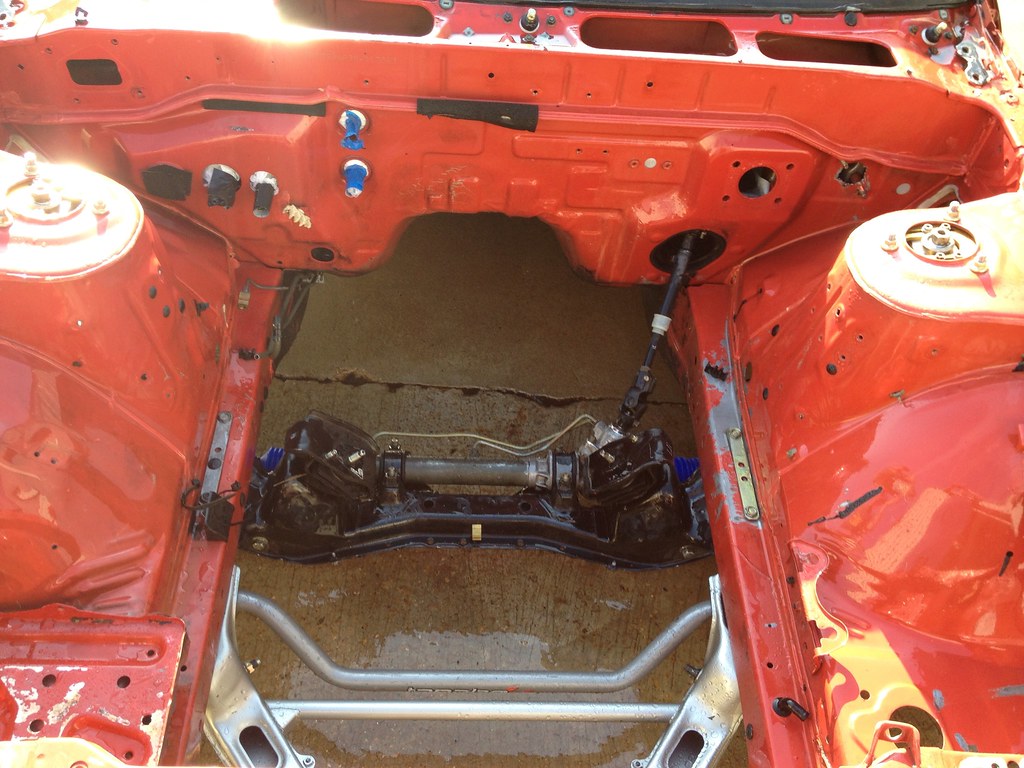 Bay is ready to stage the engine in to cut the holes for the piping: 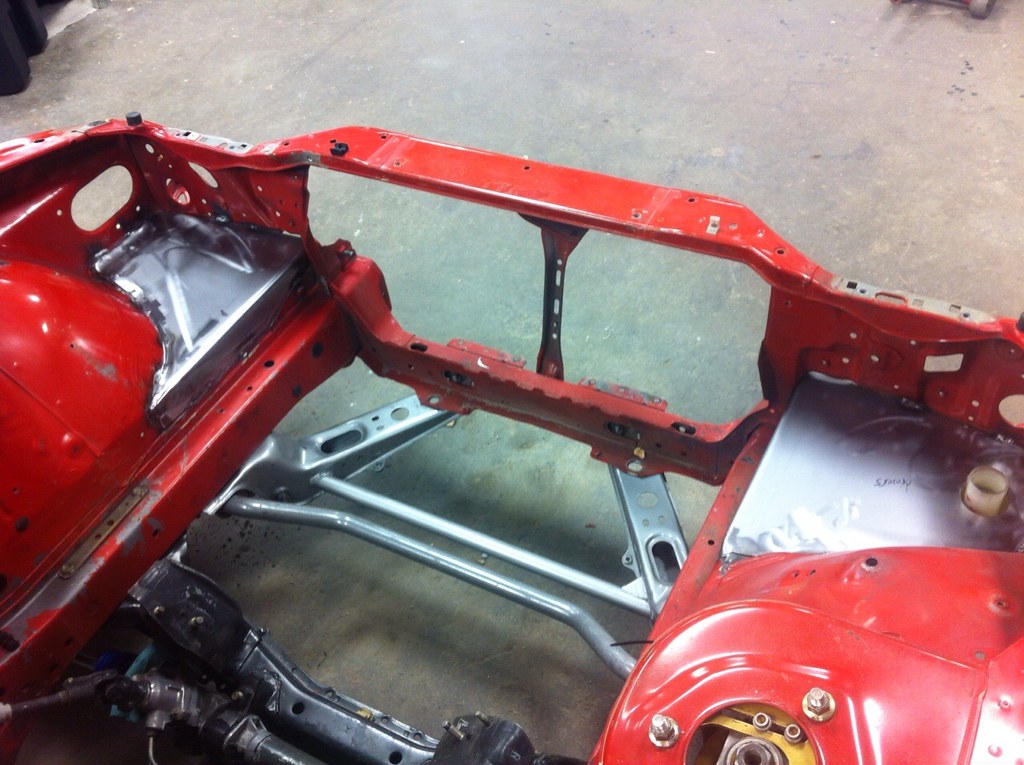
__________________

Last edited by Mikester; 11-21-2012 at 08:43 PM.. |
|
|

|
| Sponsored Links |
|
|
#2 |
|
Nissanaholic!
 Join Date: Jun 2007
Location: Kathleen, GA
Age: 50
Posts: 1,938
Trader Rating: (0)
 Feedback Score: 0 reviews
|
LOL too many pics- Had to break this up into 2 posts
 Just about done building up the longblock. It's been a lot of fun so far. The biggest challenge at the moment is finding time to go to the shop to press on... Between me & the guy w/the shop; our time is pretty limited. Here are the highlights: Freshly unwrapped after fresh rebuild: 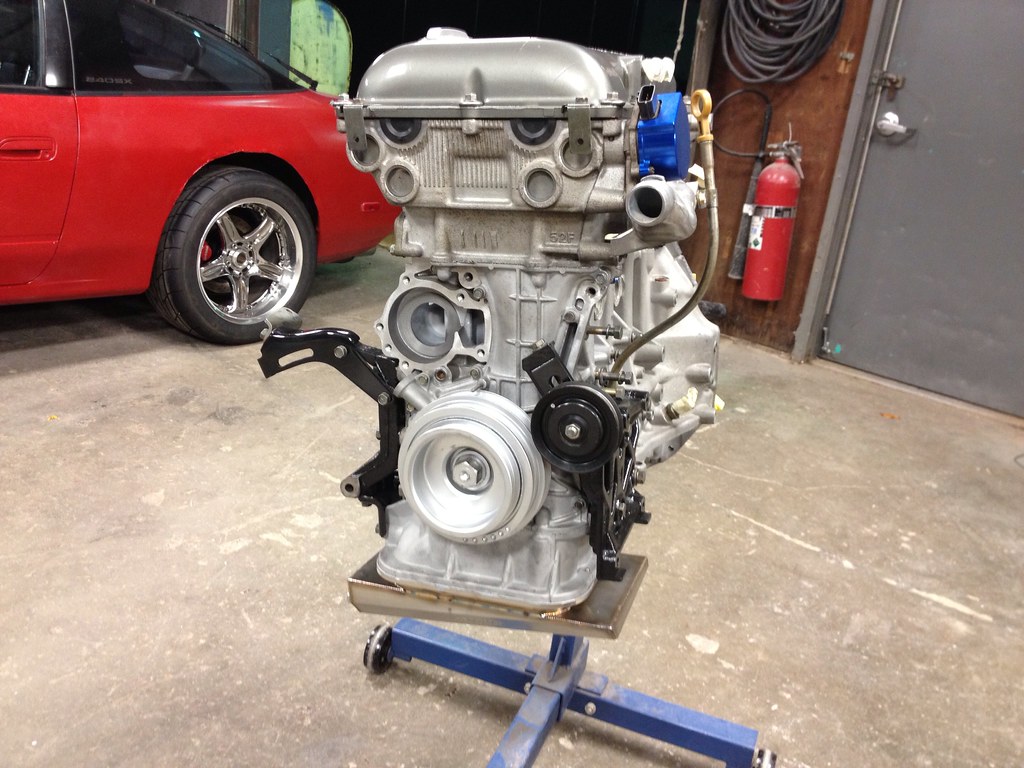 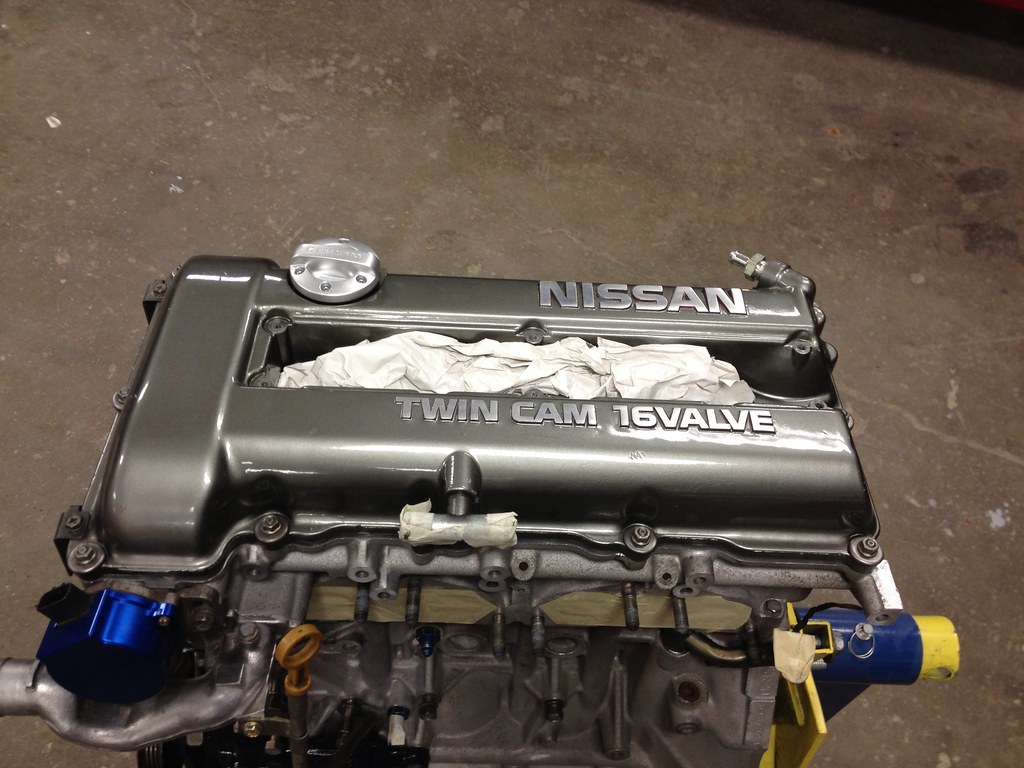 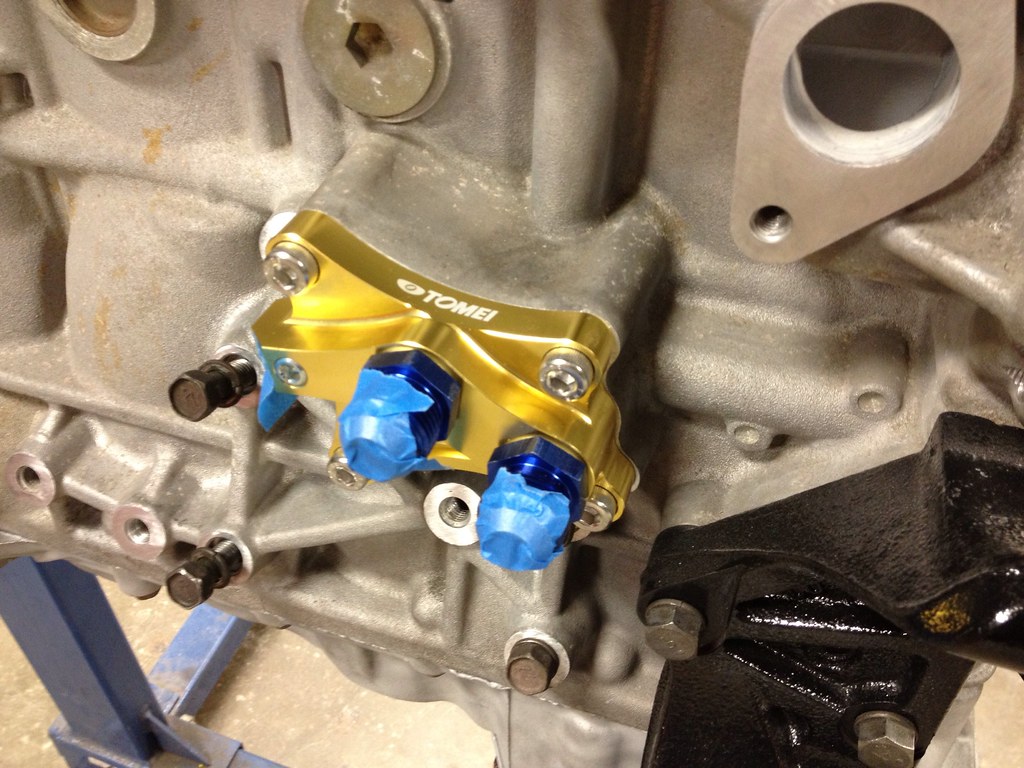 This car is being built to keep for the next 20-30 yrs and for fun (not just the track); so I can't live without A/C. CodyAce compressor adapter was just what the doctor ordered  Fit was perfect and the workmanship is second to none. Ended up painting it black later to blend in & keep it from rusting. Fit was perfect and the workmanship is second to none. Ended up painting it black later to blend in & keep it from rusting. 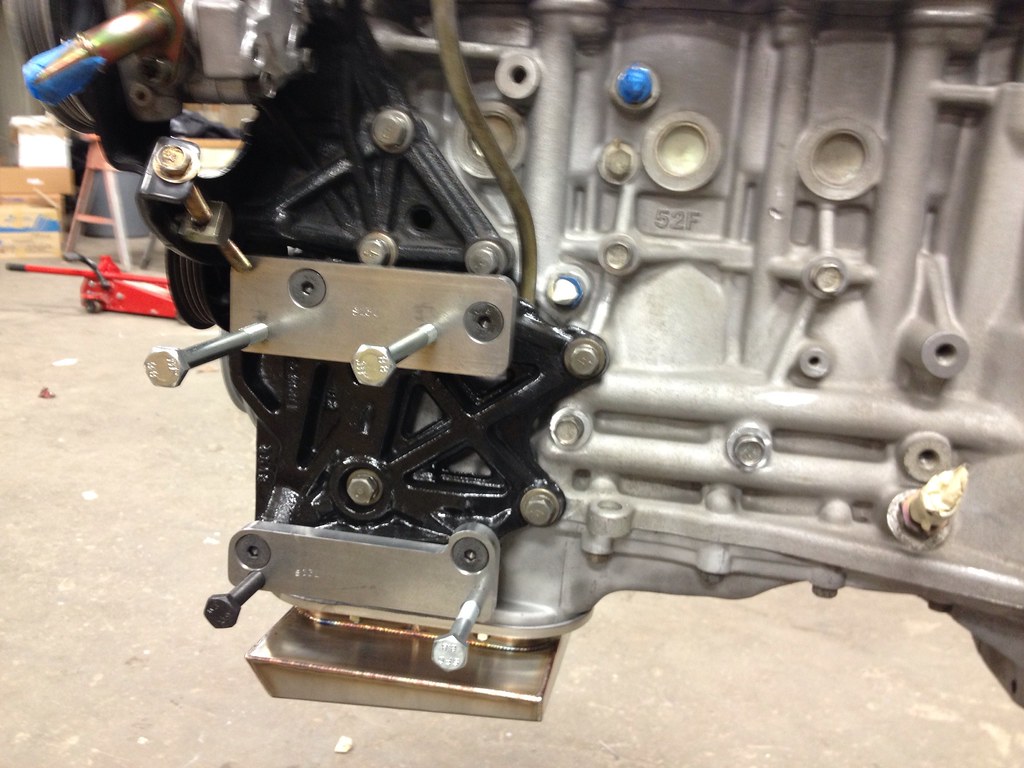 Didn't have an S14 water neck handy; so I got this to delete the coolant return behind the block/head... 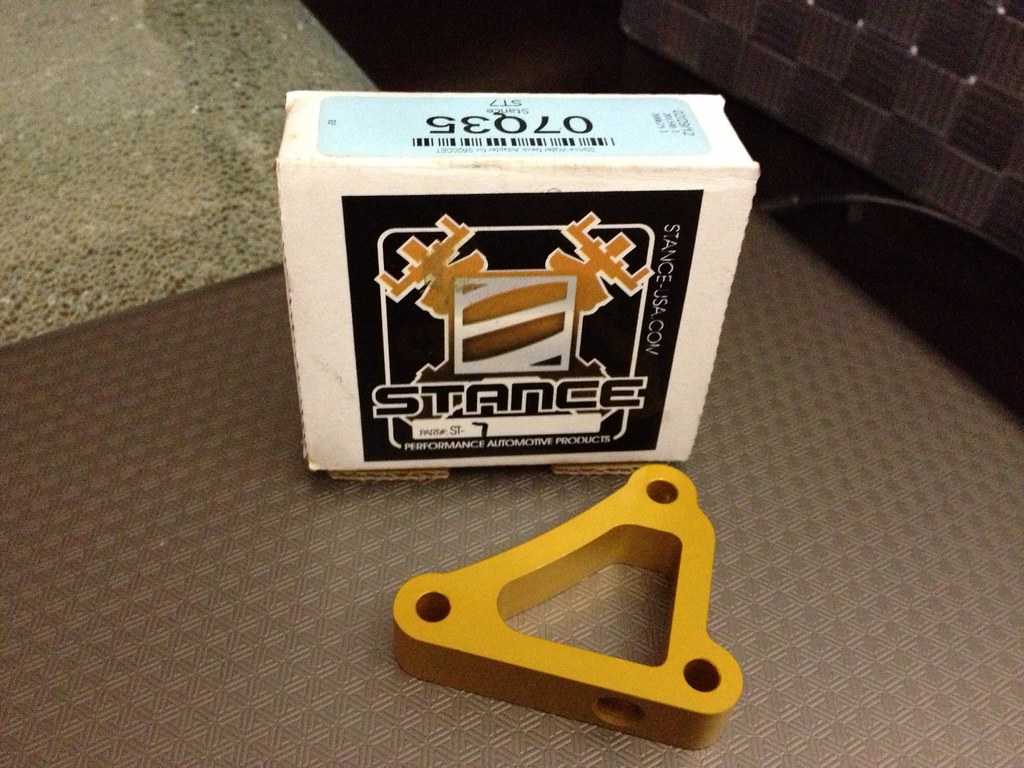 Moving right along... 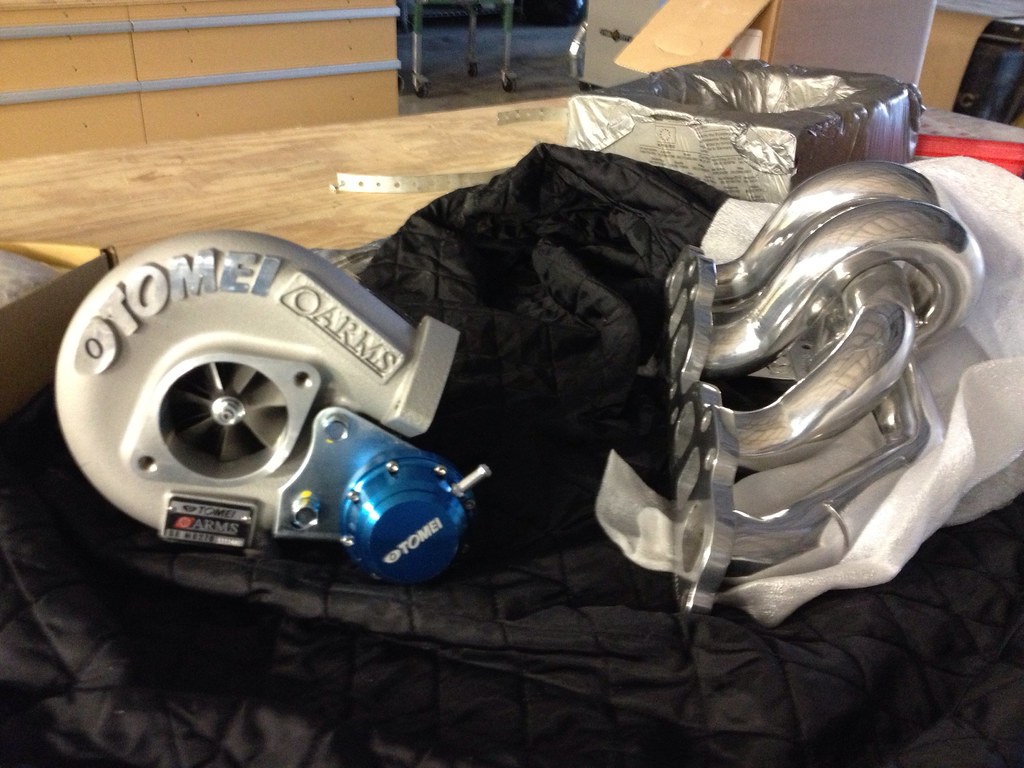 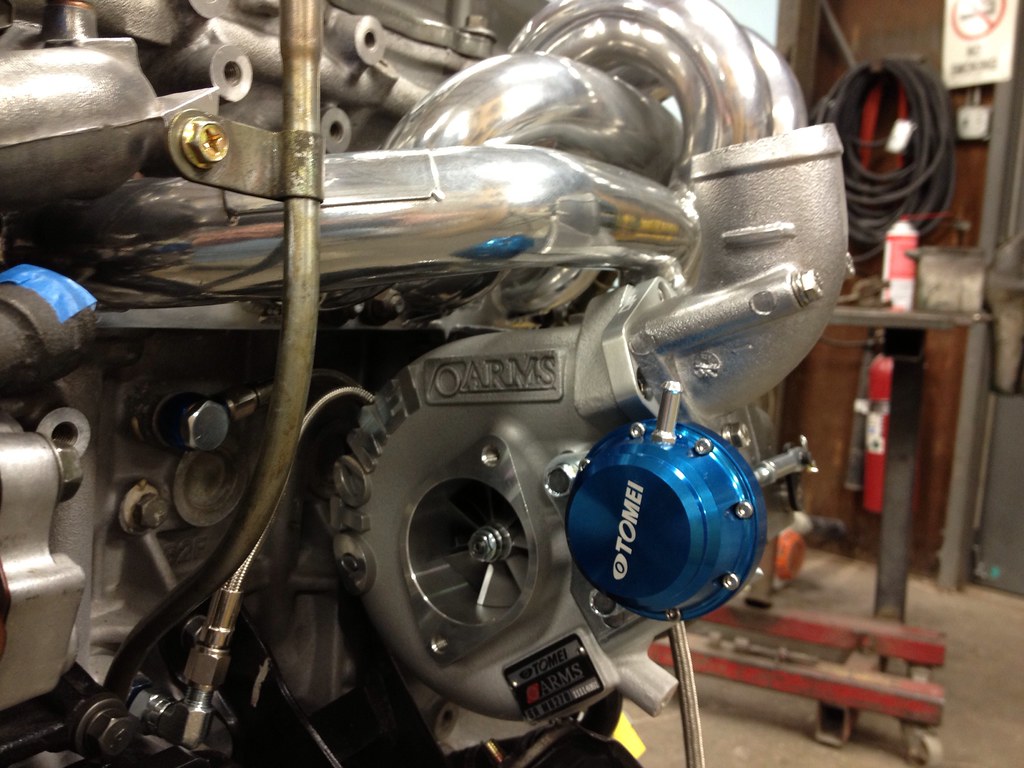 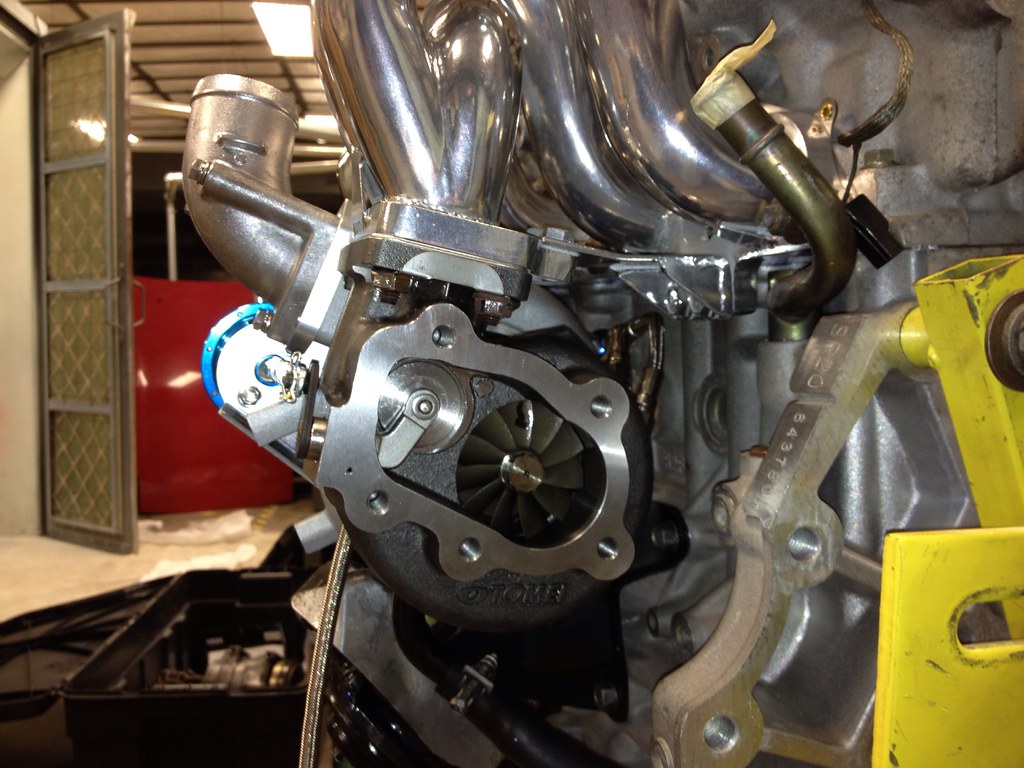 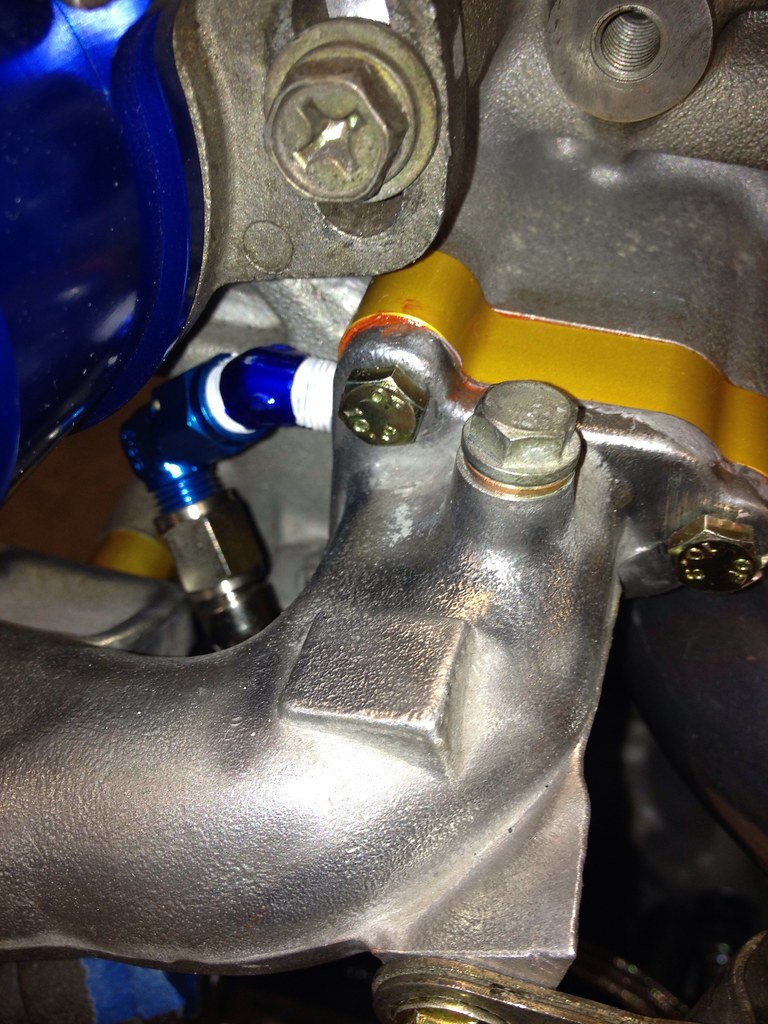 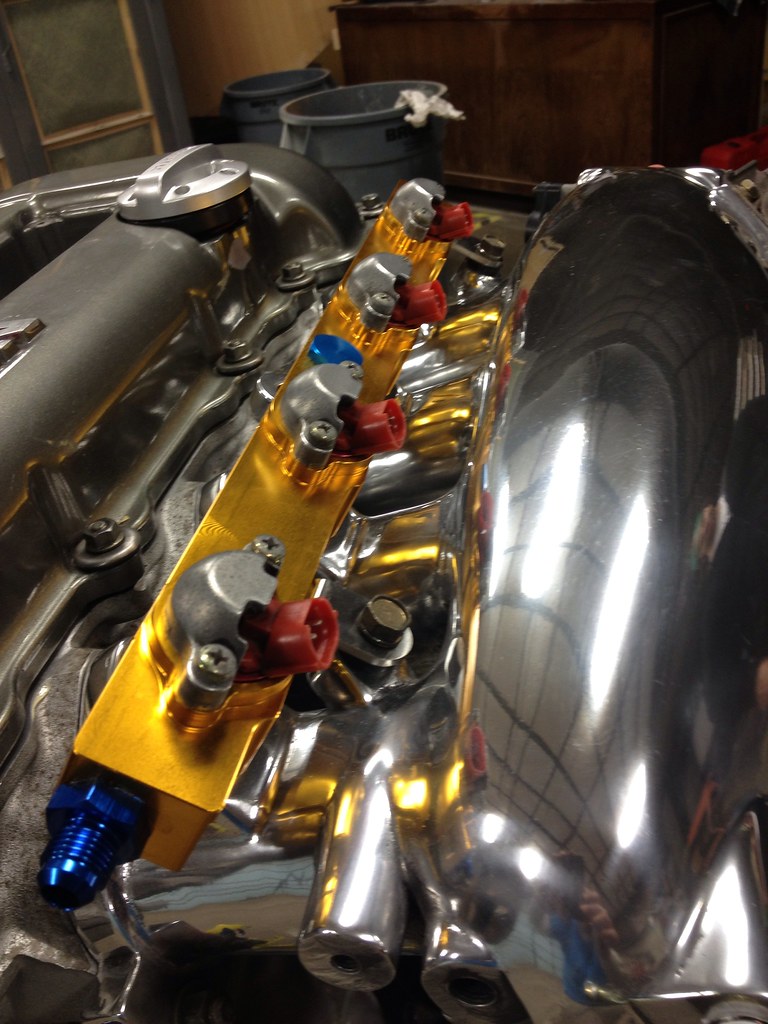 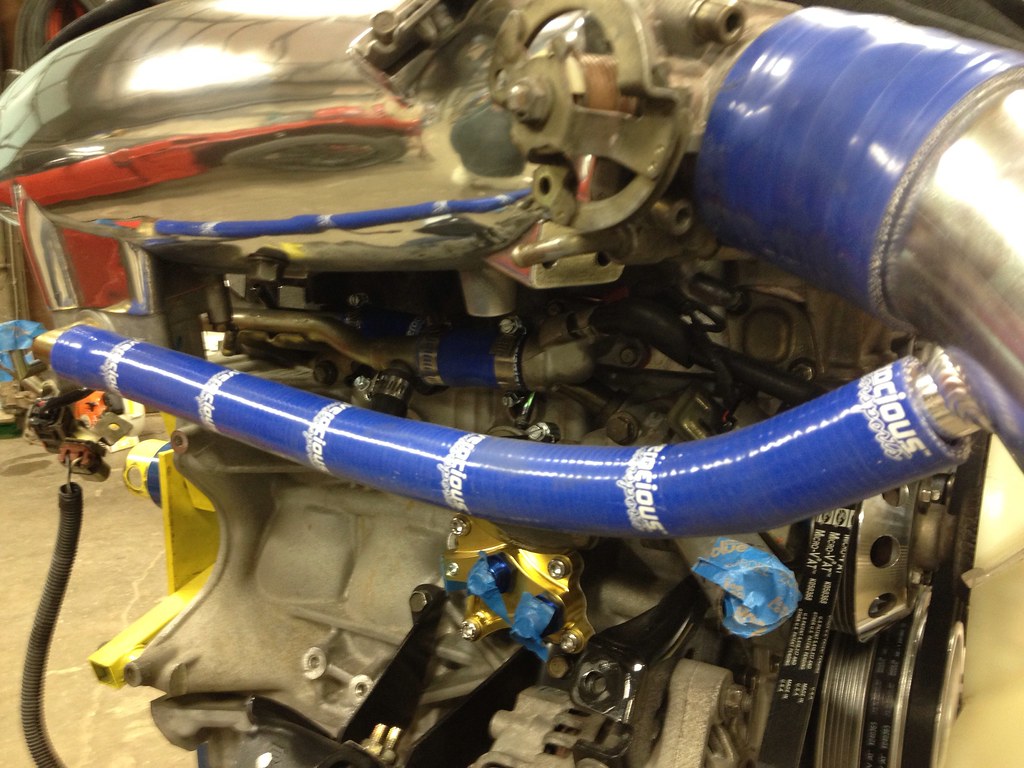 Motor is pretty much together... Just waiting on a couple more odds/ends to finish up the new intake mani setup. Also contemplating fabbing up a support bracket for it. 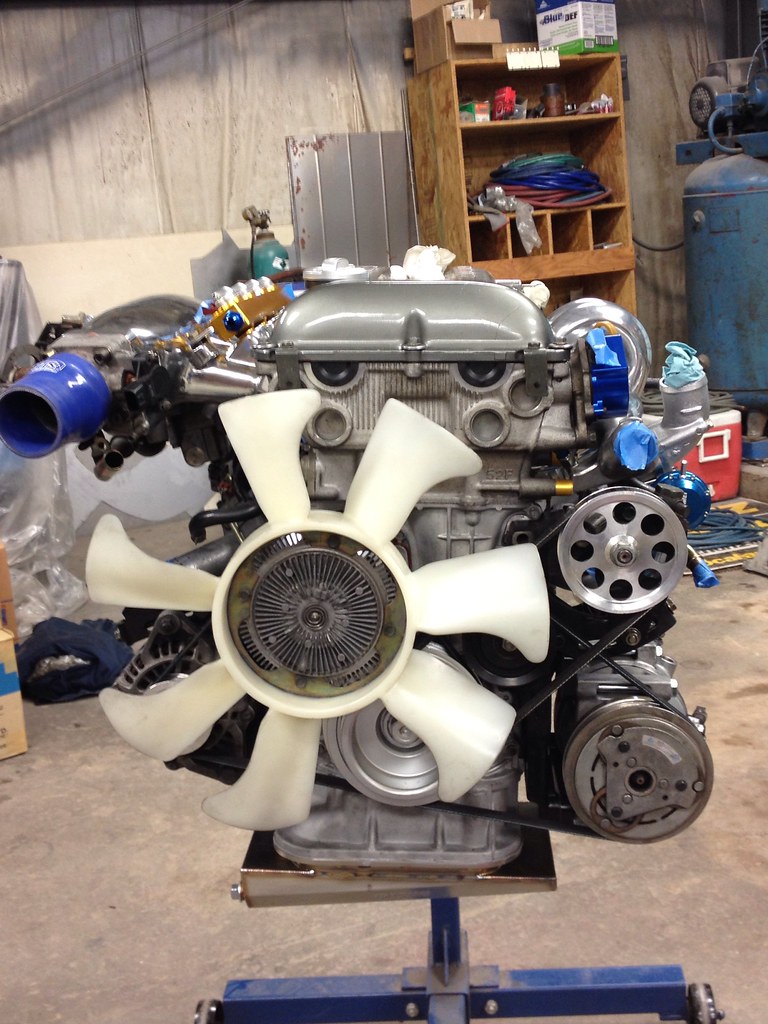 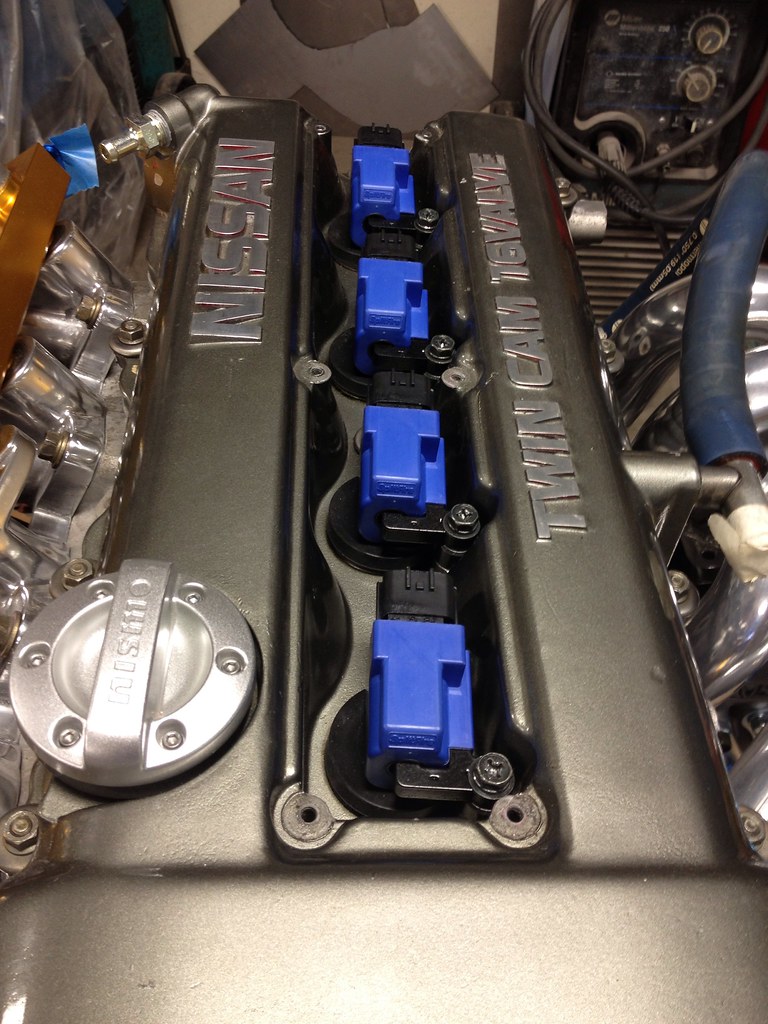 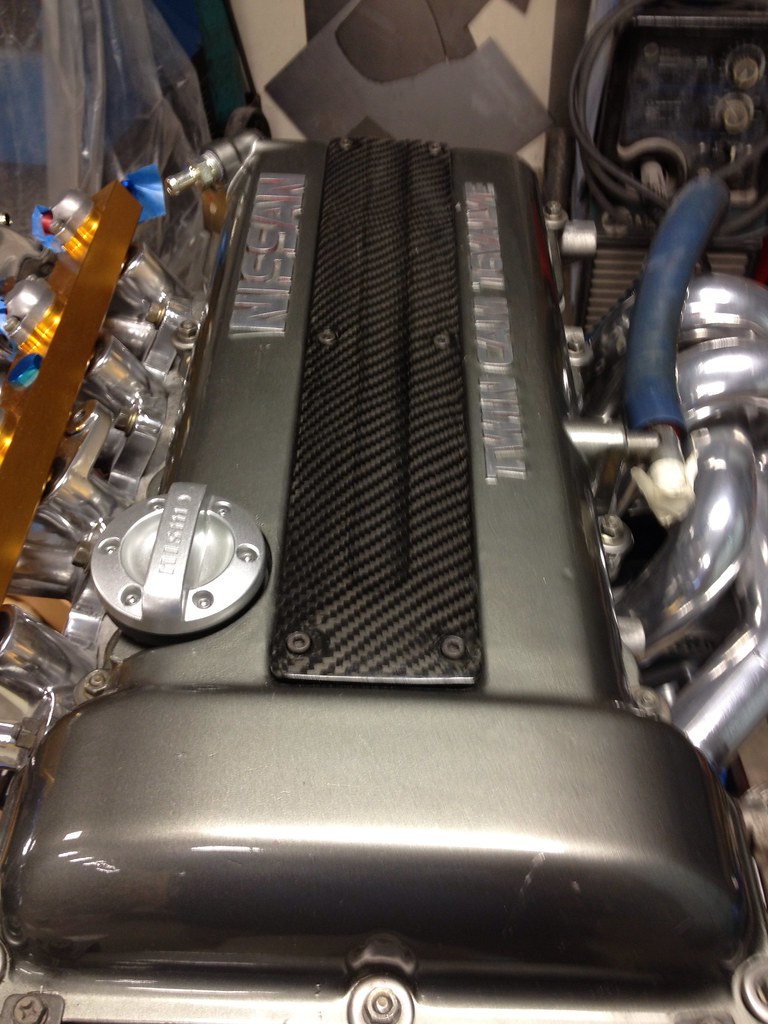 Staged it in to measure out where we're gonna cut the holes for the piping. First time my SR has been in an engine bay since Feb-Mar 2008. Even tho it has to come right back out to finish the prep/paint; I am BEYOND excited~ 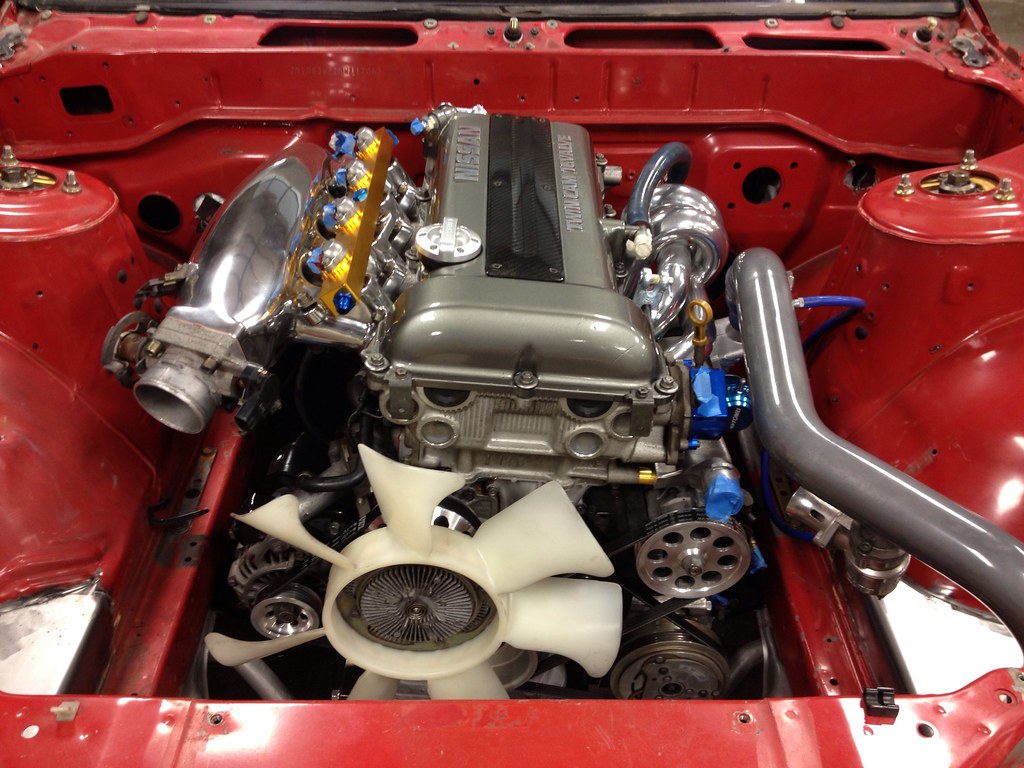 Hoping to have the bay painted & motor in & tuned in the next 2-3 wks... but if it takes longer, I don't care. Since I plan to keep the car forever, my focus is on quality, not on time  Thanks for checking this out. Any/all feedback, tips tricks & advice welcome! --Mike
__________________

|
|
|

|
|
|
#6 | ||
|
Nissanaholic!
 Join Date: Jun 2007
Location: Kathleen, GA
Age: 50
Posts: 1,938
Trader Rating: (0)
 Feedback Score: 0 reviews
|
Quote:
Me too! My last turbine ran out of breath about the 380rwhp mark; so I am keeping it for a spare  I am hoping for 400 - 420 at the wheels with this one & the supporting mods I chose. I will be happy [for now] with anything 400 or above~ I am hoping for 400 - 420 at the wheels with this one & the supporting mods I chose. I will be happy [for now] with anything 400 or above~Will post the numbers when I get them... Hopefully in the next 3-4wks. Quote:
Thank you very much!!! I used Herculiner brush-on truck bedliner. $30 a can, but worth it since I am building this car to last as long as possible.
__________________

|
||
|
|

|
|
|
#9 |
|
Post Whore!
 |
Looks pretty damn good sir. I cringed when I saw that you cut the rear fenders though, that always disappoints me.
__________________
My SR20VET |
|
|

|
|
|
#10 | ||
|
Nissanaholic!
 Join Date: Jun 2007
Location: Kathleen, GA
Age: 50
Posts: 1,938
Trader Rating: (0)
 Feedback Score: 0 reviews
|
Quote:
Quote:
BTW, I am not a huge fan of cutting the rear fenders either; but there are only 'so many' things a guy can do to fit 275's in the rear with a +13 offset wheel and decent ride height. Once the overfenders go on, it will look pretty good methinks. Will update again when the bay is prepped & primed... **Again, I am not the sharpest knife in the drawer, so I welcome any/all feedback, critiques etc. Thanks everyone for the kind words so far 
__________________

|
||
|
|

|
|
|
#12 |
|
Zilvia Addict
 Join Date: Feb 2012
Location: Ya momma's house
Posts: 860
Trader Rating: (16)
 Feedback Score: 16 reviews
|
I hate it Mikester!!
 Just kiddin' bud. Glad you decided to show it to the Zilvians. I'm ready to see this ride tearing up the streets. (This is Ketchup from 240sxf btw) |
|
|

|
|
|
#15 | ||
|
Nissanaholic!
 Join Date: Jun 2007
Location: Kathleen, GA
Age: 50
Posts: 1,938
Trader Rating: (0)
 Feedback Score: 0 reviews
|
Fuckin thanks! I'm fucking stoked as fuck!
 Quote:
 Domo! Well, the BAMF helping me with this got the holes cut for the IC piping- everything came out GREAT- of course I FAILED by not taking any pics of his awesome work... it looked really good with the motor staged in and the piping all connected. Aside from that, used a heat gun & angle grinder to adapt the USDM S13 pillar pod to the Canadian A-pillar. Came out pretty good: 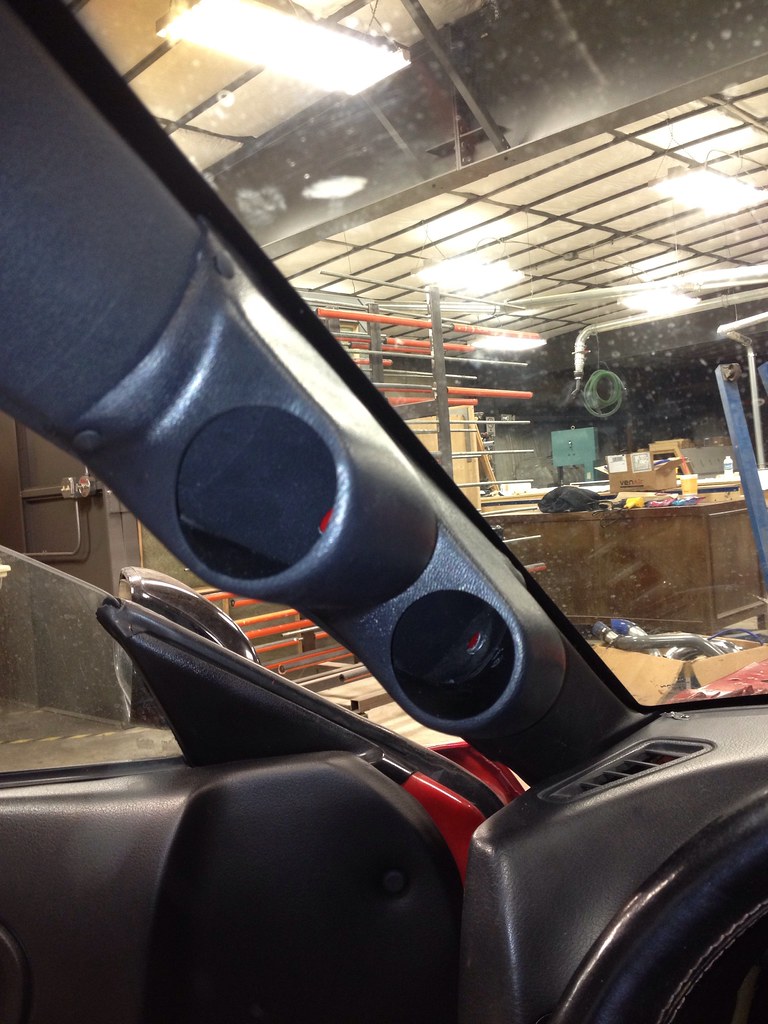 Going back to work on it some more Tuesday evening. Thanks again everyone!
__________________

|
||
|
|

|
|
|
#16 |
|
Nissanaholic!
 Join Date: Jun 2007
Location: Kathleen, GA
Age: 50
Posts: 1,938
Trader Rating: (0)
 Feedback Score: 0 reviews
|
More minor progress last night. Installed S14 throttle pulley, fitting for the brake booster behind the intake, sensors on oil block & gauges in the pod. My time has been limited... nose in books- got a great chance of getting promoted this time around.
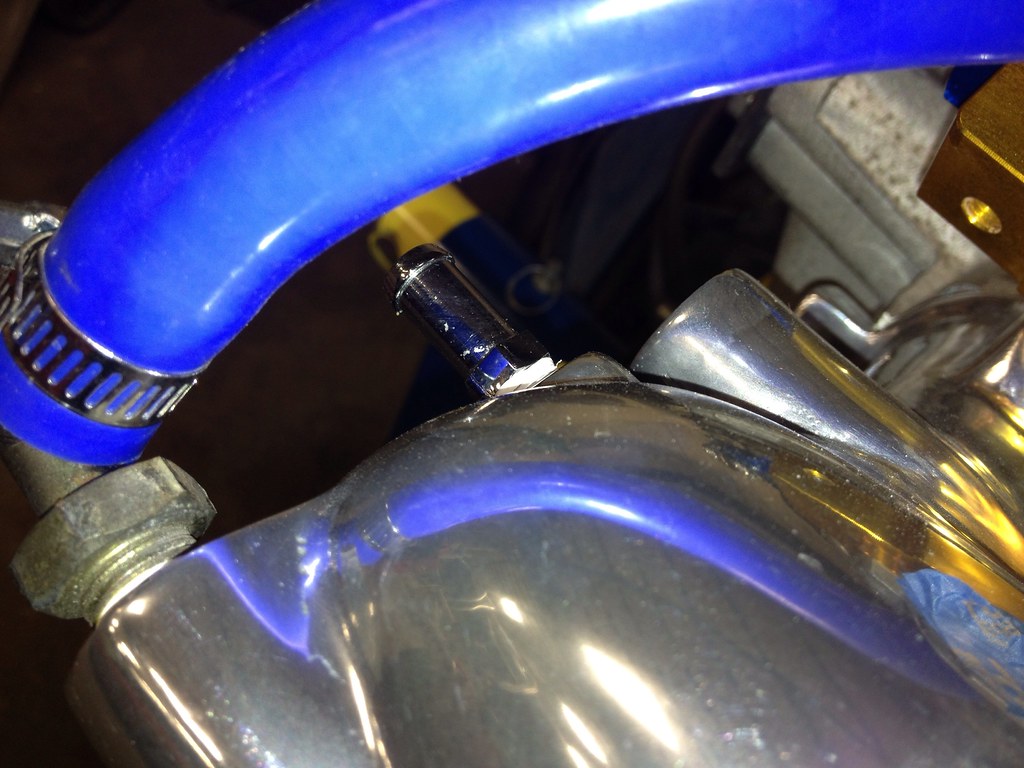 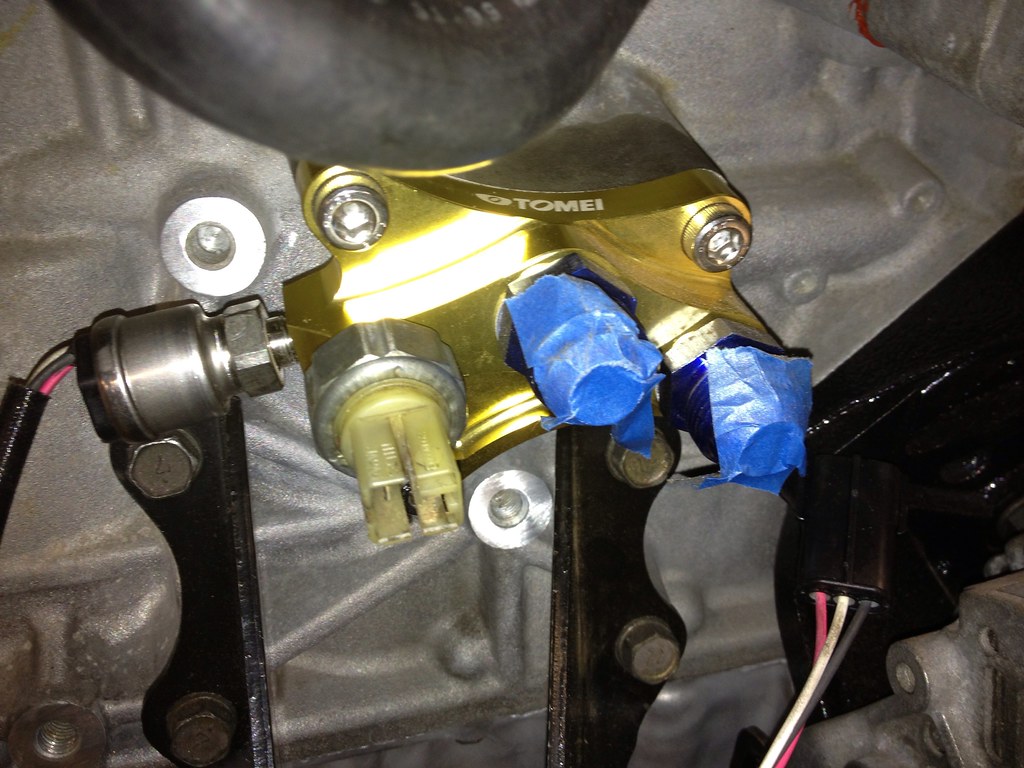 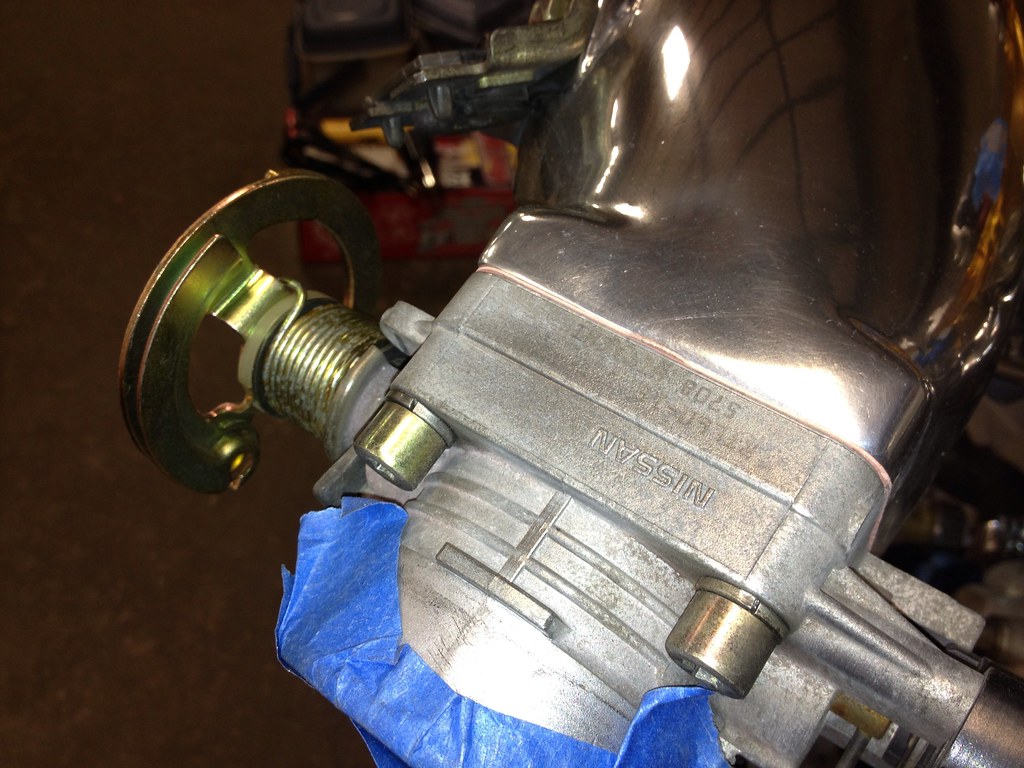 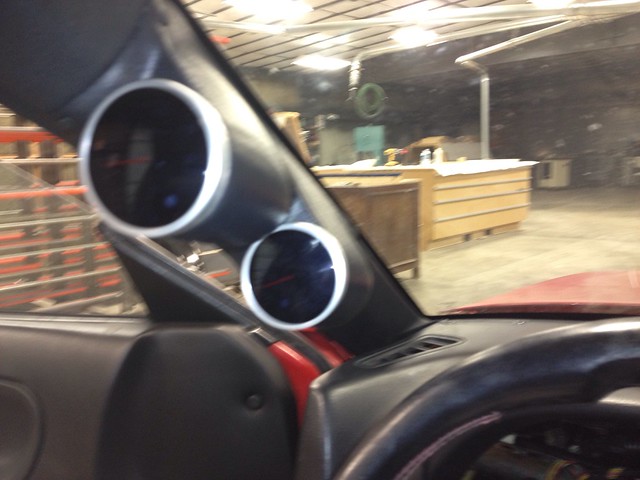 ^^ That pic didn't look blurry on my phone lol. Been so long since I packed them, I didn't realize the Defis are 60mm, not 52... Had to grind a bit on the pod to get them to fit... and of course finding an LHD pillar pod for 60's is next to impossible; so it all worked out. Andy did some fiberglass work in the wheel well/engine bay where he removed a bracket that is no longer needed- of course I FAILED to take a pic (facepalm). The last bit of hose to finish out the under-intake coolant setup should be here in a couple days... The motor should be ready for drop-in & the the bay prep/prime will begin on Tuesday. It's going slow... but at least it's going lol- which is all that matters. I start a 2 week reprieve from work this weekend; but I need to spend the majority of my time studying... 10 days after I test, my little ones get here for Christmas- nothing to do with the car, but I am nonetheless STOKED 
__________________

|
|
|

|
|
|
#21 | |
|
Nissanaholic!
 Join Date: Jun 2007
Location: Kathleen, GA
Age: 50
Posts: 1,938
Trader Rating: (0)
 Feedback Score: 0 reviews
|
Quote:
Plugged throttle body coolant ports with 5/16" vacuum caps, high temp RTV & clamps. 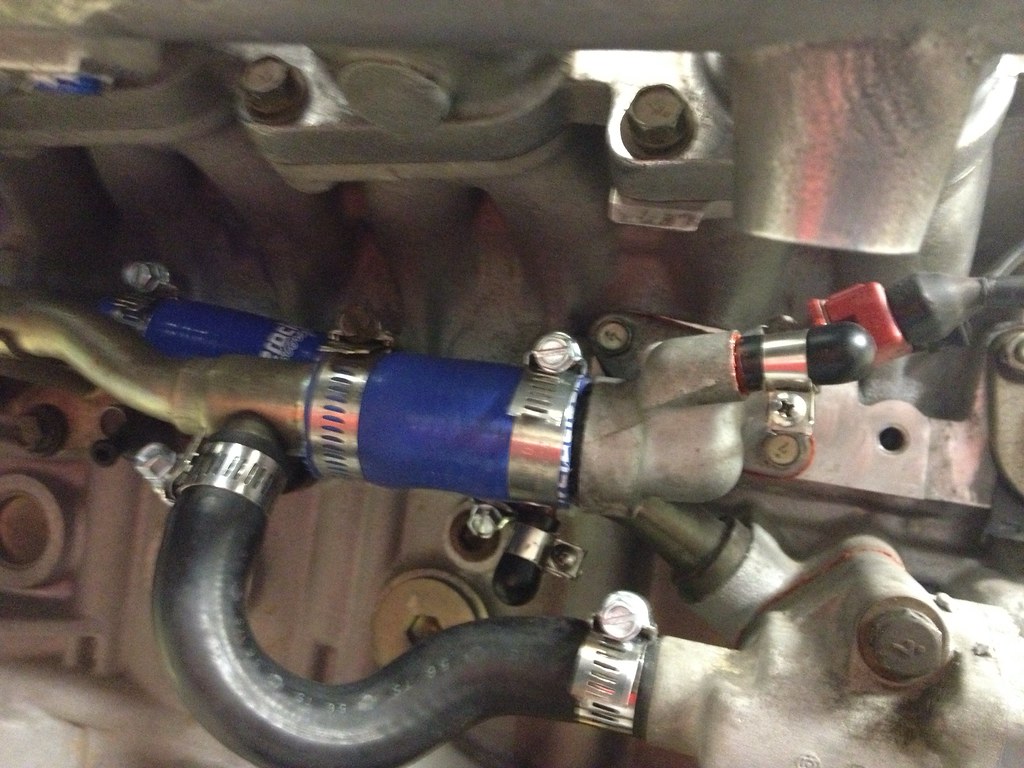 Engine bay holes are cut, seam sealer in. 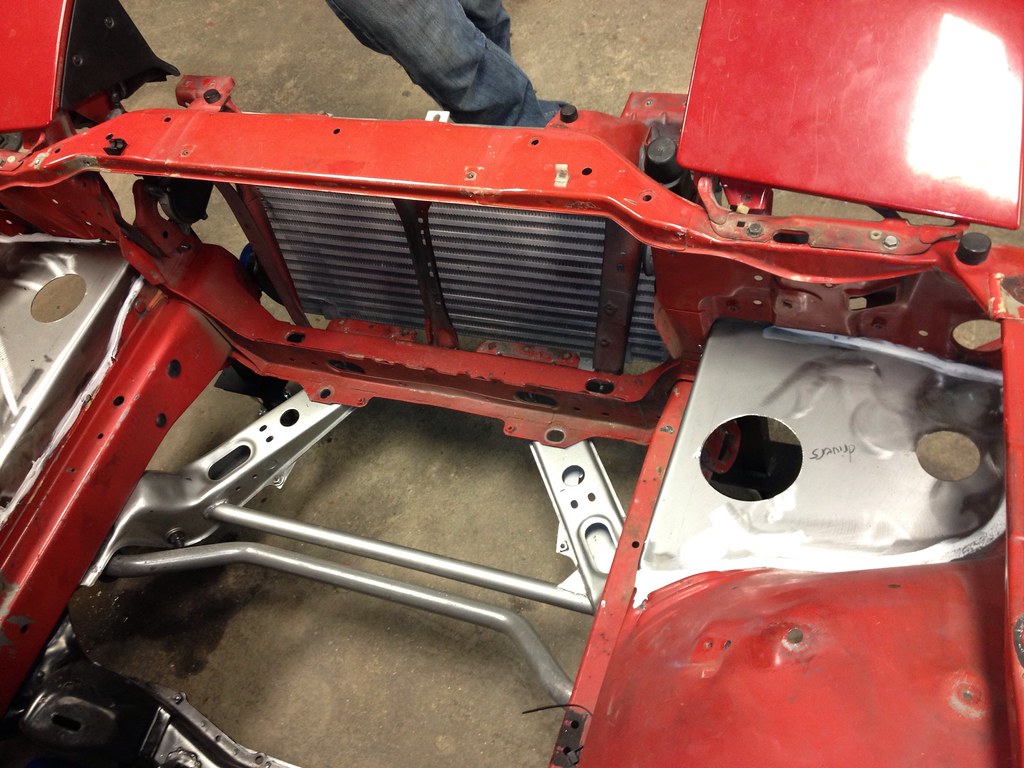 Andy fabbed us up a dolly so we can get everything else outta there for primer/paint. Works like a champ! I am very lucky to have that kid's skills handy~ 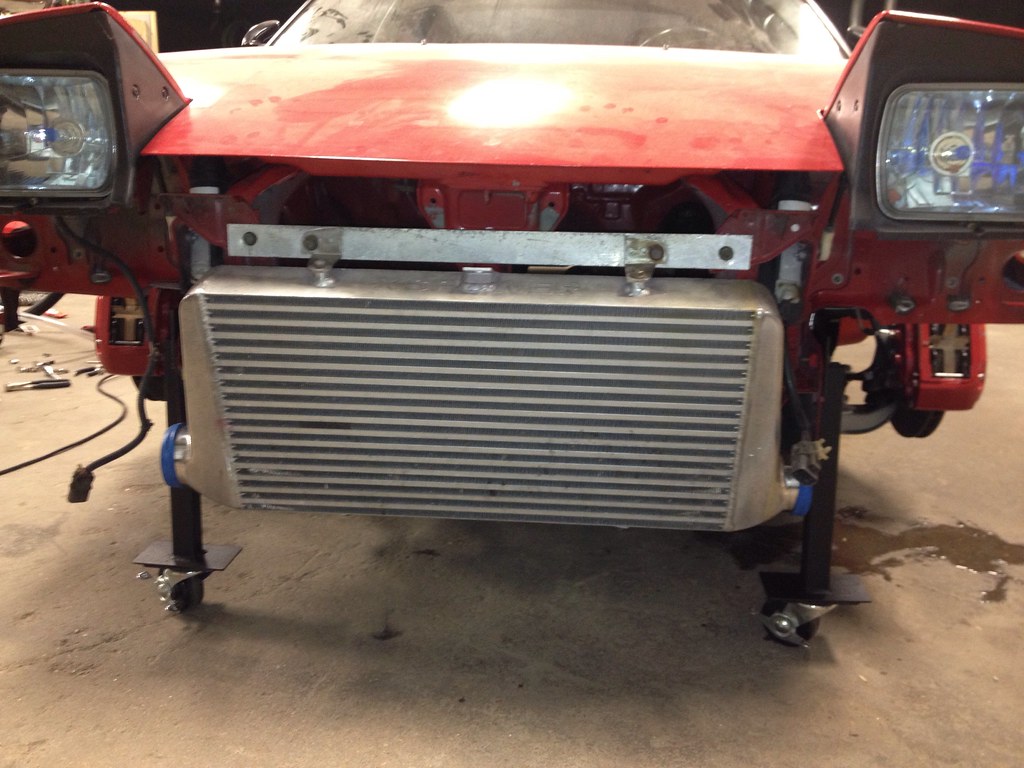 Hoping to at least have the bay primed by the end opf the weekend...
__________________

|
|
|
|

|
|
|
#23 |
|
Zilvia Addict
 |
It looks like you put a lot of planning and thought into this build and it shows. I like what i've seen thus far.
|
|
|

|
|
|
#25 |
|
Zilvia Junkie
 |
|
|
|

|
|
|
#26 | ||||
|
Nissanaholic!
 Join Date: Jun 2007
Location: Kathleen, GA
Age: 50
Posts: 1,938
Trader Rating: (0)
 Feedback Score: 0 reviews
|
Quote:
 Should have the widebody, kit & paint done by Apr/May... I hope at least... Right now just trying to concentrate on getting the prep done and the motor in & tuned. Quote:
Quote:
Me niether  I hope it will perform similar to what Tomei posted. Not running SR22, but with the 260's & other stuff, it should be close. I hope it will perform similar to what Tomei posted. Not running SR22, but with the 260's & other stuff, it should be close.Quote:
Thanks everyone~
__________________

|
||||
|
|

|
|
|
#29 | ||
|
Nissanaholic!
 Join Date: Jun 2007
Location: Kathleen, GA
Age: 50
Posts: 1,938
Trader Rating: (0)
 Feedback Score: 0 reviews
|
Quote:
Quote:
Today's progress- - motor is finished & ready to go in. No need for pics; looks the same... just fitted the last couple coolant lines under the intake. - dropped power brace, front member etc... tomorrow or Tuesday gonna start cleaning/moving pieces onto the member I had powder coated: 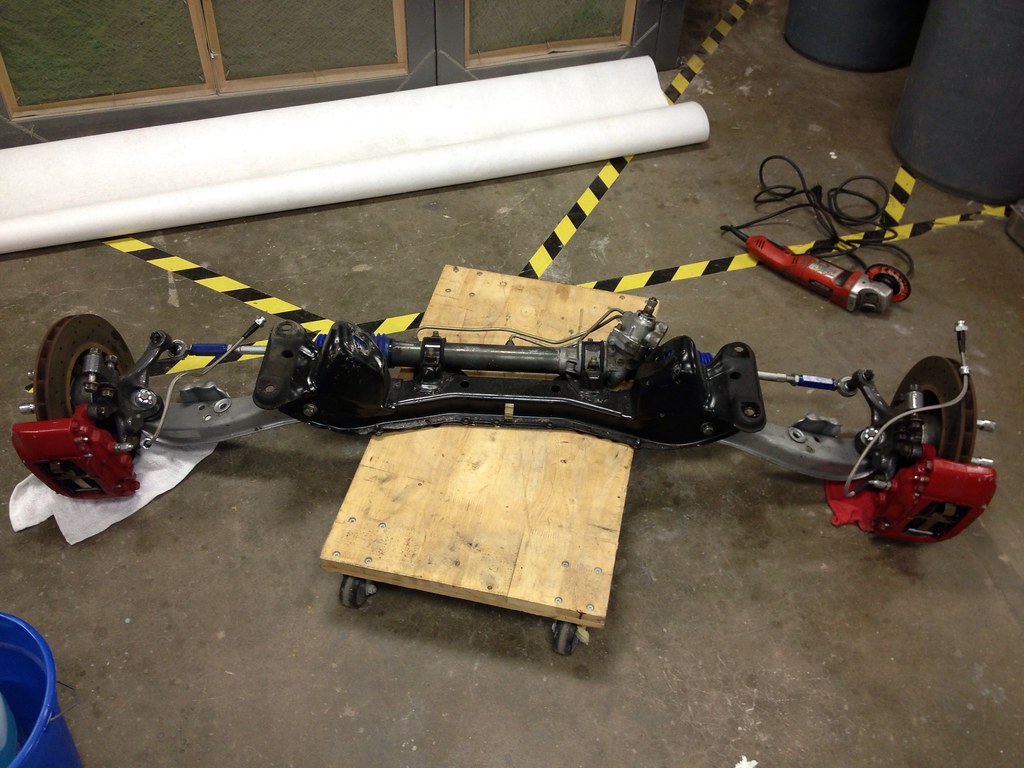 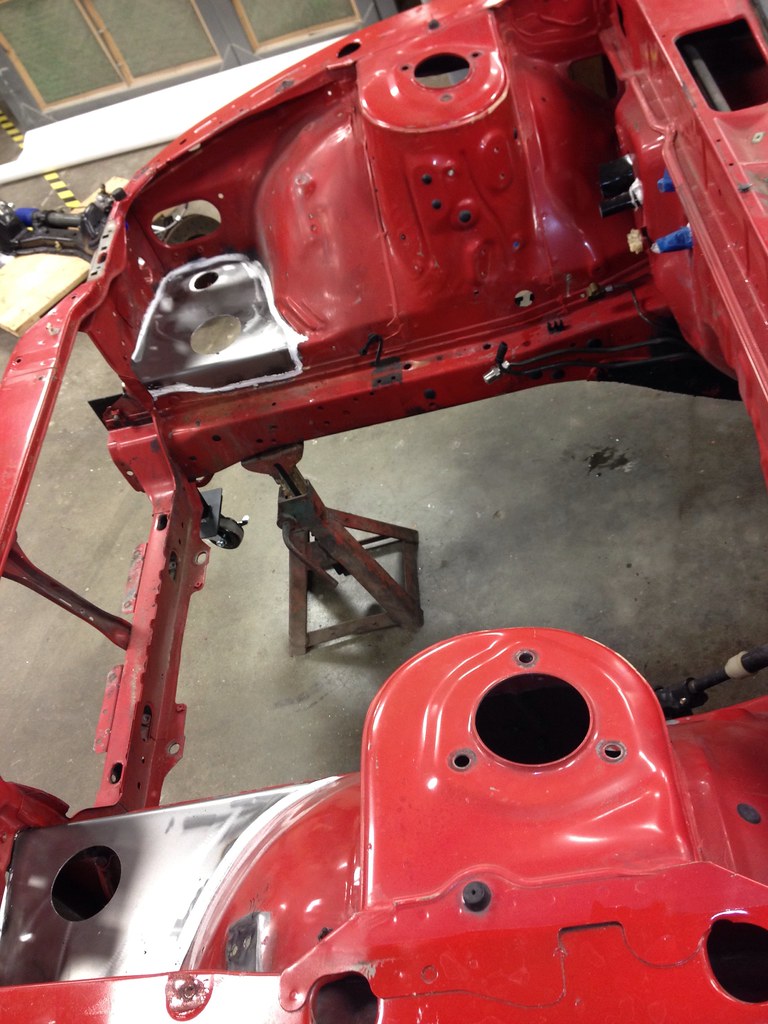 - Started cleaning/scuffing it for primer: 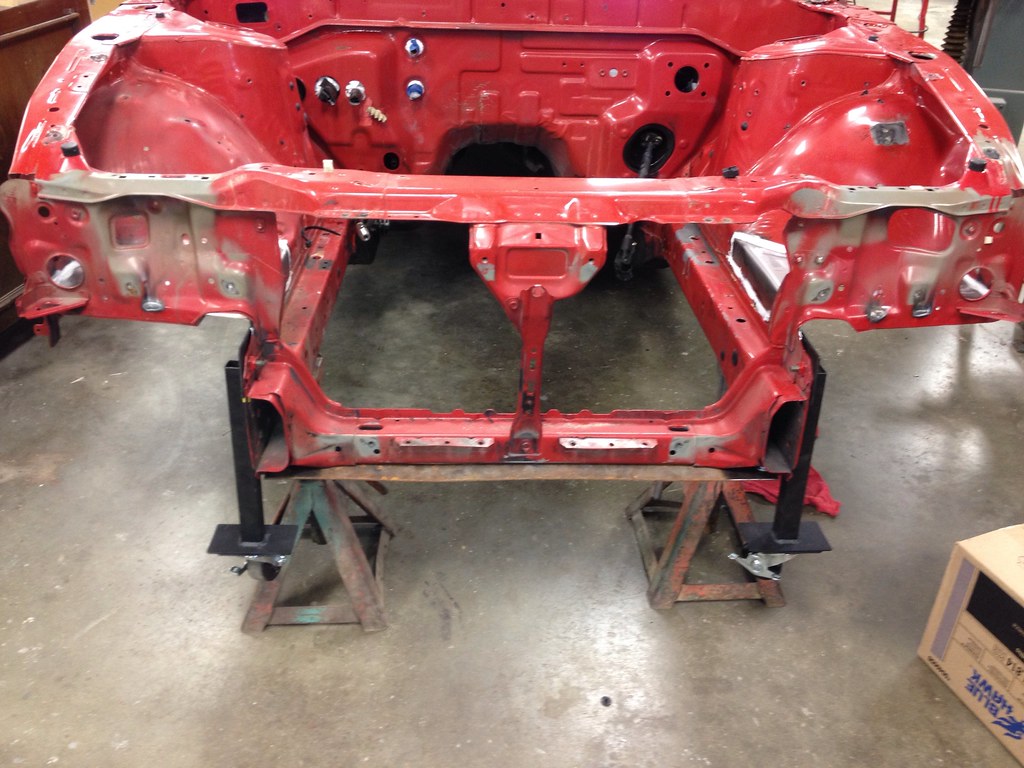 - Finished up the undercoat in the tranny tunnel & under the new plates. Herculiner is a MESS to work with for this application, but it's durable as hell; and even stood up when the new metal was being welded in right next to it! 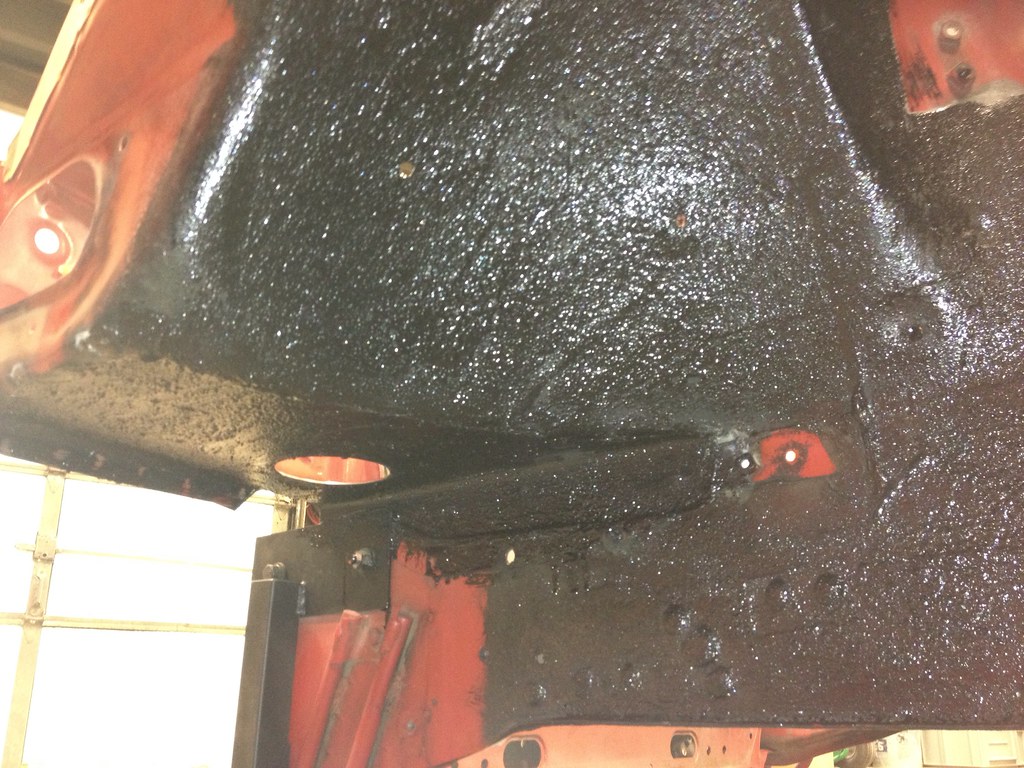 AND here is how she currently sits; awaiting final cleanup, acetone & primer: 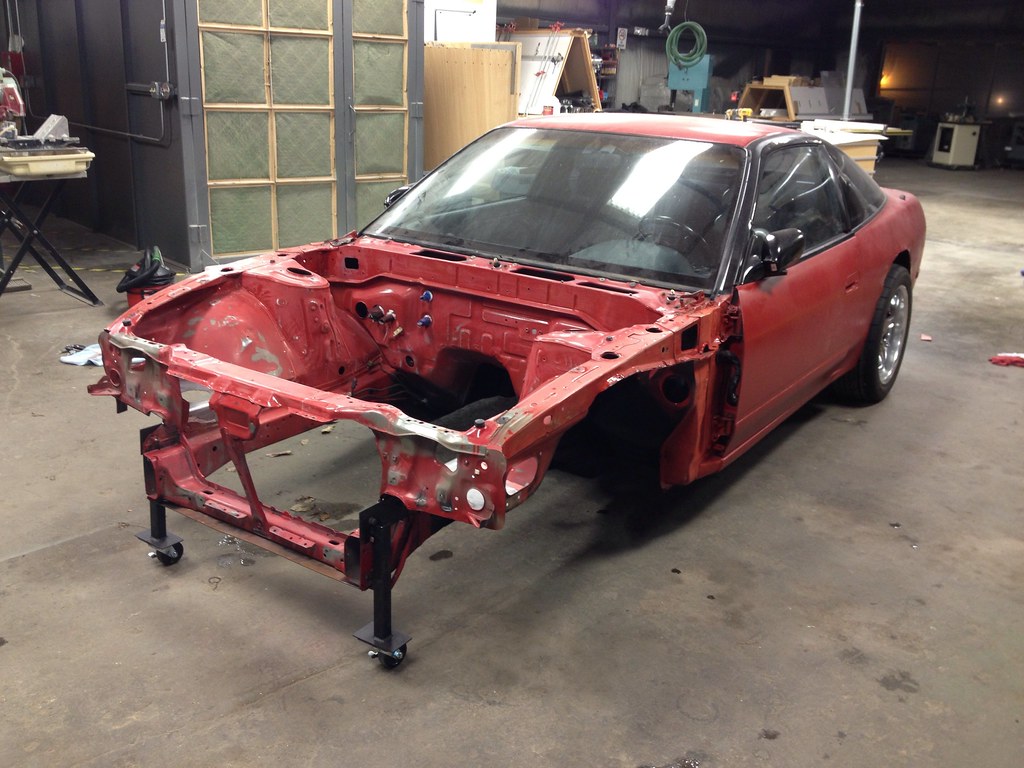
__________________

|
||
|
|

|
|
|
#30 |
|
Nissanaholic!
 Join Date: Jun 2007
Location: Kathleen, GA
Age: 50
Posts: 1,938
Trader Rating: (0)
 Feedback Score: 0 reviews
|
So last night we filled in some seams & stuff, taped off the majority of the holes & riveted in an extra firewall grommet.
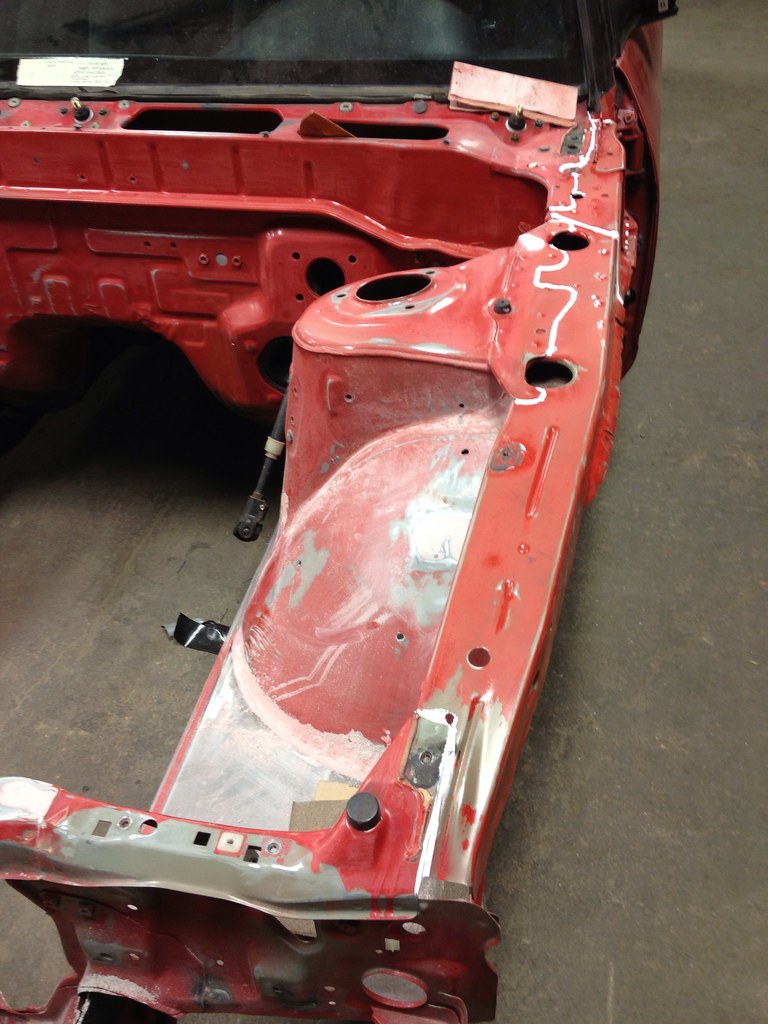 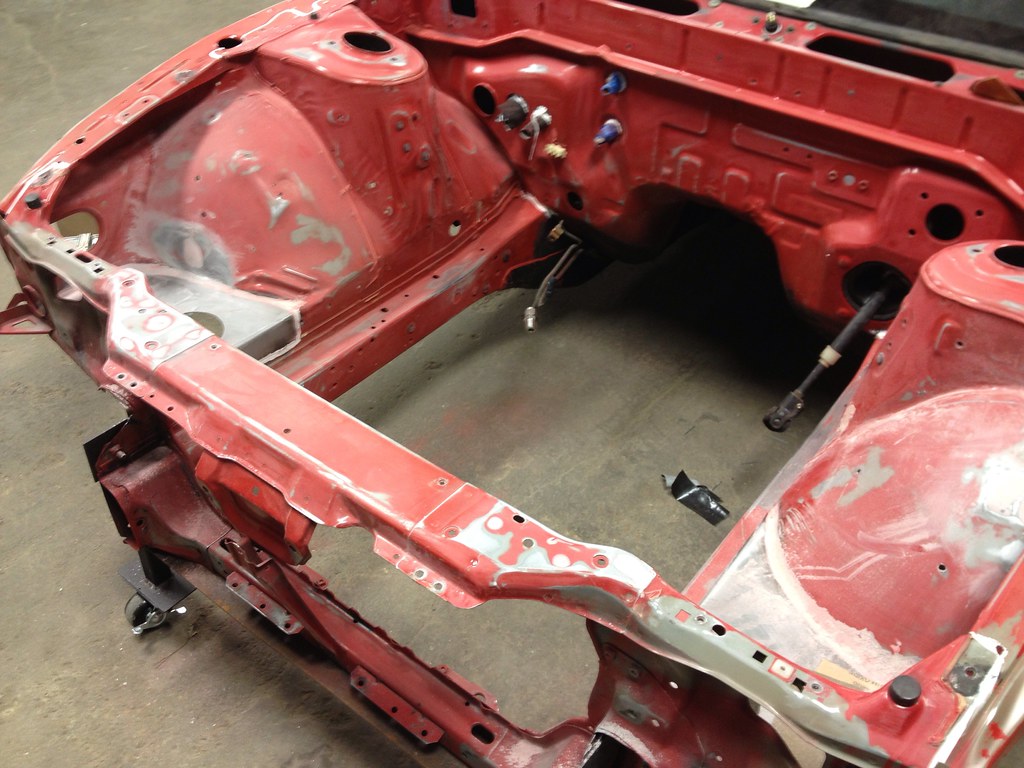 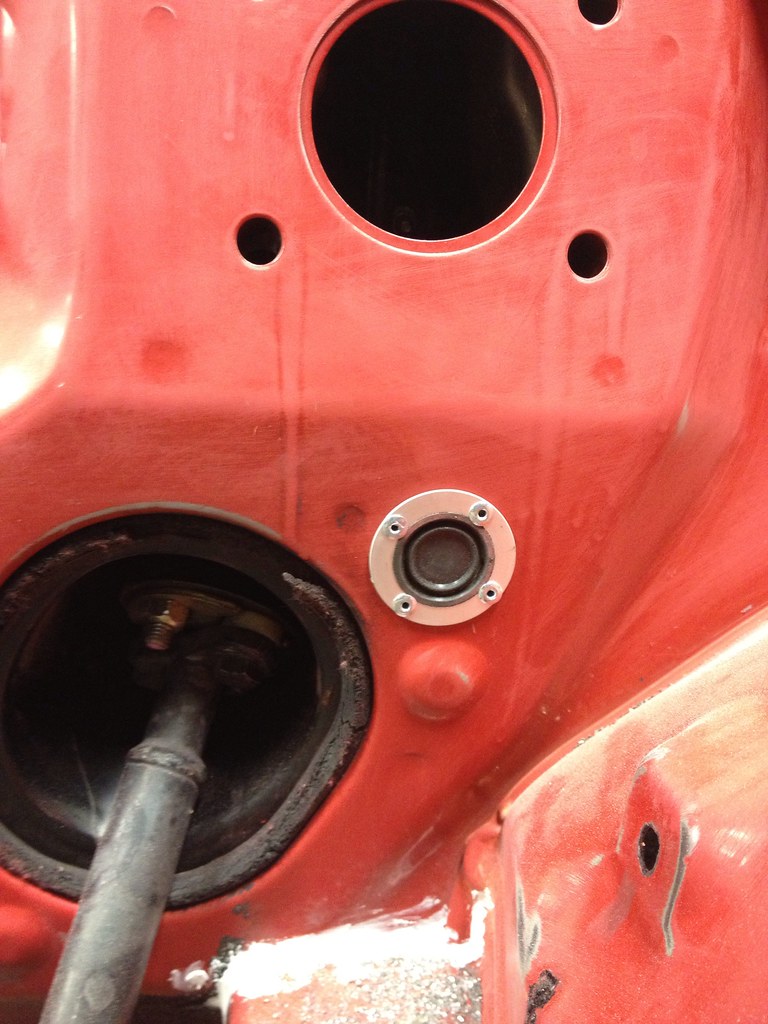 Other than that, cleaned all the dust out of the bay. Hope to get a coat of primer on it tomorrow evening.
__________________

|
|
|

|
 |
| Bookmarks |
| Thread Tools | |
| Display Modes | |
|
|