
 |
|
|||||||
| Home | Rules & Guidelines | Register | Member Rides | FAQ | Members List | Social Groups | Calendar | Mark Forums Read |
| Builds (and builds only) Got a build thread? It goes here, build threads anywhere else on the forum will be locked and never moved. |
 |
|
|
Thread Tools | Display Modes |
|
|
#31 |
|
Post Whore!
 |
Mini update.
My flywheel bolts were loose. ALL eight of them. 4 were finger loose and 4 were loose enough to use the wrench with almost zero effort. 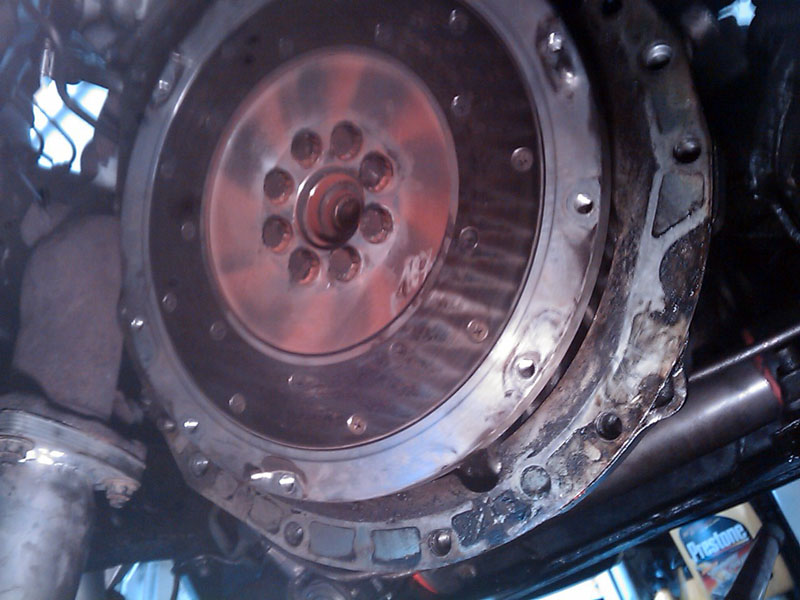 Picture right after taking the clutch off. Can't tell that the bolts are loose in this picture but they were. 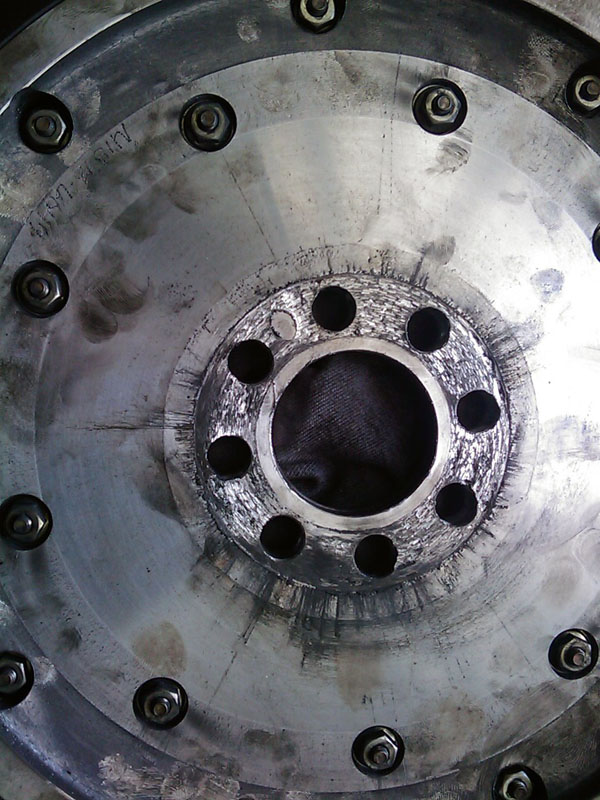 Backside of the flywheel. Notice the bolt holes are no longer perfect circles due to the bolts carving them out. There's even thread marks inside the flywheel holes from the bolts... lol. 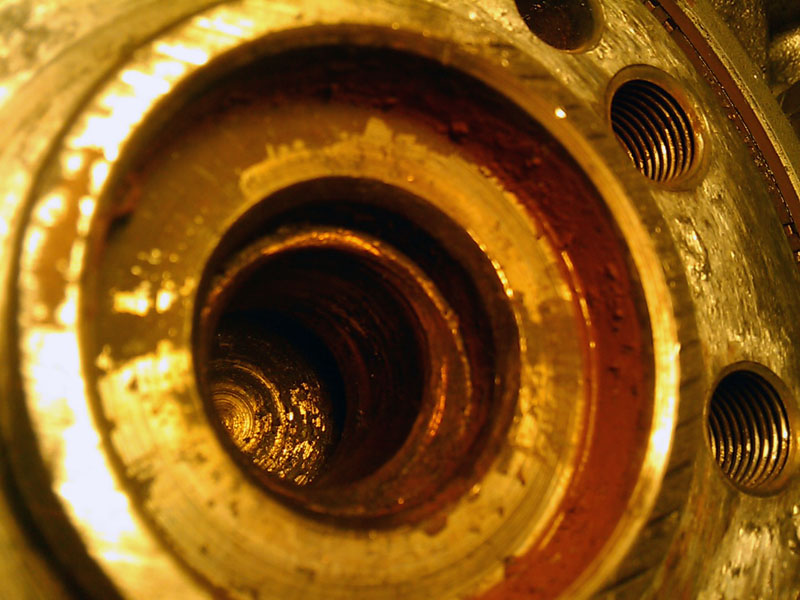 Here's a picture of the pilot bushing. If you look at the bottom right section its completely burred into the housing. FML! The clutch seems to be ok, but its got around 30,000 miles on it so I'm going to replace it. Rear main seal is leaking so that also will need to be replaced. More pictures when new parts arrive + install procedure.
__________________

Last edited by KiLLeR2001; 07-17-2011 at 11:36 AM.. |
|
|

|
| Sponsored Links |
|
|
#32 |
|
Post Whore!
 |
Update!
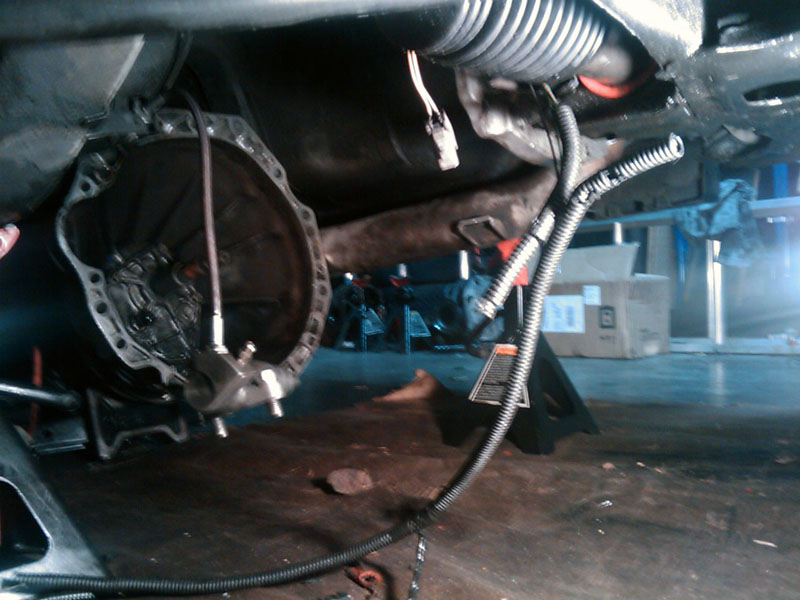 Random picture of the tranny on the ground. 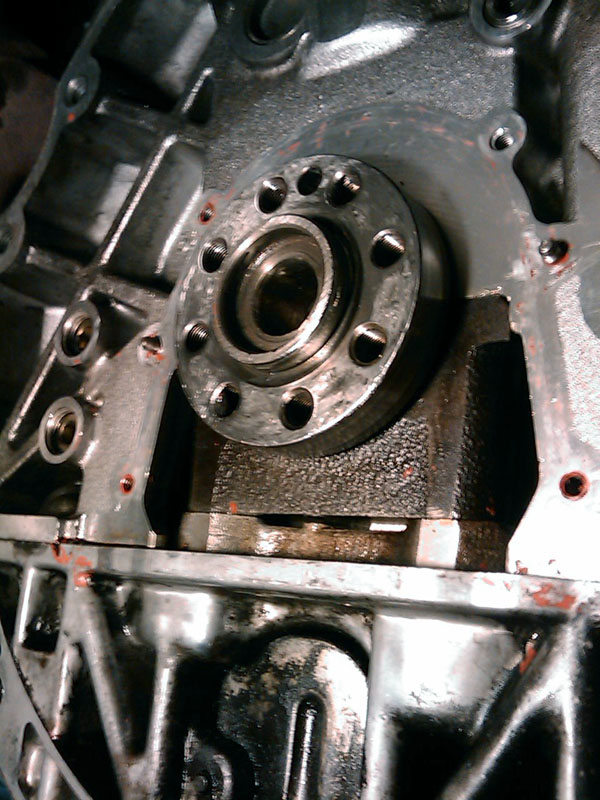 Heres what the flywheel did to the crank, had to sand it down and smooth it out. Rear main and housing also off in this picture. 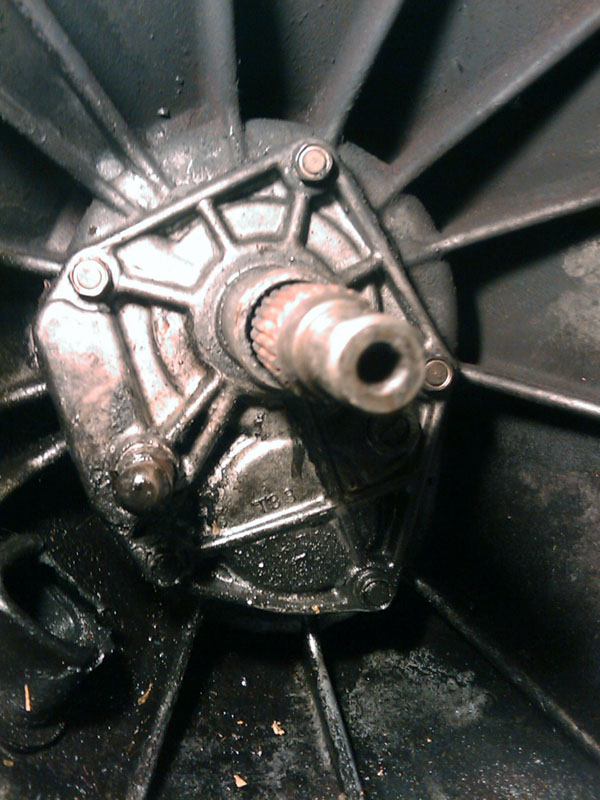 This is a picture of the front cover nastyness before doing anything to it. 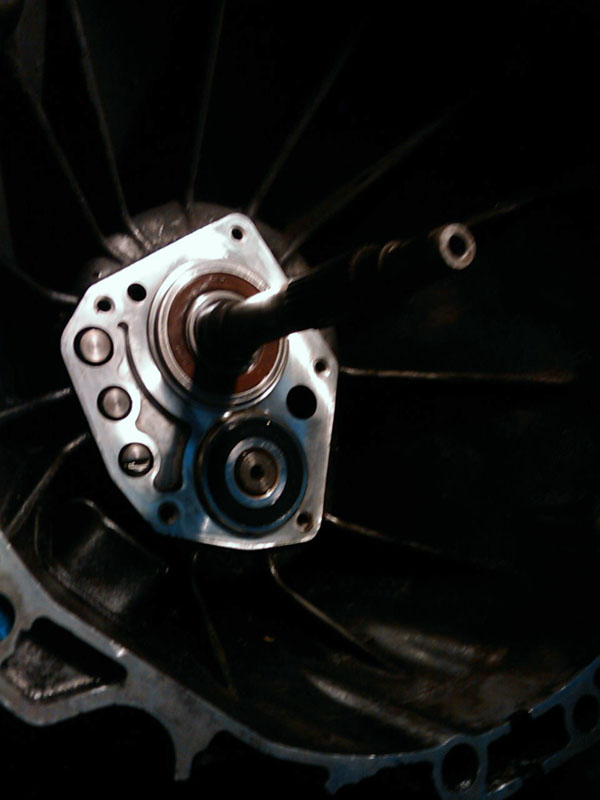 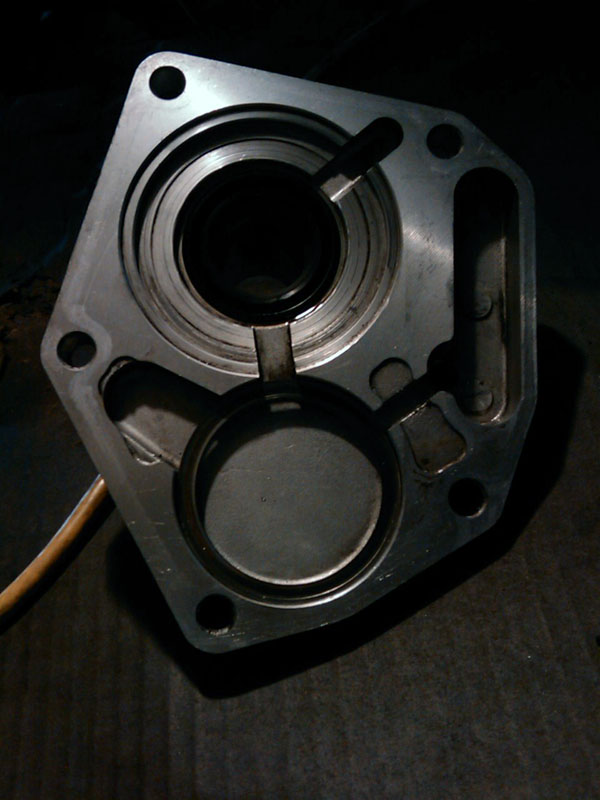 Front transmission cover removed. Backside all cleaned up. 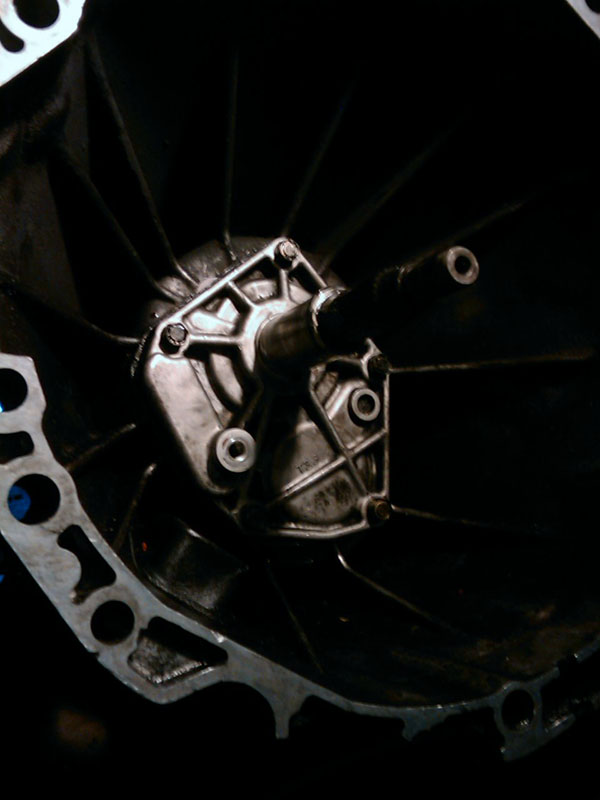 Front cover back on with new front gasket and seal. No pivot ball installed in this picture, but I got an SPL one. Anyways, when my clutch arrived it was go time. But as usual my car doesn't get work done to her until she puts up a fight, and she did. This time, I was attempting to center the pressure plate onto the flywheel tightening down two bolts at the opposite end of each other. One side went in fine, but the other had a lot more stress trying to pull the pressure plate onto the flywheel... Needless to say, the bolt popped out and took some aluminum threads from the Fidanza flywheel with it... FML. Lucky for me, it wasn't that bad so it was helicoil to the rescue! 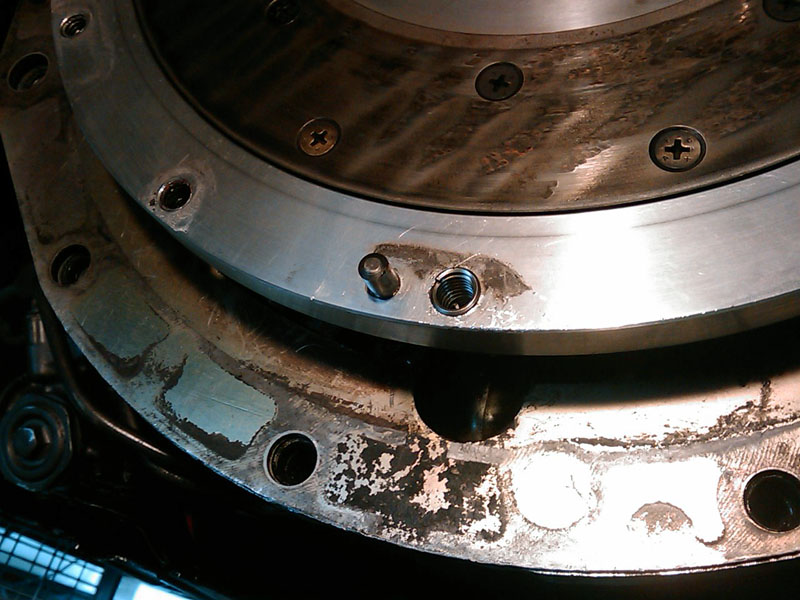 Flywheel with the helicoil in there. I was able to take my car out for a drive around the neighborhood for a good 15 minutes. No leaks so far. No grinds or any tranny noise whatsoever. What sucks is I sold my exhaust a couple weeks ago so I can't really drive it out on the roads like I want to (open test pipe=loud). 
__________________

|
|
|

|
|
|
#34 |
|
Post Whore!
 |
My car is finally back on the road in one piece! Got everything installed I set out to do. Had some troubles with the z32 ebrake setup and a minor issue with the exhaust install...
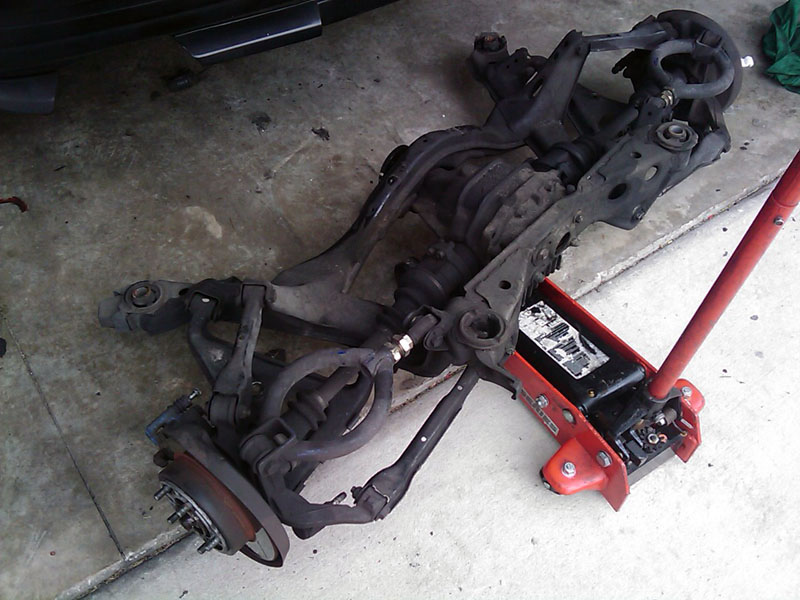 Subframe dropped! 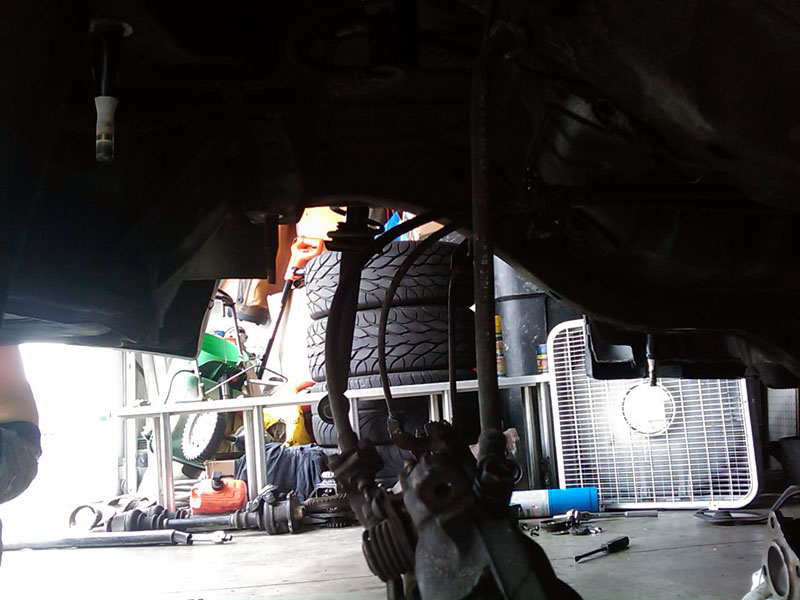 Not sure what I was trying to capture in this picture... I guess you can just focus on my BFG tires lolol. 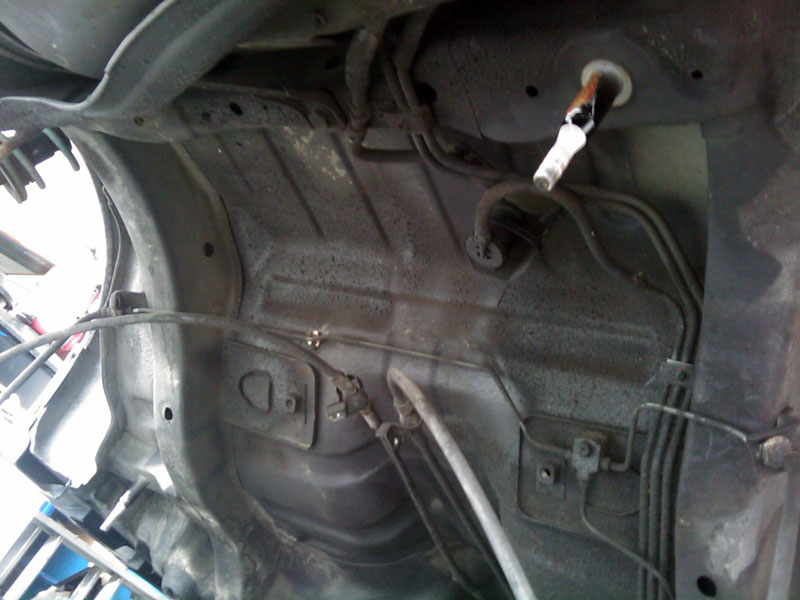 Under body ugliness.  Decided it might not be a good idea to burn the subframe bushings around my house. So I went to a friend's house in an area where... some burnt rubber is probably welcomed.  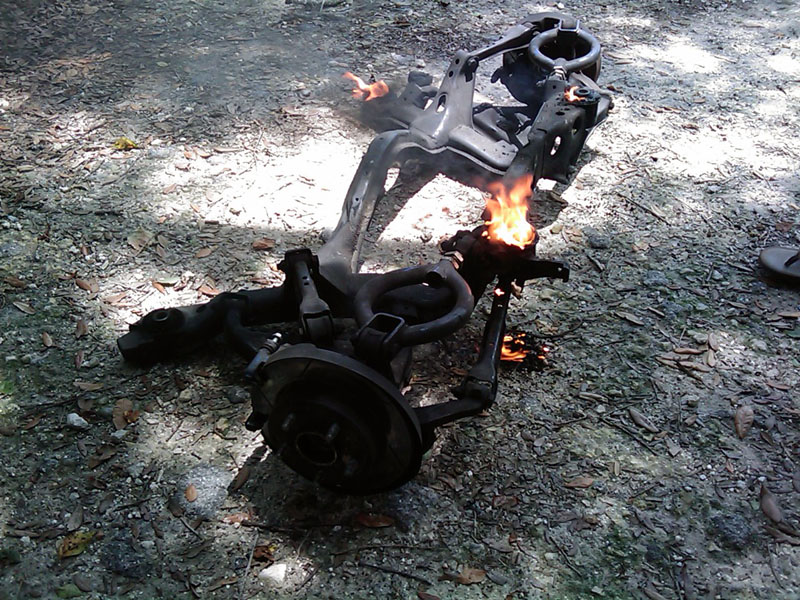 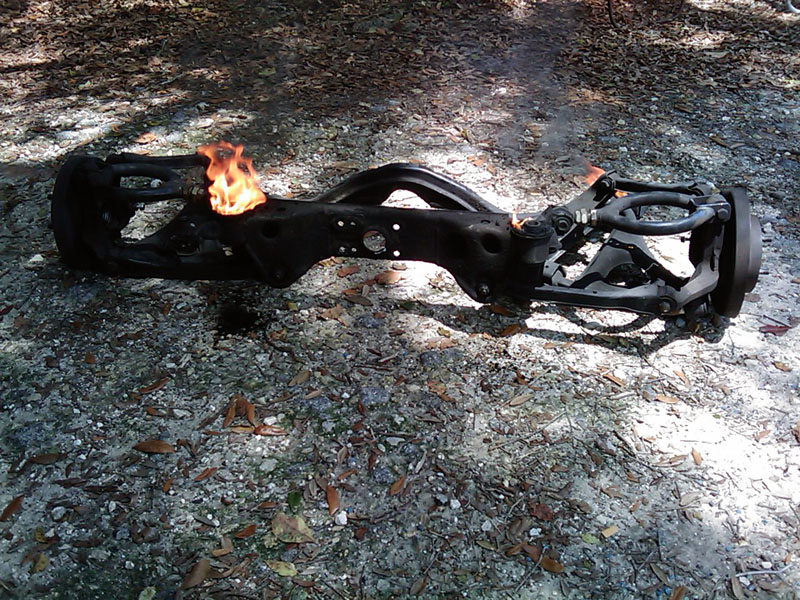 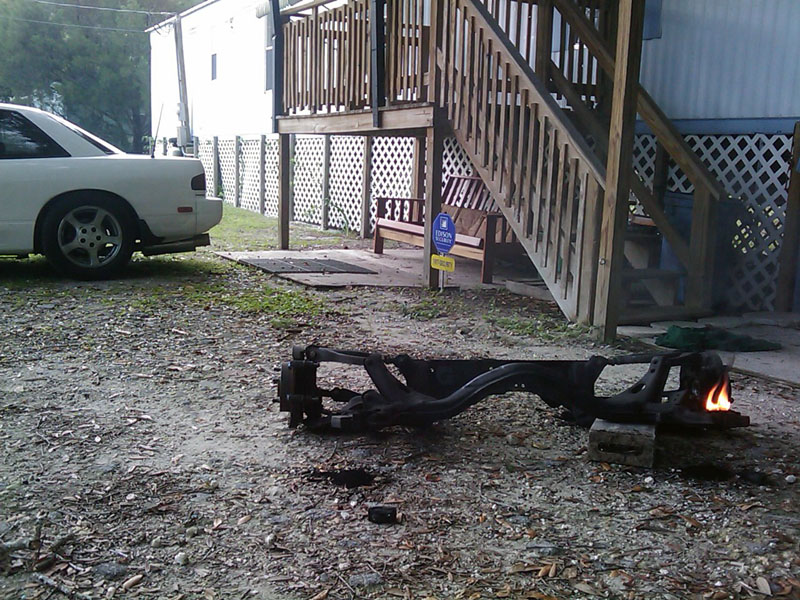 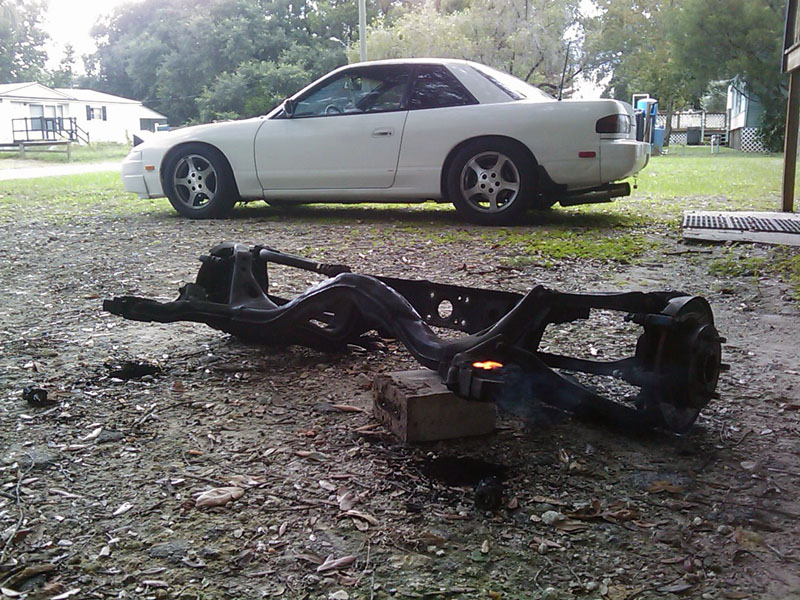 Get your marshmallows out! 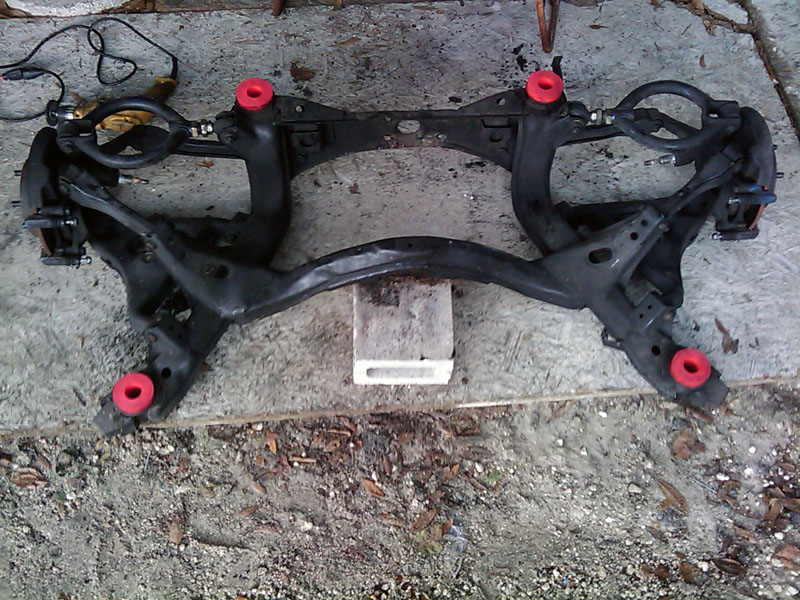 New bushings installed. 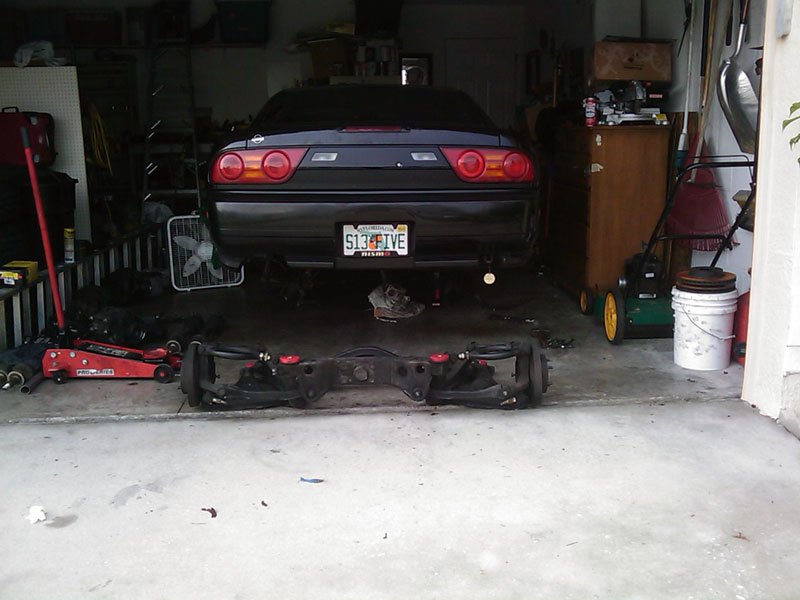 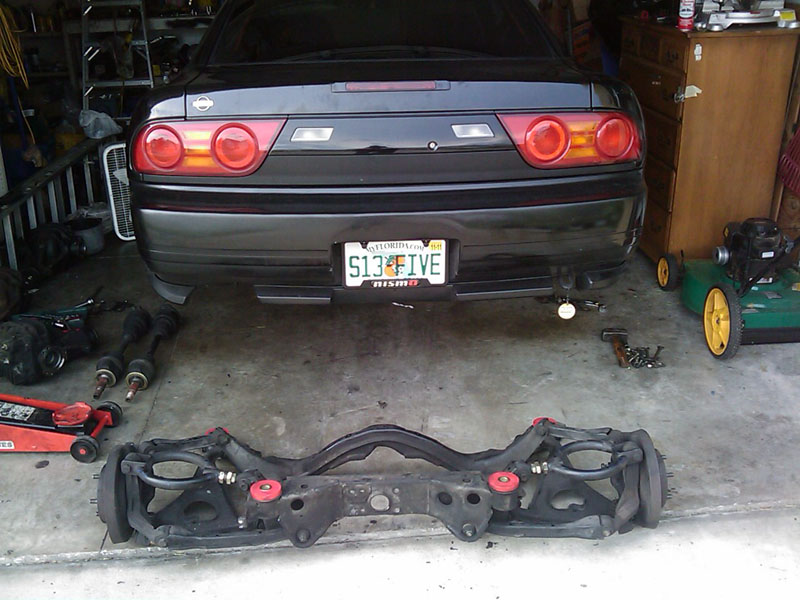 Subframe back at home. Here's some new parts... 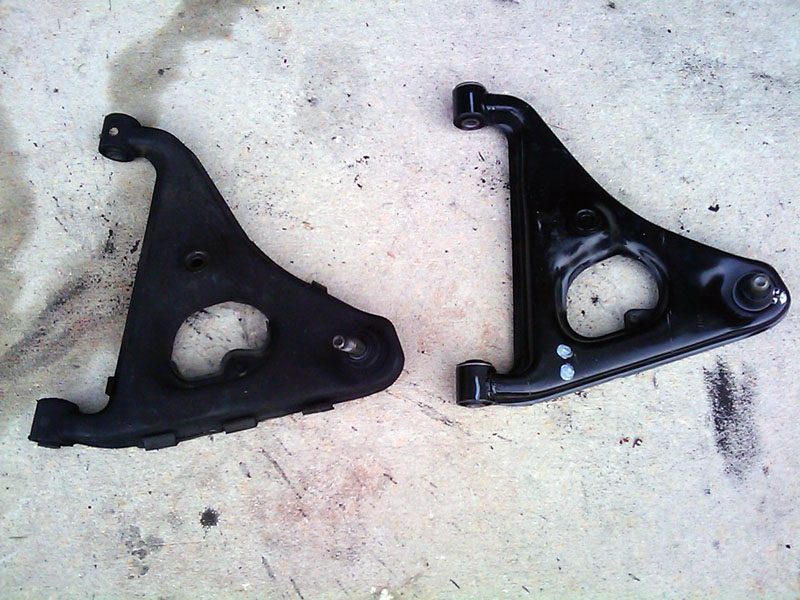 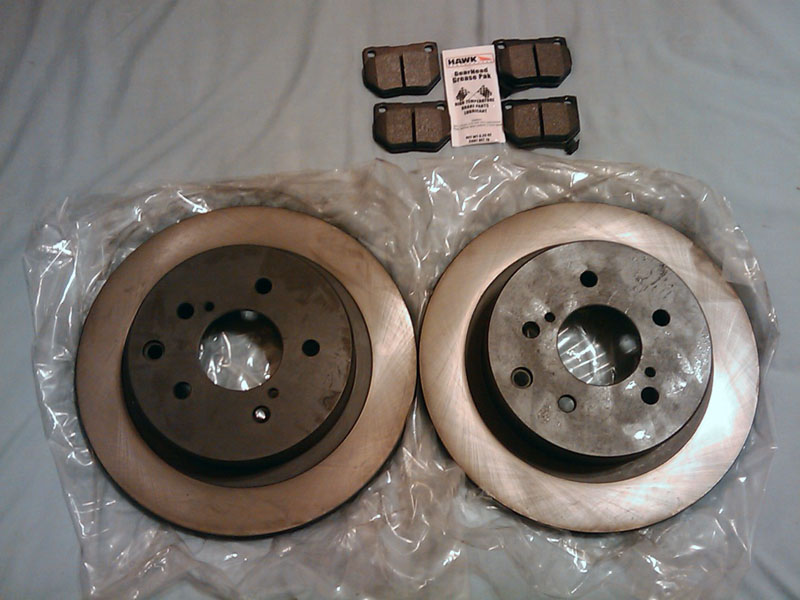 New lower rear control arms and z32 rotors / hawk pads. 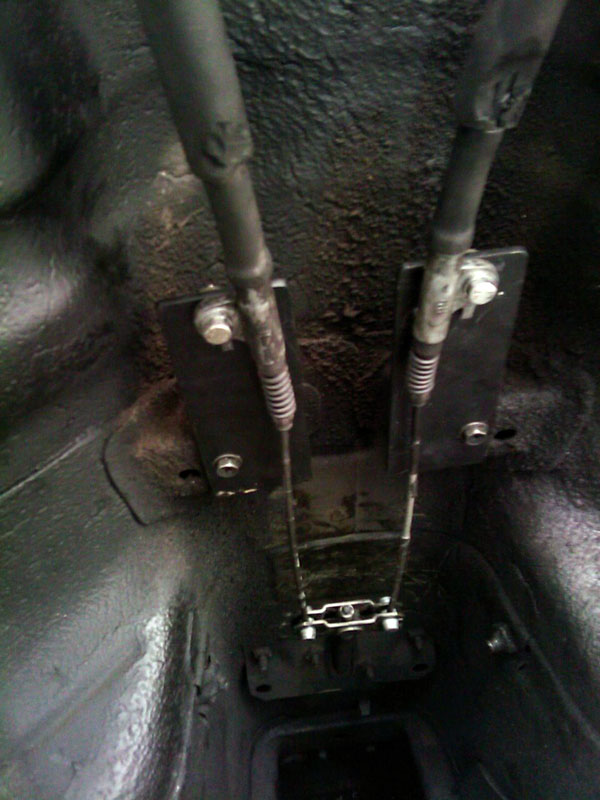 Z32 2+2 cables installed with brackets mounted. 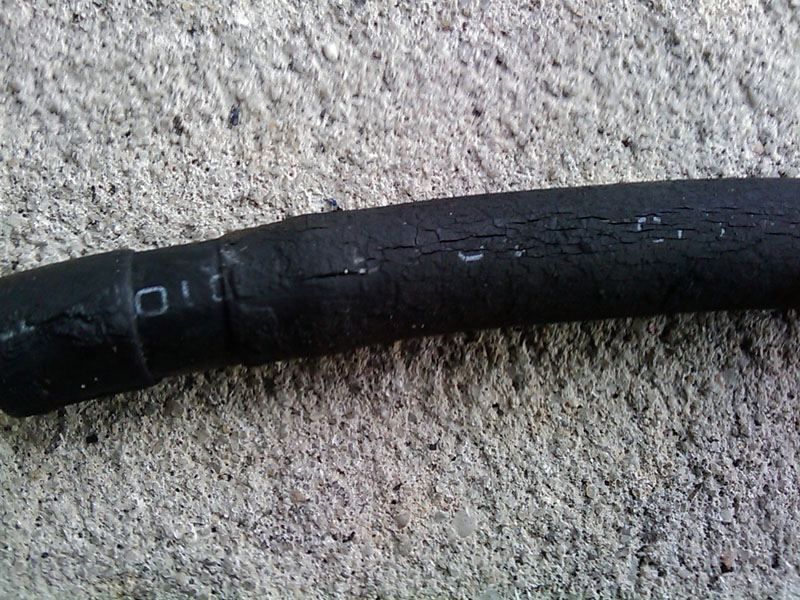 These are what my fuel lines looked like that went from the tank to the hard lines in the back. Crackkkk city. 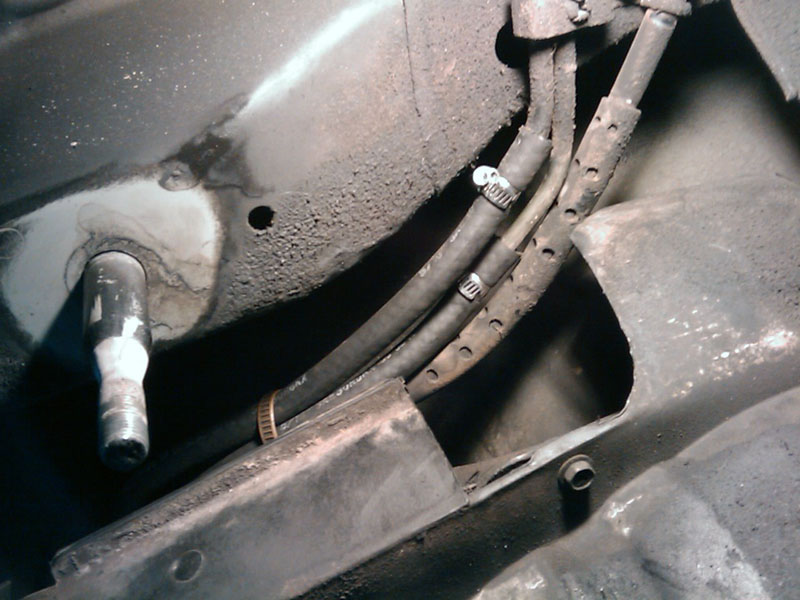 New fuel lines installed. Ah, sigh of relief. So, my first attempt at driving the car wasn't exactly perfect. Every time I would go to engage the ebrake I would hear a clunking sound and it wouldn't lock at all if I was in motion. It would lock if I was stopped, but even then it wasn't locking full strength. So I had to pull everything off and see what the deal was. Turns out, Z32 hubs are little different than s14/ichiba conversion 5 lug hubs... They have a flange that goes in between the ebrake hardware and the back plating... 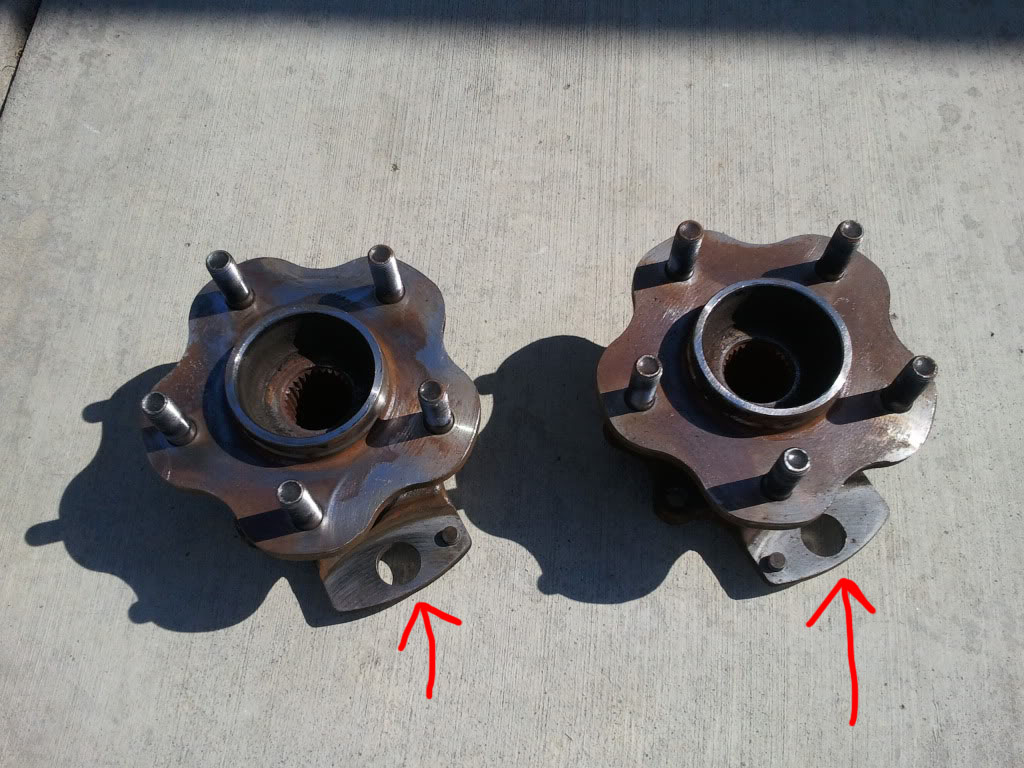 Red arrow indicates the flange tab part of the z32 hub that is absent from s-chassis based hubs. So to counter this, I used a spare axle washer. 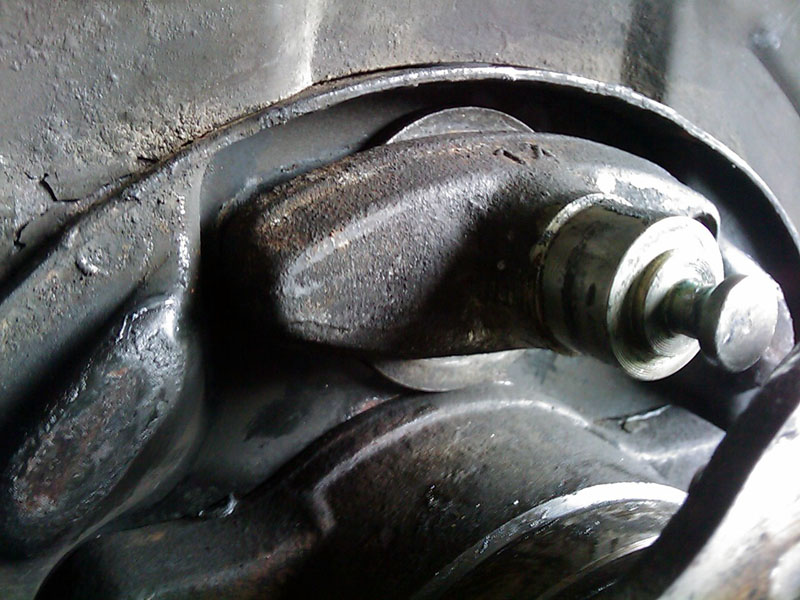 Axle washer in between the back plating, thus mimicking the presence of the z32 flange. 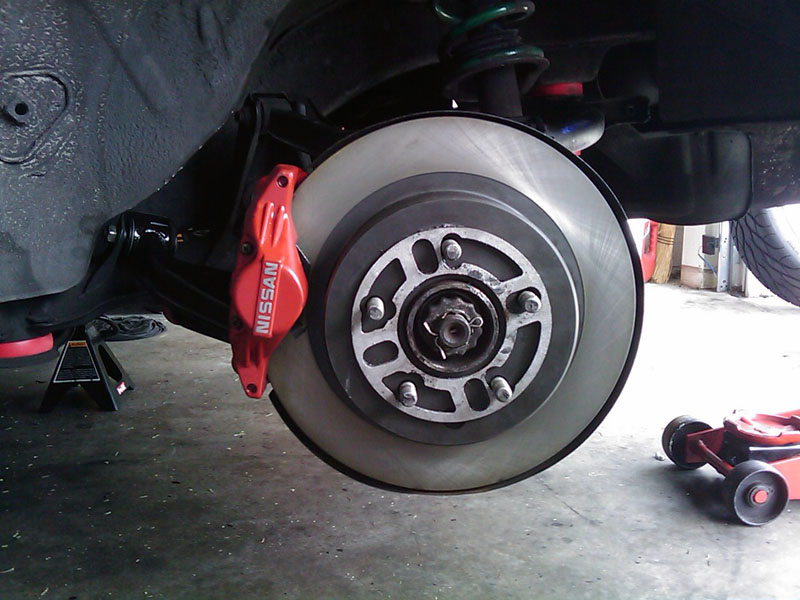 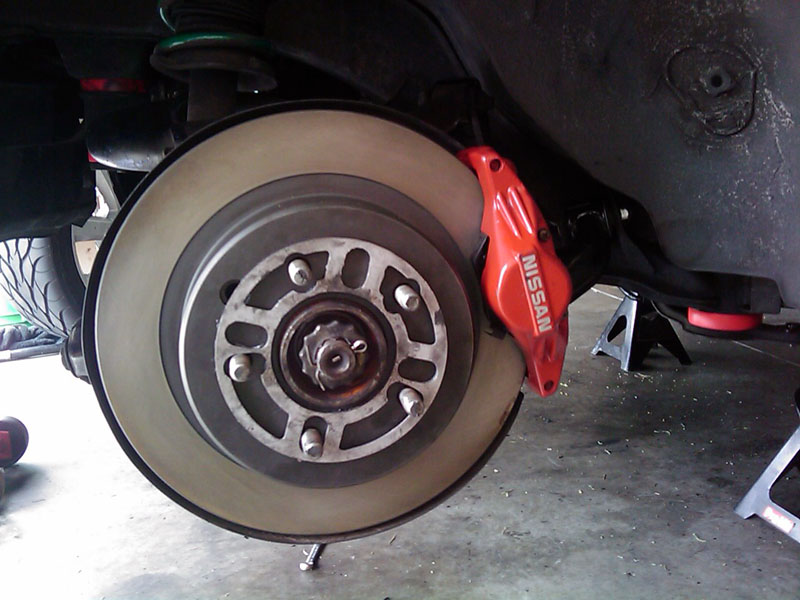 Everything together again! And look what decides to show up... 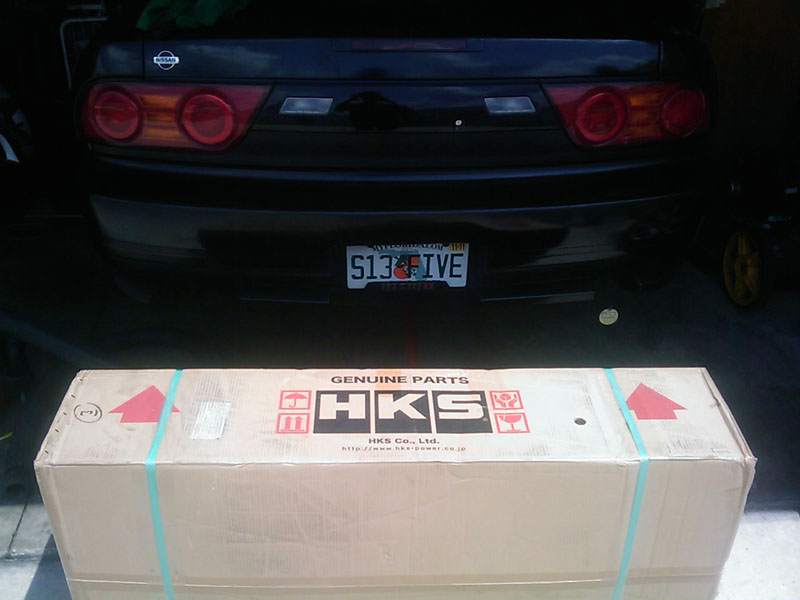 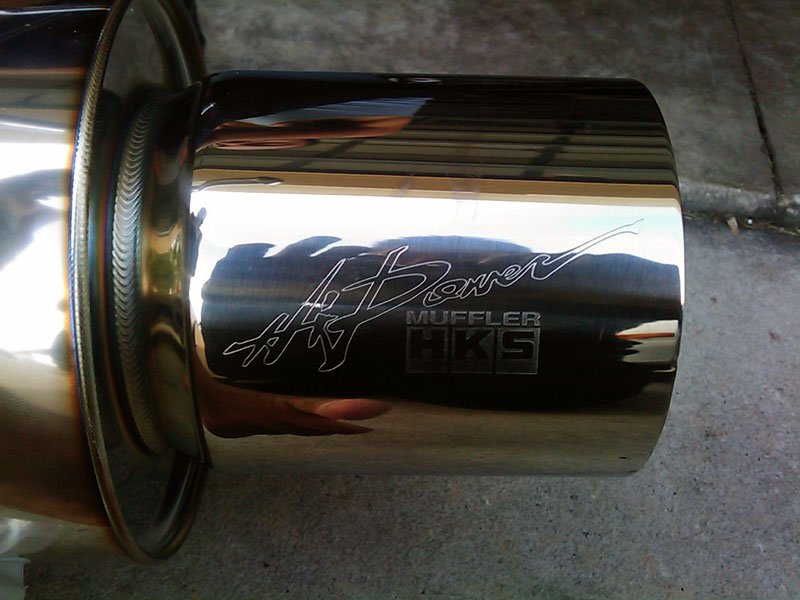 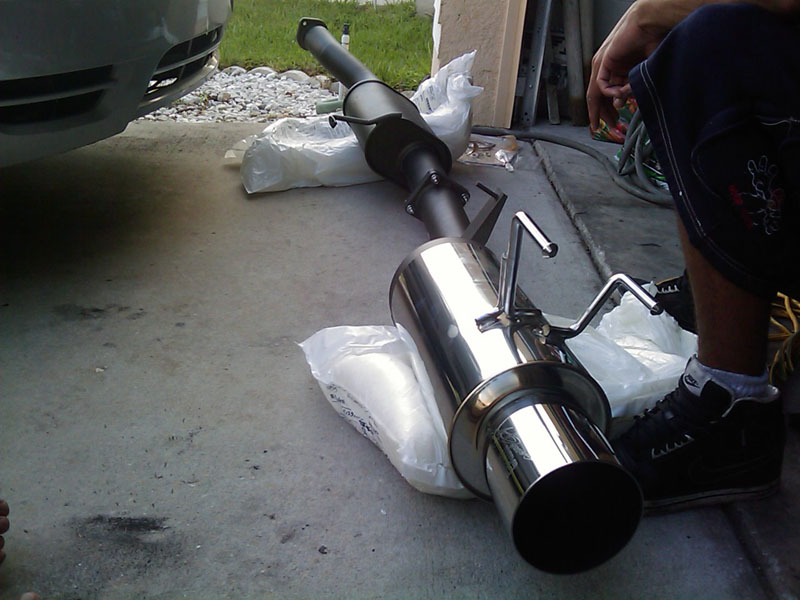 HKS Hi-Power Exhaust (85mm). I had a little issue with clearance with the muffler tip. It's crazy big compared to my old Apexi N1 so it was hitting up against the tow hook. Pretty much bent the piss out of it in order for it to clear without hitting. Well that's it for now. I'll get pictures of the exhaust on the car tomorrow when it's daylight out.
__________________

Last edited by KiLLeR2001; 08-11-2011 at 11:48 PM.. |
|
|

|
|
|
#35 |
|
Post Whore!
 |
Exhaust pictures like I promised!
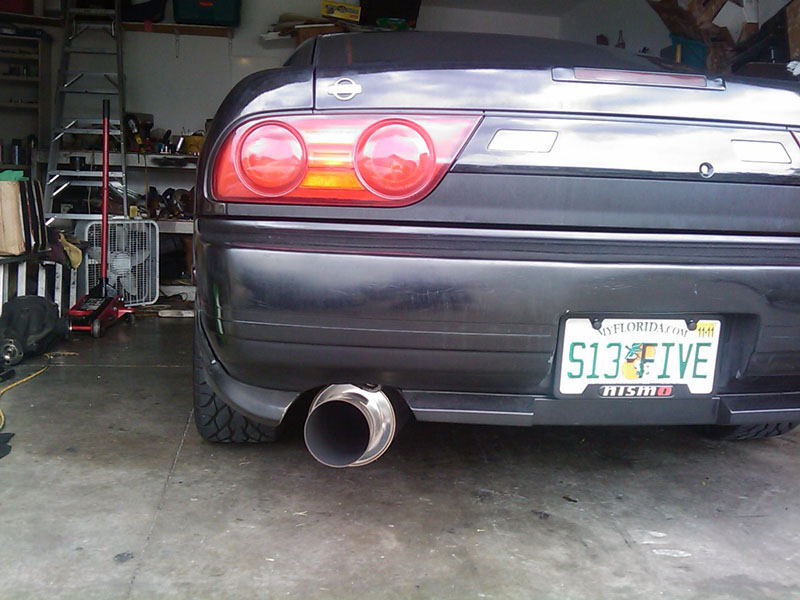 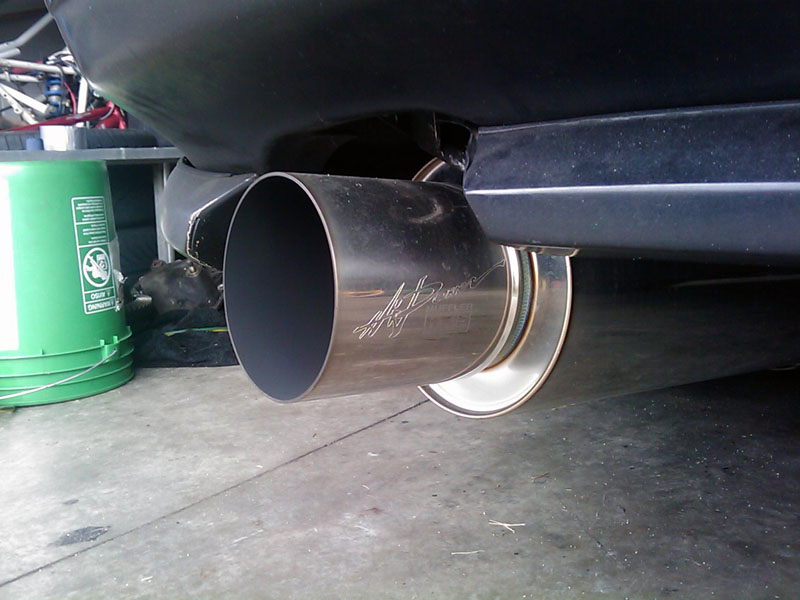 Also decided to put my first decal on the car! 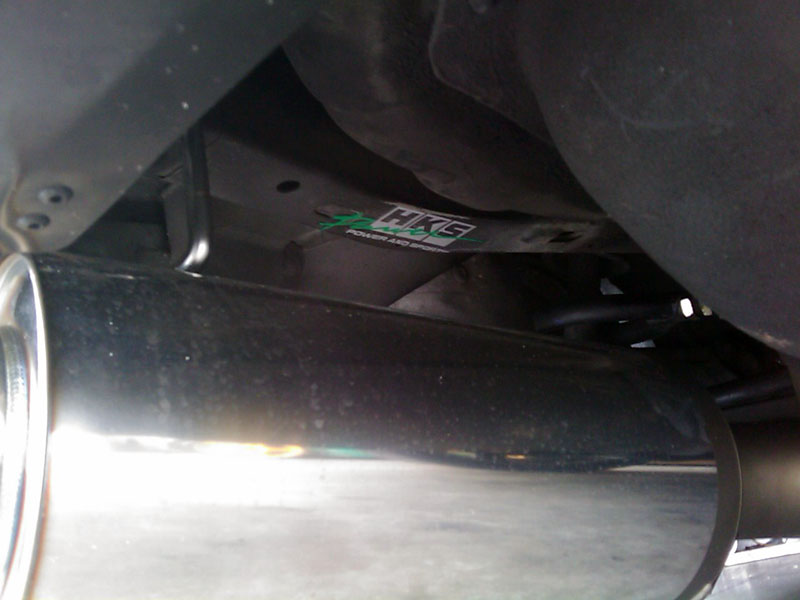 Non-visible, just the way I like it.
__________________

Last edited by KiLLeR2001; 08-22-2011 at 01:13 AM.. |
|
|

|
|
|
#36 |
|
Post Whore!
 |
Next up, I'm going to fix up a few things I've been neglecting for a while now.
- New front main seal. - New valve cover gasket. - Fix a couple broken/stripped studs on the valve cover. - Install rocker arm stoppers.
__________________

|
|
|

|
|
|
#37 |
|
Post Whore!
 |
Mini update. Rocker arm stoppers came in. Decided to finally fix my front main seal leak and install these bad boys.
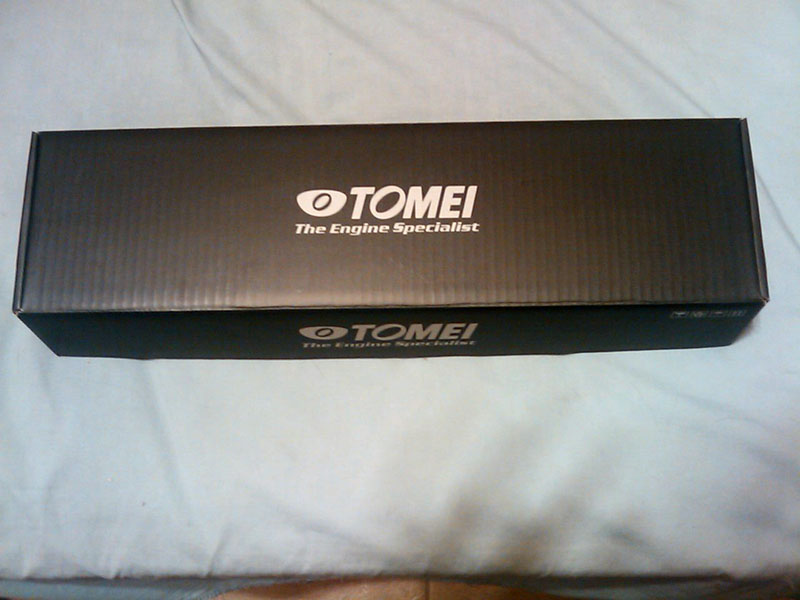 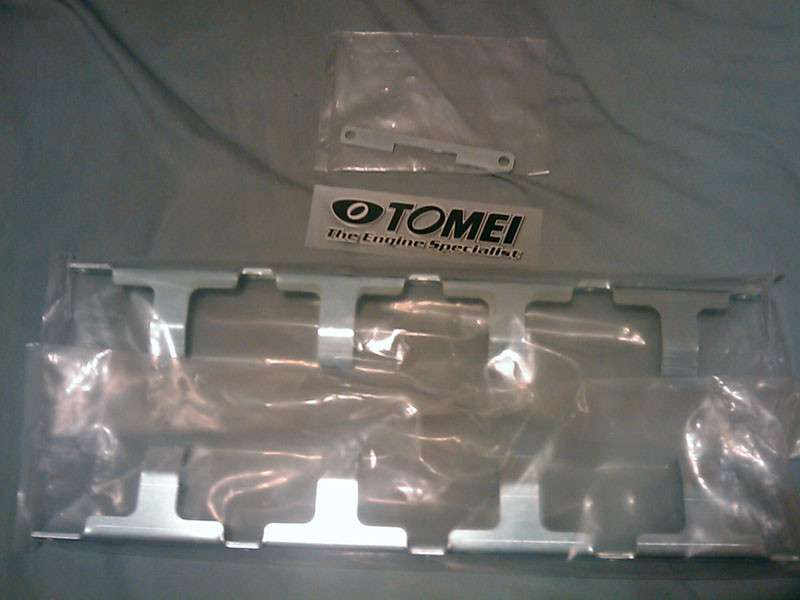 Mmmm new parts!! 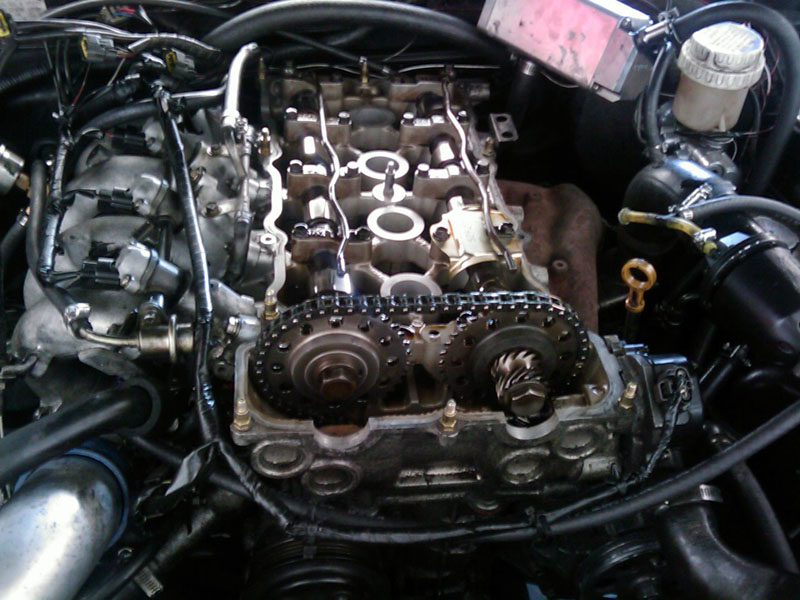 Valve cover off! Can't believe it's been about 4 years since I've taken it off. I had a couple stripped studs so I opted to fix those as well. And of course, a new valve cover gasket and spark plug gaskets. 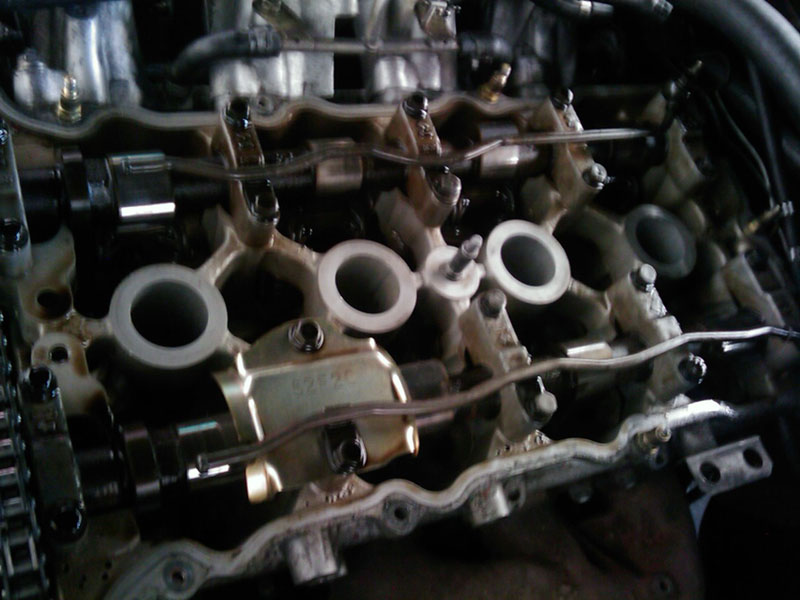 Close up of the engine, spark plug holes wiped down. 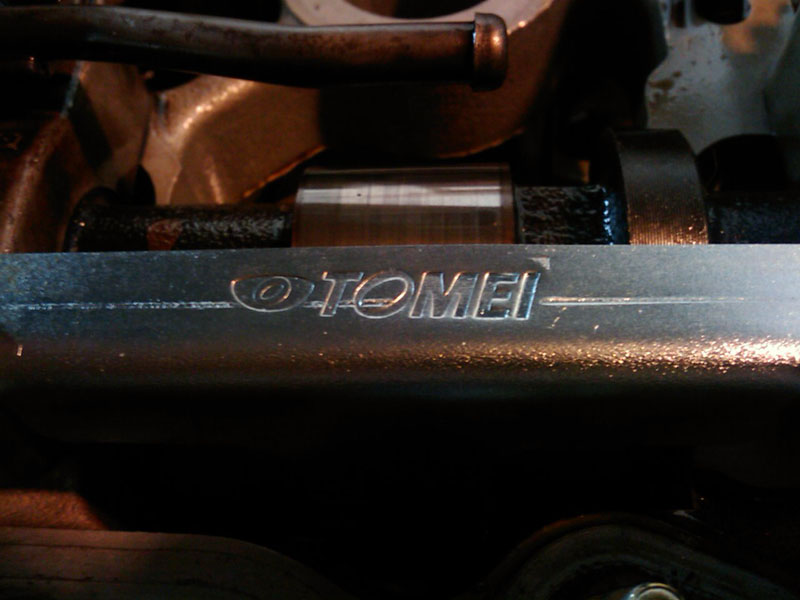 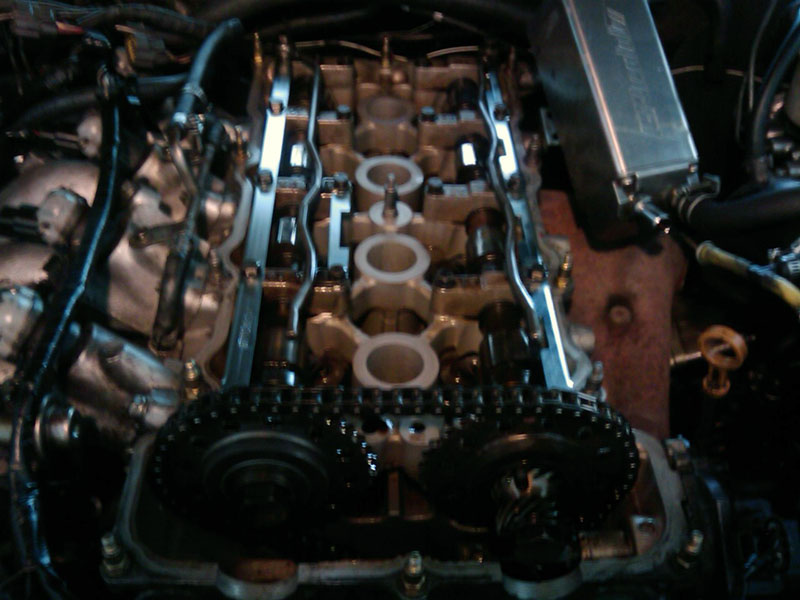 Installed!
__________________

|
|
|

|
|
|
#39 |
|
Post Whore!
 |
My water pump started squeaking not too long ago. Decided to upgrade to the S14 SR water pump since it's a better flow design...
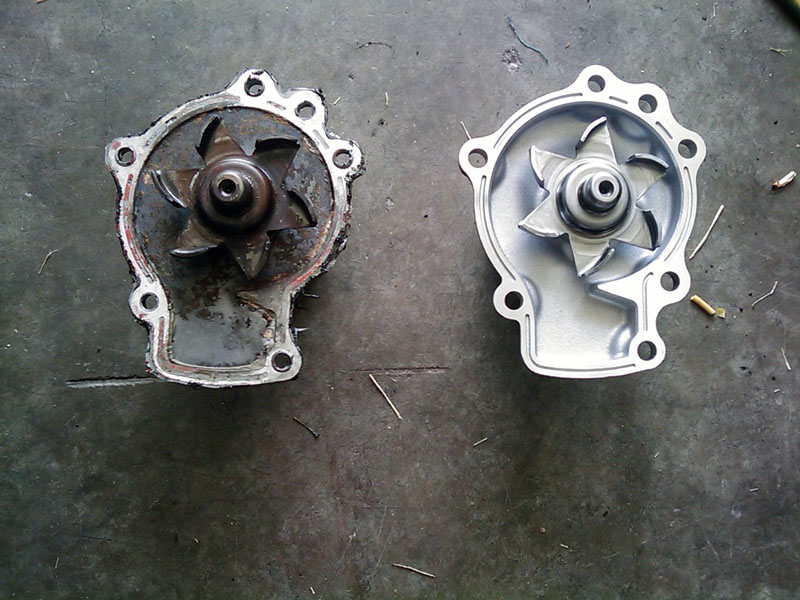 Old s13 pump vs new s14 pump.
__________________

|
|
|

|
|
|
#40 |
|
Post Whore!
 |
Upgraded my tail/brake lights to LED. Overall I'm very happy. No more dimming of electrical system when brakes are applied (like all s13's I've ever been in). And my idle no longer drops when braking. I have a video comparison although my video camera sucks ass and makes the LEDs look weak when they are just as bright if not brighter than the stock bulbs.
__________________

|
|
|

|
|
|
#41 |
|
Post Whore!
 |
Not much going on with the build. I'm still saving up for coilovers and with holiday season around the corner I should be able to get more hours at work.
 In the meantime I've purchased a few goodies for my car to "spice" up the interior. S15 steering wheel and S15 spec-R floormats that I have been looking to get for YEARS! 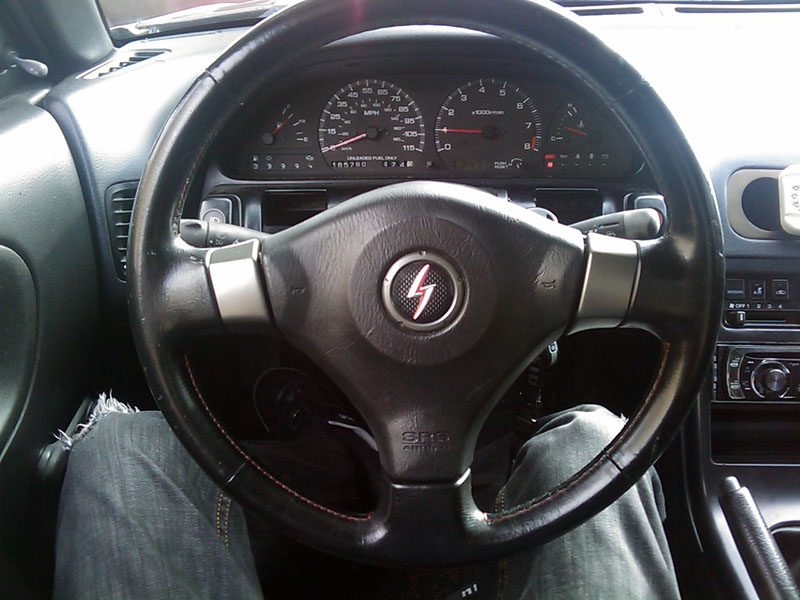 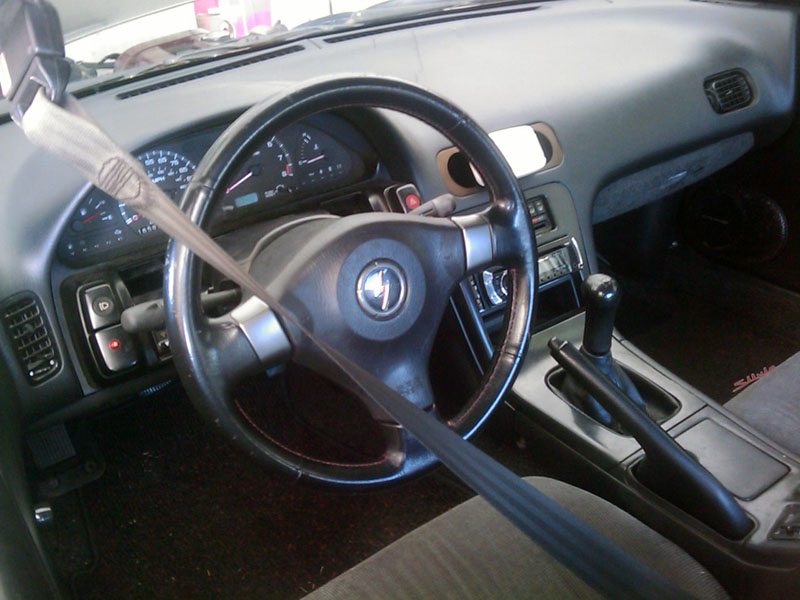 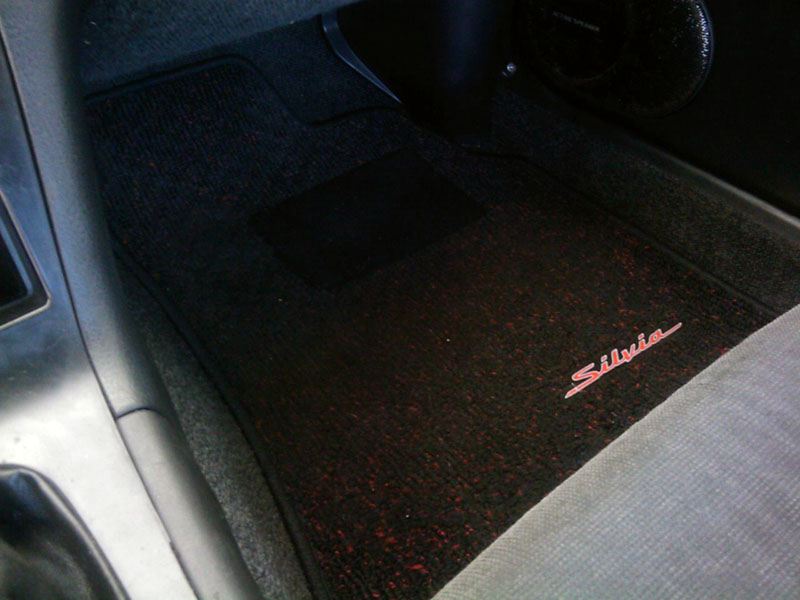 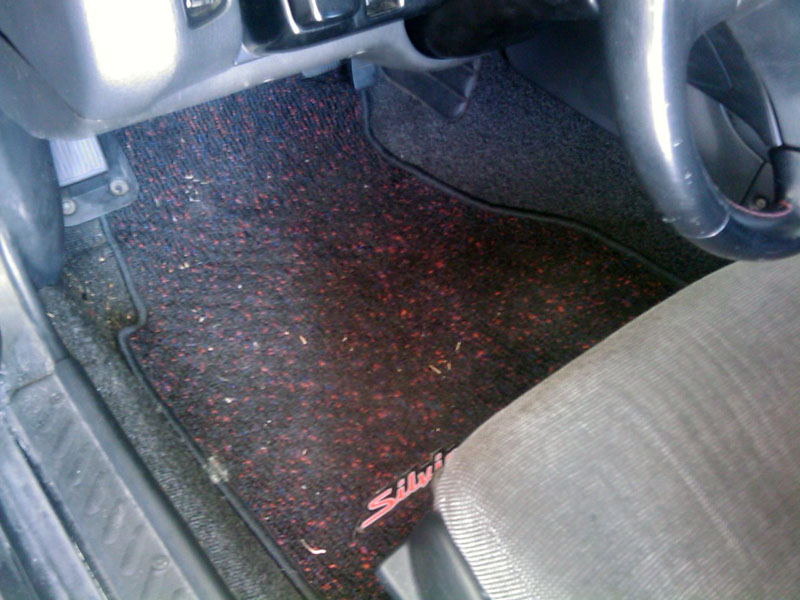 In order to get the horn and turn signal cancellation mechanism to work properly with the S15 wheel I had to cut the plastic pieces from the back side of the S13 wheel and RTV it onto the S15 wheel. Overall wasn't a hard process just a little time consuming making sure everything fits good. I also removed the airbag (not the actual bag but the part that explodes lol) just for safety reasons. I also decided to replace my clutch master and slave cylinder. Pedal engagement was getting softer and the clutch would engage differently all the time. Tried to get rid of the black gunk by draining out the old fluid and putting in new but no matter what the new fluid would turn black instantly. 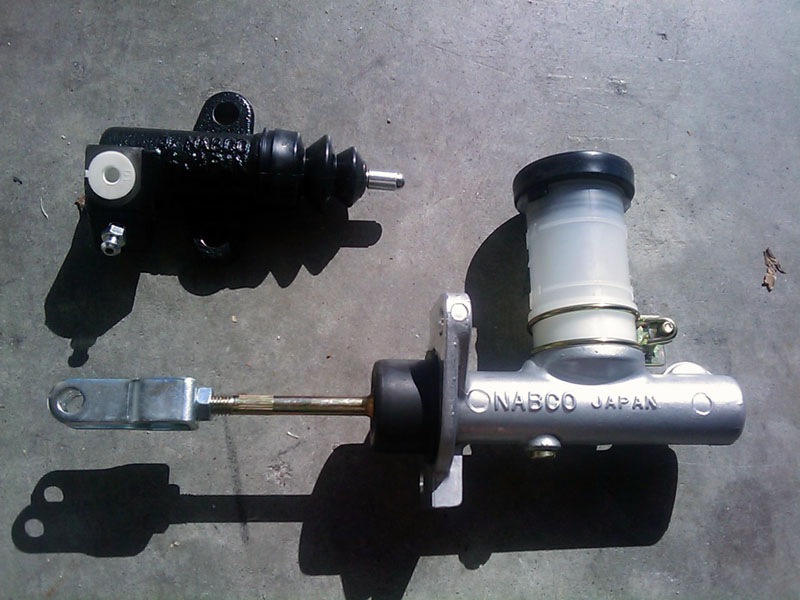 Coilovers next, unless something else happens in the meantime! 
__________________

Last edited by KiLLeR2001; 11-12-2011 at 11:11 AM.. |
|
|

|
|
|
#43 |
|
Zilvia Addict
 Join Date: Nov 2010
Location: New York, NY
Age: 38
Posts: 872
Trader Rating: (3)
 Feedback Score: 3 reviews
|
One of the rare well built 240's in florida. Sadly most people here worry about "moar low, hella flush" crap instead of building a functional car. Keep up the good work, I have been following this build for months so keep the updates coming.
|
|
|

|
|
|
#44 |
|
Post Whore!
 |
I hate not updating my thread. My family has been having some financial troubles as of late so I've been helping them out which means my funds for coilovers are temporarily on hold. However, I did manage to pick up some minty fresh S14 seats for a cool $100.
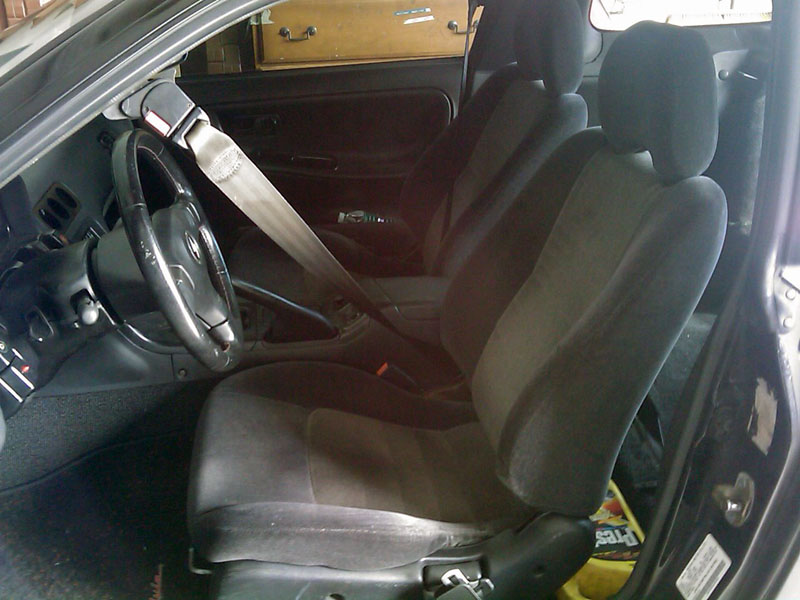 I'll most likely be keeping these until I can get my hands on some S15 seats.
__________________

|
|
|

|
|
|
#46 |
|
Post Whore!
 |
I'd like to exercise the idea that good things come to those who wait. Well, I've been waiting for close to around 4 years tentatively looking for my dream wheels. I finally found them I had to drive 6 hours to meet a fellow Zilvia member in ATL. They need a little TLC but that is what I'm all about!
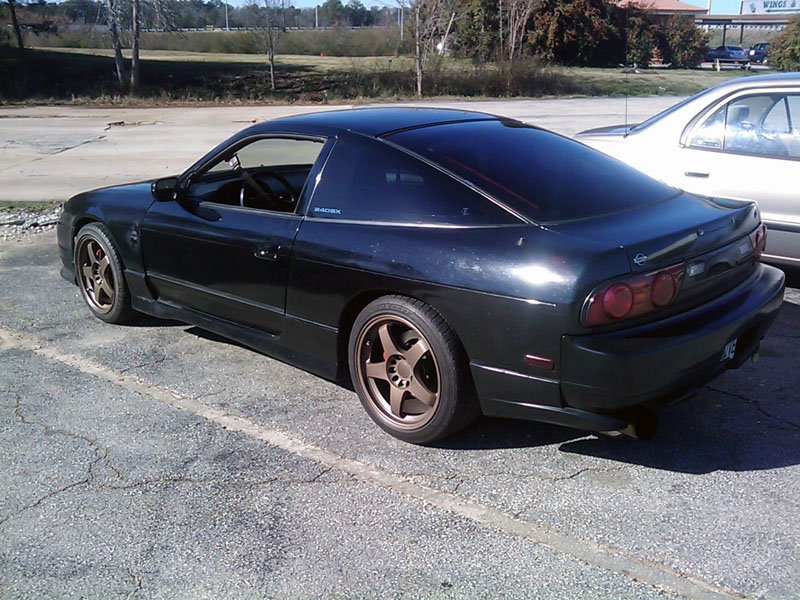 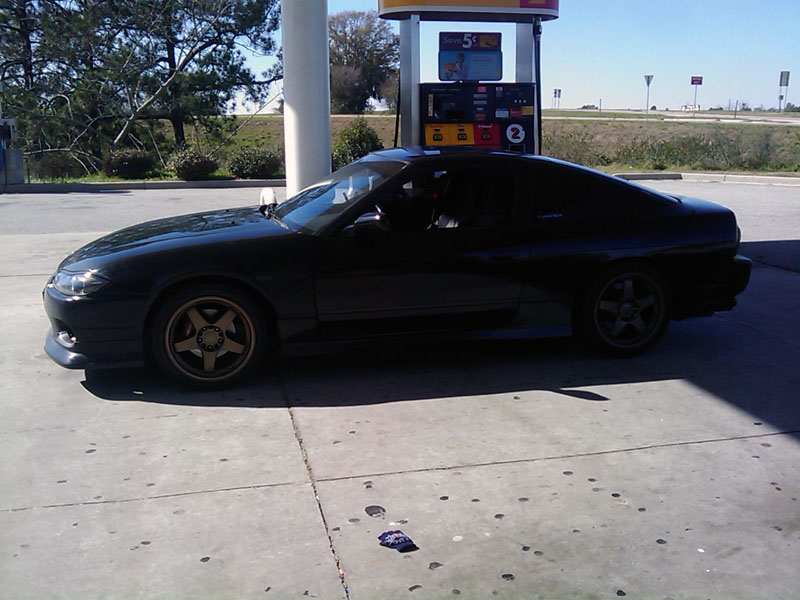 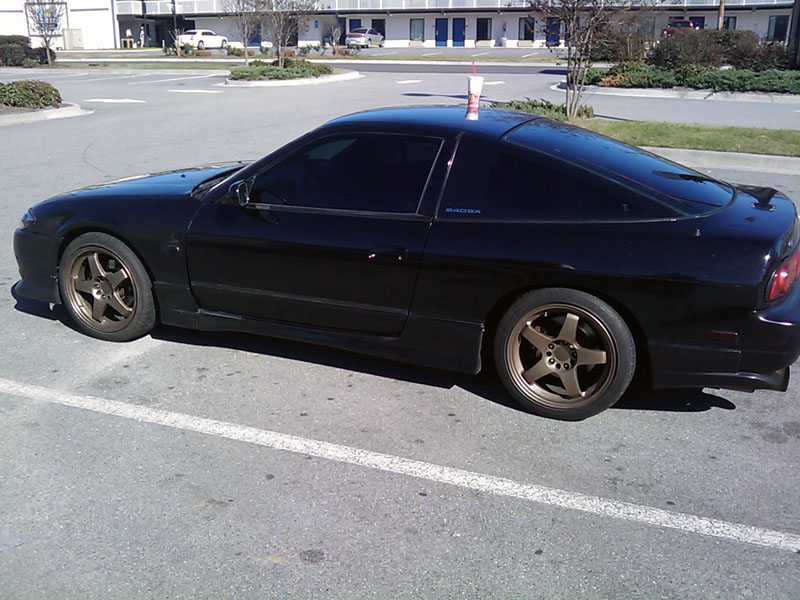 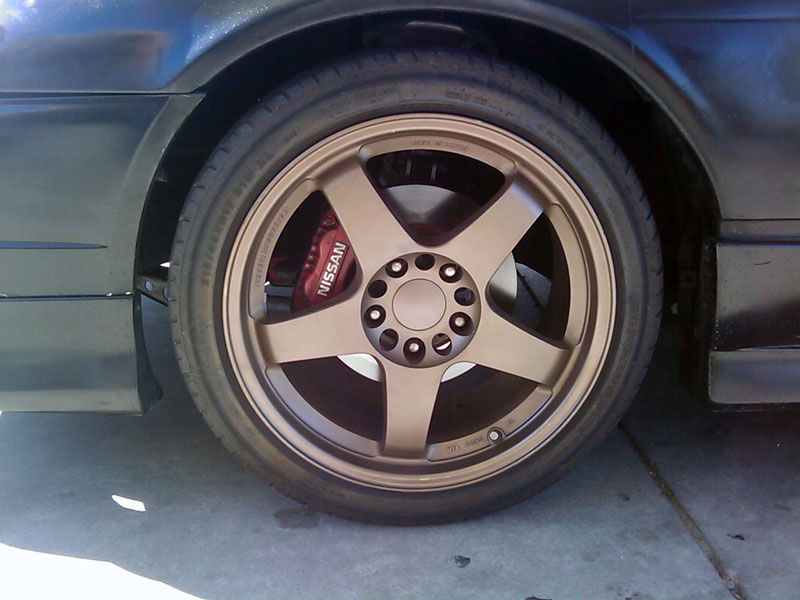 Nismo LMGT4 by Rays. 17 inch! 17x8.5 +30, and 17x9.5 +38. Every time I would search for these rims they are always in the 18 or 19 inch option, which I don't think suits the s13 too well. I'm planning on restoring these and painting them mercury silver. I'd like some feedback for those who read this, thanks! 
__________________

|
|
|

|
|
|
#47 |
|
Post Whore!
 |
The long trip to Atlanta destroyed the seals on my turbo finally. Before the trip a little bit of oil would seep into the coolant over time from the seals, but now it seems much more apparent. Going to drop in another T25 and redo all the gaskets as well as upgrade to steel braided lines.
__________________

|
|
|

|
|
|
#49 |
|
Post Whore!
 |
Yeah I was talking with Trevor a couple days ago, I'll probably drive down to Cape Coral for a visit and get them powdercoated.
__________________

Last edited by KiLLeR2001; 02-02-2012 at 12:52 AM.. |
|
|

|
|
|
#51 | |
|
Post Whore!
 |
Quote:
 edit: I've officially found the color I'll be painting my car!
__________________

Last edited by KiLLeR2001; 02-09-2012 at 02:38 AM.. |
|
|
|

|
|
|
#52 |
|
Post Whore!
 Join Date: Apr 2008
Location: 千葉県/Virginia/Under my 240
Age: 39
Posts: 2,832
Trader Rating: (161)
 Feedback Score: 161 reviews
|
Looking great man, yeah the Nismo LMGT4 are my fav wheels too! Hopefully someday I can find a set I'm looking for!!!
__________________
180SXオタクだ! |
|
|

|
|
|
#53 |
|
Post Whore!
 |
Driving 6 hours to Atlanta in back took a toll on my carbon fiber hood. At constant 80mph speeds, it was flapping around pretty good and I was a little worried it would fly off at times. When I finally got home I inspected it further and sure enough there was some hairline cracks starting to form at the latch. So you know what that means...
Aerocatch Install! 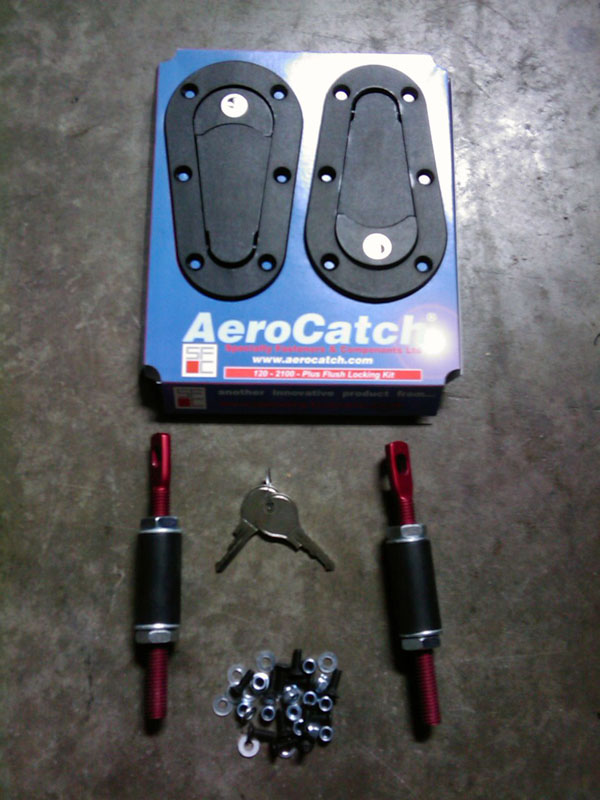 Took the hardware right out and started playing with it... Haha. Now in order to mark the correct spots I wanted, I put the hood pins where I wanted them to be along the radiator support, spread some touch up paint on the top of the pin and closed the hood down until it touched. This marked the spot that I would use to drill the first hole through the hood. 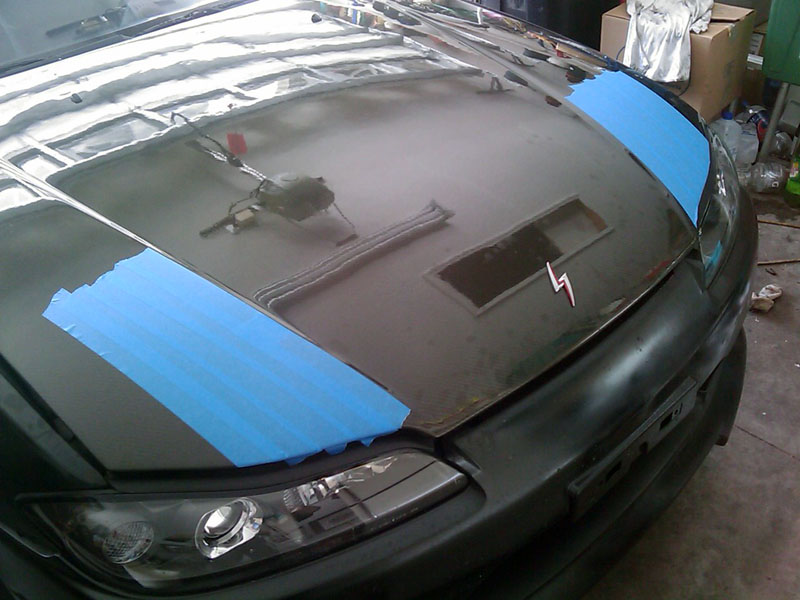 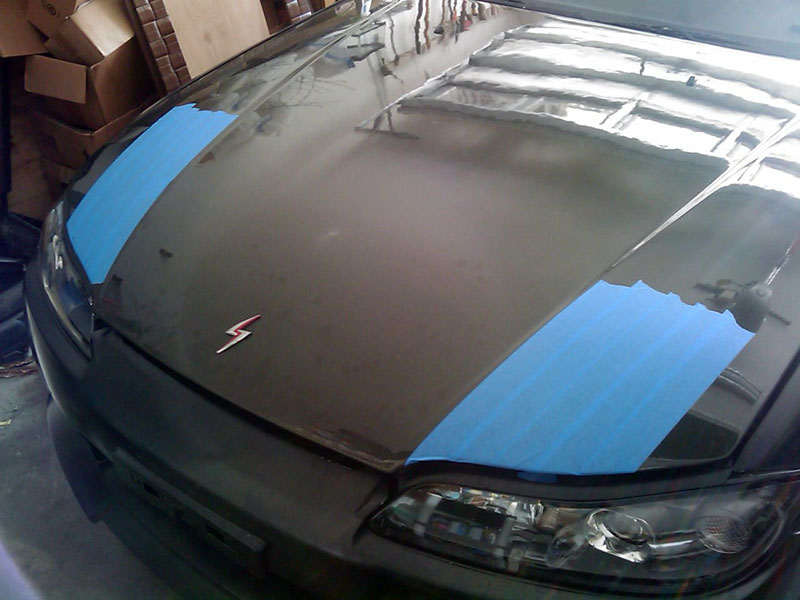 Taping up, ready to drill the marking hole.  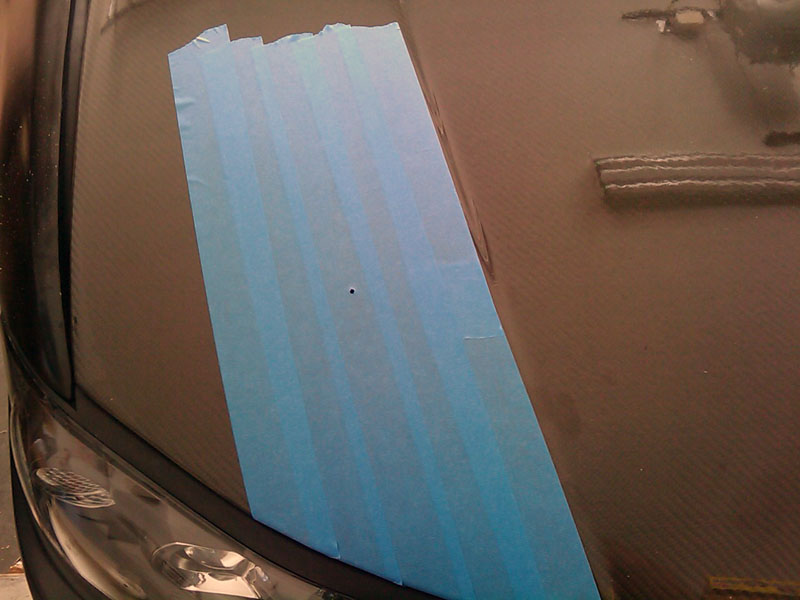 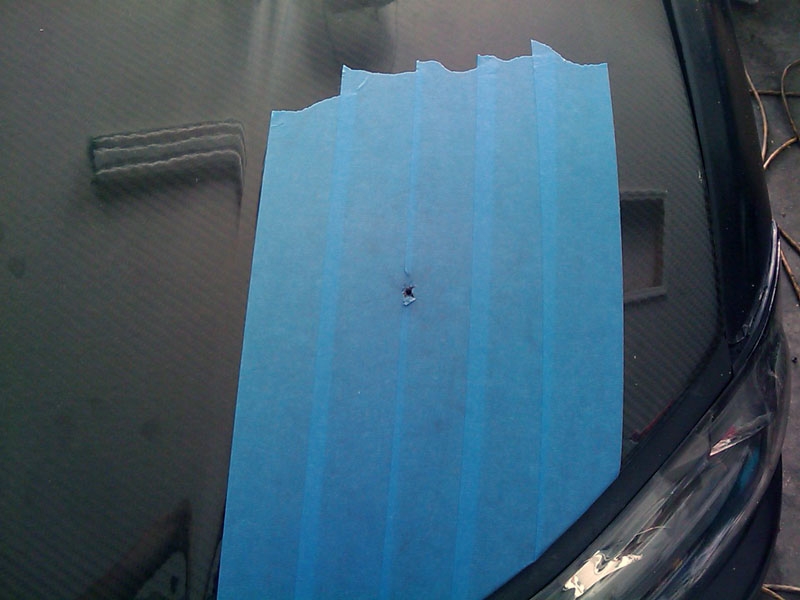 Holes drilled. 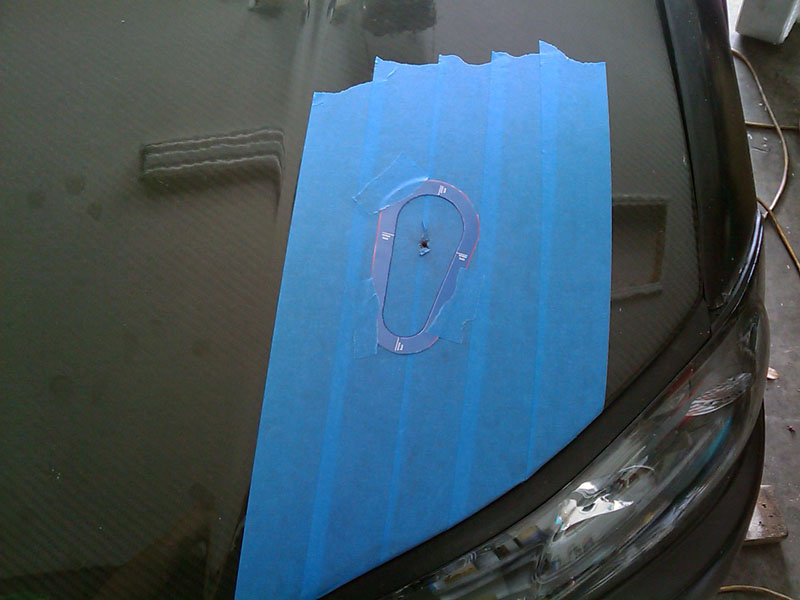 Stencil taped up in the exact location I needed it to be. The alignment point here is parallel to the hood's inner lines. To me this seemed to keep it looking sleek and not too tacky. 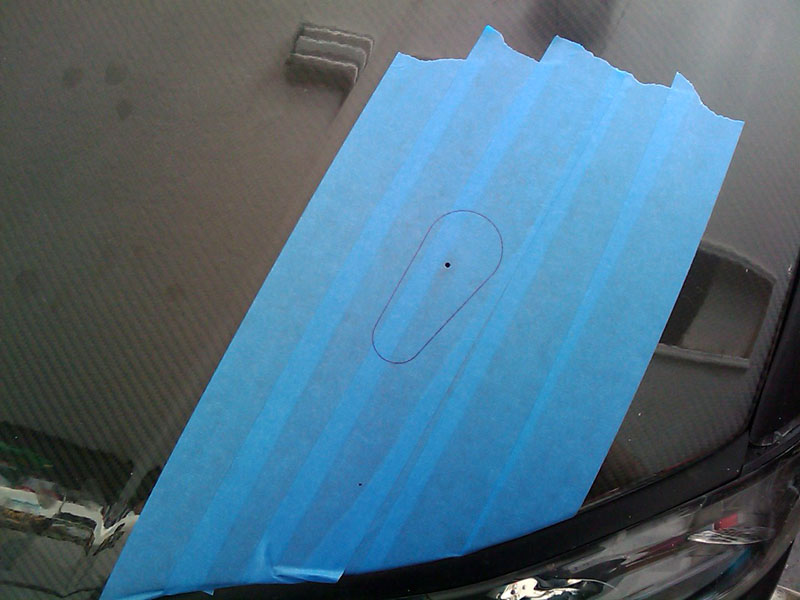 Traced and ready to be cut. 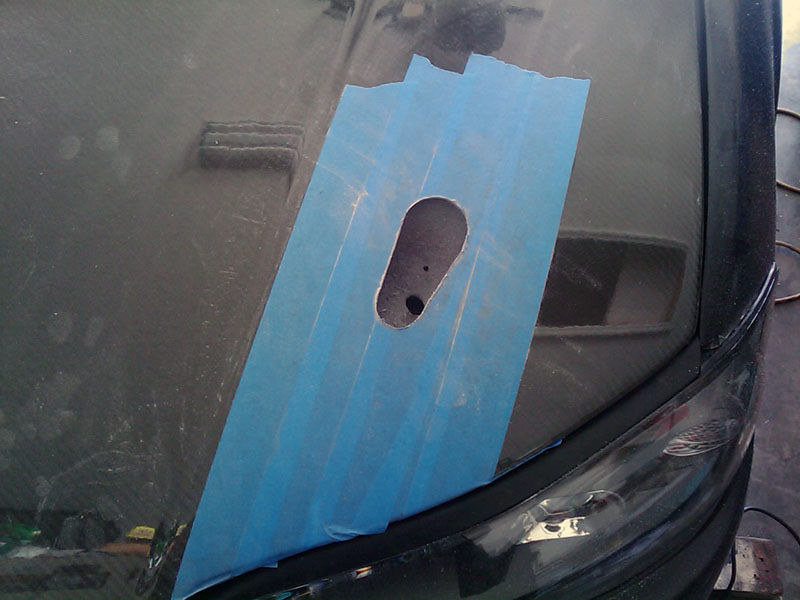 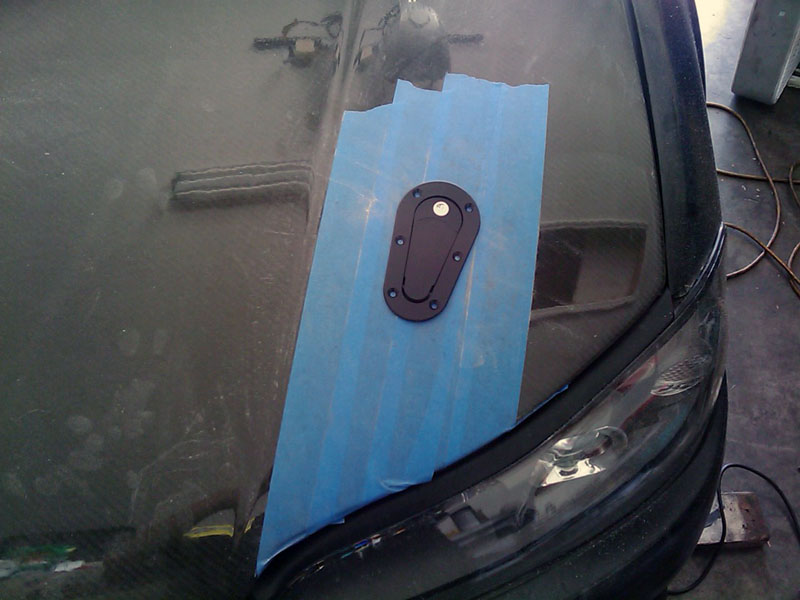 Cut it out perfectly. Although there was the bottom layer that I also had to cut from the underside of the hood so I could mount the housing properly. The driver side pretty much went smooth as butter. The passenger side however (which always seems to be the problem side for everything I do) was being difficult. I had to fabricate up a bracket, do a lot of pounding and bent the hoodpin itself slightly to make it line up properly. A little sloppy, but it's 100% functional. 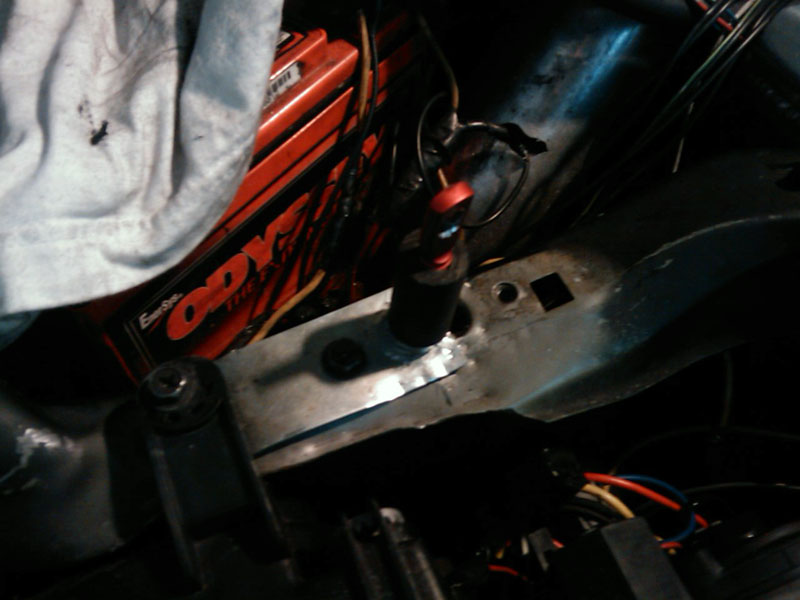 And here is the finished product... 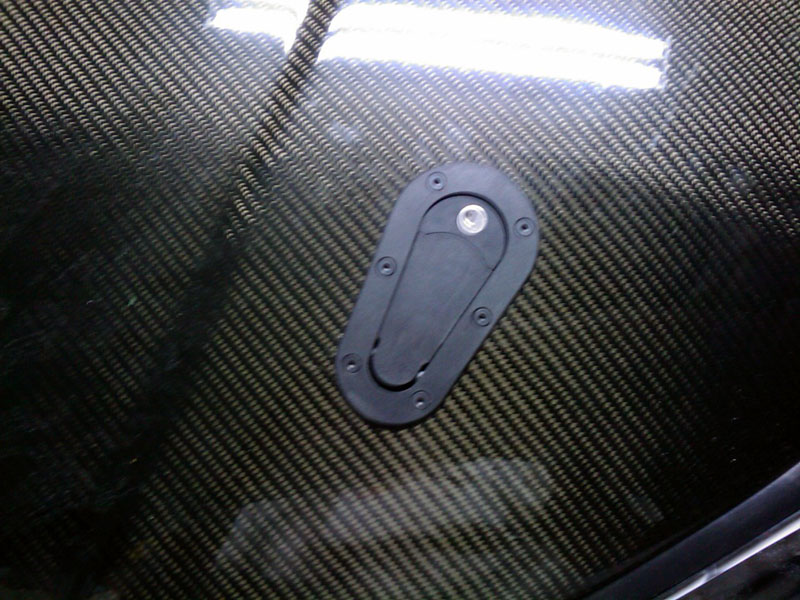 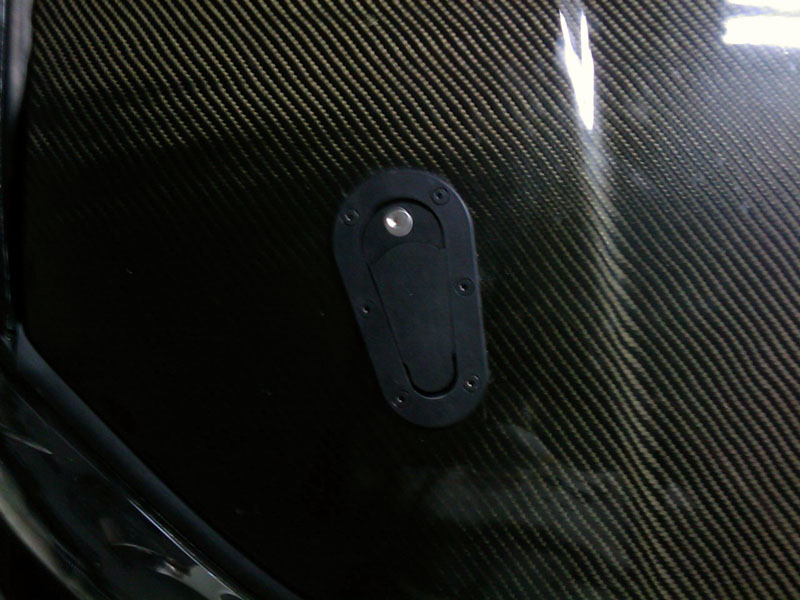 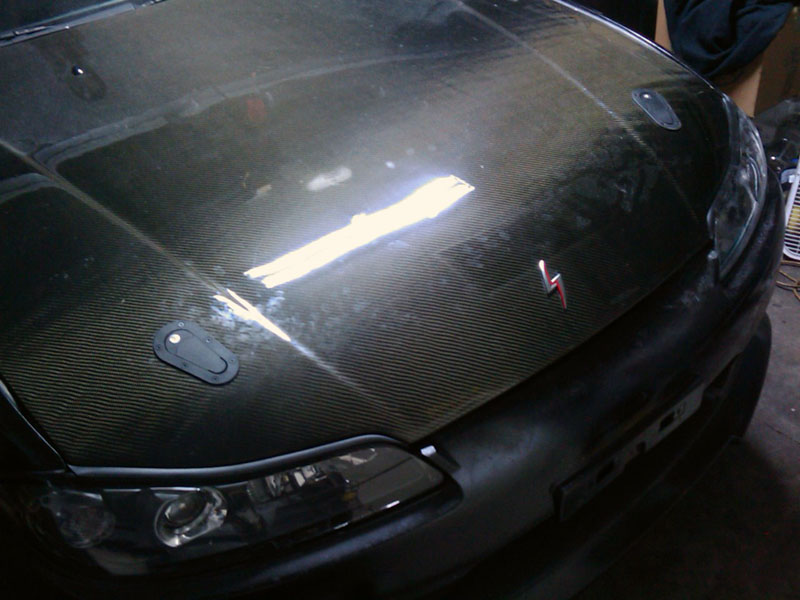 
__________________

|
|
|

|
|
|
#56 |
|
Nissanaholic!
 |
i see what you did there....not sure i would want to cut into a hood that expensive lol
|
|
|

|
|
|
#57 | |
|
Post Whore!
 |
Quote:
The way I look at it is this, either I keep running the stock latch and risk my hood flying off and possibly causing me or someone else on the road to have an accident OR I cut into my expensive hood for added protection. There really is no other choice. If I had it my way I would want an aluminum OEM style hood.
__________________

|
|
|
|

|
|
|
#58 |
|
Nissanaholic!
 |
well... i remember telling you i lost a carbon one from florida one time.....literally watched 700 go off my car..
|
|
|

|
|
|
#59 | |
|
Post Whore!
 |
Quote:

__________________

|
|
|
|

|
|
|
#60 |
|
The Architect.
 Join Date: May 2006
Location: Los Angeles, CA
Posts: 11,580
Trader Rating: (392)
           Feedback Score: 392 reviews
|
Going all metal? Sweeeet.
I'll be joining the S13.5 club tomorrow.  |
|
|

|
 |
| Bookmarks |
| Thread Tools | |
| Display Modes | |
|
|