
 |
|
|||||||
| Home | Rules & Guidelines | Register | Member Rides | FAQ | Members List | Social Groups | Calendar | Mark Forums Read |
| Builds (and builds only) Got a build thread? It goes here, build threads anywhere else on the forum will be locked and never moved. |
 |
|
|
Thread Tools | Display Modes |
|
|
#1 |
|
Post Whore!
 |
S13.5 Daily Driver Build Thread
It's been almost 4 years since I've owned my car now, and it's time to share the ever evolving process of my car from start to finish. I've accomplished a lot with this car, and yet at the same time, there's still so much more left to do!
First let me start off by saying I bought my first 240sx in January of 2007. 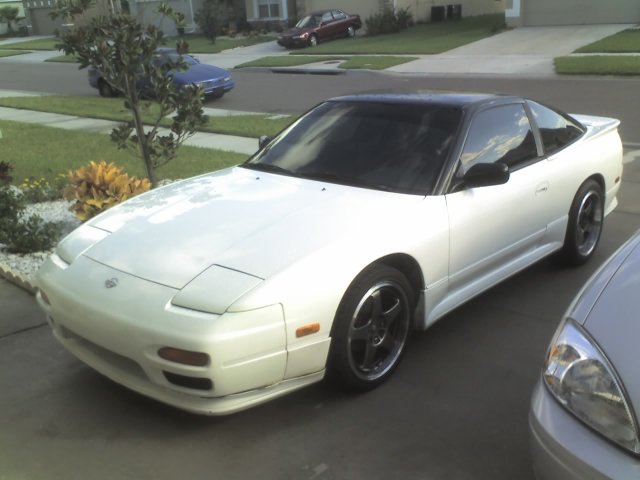 It was a pretty nice start for me... until the inevitable happened... 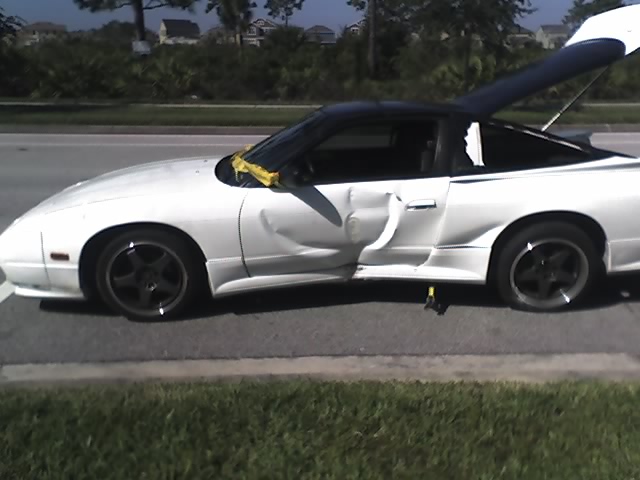 I tried to kick the rear end out on a round-about and over-corrected 2 or 3 times before I popped the curb and side swiped a tree. Really sucks because that same week I was about to drop in my freshly rebuilt SR20DET... But the story continues! A week later I decided I needed to buy another 240sx and fast. I had an SR awaiting transplant and now no car to drive. So I went online and searched furiously for another car. I was looking for a shell originally but ended up snatching up a nice 1990 hatch 5spd from a user here on Zilvia. 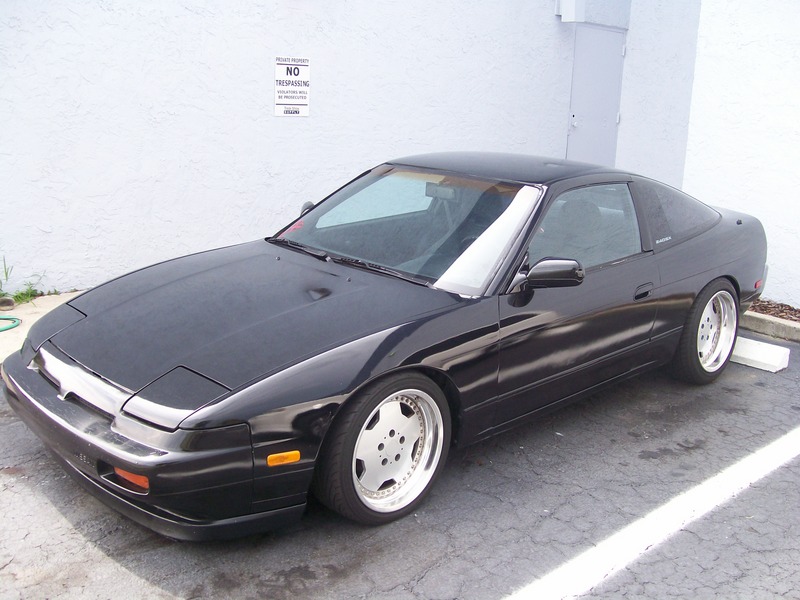 I ended up selling my white 240sx to my friend after taking all the parts I wanted from it. He decided to turn it into his track slut. .jpg) .jpg) .jpg) However that was short lived. Drifting was expensive and he needed money. So he parted pretty much everything out of it and then off to the junkyard it went... 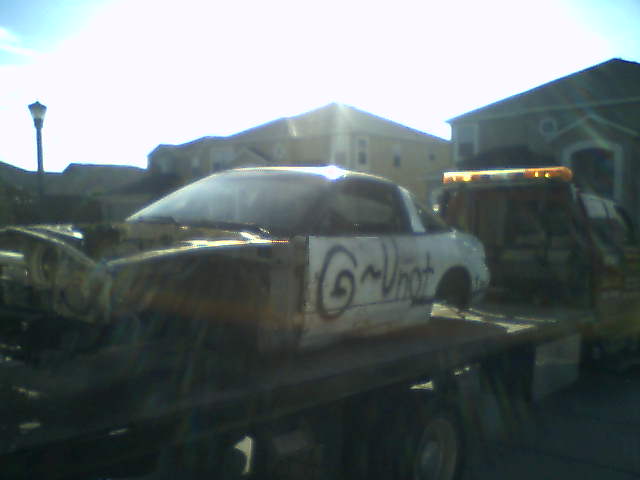 But enough with this sad story crap. Time for the real story! I've got a car to build. 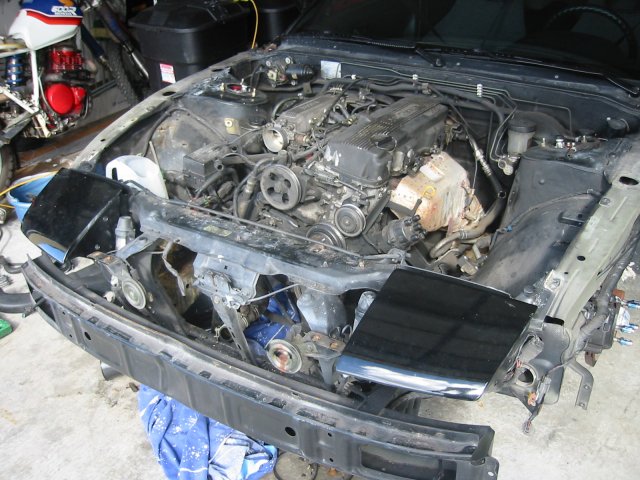 The beloved KA24E, sorry but after 132,000 miles its time was up. 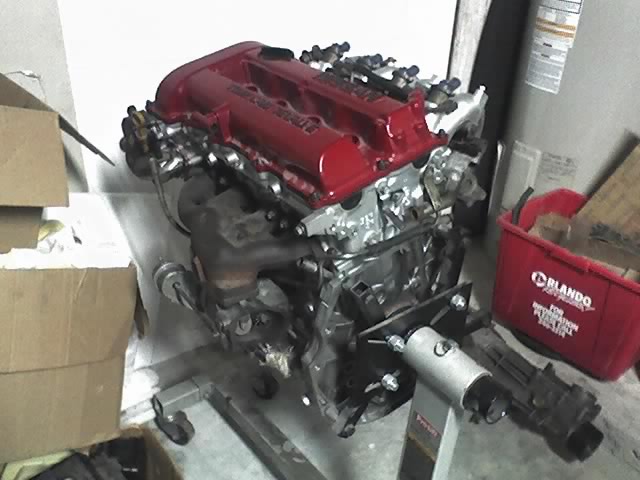 The new heart. Fully rebuilt SR20DET to stock specs w/ S15 pistons. Bling. 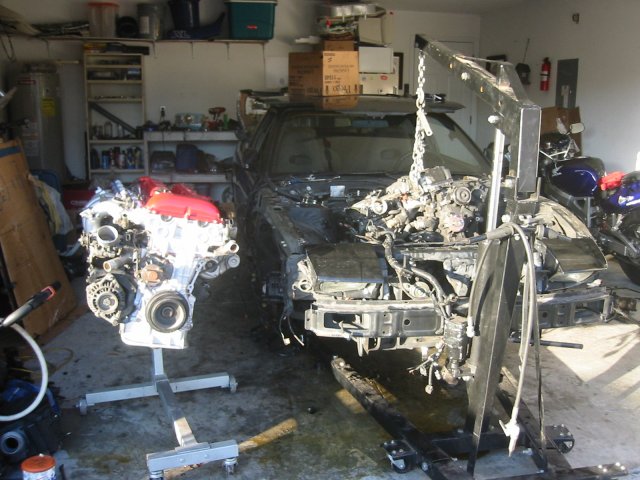 Ripping the heart right out from her chest!  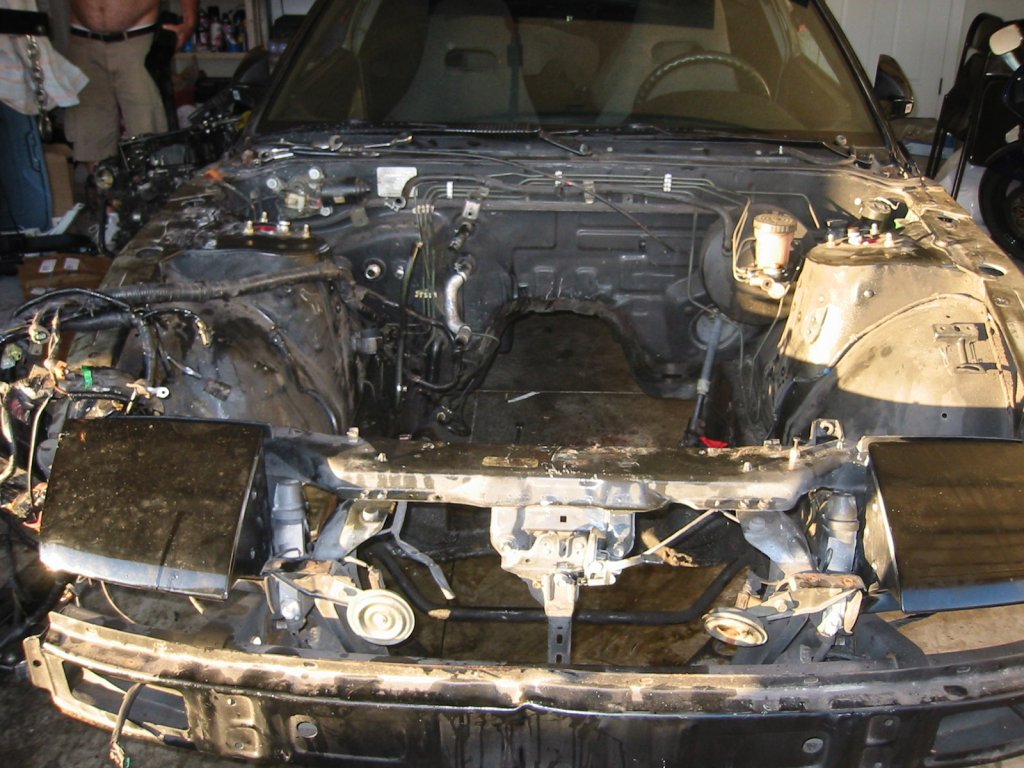 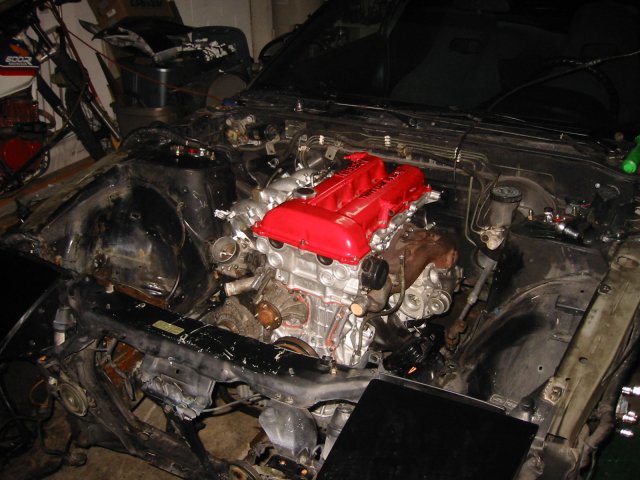 Looks so much better! 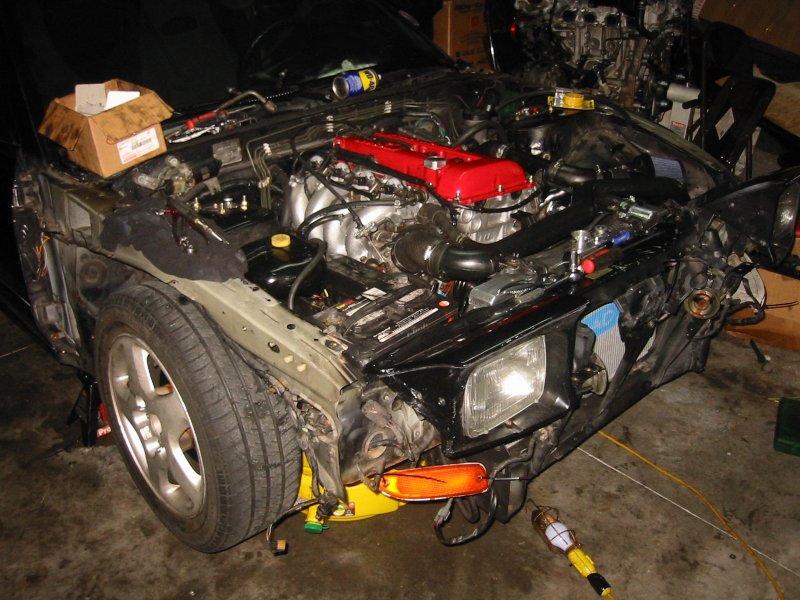 Getting things hooked up, little by little. 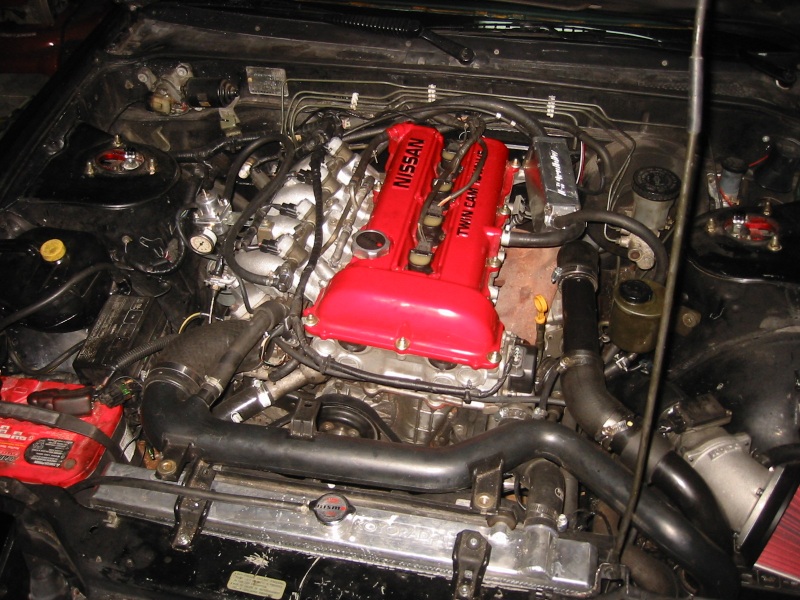 I think shes ready! Drove around for a couple months on the stock SMIC. Eventually I had enough of it and needed a front mount! (as well as a lightweight battery) 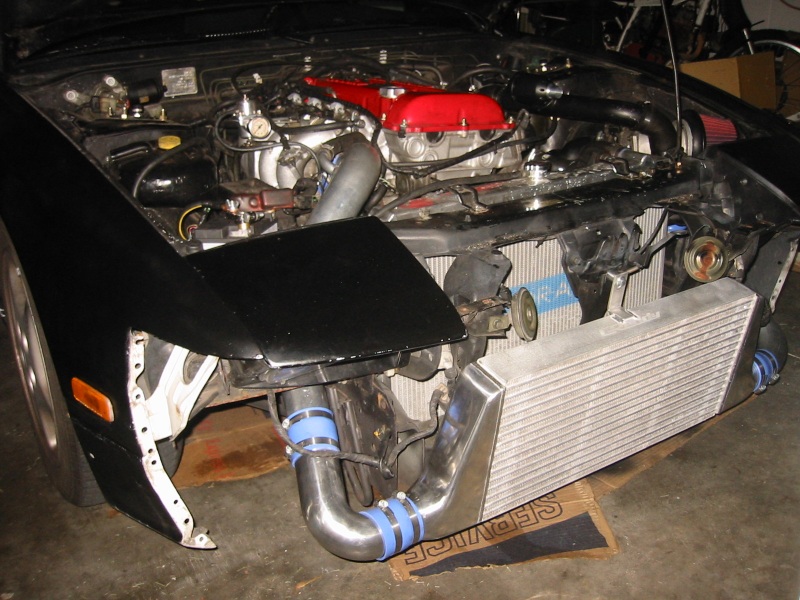 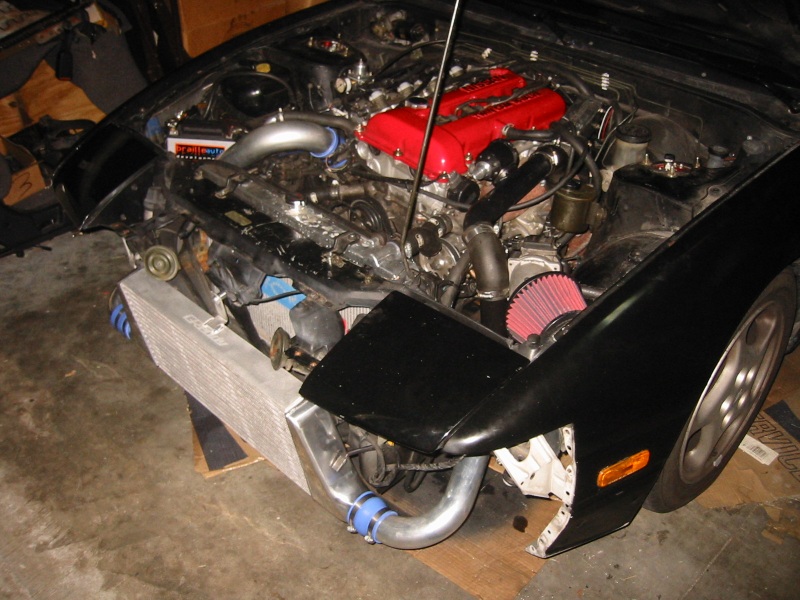 For the most part my car looked like this... 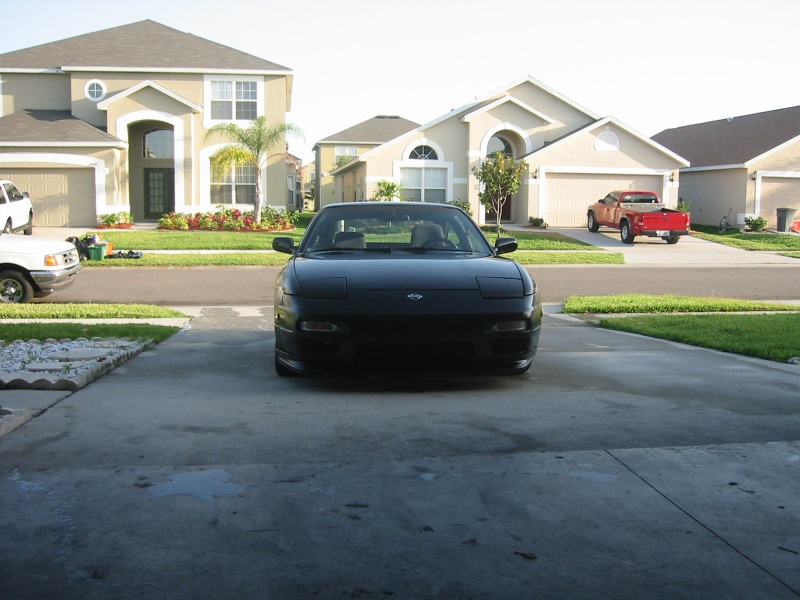 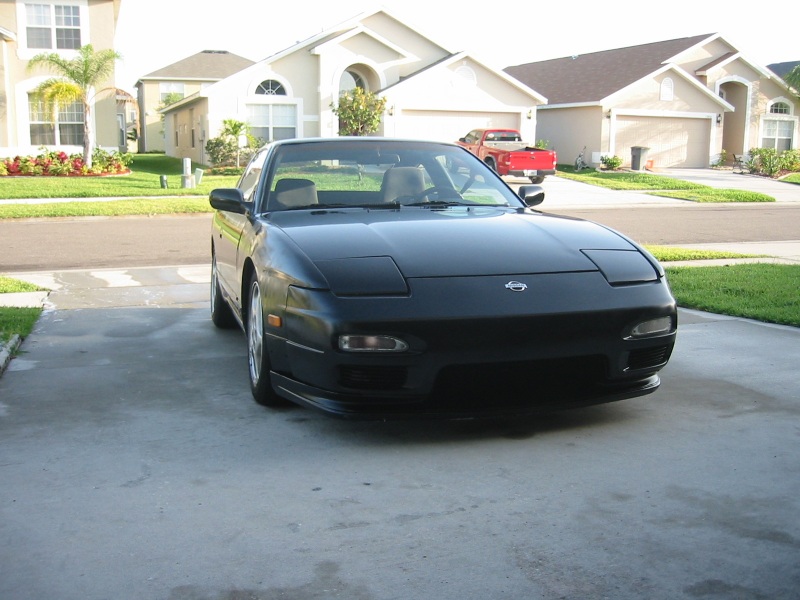 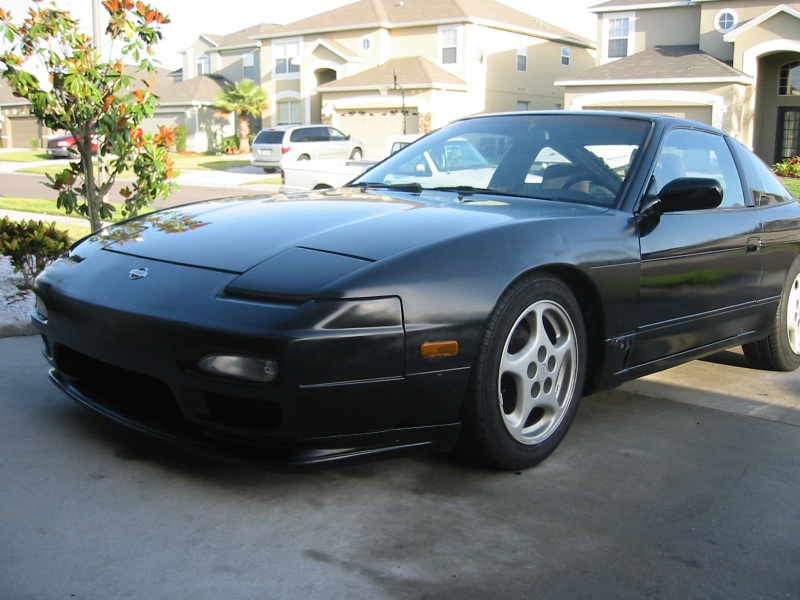 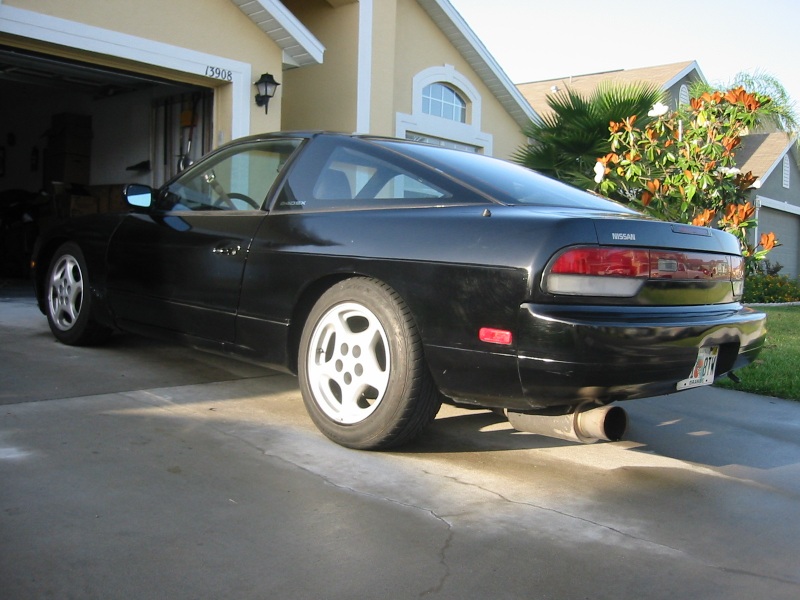 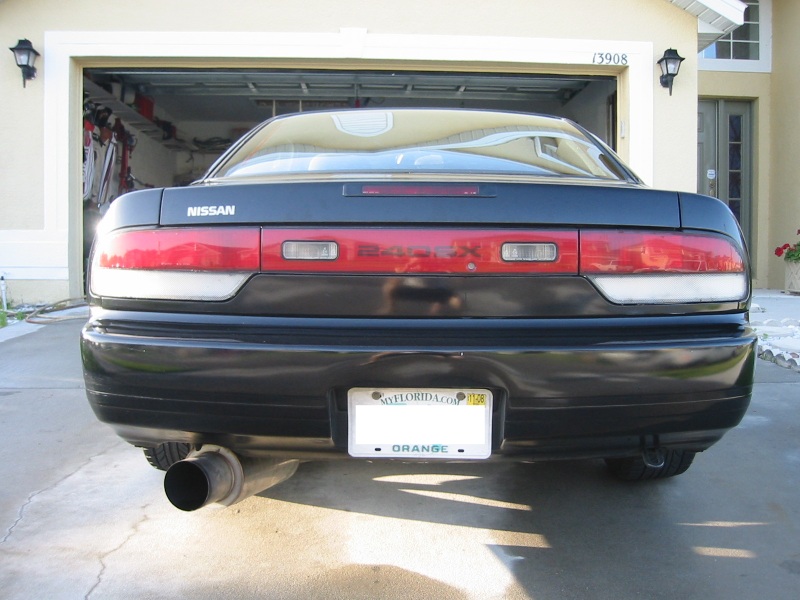 300zx wheels, and the S13 chuki front end from my white 240sx. I pretty much drove the car like this fixing things here and there. Then... it happened... Yes, IT happened. I got into an accident! Nothing major thankfully, but a retarded situation. I was on my way home from work driving on the highway. It was raining, and I was probably driving 10mph under the speed limit, so roughly 55mph. Anyways, this person forgets to get off on their exit and comes to a complete stop on the road and attempts to turn around to get onto the exit. Well the person traveling behind the idiot slammed on her brakes, and thus caused me to slam on mine. Good ole non-ABS decided to lock up and with tires that needed replacement, I didn't make it. However, the damage wasn't bad. I managed to slide and give the van in front of me a little love tap. The guy that originally stopped took off, so I ended up being at fault for the lady's van. The good news is, her van had ZERO damage. Here's what happened to my car... 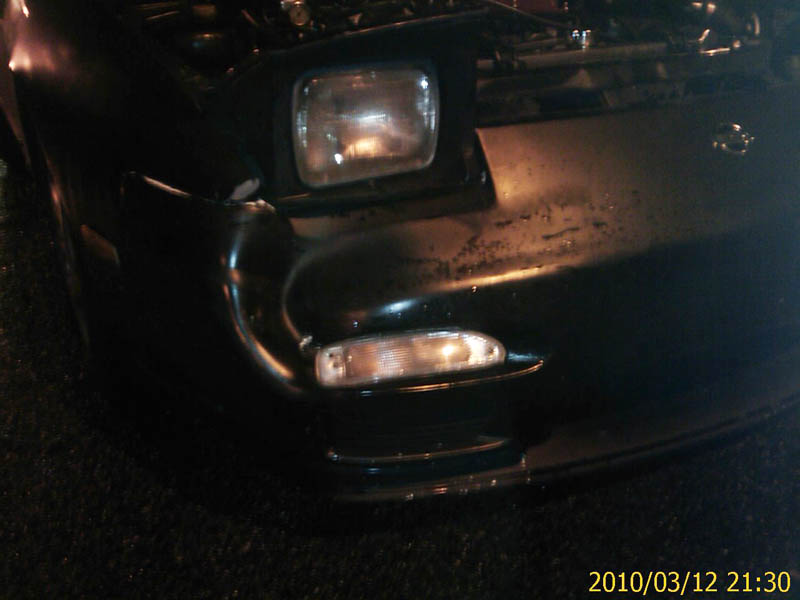 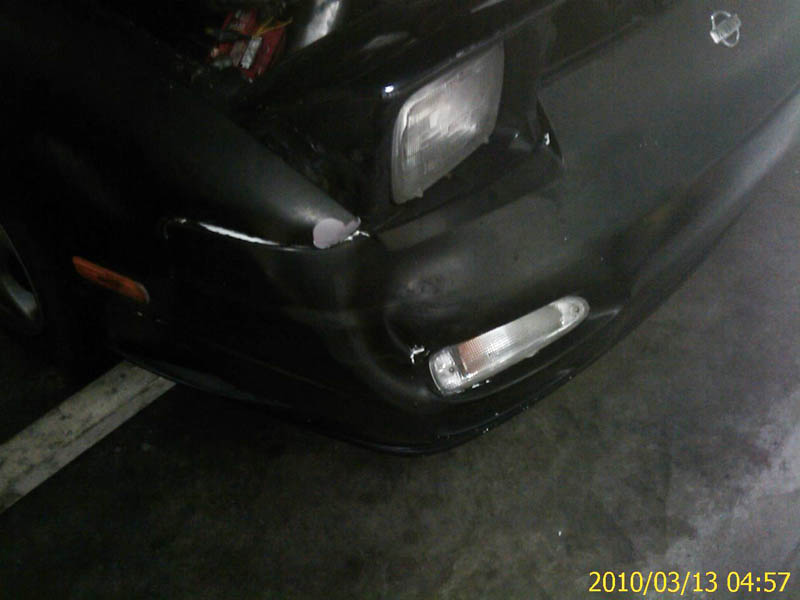 Not bad at all really. But, it was enough for me to say "Screw this. It's time for that ESSS FIFFFTAIN!!!" So my planning began. I already had purchased an OEM S15 bumper w/ Trust Gracer lip from Drift Freaq back when I was swapping in my SR20... 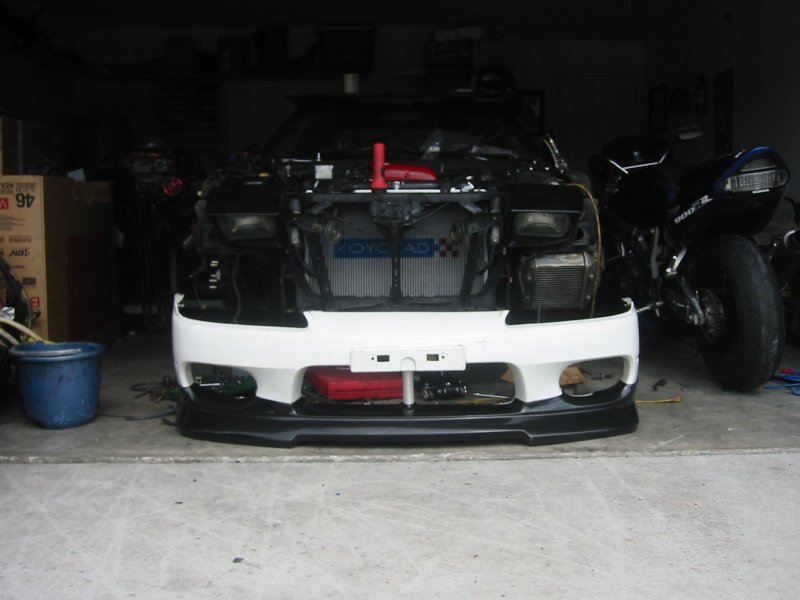 The damn thing was sitting in my room for a long time. But I always kept it as an incentive to keep my original plan and go with the S13.5 and I did. I decided that since I was upgrading to a front end from '99-'02. I would also need newer wheels to reflect the change. The 300zx wheels were too early 90ish for the S15 front end, so I opted to get 17" 350z wheels. 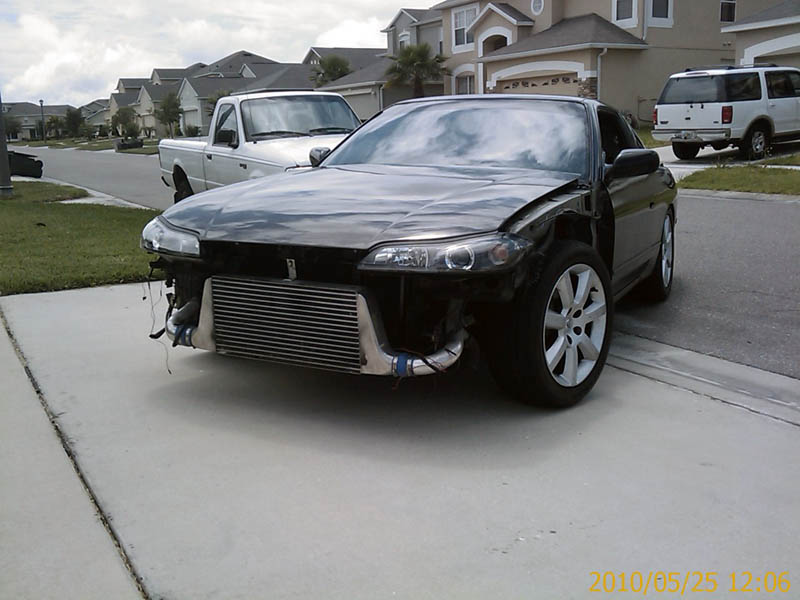 Carbon fiber VIS hood, lights mounted and 350z wheels in check! 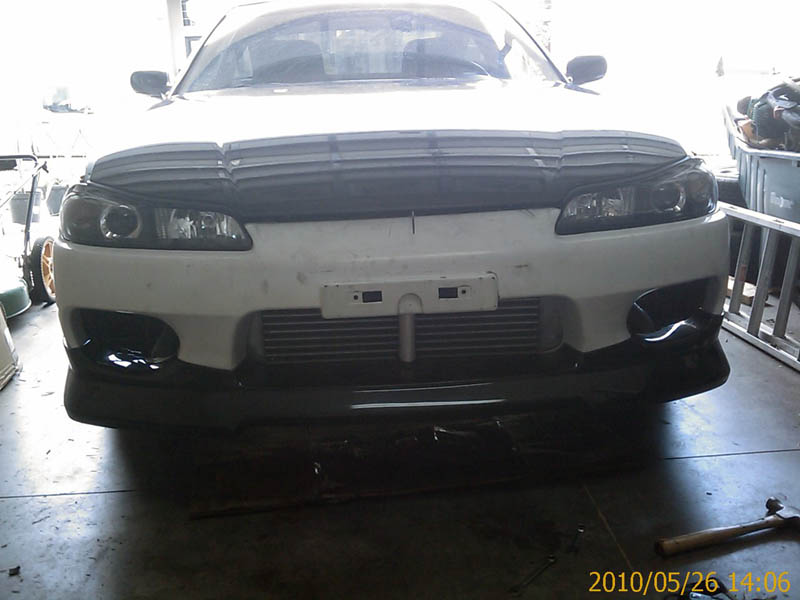 Bumper mounted temporarily with some zipties. I had everything in check except for the fenders. I decided to try out the fiberglass conversion route due to my lack of funds creeping up on me. And as you can imagine the fitment sucked ass. I am definitely going the S13.5 metal conversion route once I get some other things fixed on my car first. Since its just cosmetic it can wait. 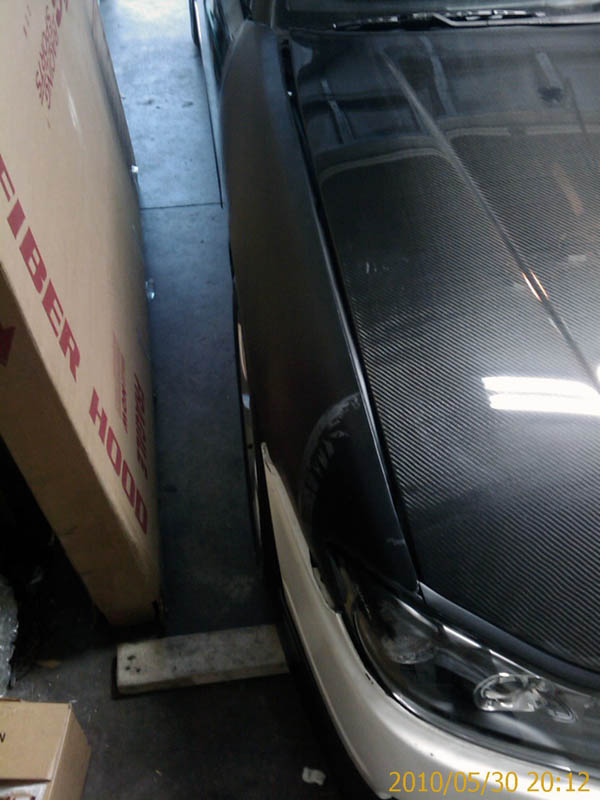 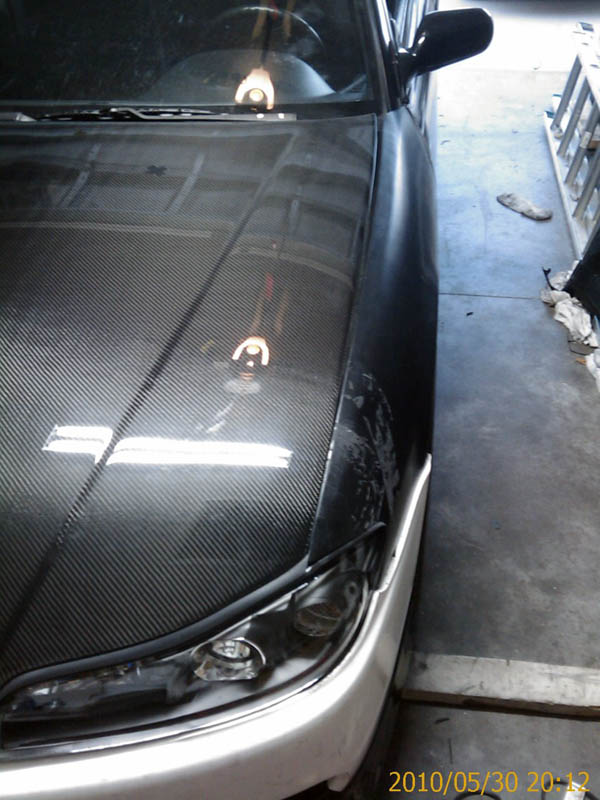 Jank fitment. But eventually I got over it and spray bombed it all so that I wouldn't be rollin' down the street looking like a tuxedo lol... 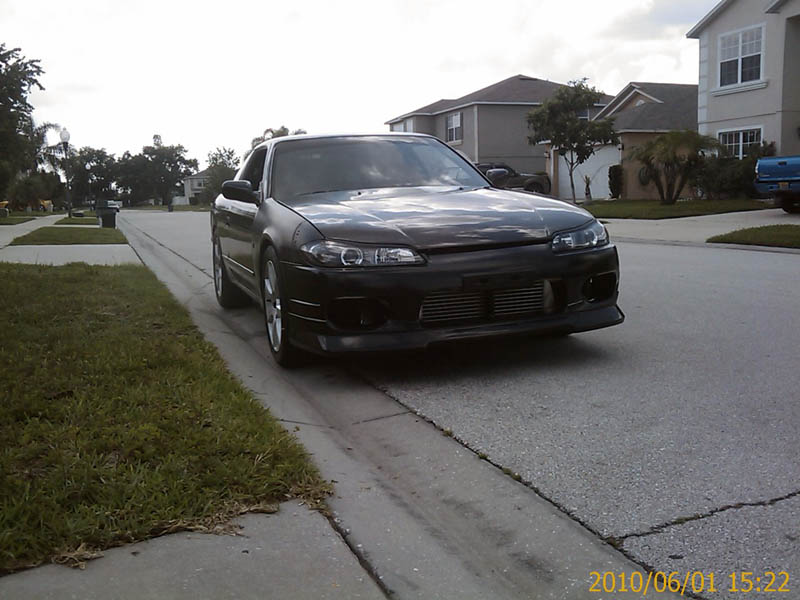 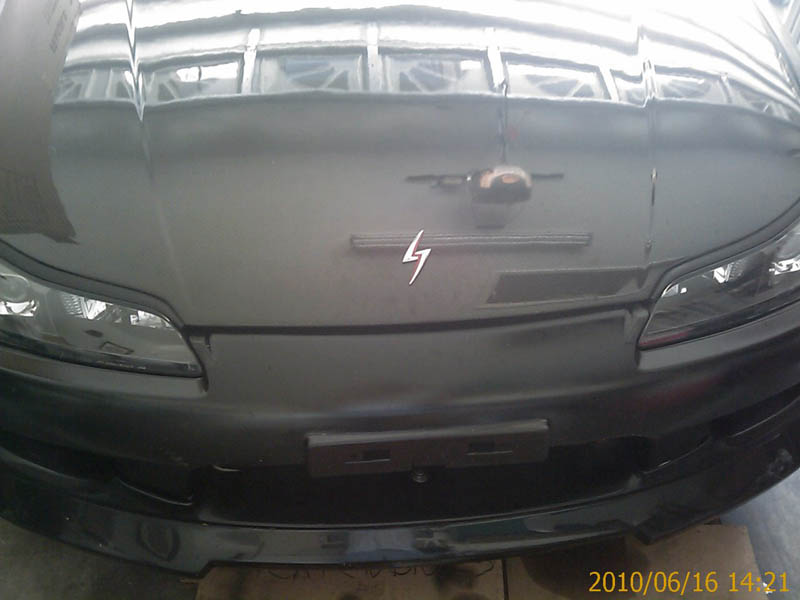 And you can't forget the ever-popular lightning bolt S. Zap! 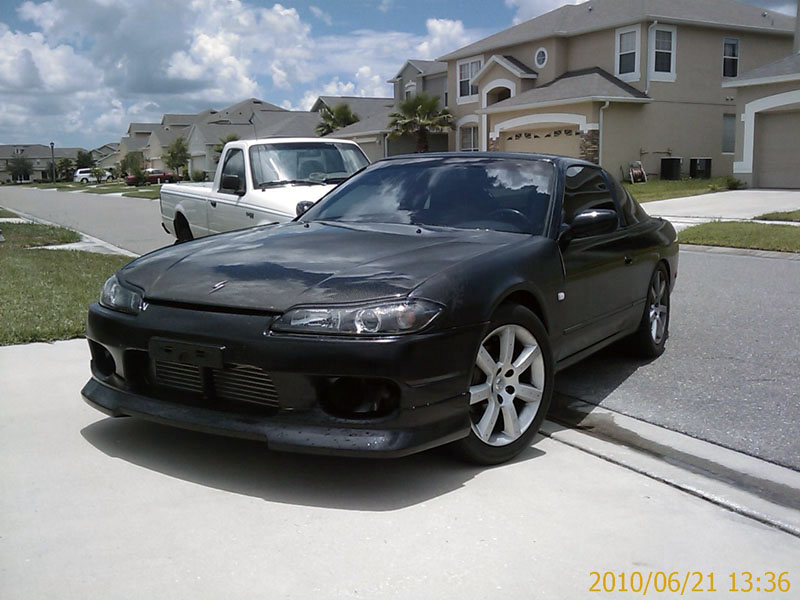 I like this picture, but the lack of aero bothers me so. Do I smell kouki 180sx?  At this point I was pretty much broke, so I decided to do little tasks with my car. 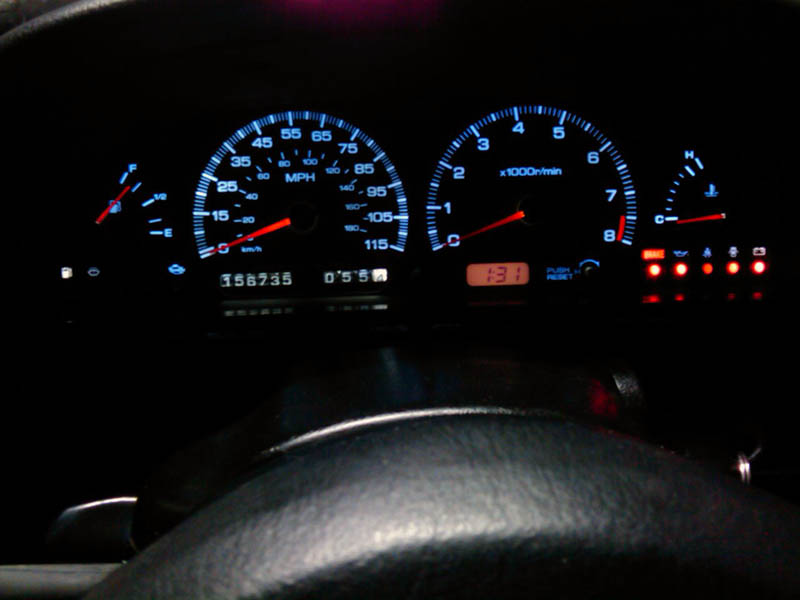 Threw some LEDs into my gauge cluster. 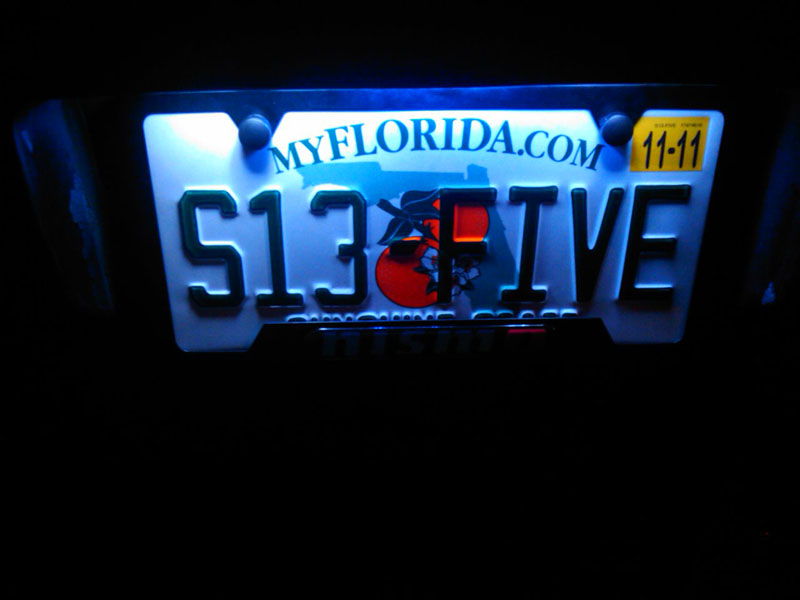 LED license plate lights, Nismo frame, and a nice new shiny vanity plate  So yeah, onto that kouki 180sx aero... 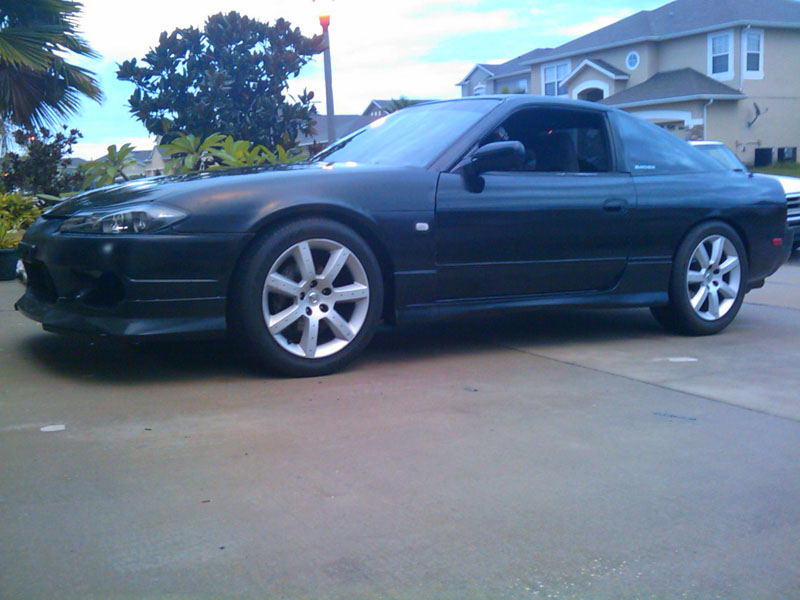 First thing I bought was the side skirts. 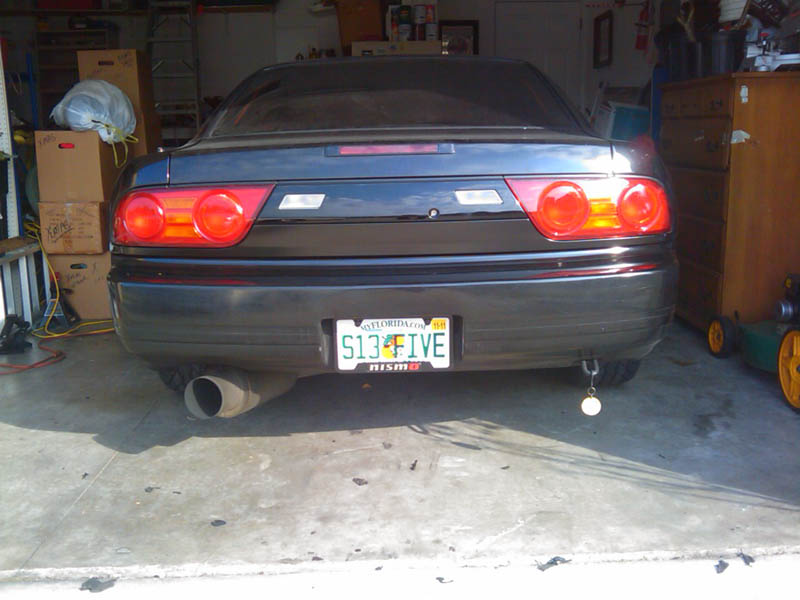 Next came the tail lights.  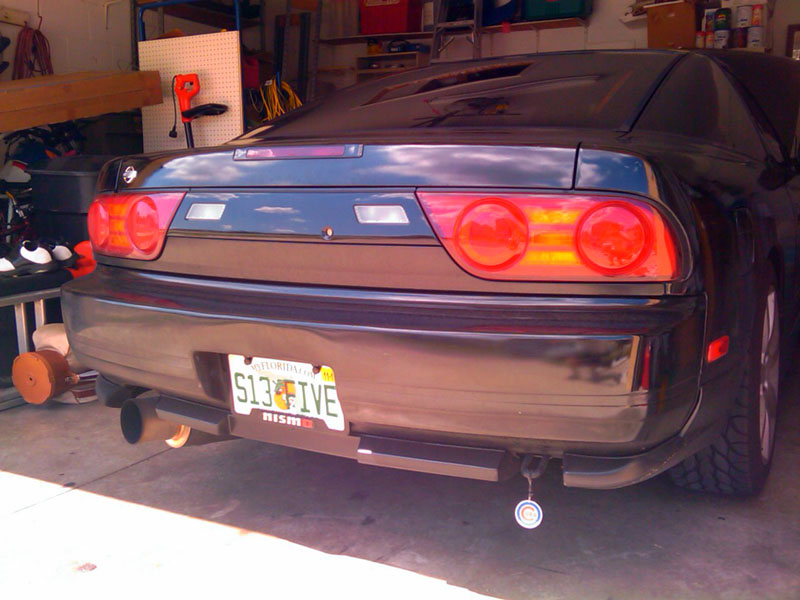 And then finally the rear valances. Decided to keep it wingless, so don't suggest I throw a kouki wing on it to make it more "legit".  So heres my car as it sits right now... 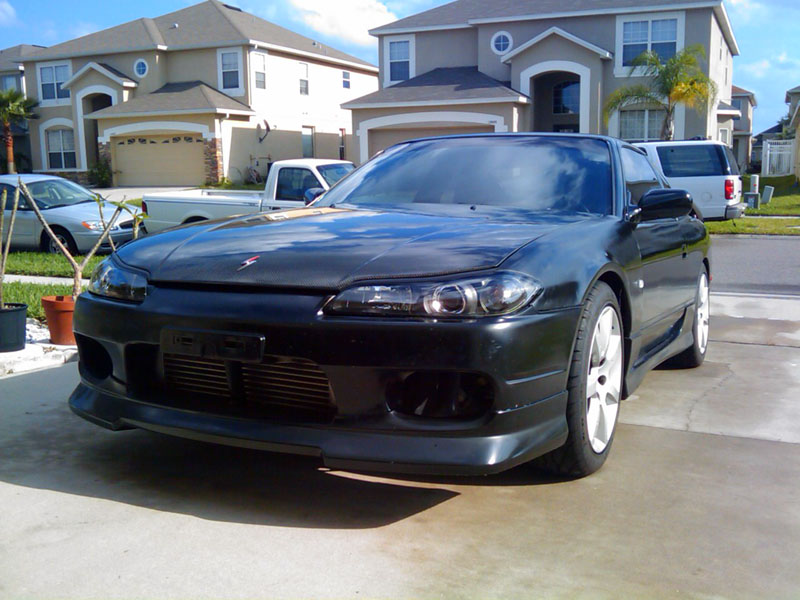 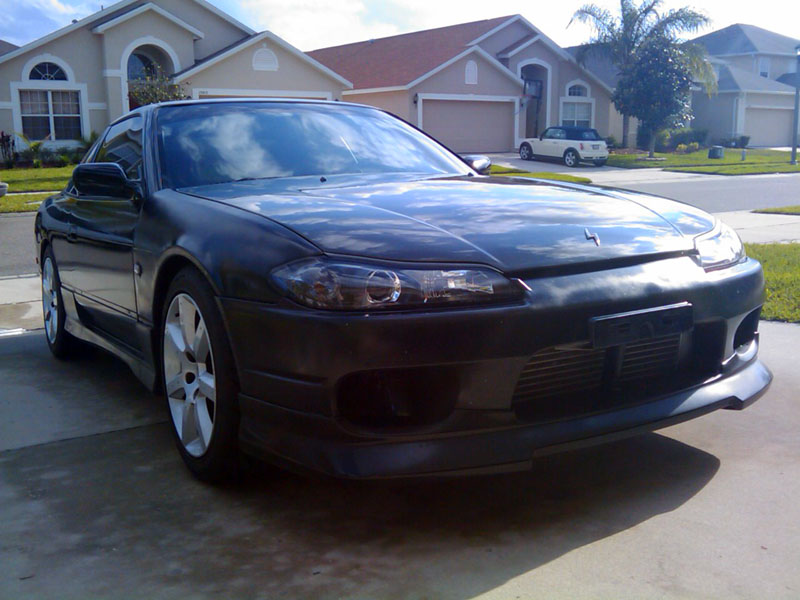 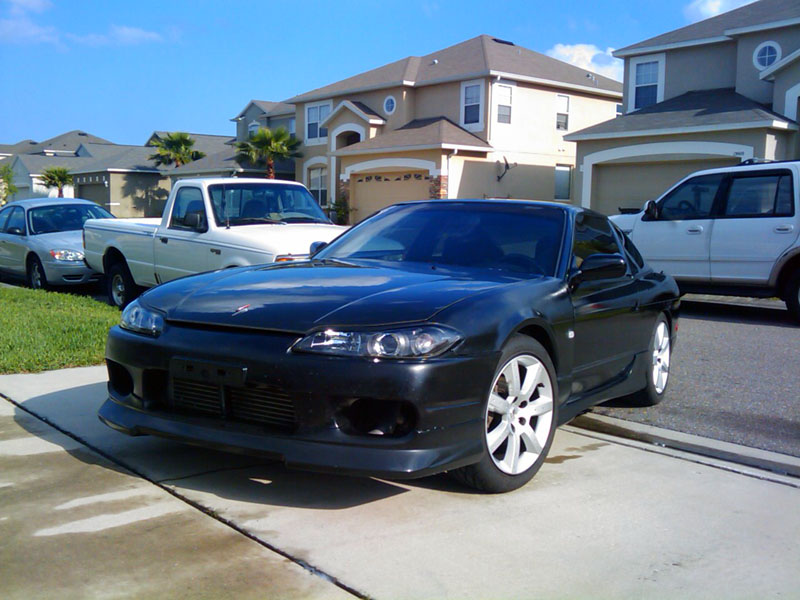 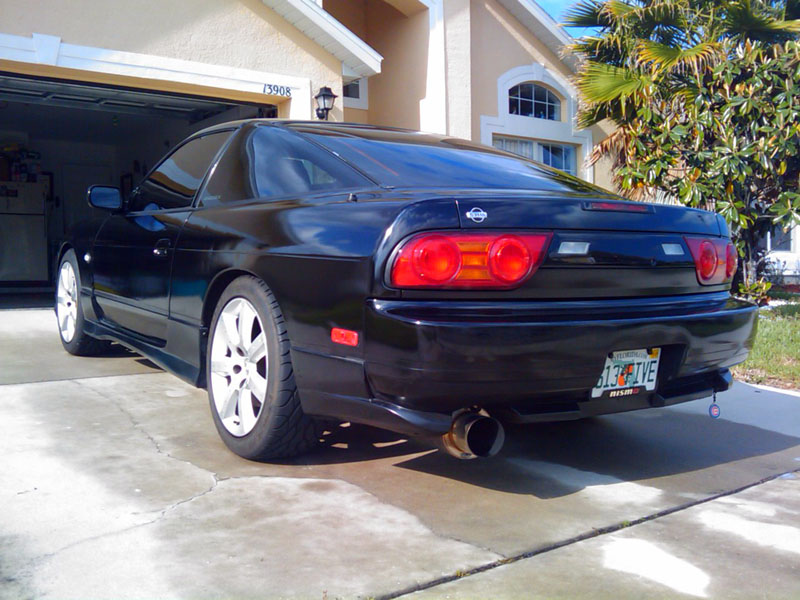 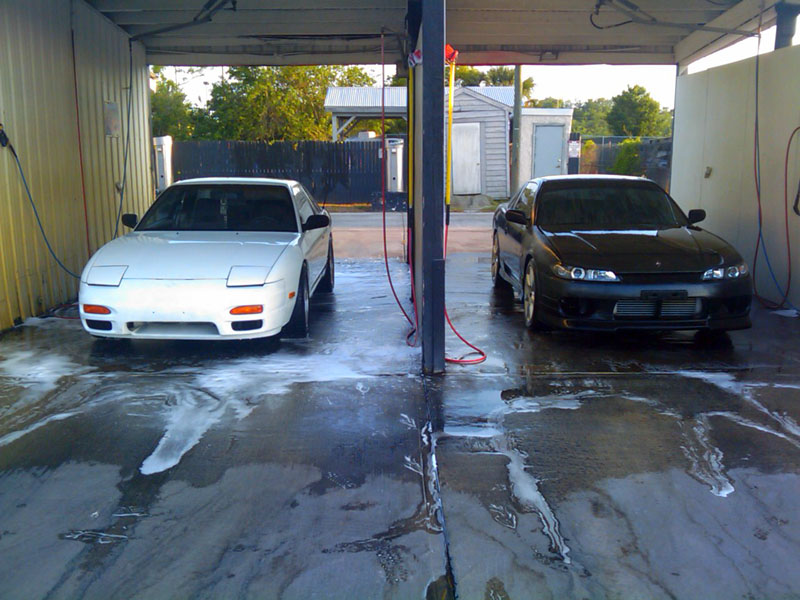 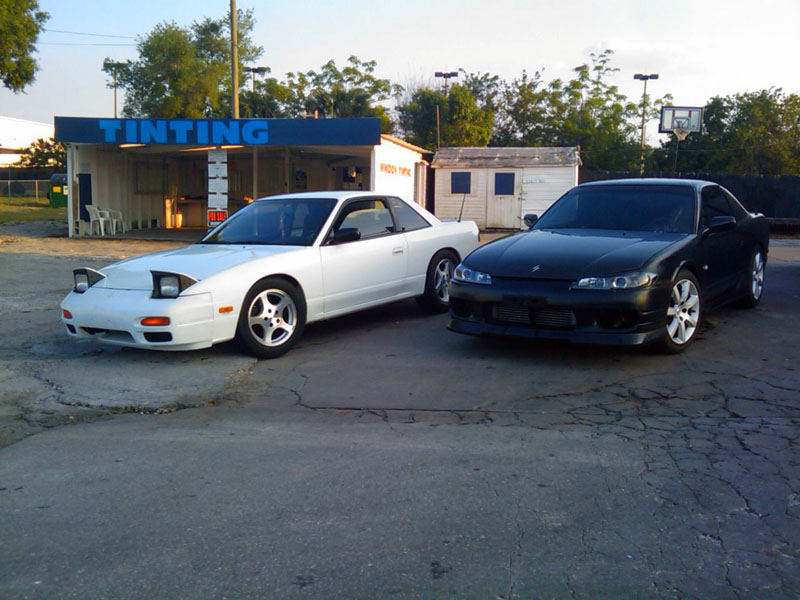 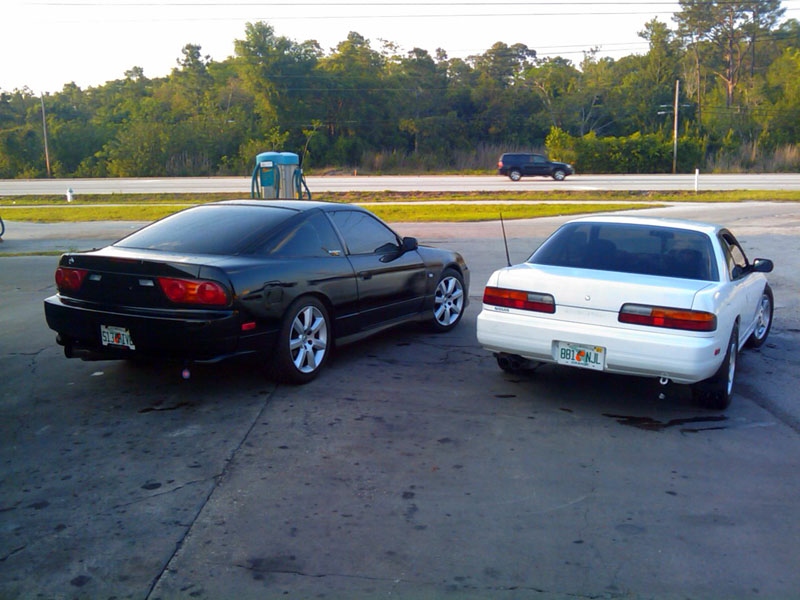 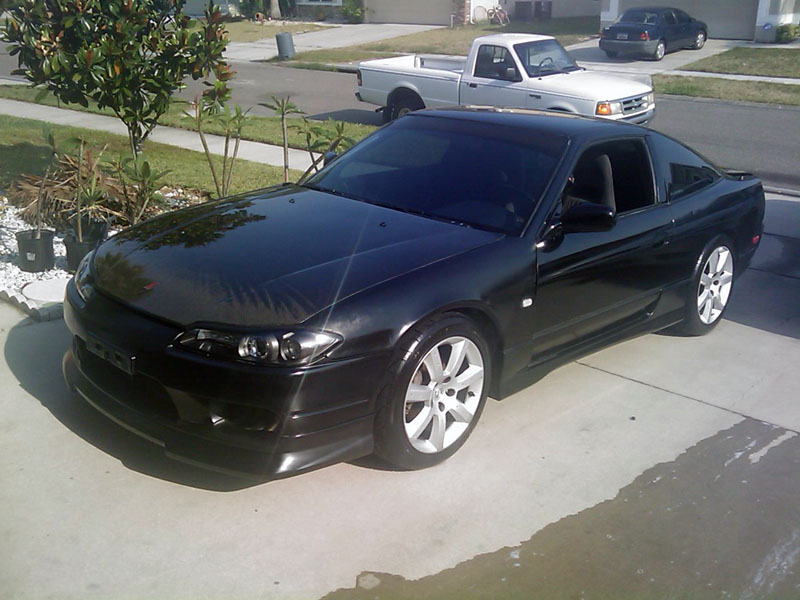 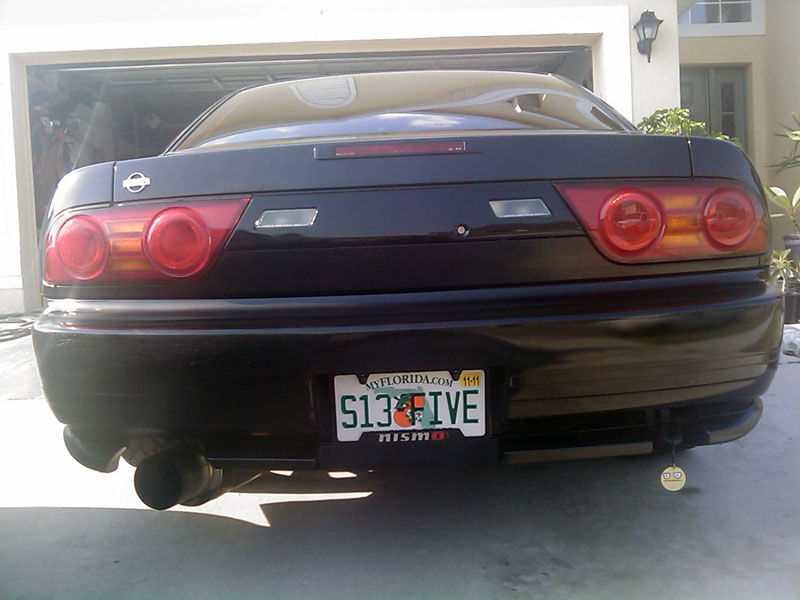
__________________

Last edited by KiLLeR2001; 07-25-2012 at 04:33 PM.. |
|
|

|
| Sponsored Links |
|
|
#6 |
|
Post Whore!
 |
Agreed. Coilovers will definitely be going on (I'm on GR2 + lowering springs). But right now my top priority is fixing my busted up steering rack, and getting new suspension links up front.
__________________

|
|
|

|
|
|
#9 |
|
Post Whore!
 |
Yay, time for an update!
Finally got my Hicas steering rack, tein tie rods, and FA tension rods installed. I was completely exhausted after all this and wasn't in the mood to snap good pictures, plus it was dark so quality on these is out the door, please forgive me beforehand lol. The parts: 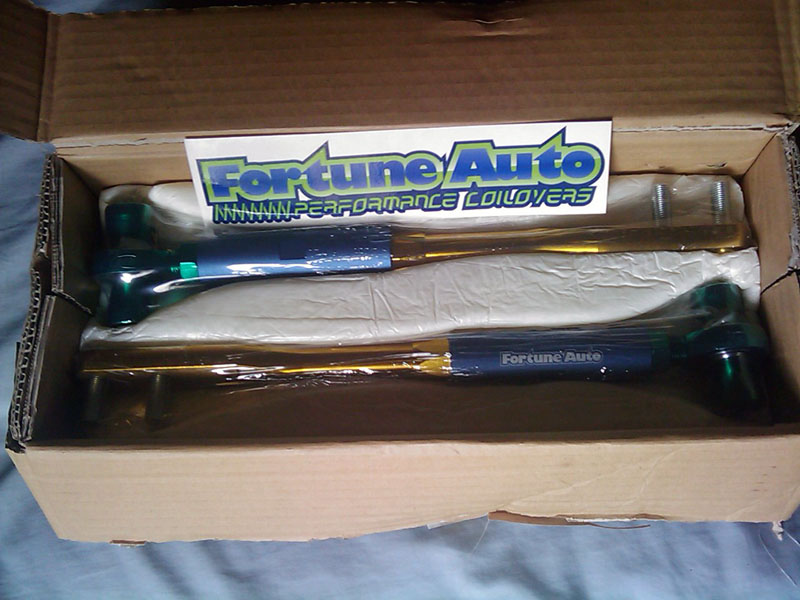 Fortune Auto adjustable front tension rods. 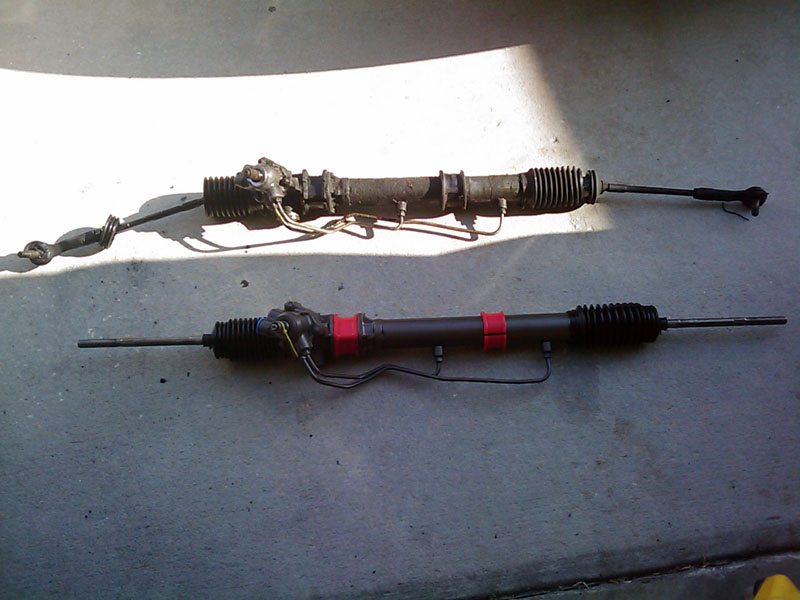 Old steering rack up top, new HICAS steering rack w/ energy suspension bushings on the bottom 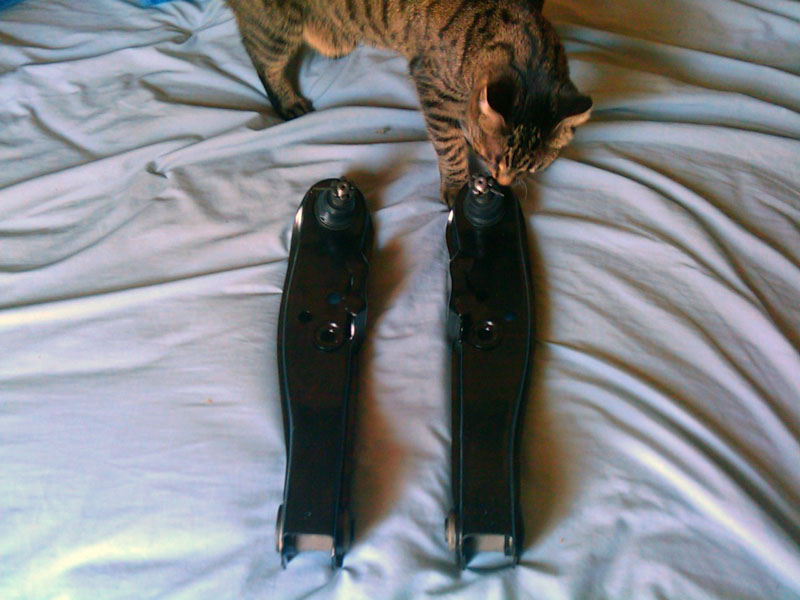 New front lower control arms, kitty approves. 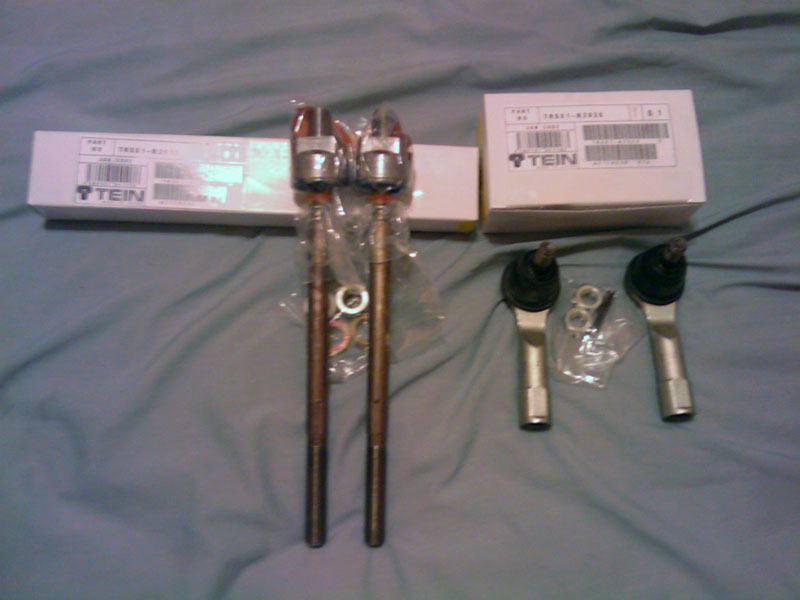 Tein tie rods + ends 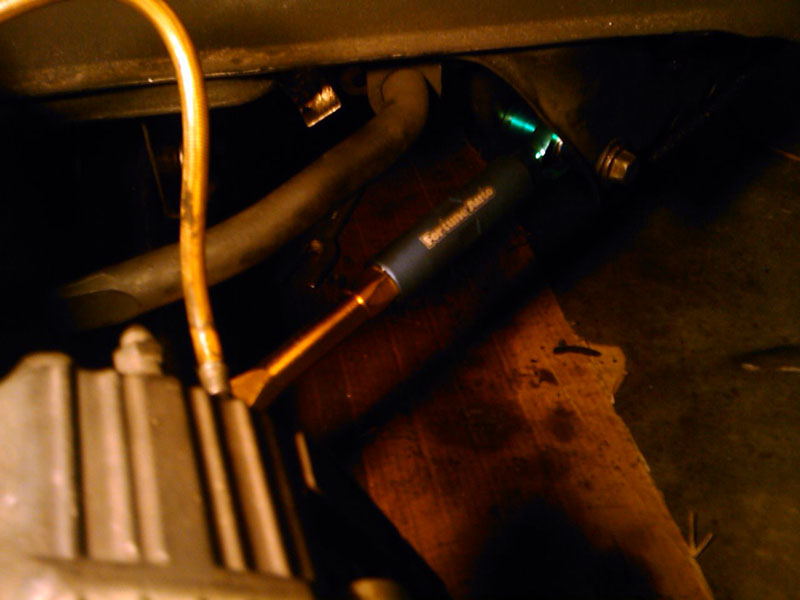 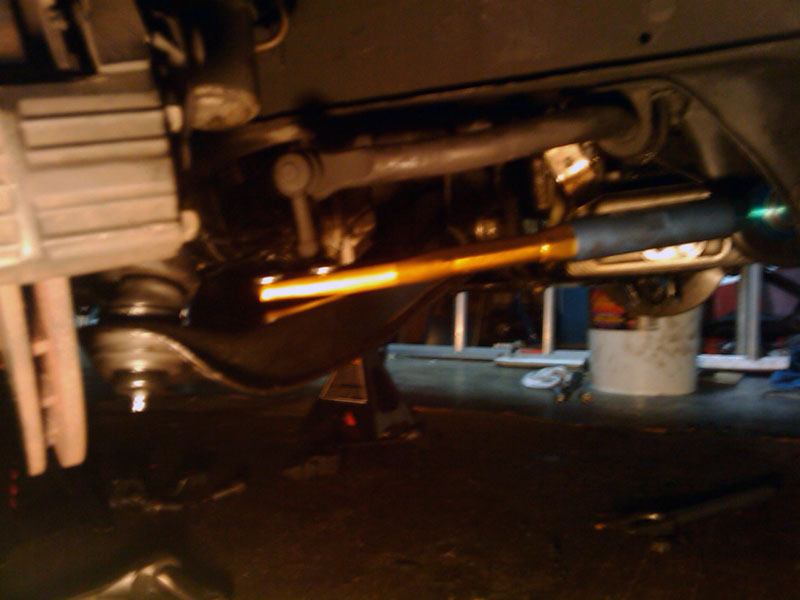 FLCAs and tension rods installed. 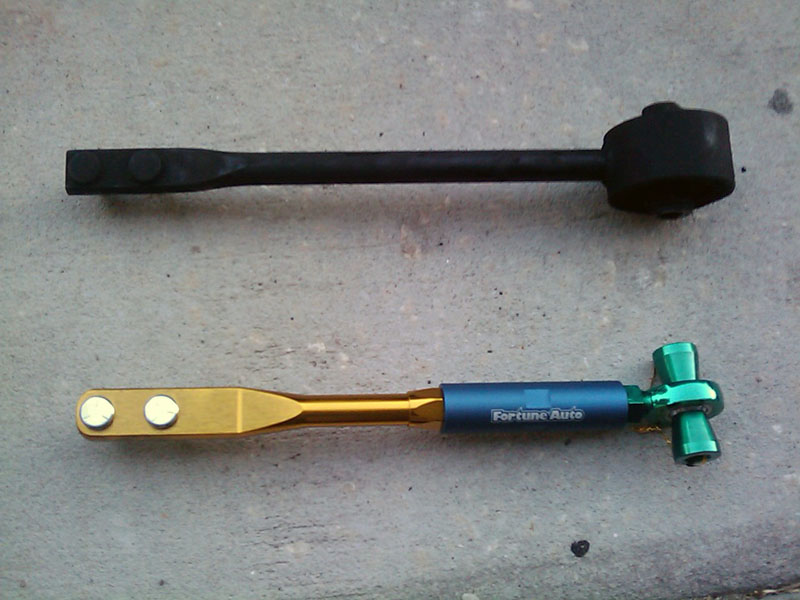 Comparison picture between tension rods. 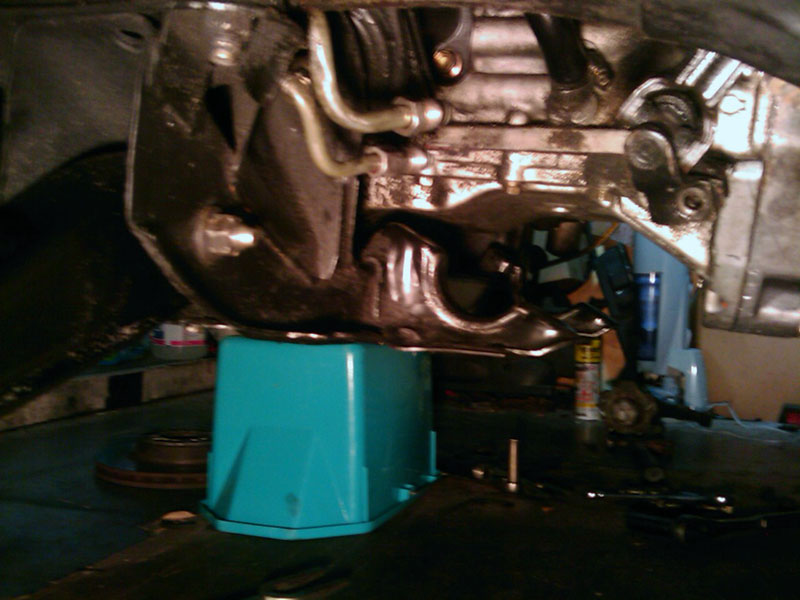 Underneath the car, waiting for the steering rack to go in! 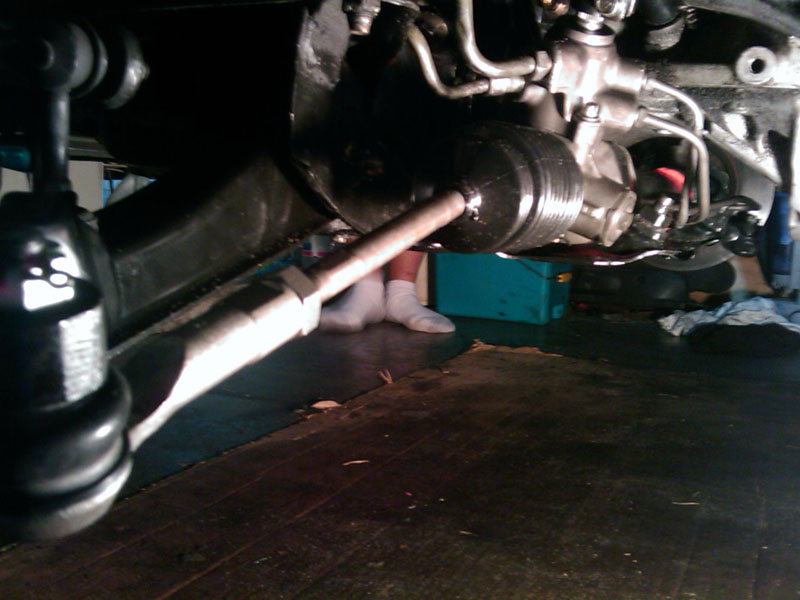 !!! Wild HICAS steering rack appears! Tomorrow morning going for an alignment, should feel really nice once everything is dialed in. Can't wait! 
__________________

|
|
|

|
|
|
#14 |
|
Zilvia Member
 Join Date: Aug 2007
Location: Anchorage, AK
Age: 49
Posts: 250
Trader Rating: (4)
 Feedback Score: 4 reviews
|
Have you done rear ball joints? I have been having all kinds of issues trying to get replacements for mine. Found some at Auto Zone, but they were wrong, and every other place I try says you have to buy the control arms with them, I say ok, then they say "Oh, we cannot order those either". I am not really looking for forking out cash for tubular ones.....
__________________
"Hey, it's got boost....wish my car did"  Rejoice, for something really bad is about to happen! |
|
|

|
|
|
#15 |
|
Post Whore!
 |
I got my control arms from PDM Racing. You can get the rear lower control arms with ball joints from them as well.
PDM Racing - PDM Control Arms
__________________

|
|
|

|
|
|
#16 |
|
R.I.P. Aya, always love
 Join Date: Nov 2001
Location: Los Feliz/Hollywood
Posts: 18,558
Trader Rating: (215)
           Feedback Score: 215 reviews
|
Congrats on the build Steve, Its looking good. Glad I could be of help in it. Keep it up. Nice to see your thinking about stuff.
__________________
"Having a lot of tracks on a song is like putting stickers on a car to get more horsepower" New Video https://www.youtube.com/watch?v=uebV1OnbRsw Buy my mounts! http://zilvia.net/f/sale-items/51531...ns-mounts.html http://zilvia.net/f/tech-talk/317539...e-mouts-6.html |
|
|

|
|
|
#17 |
|
Post Whore!
 |
Thanks Dave!
Next up on the list of things to do is new front rotors and Hawk HPS pads. My passenger side rotor is slightly warped so I want to get that taken care of.
__________________

|
|
|

|
|
|
#18 |
|
AFC #1
 Join Date: Oct 2003
Location: 昨晩あなたのお母さんの家
Posts: 20,181
Trader Rating: (3)
           Feedback Score: 3 reviews
|
Houses all look the same.
 Fresh pads always seem to make a difference even if the old ones aren't totally gone.
__________________
Comments should be taken as Opinions not as Statements of Fact 
|
|
|

|
|
|
#19 |
|
Zilvia Member
 Join Date: Aug 2007
Location: Anchorage, AK
Age: 49
Posts: 250
Trader Rating: (4)
 Feedback Score: 4 reviews
|
sweet, thanks, they have the rear ball joints
__________________
"Hey, it's got boost....wish my car did"  Rejoice, for something really bad is about to happen! |
|
|

|
|
|
#20 |
|
Post Whore!
 |
Update time!
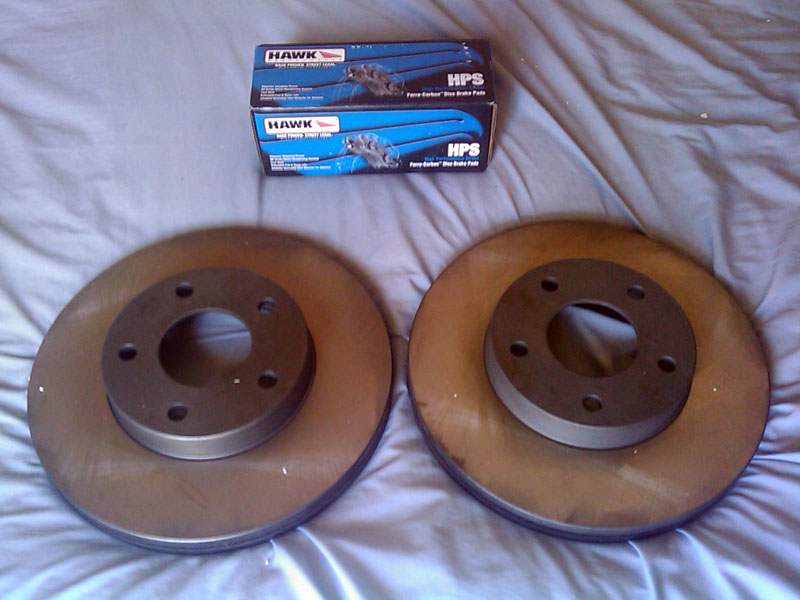 My new front rotors and pads came in today. Originally intended for this to be a quick brake job but then I decided to paint my calipers red.  Let me say though, I'm glad I got this stuff replaced as soon as I did. It turns out the rotors I was using were not the correct size. I'm not sure what car they are off of, but they are bigger than S14 5lug rotors but smaller than 26mm 300zx rotors... Take a look...  On the left is the mysterious rotor which measured out to be 21mm in width. On the right is the new 26mm 300zx rotor. Kinda hard to tell from the picture but there is a noticeable size difference. Anyone know what the 21mm mysterious rotor is from??? Here is a picture of the 21mm rotor next to the S14 5lug rotor. 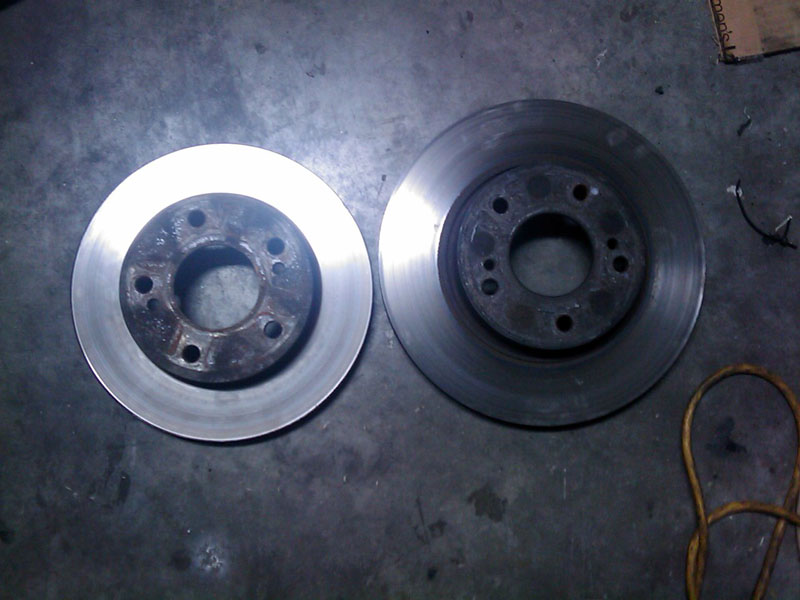 S14 5lug rotor on the left, 21mm ??? rotor on the right. Anyways, after I made that discovery it was time to get old brake pads off and the brake calipers cleaned up. 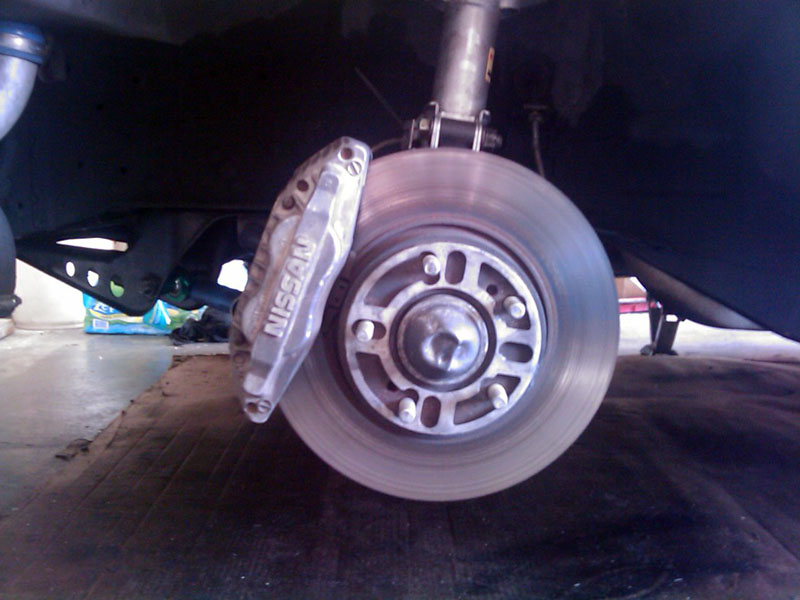 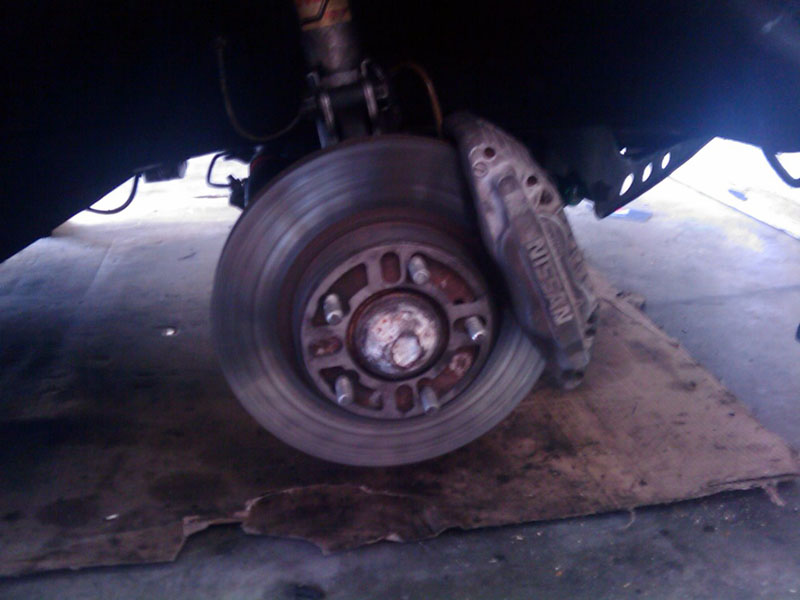 This is the boring inefficient setup.  Old pads on the left, new pads on the right. 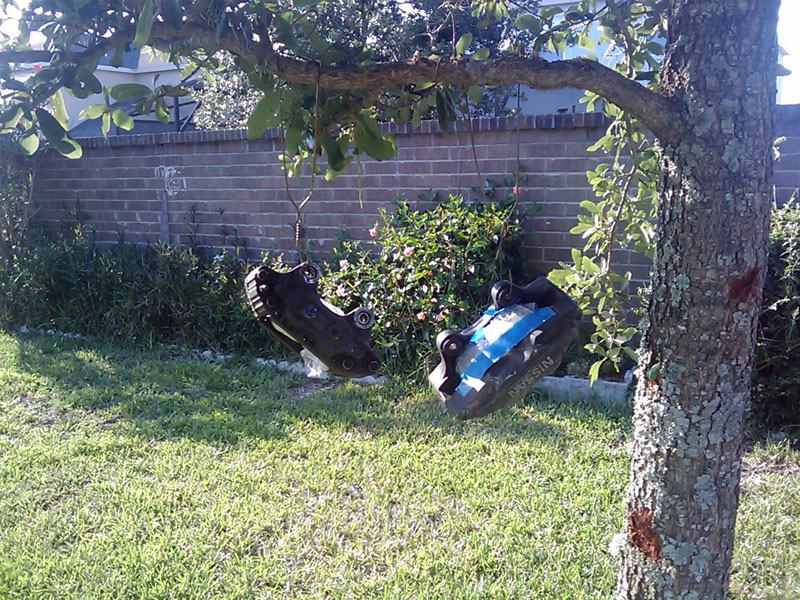 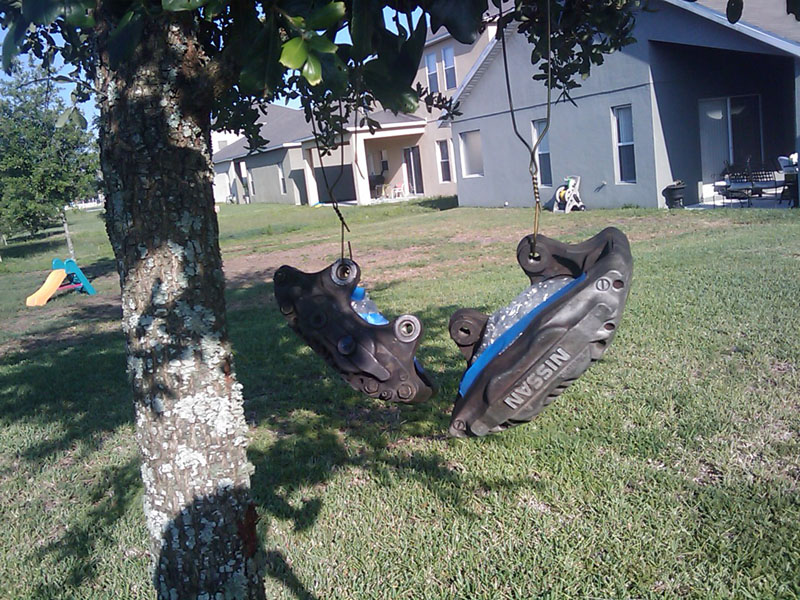 Who said 300zx calipers don't grow on trees??? 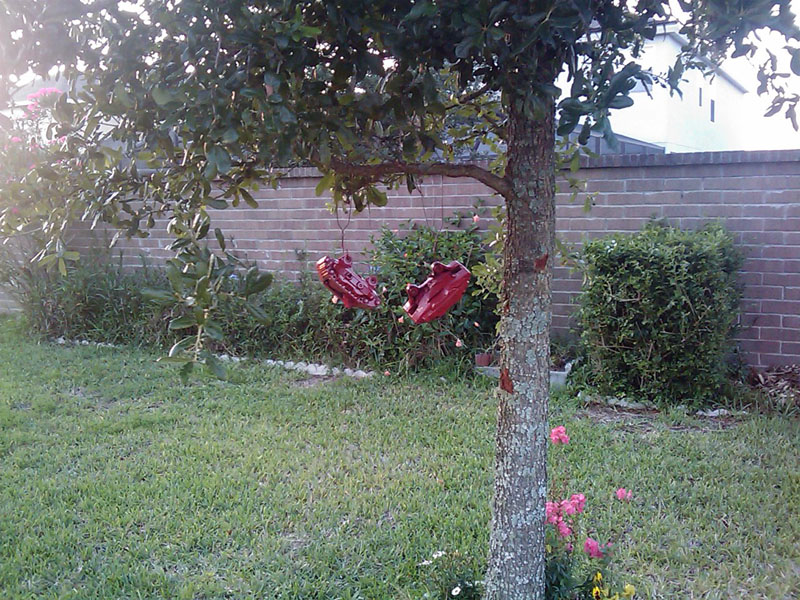 Mmmm, them apples is ready for pickin'! 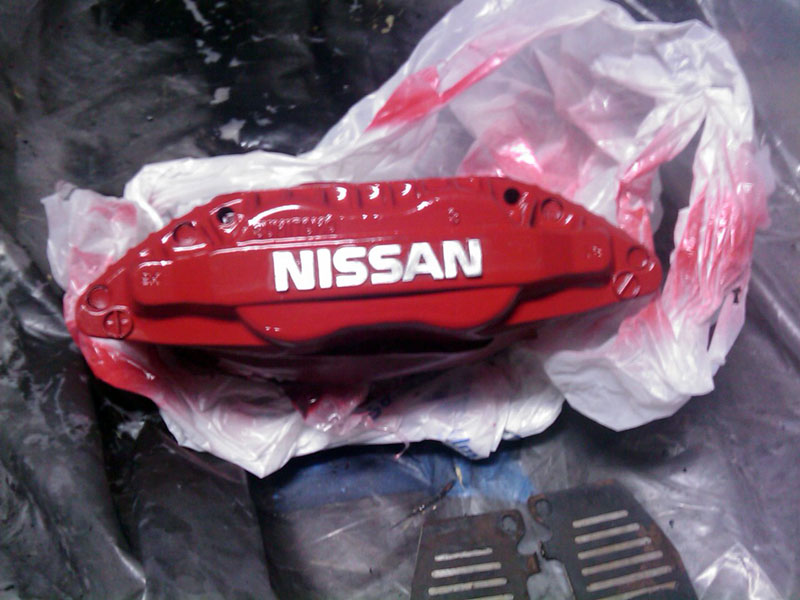 Sanded off the lettering, ended up nicking the caliper with sandpaper a few times had to go back and do some touch up spraying (damn I'm lame). 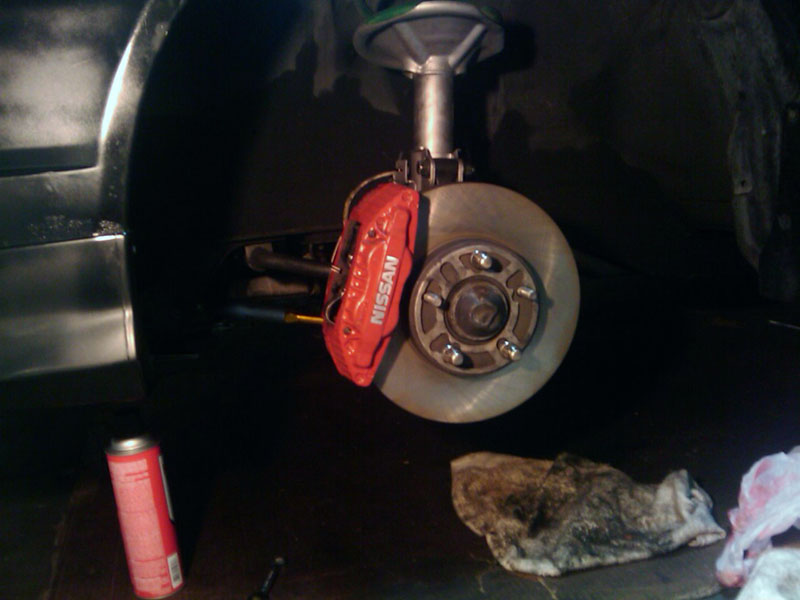 Driver side mounted. I definitely should have let these dry over night, they got a few blemishes from me handling them. 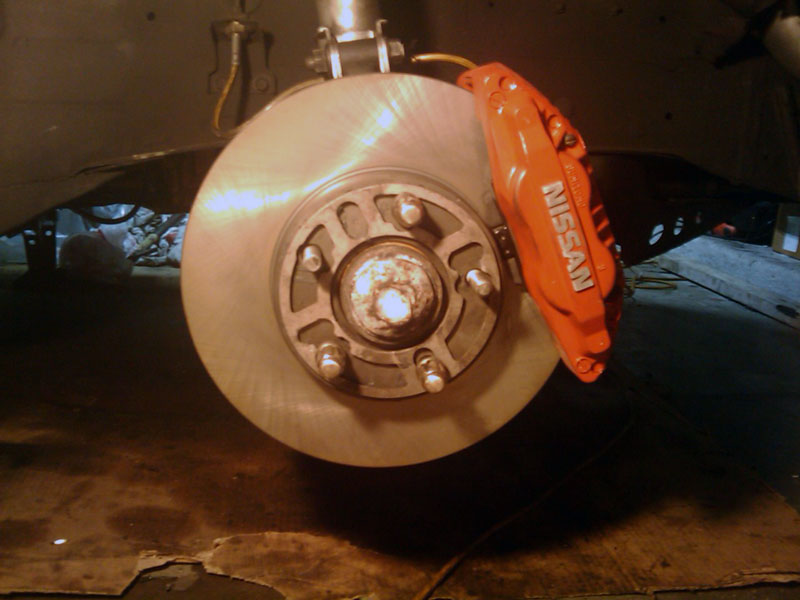  Picture without the light... damn my phone sucks hardcore. Sorry guys. 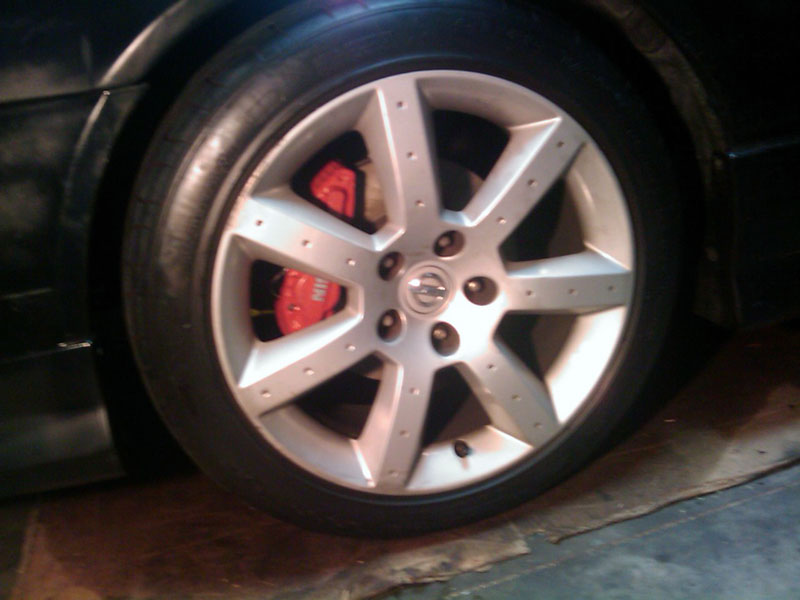 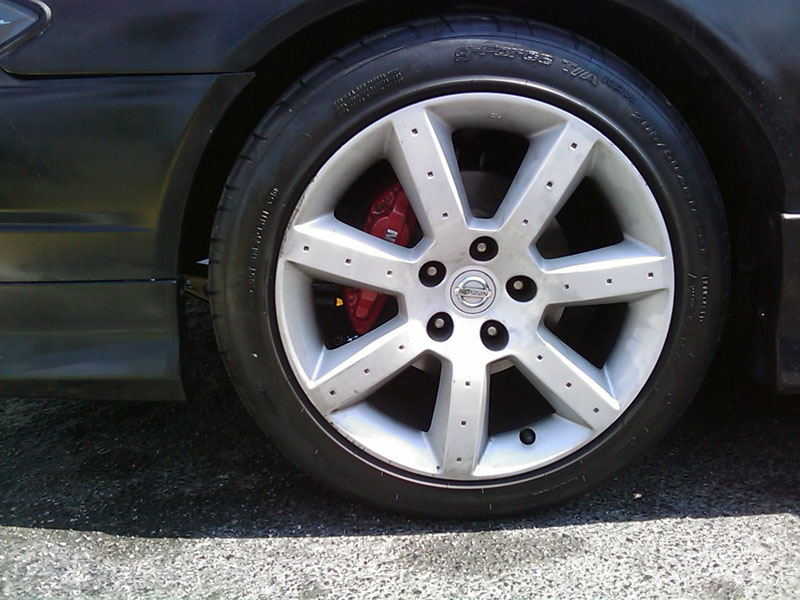 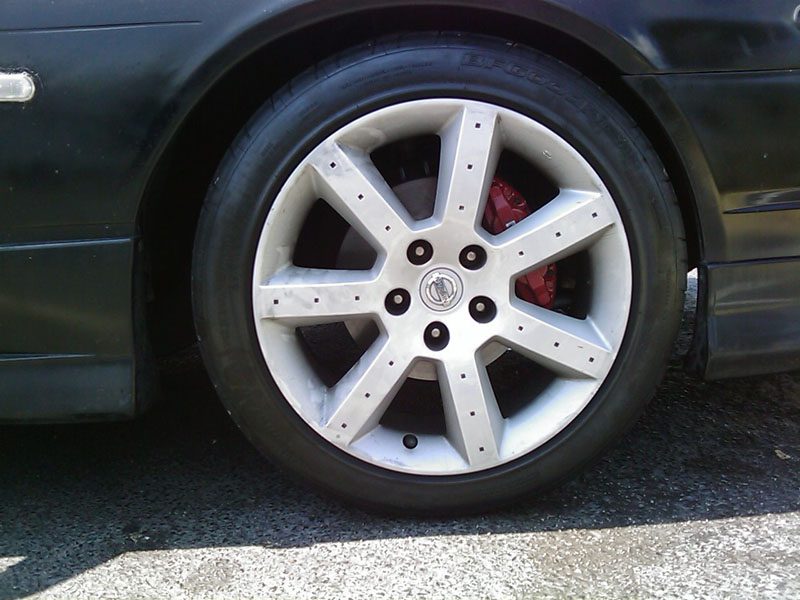 And now I have shiny red calipers peaking behind the 350z rims.  Overall, I'm very impressed with my stopping force. I thought I was braking ok but now having the Hawk HPS pads and the PROPER size rotors, when I think about stopping, she's already in a nose dive. Can't wait to complete the whole package when I do the z32 rear calipers. That's all for now. More to come in the future. Thanks for reading. 
__________________

Last edited by KiLLeR2001; 05-21-2011 at 07:39 PM.. |
|
|

|
|
|
#22 |
|
Post Whore!
 |
Next up...
- R200 VLSD swap - New subframe bushings + other bushings - Z32 rear brake setup - Gas tank cleansing + new fuel lines - New rear lower control arms - New catback exhaust Gonna do it all at once so it'll be a big update. Probably going to swap the VLSD into a spare s13 pumpkin on Monday.
__________________

|
|
|

|
|
|
#23 |
|
Zilvia Member
 Join Date: Aug 2007
Location: Anchorage, AK
Age: 49
Posts: 250
Trader Rating: (4)
 Feedback Score: 4 reviews
|
man, this is coming along nicely...lookin good
__________________
"Hey, it's got boost....wish my car did"  Rejoice, for something really bad is about to happen! |
|
|

|
|
|
#24 |
|
Post Whore!
 |
Small update.
Last week I went to the junkyard with a friend to snatch up some 5 bolt axels from a J30 that he needed for his VLSD. While he was removing the last remaining bolts I decided I would look around the yard for any other J30's. After a few minutes of searching low and behold... a black J30. When I got up close to it I saw a '97 with a circle around it. My heart started beating faster, I couldn't believe it! (I've been looking for the 6bolt setup for awhile). I immediately look under the car and BAM! the pumpkin was still there albeit a little rusty. We didn't have time that particular day to pull the pumpkin out so we went back a few days later... 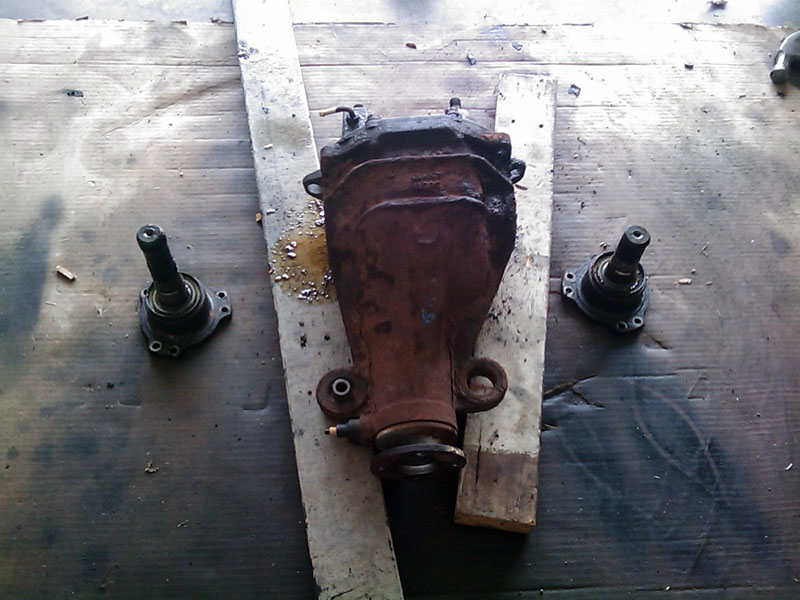 J30 VLSD, knocked the output shafts out. 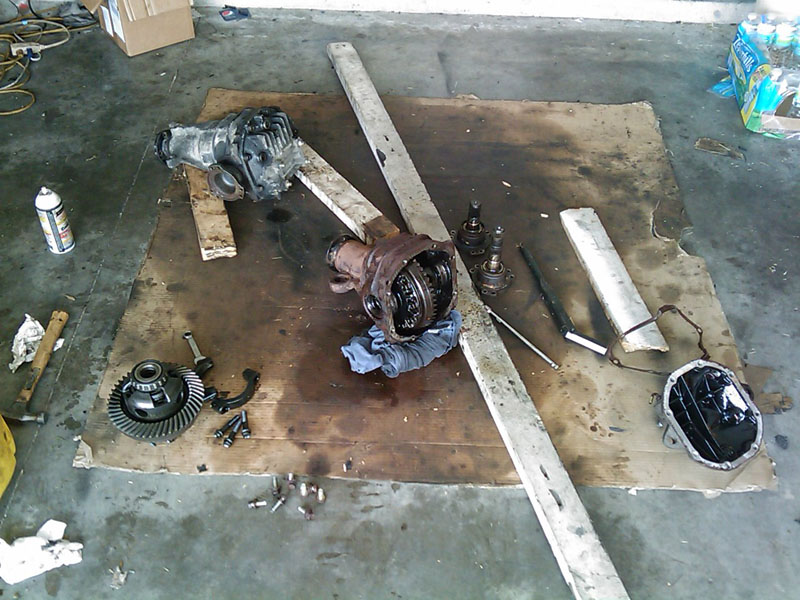 The work area I guess, lol. J30 VLSD exposed, s13 pumpkin behind it. 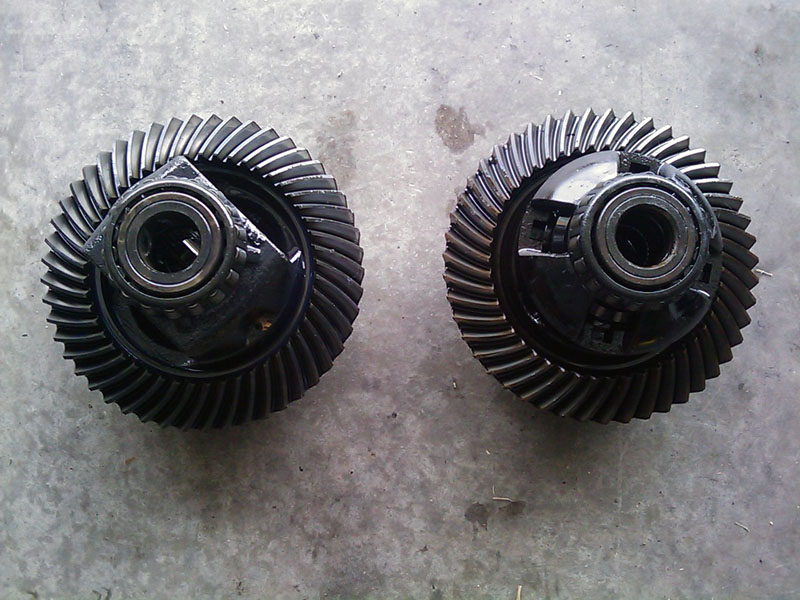 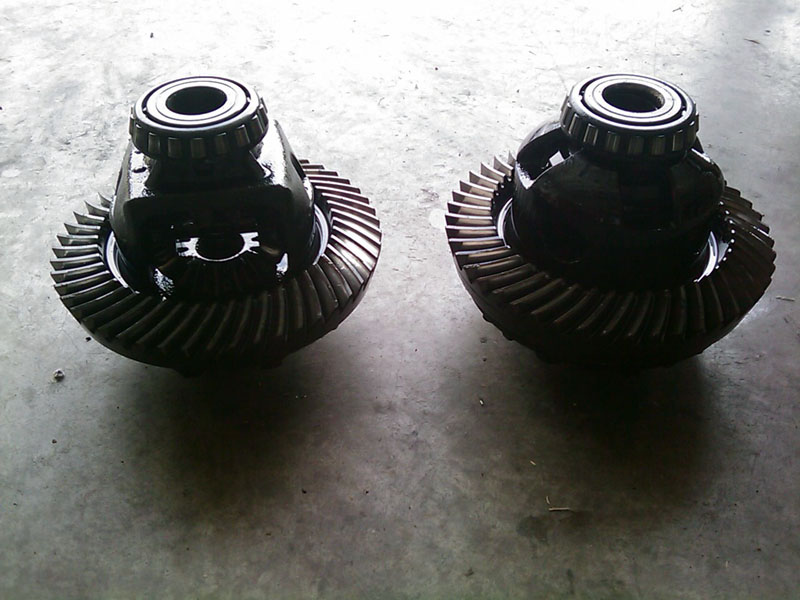 Open differential (left), J30 VLSD (right). I decided that I wanted to maintain my final gear ratio and use the stock 49:12 (4.08) ratio ring gear. I wouldn't recommend going this route unless you are familiar with grinding because you will have to grind down the longer output shaft to make up for the skinnier ring gear once its set in the pumpkin. Probably a little easier to swap on the J30 pumpkin and buy an ABS driveshaft! 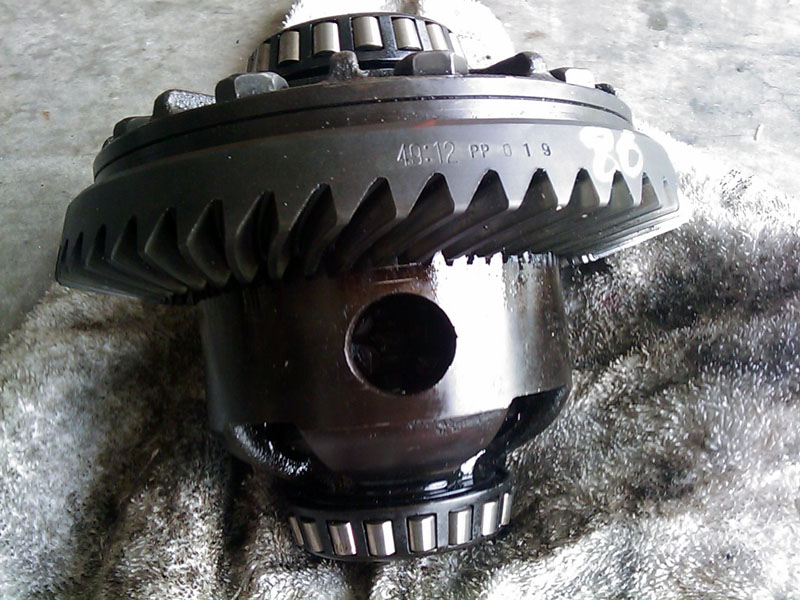 J30 VLSD + 49:12 ring gear from s13 open diff 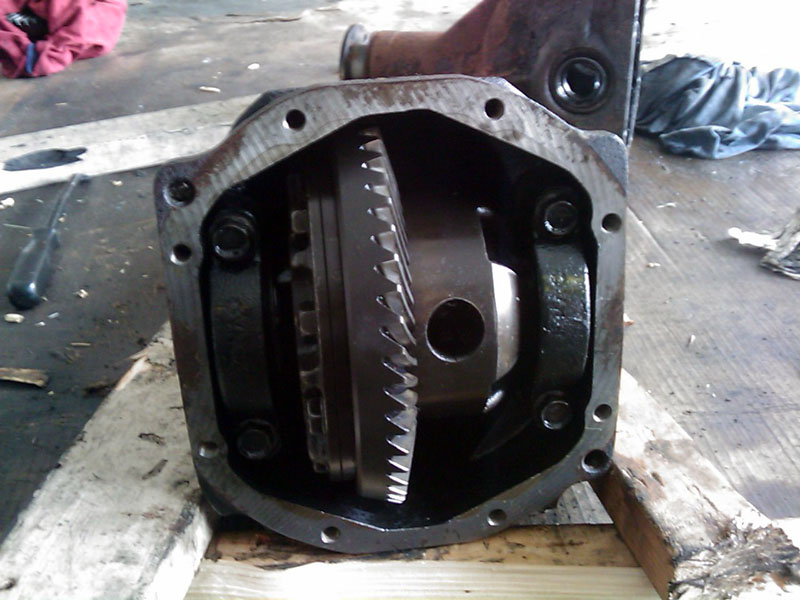 After a little persuasion, she seats into the pumpkin nicely. 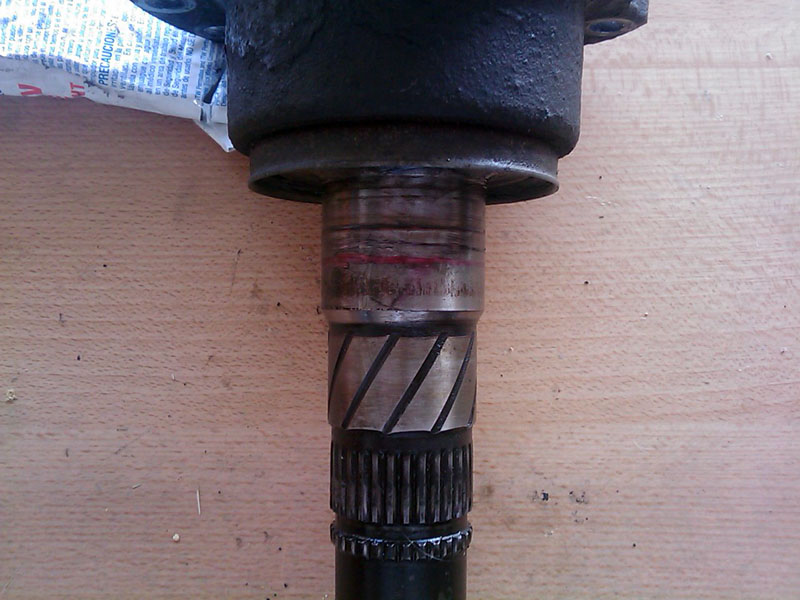 This is the longer output shaft that needs to be grinded down IF you decide to use the open diff ring gear. The grinding area is from the red line down, and then must be tapered up slightly from there. 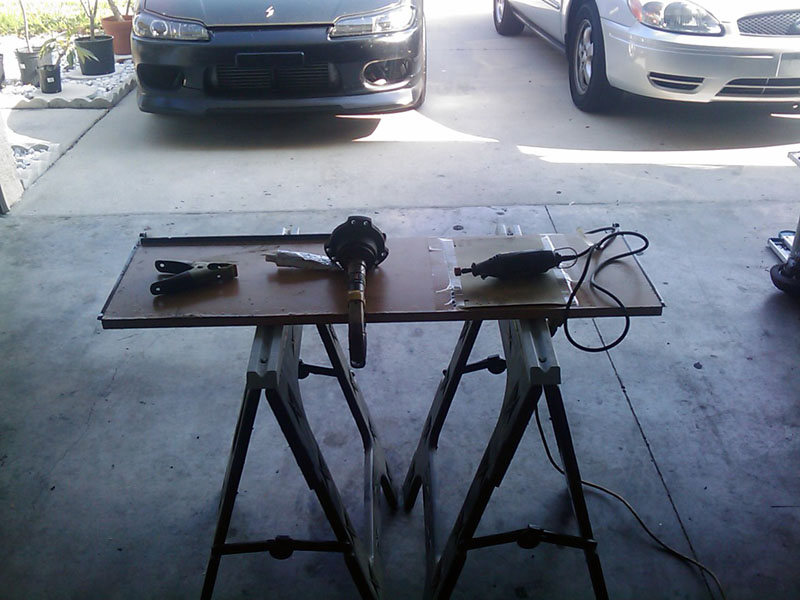 Workbench. Dremel and a couple hours of taking my time. 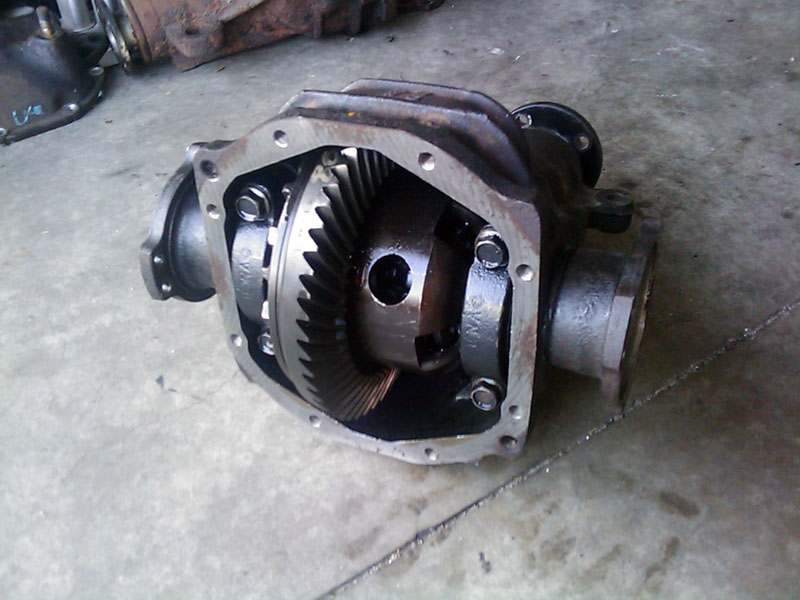 I was so excited after I finished I completely forgot to snap a picture of the grind job. Once I banged it in there and it fit perfectly I decided to leave it in. Sorry guys. 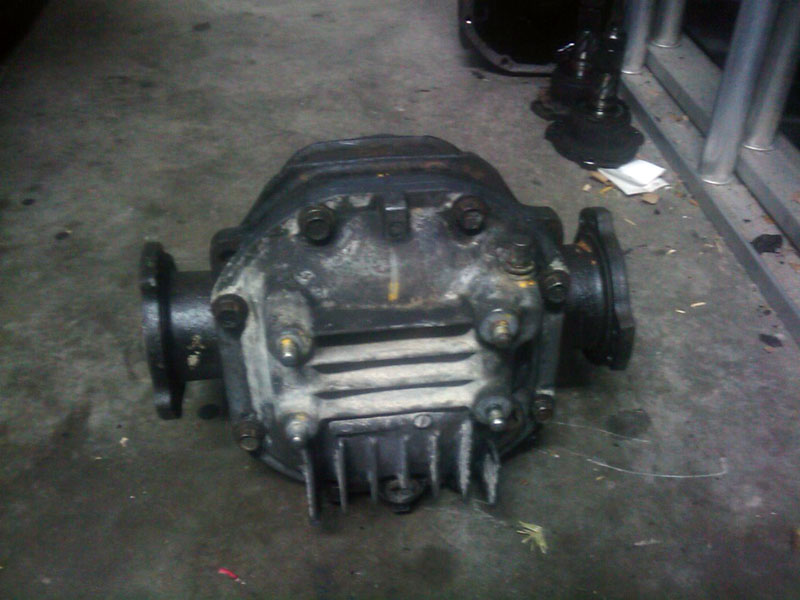 I had a hell of a time razor blading the OEM paper gasket off, it was fused to the aluminum or something. I soaked it in purple power for a day, put goo gone all over it... and eventually had to use sand paper to get a smooth finish. BUT, its all together now, waiting to be transplanted on the car. That's all for now. 
__________________

Last edited by KiLLeR2001; 02-28-2013 at 06:01 AM.. |
|
|

|
|
|
#26 |
|
Post Whore!
 |
All of my z32 rear brake components came in. Decided to paint my rear calipers in the same manner as my fronts. I obviously suck at painting, but at least I'm maintaining a level of consistency here
 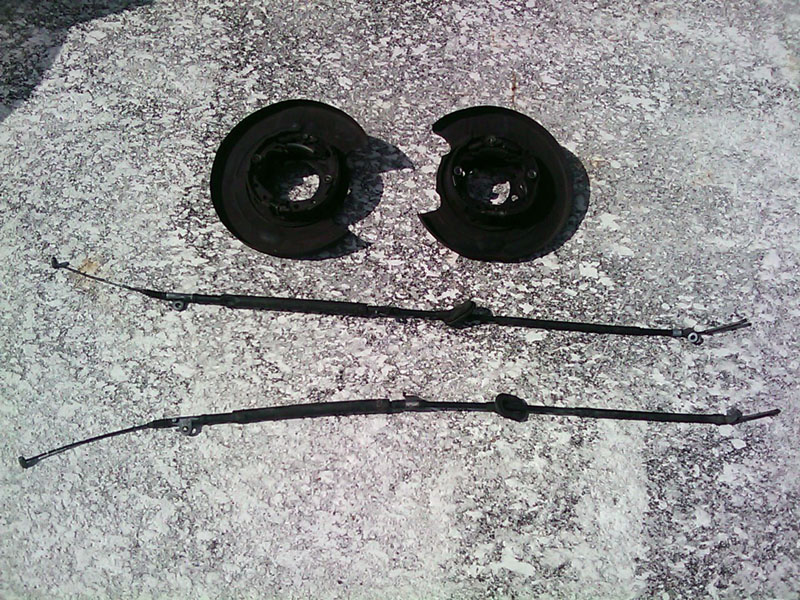 E-brake assemblies and 2+2 e-brake cables. 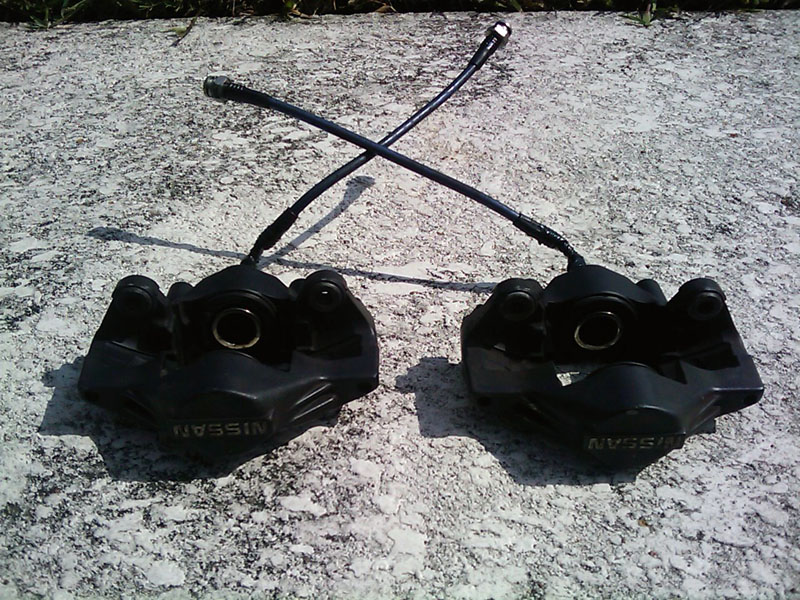 z32 rear calipers + ss lines 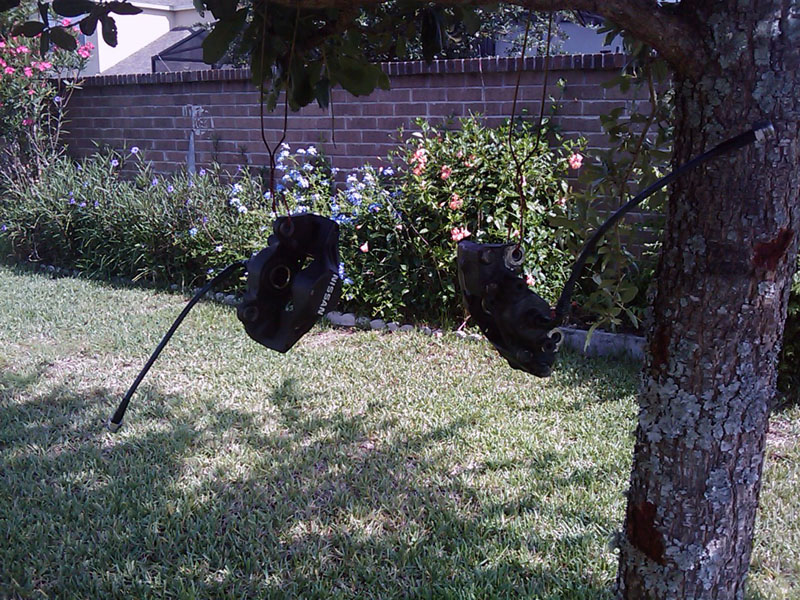 Calipers growing on trees again. 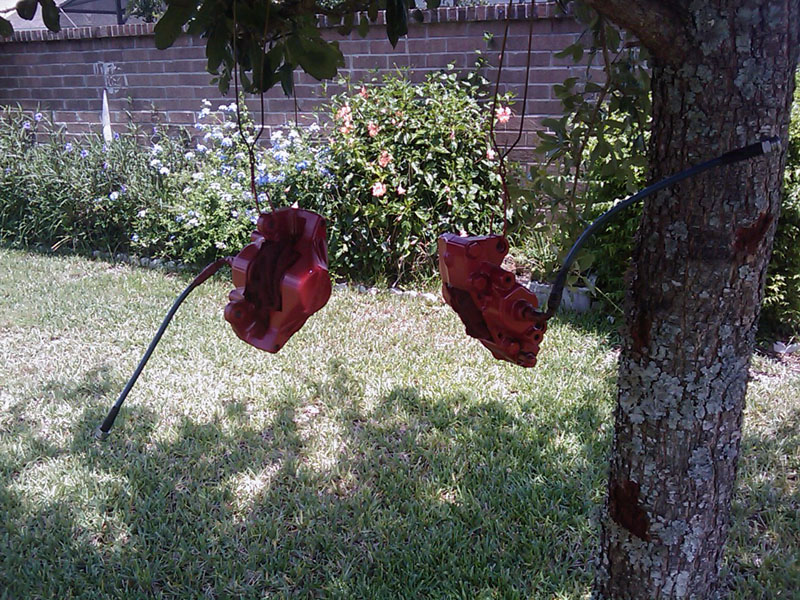 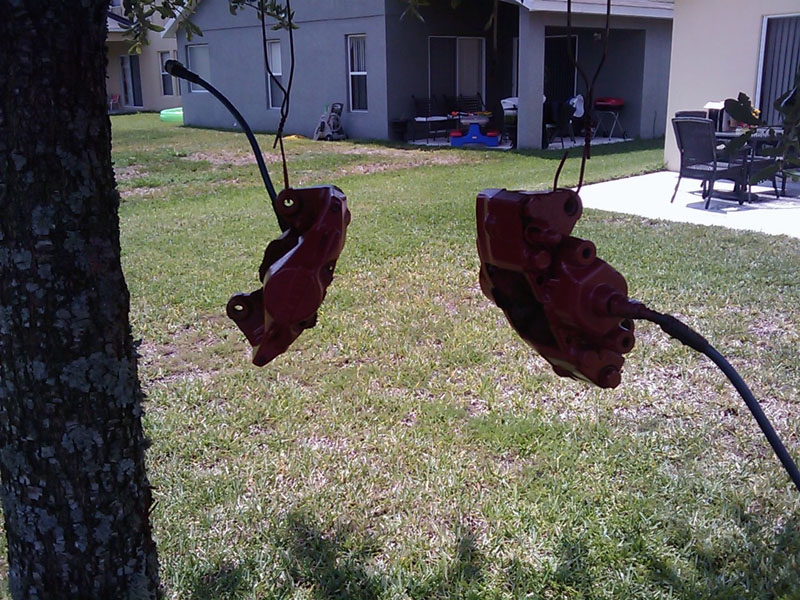 Painted, just waiting to dry. 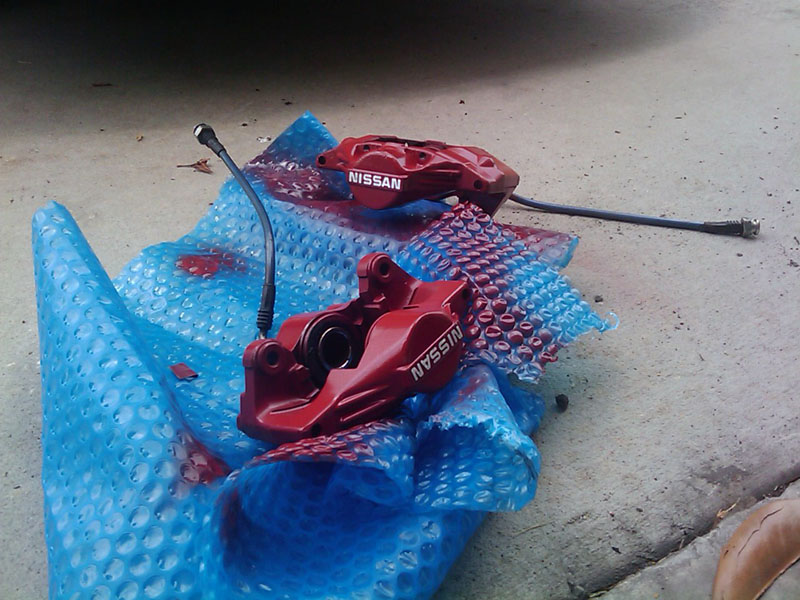 Sanded the lettering down. Now they are ready to be installed. Small update I know. I'm just waiting for the rest of the parts to start rolling in, should be getting down to business within the next couple of weeks.
__________________

|
|
|

|
|
|
#27 |
|
Post Whore!
 |
Quick update regarding my car:
Was driving home tonight from a friends house, I decided to give it a little throttle around a turn and as the revs increased I wasn't getting any power to the wheels (felt like clutch slippage) and I was hearing this rattling sound. I'm 99% sure it was the sound of the flywheel bolts backing out. So now the car is parked and going to be pulling the transmission to check out the damage. All other parts sans my new HKS exhaust have been ordered. Looks like I'm also going to upgrade my clutch in the process. Stay tuned for the carnage!
__________________

|
|
|

|
|
|
#29 | |
|
Post Whore!
 |
Quote:

__________________

|
|
|
|

|
|
|
#30 |
|
Post Whore!
 |
Well, I started a little bit of the break down process tonight. Took off my exhaust. It's now sold. Anyways, decided to snap a few pictures of the disgusting state of my rear end situation.
Below are the pictures of my subframe bushing gap. All four corners have about 1/4" of separation. It's horrible, do not look if you have a weak stomach. 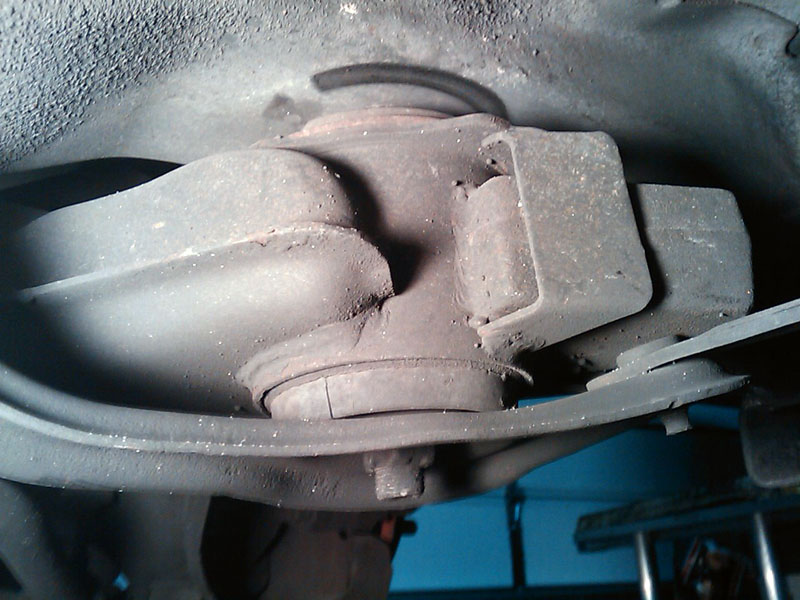 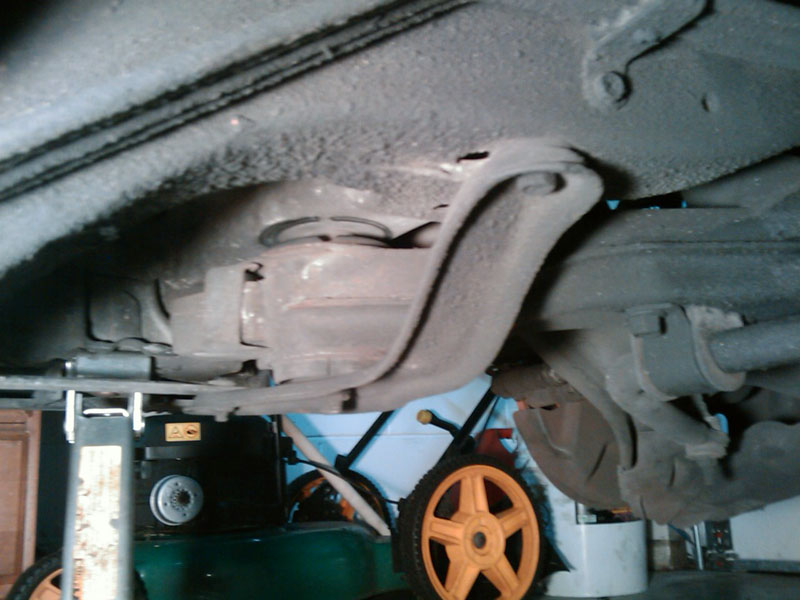 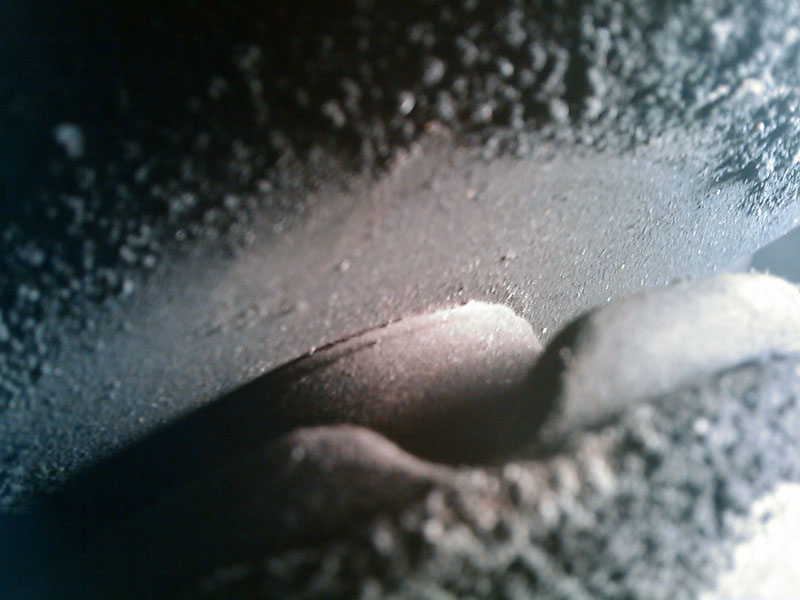 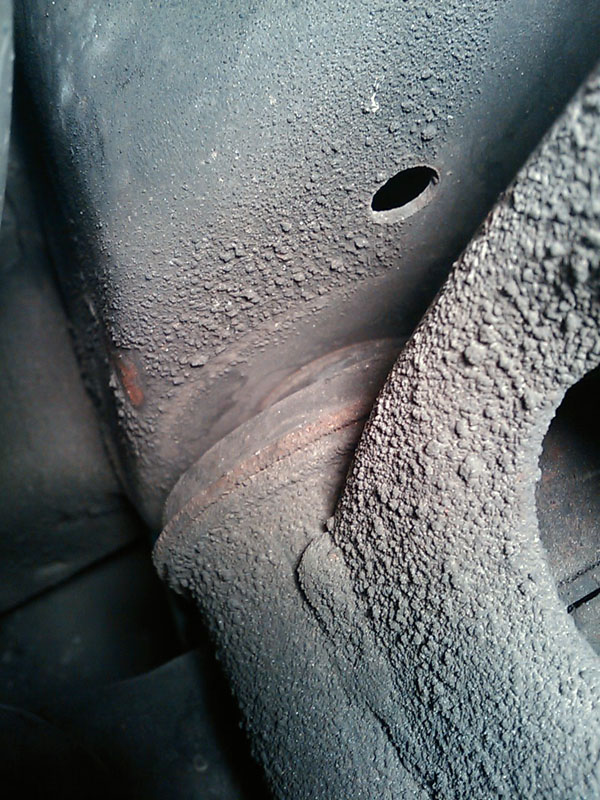 Next up we have the splooge factory open differential... 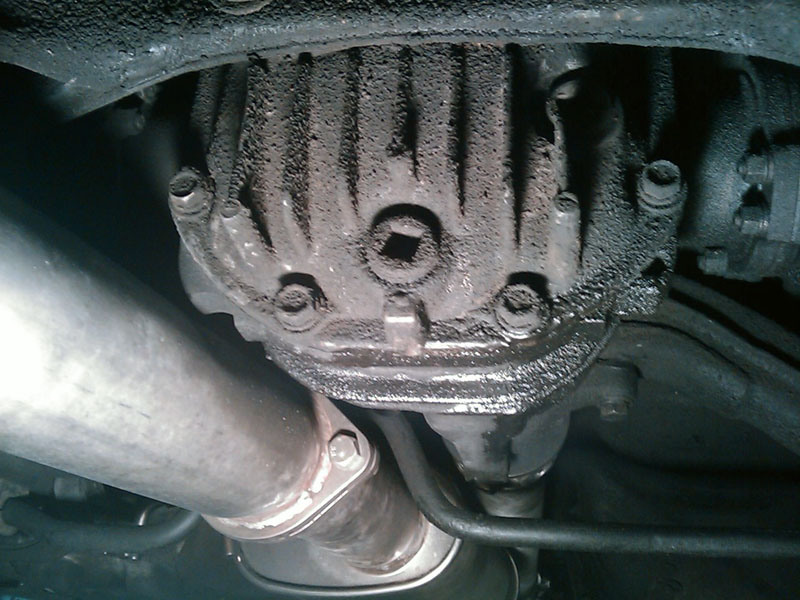 And finally... 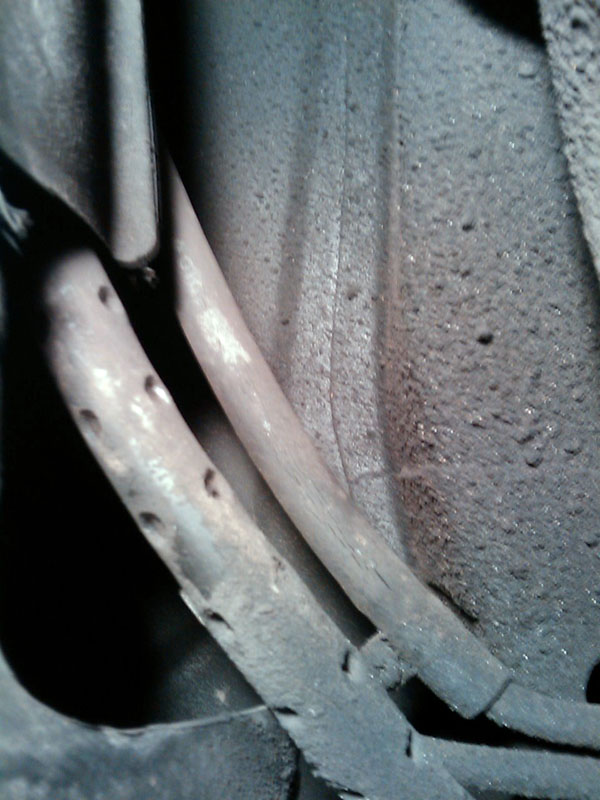 Fuel lines leading up to the gas tank are cracked. FML. This is just a small sample of things to be replaced. I'm sure it'll get a lot deeper the more I get into it.
__________________

|
|
|

|
 |
| Bookmarks |
| Thread Tools | |
| Display Modes | |
|
|