
 |
|
|||||||
| Home | Rules & Guidelines | Register | Member Rides | FAQ | Members List | Social Groups | Calendar | Mark Forums Read |
| Builds (and builds only) Got a build thread? It goes here, build threads anywhere else on the forum will be locked and never moved. |
 |
|
|
Thread Tools | Display Modes |
|
|
#61 |
|
Post Whore!
 |
Ohhhhh yes. It is the only way I'm going to get quality fitment.
__________________

Last edited by KiLLeR2001; 02-17-2012 at 10:03 PM.. |
|
|

|
| Sponsored Links |
|
|
#63 |
|
Zilvia.net Advertiser
 Join Date: Nov 2005
Location: Michigan
Age: 33
Posts: 5,431
Trader Rating: (16)
           Feedback Score: 16 reviews
|
Mannn, I'm always debating whether or not to do S13.5. Looks good man, I like the simple approach.
__________________
Build: http://zilvia.net/f/showthread.php?t=643065 Friends don't let friends buy knock-offs. |
|
|

|
|
|
#64 | |
|
Post Whore!
 |
Quote:
 Just a couple other goodies that rolled in a few days ago... 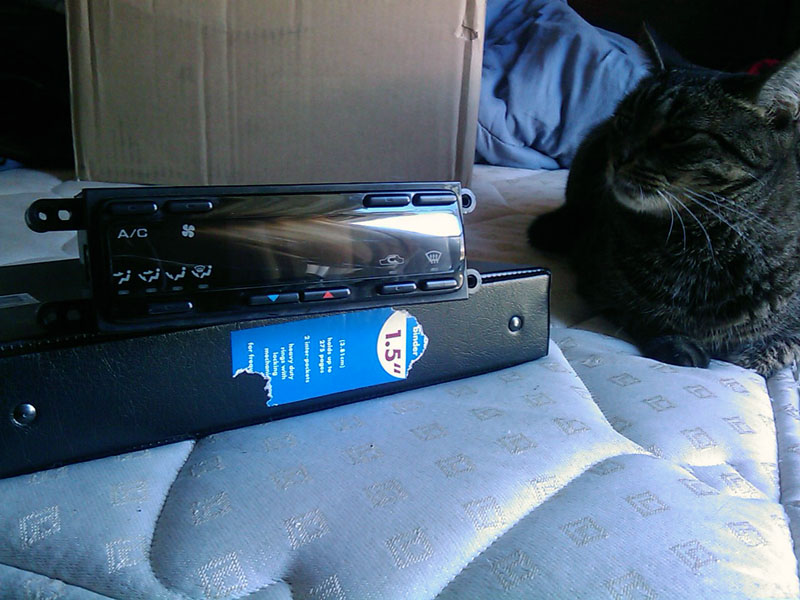 JDM S13 DCC. Kitty likes the smell of JDM. 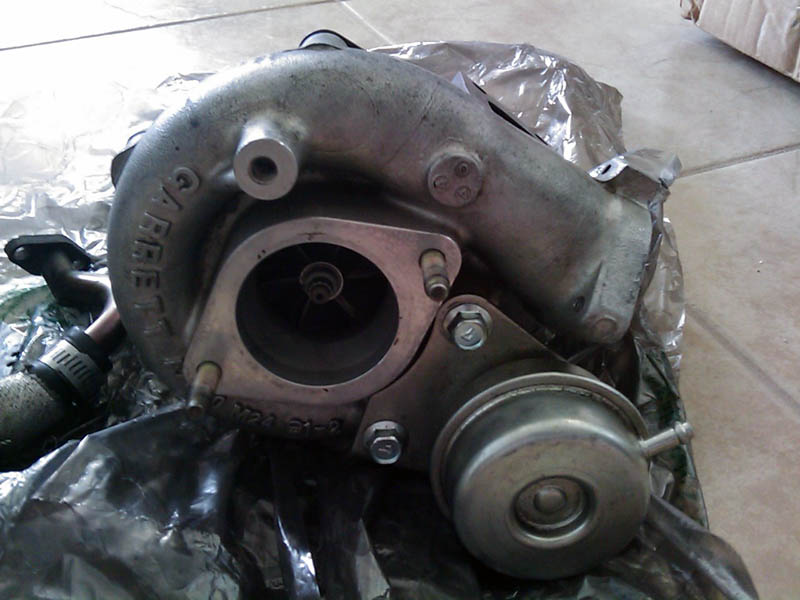 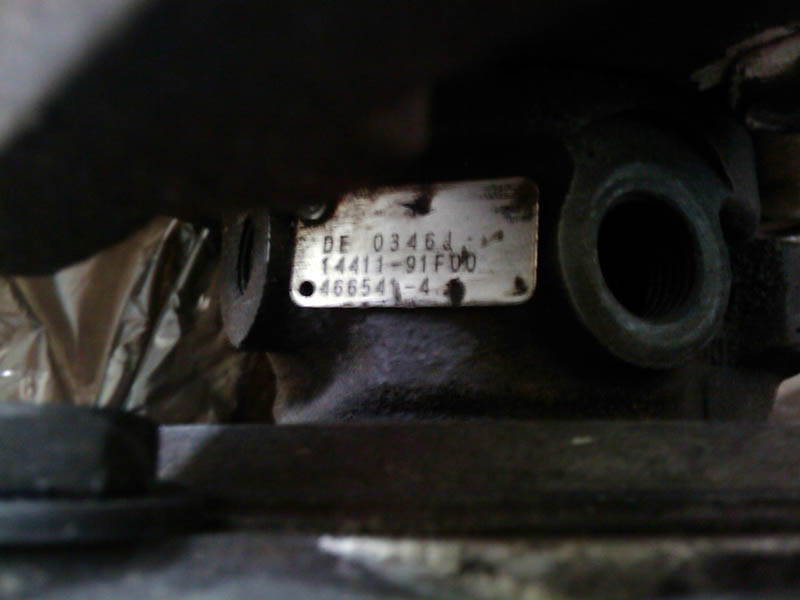 S15 T28 BB Turbo
__________________

Last edited by KiLLeR2001; 08-23-2012 at 01:46 AM.. |
|
|
|

|
|
|
#65 |
|
Post Whore!
 |
Car is back on the road! Drove it to work today for the first time in ~3 weeks. So far no leaks. Cleaned up the piping a little better and finally mounted the catch can instead of it just hanging out in space... Here is a before picture...
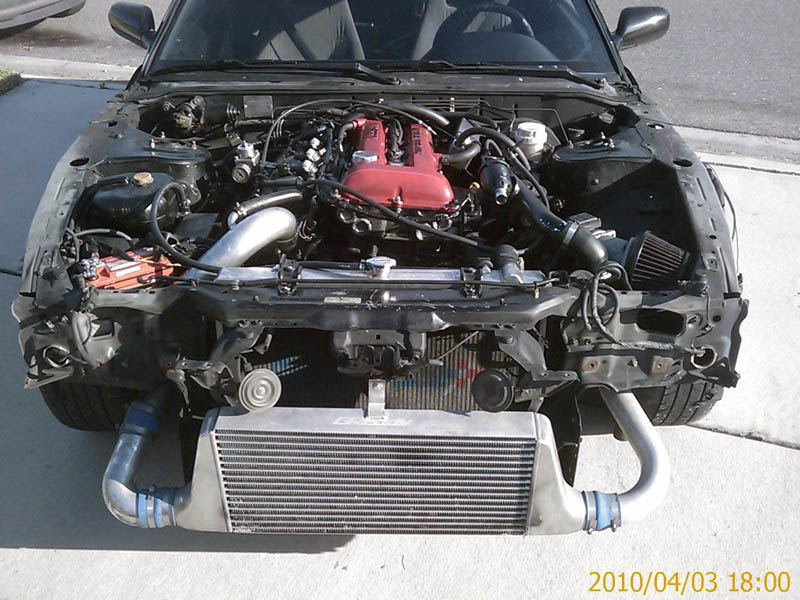 Here is how the engine bay looks now... 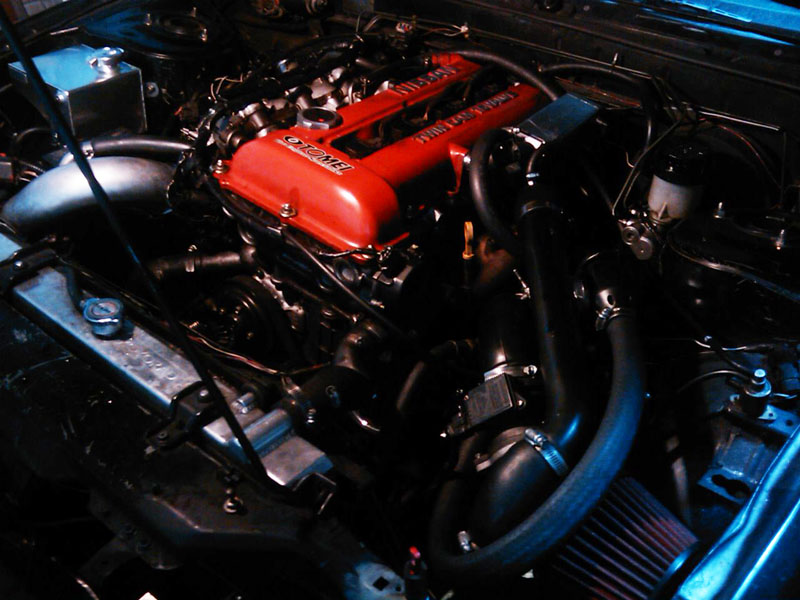
__________________

Last edited by KiLLeR2001; 03-12-2012 at 04:34 PM.. |
|
|

|
|
|
#66 |
|
Post Whore!
 |
Pictures of my car from last nights local meet...
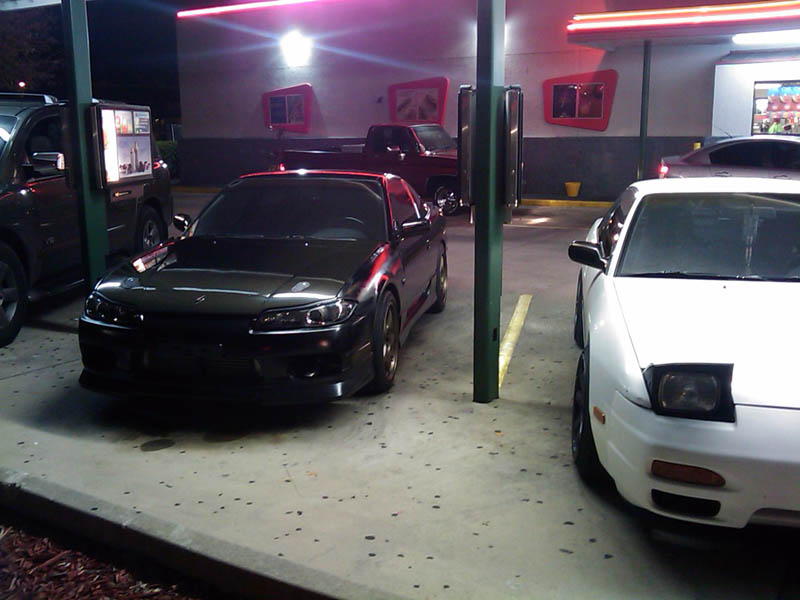 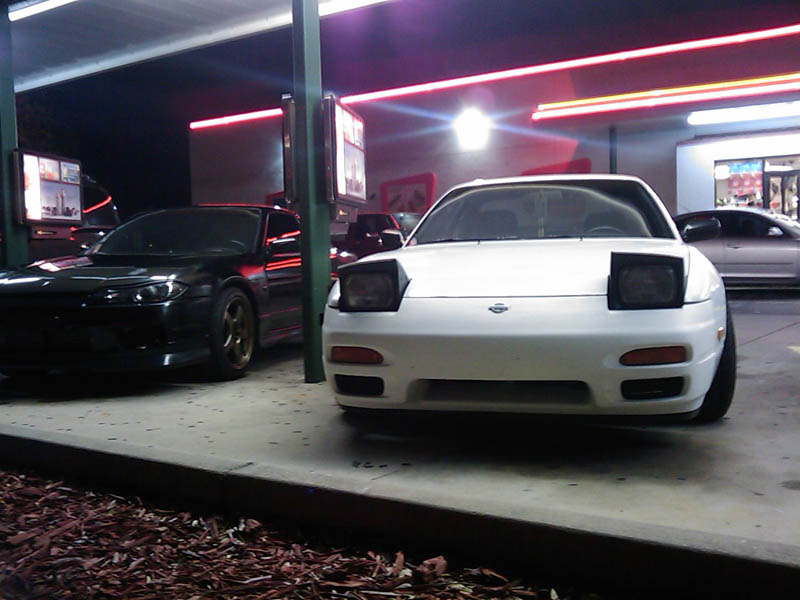 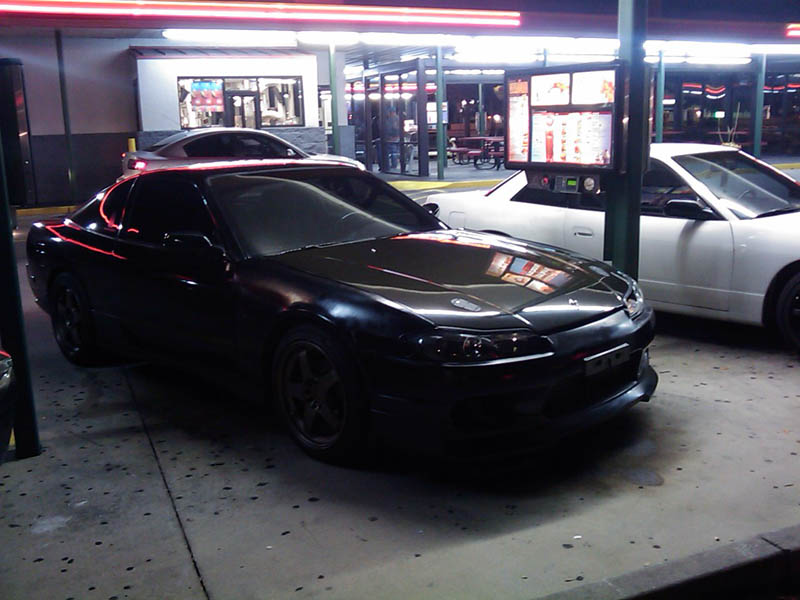 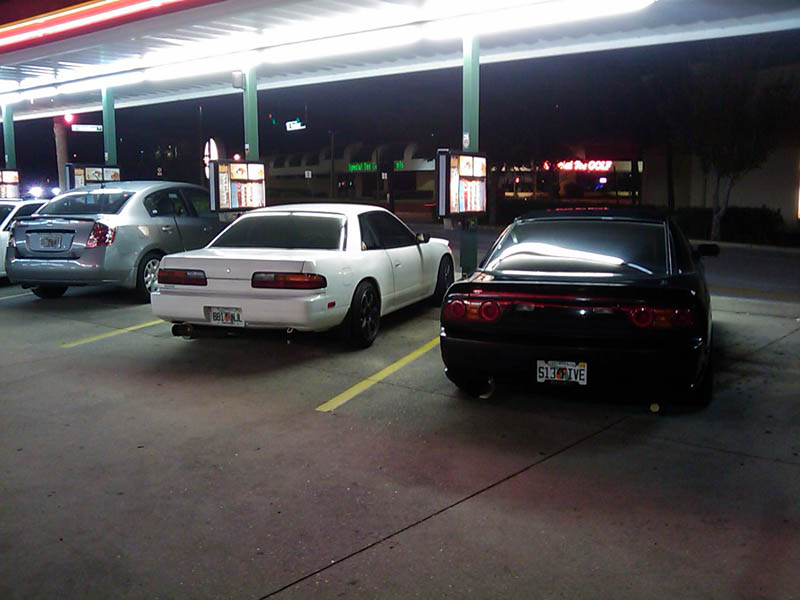 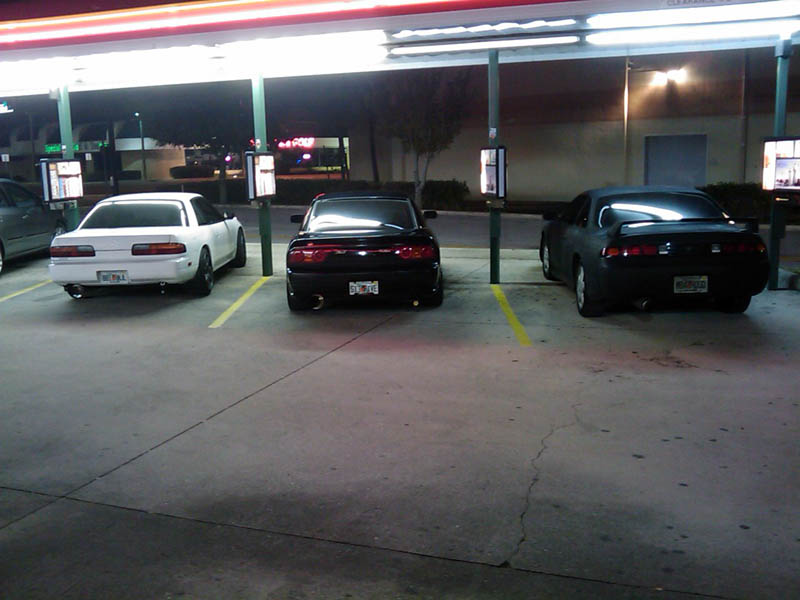 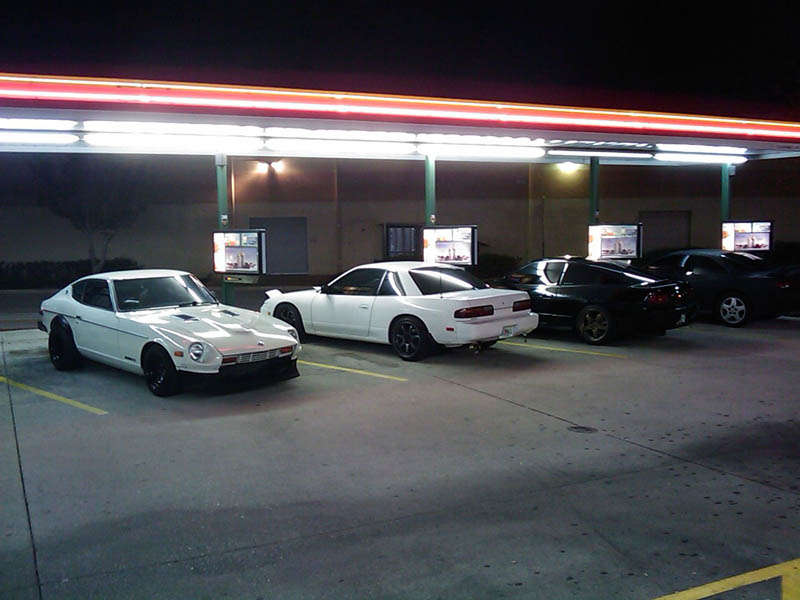 Next up on the list of things to do: - Get the LMGT4's restored. Eliminate all curb rash and any imperfections. - Powdercoat wheels Mercury Silver. - Fresh tires 225/45 F, and 255/40 R.
__________________

|
|
|

|
|
|
#68 |
|
Nissanaholic!
 |
any more pics of the primered s14??
|
|
|

|
|
|
#69 |
|
Post Whore!
 |
Lol thats my other friends car. Its just rattle canned black, USDM kouki front no lip.
__________________

|
|
|

|
|
|
#70 | |
|
Zilvia Addict
 Join Date: Jun 2007
Location: winnipeg
Age: 35
Posts: 875
Trader Rating: (6)
           Feedback Score: 6 reviews
|
Dude I am loving your build to bits! I draw many simularities with my (also black) 180sx and your build gives me much inspiration for my 1/2 complete soon to be also s13.5!
Quote:
Dude I have to totally agree with you on this. I've been thinking the same thing about the headlights and taillights combo since highschool (thats like 99/2000) and it's been my dream to make it happen.
__________________

|
|
|
|

|
|
|
#71 | |
|
Post Whore!
 |
Quote:
 Broke that off so now its just time for me and the car to get her completed!!! Broke that off so now its just time for me and the car to get her completed!!!I noticed your signature, it's funny to me because after this build is all said and done, I'm saving up for a 997 turbo!!! Thanks for the reply.
__________________

|
|
|
|

|
|
|
#73 |
|
Post Whore!
 |
Thanks Trevor.
I've decided NOT to powder coat my wheels. I've read from too many sources that powder coating forged aluminum wheels could jeopardize the integrity of the alloy. Most powder coating temps need to reach around 400F degrees. I know they do make a lower temp powder coat, but as far as I know RAYS doesn't powder coat any of their wheels, so I'm not going to either. With that said, I've decided on a wheel color which seems pretty close to Mercury Silver and is OEM Nissan official! Chrome Silver Metallic (KY0). Which was also the silver for the R34 Z-Tune. Can't wait. Just gotta get my funds up so I can get the wheels fixed and then buy all the paint supplies. Oh yeah, I'll be painting these myself (with the help of my friend who works at a body shop). 
__________________

Last edited by KiLLeR2001; 03-12-2012 at 04:36 PM.. |
|
|

|
|
|
#74 |
|
Post Whore!
 |
Change of plans with my timeline... I'm continuing the trend of function > form so the wheel restoration is getting pushed back. I've decided to get new tires still, but then skipping to the coilovers + rear arm linkages. The car has spoken to me and it demands MOAR LOWE.
__________________

|
|
|

|
|
|
#75 |
|
Post Whore!
 |
Fuel pump has progressively gotten worse over time. I checked my fuel pressure the other day and it was idling at 32psi when it should be around 38psi. Currently the car is parked and I'm waiting for a new Walbro pump. I also bought a Nismo adjustable fuel pressure regulator, new z32 OEM filter and of course the gasket o-ring for the tank.
A minor set back, but not too big of a deal. I'm also going to siphon the gas out of the tank and see how dirty this thing is, if its bad I might impulse buy a new tank. 
__________________

|
|
|

|
|
|
#76 |
|
Post Whore!
 |
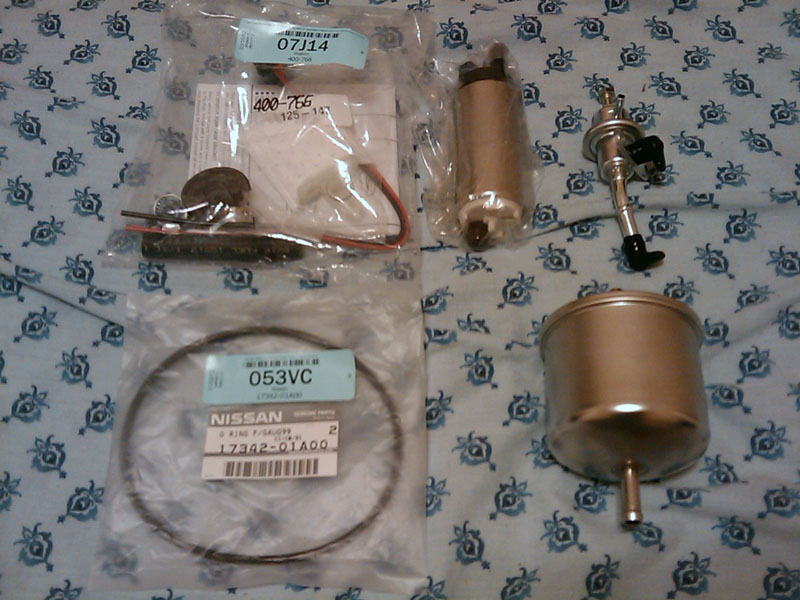 All the supplies that arrived yesterday from FedEx. Just got done installing everything, car runs like a champion now. Walbro pump is SILENT. Can't even hear it like my last one that would scream after 10 minutes. Fuel pressure steady at 44psi with vacuum off, 38psi when vacuum is plugged in. I examined the tank, honestly wasn't too bad. Yeah there is a little residue caked on the bottom but nothing floating around in the tank or anything. The wiring connections on the fuel pump to the Walbro from before were also loose so I cleaned them up, installed fresh wire and made sure it was on there TIGHT. Feels good to be driving again. 
__________________

|
|
|

|
|
|
#77 |
|
Post Whore!
 |
Next up: Tires!!!
I put in an order for Yokohama S.Drive's. I've heard good things about these tires so I wanted to try them out. I usually buy BFG KDW2's which are great tires too, so we shall see how they compare. 225/45/17 front on 8.5 inch wheel. 255/40/17 rear on 9.5 inch wheel.
__________________

|
|
|

|
|
|
#79 |
|
Post Whore!
 |
Got the tires mounted and the alignment done. Wow what a difference! I'm loving the sizes I chose, exactly what I wanted. Go go gadget mathematics!
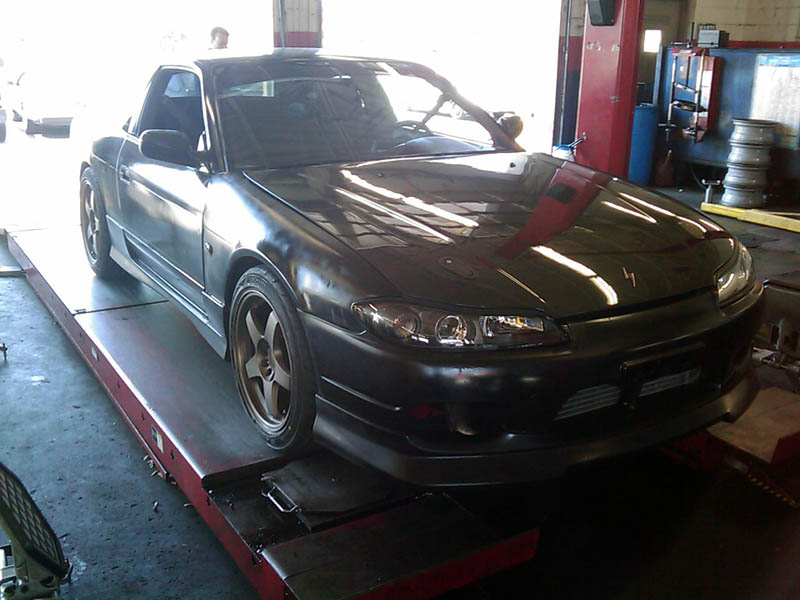 Getting ready for the alignment. 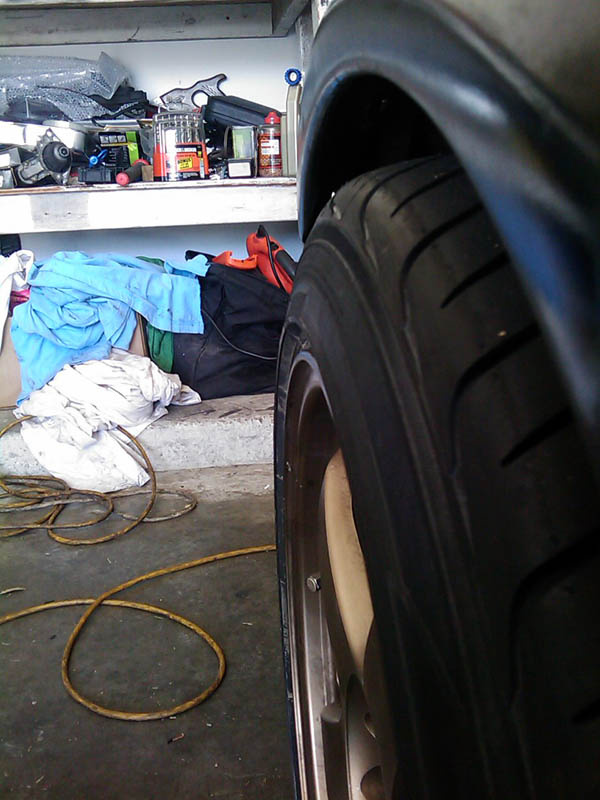 Front left tire. Notice how the tire PROTECTS the rim, take note you hella stretchers. 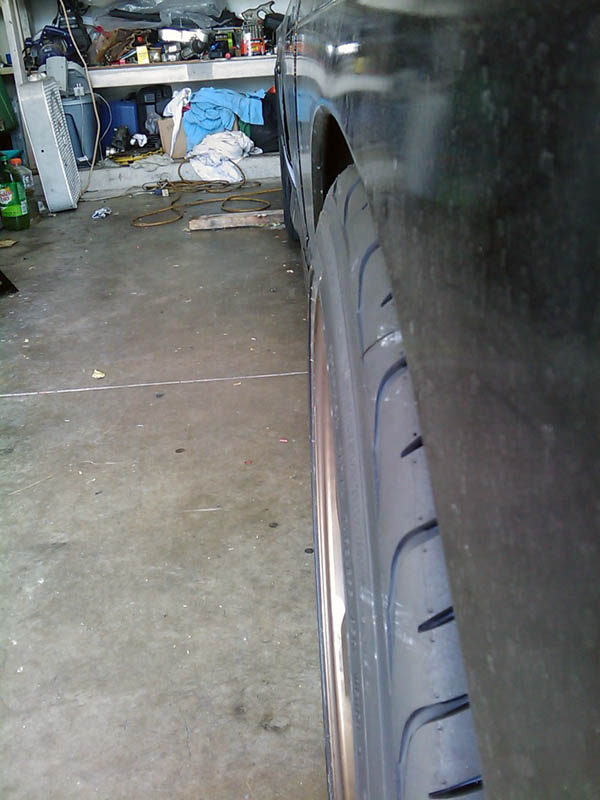 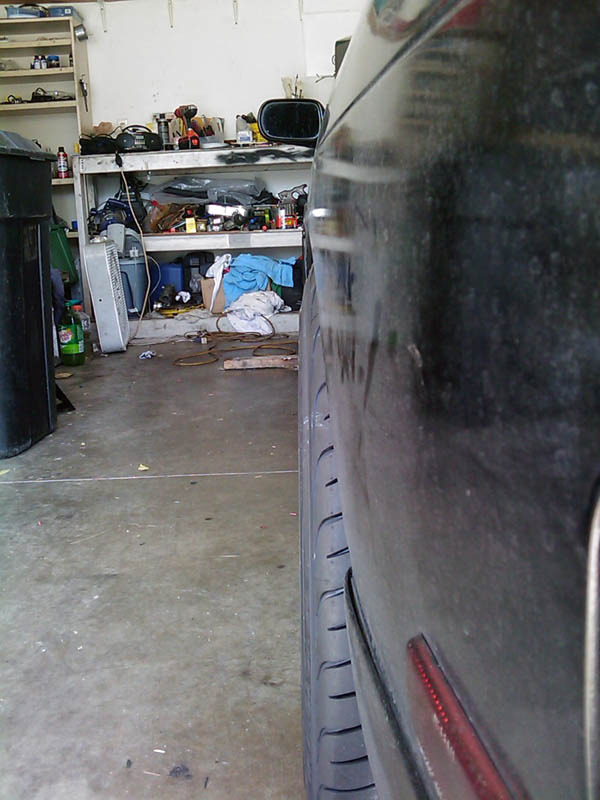 Rear left. 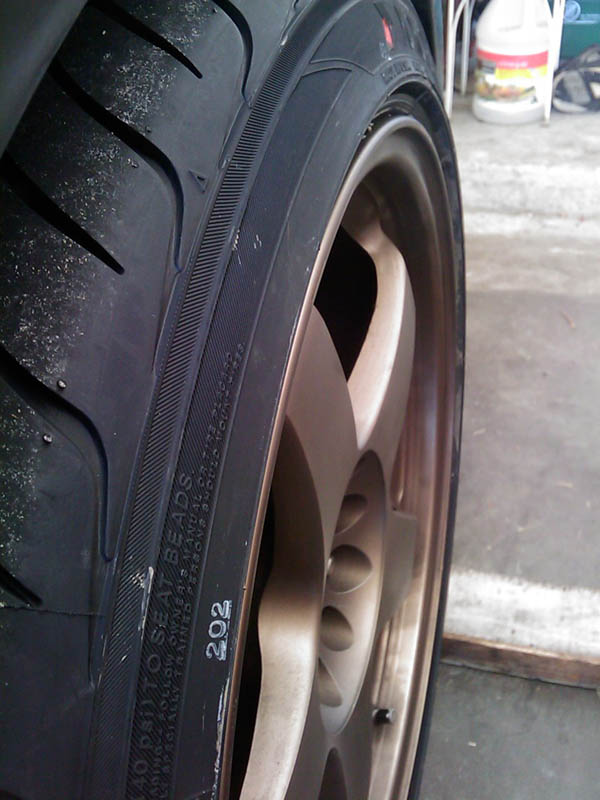 Front right. 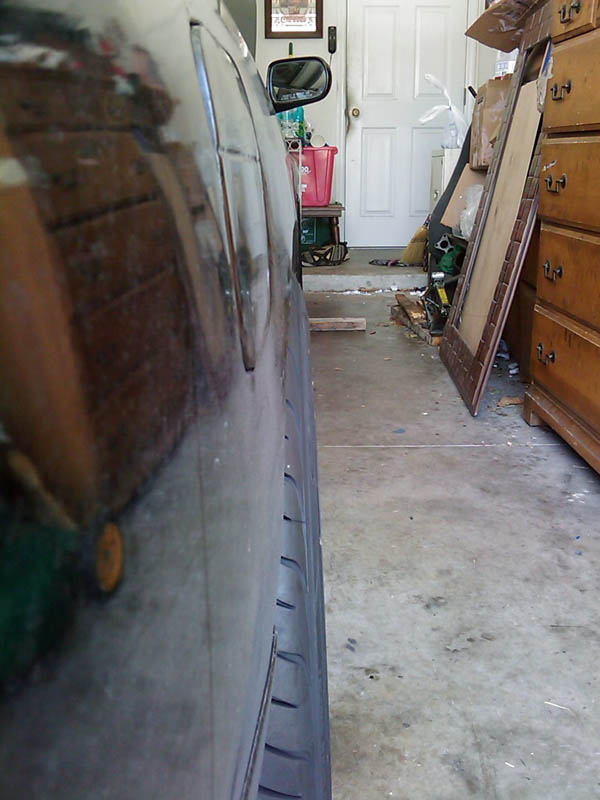 Rear right. 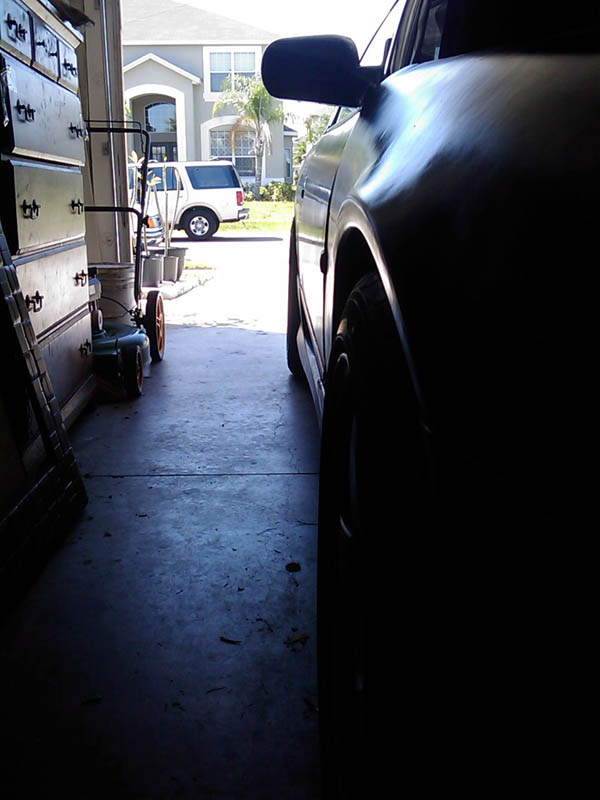 Down range shot.
__________________

|
|
|

|
|
|
#81 |
|
Post Whore!
 |
Firestone. I have lifetime alignment there. I've been actively going for the last 5 years. However, the guy that usually does my alignment transferred to another store so I might have to drive a little bit further to have it done by him once I get my coilovers on.

__________________

|
|
|

|
|
|
#82 | |
|
AFC #1
 Join Date: Oct 2003
Location: 昨晩あなたのお母さんの家
Posts: 20,181
Trader Rating: (3)
           Feedback Score: 3 reviews
|
Quote:
__________________
Comments should be taken as Opinions not as Statements of Fact 
|
|
|
|

|
|
|
#83 | |
|
Post Whore!
 |
Quote:

__________________

|
|
|
|

|
|
|
#84 |
|
Post Whore!
 |
Sometimes the little modifications you do to your car are just as rewarding as the big ones. As S13 owners we all know how much of a nuisance it can be without a cup holder. All the options I've ever seen place the cup holder in the center console region which I never liked. My arm / hand / elbow etc would always hit the cup in some way shape or form, especially when shifting.
Anyways, randomly sitting in my car one day trying to plan out my interior, I was thinking of a location where a cup holder would be ideal and not get in the way. After a few minutes the location was obvious. Couple weeks later a thread on Zilvia popped up in regards to cup holders and it just reaffirmed my conclusion. So without further rambling... This cup holder is made in Germany by Fischer. 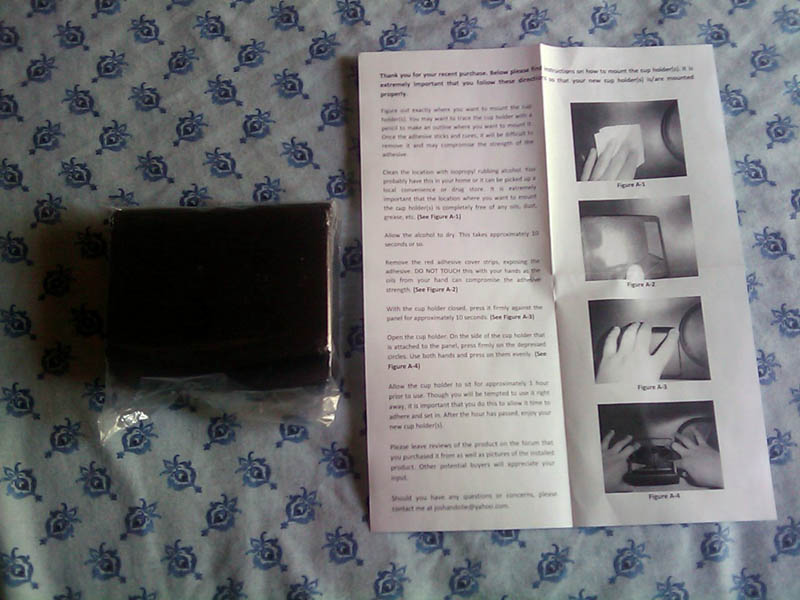 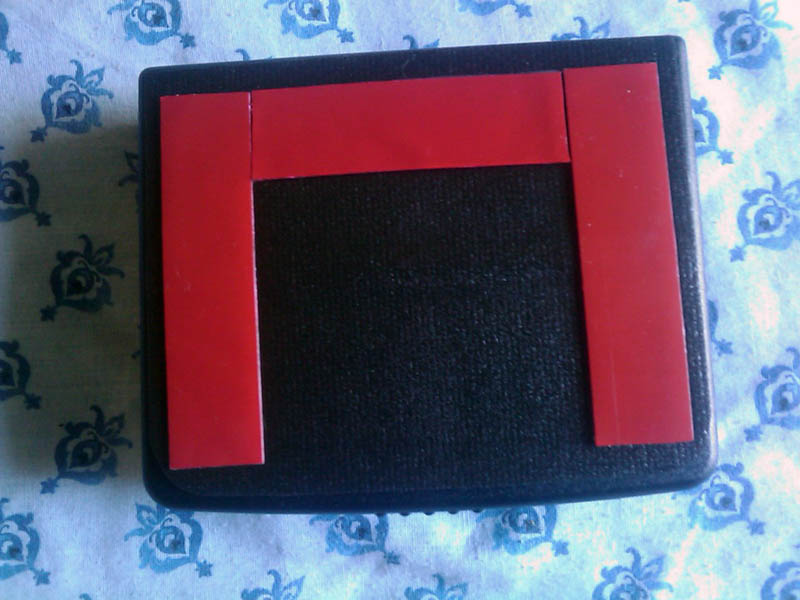 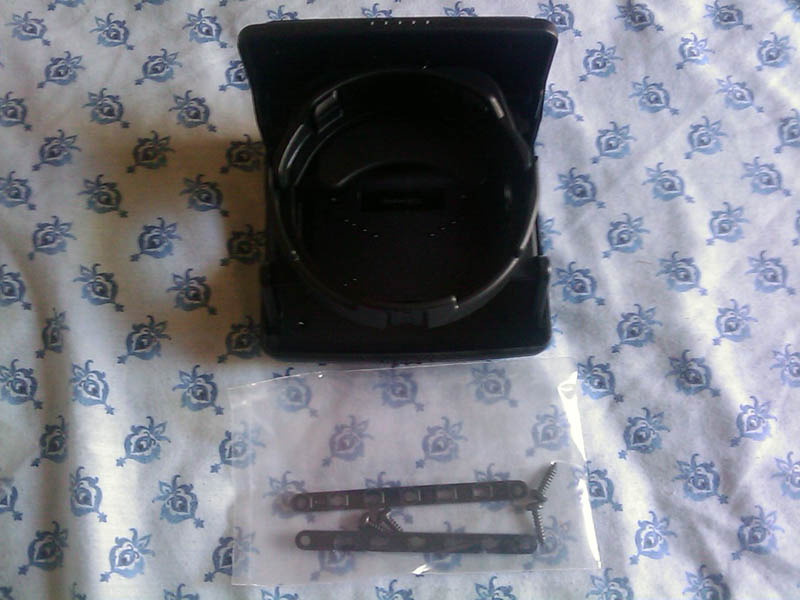 You can use the mounting hardware it comes with, or double sided tape. 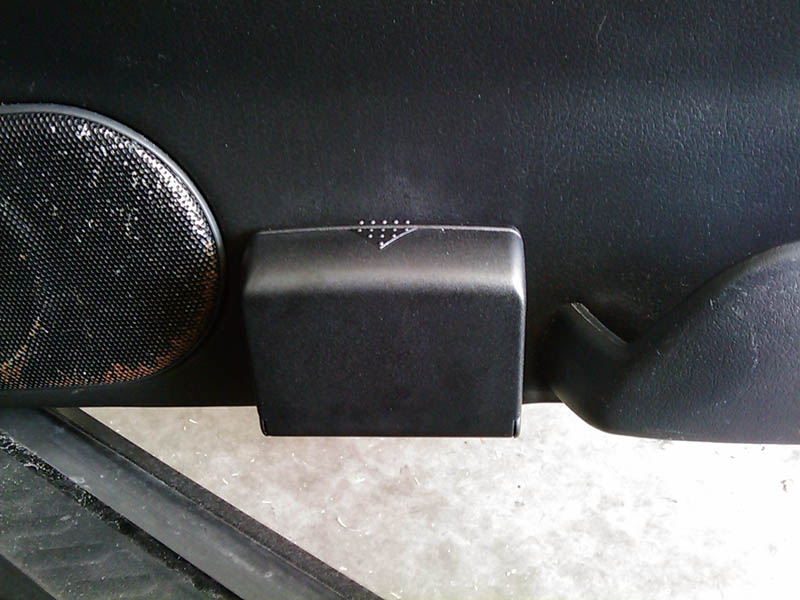 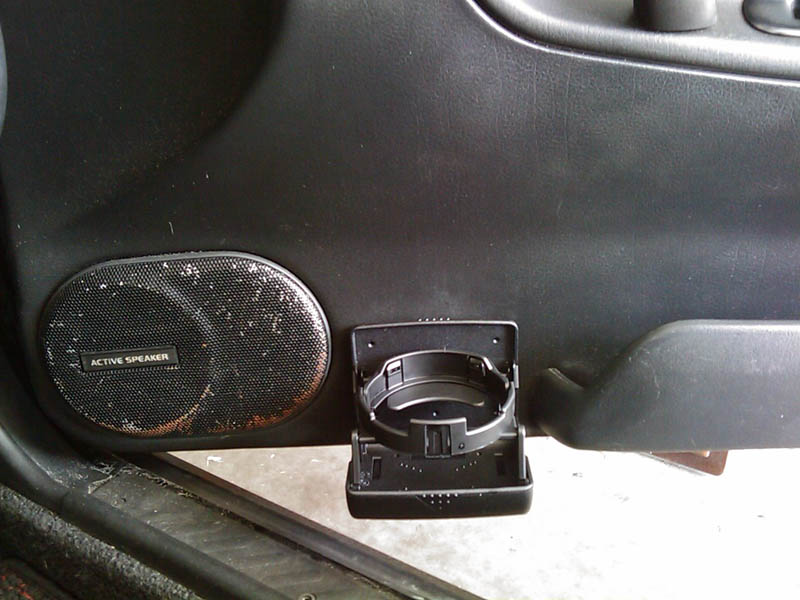 Yes I know the speaker cover is nasty, I have a mint conditioned replacement and I'll get to it when I tear my interior apart.  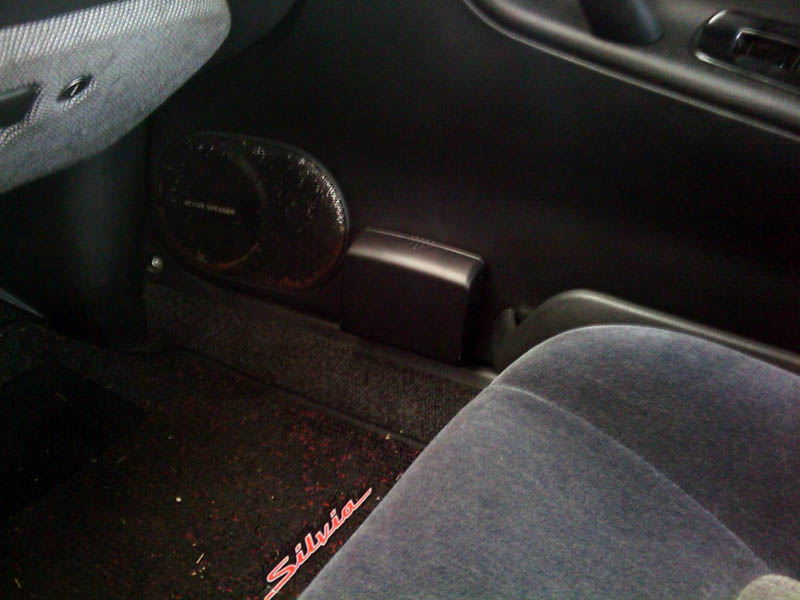 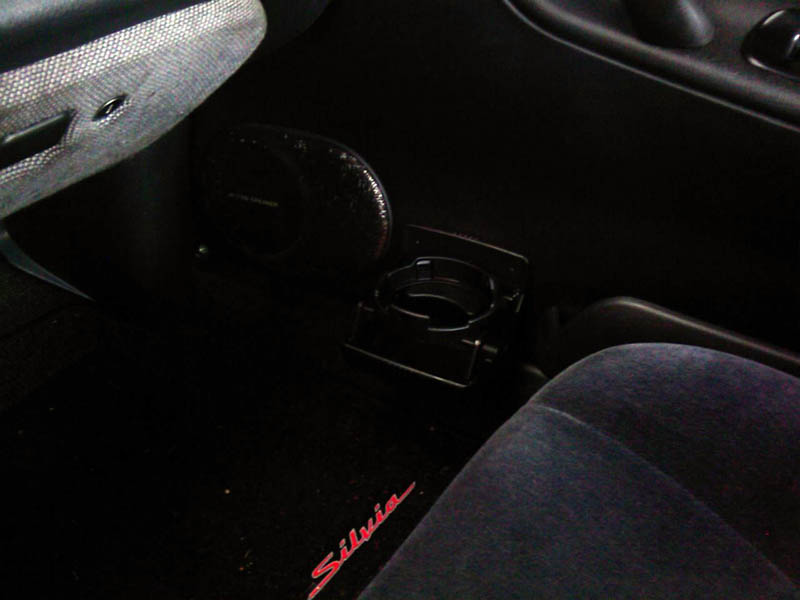 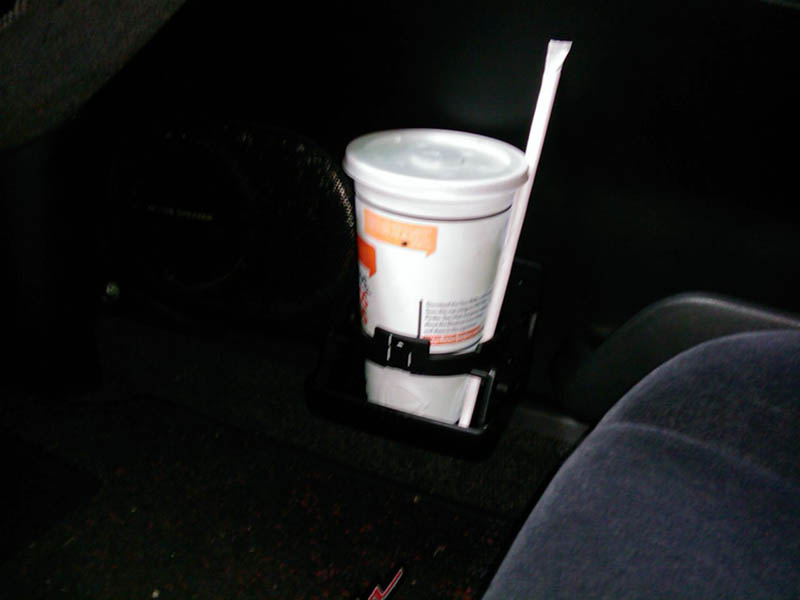 Baha Blast Mountain Dew! Cup holder held on tight like a champion. Supposedly it can hold up to 16lbs so this thing is built very well. I would recommend anyone with an S13 with power window door panels to buy at least one. You could also put one on the driver side but my legs tend to occupy that area at times.
__________________

|
|
|

|
|
|
#85 |
|
Nissanaholic!
 |
nice......
|
|
|

|
|
|
#86 |
|
Post Whore!
 |
Finally installed a DIF fan controller for my Altima fans. Originally I had my stock A/C switch to trigger the fans via relay, but I noticed a bit of over-cooling due to the fact that my idle would start to rise to around 900-1000rpm.
I began installing the controller just how it says on the instructions but I soon noticed a little note at the bottom of the page... 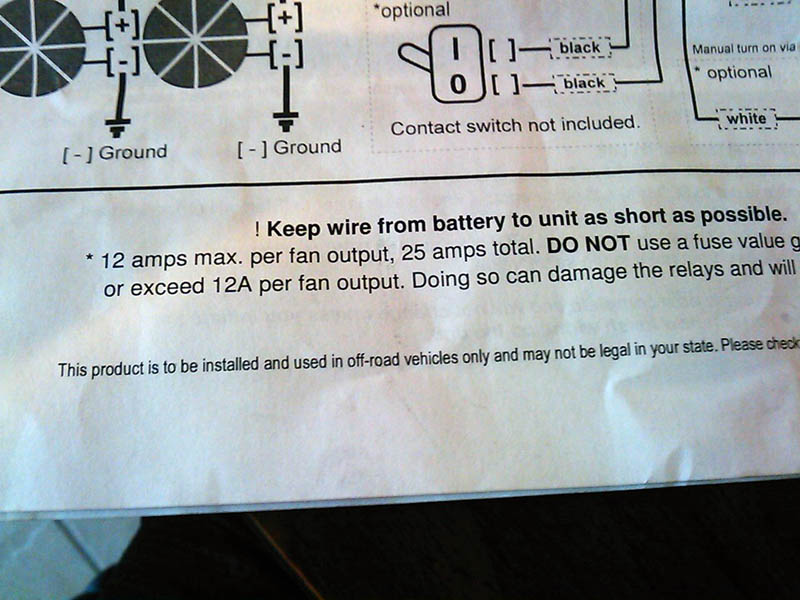 I'm not sure how many amps the Altima fans pull at high speed, but I have a good feeling its more than 12A. So I decided to use the fan output as a trigger to a set of 30A Bosch relays. 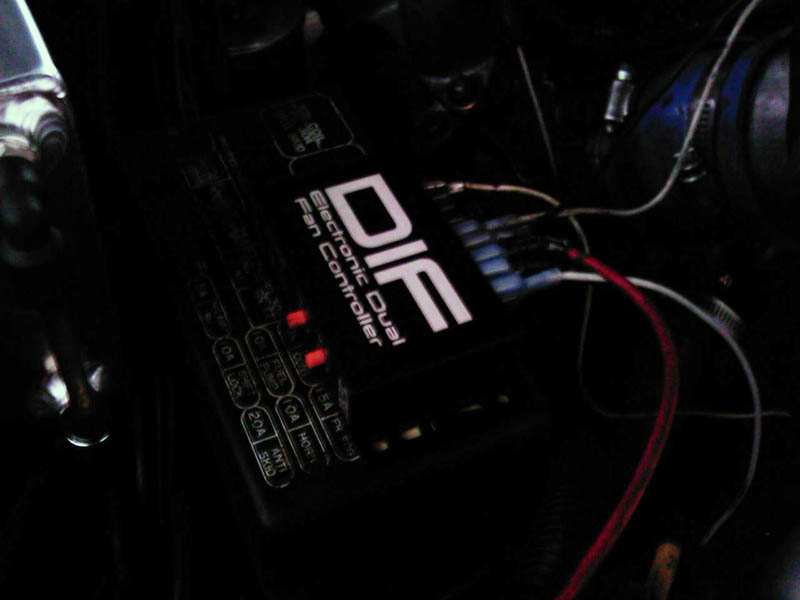 All hooked up, set the temp to kick on at 182F. 
__________________

Last edited by KiLLeR2001; 04-13-2012 at 08:15 AM.. |
|
|

|
|
|
#89 |
|
Post Whore!
 |
So I've come to the conclusion that my car is a bitch. Throughout the years I've noticed how even the smallest of tasks end up turning into annoying problems. Despite her constant bitch status, she has only left me stranded once in over 5 years... (and that was my fault for ignoring a bad alternator for too long).
Initially I had planned to do the battery relocate + Nissan Quest alternator upgrade at the same time. But the latter would not happen. ** cody if you're reading this 3/8" drill bit was too small for my SR alternator bolt, 7/16" is the correct size. ** I've read countless times on how to perform the alternator conversion and I bought codyace's kit. Drilled the holes out to 7/16" and figured I'd be good to go... Wrong. I go to mount the alternator up and everything appeared to line up perfect, but when I went to put the bolt through the bottom bracket, it would hit the back steel insert. No problem, just needs some persuasion... but I forgot, I'm dealing with my car. LOL. Needless to say, I tried 20 thousand different methods to try to get this bolt to go all the way through, no dice. The bolt goes through fine outside of the car, but when I apply it to the car's bracket, the bolt doesnt go through!  So I took it out and decided the steel insert wasn't drilled perfectly so I popped my SR alternator insert out and put it in the Quest alternator. Go to put it back on the car, same problem! I couldn't believe it. Over 2 hours spent trying to get this damn bottom bolt through trying different methods. The end result: I'm back to using my SR alternator (which has nothing wrong with it). But! The good part of this story is I relocated my brand new Optima Yellow Top to the back. All I have to say is WOW, what a difference. My car starts right up, and my headlights must be at least 3x brighter than they use to be on the old battery. I'm never using a dinky ass battery again. Now onto some pictures... 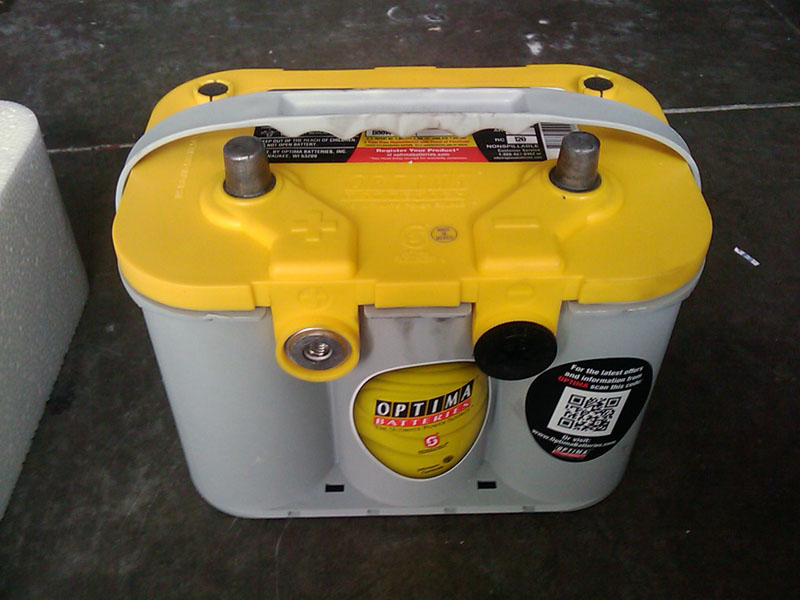 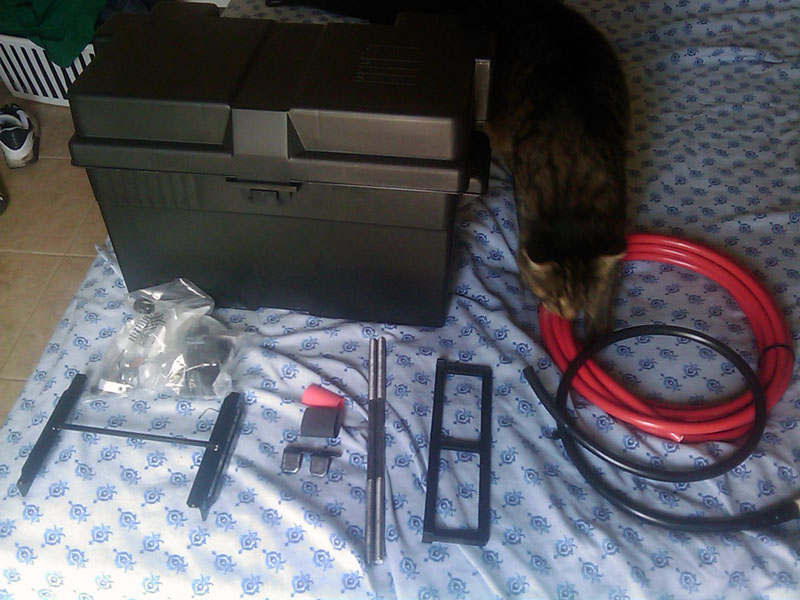 I bought the JEGS battery relocation kit, came with all the supplies I needed to do a relocation. I ended up cutting it up and making it smaller because the Optima was nowhere near the size of this box. 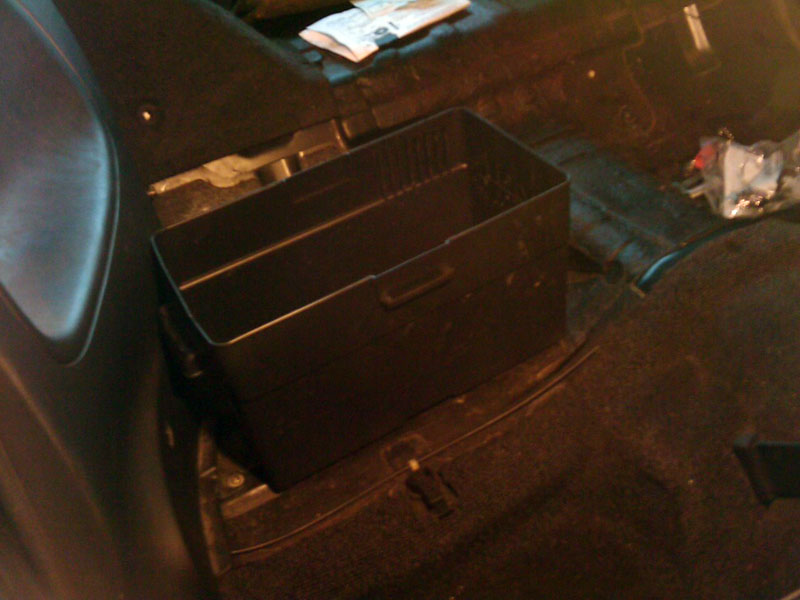 Here's the location I placed it at. Behind the passenger, this was before I did anything to it, I just placed it there to show where it resides. For the most part I was just preparing all the connections with proper linkage so I could bolt it all together. Since I thought I would be using the Quest alternator I saw that the bolt thread was a bit larger in diameter than the stock SR alternator cable end... 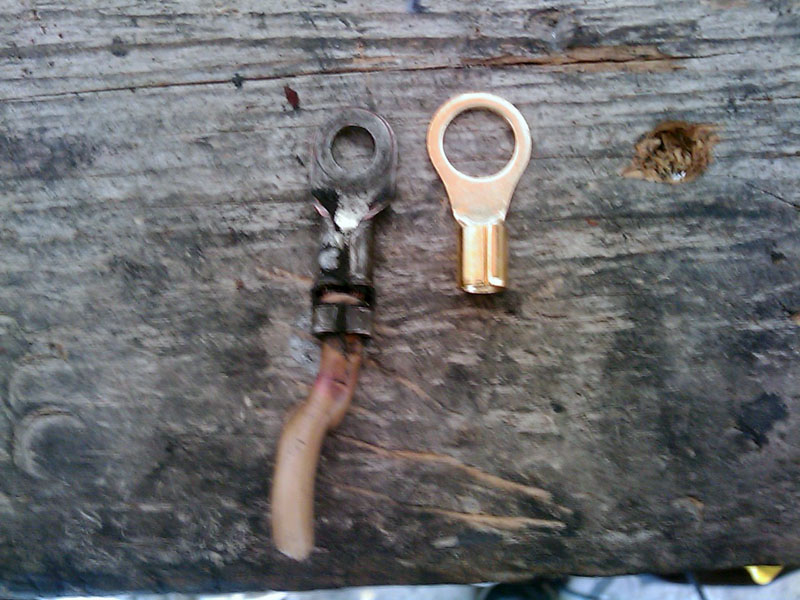 So I had to use these 8-10AWG circle terminal thingies. 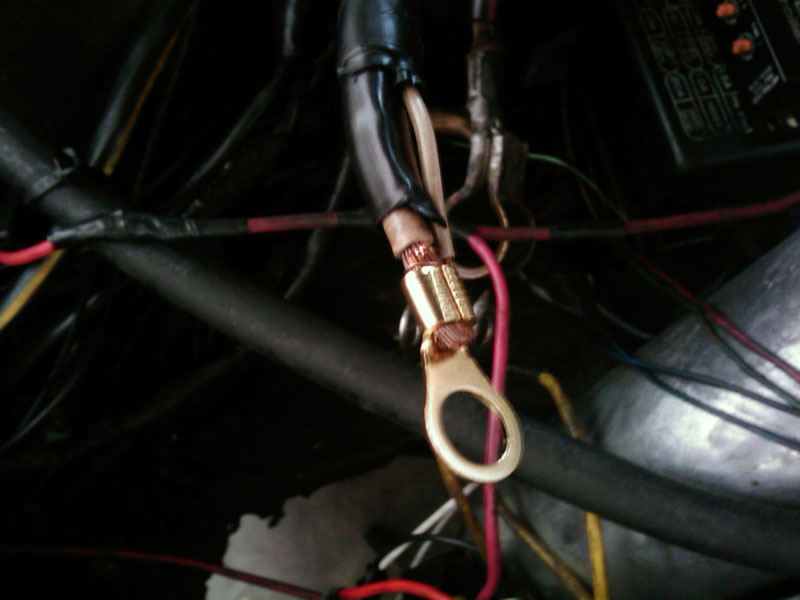 Crimped and ready to go, like a baus. Now its a good thing I was using my brain at certain points during the installation because the main reason why I didn't want to relocate the battery to the far back was in fear of drilling into the tank. So at my location, I was sure to be safe from this. Not quite. Before drilling I measured where underneath my car I would need to place holes, and sure enough, two of them were directly in the fuel lines / brake line track. LOL. So I was glad I caught this because I would have been PISSED if I get out of my car to a puddle of gas and brake fluid mixture... 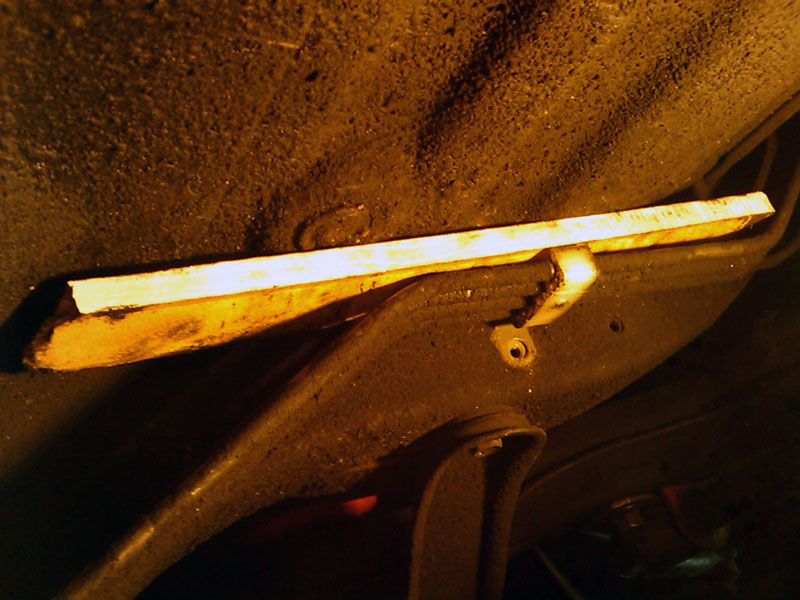 Here's a little piece of wood to prevent me from doing something dumb. After getting everything mounted all that was left was to route the positive cable to the front. I went under the carpet and up to the ECU harness plug in the firewall. Initially I was going to drill a hole through it but I was way too paranoid that I would tear into all the wires there... So I did the ghetto half ass job and cut up a chunk of the plug big enough for the cable to fit through... 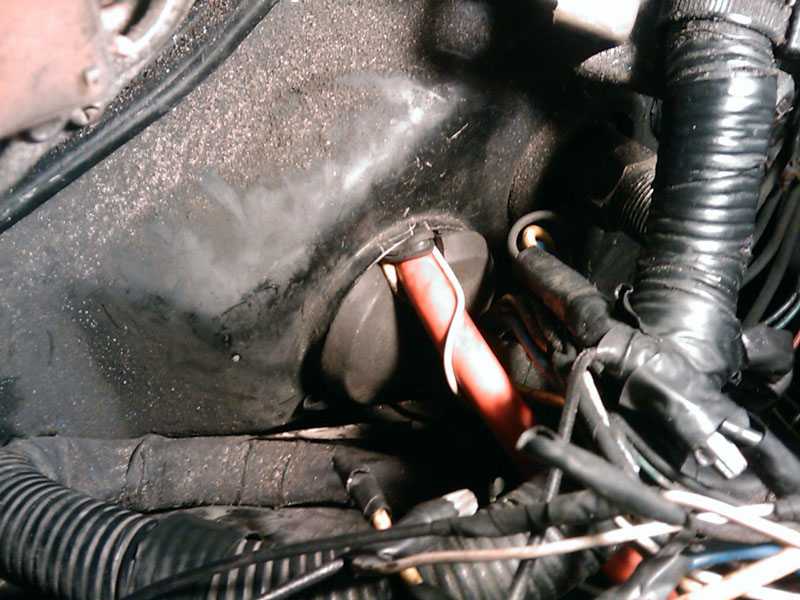 Oh yeah and for extra safety I wedged a rubber grommet on top of it so it wouldn't rub against the metal.  Here's a picture of drilling into the Quest alternator... 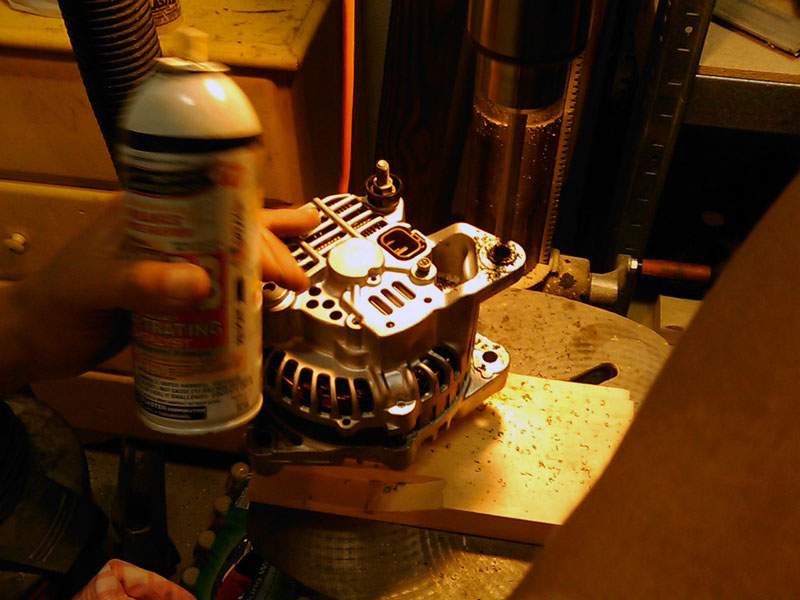 Honestly, I think the front hole is not centered correctly to begin with. I think I may try using a 1/2" drill bit and boring it out more. But as of right now I'm going to hold off on the Quest unit until my SR alternator starts to go... We shall see... 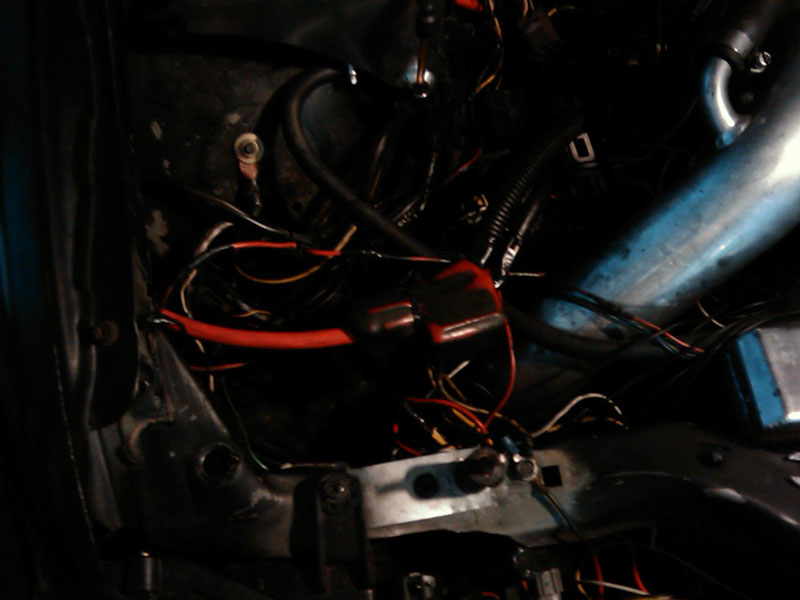 Everything all connected. Yes I know I have wires going everywhere. It may look like a disaster but its a very controlled disaster LOL... I'm planning on cleaning up all the wiring when I strip the engine bay down for paint (which means everything is getting removed) but that won't be for awhile. Sorry for the long post but thats what happens when you do 22 hours of car work and only get 2 hours of sleep.  edit: And the finished product... 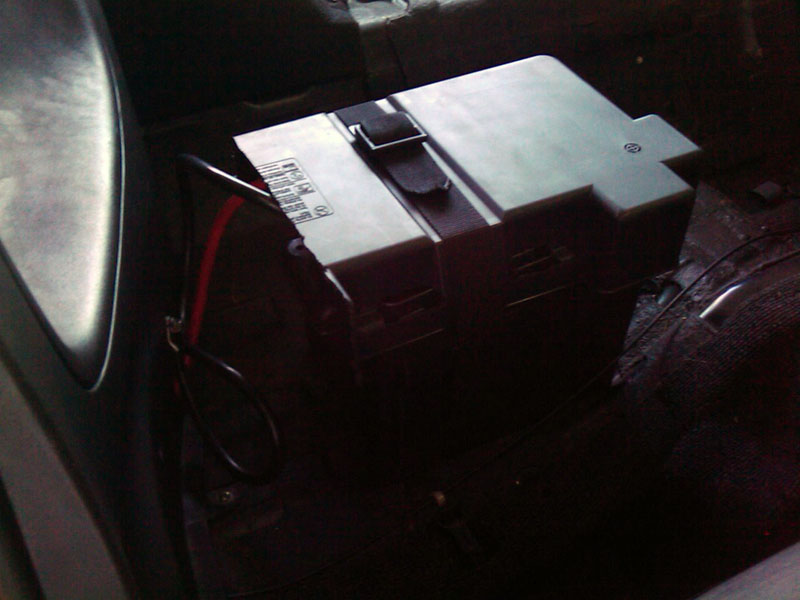 As you can see I used one of the backseat bolt holes to ground to chassis. The positive cable goes behind that rear body panel and then down the side underneath the carpet to the ECU area and up to the firewall. edit2: Cut a slot into the carpeting so I could lay it down over the mounts and then the battery on top of that for a little bit more cleaner look, even though the battery box isn't too visually appealing lol... 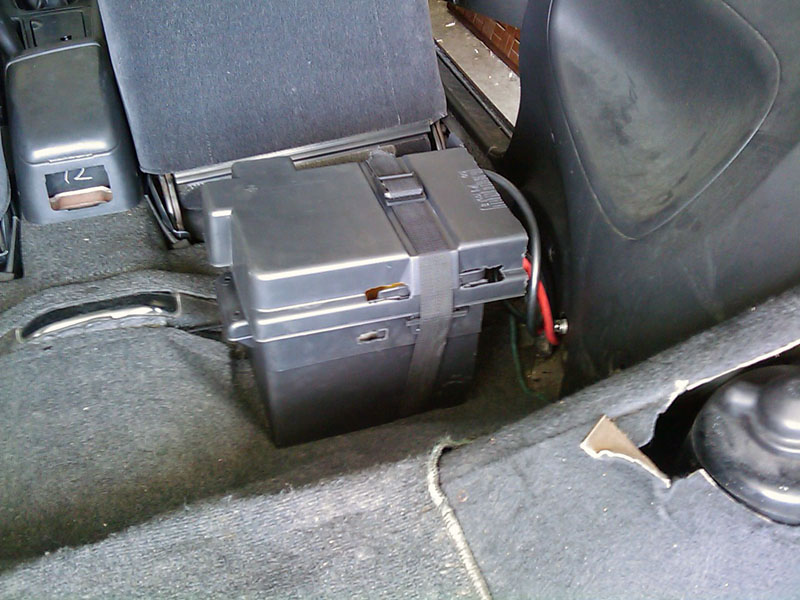 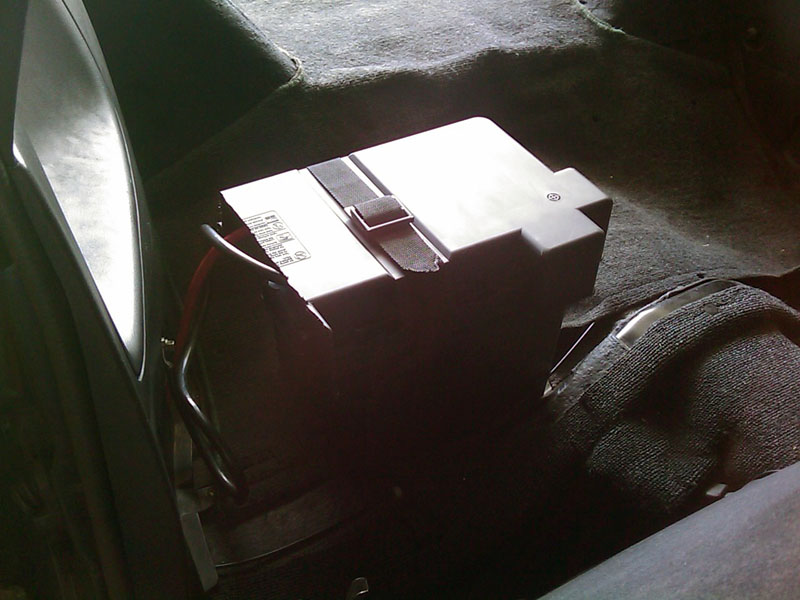
__________________

Last edited by KiLLeR2001; 05-09-2012 at 11:03 AM.. |
|
|

|
 |
| Bookmarks |
| Thread Tools | |
| Display Modes | |
|
|