
 |
|
|||||||
| Home | Rules & Guidelines | Register | Member Rides | FAQ | Members List | Social Groups | Calendar | Mark Forums Read |
| Builds (and builds only) Got a build thread? It goes here, build threads anywhere else on the forum will be locked and never moved. |
 |
|
|
Thread Tools | Display Modes |
|
|
#1 |
|
Zilvia Junkie
 |
Figured I'd start a build thread since this is really happening. Going from SR20 to VH45, and I want to document this journey as well as share it with you guys!
I'm a little late to the party, so there's not much to see so far. But, I will start from where I'm at right now. Last night I pulled my SR20 out of the S13 and now it's chassis prep time. 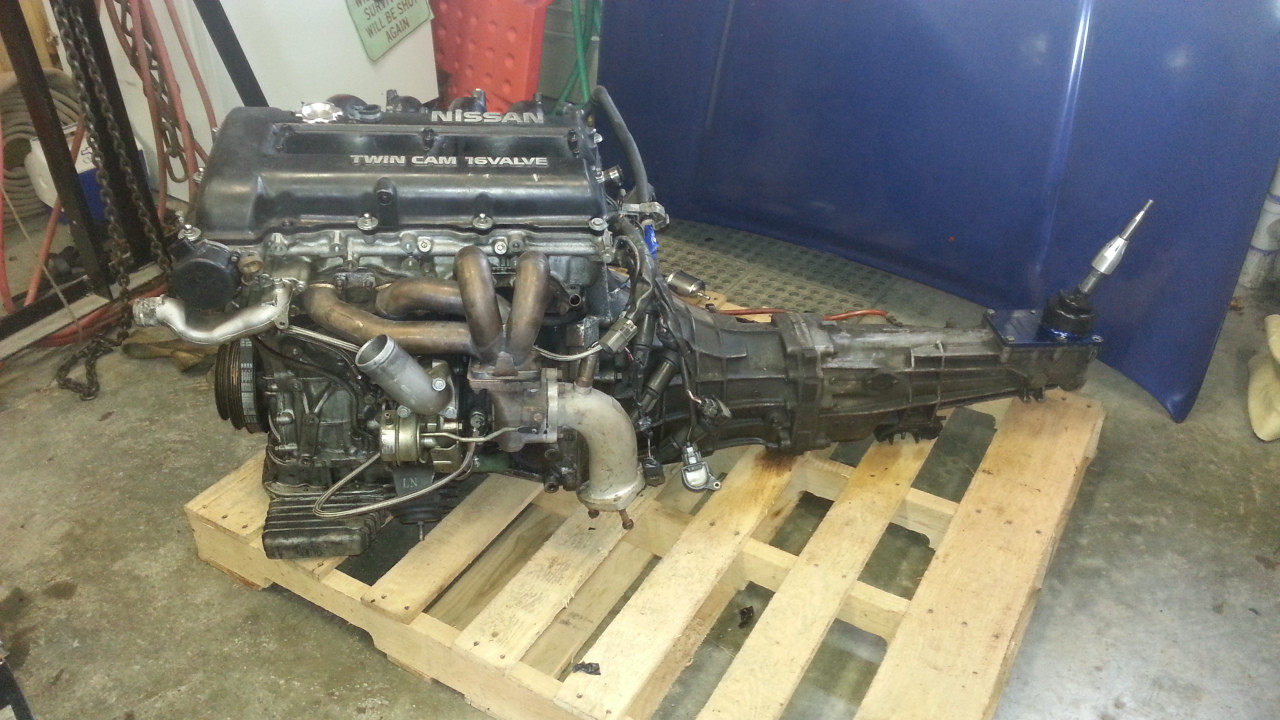 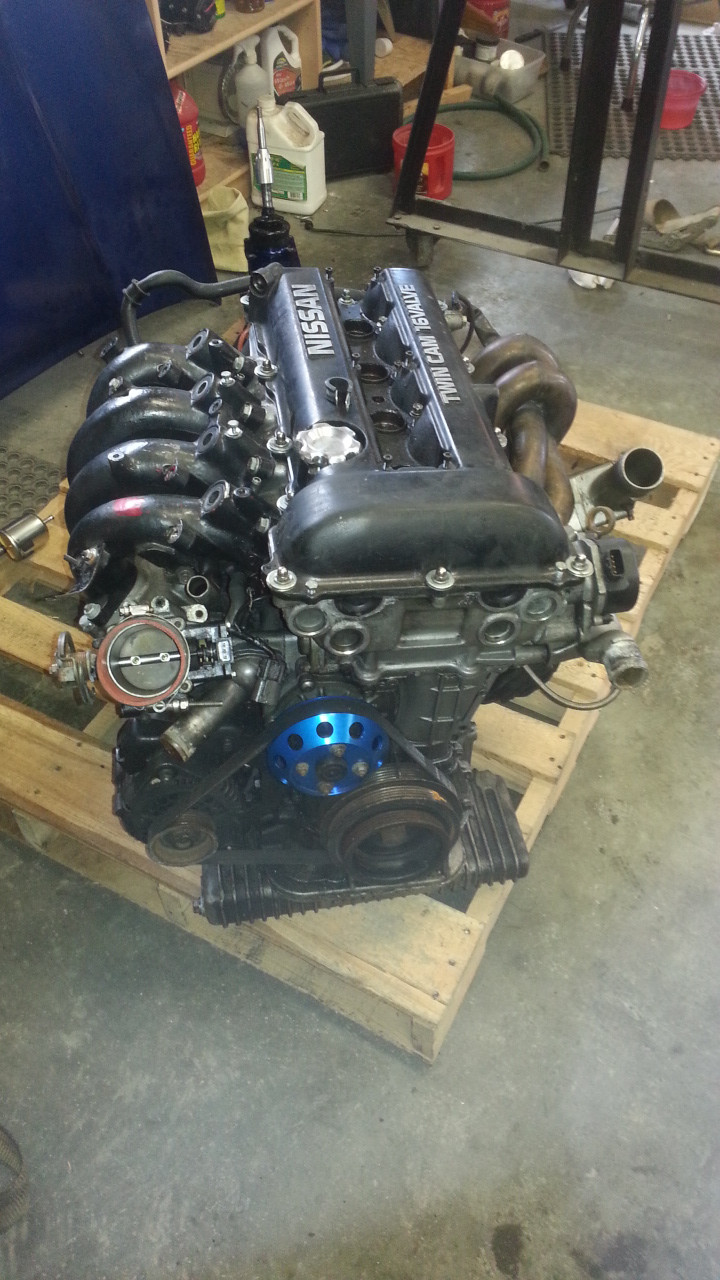 Here's the SR. Pulled it with a friend, decided to take SR and tranny out at the same time because its so much easier. 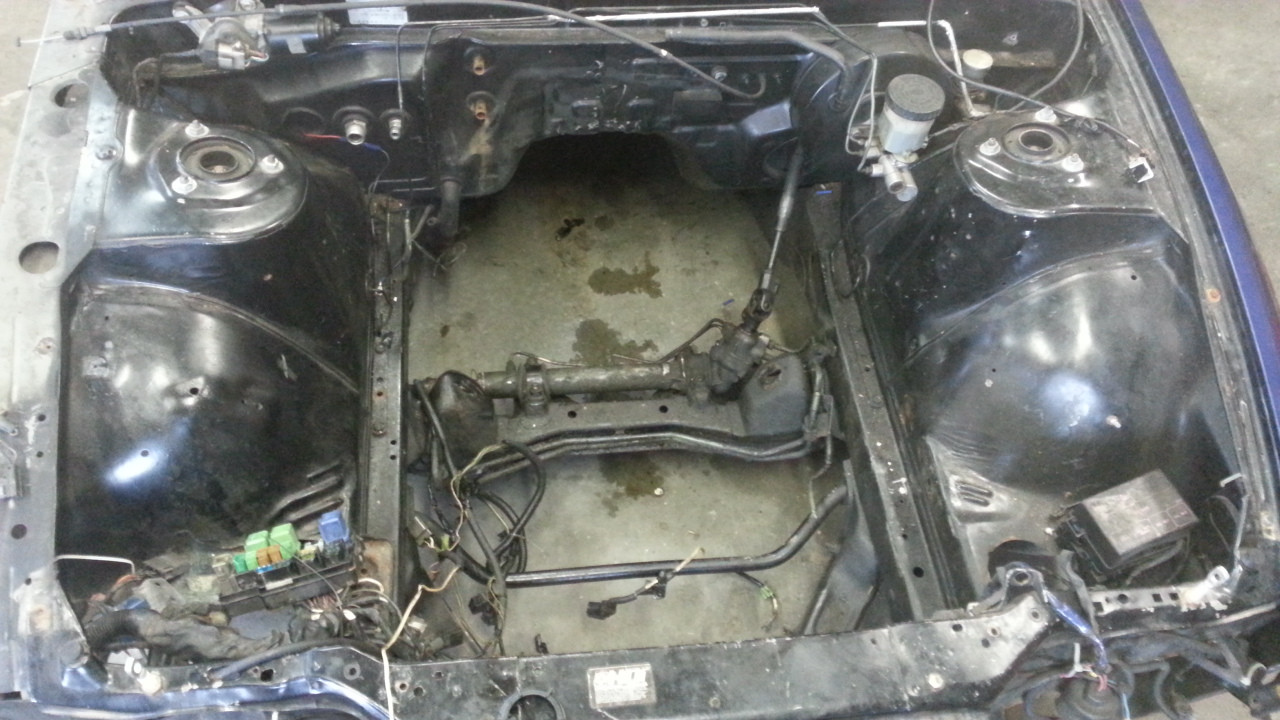 And the ugly engine bay! 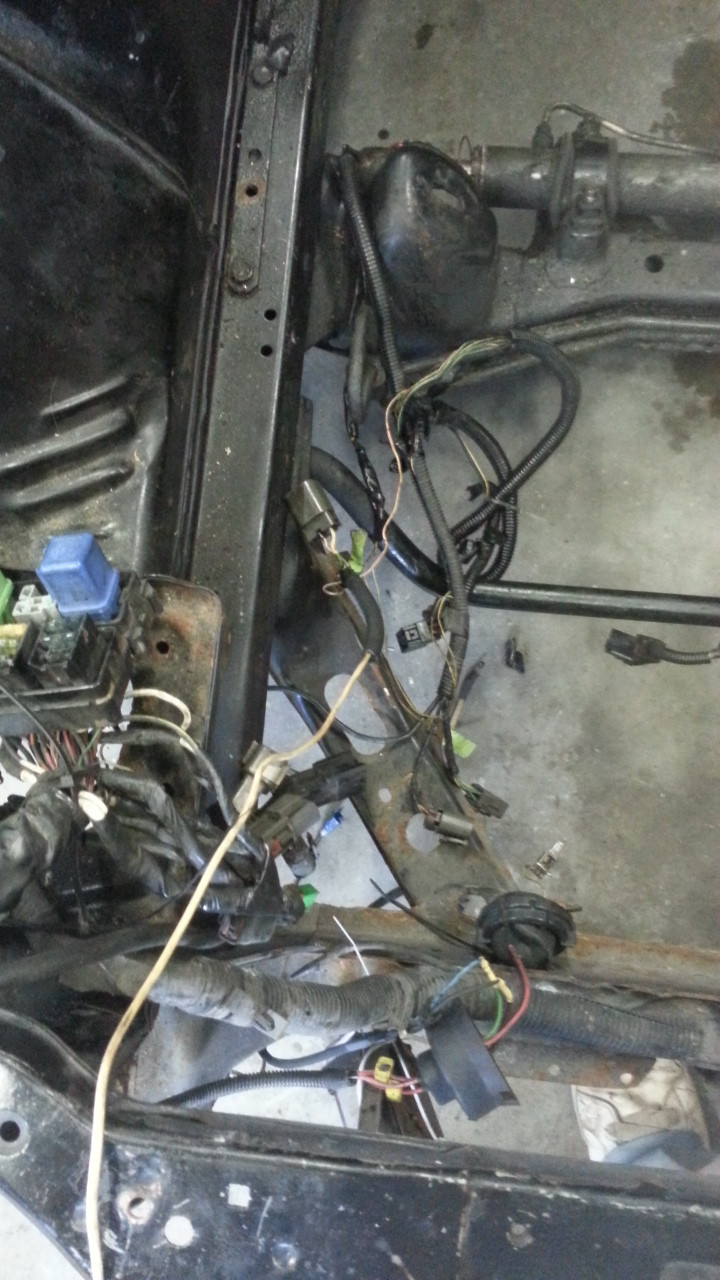 Going to be cleaning up a wiring clusterfuck, 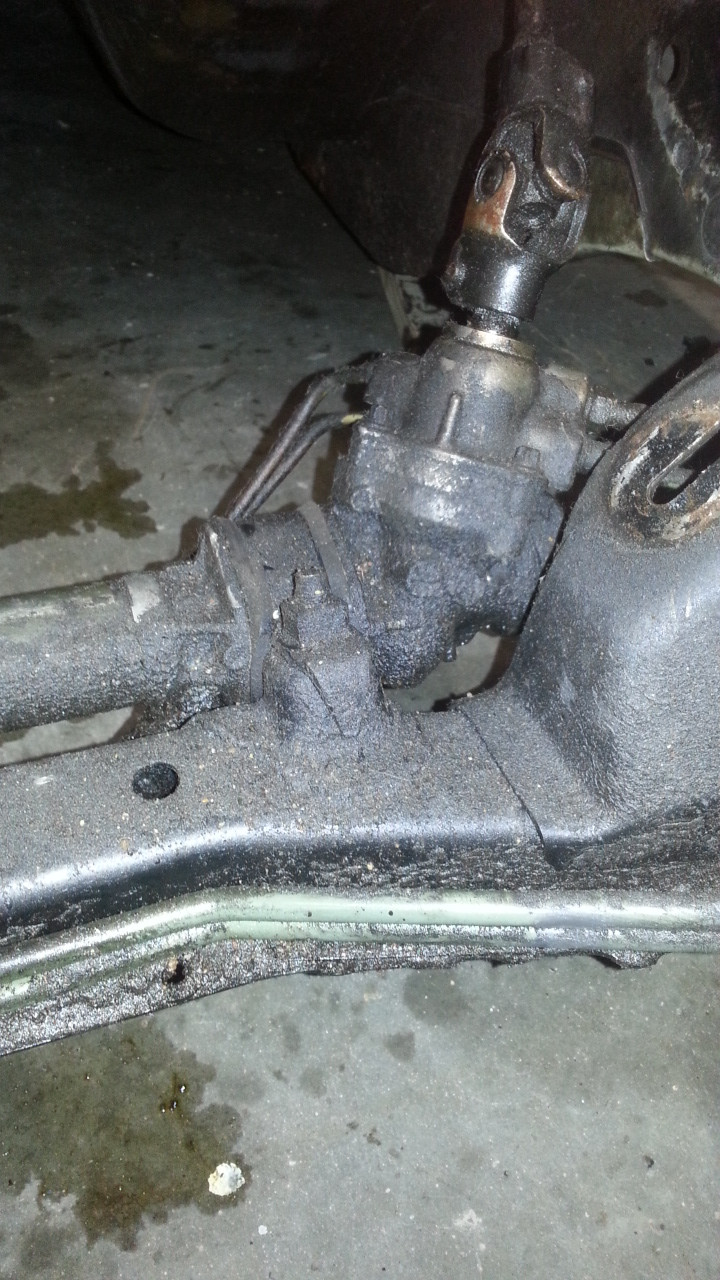 as well as a ton of disgusting grease. I'll be working on this thing pretty much every day so I'll keep updating this regularly. I'll post more tonight after my battle with grease and wiring.  |
|
|

|
| Sponsored Links |
|
|
#2 |
|
Zilvia Junkie
 |
Alright so quick update, I powerwashed my engine bay, here are some pictures!
  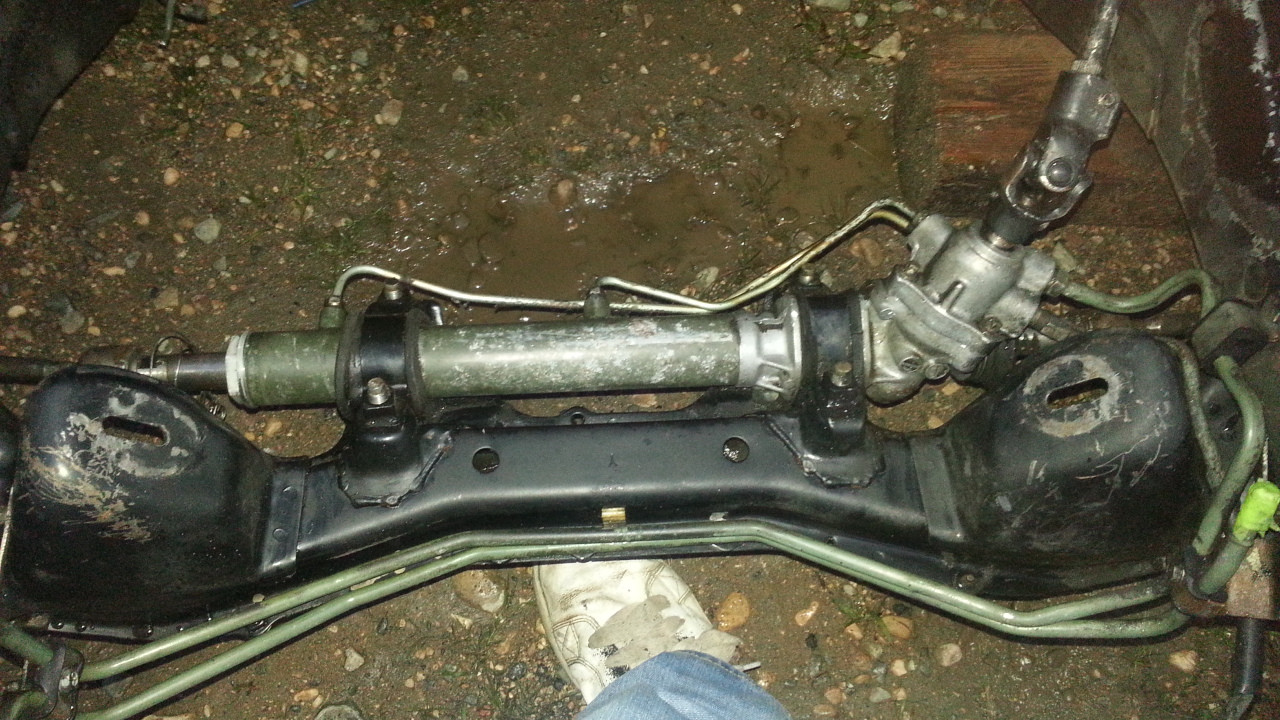 Pretty big difference. Still debating on whether or not I should tub my fenders. Also, thinking about solid steering rack bushings to replace those big rubber ones. Have yet to find a serious buyer for the SR, Minnesotans/surrounding states let me know if you're interested! I think I'm going to start tucking the wiring harness in the next couple of days, will update with progress pictures! |
|
|

|
|
|
#4 |
|
Zilvia Junkie
 |
OK, so in the little bit of spare time I've had to work on this, all I've been doing for the past two days has been getting the damn Automatic Pilot Bushing out.
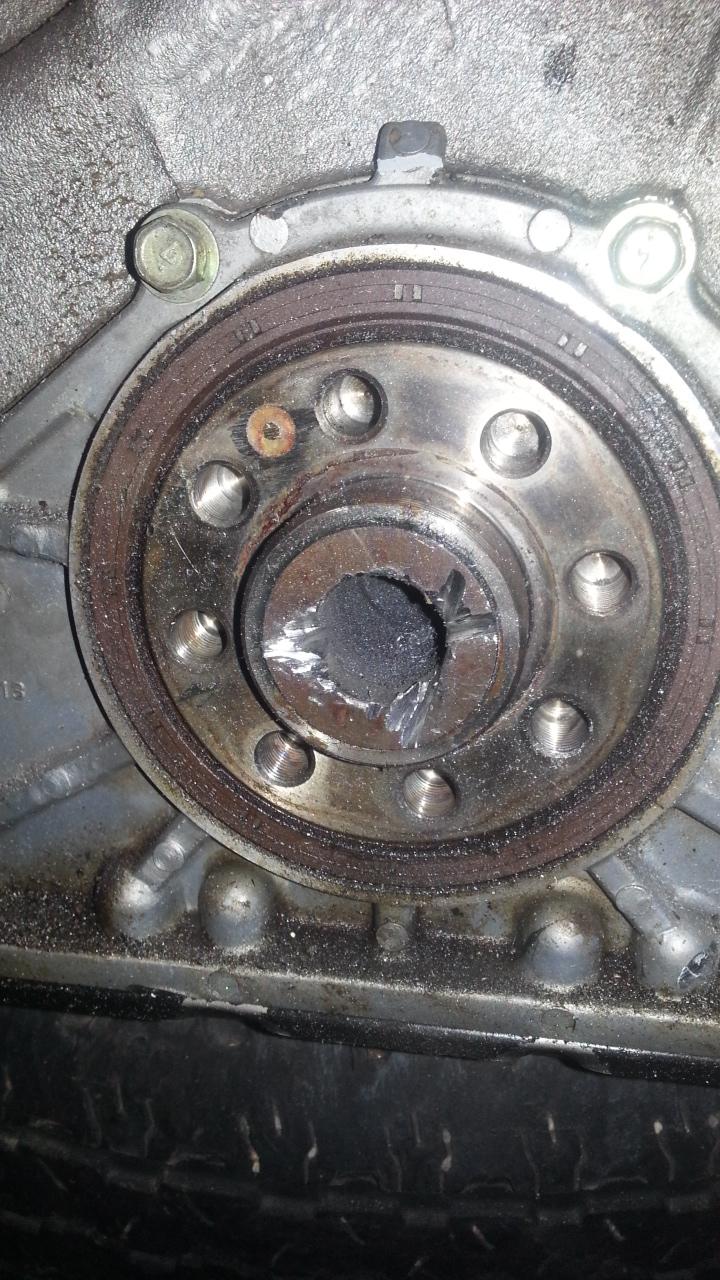  Ended up trying the grease trick, cutting it, welding a bolt on it, and finally a combination of hammering, chiseling and drilling got it out.  Unfortunately that's all I have right now. I've been really busy with work, and getting that bushing out took until right now (2:15am) so more tomorrow. Tomorrow is installing the VHVG Adapter and I'm not sure what else. I'll update after it's on. |
|
|

|
|
|
#7 |
|
Zilvia Junkie
 |
No, there's no Auto zone anywhere near me
Oh well. Thanks, yeah I'm super excited about it. Can't wait to get it put in the car! |
|
|

|
|
|
#8 |
|
Zilvia Junkie
 |
Changed my timing chain covers yesterday, the old ones were cracked. Cleaned 'em up a bit and slapped them on:
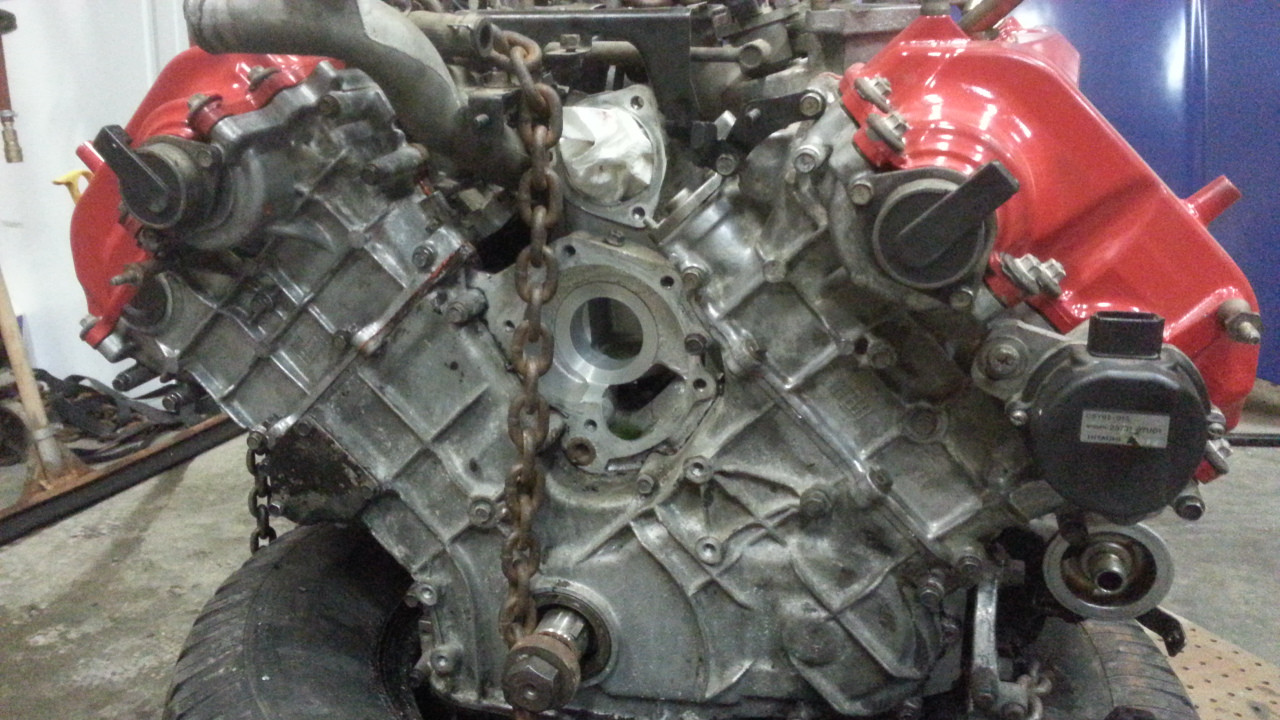 Sorry for the wide picture! Need a new thermostat, which I've now ordered. Thanks RockAuto! Think engine mounts are gonna get put on tonight. Also, I need to put the release bearing back on my transmission. Somehow it came off, don't know how to get it back on. Will report back later. Also, I've packed up my harness which is getting sent out tomorrow for a plug and play VH to S13 harness instead! |
|
|

|
|
|
#10 |
|
Zilvia Junkie
 |
Awesome, glad you're enjoying it! If there's anything specific you want to see, let me know.
Alright, engine mounts on. Xcessive was spot on with their machining! 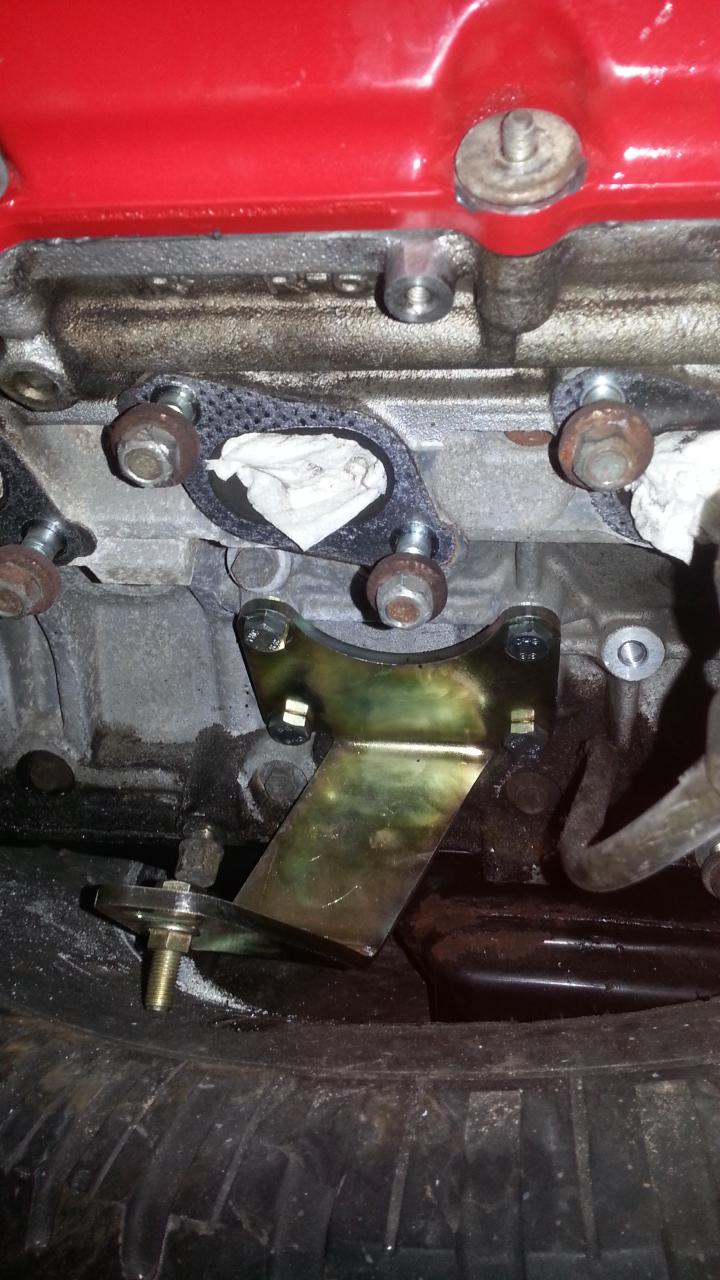 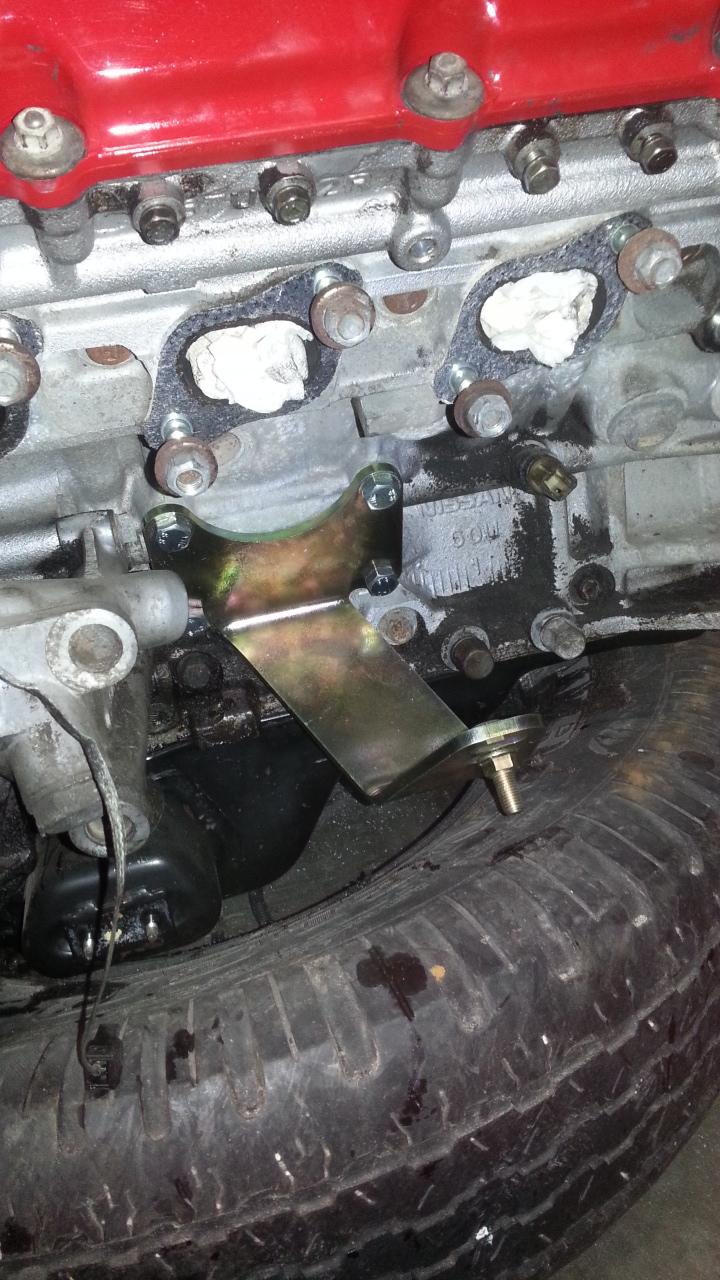 Also, I ordered a clutch and flywheel today!  Should be here next week sometime. Should be here next week sometime. Got a buddy doing the custom exhaust, going with custom headers into an X-Pipe, then just dual 3" straights out the back.  |
|
|

|
|
|
#13 |
|
Zilvia Junkie
 |
That's true, very nice!
Cleaned up the intake, gonna start on the crankcase ventilation and other excess hoses tonight after work. Before:  After: 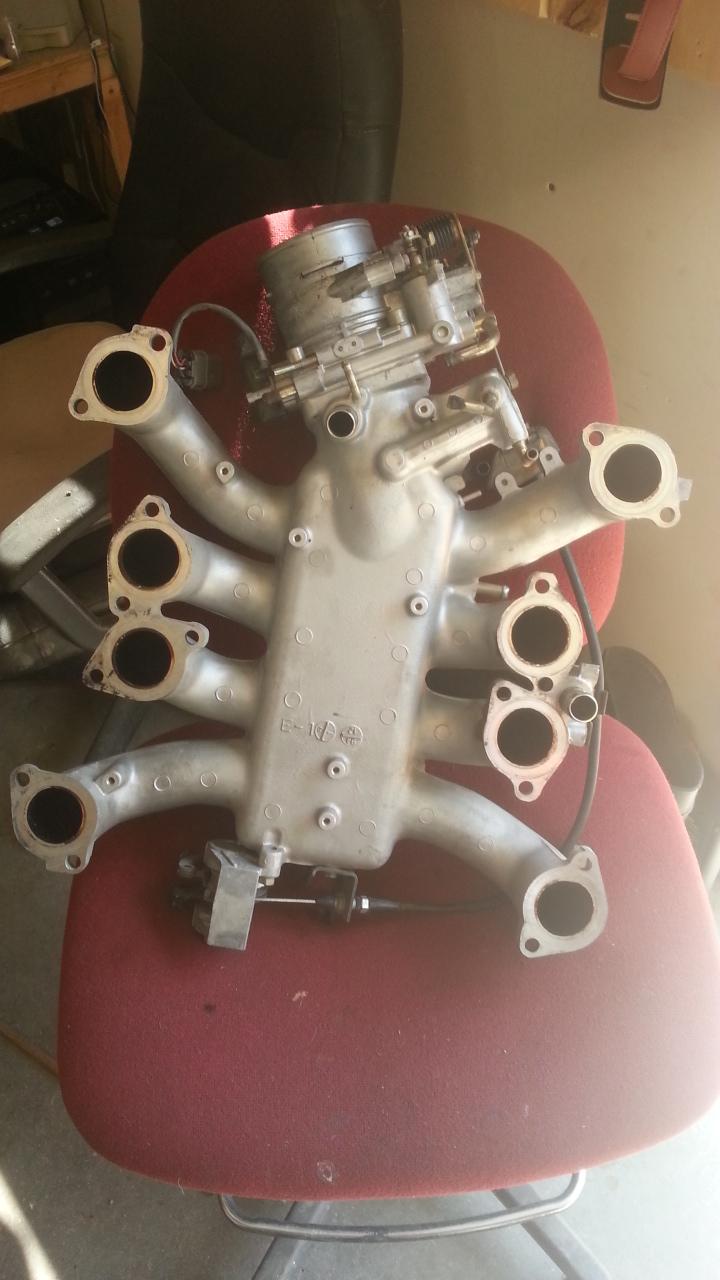 (P.S. I'd like to draw attention to the fact that the url for that image has "LS" and "VQ" in it lol) I'm going to be picking up all the rubber caps I'll need for the holes today. Test fit on the engine:  |
|
|

|
|
|
#16 |
|
Zilvia Junkie
 |
Minnesota represent!
Not for long though, moving to Florida next year after I've graduated  |
|
|

|
|
|
#17 |
|
Zilvia Junkie
 |
Sorry I haven't updated in a while, got some new parts though!
This came yesterday: 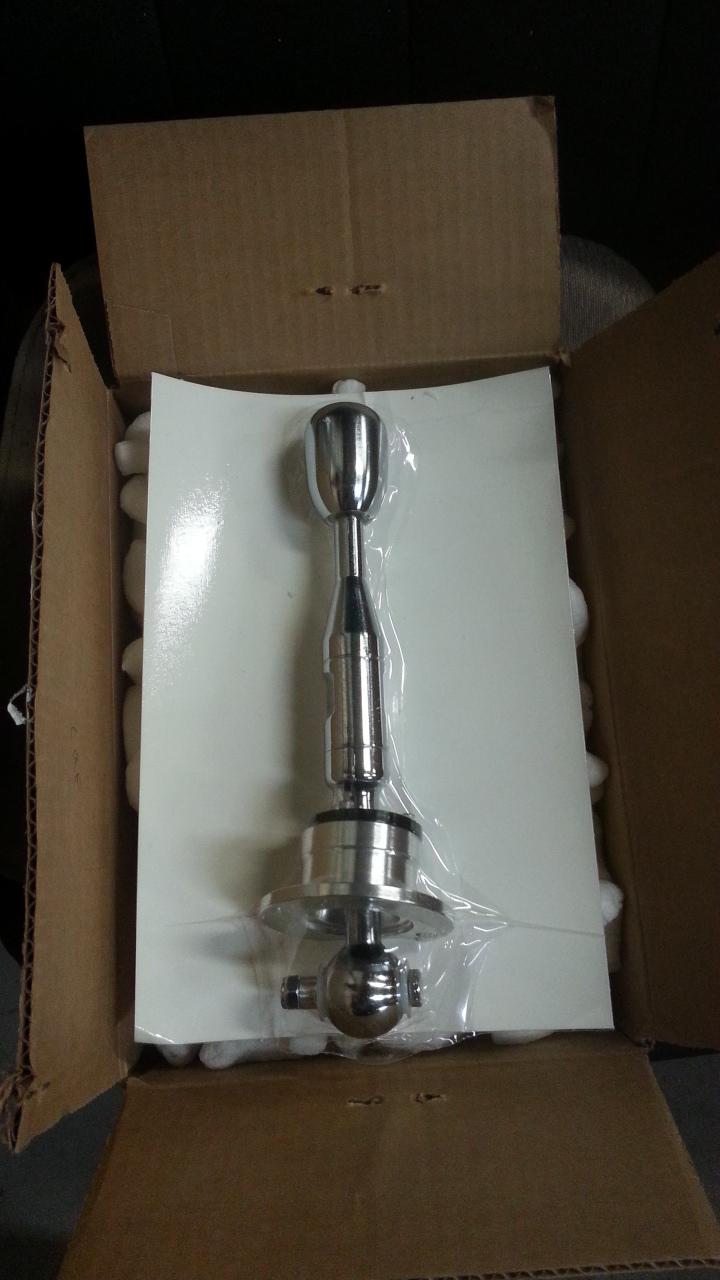  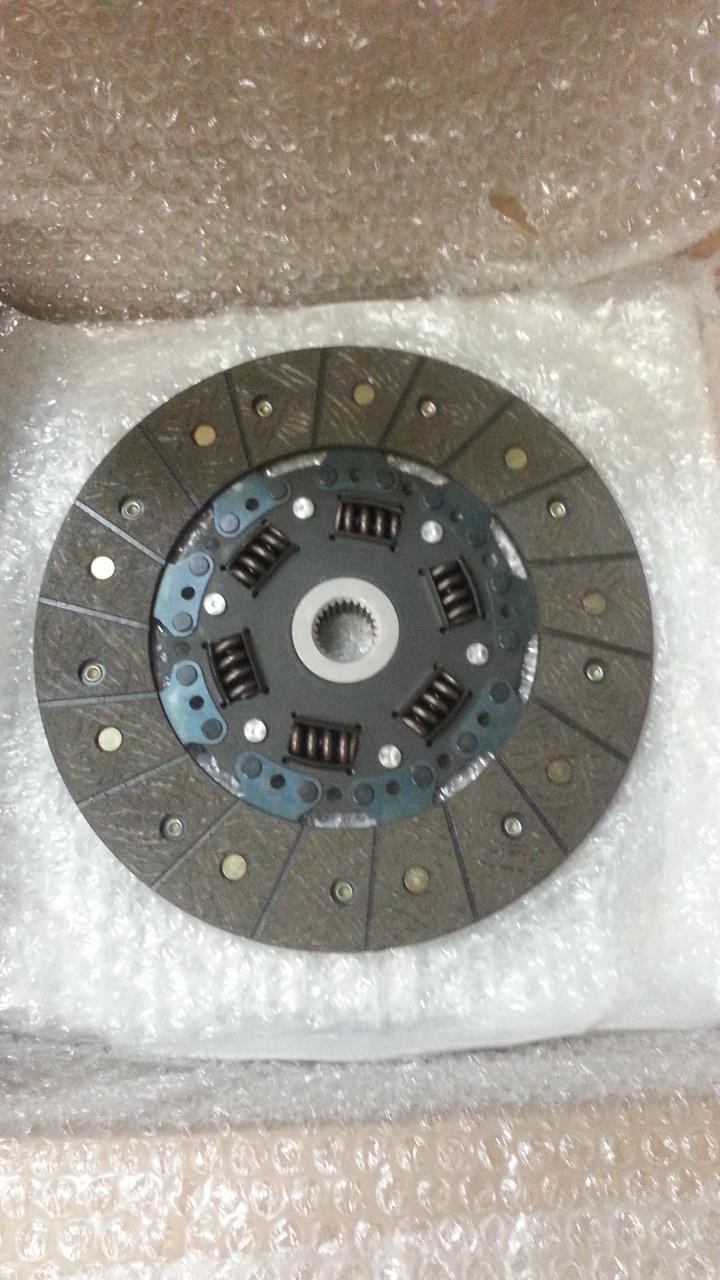 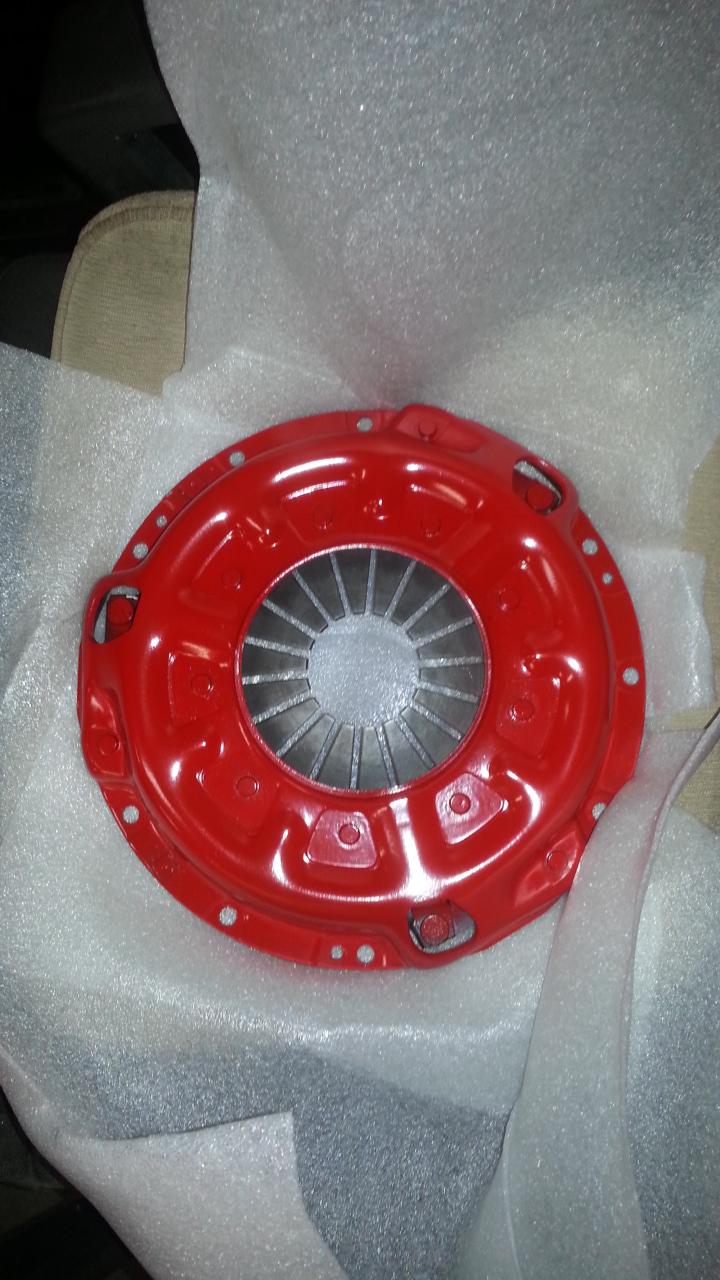 So I got the shifter on:  and the flywheel on too, but I forgot about pressure plate bolts, so this is how she sits until those come:  |
|
|

|
|
|
#20 |
|
Zilvia Junkie
 Join Date: Mar 2010
Location: Back IN FL, bring nice cars to the fail state!
Age: 40
Posts: 481
Trader Rating: (14)
 Feedback Score: 14 reviews
|
He doesn't need a reason. Maybe he woke up dropped a turd and decided his SR wasn't what he wanted anymore.
Looking good man. If you need any help with the wiring etc let me know, I have a few spread sheets/files made up that can really help out with doing it yourself and keeping everything contained in the stock fuse box versus adding additional relays etc. Mine was beast mode while it was running. Some tips I picked up when I did mine: a. You can also save some money on the headers by ordering them uncoated from mazworx and coating them yourself as they work with the xcessive kit. b. I also noticed that the balancer is not installed. You are going to need a huge torque wrench to set that thing correctly. The oil pump drive gear is driven by a sprocket that is sandwiched between the timing chain sprocket and balancer. Its not a keyed sprocket so the torque (~270ft lbs I think) is really important to make sure you dont have oil pump issues. c. Make up a debris shield for the lower half of the tranny and starter hole on the block. The clutch and flywheel will both be exposed to everything splashing up under the car. d. If you decide to run the MW headers you will need to grind down the steering shaft joint and top bolt head. Its close but it will clearance itself on the runner if you dont. |
|
|

|
|
|
#21 | ||
|
Zilvia Junkie
 |
Quote:
Quote:
I'm having a friend make me custom headers, which goes into the X-Pipe from the previous post, and then dual 3" straights out the back, and he's doing it for just the cost of the piping, which is awesome. Also, I've already had my wiring harness sent out to be wired up, but thanks anyway! The harmonic balancer is now installed, not completely tightened yet though. 270lb's?! That's crazy. I need to get a socket for it tomorrow, 1 & 3/16" I believe. Here's a crappy picture of it right now:  What should I make the debris shield out of? |
||
|
|

|
|
|
#22 |
|
Zilvia Junkie
 Join Date: Mar 2010
Location: Back IN FL, bring nice cars to the fail state!
Age: 40
Posts: 481
Trader Rating: (14)
 Feedback Score: 14 reviews
|
Yep check the FSM, EM page 10: 260-275 Ftlbs
http://www.nicoclub.com/FSM/Q45/1994_Q45/em.pdf I just made my covers out of some sheet metal that I powder coated and then black RTV'd to the bellhousing and block. |
|
|

|
|
|
#23 | ||
|
Zilvia FREAK!
 Join Date: Mar 2011
Location: Land of Purple Rain
Posts: 1,255
Trader Rating: (21)
        Feedback Score: 21 reviews
|
Quote:
Quote:
__________________
DLG - DIRTYLOVE |
||
|
|

|
|
|
#24 | |
|
Zilvia Junkie
 |
Quote:
Yeah, I hadn't heard of anyone else in Minnesota doing this swap. It's pretty rare! |
|
|
|

|
|
|
#25 |
|
Zilvia Junkie
 |
Finally got around to ordering some ARP pressure plate bolts. (Disregard the "for use on Hondas", it's the same thread pitch.)
 Got a power steering reservoir today, that was needed! 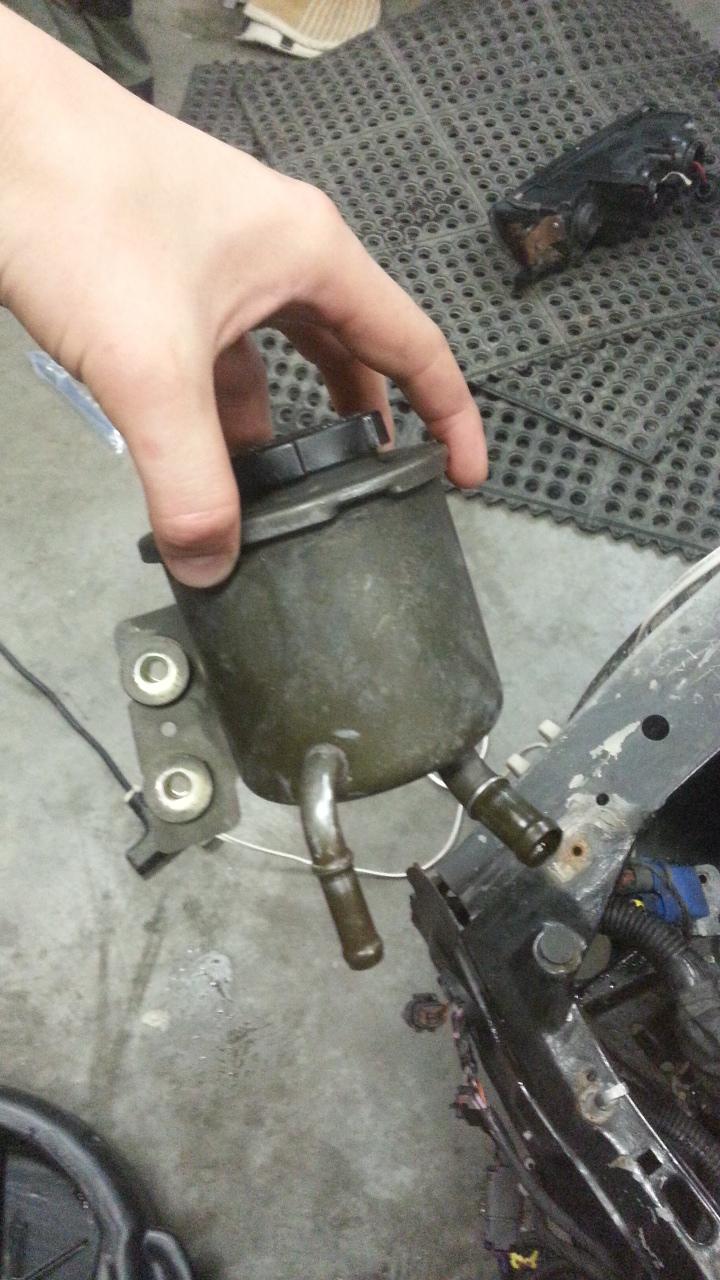 I also pushed the car into the shop today, gonna start working on some wire tucking and other small things.  |
|
|

|
|
|
#28 | |
|
Zilvia Junkie
 |
Quote:
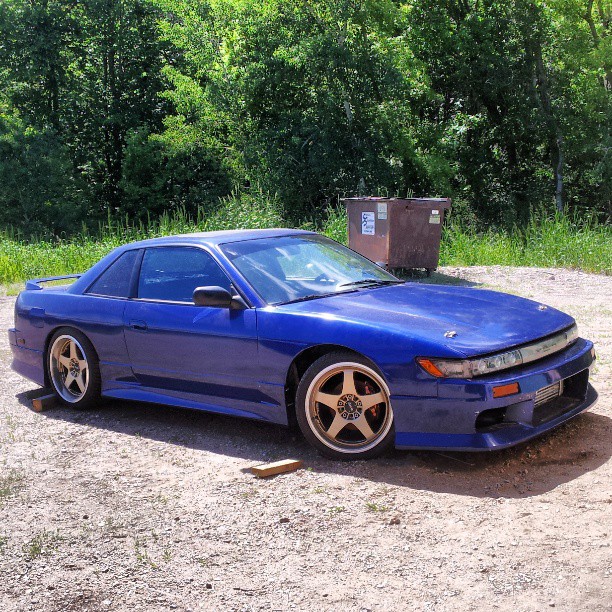 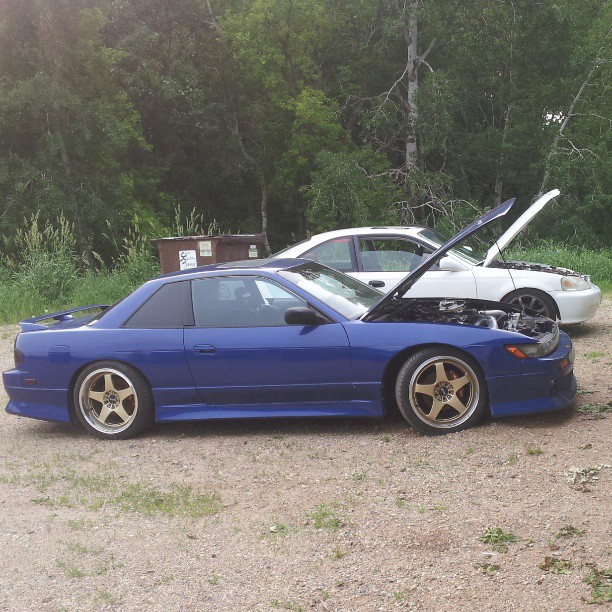 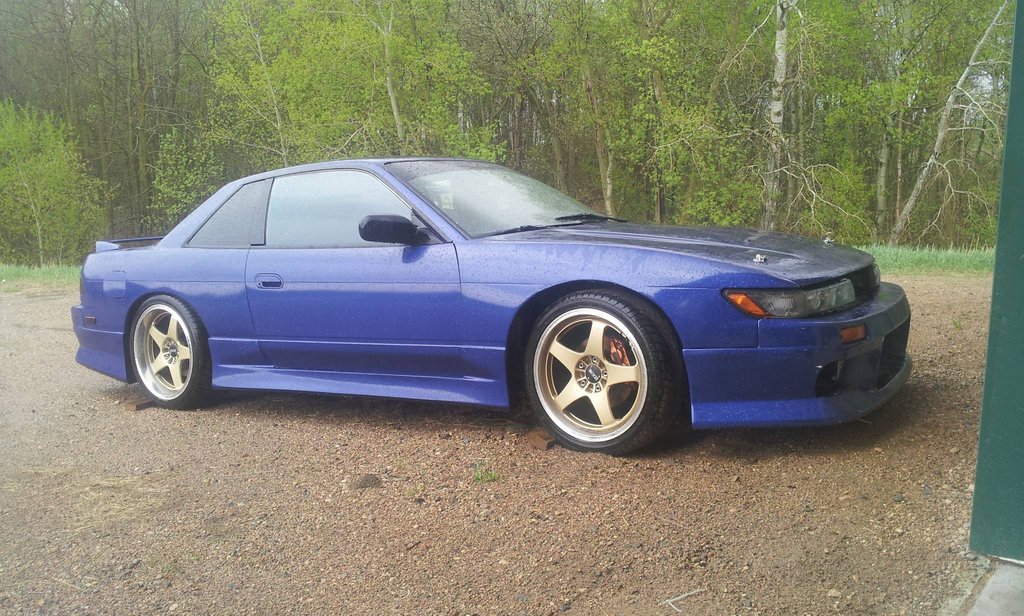 Also, I just got an email from the guy who's doing my wiring harness, he's done and sent a picture. I'm so excited! 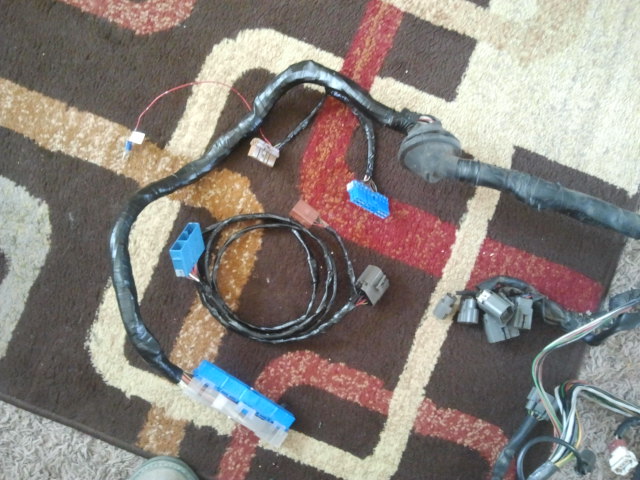 |
|
|
|

|
|
|
#30 | |
|
Zilvia Junkie
 |
Quote:
Update! Got the clutch and pressure plate on: 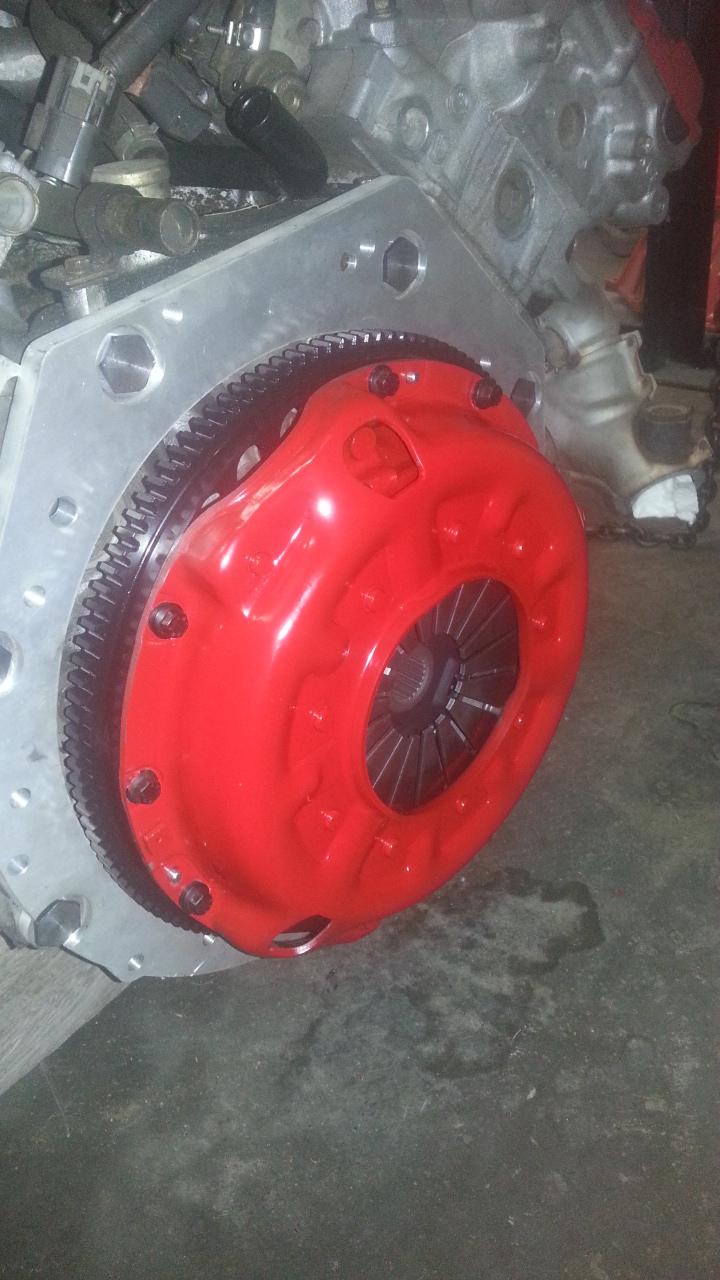 Should be ready to slap the tranny on the engine and try out a test fit in the car one of these days. |
|
|
|

|
 |
| Bookmarks |
| Thread Tools | |
| Display Modes | |
|
|