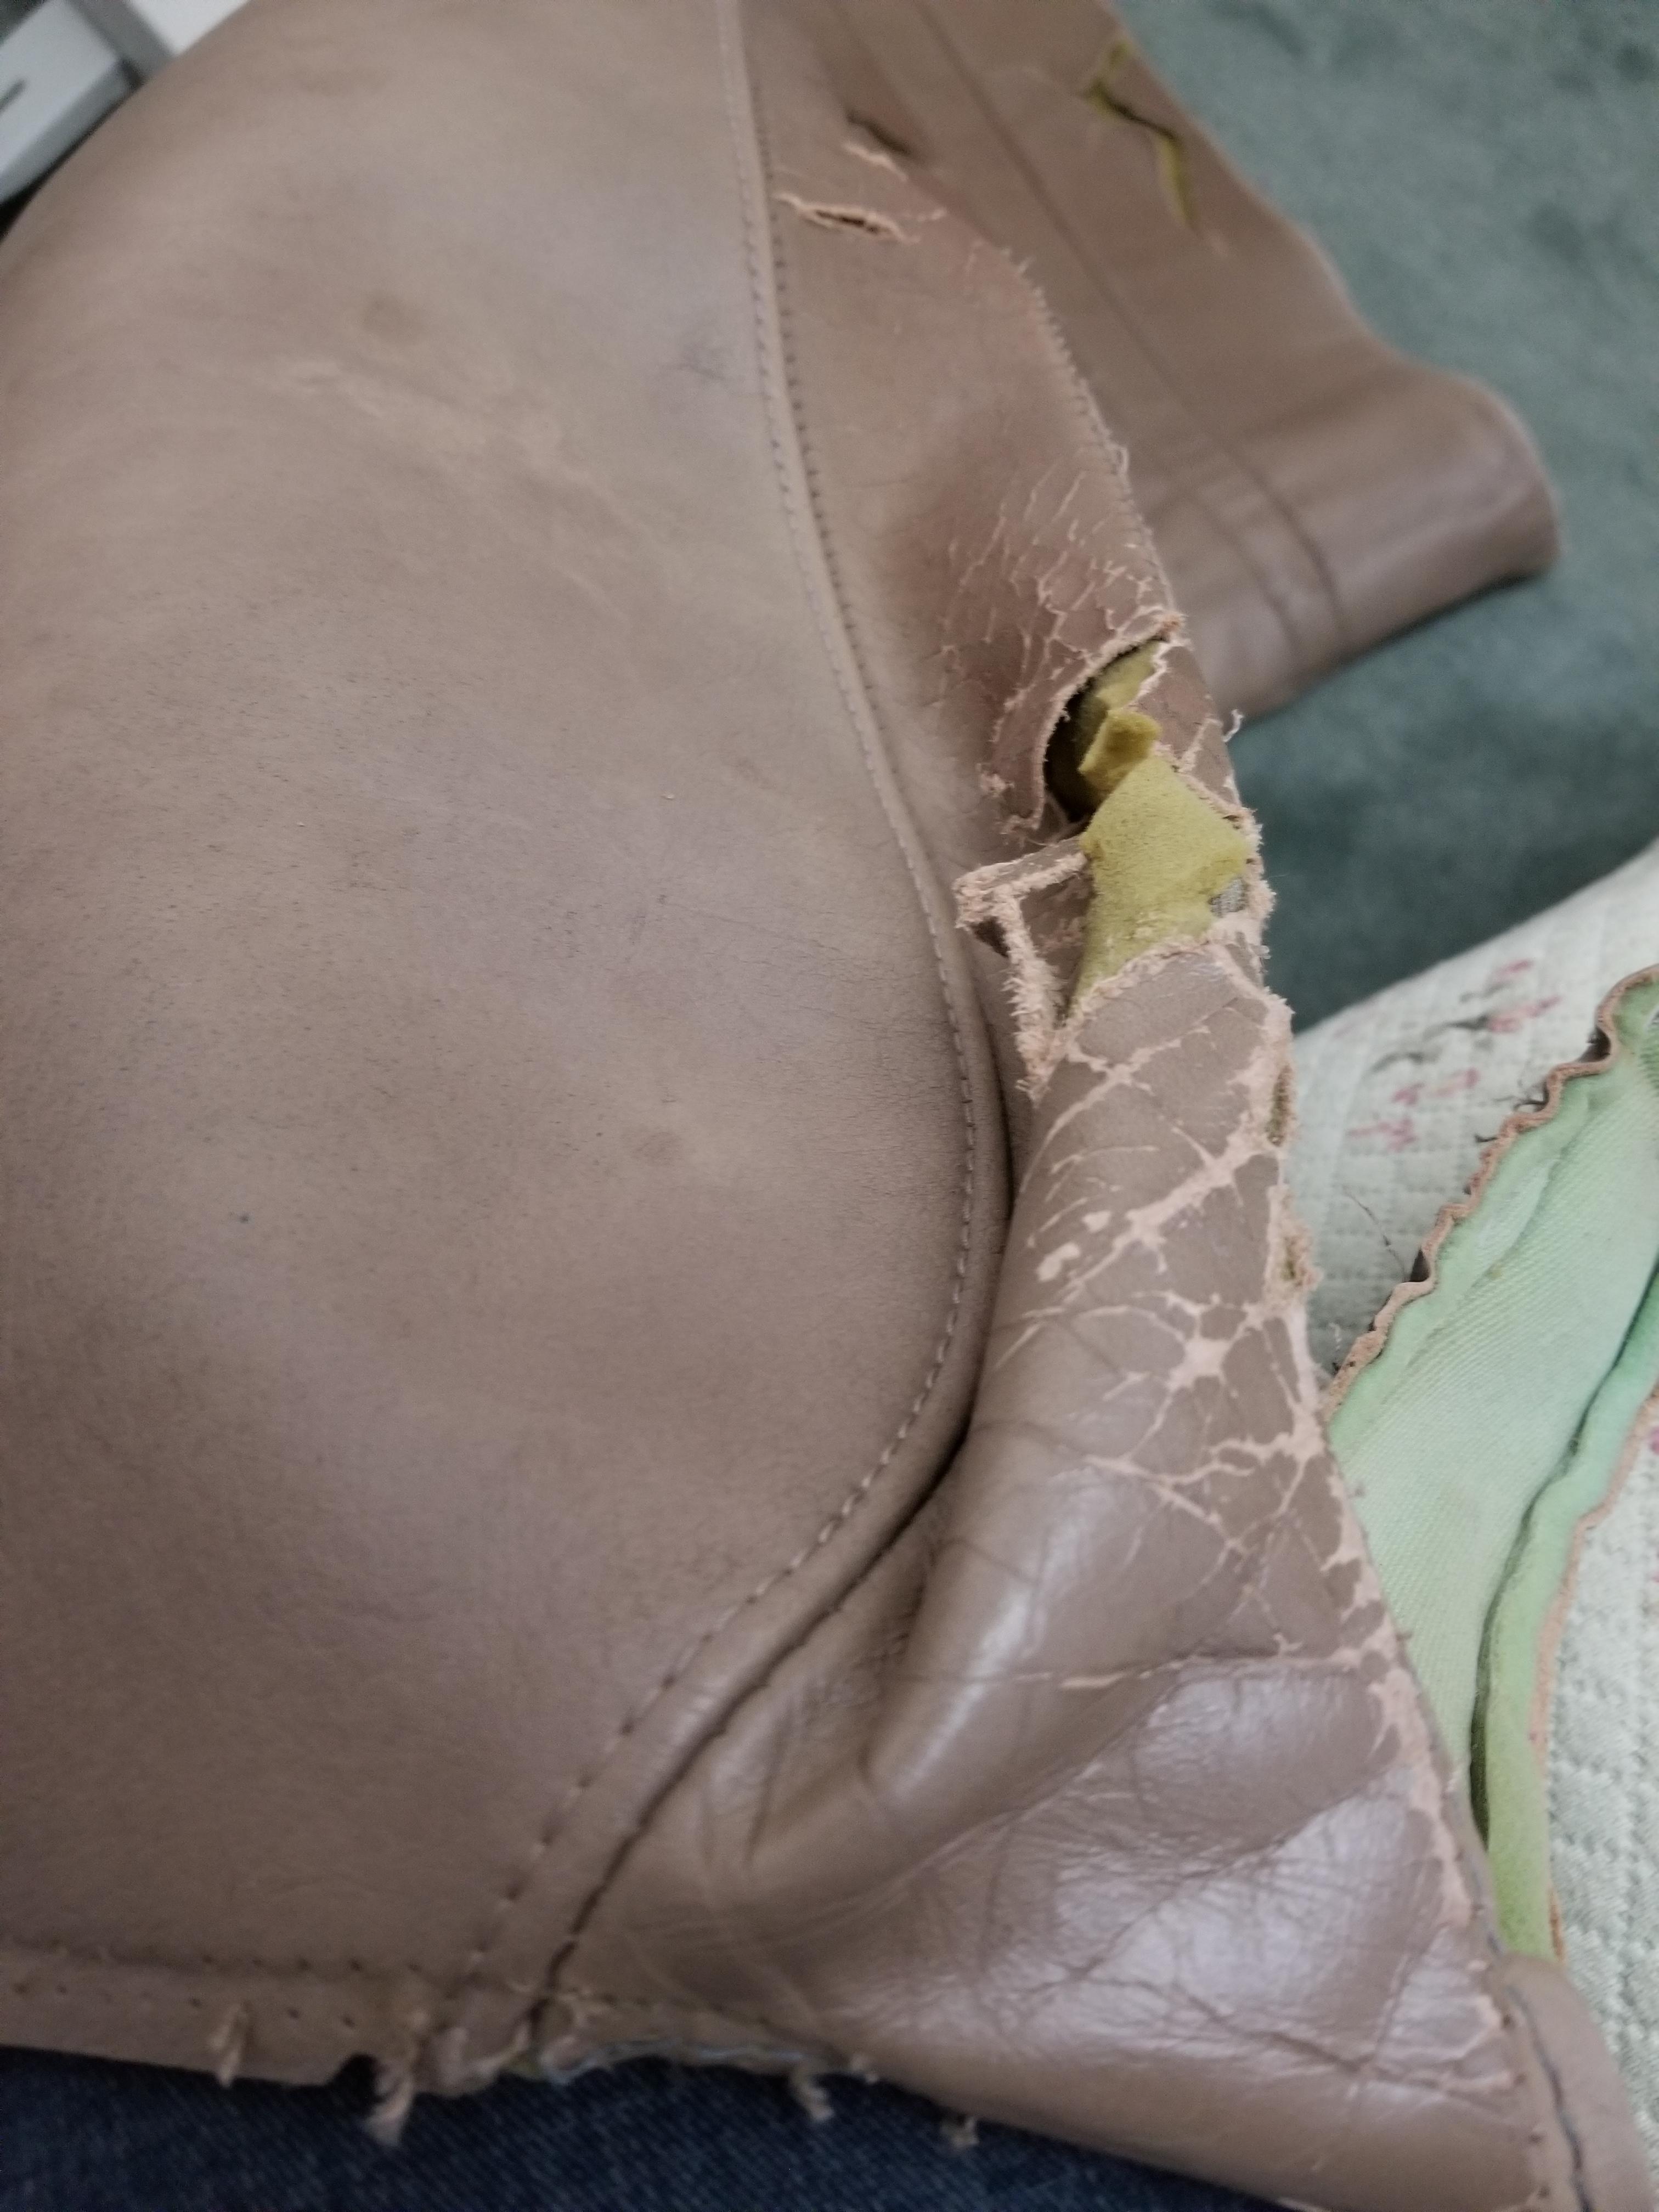
I won't put all the pictures I took here but I'll try and keep it as step by step as possible so you can see the process. Take lots of pictures as you take it apart. Sometimes there is something you need to go back as reference. In this picture you can see where the top stitch was done so that you replicate it when you sew it back together and it lays properly.
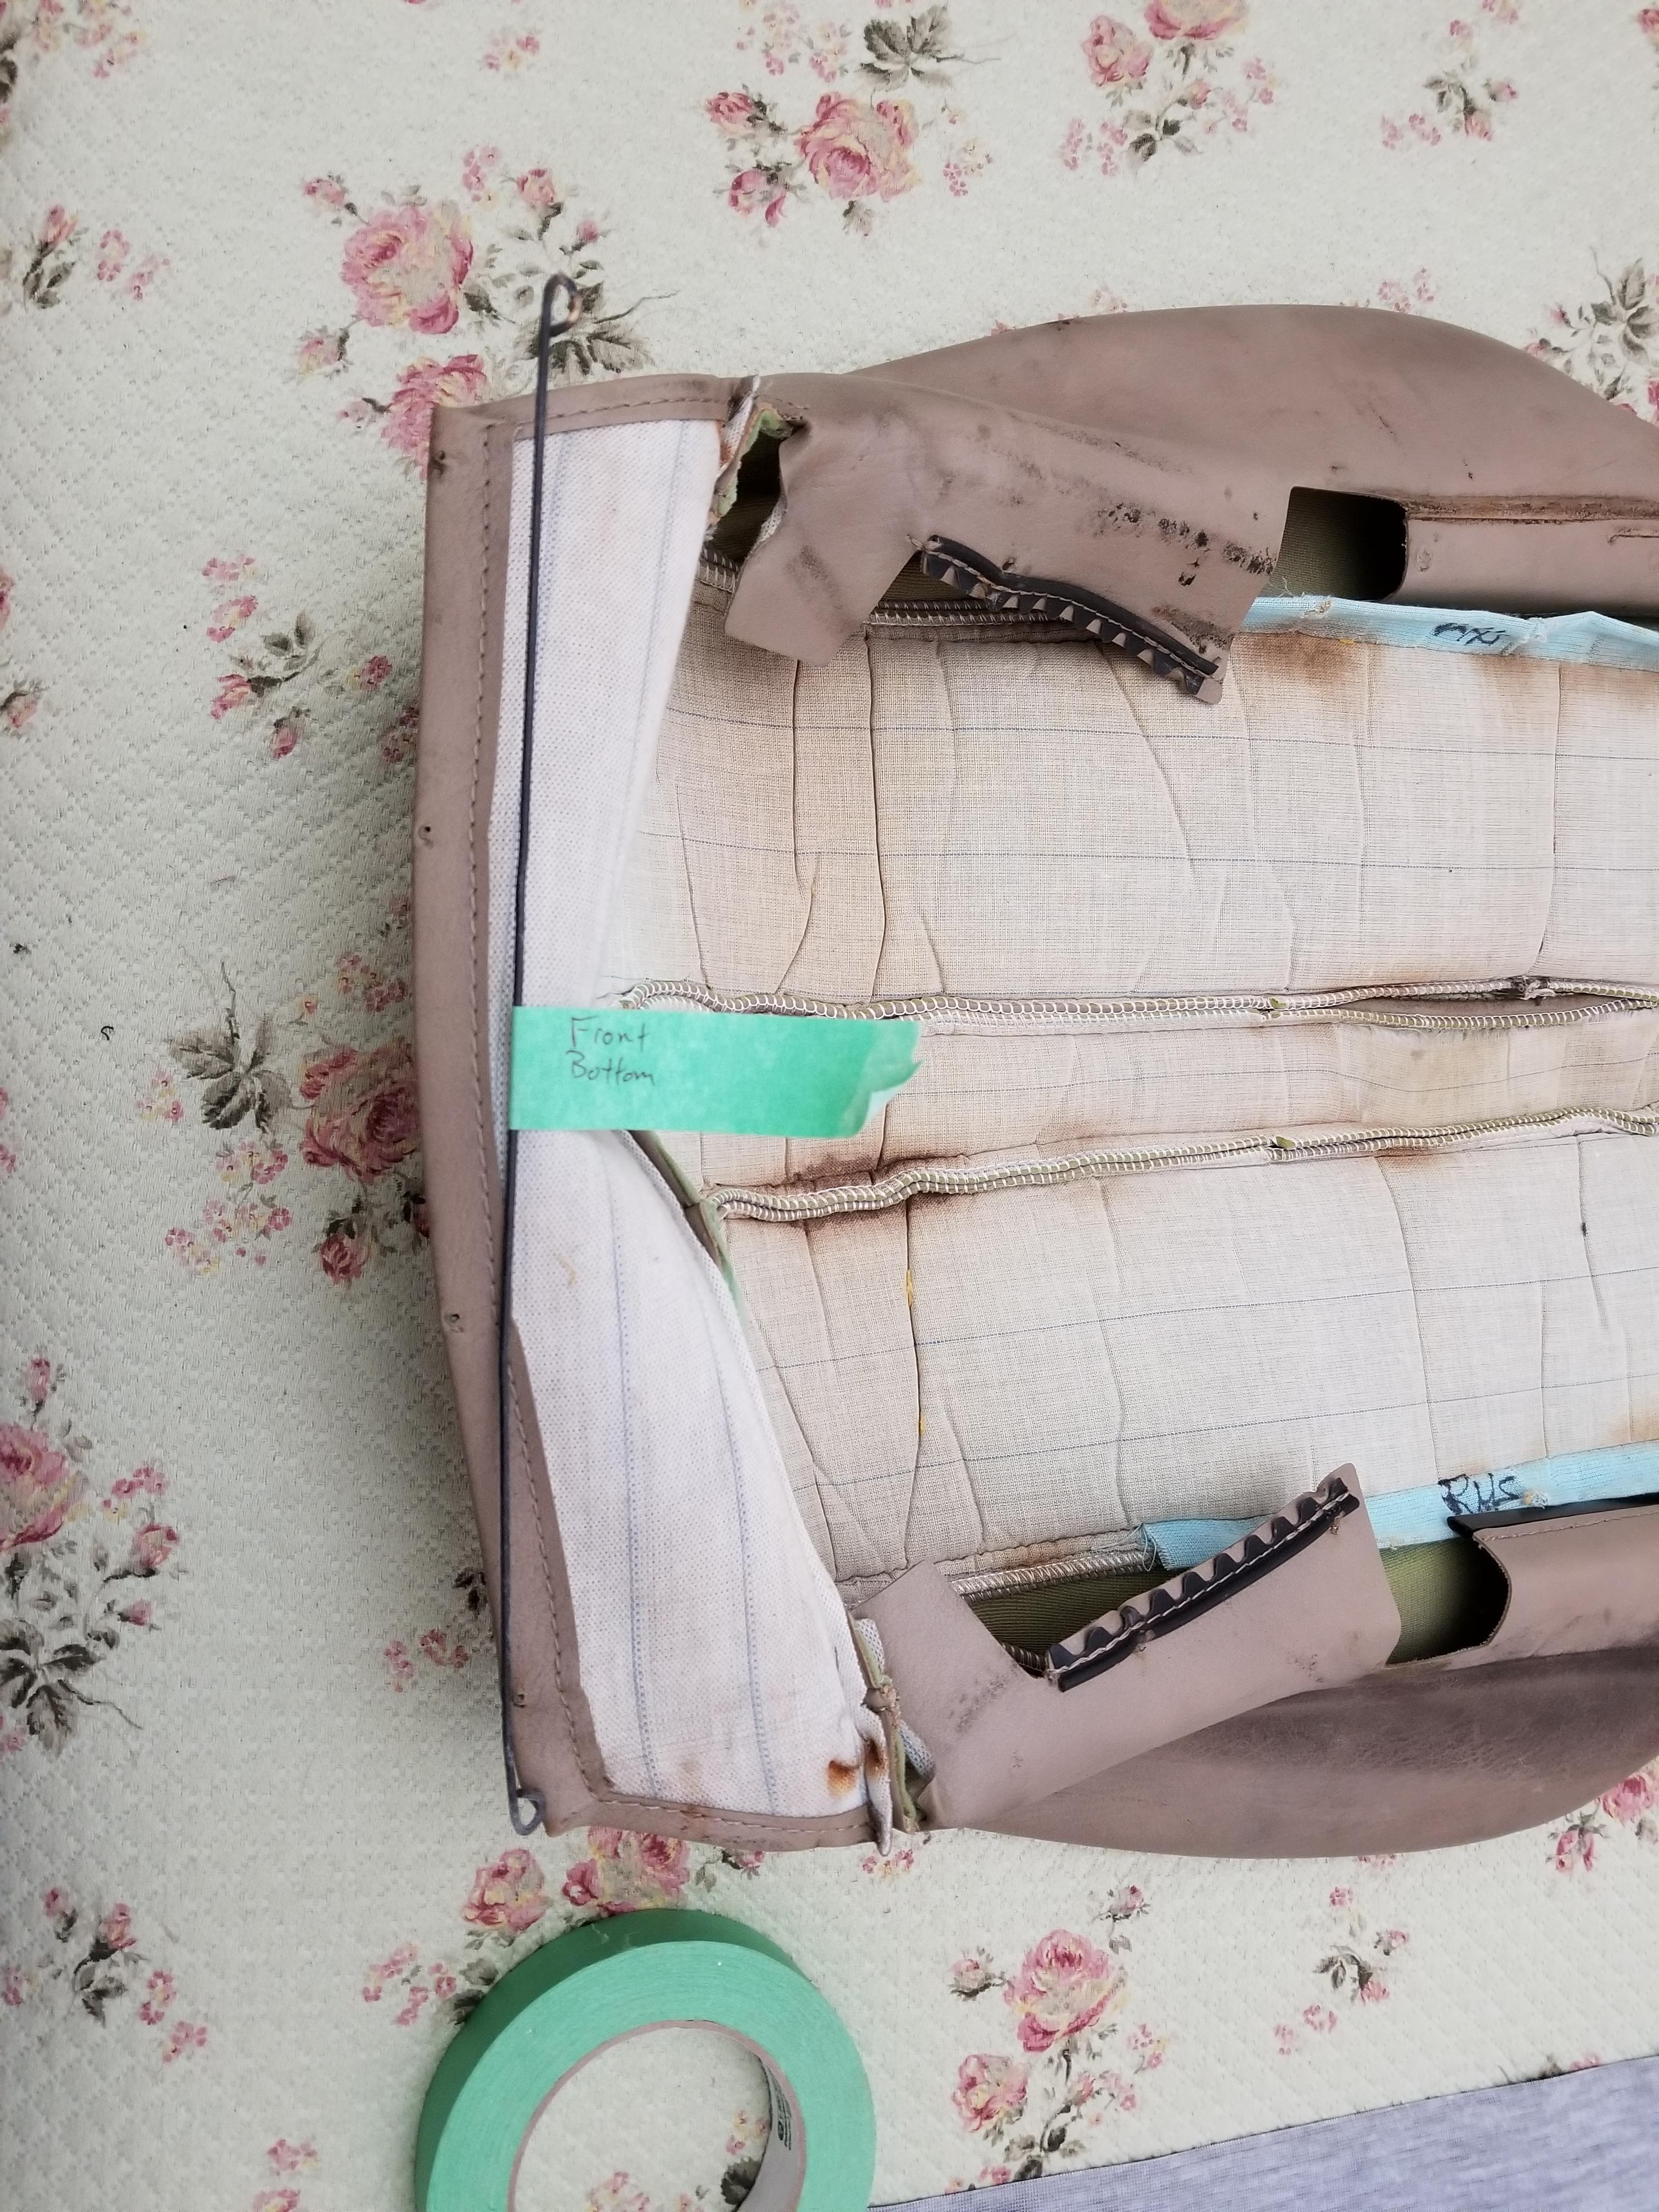
Bottom of the seat - you can see where the hog rings attach the seat cover and hold it in place.
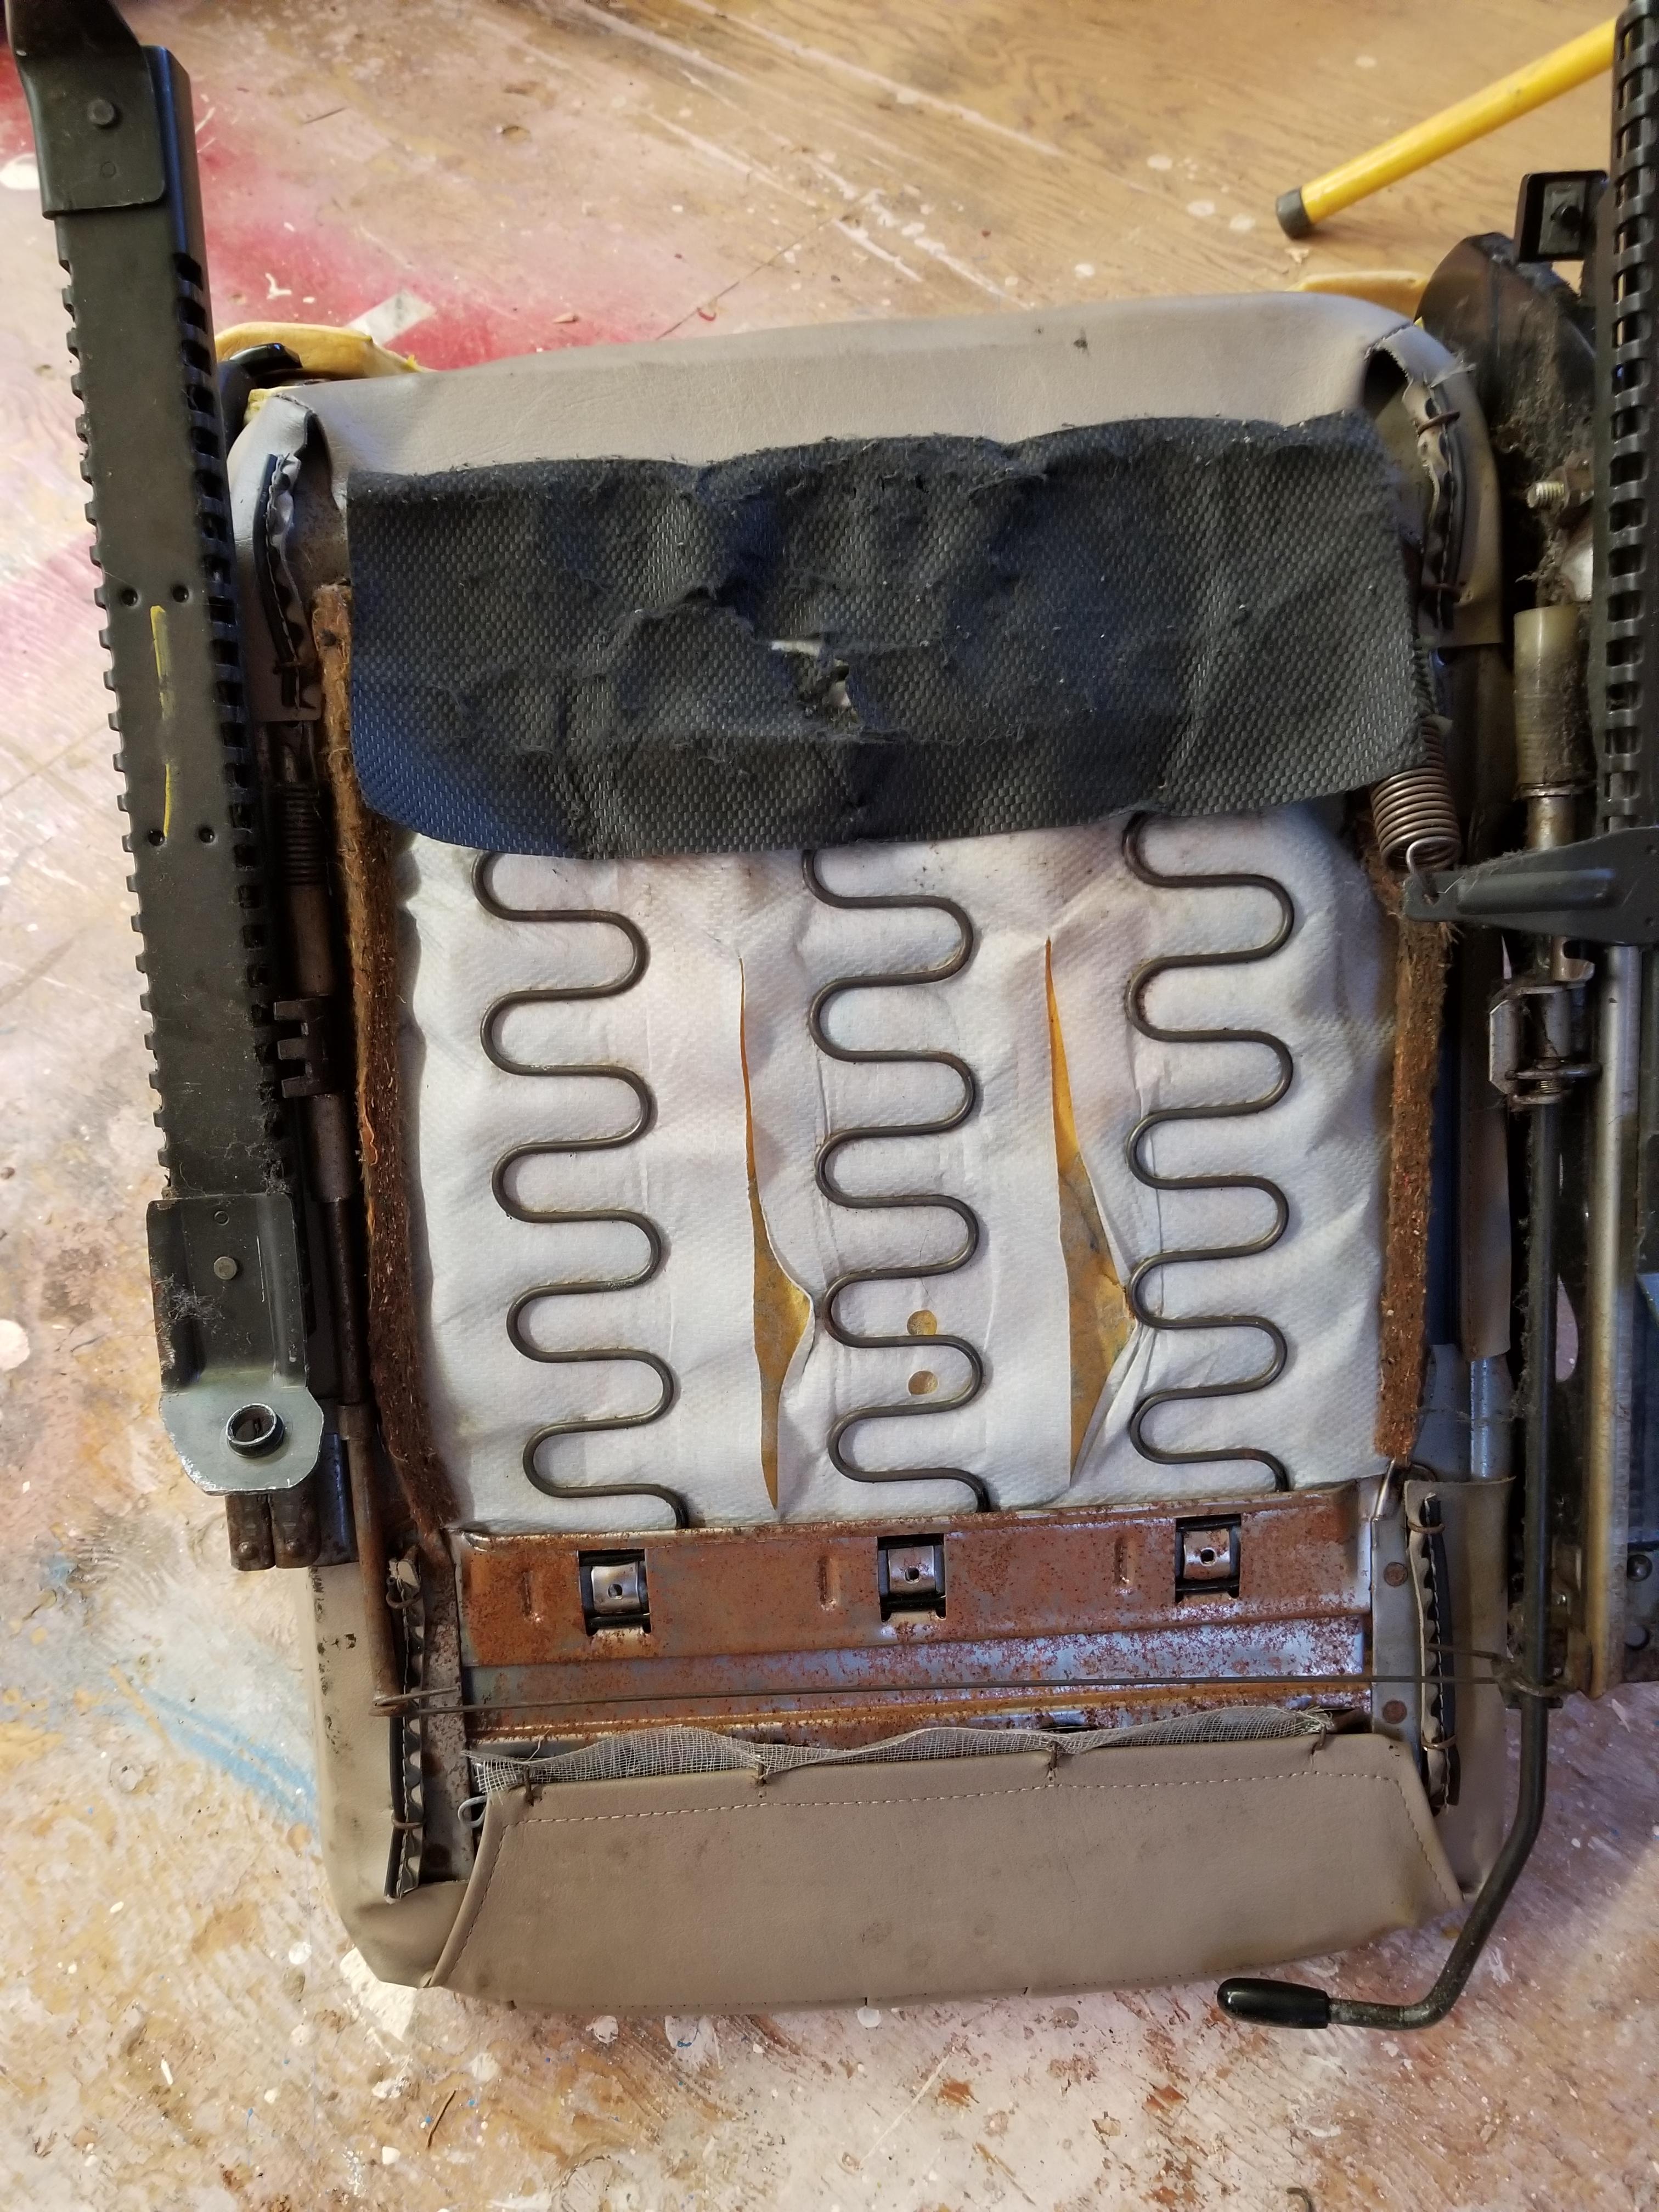
On furniture you use staples into the frame to hold the fabric in place. On a car seat you use hog rings and wire in a pocket sewn into the cover.
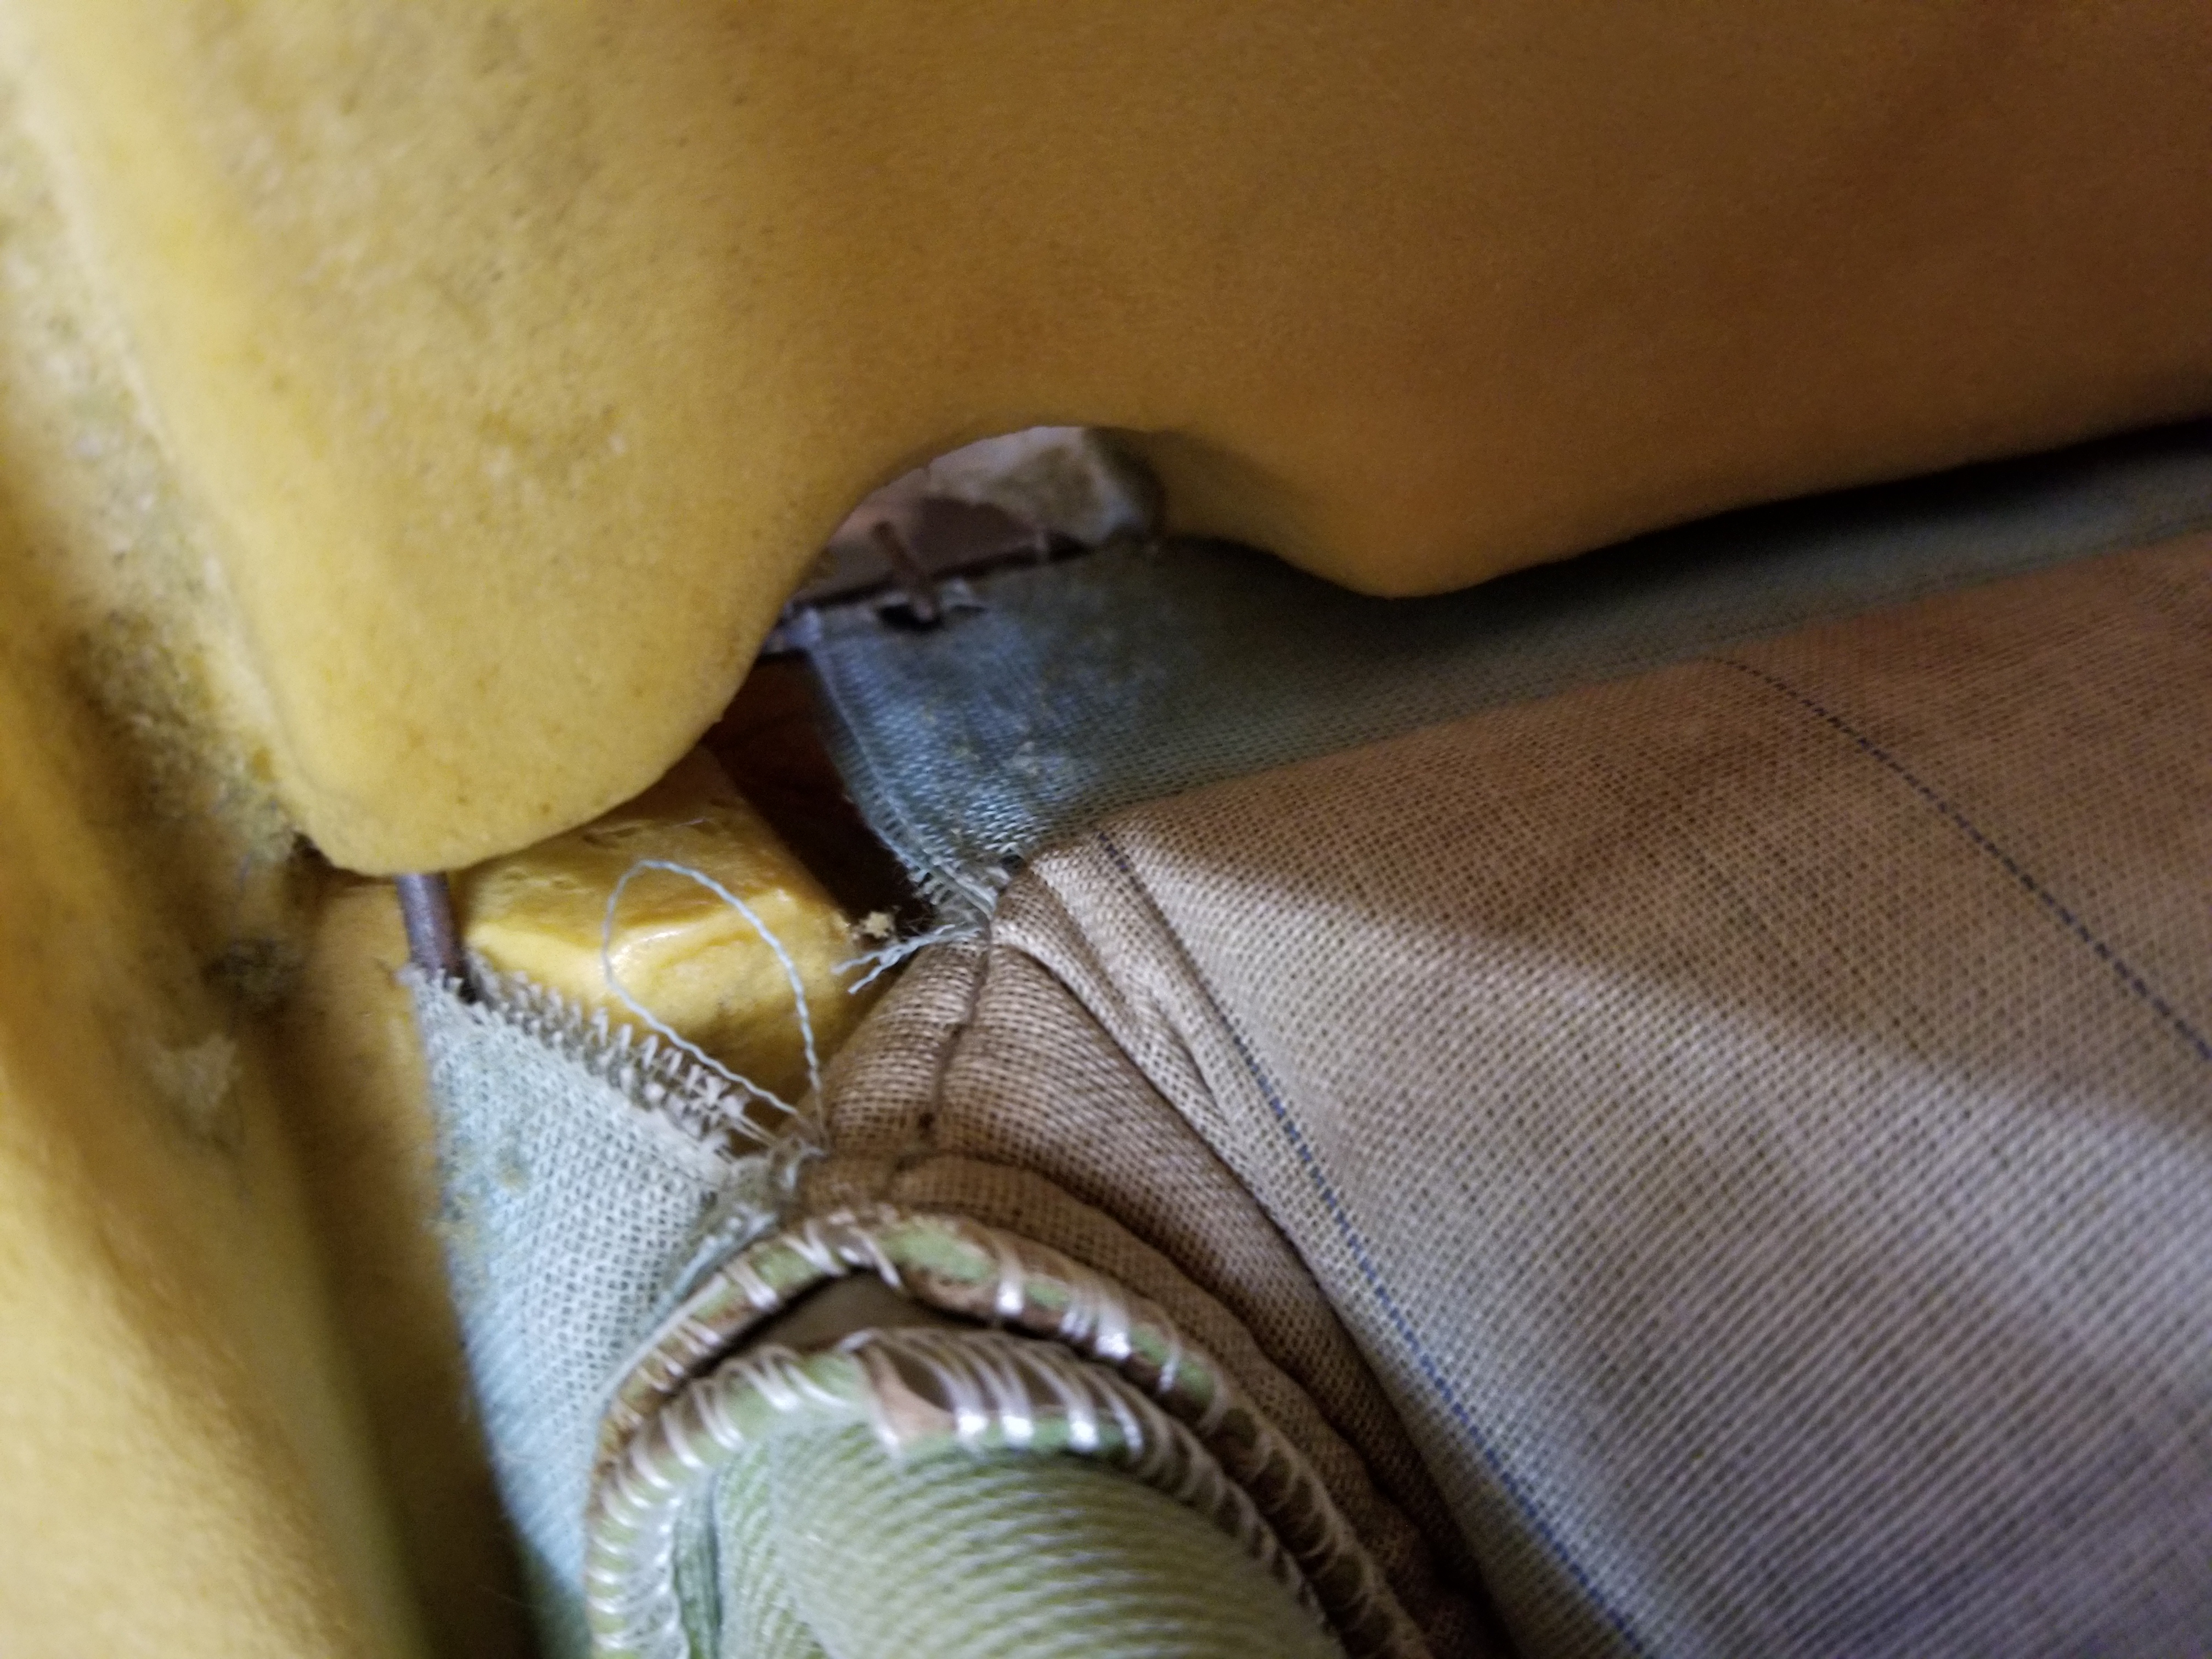
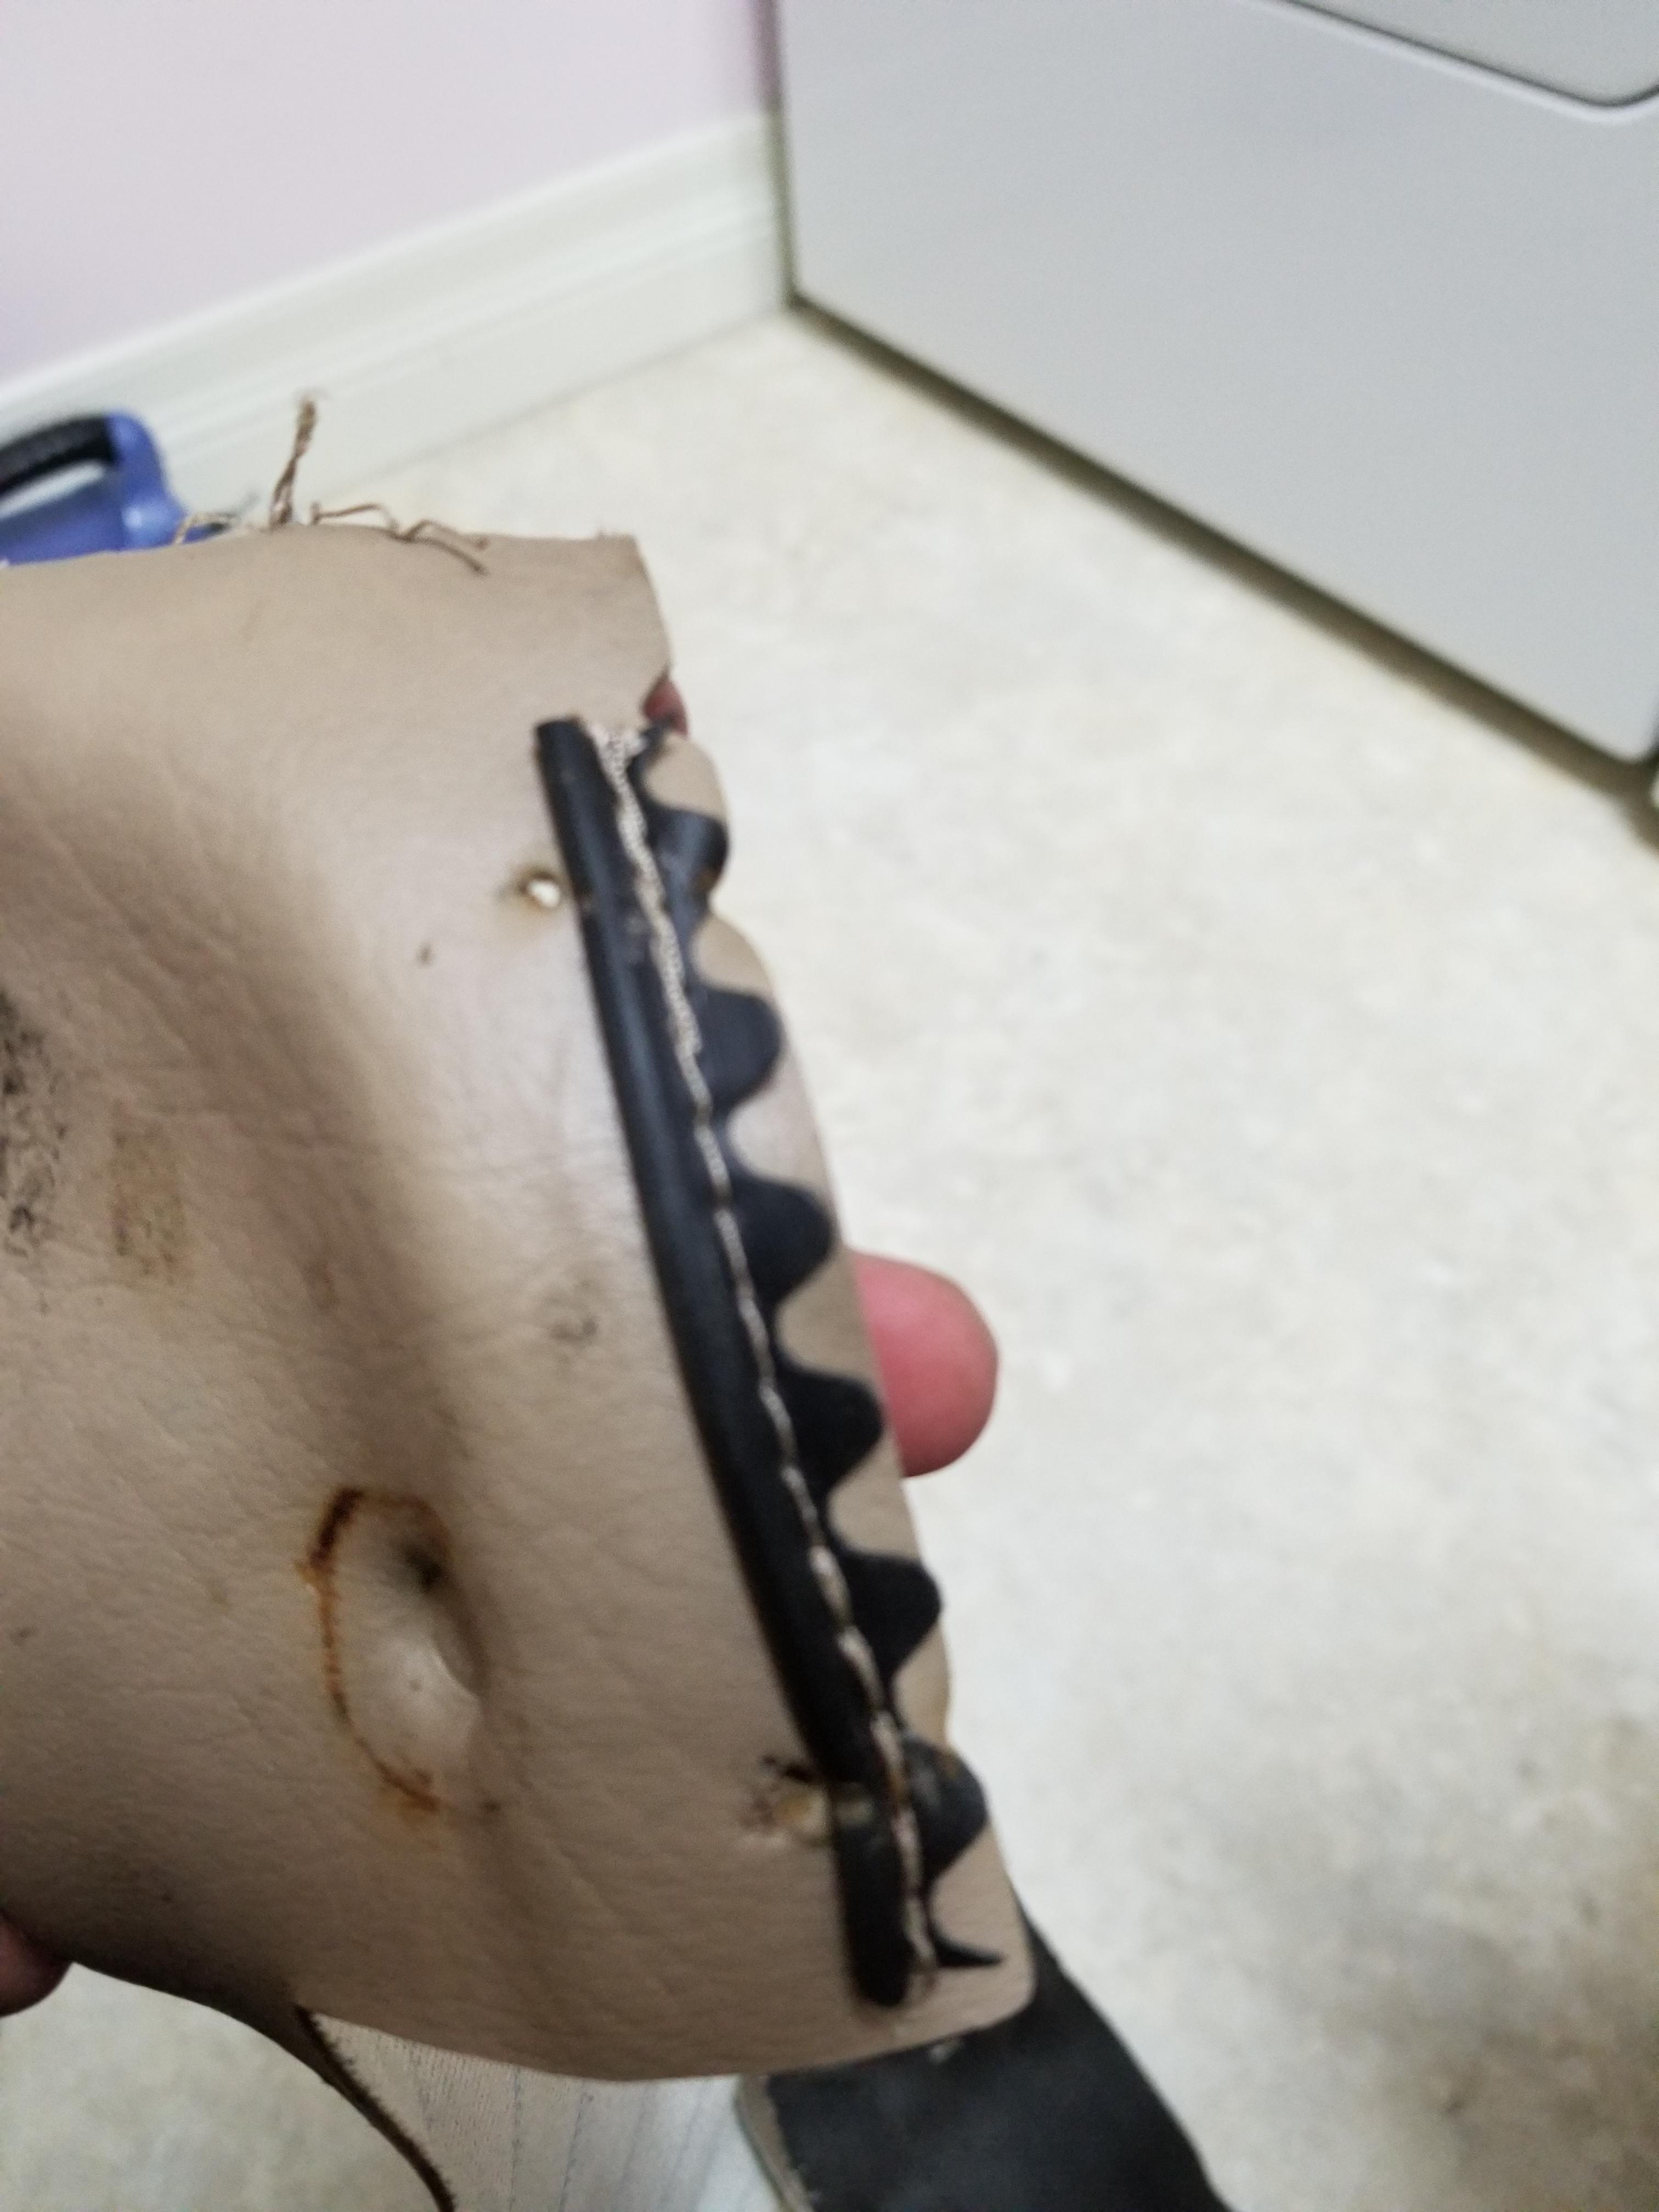
or a reinforcement of some sort like these plastic sew on strips
I'm reusing the wires from whats left of the seat covers so I make sure they are labeled. You can make your own of course. It looks like they bend the ends back to keep it from poking through.
 01-11-2019, 04:25 PM


 Threaded Mode