
 |
|
|||||||
| Home | Rules & Guidelines | Register | Member Rides | FAQ | Members List | Social Groups | Calendar | Mark Forums Read |
| Builds (and builds only) Got a build thread? It goes here, build threads anywhere else on the forum will be locked and never moved. |
 |
|
|
Thread Tools | Display Modes |
|
|
#31 |
|
The Architect.
 Join Date: May 2006
Location: Los Angeles, CA
Posts: 11,580
Trader Rating: (392)
           Feedback Score: 392 reviews
|
We got started on the interior sound deadening. The 50sq ft roll got us pretty far, but we still have a few areas I'd like to cover before the interior goes back in. Ordering a bit more to wrap up the remainder portions.
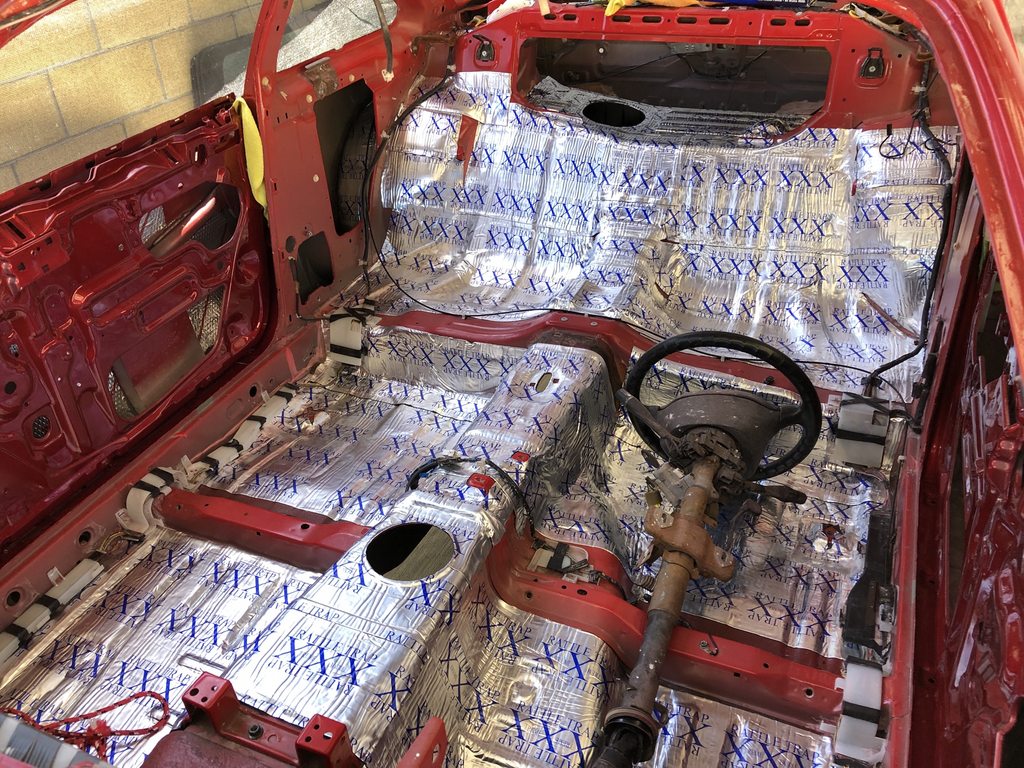 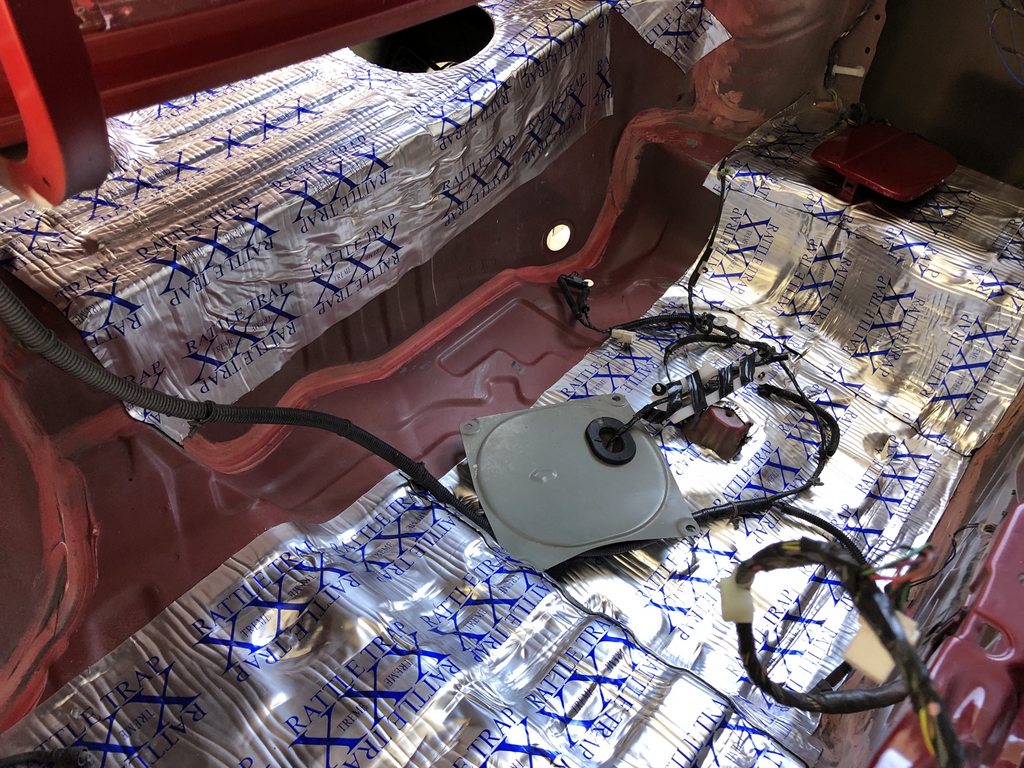 We'll be focusing on the exterior brackets this week(bumper brackets/retainers, aero hardware, etc). Should have most of it reassembled by the weekend. |
|
|

|
| Sponsored Links |
|
|
#32 |
|
The Architect.
 Join Date: May 2006
Location: Los Angeles, CA
Posts: 11,580
Trader Rating: (392)
           Feedback Score: 392 reviews
|
Took some time to refinish the heat shields, dash bar, and mounting brackets for the bumpers/fenders.
People keep asking me if this is meant to be a show car. Honestly, it's not. I'd like to blame it on my OCD, but I hate having to do things twice. I feel it's worth the extra effort to just refinish these few things while they are off the car. I don't exactly plan on rebuilding these cars every few years. Used some original panels to compare the new finish. This one was quick. I know you'll never see it, but I just hate how rusty it is behind the dash. I need to buy an actual table to work outside.  I had asked the painter to mask the black trim that went around the door handle, but that didn't happen. It bothers me, but my brother was fine with it. Mocked up the refinished bumper retainer. I love that "new" feel. This is every last part that will be powder coated. I had my friend Jason (IG: godrifttoday) weld up the GKTech reinforcement plates on the subframe. I'll be taking detailed pictures of that as soon as I have it coated. Part of the process in "restoring" the chassis, I would hate to run parts that look worn. These Greddy strut bars were in decent shape, but I knew a quick wet sand/polish would make them look amazing. I also invested in a blasting cabinet from Harbor Freight. I know the earlier models leaked like crazy, but Harbor Freight's current version is actually way better than I expected. I had done a good bit of research before committing to the purchase and immediately upgraded the gun and caulked all of the inside. Other than upgrading the lighting and running a better seal on the door, this thing is great. This will make blasting and powder coating smaller parts from home a breeze. I have a few smaller pieces left to finish, but I'm glad the car is coming together. |
|
|

|
|
|
#36 |
|
The Architect.
 Join Date: May 2006
Location: Los Angeles, CA
Posts: 11,580
Trader Rating: (392)
           Feedback Score: 392 reviews
|
At a bit of a standstill until my $500 worth of cutting/buffing supplies shows up.
In the meantime, we replaced the OEM fuel lines on the tank with 4AN that can also support E85 if we decided to go that route in the future. The braided 4AN is just a bit smaller than the OEM hose size. I'm hoping it doesn't cause any issues once the motor is in. I didn't take pictures of it, but I did add a few strips of high density foam tape to the fuel tank in hopes of preventing cracks. One of the commonly overlooked areas when running aluminum subframe bushings is how close it actually sits to the fuel tank. I do believe this could potentially be one of the leading issues as to why people end up with cracked fuel tanks. I'll be keeping an eye on the fuel tank clearance as soon as we get the subframe reinstalled. 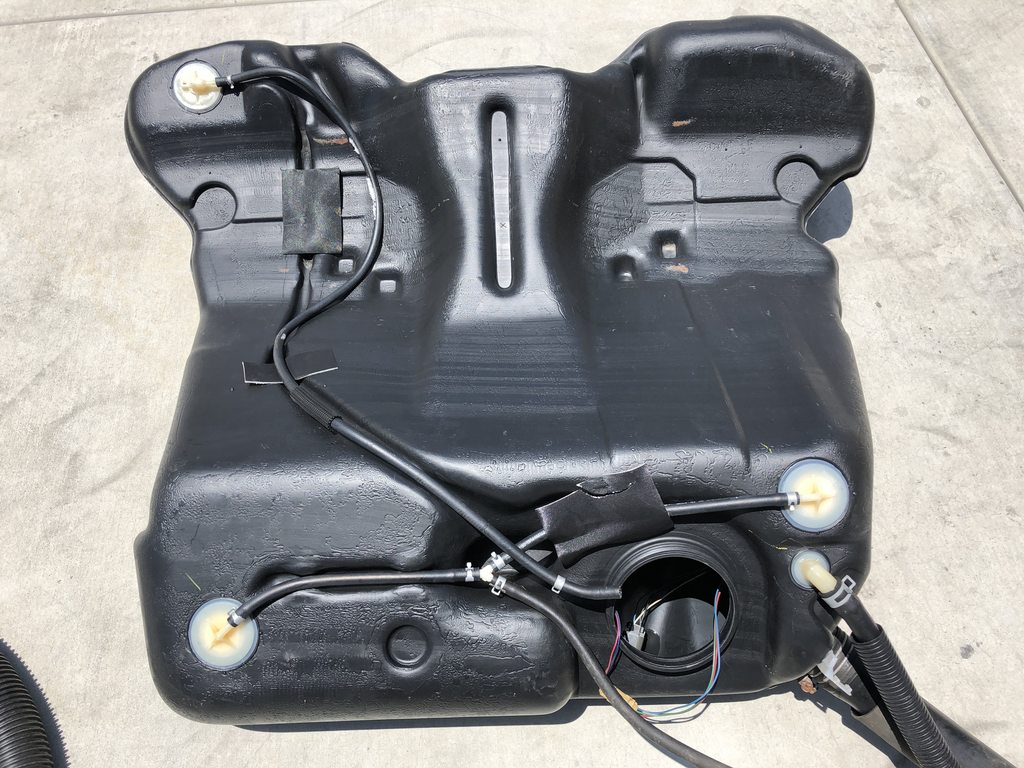 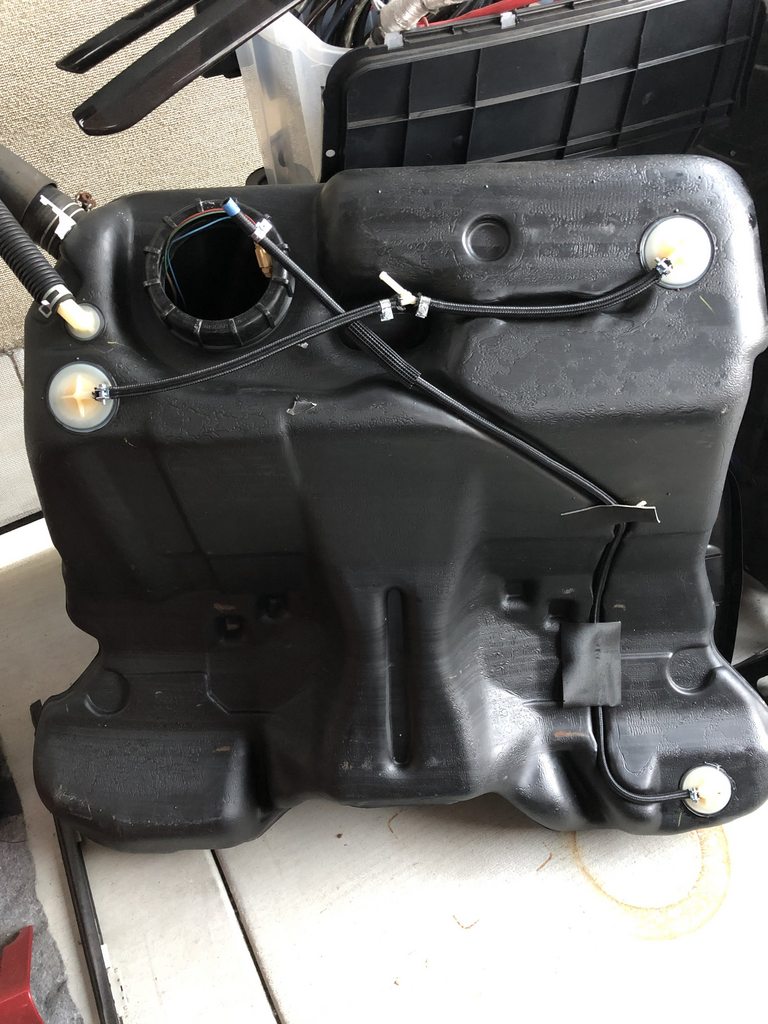 One of my goals is to reinstall as much as we can within the next few weeks to clear storage space. Anyone who has done a complete rebuild/restoration will definitely understand just how much space parts take up when they're off a car. Even being somewhat organized, I have one storage shed filled to the top with parts from this car and other miscellaneous parts in my garage. We cleaned up and threw on the Fortune Auto coilovers. I'd love to run all new parts on this build, but realistically with it going to my younger brother and since this is all being put together from spare stuff I've held onto over the years, I'm trying to be as "frugal" as I can. 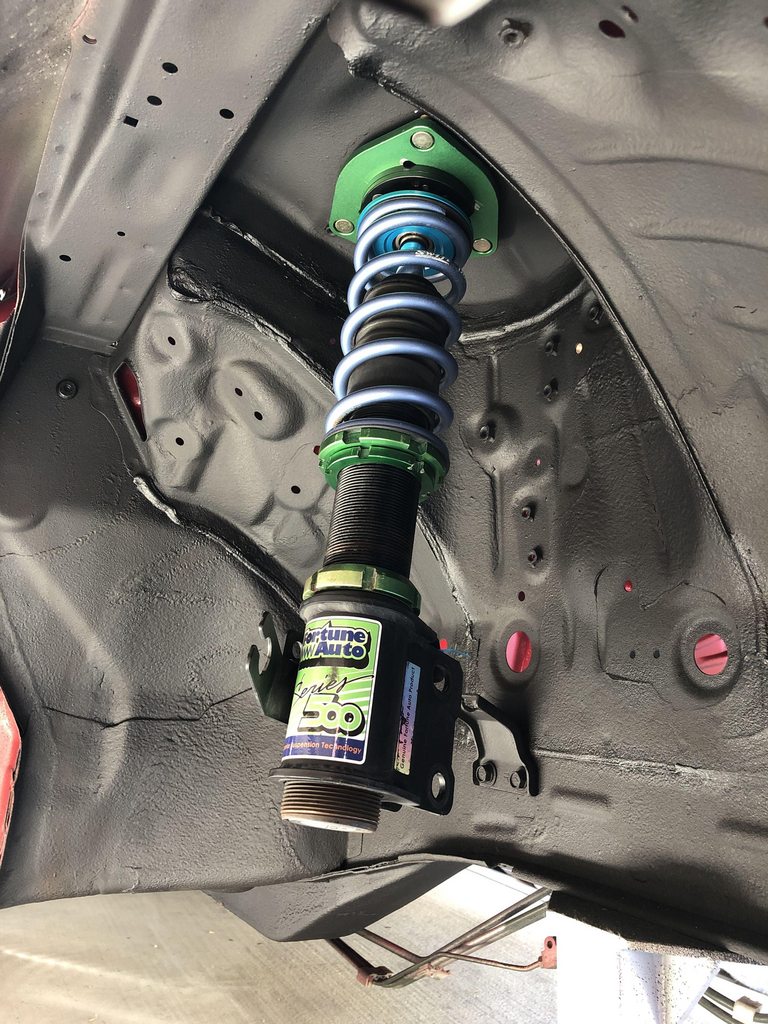 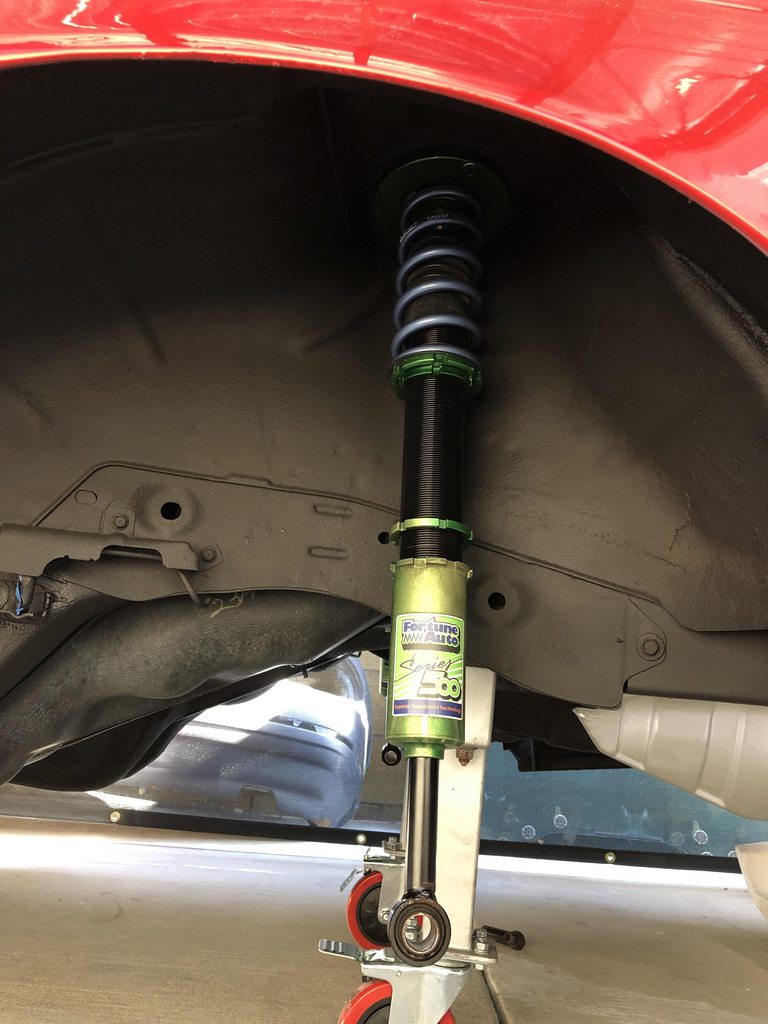 One thing I overlooked when refinishing the retainer was hammering flat an area that sits right above the Greddy intercooler. I trimmed this area on my blue Kouki, but it also made that section of the bumper retainer very thin and I really would like to avoid sagging issues down the line. It is slightly off center, but getting it to bolt on won't be an issue come final assembly. 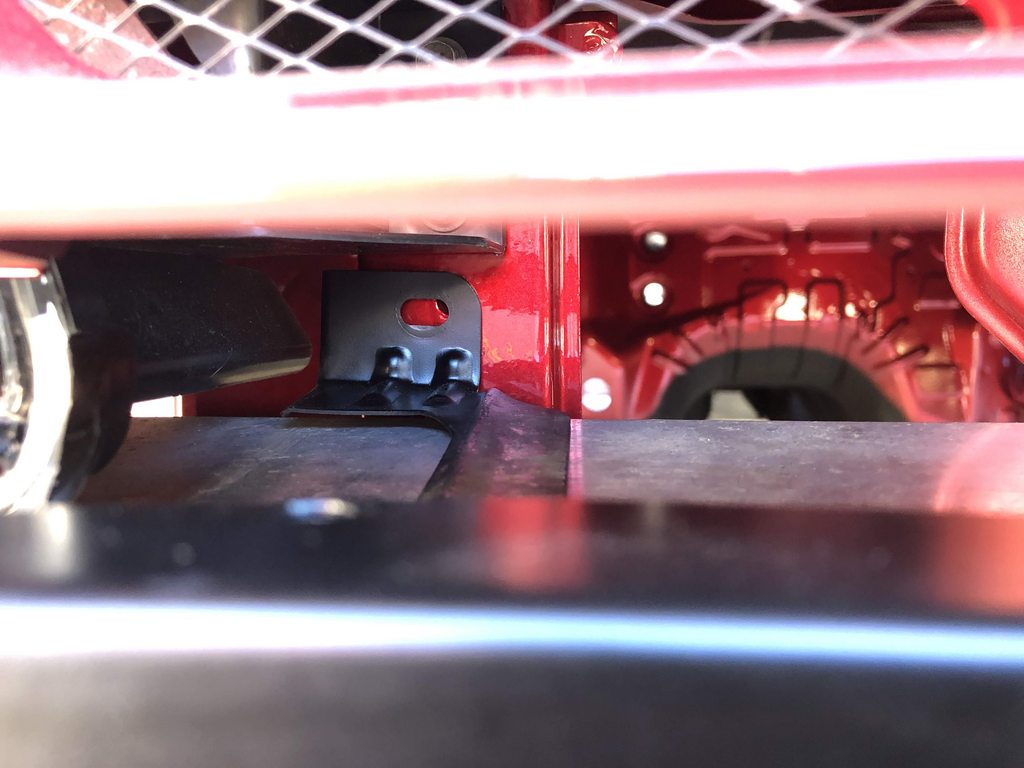 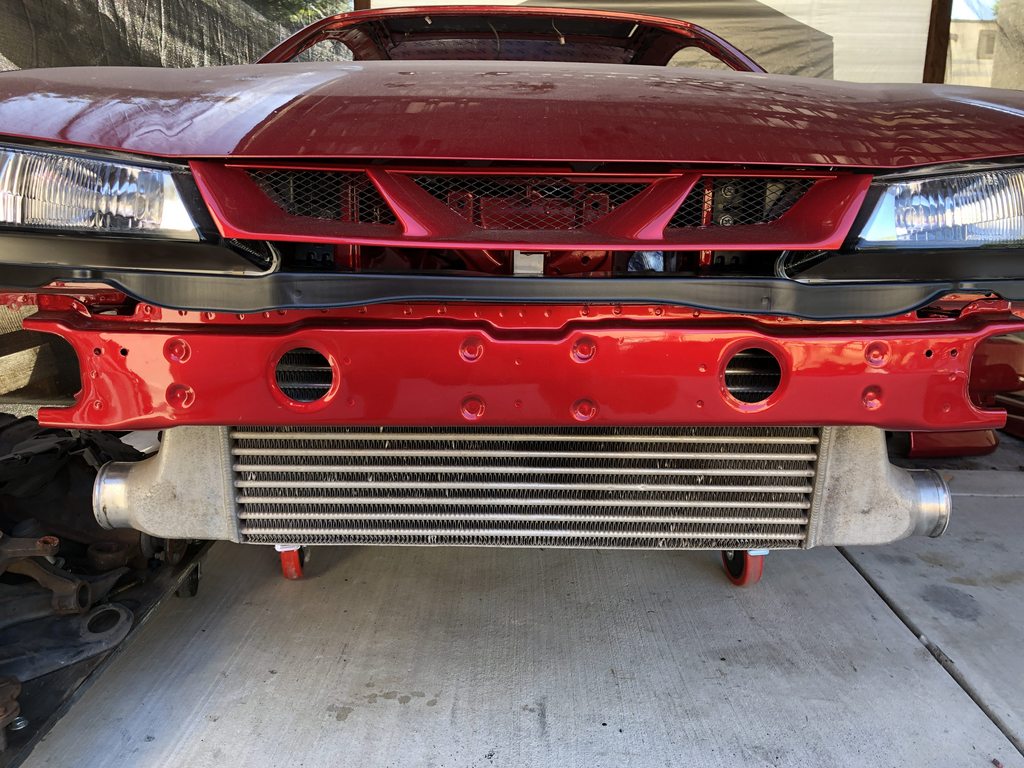 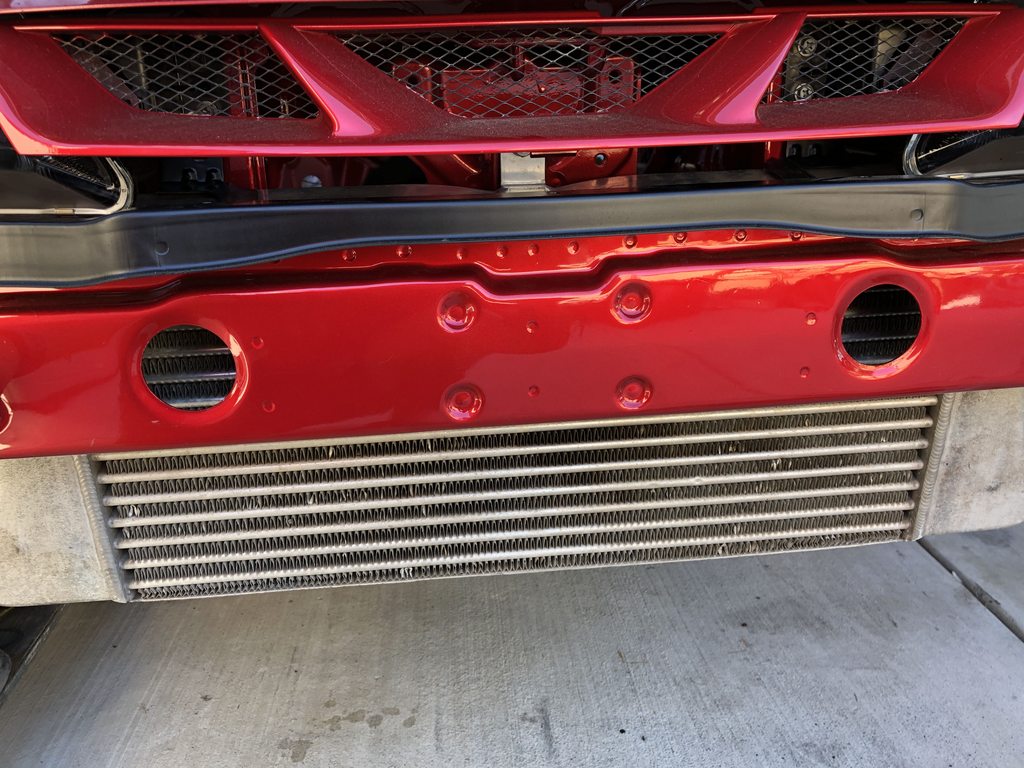 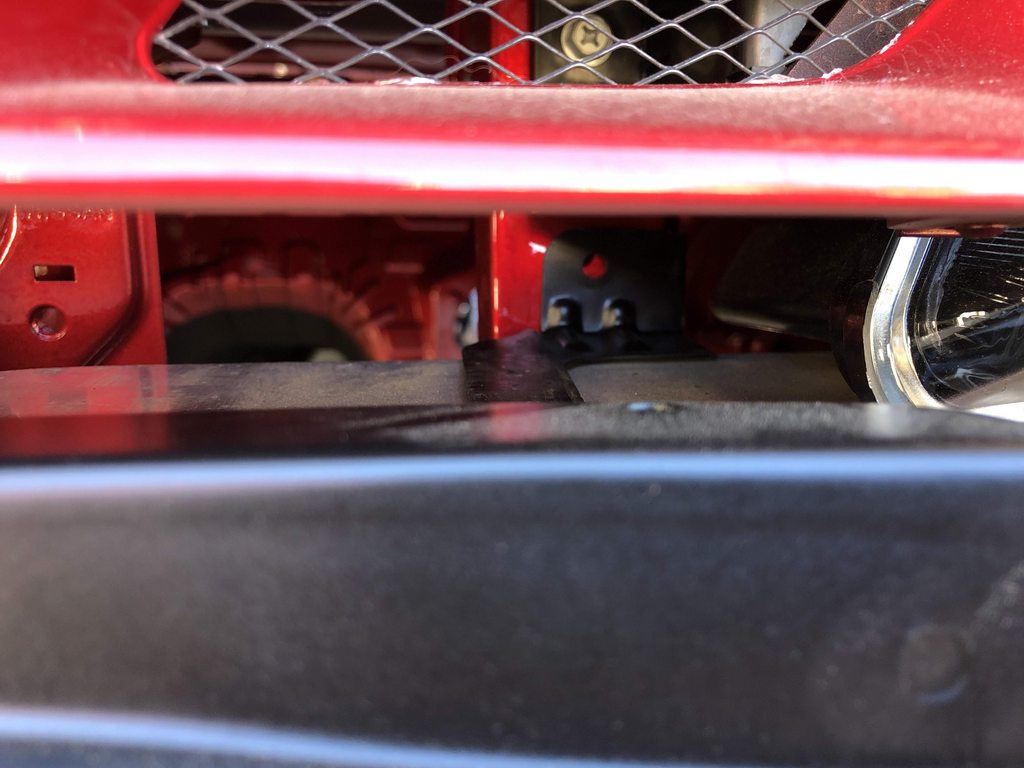 |
|
|

|
|
|
#39 |
|
Leaky Injector
|
Reading your thread is giving me jitter bugs to fly home and get back to working on my s14. OEM + style, next is turbo (motor is fully built), interior then aero! Definitely sharing this.
Sent from my SM-G960U using Tapatalk |
|
|

|
|
|
#41 | |
|
The Architect.
 Join Date: May 2006
Location: Los Angeles, CA
Posts: 11,580
Trader Rating: (392)
           Feedback Score: 392 reviews
|
Quote:
Keeping all OEM brackets. I have nothing against "bash bars" and all that, but they're just not for me. Not much has happened as far as progress goes unfortunately. I've been prioritizing on spending time with my family, shows/concerts, and clearing out a good chunk of parts I've managed to hoard over the years. Bulletproof came through for me again and finished my Safety 21 cage, rear subframe, crossmember, Nismo brace, and Tanabe swaybars. I was a bit hesitant at first with the red and gold combo, but I'm glad I did. Several other suspension pieces will also be in the same gold as well as the brake calipers and other smaller bits. The flake is hard to capture in the gold, but it looks amazing in person. Huge thanks to Bulletproof for taking care of me and Jason @godrifttoday for welding up the GKTech plates on the subframe. I did finally say goodbye to an old friend. The Drift Speed S15 is off to Ohio to its new owner who plans on restoring it to its former glory. ...but I did replace it with something better. R34 GTT with OEM GTR conversion. The OEM rear quarter panels will be arriving soon and I am currently sourcing the last remainder OEM R34 GTR exterior bits before this will be sent out for a complete exterior and engine bay respray. No plans to do a complete GTR drivetrain conversion as that would be a bit excessive for what I have in mind. Figured I can keep it RWD and have fun with it before eventually buying a proper R34 GTR. |
|
|
|

|
|
|
#47 |
|
Zilvia.net Advertiser
 Join Date: Nov 2005
Location: Michigan
Age: 33
Posts: 5,431
Trader Rating: (16)
           Feedback Score: 16 reviews
|
Always good to see this kind of work getting done. I'll be watching this thread for sure.
__________________
Build: http://zilvia.net/f/showthread.php?t=643065 Friends don't let friends buy knock-offs. |
|
|

|
|
|
#50 | |
|
The Architect.
 Join Date: May 2006
Location: Los Angeles, CA
Posts: 11,580
Trader Rating: (392)
           Feedback Score: 392 reviews
|
Quote:
I did manage to order an R34 GTR OEM rear bumper. Now only need a few exterior bits to complete my exterior plans for the chassis. Also set aside a pair of seats, steering wheel set up, and brake system for it that I'll take pictures of later on. I will be able to update this thread within the next few weeks. I've had far too many distractions to really make progress on any of my cars. Now that my kids aren't sick and the weather is getting better, I will finally get back on to posting updates. |
|
|
|

|
|
|
#51 |
|
BANNED
 Join Date: May 2019
Location: Florida-FAIL
Posts: 2,497
Trader Rating: (8)
           Feedback Score: 8 reviews
|
https://youtu.be/zXRAgDy4QG4
You should def peep this guys channel...you 2 are on the same level and would luv the attention to detail. He did the same thing as u are but to an r34.... |
|
|

|
|
|
#52 |
|
Premium Member
 |
Dang. You make most other builds look like shit.
When you refinished the heat shields was it just a high heat paint? The idea of media blasting to clean parts is pretty awesome. I know Finnegan just recently had episode where he installed a nice cabinet and then had someone explain all the types of media you can use. What type of media did you end up using on the calipers and other items? |
|
|

|
 |
| Bookmarks |
| Thread Tools | |
| Display Modes | |
|
|