
 |
|
|||||||
| Home | Rules & Guidelines | Register | Member Rides | FAQ | Members List | Social Groups | Calendar | Mark Forums Read |
| Builds (and builds only) Got a build thread? It goes here, build threads anywhere else on the forum will be locked and never moved. |
 |
|
|
Thread Tools | Display Modes |
|
|
#1 |
|
Zilvia Member
 |
Goal: VQ35HR Swapped S13 Sil-Coupe 240SX "Zilvia" - Autocross Build
SPOILER: I just end up drifting it. I've been putting off starting a build thread for the car since I wasn't sure I'd be able to keep it updated, but I recently saw the value of the discussion these threads promote and decided I'd have to start writing. I also tend to take a lot of pics so I'll have to post multiple times due to the 50 pic limit. Backstory Garbage I got behind the wheel of a friend's '03 M3 about a year ago and decided I needed a project car to work on with my son. Being a Nissan nut I settled on a sil-coupe in Cali that needed some love. Coupes are pretty rare in my area, especially with a Silvia front end. I flew out and drove it back to Louisiana. The KA mileage was unknown but it supposedly had been rebuilt within 20k miles. It had a Sparco / NRG QR wheel, Nismo shift knob, G35 Coupe wheels, Z32 brake setup with 5-lug hubs and drilled / slotted rotors, Dmax-looking tail lights, tired seats, a shredded dash, and a rat's nest of wiring. There was no power steering ( pump was full of iron filings ), neither the speedo nor the tach worked, and the JIC Magic coilovers were completely shot. They were also so low that I shredded a tire on the way back from rub. The AC wasn't hooked up and the 5 speed's synchros were trashed. Included were a set of Z32 wheels with bald tires, a set of 20mm spacers, an extra S13 USDM digicluster, two S14 clusters ( one with white guages ), a rebuilt Calsonic compressor, JDM surfboard LED spoiler, a jack and various extra parts and fluids. All this crap in the car didn't help the ride height on the trip back. I overpaid but karma got me back to my swampland with only a couple minor snags. 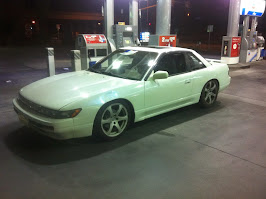 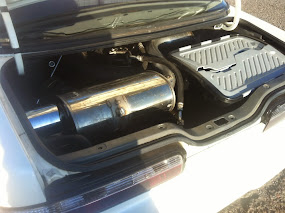 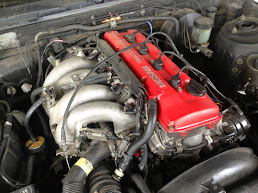 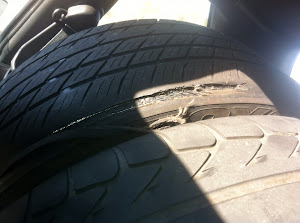    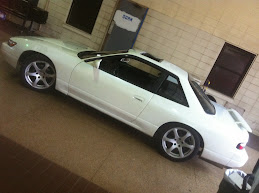 Since I bought the car to have fun, I immediately took it to an autocross where I faired pretty well... if you rule out the results... and judge based on enjoyment alone. I got thrown into STX for my racing steering wheel, Silvia front end, larger wheels, and the boat anchor aftermarket coilovers. The tires were garbage and there were some nasty noises coming from the drivetrain. Turned out the RUCAs had bad rod ends and the front right hub sounded like Wheel of Fortune with the car on jacks. I had an absolute blast. I addressed the car's immediate issues, got some KW V3s ( night and day difference ), a set of NT05s ( more night and day difference ) for my G35 Coupe wheels, an Energy Suspension poly bushing kit, and did random enhancements to help me cope with driving the car around town. Since I had two digital clusters on hand to try to get working, I tried the How to:Repair 240sx digital speedometer with HUD. NICO Club resistor fix on Nicoclub and it ended up working on the JDM cluster... which can't switch to MPH. So I rocked the KPH. 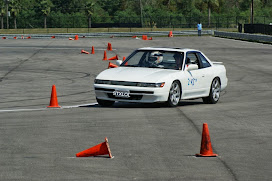 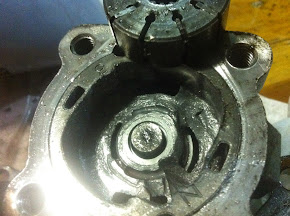 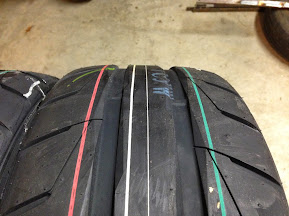 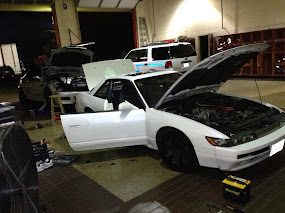 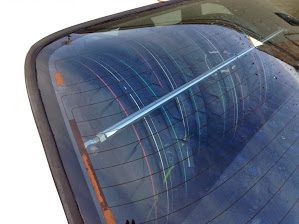 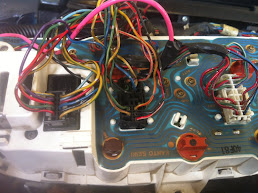 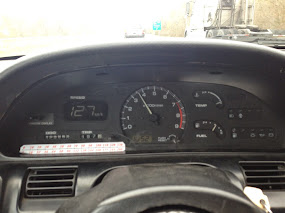 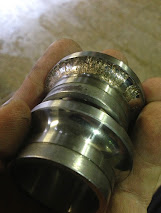 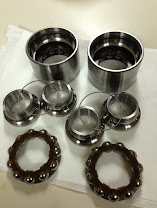 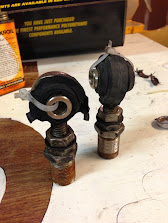 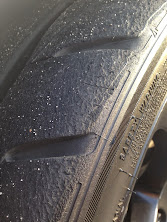 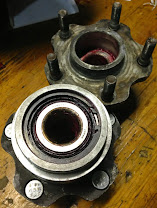  This was about the time I was looking into swaps. I wanted a car to autocross but didn't want to take the fun out of the car just to adhere to strict class rules. I researched all the turbo RBXX(20,25,26), SRDET, and KAT options. I like the cost of KAT, the weight of the SR, and who doesn't love the legendary RB, but I'm not crazy about the weight and I'm not looking to drift ( EDIT: present-day Jason is reading this and laughing hysterically). I ended up deciding that there was enough info available for me to try a VQ swap. After a month or so of looking for a 350Z / 370Z / G35 / G37, a rollover 2007 Nismo 350Z (#120) with 55k miles popped up on Copart. After some research on how Copart worked I could give a class on it, but that's a different thread. The beauty of getting the whole car, not to mention a limited edition version of the car, is that you can part out everything that won't fit or you don't need. Highlights included Nismo Exhaust, Nismo Rear Bumper, Suspension, Nismo Yamaha Vibration Dampers, semi-trashed Nismo Rays wheels and a lot more crap I have and haven't sold yet. 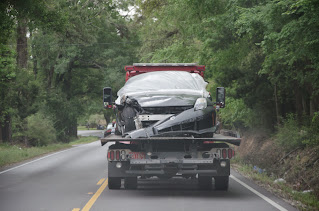 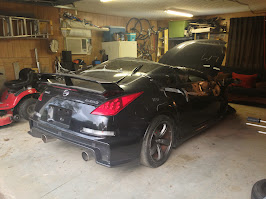 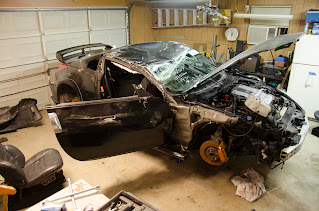 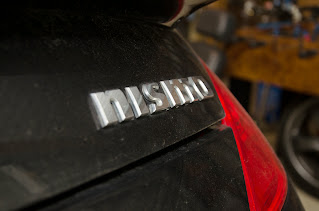 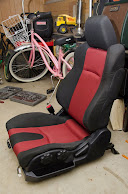 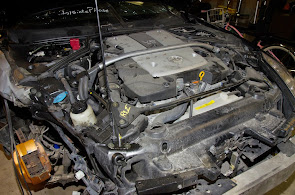 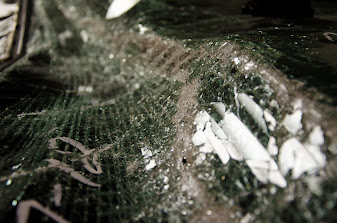 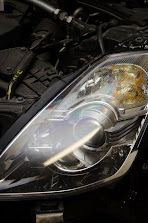 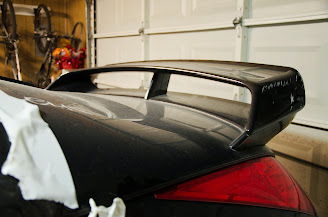 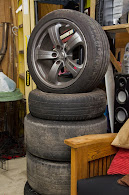 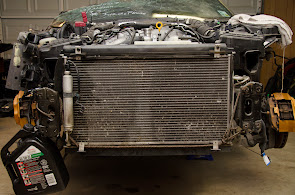 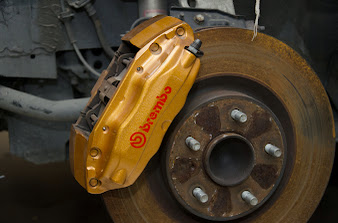 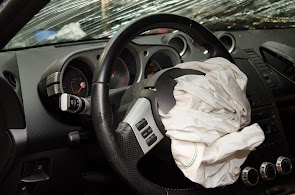 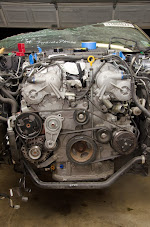 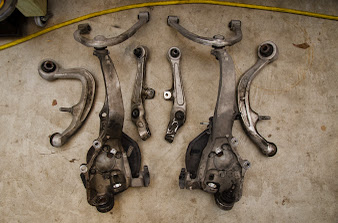 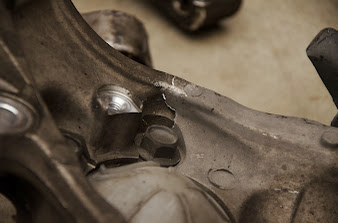 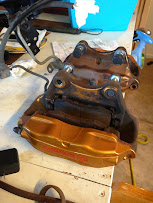 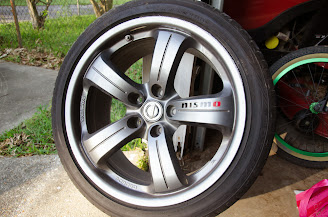 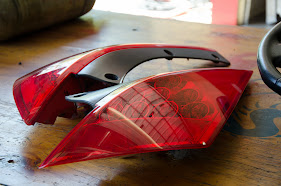 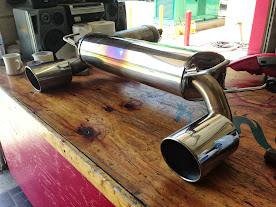 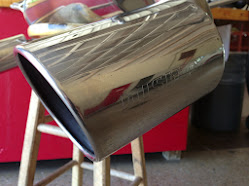 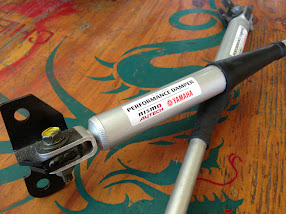 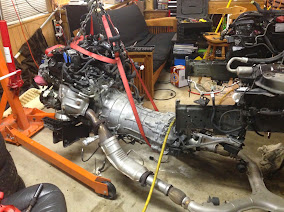 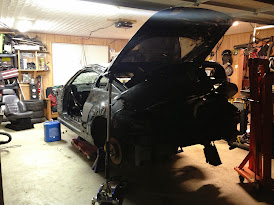 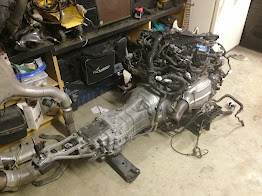 Hauling off the shell 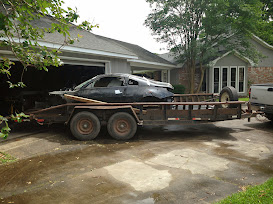 The Plan I plan on using as much of the newer or higher performance parts off the Z as possible. I've done a lot of research on most of this but feel free to point omissions or trash out. Mounts: I bought a motor and tranny mount kit off ebay that looks like it'll get the job done. I plan on cutting them shorter since I want to use OEM rubber motor mounts and the kit came with solid mounts, and anyone who's driven in New Orleans knows that's just crazy. I'm going to try to keep the motor as low as possible and will still probably need to space out the hood or cut it up. I looked into different ways I could get the engine lower, since all the VQ builds have the telltale rear hood gap, but the most you'll realistically get is about an inch. You could spend a wad of cash on a dry sump system but the transmission is nearly as low as the oil pan. You could try flattening the lower front oil pan, but it would probably require modification of the the internal oil pickup, and the oil filter mounts just above the pan. 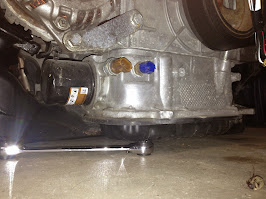 Since I have the VQ35HR, my starter is going to be in the way of the steering rack since it doesn't have the tabs that the DE has to mount the starter on the passenger side of the engine. I'll either need to create an extension to the starter and mount it farther back, tilt the steering rack like PlusONETEN, or (worst case scenario) put spacers under the crossmember like a lot of other members, which apparently will throw off all sorts of roll center. I wonder if there's enough space on the crossmember LCA mount for me to offset the gap by welding the bolt holes closed and redrilling them higher... Fuel: The Z's VQ uses a returnless fuel system and relies on an in-tank regulator/sending unit. I plan on modifying the fuel rail setup to use the S13 return system. I picked up some fuel line, an AEM fuel pressure regulator, a 255lph fuel pump, and a couple of fuel rail adapters. Should be a decent setup for nice cool fuel. Cooling: The Z33 radiator / AC core / fans / overflow tank assembly is too wide for the S13 so I picked up a Mishimoto radiator and fan shroud kit, ouch. The warranty was the deciding factor in going with Mishimoto. Power Steering: I didn't have power steering for a few weeks before I installed a junk yard pump, which died after a couple of weeks from the iron filings even though I flushed the crap out of the system, but I really liked having power steering. Since my rack is apparently trashed from iron filings in the fluid, I ordered a remanufactured rack as well as a power steering kit off VQSwap.com (subsidiary of ChaseBays) to tie the S13 rack into the Z33 pump. Brakes: I plan on using the Nismo's Brembo setup, especially since I already have 5-lug with the Z32 calipers all around. In the front I just used the larger rotor and drilled out my knuckles to 14mm (IIRC) with a press. I also got some shorter bolts since the Z brake bolts' smooth shank prevents using the original bolts. The S13 steering knuckles are a good bit thinner than the Z33 knuckles. For the rear, the bolt pattern didn't match up so it looks like I'll be fabricating some adapters unless someone knows someone selling cheap ones. The S13 ebrake shoes look like they'll line up with the larger rotor's interior braking surface but I've only done rough measurements. 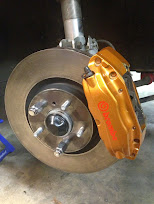 Electrical: I'm just going to basically put the entire 350Z electrical system into the S chassis. I'll need to interface with various lights, sensors, etc. of course. I don't initially plan on removing NATS or programming the ECU so I kept the entire steering column, throttle pedal, BCM... I've got a fair amount of wiring ahead of me. Differential: Of all the aspects of this swap, I think I've read the most on which is the best differential / final drive gearing to use. My current plan is to modify my subframe to take the Z33 differential. I plan on using a Q45 driver's side axle on the driver side, and the Z33 driver's axle on passenger side. There are people that say the R200 4.08 will serve my purposes well in autocross, however this would apparently be horrible for highway use. On the flipside, there are people that say the 3.357 FD out of an automatic transmission 350Z / G35 is an even better choice than the 3.54 LSD that I already have due to the weight difference, but I'm afraid this might be too tall a gear for putting power down. Aside from the gearing, there are other reasons to go with the Z diff vs the R200 VLSD. One reason is that my VLSD is probably completely worn out and open after all the years this car has seen. This wasn't a huge factor since I could easily just grab another 240 diff, but most that I could have picked up were open diffs. The Z ECU reads ABS, TCS, and speed from the six-bolt output shaft diff flanges ( in addition to the ABS rings on the front hubs, of course ). I would like to have the option to use ABS if so inclined and a working speedo will be new to me. If anyone has some spare front hub ABS rings lying around, I want to buy them, LOL. Here's a comparison shot I took of the Z and S body diffs and axles. The R200 S13 VLSD has no mounting bushings whereas the Z diff has bushings on the two mount tabs in addition to the rear. The rear Z diff bushing is on the subframe. 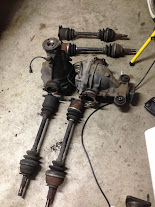 Light VQ swap reading: Near perfect diff for VQ or V8 conversions PlusONETEN build VQ 240Z, This guy incidentally is THE resource for shifter bracket relocation Post-build plans include a race wheel/tire setup: putting Toyo Proxes R888s on a set of RPF1s in 17x9.5, ~12 offset or so... or if I hit the lottery, some TE37s. I'd also like to get some adjustable sway bars to play with but I haven't started looking into which ones yet. Sadly, I also like the Rocket Bunny S13 coupe kit, which sucks, because the kit plus fenders would probably cost more than my KW V3 Coilovers. Last edited by Jissan; 09-21-2015 at 01:17 PM.. |
|
|

|
| Sponsored Links |
|
|
#2 |
|
Zilvia Member
 |
The Build
Here we go. I sold off the KA and tranny and started stripping down the shell 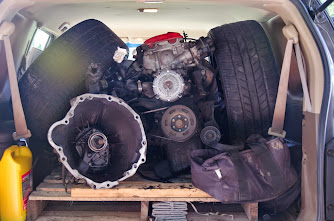 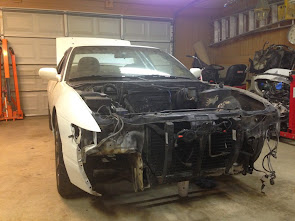 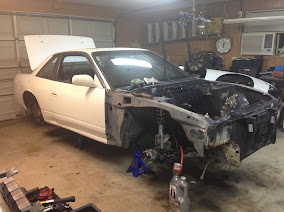 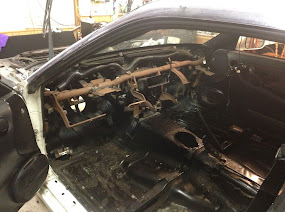 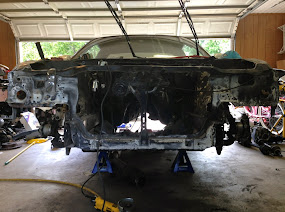 Cut out the rusty fender aprons 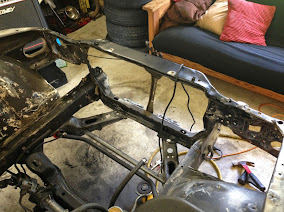 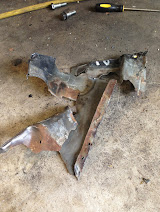 Found some big tears in the fenders and the shock tower supports so I put my brother on the task. He happens to be a combination welder. 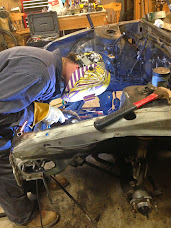 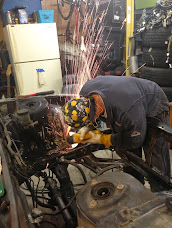 Parts! 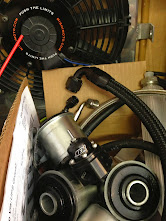 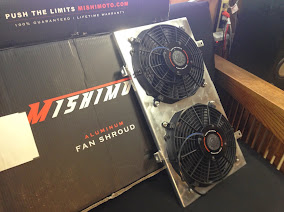 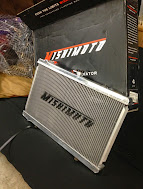 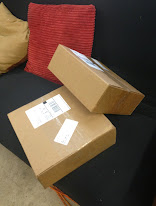 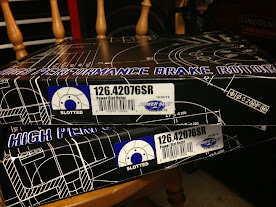 Two of the subframe bushings were worn completely out and the other two weren't even attached. There was also a huge crack on the passenger side. 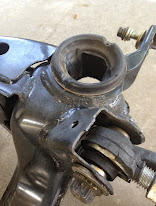 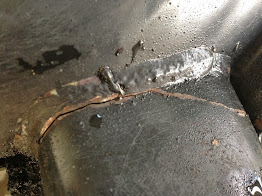 Knocking out the bushings after hitting the rubber with the recip saw. 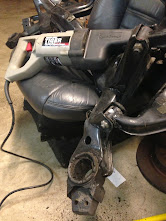 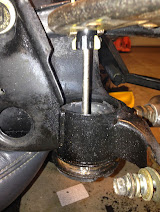 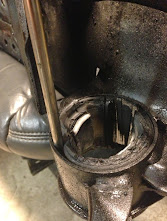 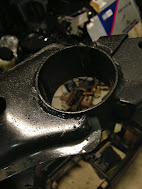 Pressing in the new Whiteline bushings. 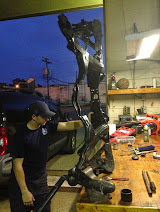 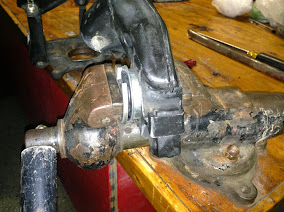 Modifications are required to fit the Z diff into the S chassis subframe. You've got to widen the mount points and lower the mount deck about an inch. I'm still working out the last bit of structural support and mounting the rear bushing on the back. I'm going to get it all squared up and mount it back on the car when I get the engine mounted. I'll take custom driveshaft measurements and then pull the subframe for final mods, add the diff's rear bushing and paint it. 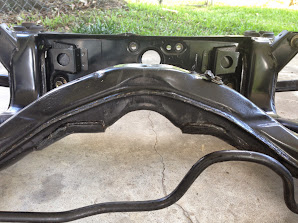 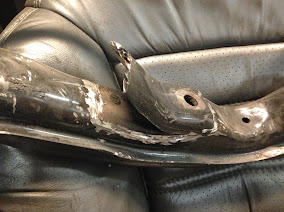 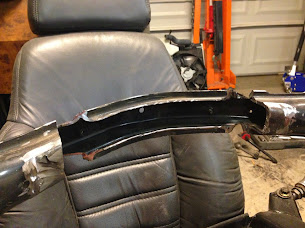 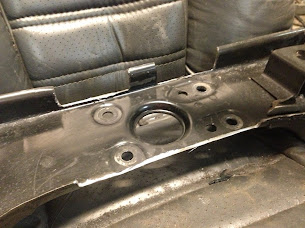 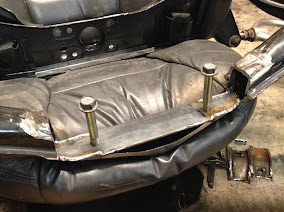 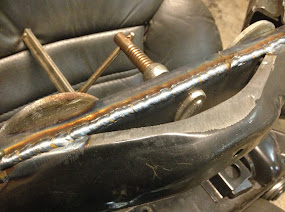 These are the Z axles mocked up to the diff in the subframe. The driver side axle is just a bit too long! 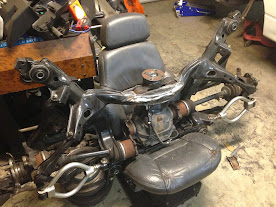 The OEM G35 coupe 17s clear the Z Brembos! 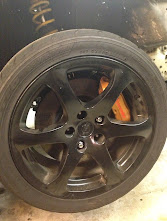 |
|
|

|
|
|
#6 |
|
Leaky Injector
Join Date: Jan 2003
Location: Chicago area
Age: 40
Posts: 64
Trader Rating: (0)
 Feedback Score: 0 reviews
|
Wow, I like where this is going. I was thinking of going KA-T for the longest time now, but my ways of thinking has changed. One of my options was going VQ35HR, since I also own a 08' G35X sedan as my daily.
|
|
|

|
|
|
#8 |
|
Zilvia FREAK!
 Join Date: May 2007
Location: Texas/or/Afghanistan
Age: 33
Posts: 1,511
Trader Rating: (3)
           Feedback Score: 3 reviews
|
Depending on his ride height (autox) it probably wouldn't be any worse than what we do to our vehicles by slamming it to the ground.
__________________

|
|
|

|
|
|
#9 |
|
Zilvia Addict
 |
lucky find on the Z!!! this is a really interesting build, I like the read, not to dry
 keep the updates coming!!!
__________________
Two-Tone owner#011509-Lightly Modded 
|
|
|

|
|
|
#10 |
|
Zilvia Member
 |
After calling around to several local businesses that claimed to build CV axles, it turned out that they all sent the axle off to some third party and got remanufactured ones back. Since my project required a shorter driver side axle than an OEM Z axle OR an S13 axle with a 6 bolt flange, eg. custom... nobody could actually do the work. I had a friend suggest what worked for them: an axle off a 95 Q45. I may have ordered the wrong side however, since the custom ordered AutoZone part turned out to be way too long. Thankfully I was able to return it.
Frustrated, I just started taking the axles apart to see how they're put together and to my surprise, EVERYTHING matched (aside from the diff flange bolt pattern, of course)! Between the 89 S body and the 2007 Z body, the CV side is made up of a six bearing cage held on with a lock ring. 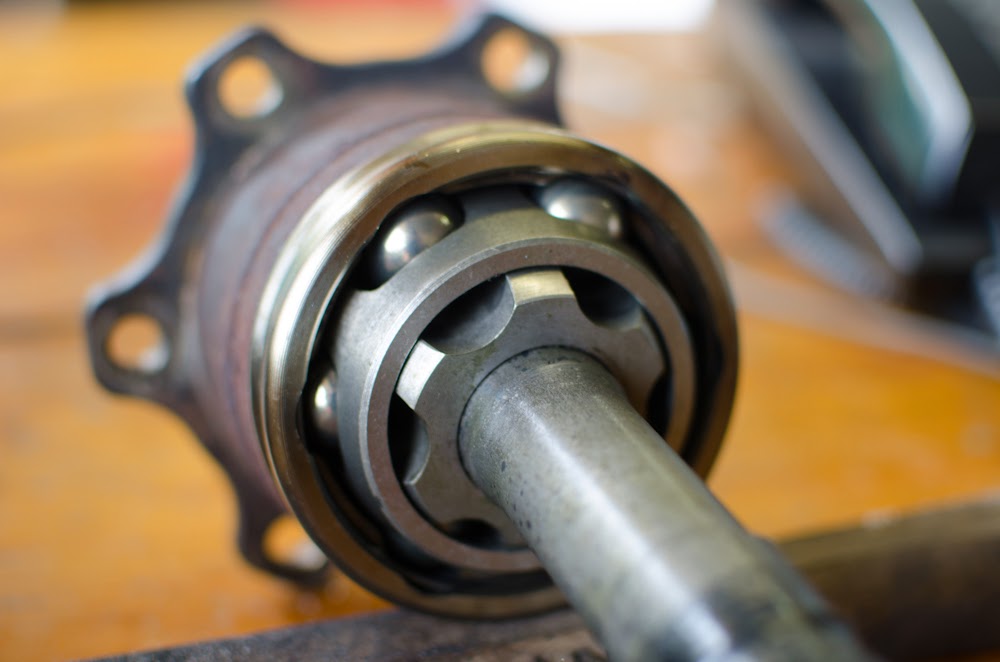 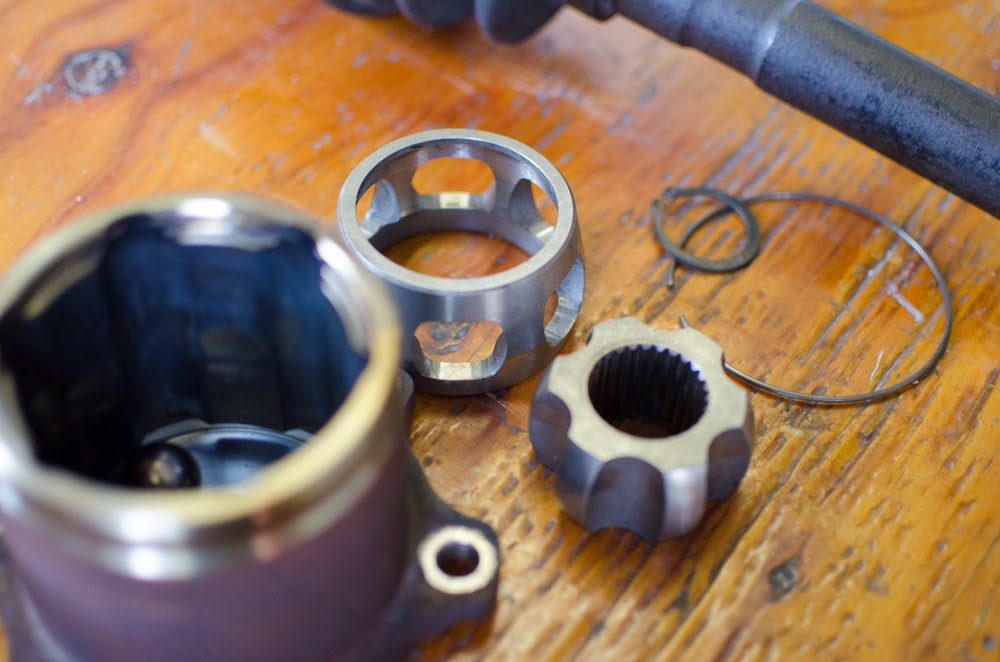 I got to work swapping over the diff flange on the CV to the S13 Axle. During the work, a photographer friend of mine stopped by the shop and decided to experiment with some colored lighting. 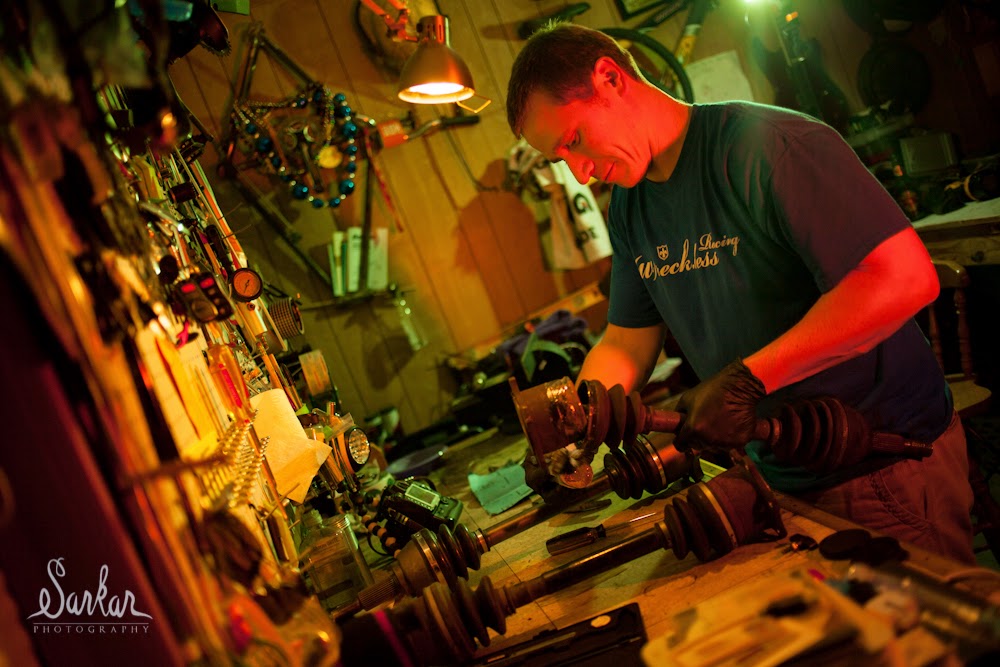 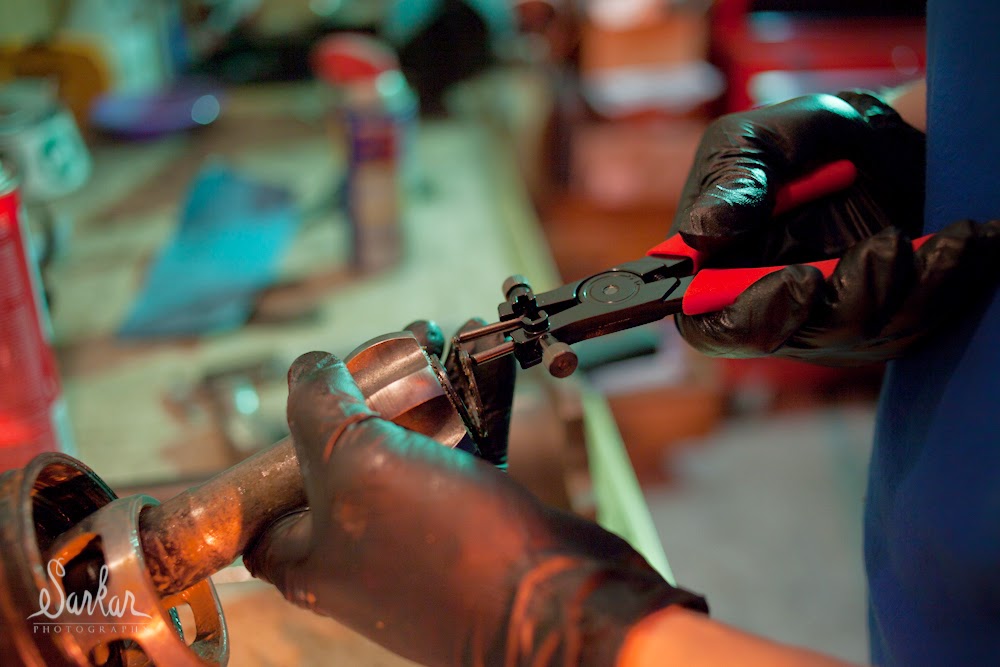 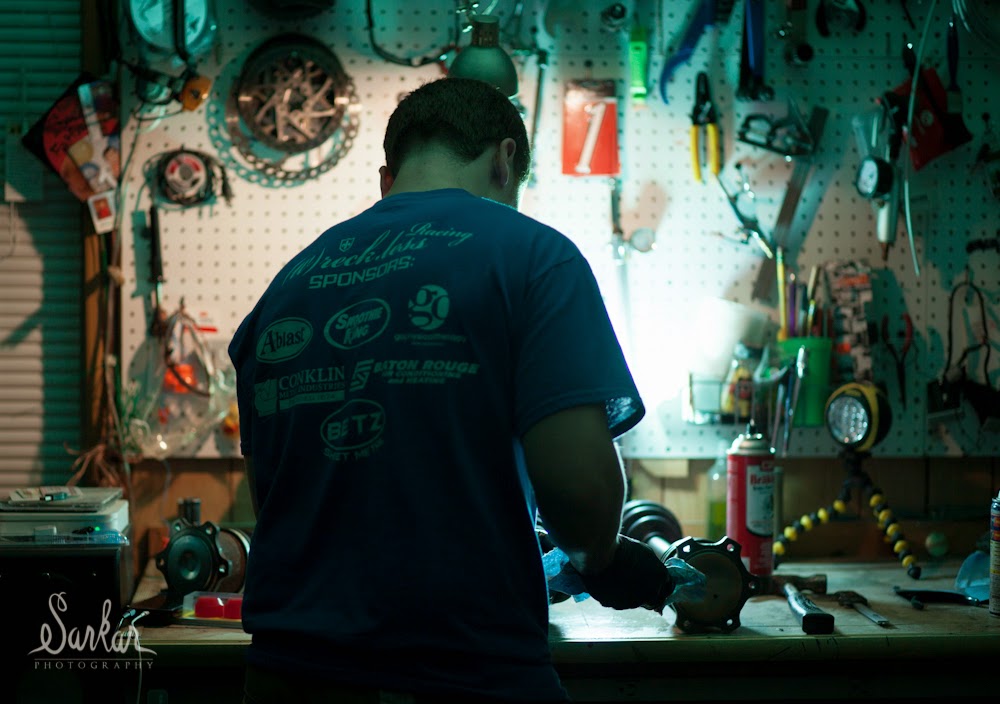 The finished axle. 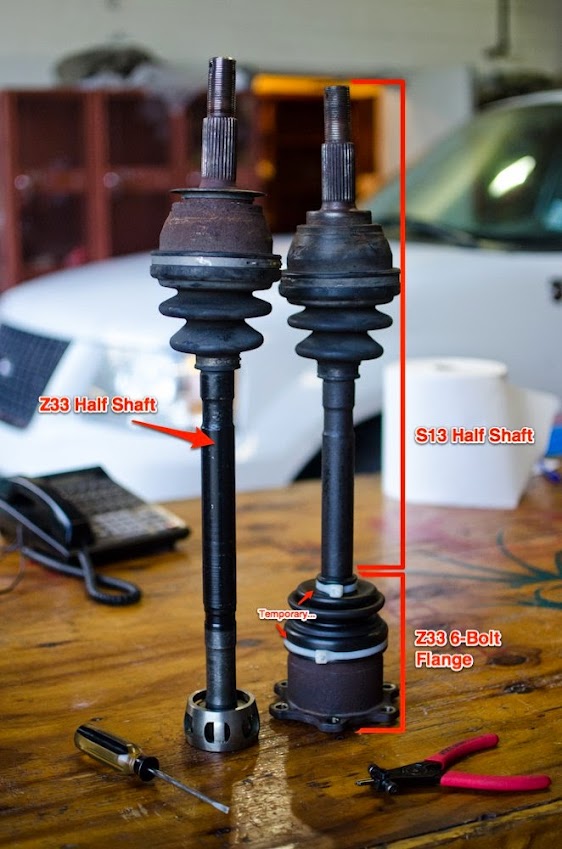 Since I had the axles finally taken care of, I set to putting the final supports on the subframe (some square tubing with some 8 gauge flat stock welded on to spread the footprint), primed and painted it, and shoved it back up the Coupe's tail. I chose these mount points to counteract the twisting forces of the diff while mounting to the other side of the lower control arm mount point. It also cleared the axles nicely. 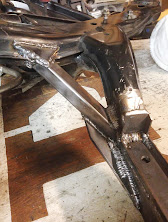 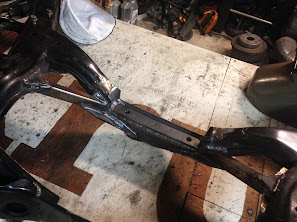 This was about the time I went to Wyoming on a downhill trip and broke my radius at the wrist on the third day of eight. Great. Six weeks of not being able to use my left hand.  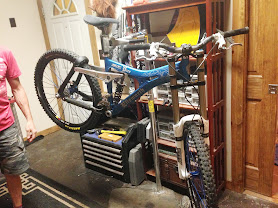 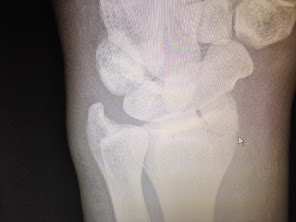 Determined not to let my injury stop me, I singlehandedly sanded, primed, and painted the engine bay. 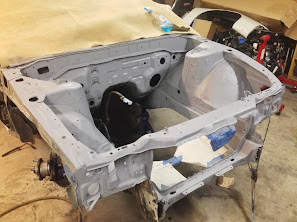 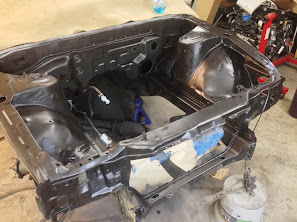 Still trying to work without both hands I spent a couple hours cleaning up the inside of the car. My sound deadening was so brittle that it came out pretty easily by scraping and jabbing it with a massive sharpened Klein screwdriver. A finished shot with the Dynamat Extreme should be in the next update since I'm not done with that yet. 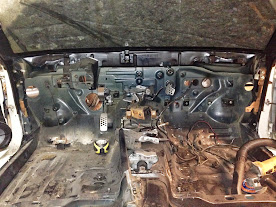 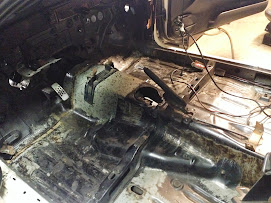 Eventually I got some help and they only wanted to put the motor in the car, so we prepped the crossmember and slung the motor into the bay, temporarily using the supplied solid motor mounts. 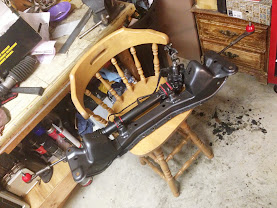 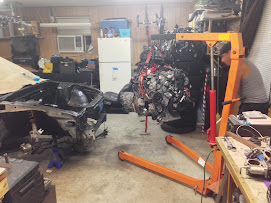 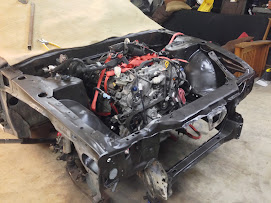 Here's a shot of how the HR starter sits on the steering rack. 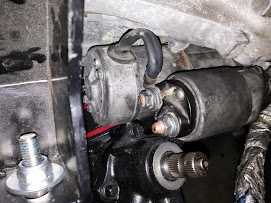 We explored a lot of options, including: shifting the starter solenoid forward to clear the rack, modifying and using the bent up Z crossmember, and other bad options... but have decided to try to rotate the rack to clear the starter and take up the slack with the steering column angle since I had the Z and S columns to work with. Sadly, this is still in progress. Here's a comparison of the S and Z racks and columns for shits 'n giggs. 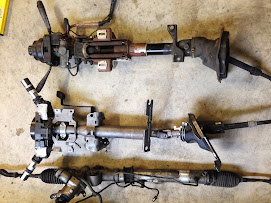 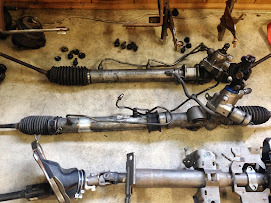 I shortened the shifter linkage by cutting out the shaft and welding the couplings. 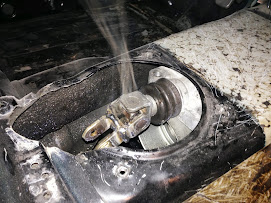 I've since grabbed some CJ Jeep biscuit-type poly motor mounts to swap out the solid aluminum ones, and found a GM-type poly trans mount that is a direct replacement for the kit's solid trans mount. 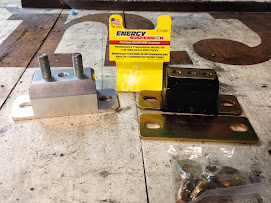 The coupe is getting used to the new engine and I'm starting to sort out wiring. Here's how she currently sits. 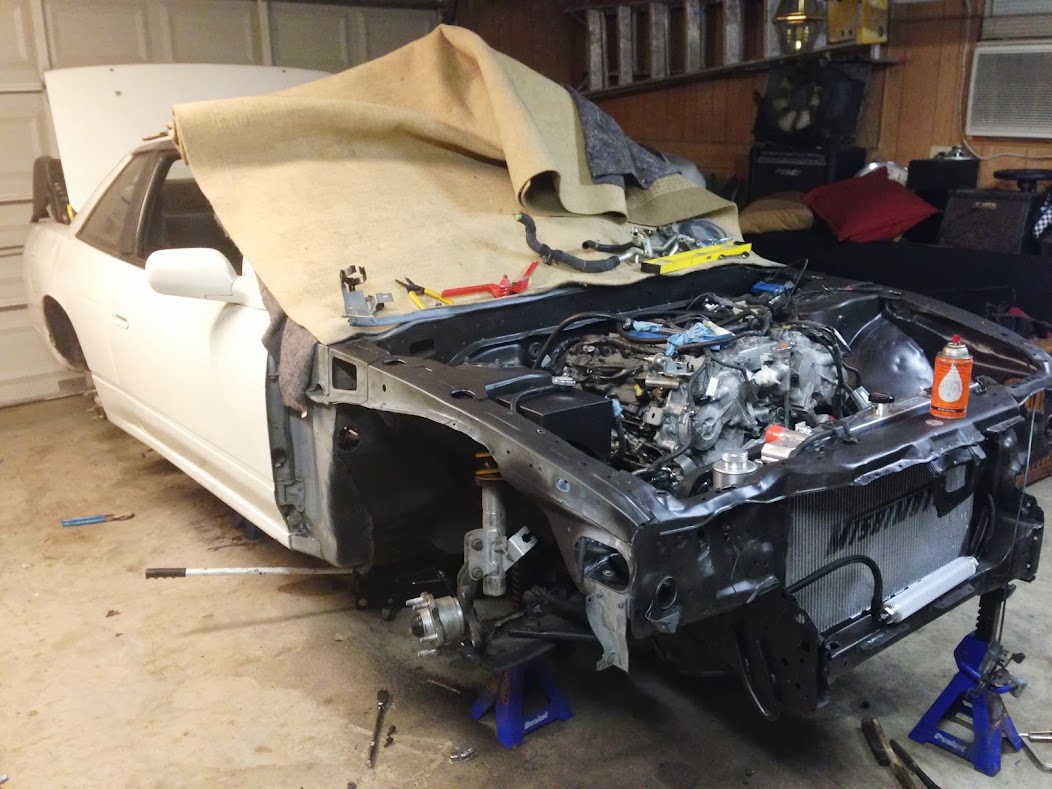 |
|
|

|
|
|
#11 |
|
Zilvia Addict
 |
nice!!. What will you be doing for a shifter bracket ? One that is like the VQ Trans for SR swap ?
the Build looks promising! Keep up the good work!, Don't overwork your hand and cause more damage and heal faster! If you can do all that with one, hand, I imagine you would fly with 2 haha
__________________
Two-Tone owner#011509-Lightly Modded 
|
|
|

|
|
|
#12 | ||||||
|
Zilvia Member
 |
Quote:
 , or doing something like "Powered by" above the plate somewhere on the dash of the S13. Not sure yet. Any suggestions? , or doing something like "Powered by" above the plate somewhere on the dash of the S13. Not sure yet. Any suggestions?Quote:
Quote:
Quote:
Quote:
Quote:
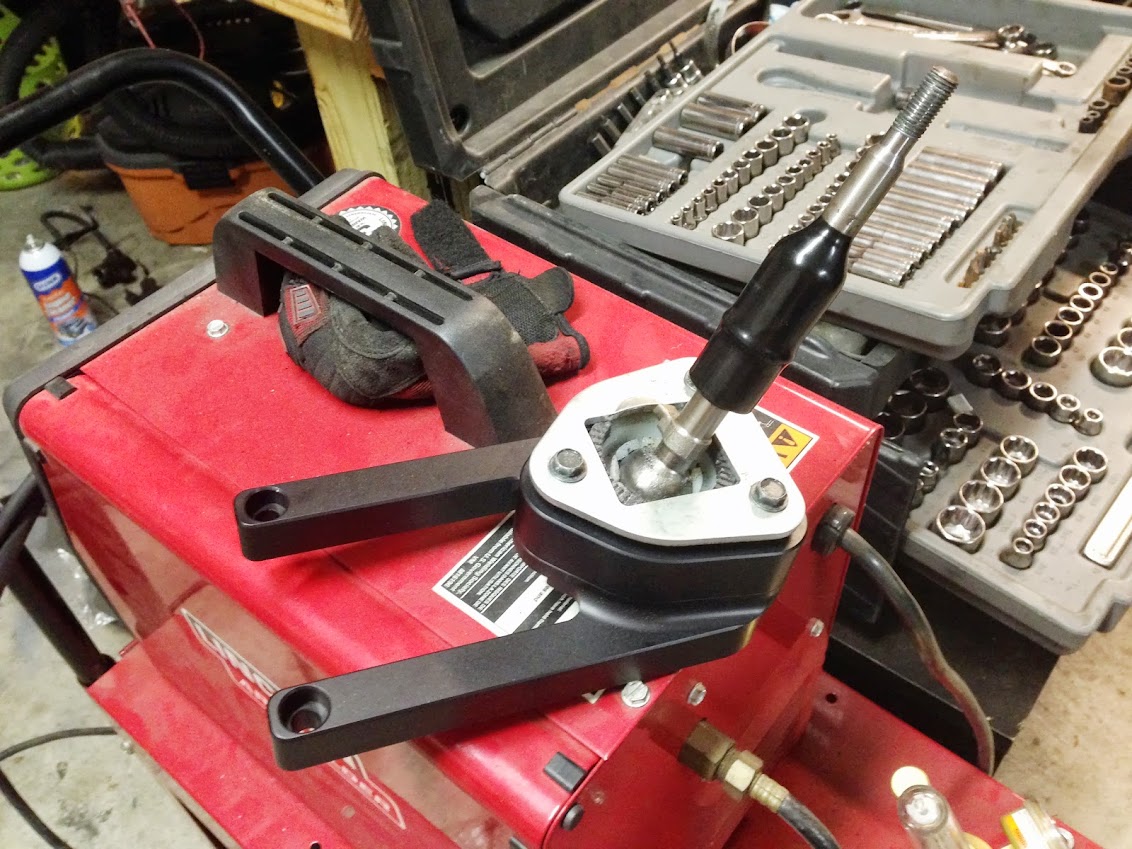 Thanks man! I've been lucky to have a lot of friends with an interest in what I'm doing and the downtime to come help, but yes, I need to take it easy. |
||||||
|
|

|
|
|
#13 |
|
Zilvia Member
 |
Party at my place. Bring your wire crimpers.
And beer.  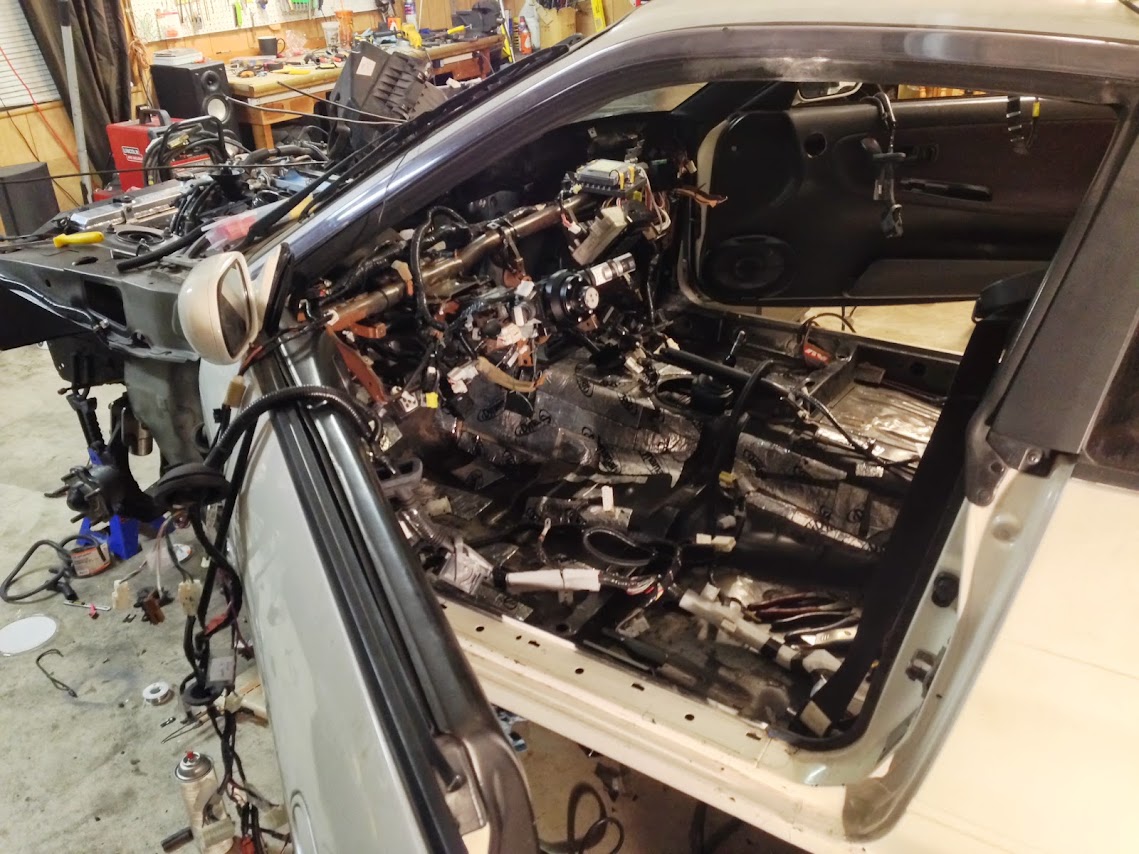 Most time consuming part of the swap, without a doubt. I don't know what's worse: cutting and modifying an existing harness, or starting from scratch! Anyhow, backtracking... Made up a bracket to hold the ABS manifold. Swapped over sensors and cool pedals Z33 => S13. 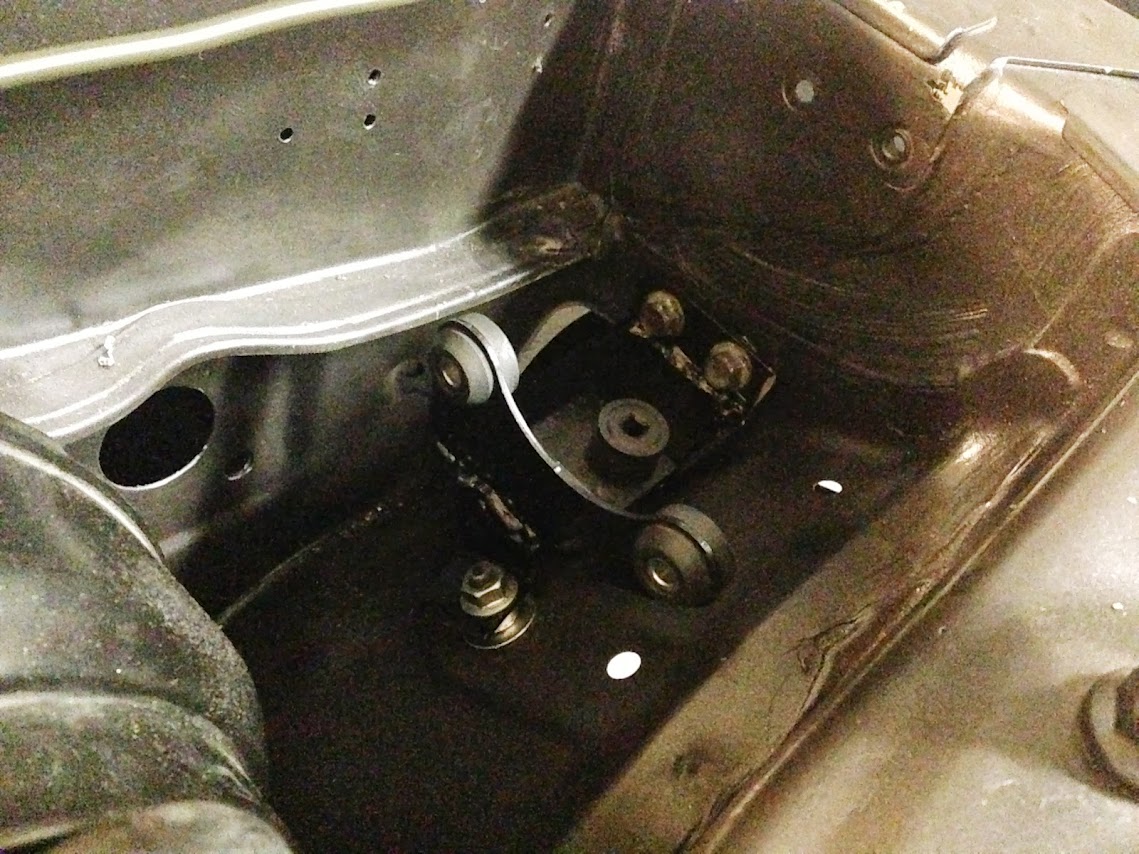 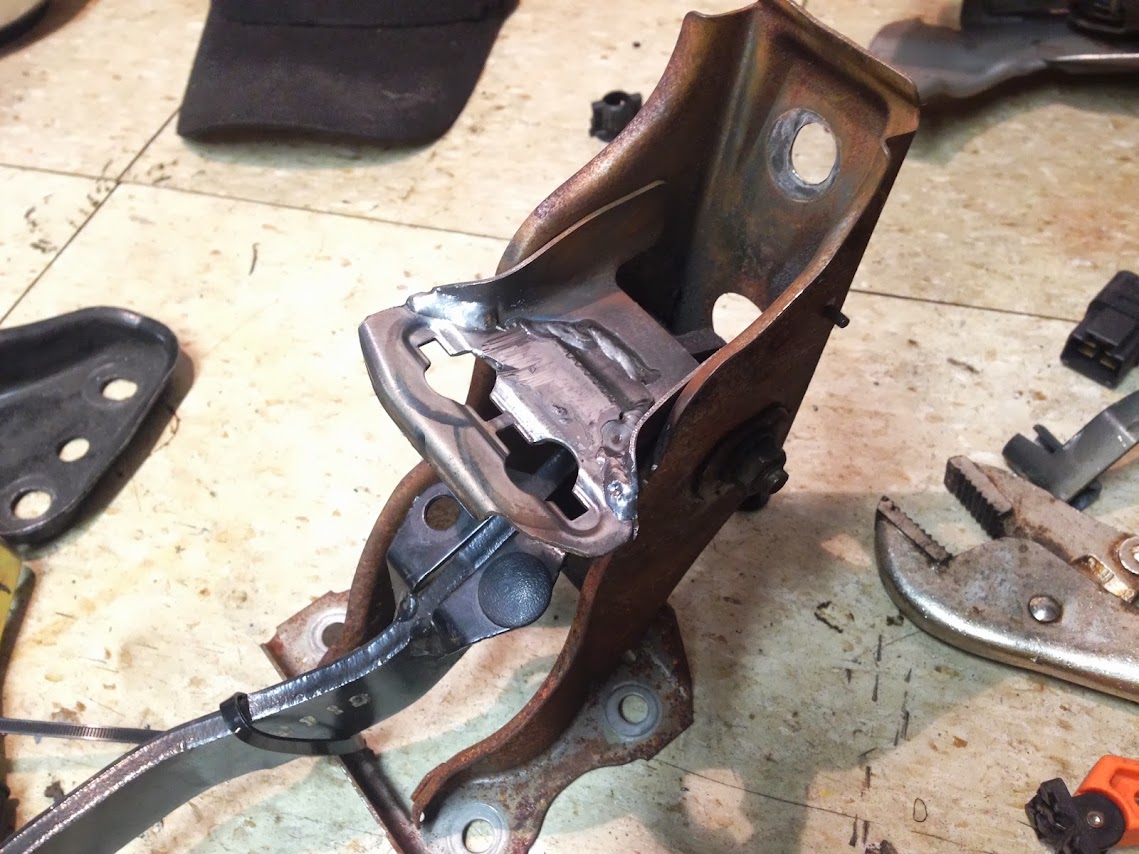 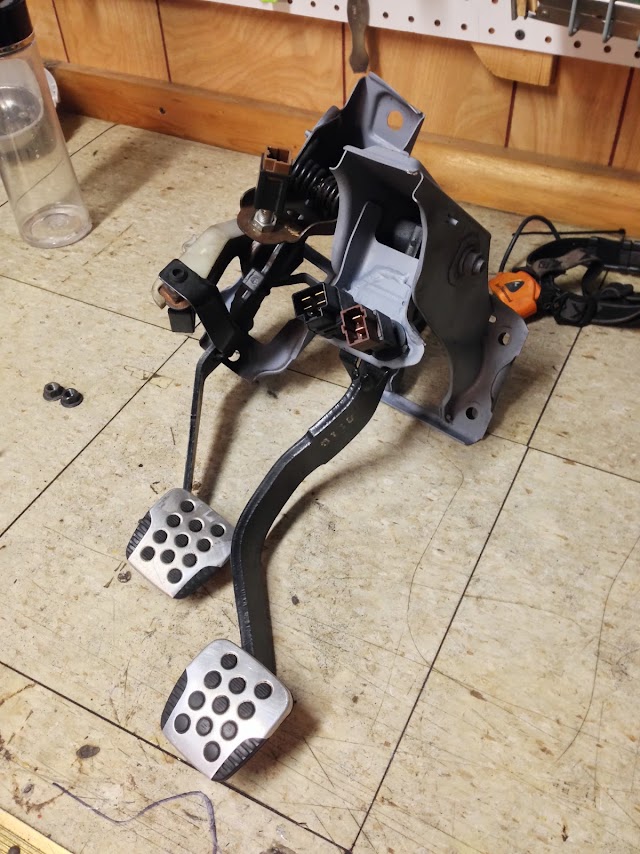 Mounting column controls on MUCH smaller S13 bracket. Didn't fit initially so I had to chop up the 90° wiring harness plugs and make them 180° plugs. 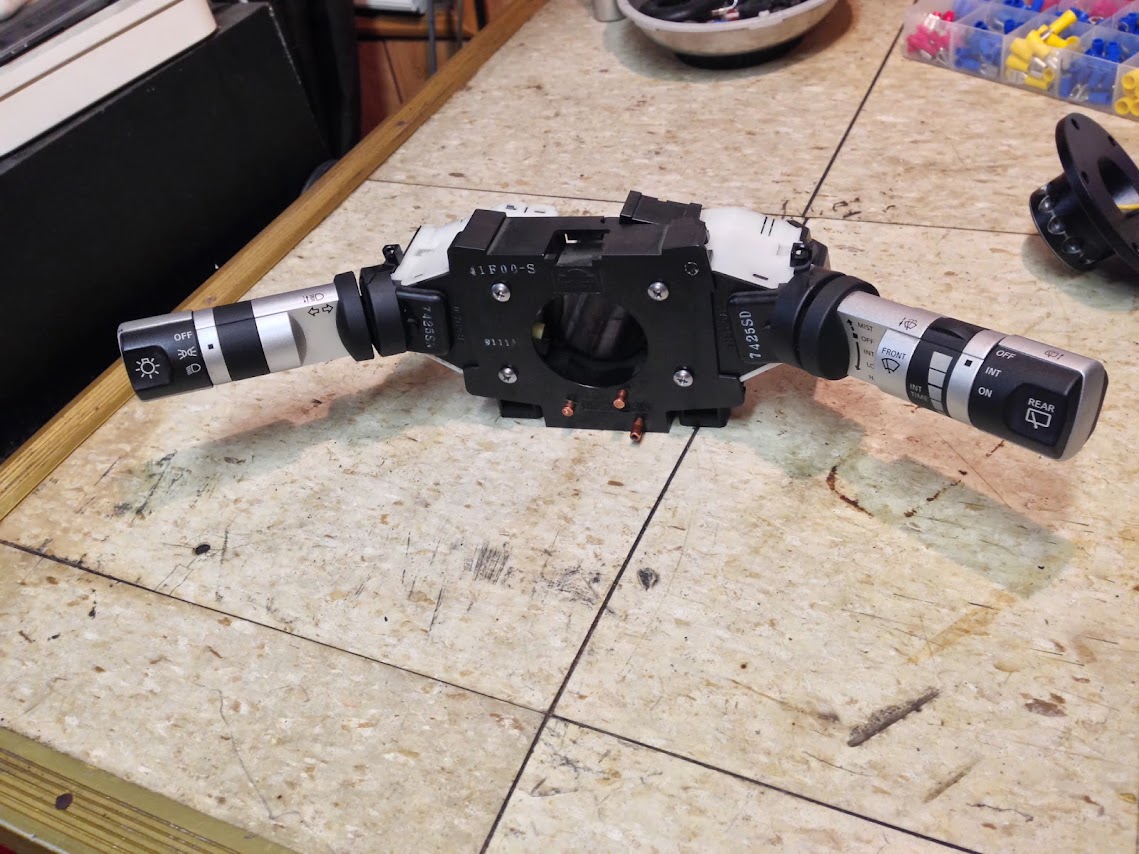 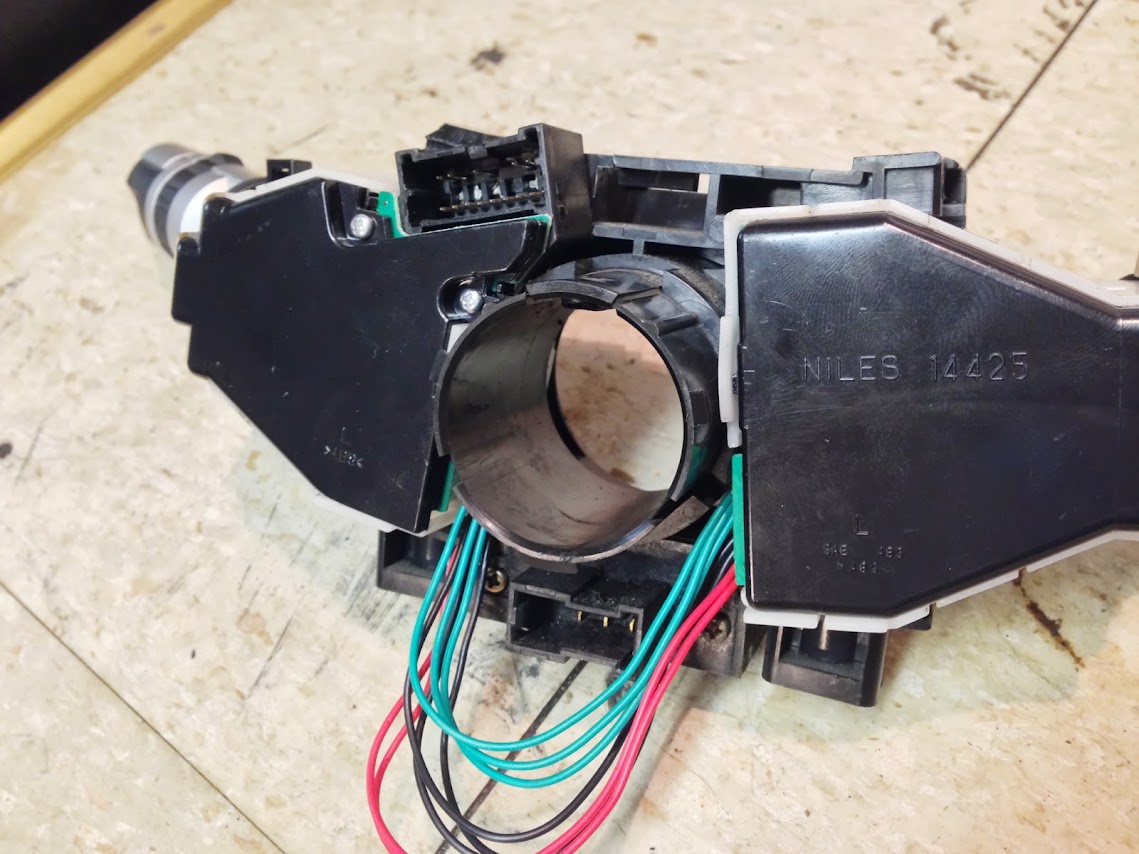 Steering wheel to controls reach is pretty good. Better than stock controls with the removable wheel. Z33 ignition cylinder mounts below the column as opposed to the S13; above. Not sure if I'm going to modify the cylinder or fiberglass the plastic column cover to cover the old hole and make a new one. Regardless, that's way off. I ain't got time for that. I dunno how the hell that cluster is going to mount in my dashboard tho. Gotta think a bit on that one. 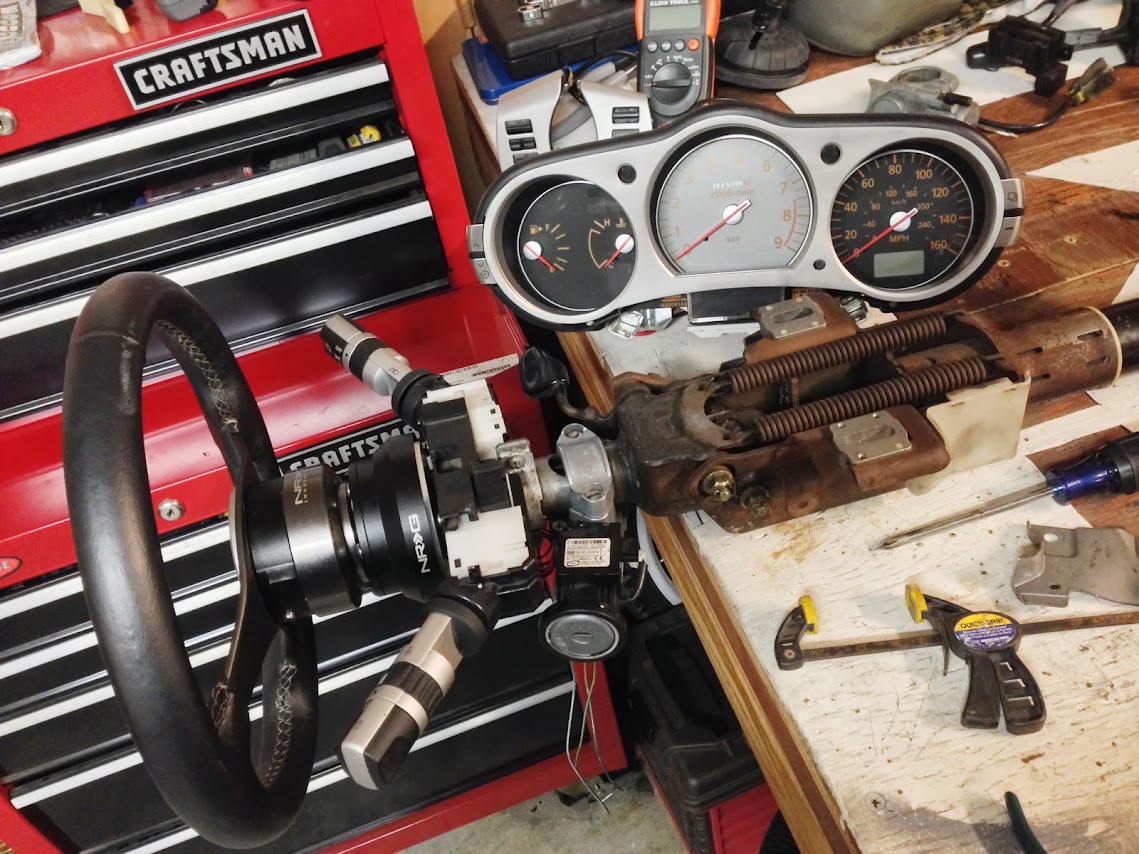 Mounted the pedals, clutch cylinder, and BMC, then adjusted for pedal reach. Mounted column back into the car with the controls on and started throwing in the wiring. 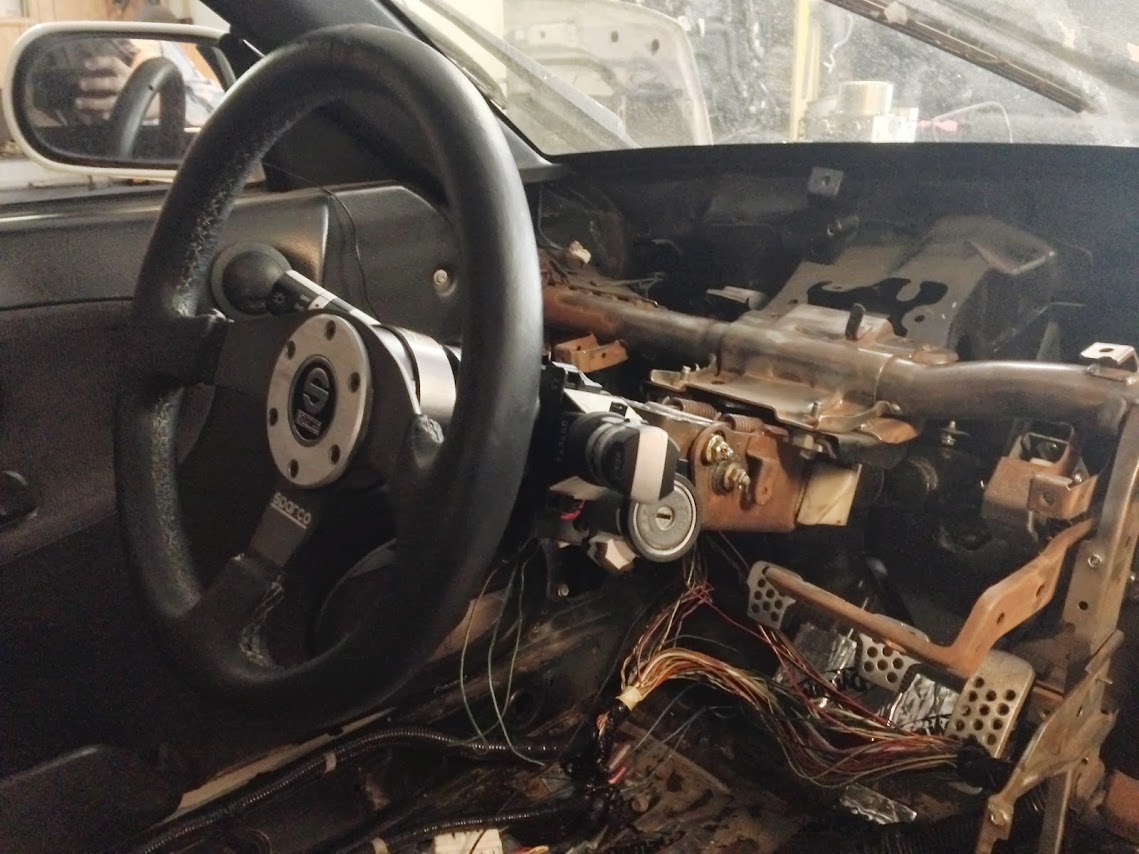 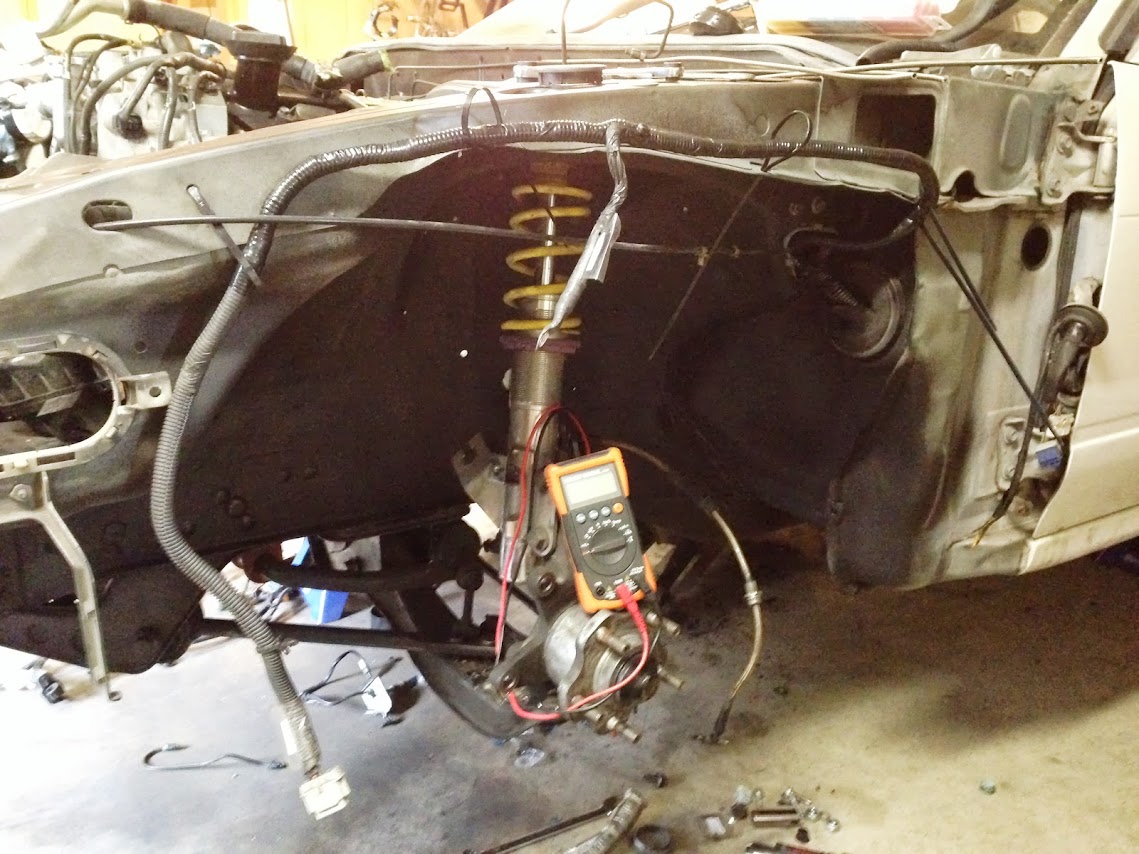 I decided that since space close to the firewall is a a premium that I was going to send the chassis harness through the inside of the car. This turned out to be a shitload of adjustment, relooming of the harness, shuffling of grounds. Going to make a removable panel on the passenger side of the dashboard to get to the fuses. Ignore the wacky Dynamat placement on the floor. Beer happens. 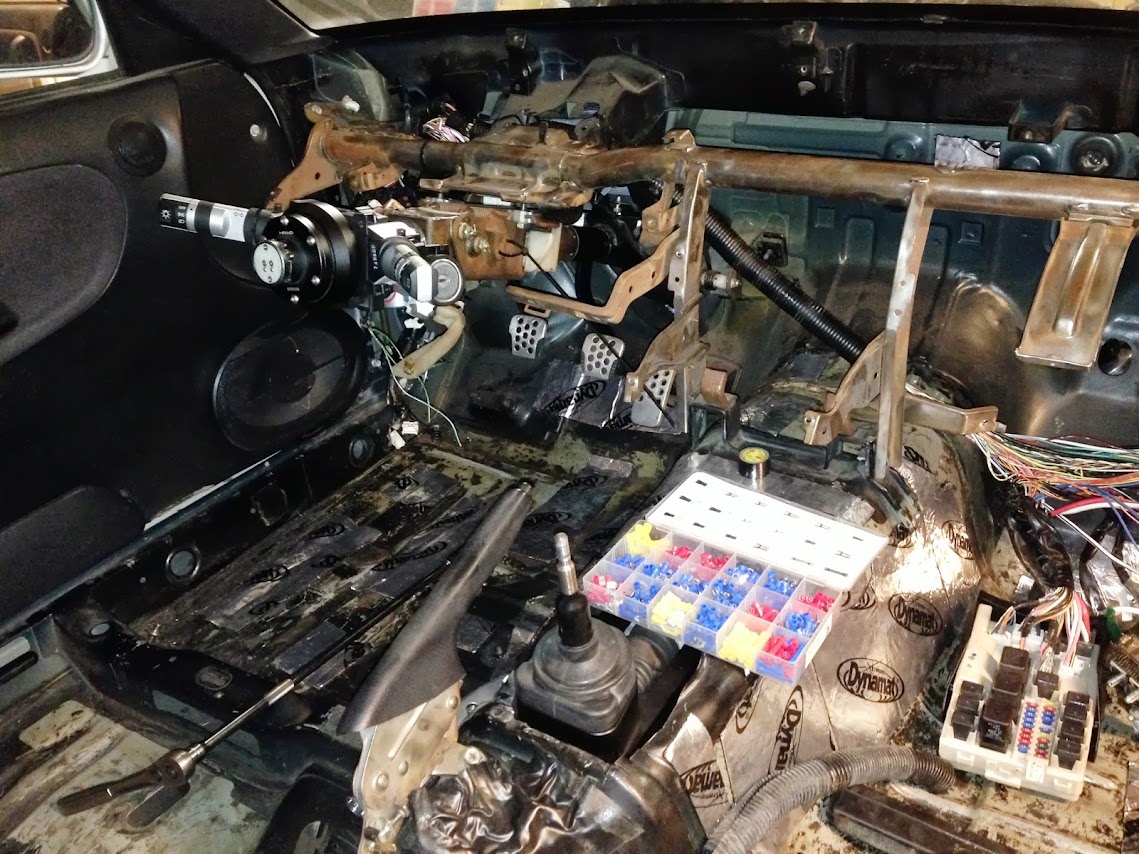  Progress. 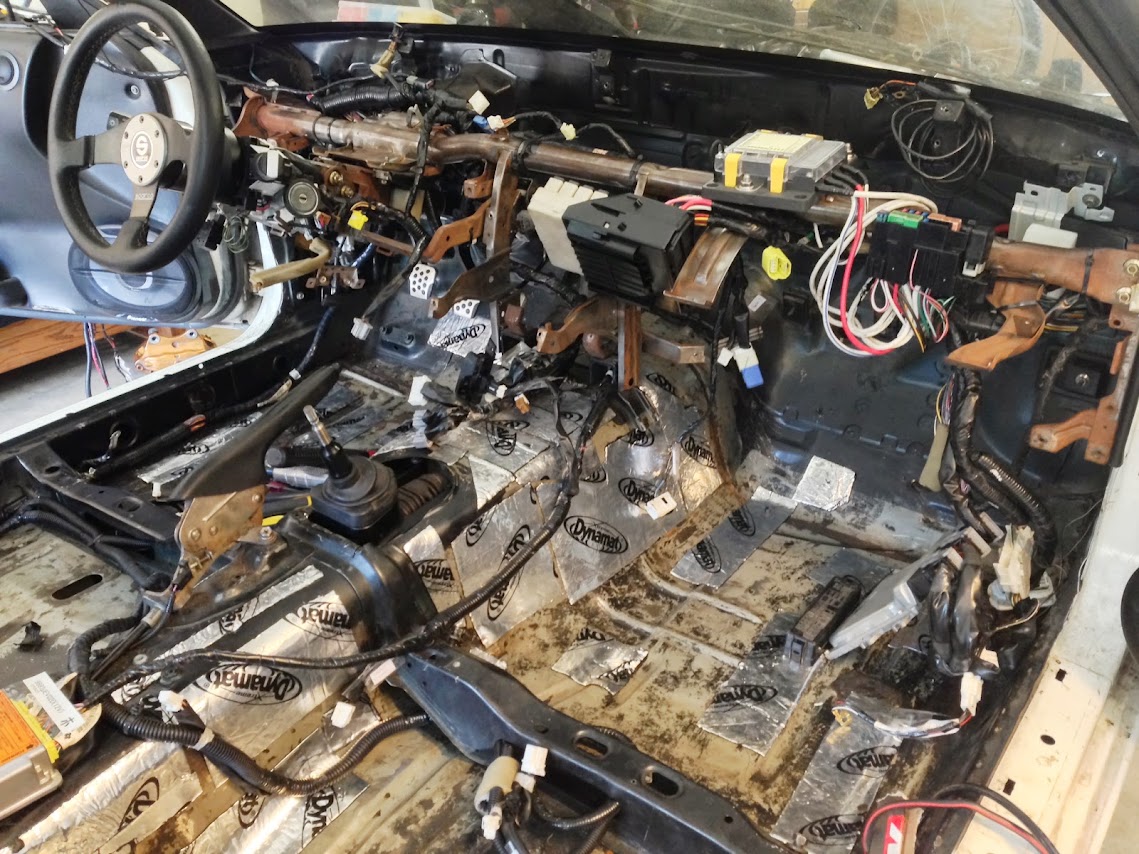 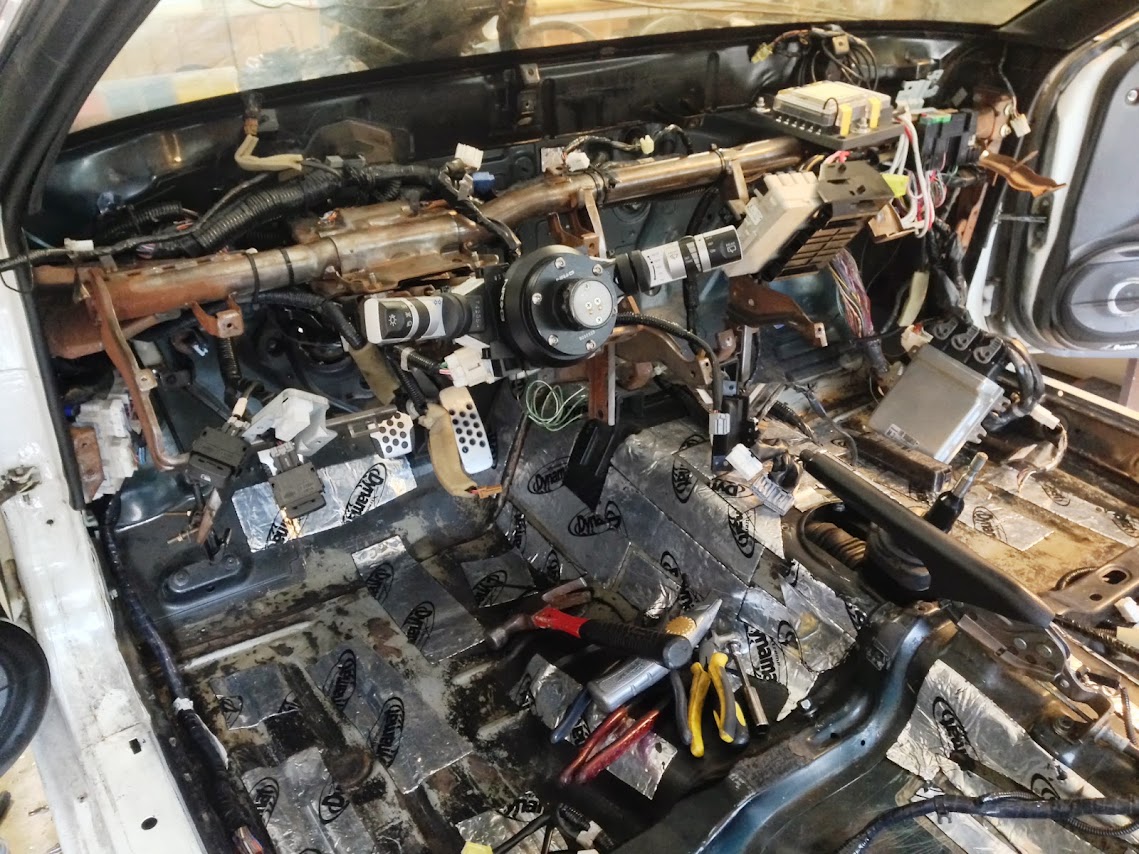 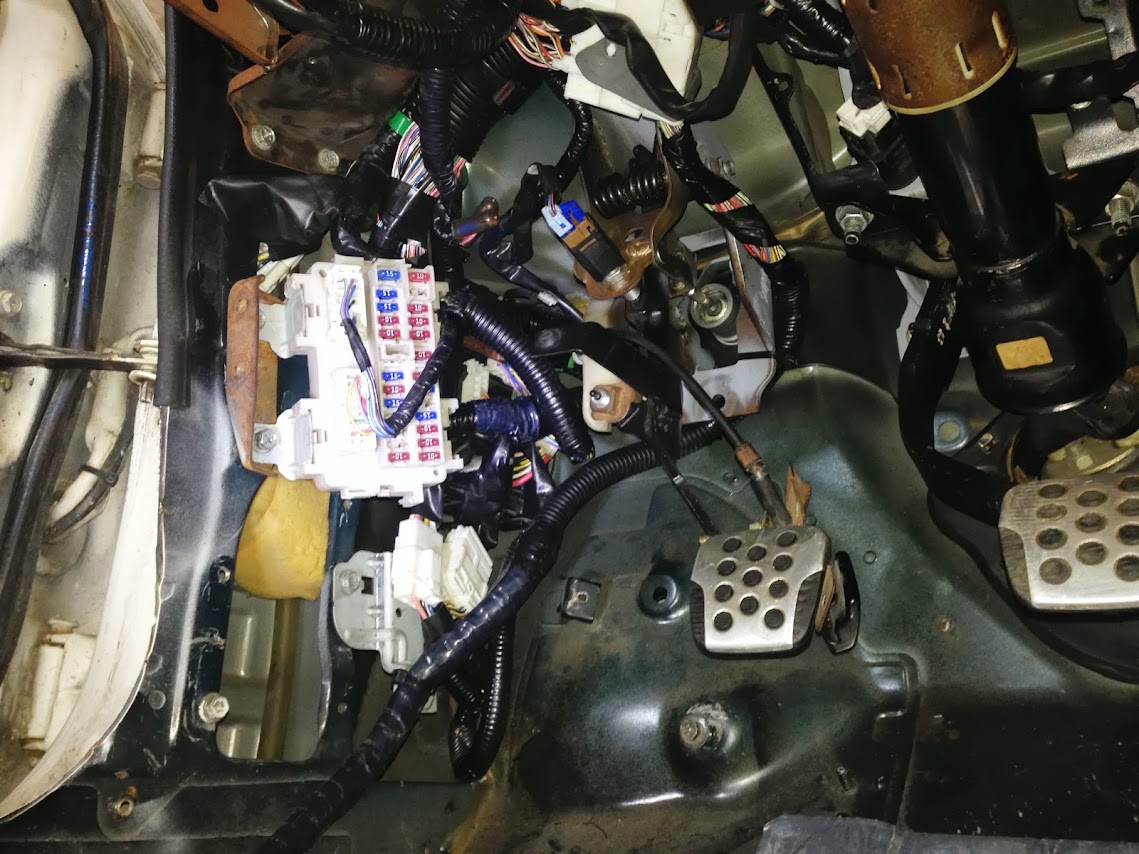 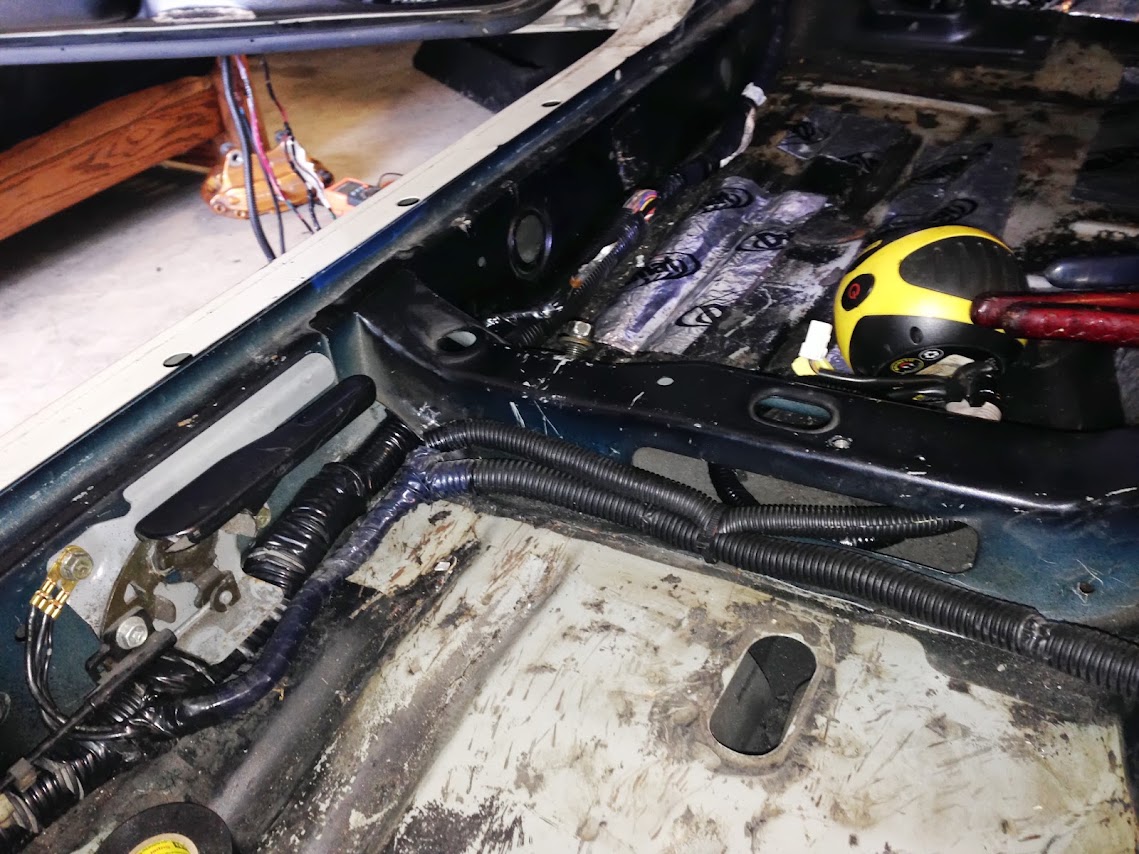 Dealing with more hassle since my battery is in the trunk. Good because of space needed for my dual intakes, bad because of wiring. 350Z peeps don't really move their battery to the hatch for several reasons:
Ended up grabbing a distro block off Amazon and am now able to replace that fuse block with a decent solution and it also has six regular fuse holders for the extra crap I'm gonna need to wire in, such as the sunroof... which is open btw... shit. 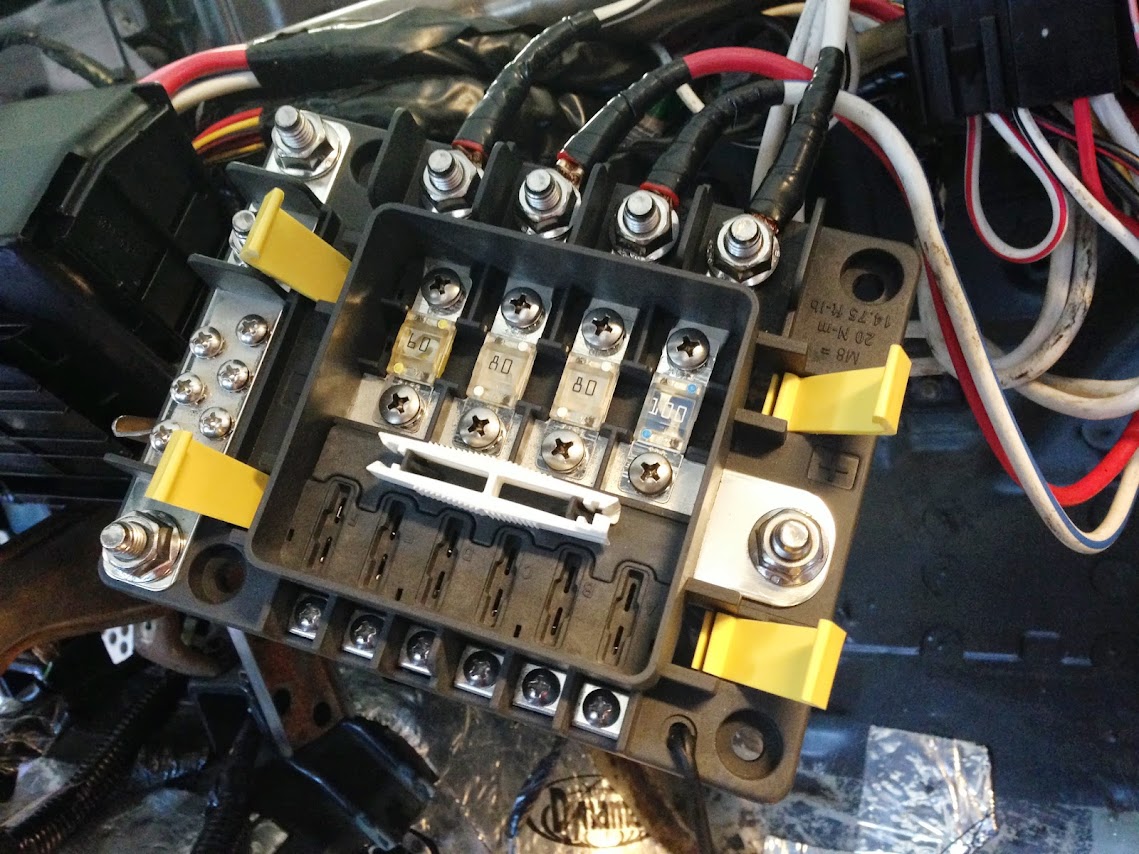 Odd & end shots follow of the power steering res, cleaned up hood release ( which will probably be replaced by aerocatch latches ), ABS manifold mounted with custom lines being run, steering clearance after clocking the rack. 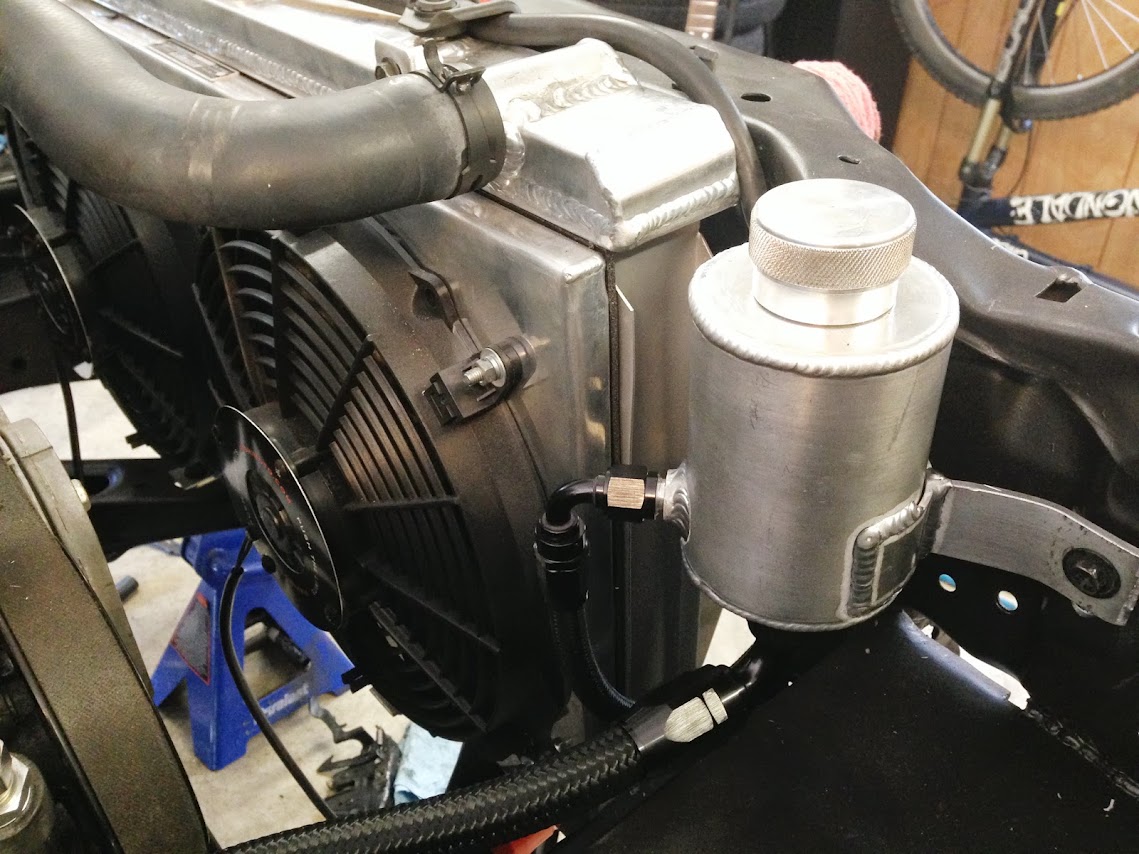 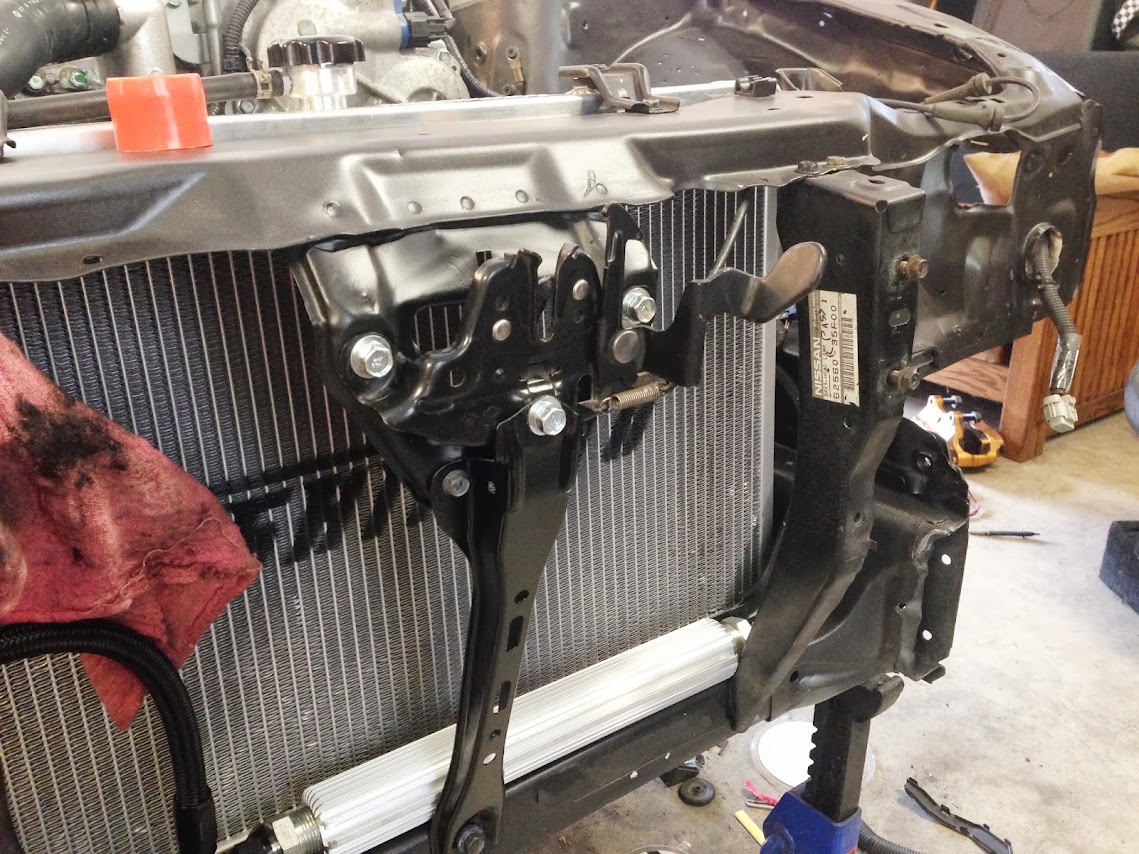 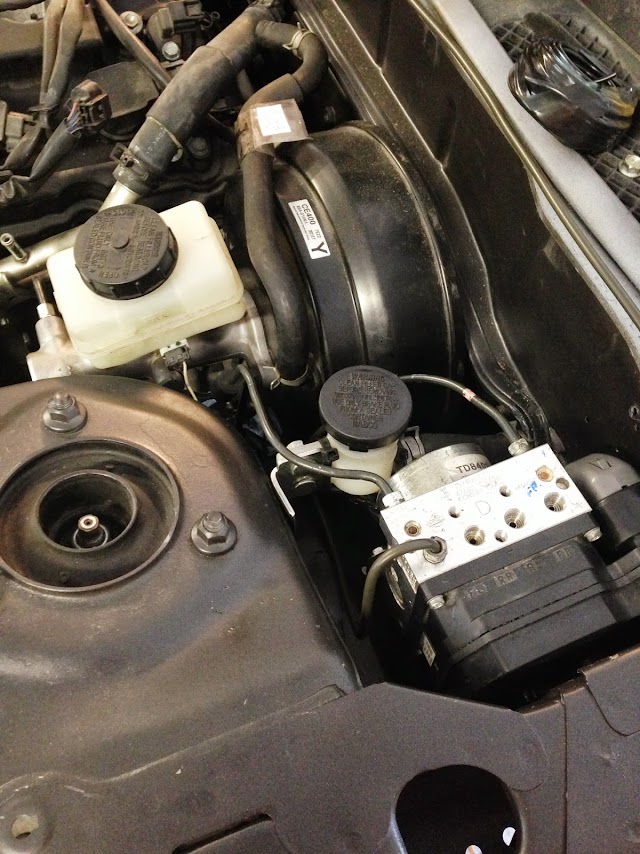 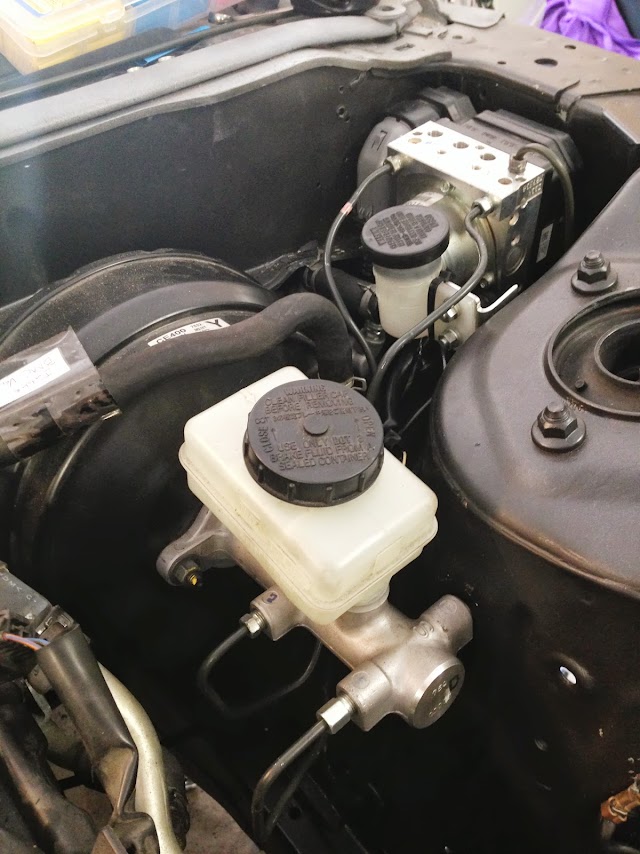 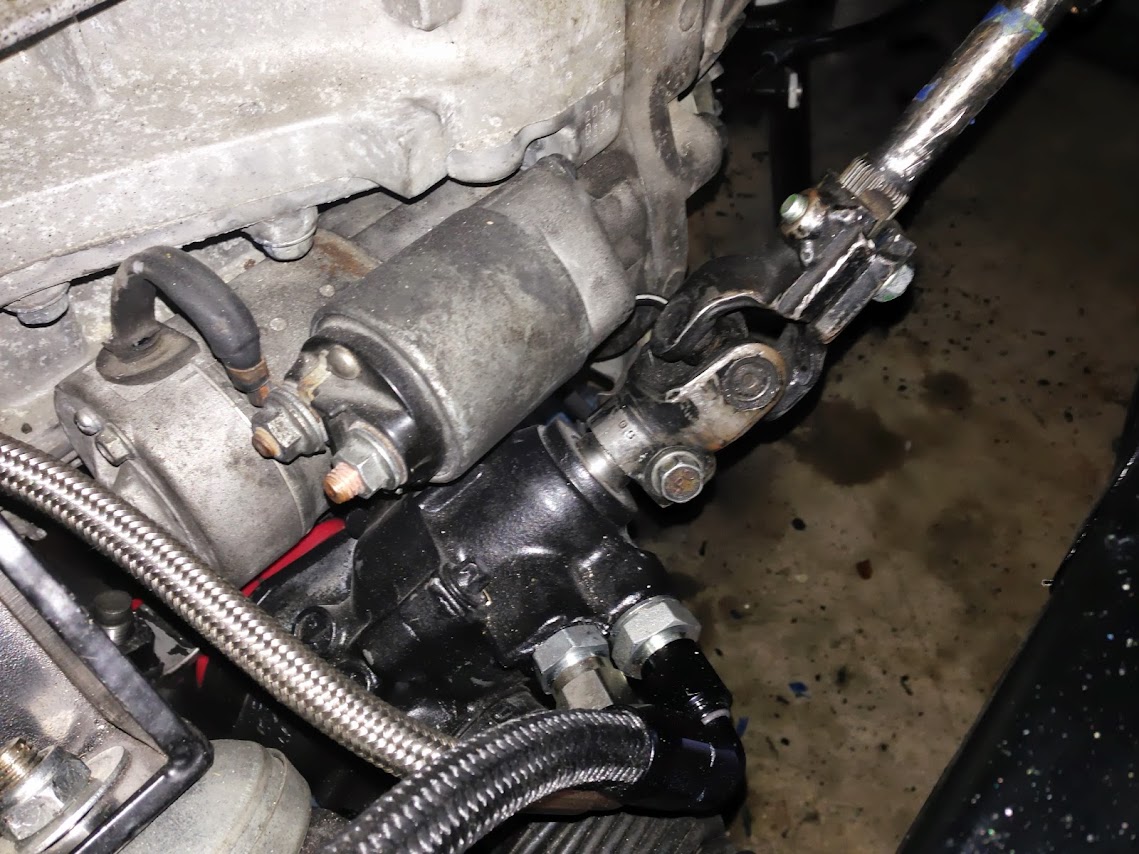 Custom driveshaft ordered from Driveshaft Shop... bunch more crap done. Hustling to make my custom brake lines to all four wheels and finish the wiring integration. Iffy bits include fuel pump wiring and I still have to figure out what to do about the headers touching the firewall. Enough whining, back to it! |
|
|

|
|
|
#14 |
|
Zilvia Junkie
 Join Date: Jan 2011
Location: Mililani, Hawaii
Age: 38
Posts: 459
Trader Rating: (0)
 Feedback Score: 0 reviews
|
Way too document everything man...path definitely unbeating!
|
|
|

|
|
|
#15 |
|
Zilvia Member
 |
Thanks man! Yeah, I take a lot of pics and like to tell the story and process. Sometimes the only thing stopping someone from pulling the trigger on a swap or buying a part is not knowing enough because someone's build thread goes from a photo of a KA coming out and then the SR/RB/VQ/VG/BBQ going in, and they never touched on what happened in between.
|
|
|

|
|
|
#17 |
|
Zilvia Addict
 Join Date: Jan 2003
Location: Baltimore, MD
Age: 37
Posts: 872
Trader Rating: (7)
           Feedback Score: 7 reviews
|
I wish I had documented my swap a bit more then just KA, empty engine bay, VQ35HR and a few random completed pics after. I didn't use all the factory stuff like you are, I wired the VQ into the factory harness for less modifications.
__________________
***NASA HPDE Instructor*** |
|
|

|
|
|
#18 | |
|
Zilvia Member
 |
Quote:
The main issue I'm facing right now is interfacing the fuel pump fuel level signal from the S chassis to the Z harness. Where'd you get your intake tubes with the MAF bungs? |
|
|
|

|
|
|
#19 |
|
Zilvia Addict
 Join Date: Jan 2003
Location: Baltimore, MD
Age: 37
Posts: 872
Trader Rating: (7)
           Feedback Score: 7 reviews
|
the intake tubes are ebay 350z/370z intakes, i added the large 90* bends to move the filters to better location.
I used a Stack ST8130 display to get all my temp, pressure, Tach, speedo and fuel signals. It interfaces with its own sensors that i had to add. I tried to mess with as little of the factory VQ wiring as possible.
__________________
***NASA HPDE Instructor*** |
|
|

|
|
|
#20 |
|
Zilvia Member
 |
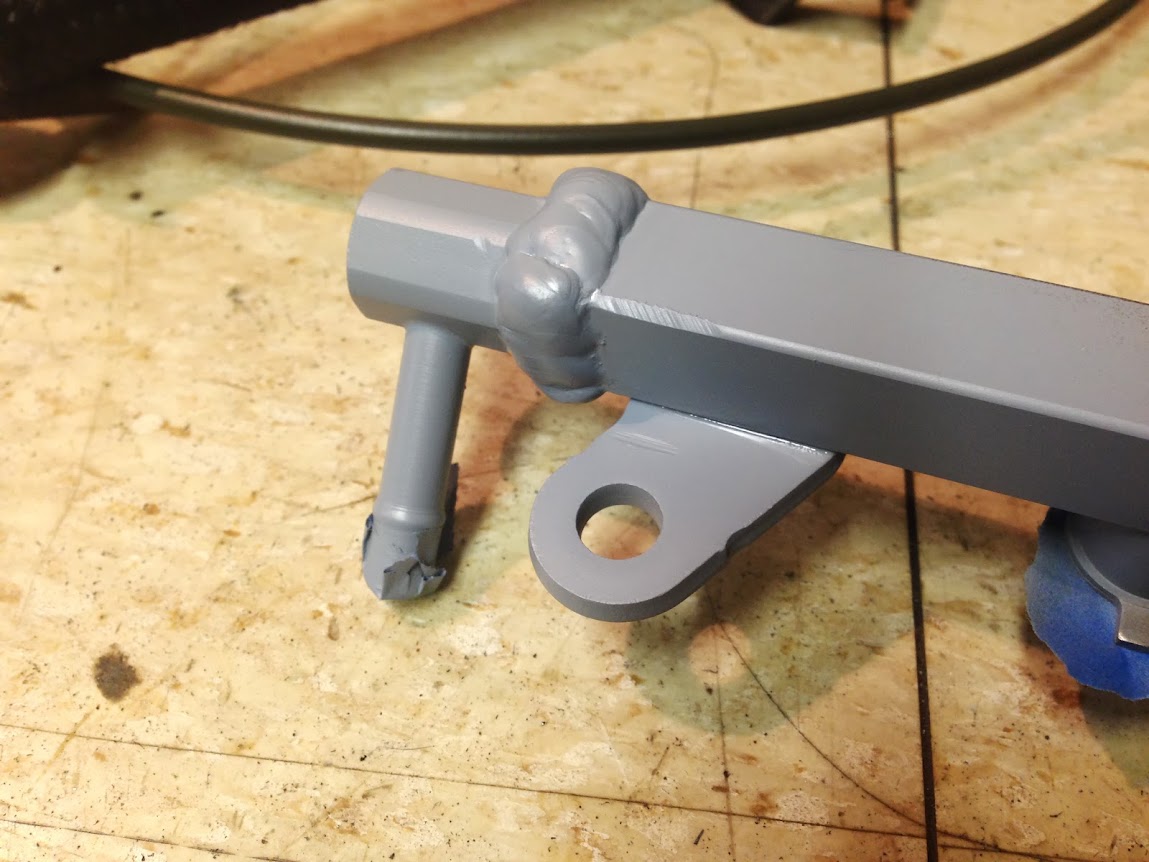
Well, I welded a return bung onto my driver side fuel rail to integrate with the S chassis fuel system. Going to hit an AEM fuel pressure regulator from Enjuku and on to the return line...
 Then this came in. Way earlier than expected. THANKS GUYS! 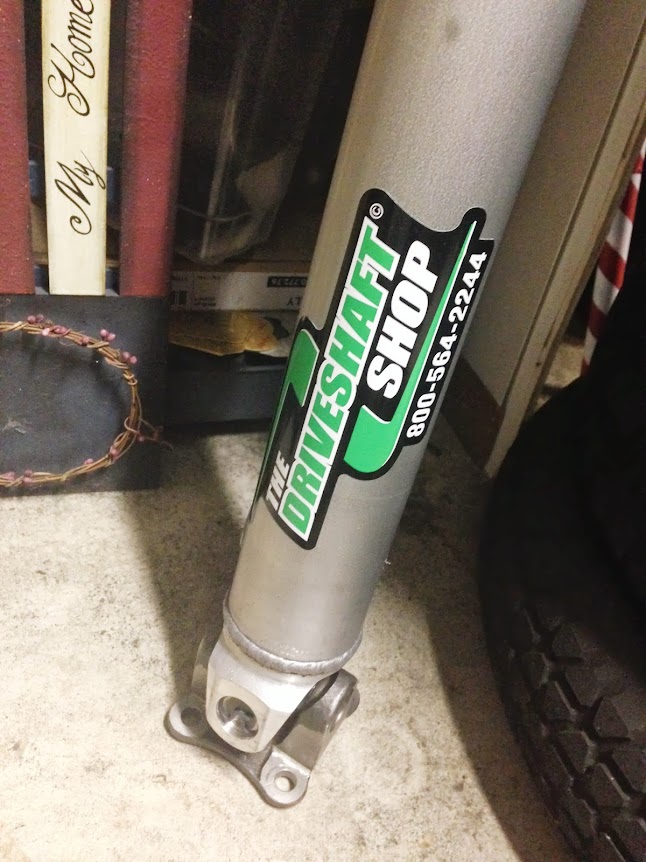 and now I have to pin this plug out and integrate the pump and fuel level sensor to the S13 fuel pump harness. Probably going to piggyback the Z driver side fuel level sensor together with the passenger side and hope I don't double the voltage, in turn giving myself a false fuel level reading... 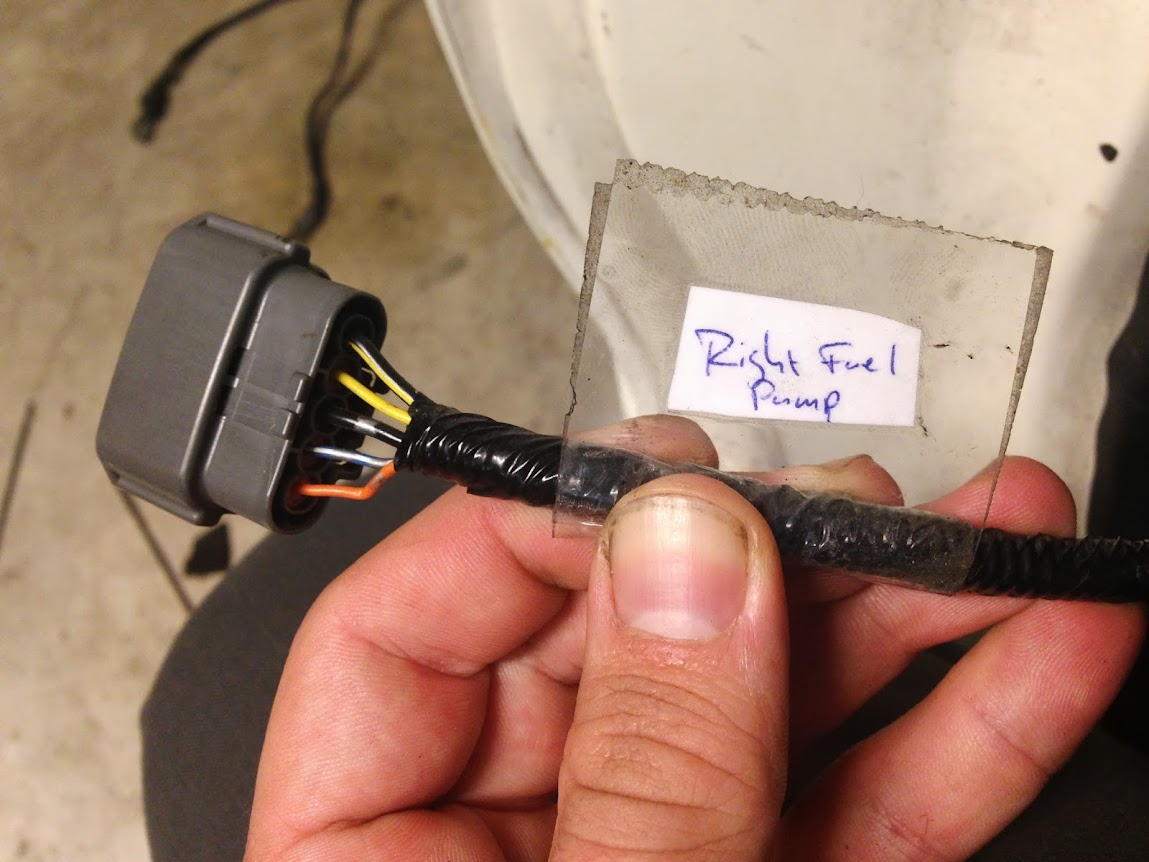 Wiring is monumental but it's looking damn good. Ordered some Redline MTL to mix with the some MT-90 to give myself the perfect mixture of tranny fluid double entendre. Also ordered a crapton of Wilwood 570 so I can bleed the snot out of the new brake lines. Pics coming soon. Well, back to it. I've got a goal of being mobile by Sept. 1st so, better get my ass in gear. |
|
|

|
|
|
#23 | |
|
Zilvia Member
 |
Quote:
I had to pull the covers off, cut off and then weld the Z33 pedals to the S13 assemblies. Then I had to QC the finished product ( hit the pedals with a hammer) to simulate panic braking and clutch kicking to make sure it could take the abuse. Then etch prime, paint, and recover them. |
|
|
|

|
|
|
#24 |
|
Zilvia FREAK!
 Join Date: Jul 2012
Location: NY
Age: 32
Posts: 1,270
Trader Rating: (19)
 Feedback Score: 19 reviews
|
Damn, that's a lot of work. Shit, really wanted them in my Vert but not trying to go through all that.
Build is looking good though, subscribed!
__________________
Hyer. |
|
|

|
|
|
#25 |
|
Zilvia Member
 |
So I'm thinking of putting together a group buy on a machine shop order for some custom 350Z rear brake adapters to S13/S14/etc. I'm going to gauge interest from you guys to see if there's enough people out there that could pay $115 or less for a set of adapters to run 350Z rear brakes and five-lug rotors. Luckily the E-brake drum area of the Z rotor is the same, so there's just the issue of making a killer aluminum bracket to mount those bad boys to the knuckle.
PM me if you're interested. I want to make them and I've already seen some interest from posts in build threads, mine included, so hit me up and I'll put a proper group buy together. The shop I'd be going through does fantastic work to extreme tolerances. Picking them is a no-brainer. |
|
|

|
|
|
#26 |
|
Zilvia Member
 |
Oh snap I found the fuel pump wiring pinout, AND the resistor value (2.4k Ohm) to replace the in-tank fuel temp sensor. Good little writeup here on reworking the Z fuel pump for duals, which I don't need, but the info is all there to modify the wiring to just about anything I could need.
I give myself one week or less to get this car rolling... maybe even this weekend if I bust ass. I think the wife has other plans tho. |
|
|

|
|
|
#27 |
|
Zilvia Member
 |
It's alive
Cameraman was doubling as the fuel pressure regulator adjuster. Hadn't filled the coolant system yet and was running open cats. Pure will-it-run-or-not attempt. The motor started to warm up and the residual coolant started to pour out the heater loop opening that I hadn't run to the return yet... but it runs.
|
|
|

|
|
|
#30 |
|
Zilvia Junkie
 Join Date: Jan 2011
Location: Mililani, Hawaii
Age: 38
Posts: 459
Trader Rating: (0)
 Feedback Score: 0 reviews
|
Awesome stuff man...
|
|
|

|
 |
| Bookmarks |
| Tags |
| nismo 350z, s13, vq35hr |
| Thread Tools | |
| Display Modes | |
|
|