
 |
|
|||||||
| Home | Rules & Guidelines | Register | Member Rides | FAQ | Members List | Social Groups | Calendar | Mark Forums Read |
| Tech Talk Technical Discussion About The Nissan 240SX and Nissan Z Cars |
 |
|
|
Thread Tools | Display Modes |
|
|
#1 |
|
Fix sagging s14 Jdm Kouki wing
Hey guys,
never written a write up, but I tried looking for help on how to remount the jdm Kouki wing on an s14 and didn't find anything so hopefully this helps the people with my problem. The wing comes double sided tape from factory, and as of removing the wing to have my car painted I had to remove the tape. I tried very high bond from 3m which supposedly holds 50 pounds... and left it to heal for 3 days, as the first day driving it with the bond it started sagging again. It had the clips, and the bolts but it wasn't enough. 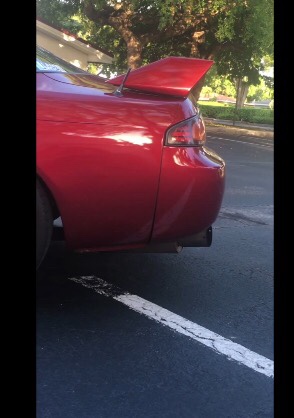 I started thinking I was going to window weld it but then I wouldn't be able to remove it in the future so easy. So I started researching and came accorss what is like a rivet, so called rivet nutsert. It's basically like a rivet but has thread. 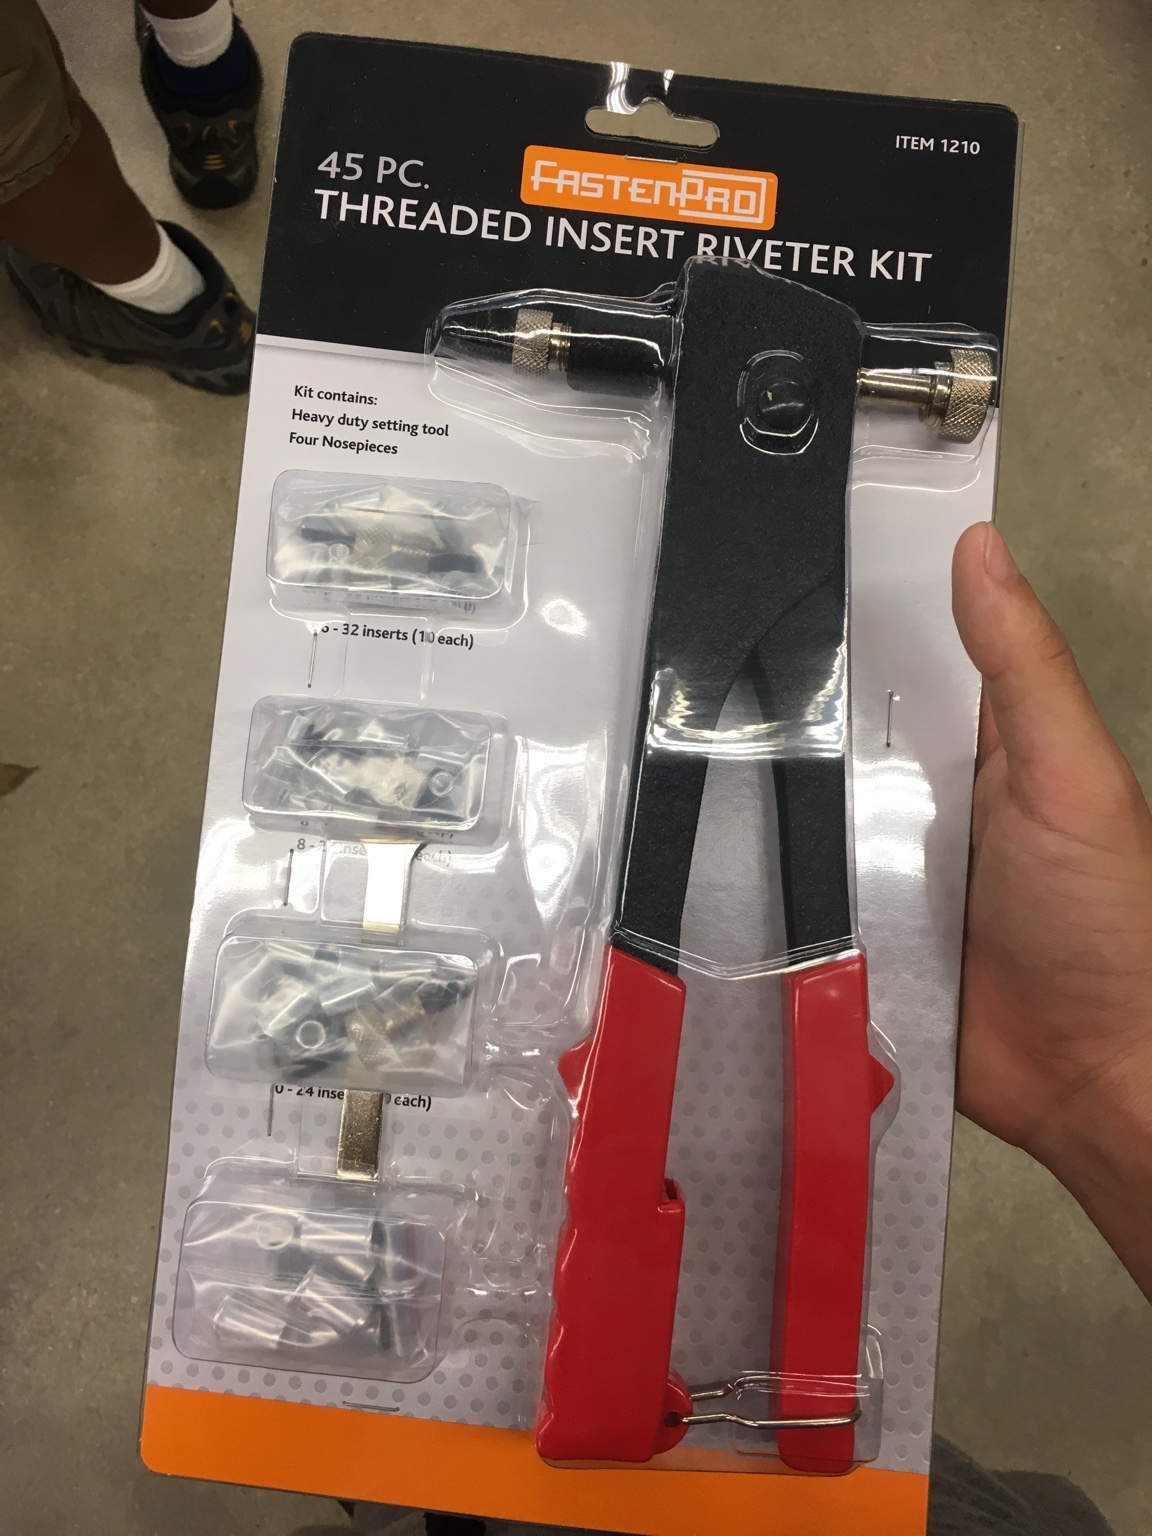 Found at harbor freight for about $23 So I began with measuring the wing on where to drill the holes, and it's important to keep both sides even. 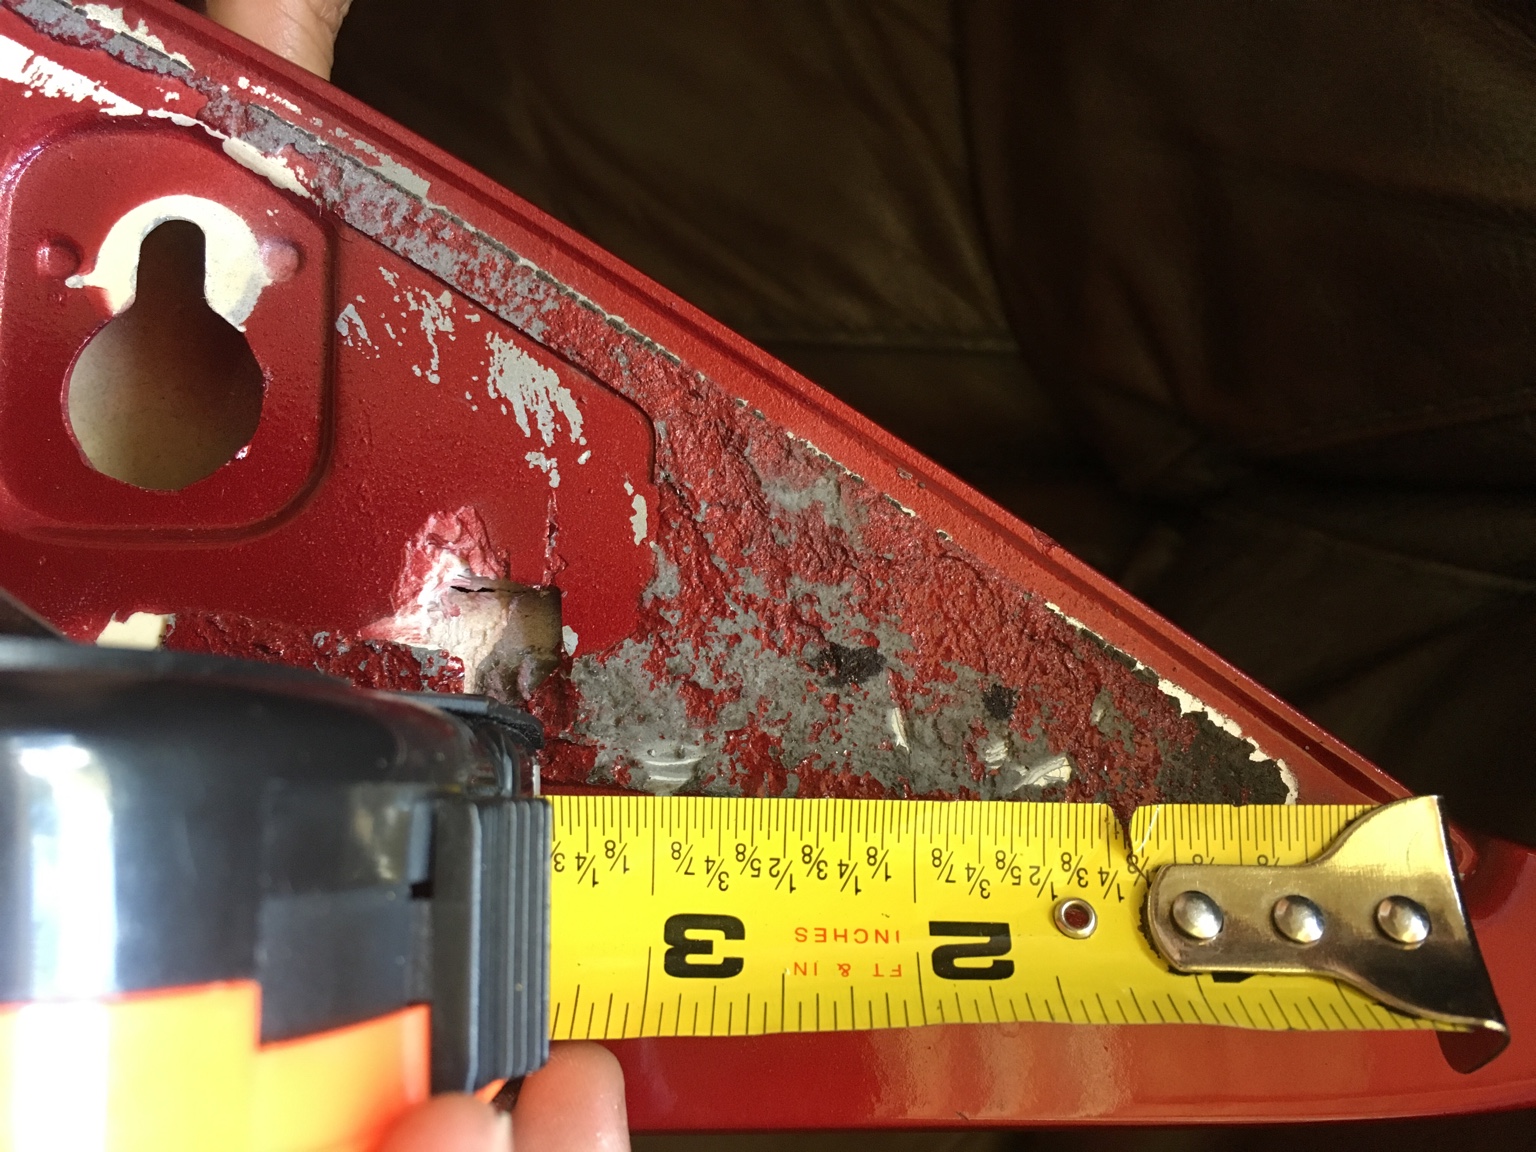 I marked on where I thought the best spot would be with a sharpie on each side. Then I chose to use a 1/4 -20 insert. 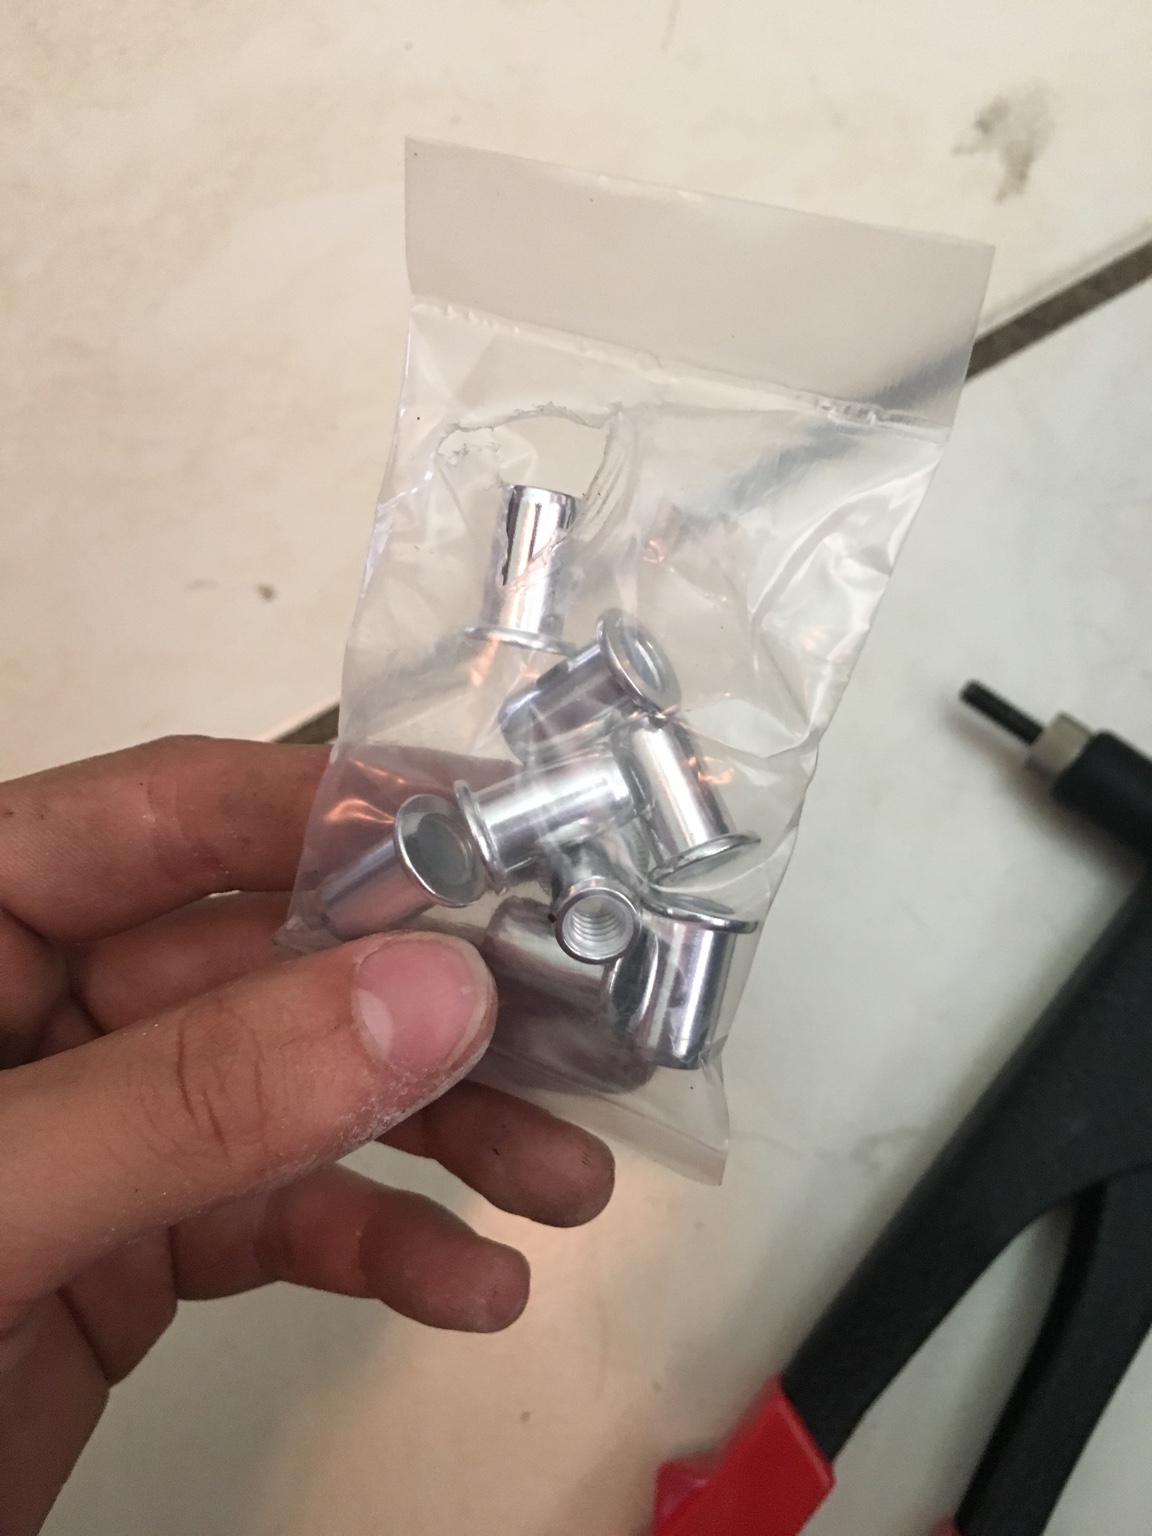 It was the biggest in the kit I bought and I thought it was a nice size. So now that I know what size hole to drill, I began to drill the hold starting with the smallest drill bit. Remember to not make the hole to big, every time you drill check and see if the insert fits 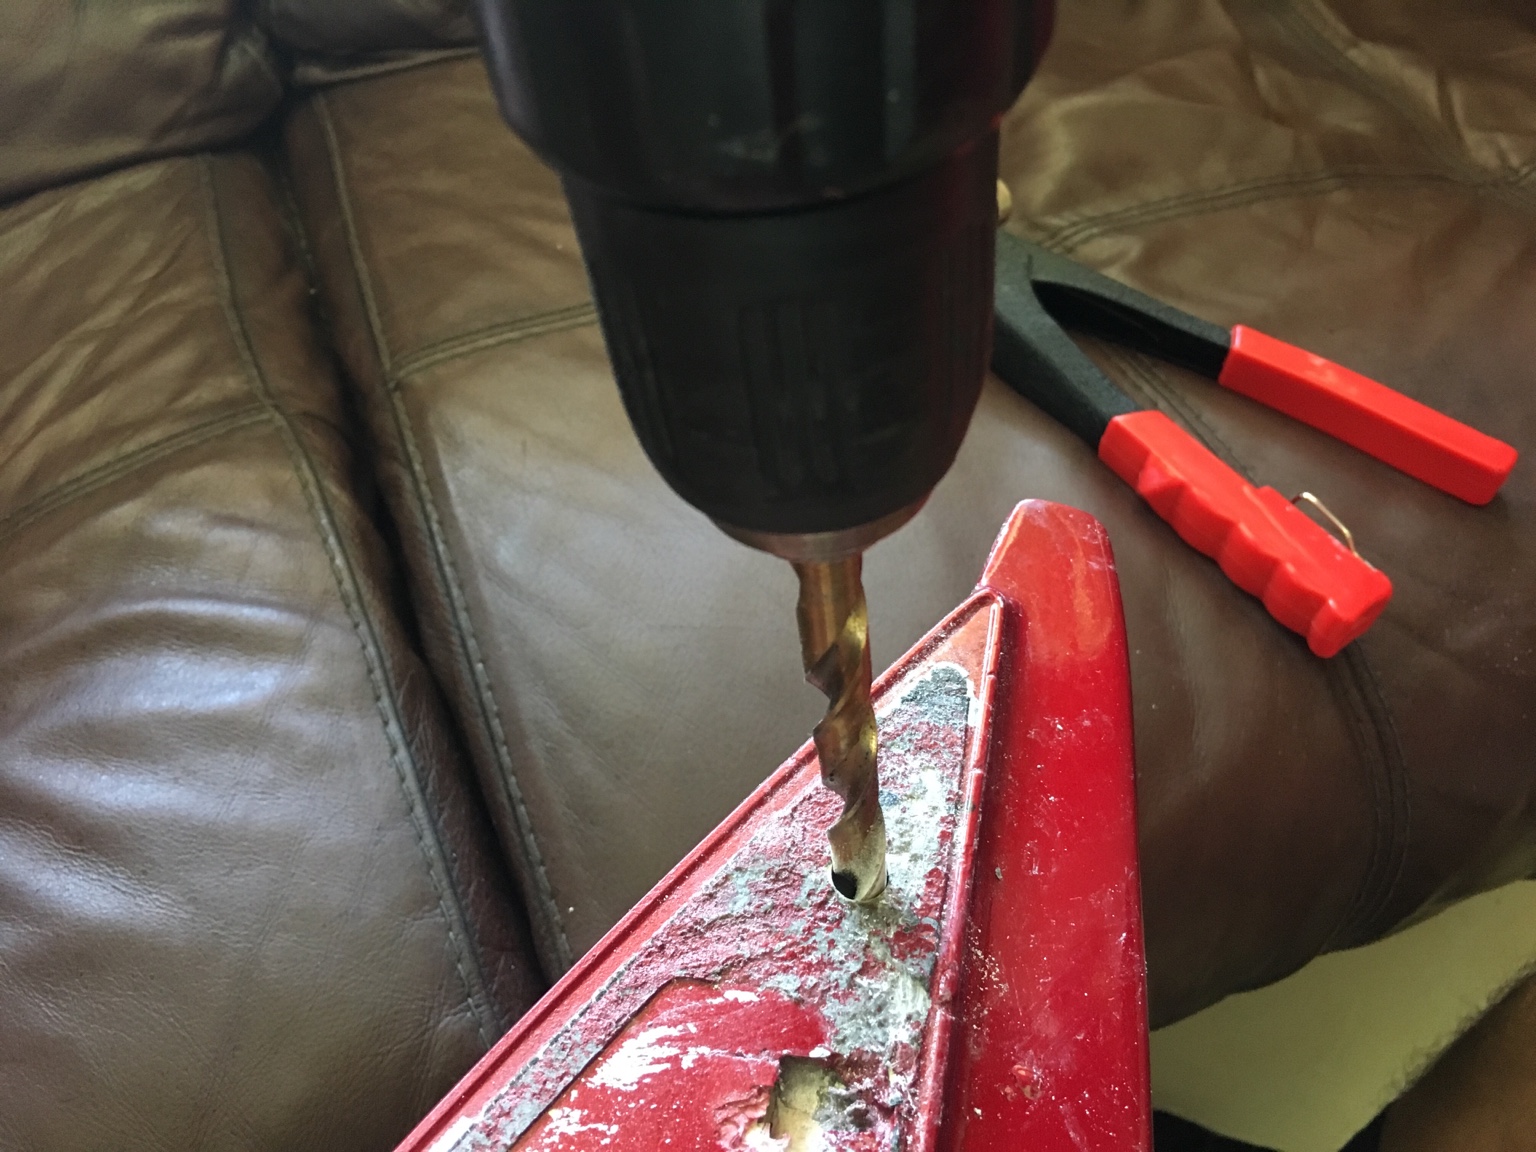 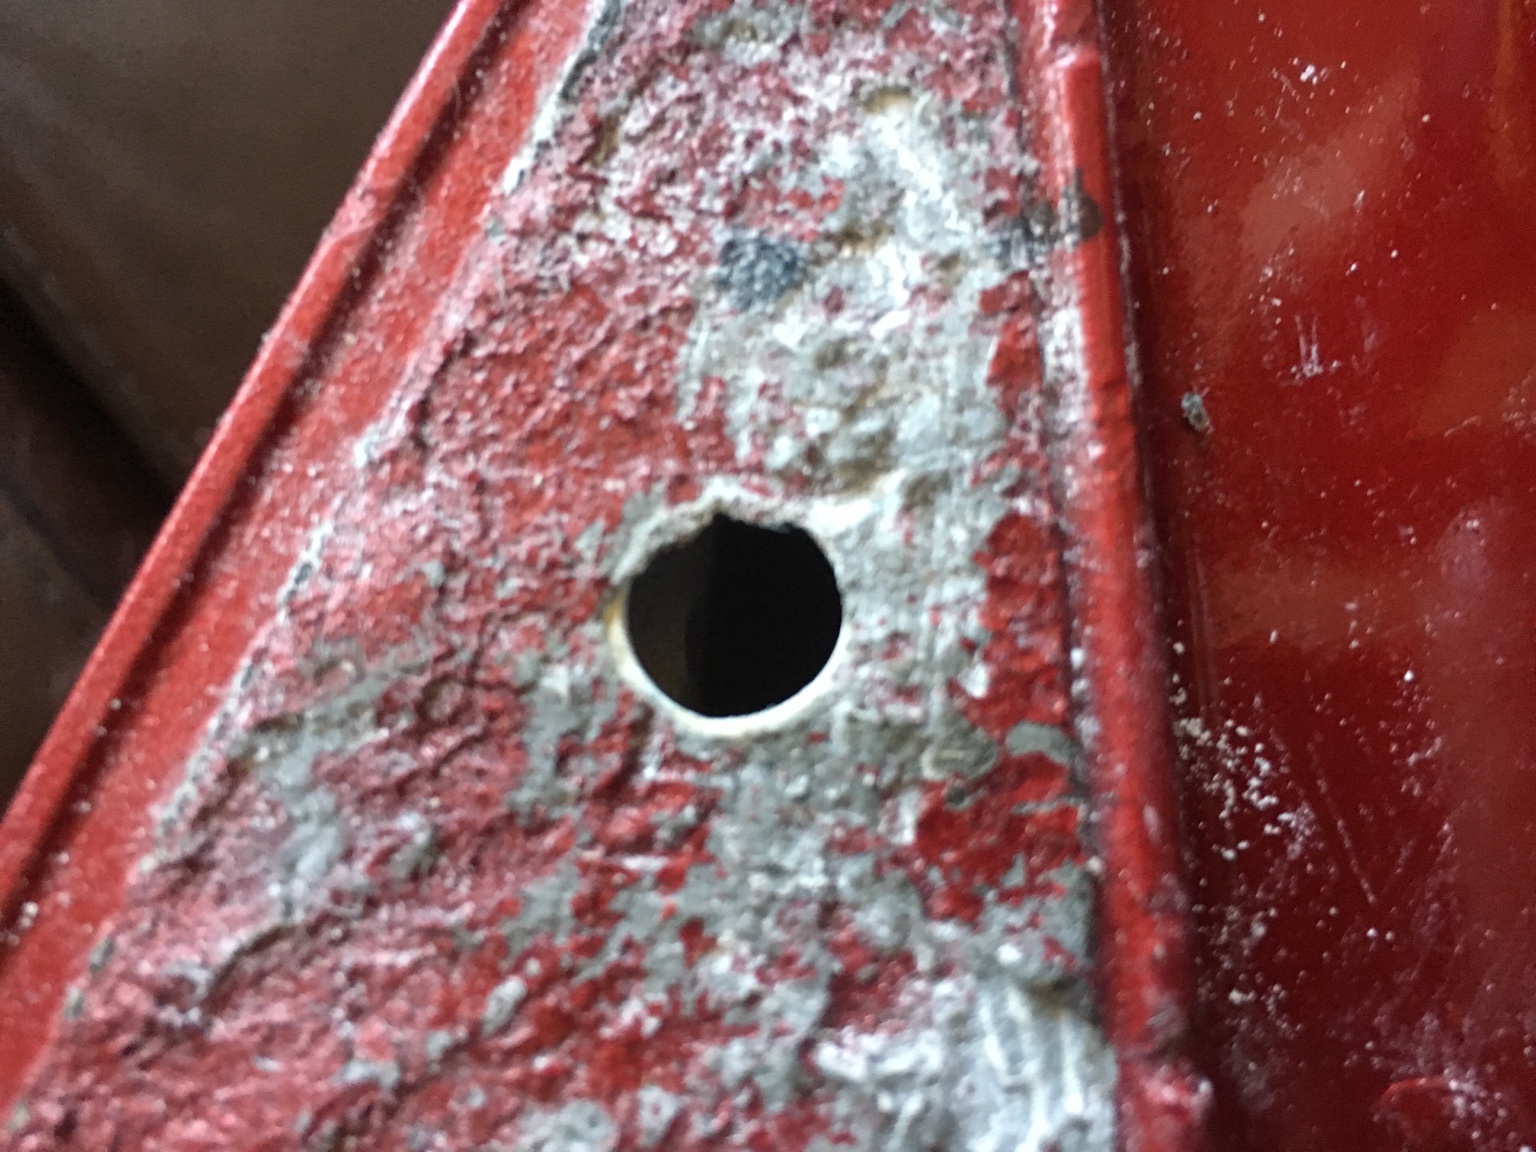 Once the hole is the correct size and the insert fits you are ready to compress the little nutsert on the wing. When the nutsert compress it will grab the wing by the outside and inside, making it very secure, this is what it looks like when compressed 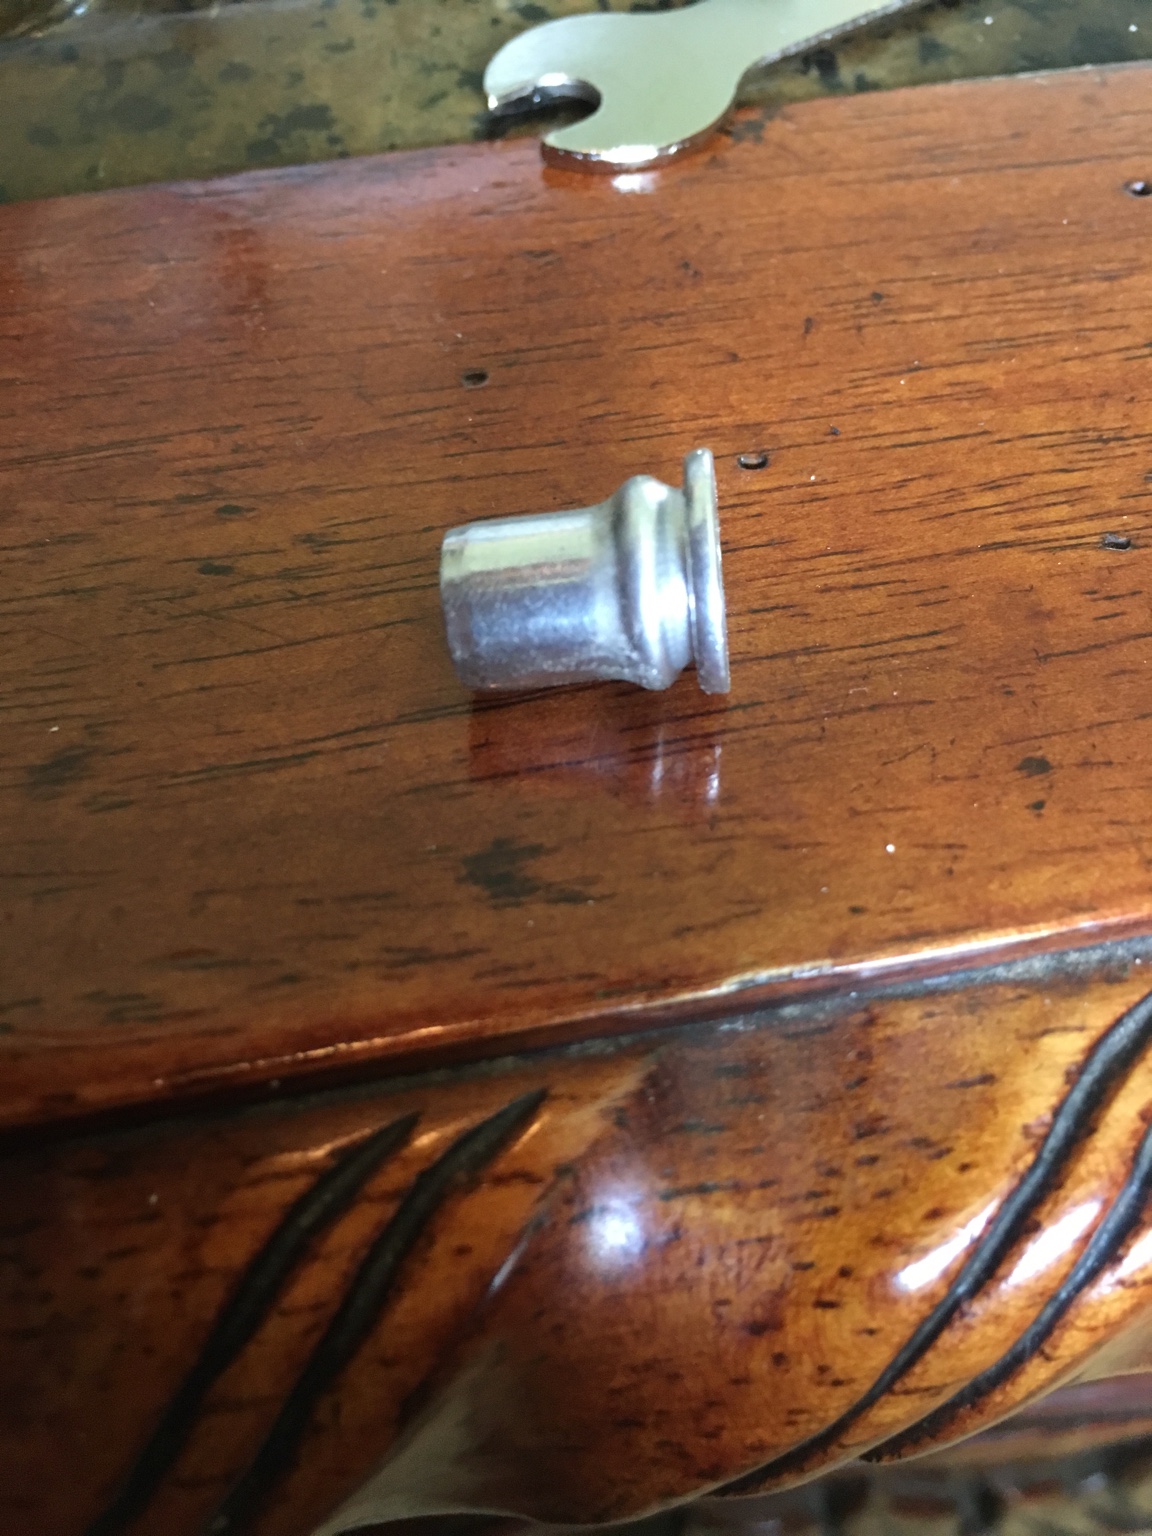 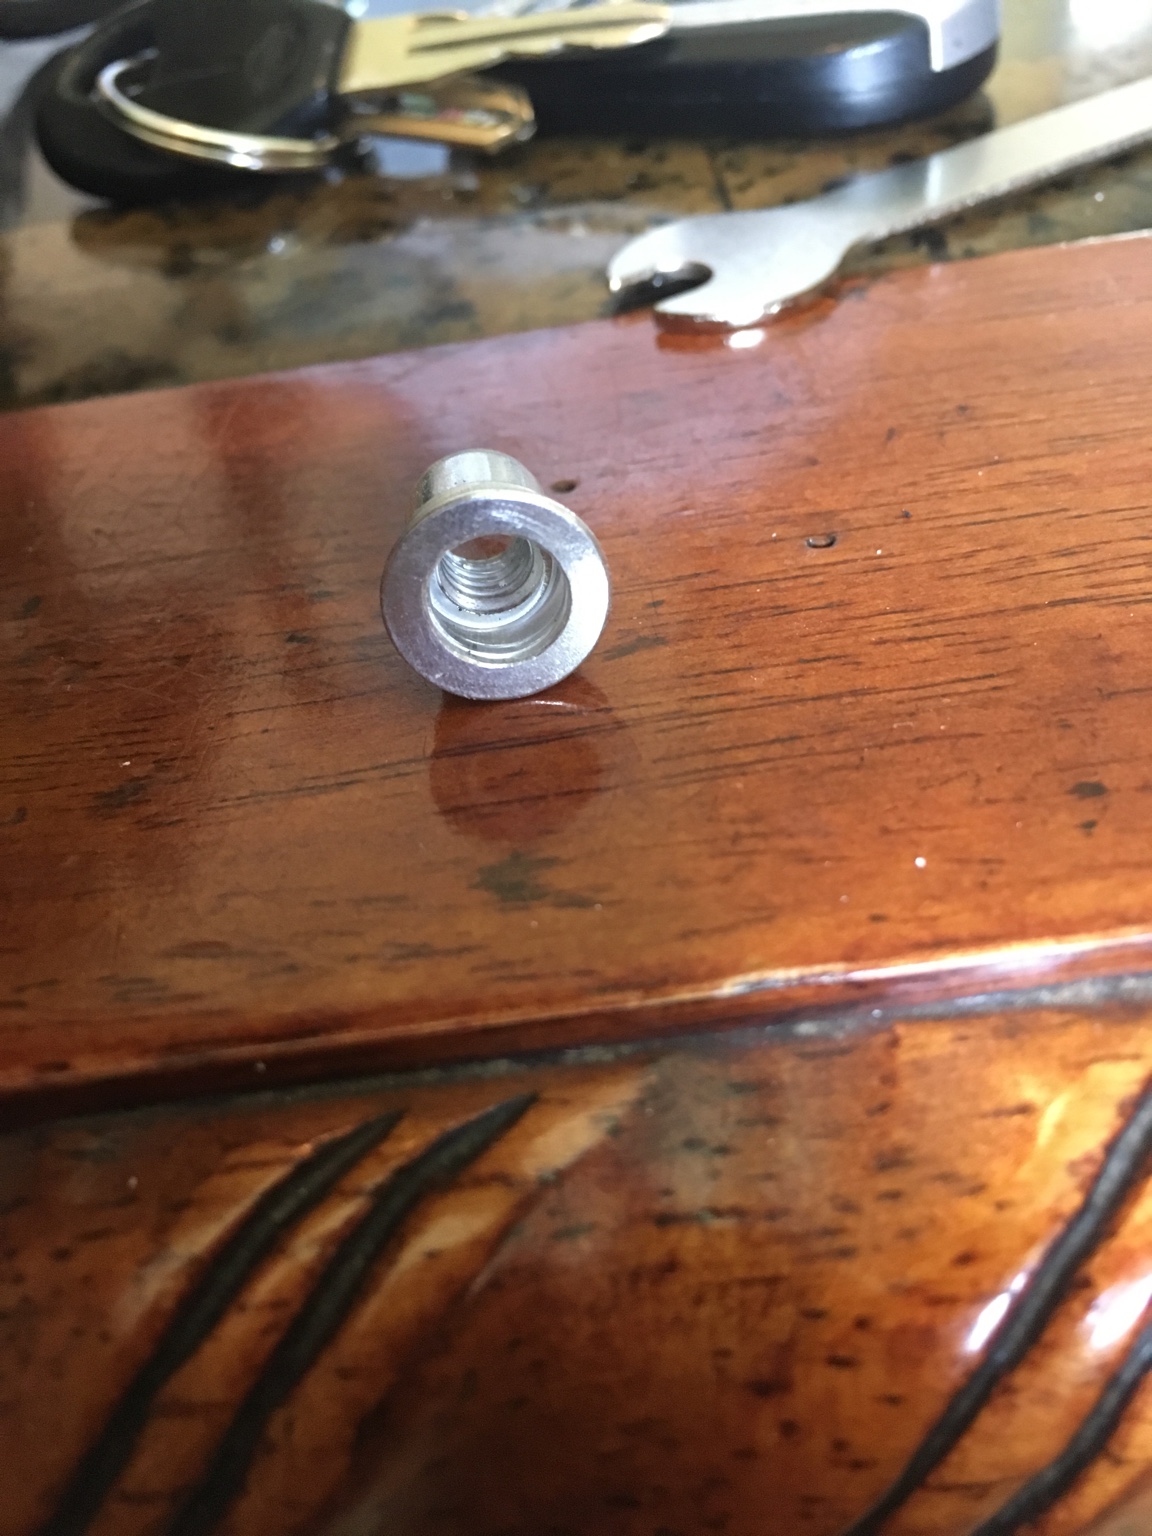 So insert like in the picture 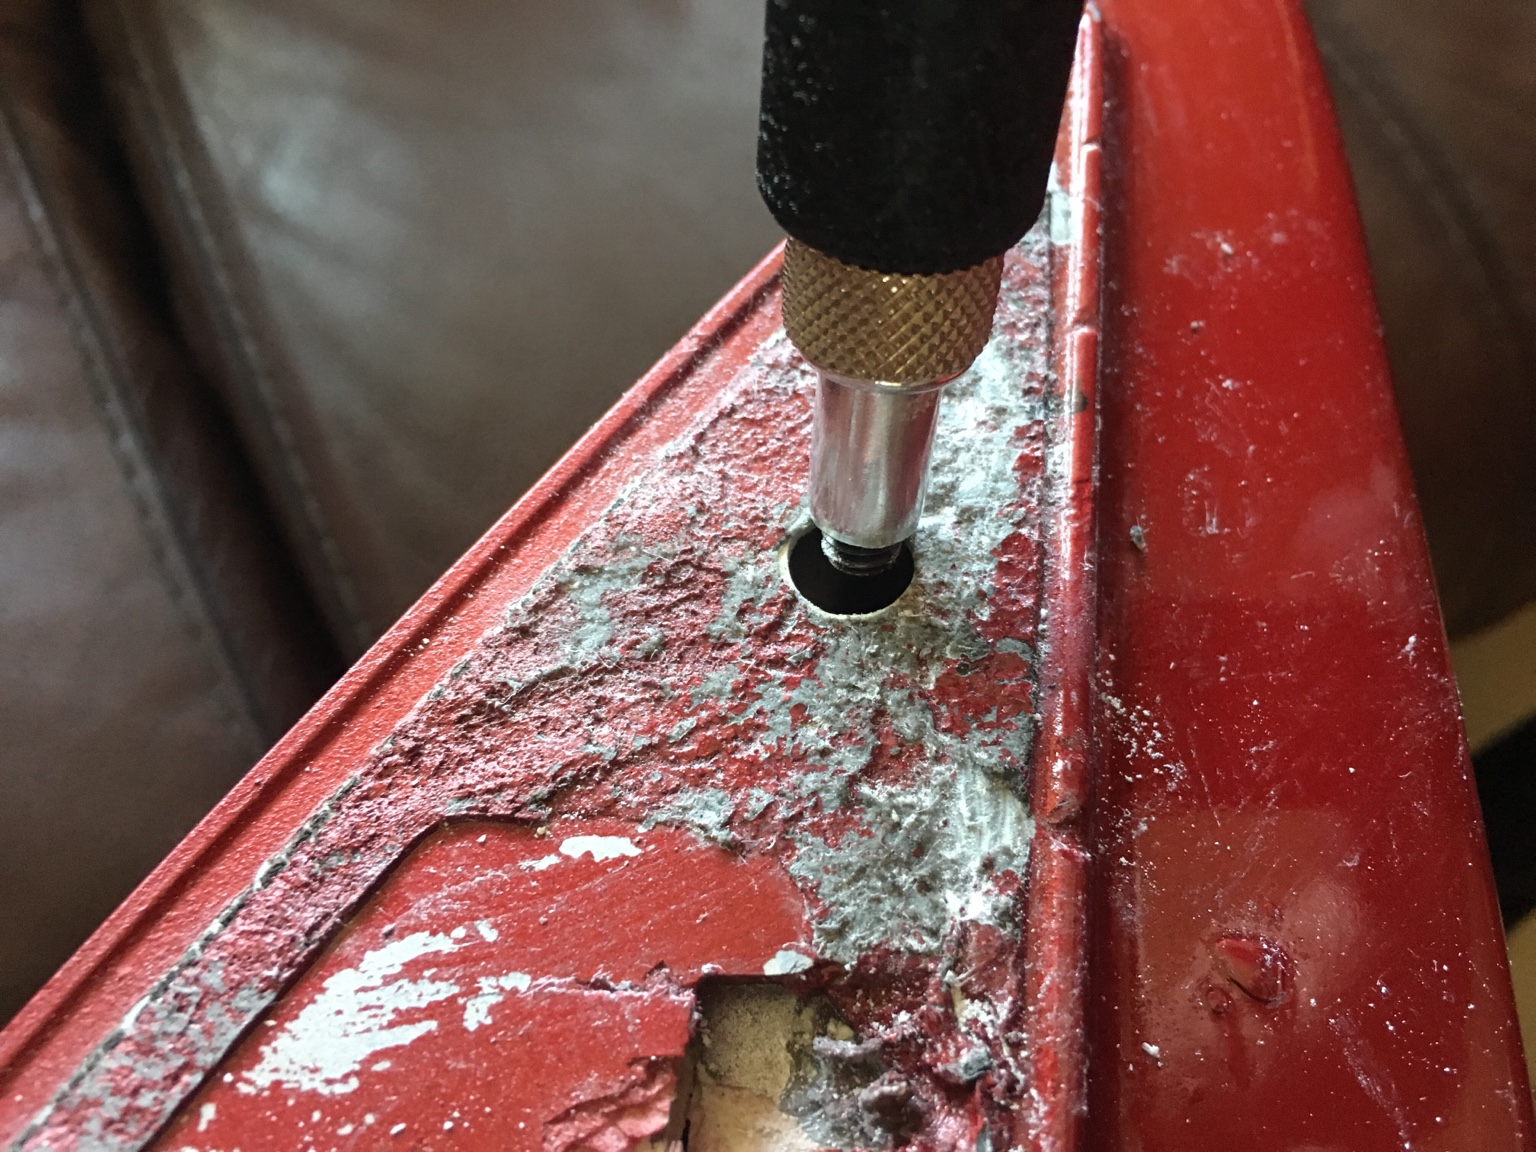 Once in the whole , squeeze the plier like took hard till you can't anymore 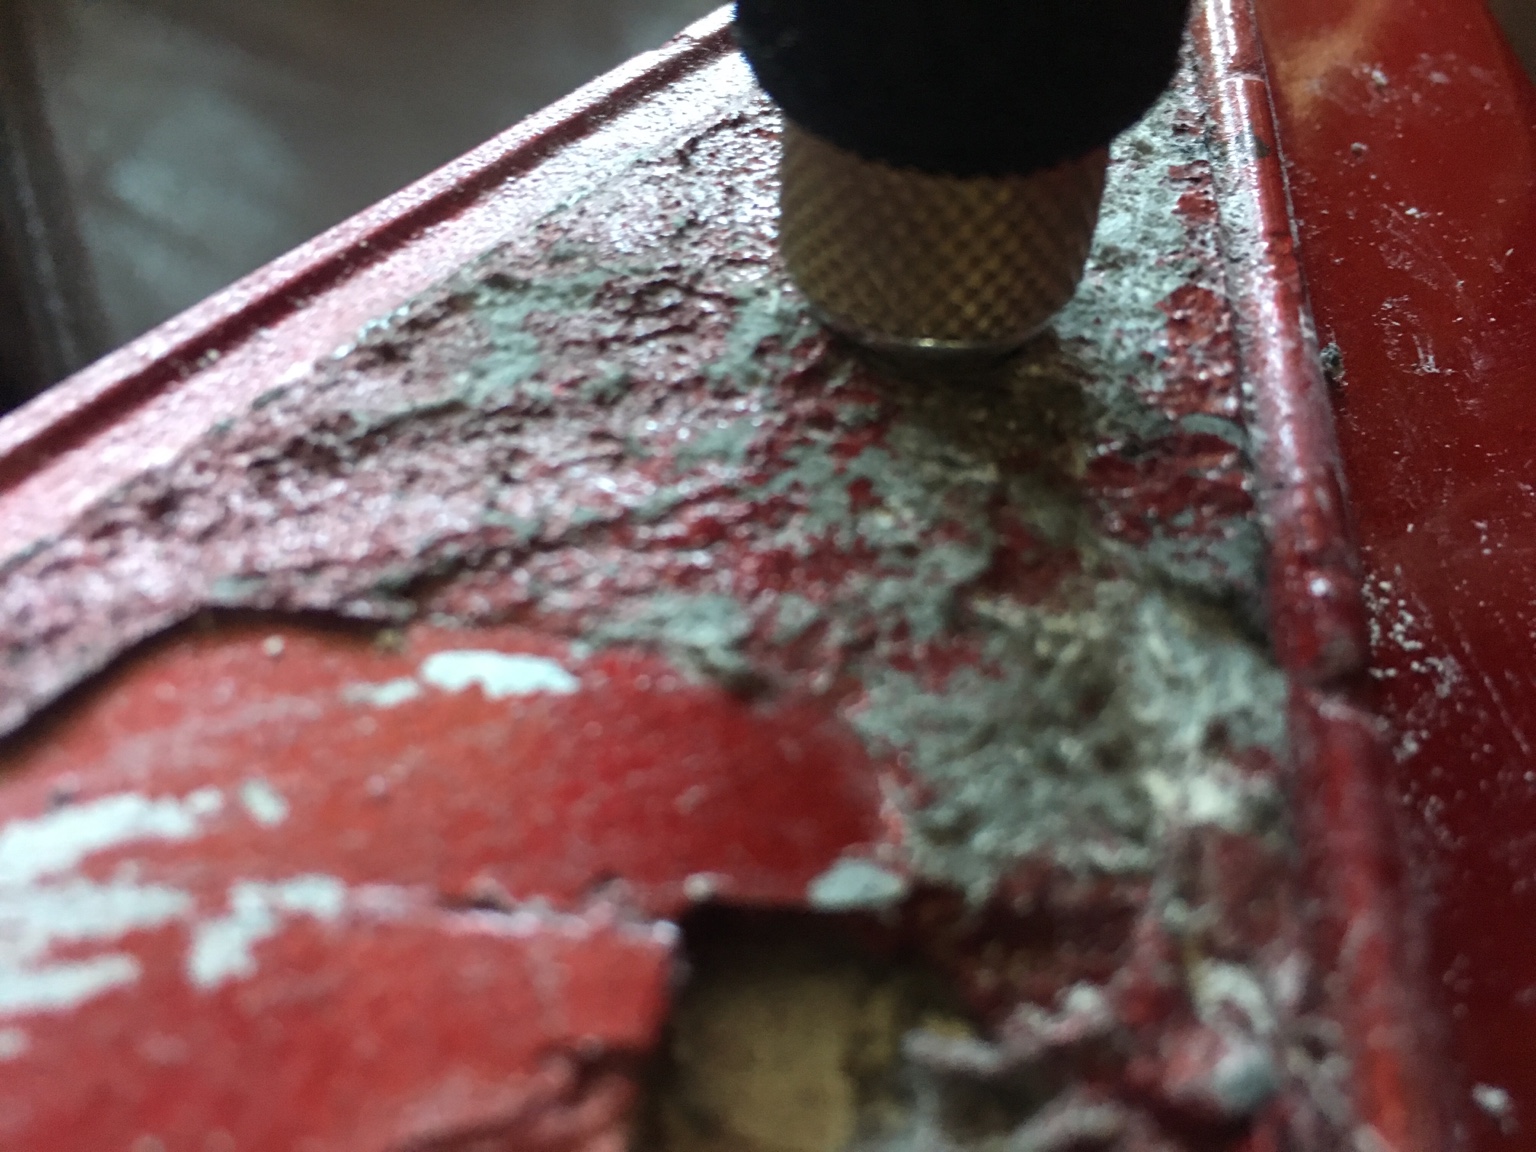 Nice! Now you got thread on the wing 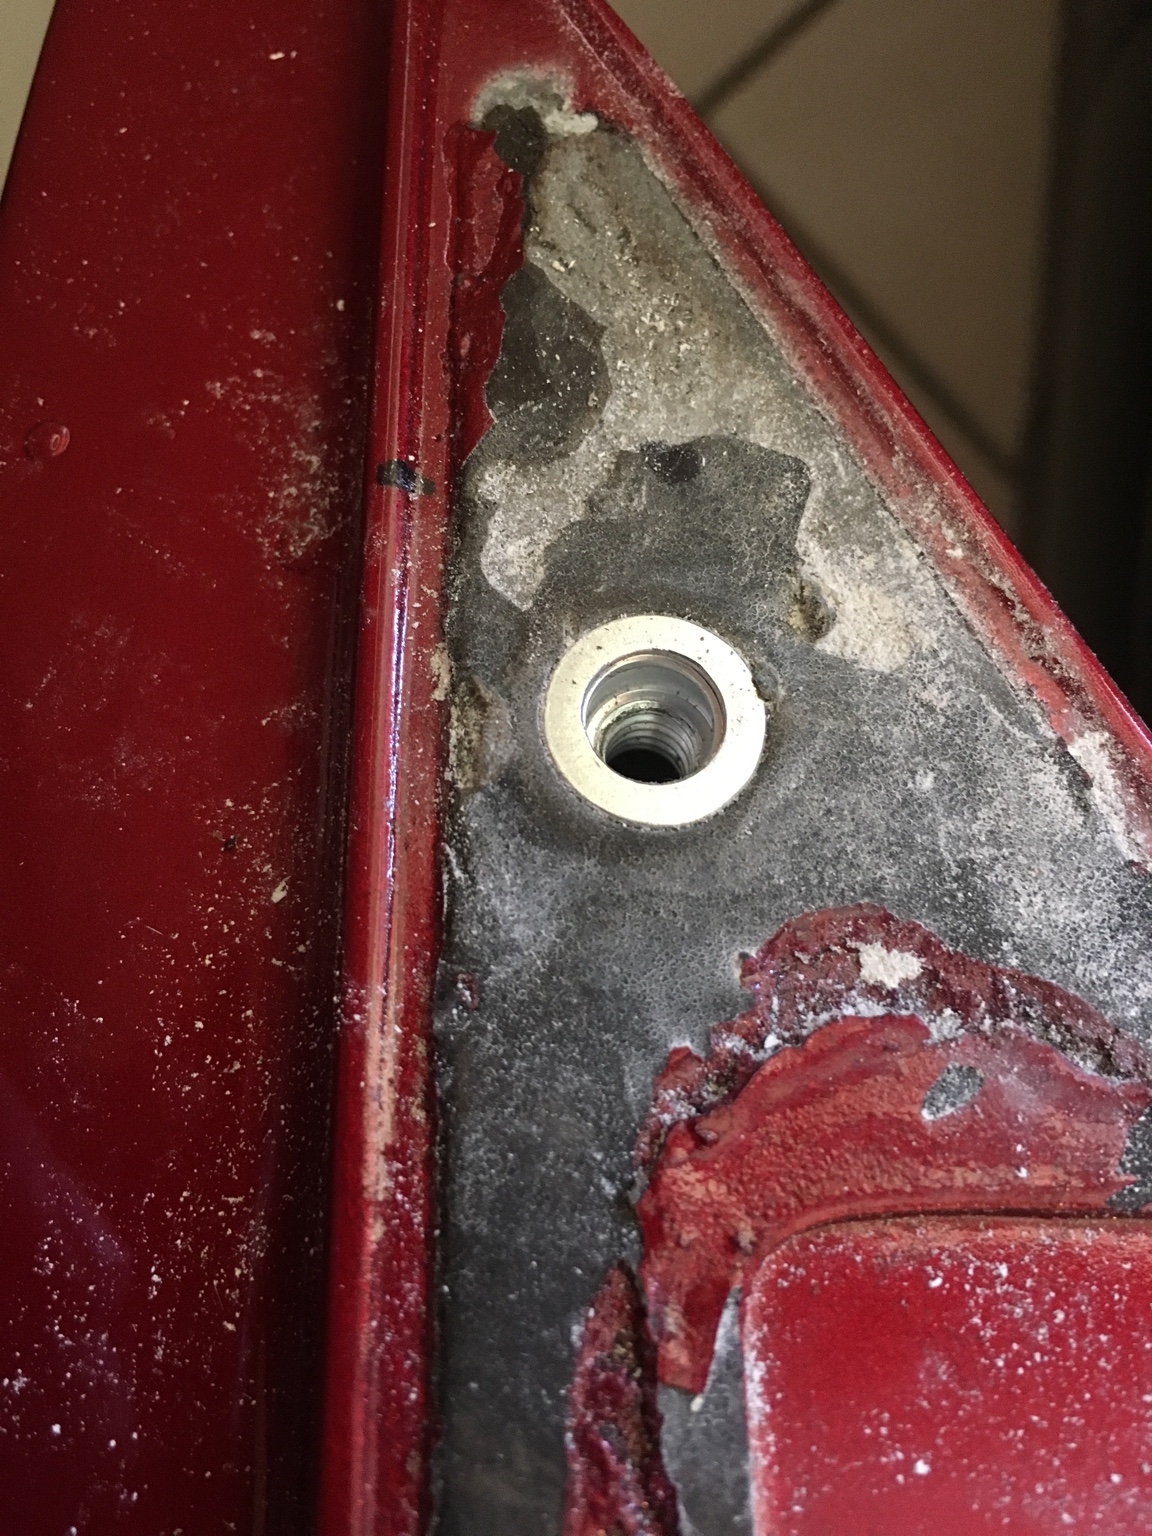 It looks very flush , I had a bunch of screws in a basket so I found 2 with the same thread 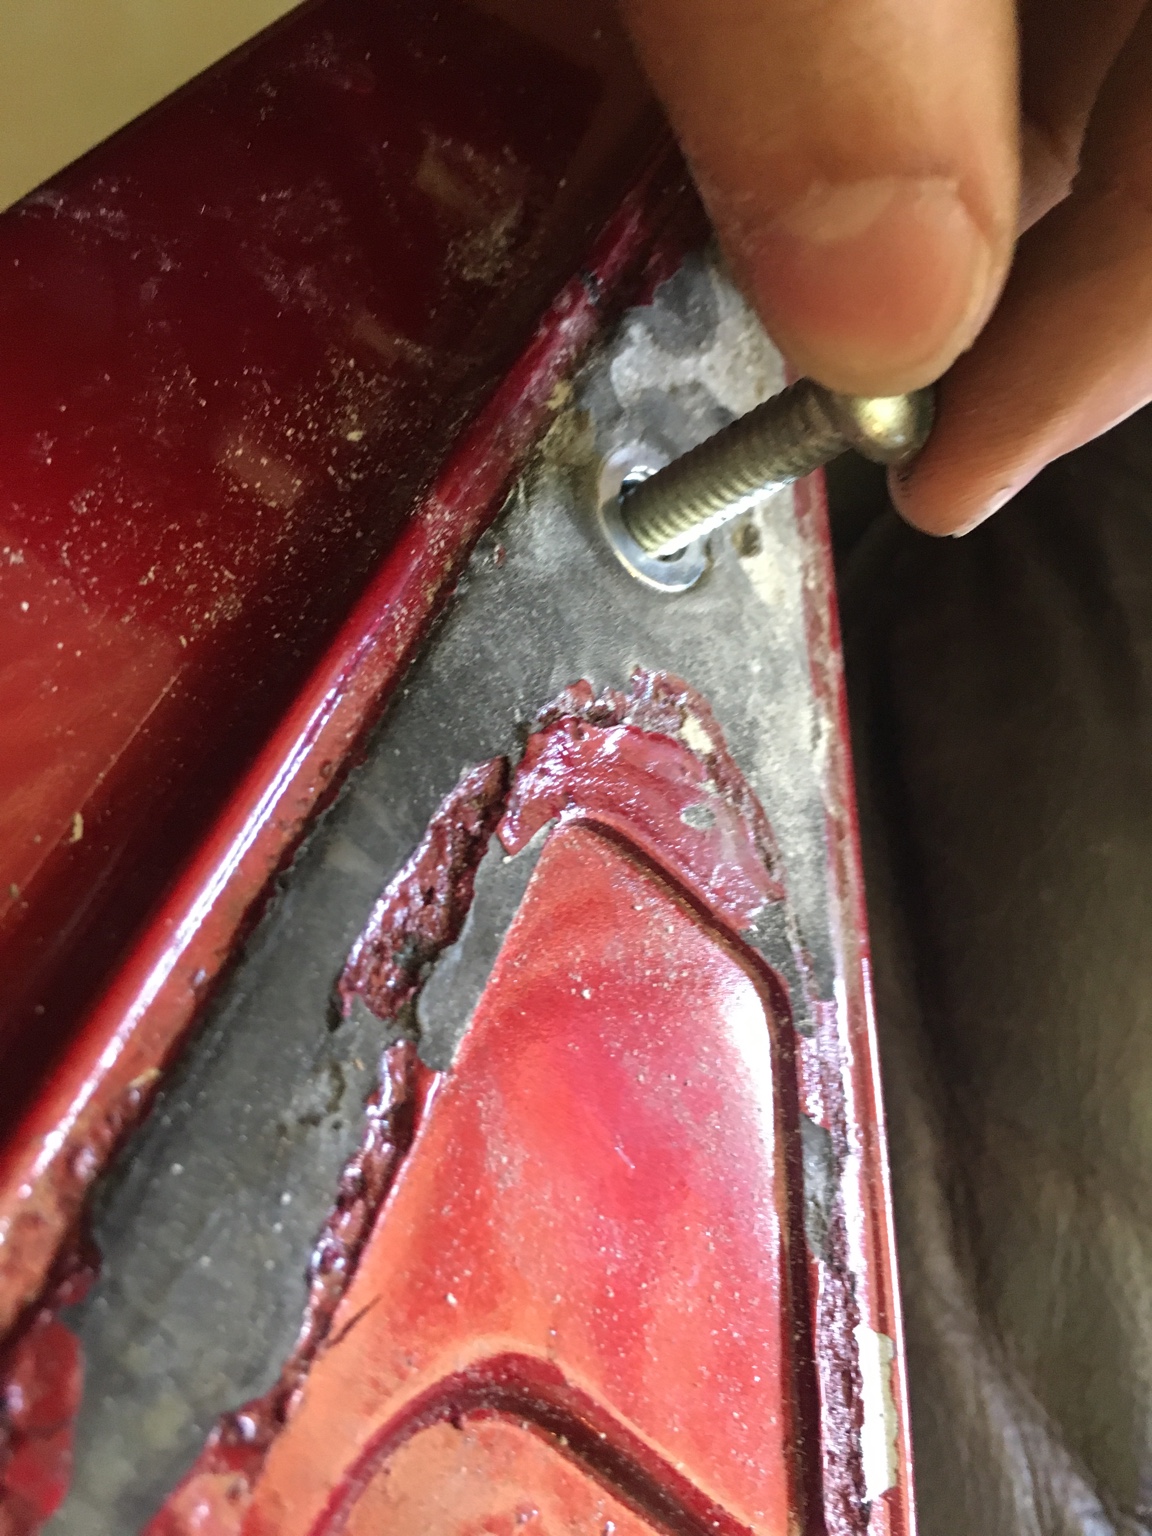 Now for the next part Put the wing on the car aligned perfect and Make a hole exactly where the insert lands, on the trunk. I didn't take pictures of this but it wasn't too hard. What I did was as I lowered the wing to the trunk I marked where it was going to land with a sharpie on both sides, drilled a hole not too big, but enough for the screw to go through it. That's basically it, install the wing and now it supports very strong and won't sag ever again 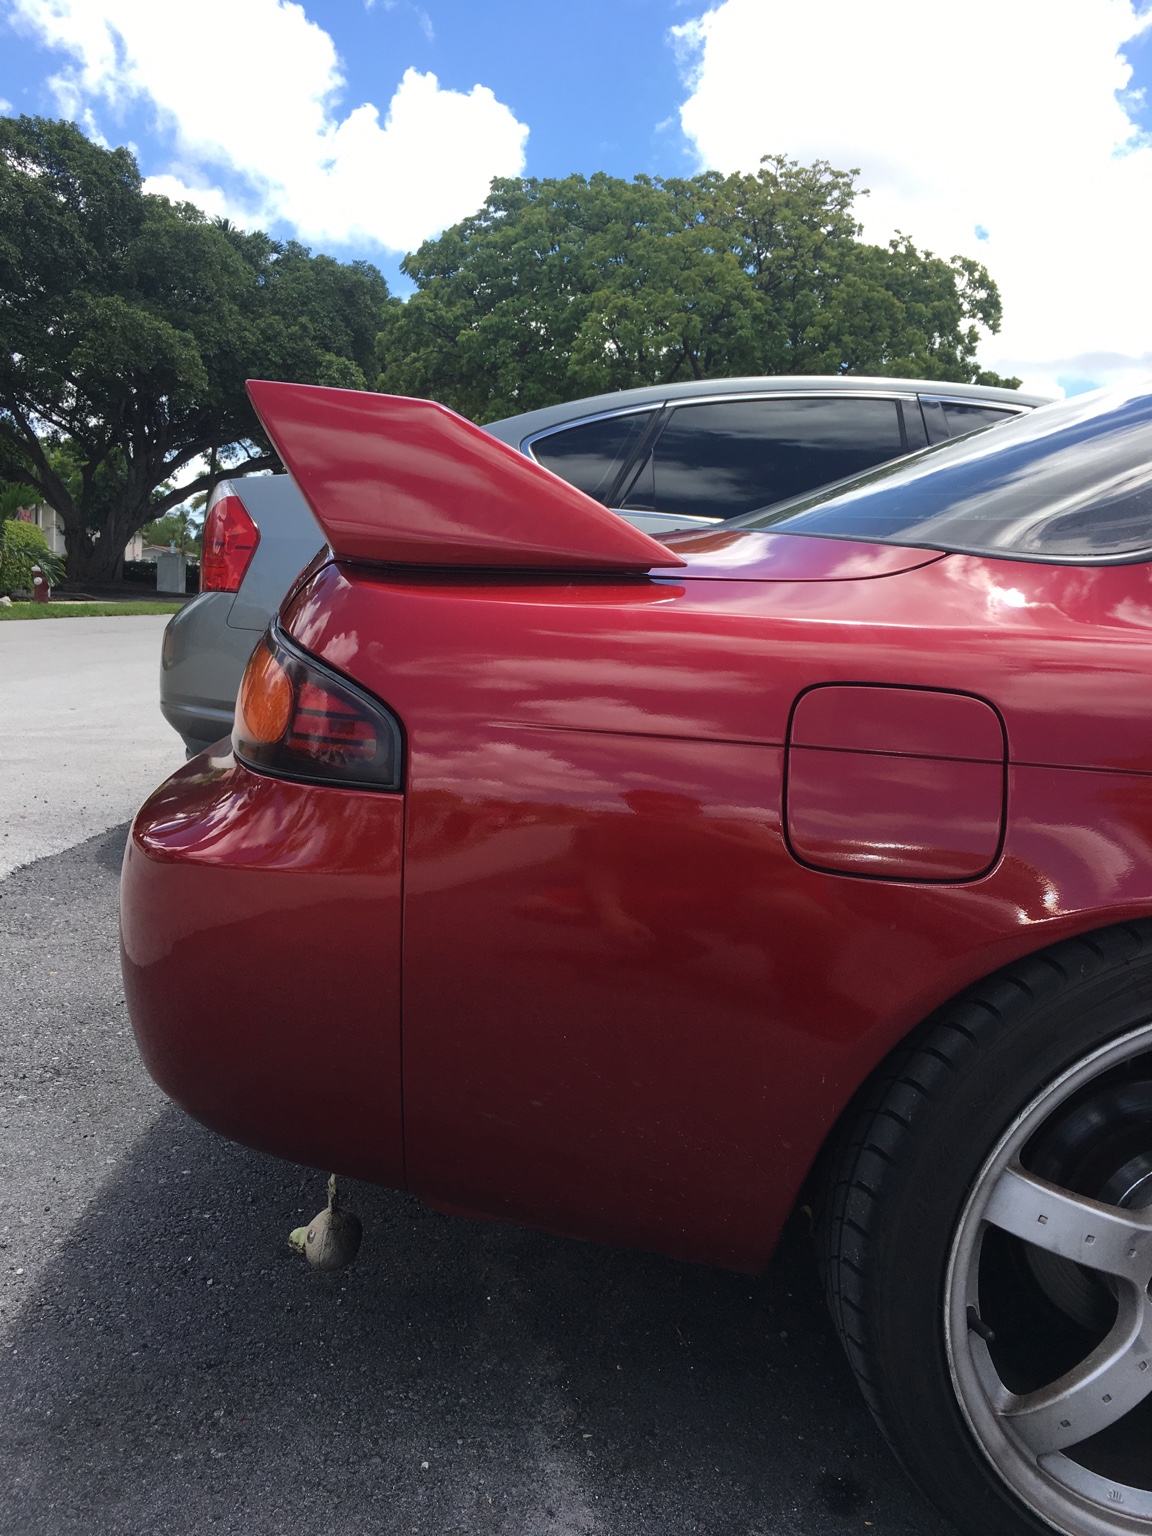 I hope this helps anyone with the sagging problem after removing the wing, it might be a little modification but I personally prefer it more than 3m tape This is my first write up, not sure if this is the right section. |
|
|
|

|
| Sponsored Links |
|
|
#4 |
|
Zilvia Member
 Join Date: Aug 2005
Location: Grass Shack
Age: 42
Posts: 185
Trader Rating: (18)
 Feedback Score: 18 reviews
|
Good job man most people's write ups now days are usually overloaded with fail overthinking and overcomplicating the simplest things trying to re-invent the wheel. Expanding foam would have been a very good idea aswell.
__________________
DON'T BE UPSET WITH THE RESULTS YOU GET FROM THE WORK YOU DIDN'T DO. |
|
|

|
|
|
#6 |
|
Zilvia Member
 Join Date: Aug 2005
Location: Grass Shack
Age: 42
Posts: 185
Trader Rating: (18)
 Feedback Score: 18 reviews
|
Expanding foam is messy if you get crazy with it yes. You squirt that white secret sauce in the hole
 and plug it up with tape so it has nowhere to escape other than inside the hollow wing. and plug it up with tape so it has nowhere to escape other than inside the hollow wing.
__________________
DON'T BE UPSET WITH THE RESULTS YOU GET FROM THE WORK YOU DIDN'T DO. |
|
|

|
 |
| Bookmarks |
| Thread Tools | |
| Display Modes | |
|
|