
 |
|
|||||||
| Home | Rules & Guidelines | Register | Member Rides | FAQ | Members List | Social Groups | Calendar | Mark Forums Read |
| Builds (and builds only) Got a build thread? It goes here, build threads anywhere else on the forum will be locked and never moved. |
 |
|
|
Thread Tools | Display Modes |
|
|
#31 |
|
Leaky Injector
 |
UPDATE: This was fixed on page 4
So last year we bought a welder and just sort of, went at it. And quite frankly some of the welds were pretty shitty. So we went back and decided to cut out the crap welds and do it the right way. We bought the right size wire and new tips to accommodate said wire, got some lube for the welding hose so the wire would stop getting stuck, and bought 16 gauge metal instead of 22 gauge so we could actually weld it with out it blowing out. 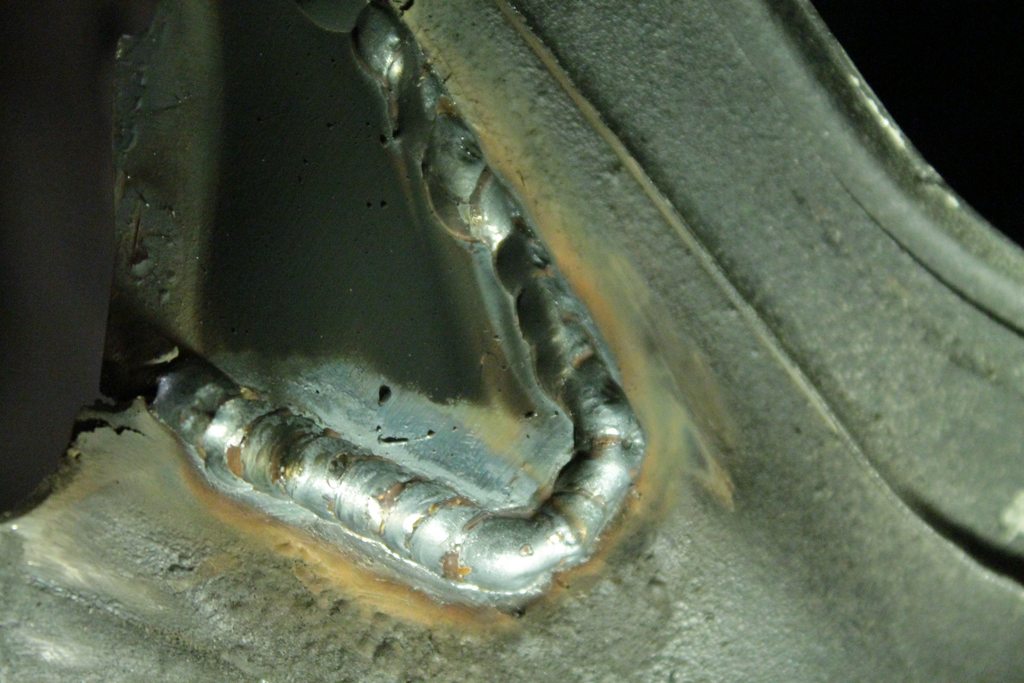 Some patches behind the DS strut tower. 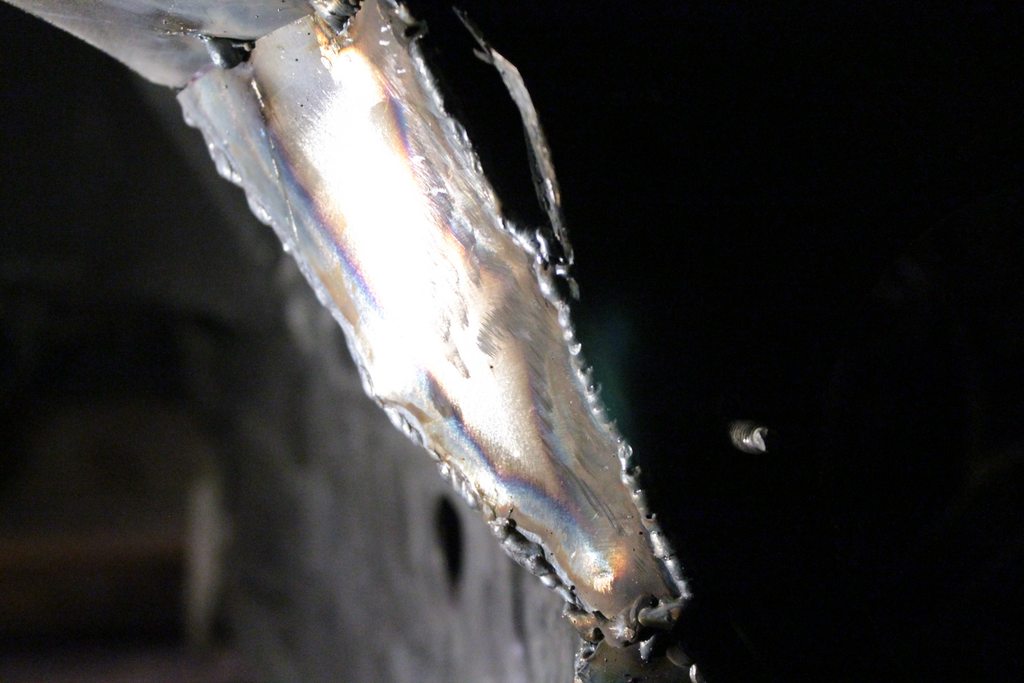 Funny thing about that big hole in the center. I had to cut so much out from the previous failed attempt at welding and everything being shitty that when I welded new metal in I forgot to take the brake booster fitment into account. I realized when I was about 75% done.  So I cut a hole to accommodate the brake booster and will be boxing that section in soon. So I cut a hole to accommodate the brake booster and will be boxing that section in soon. 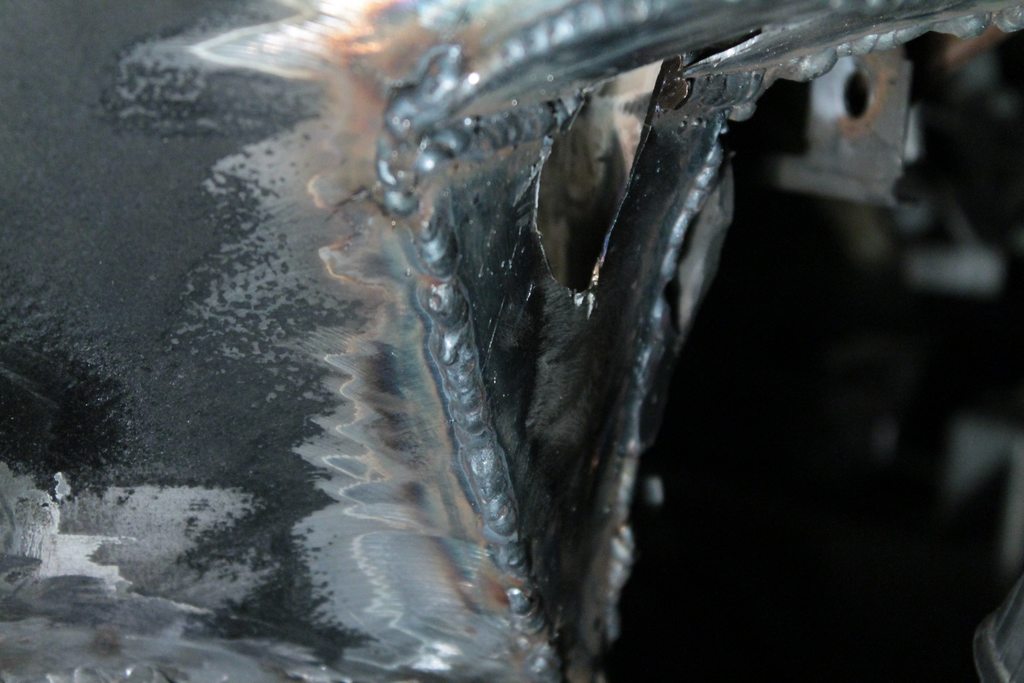 Last edited by homegrowngarage; 07-04-2017 at 10:00 PM.. |
|
|

|
| Sponsored Links |
|
|
#33 |
|
Leaky Injector
 |
We also went ahead and decided to make our own power brace.
Mocking up the pipe 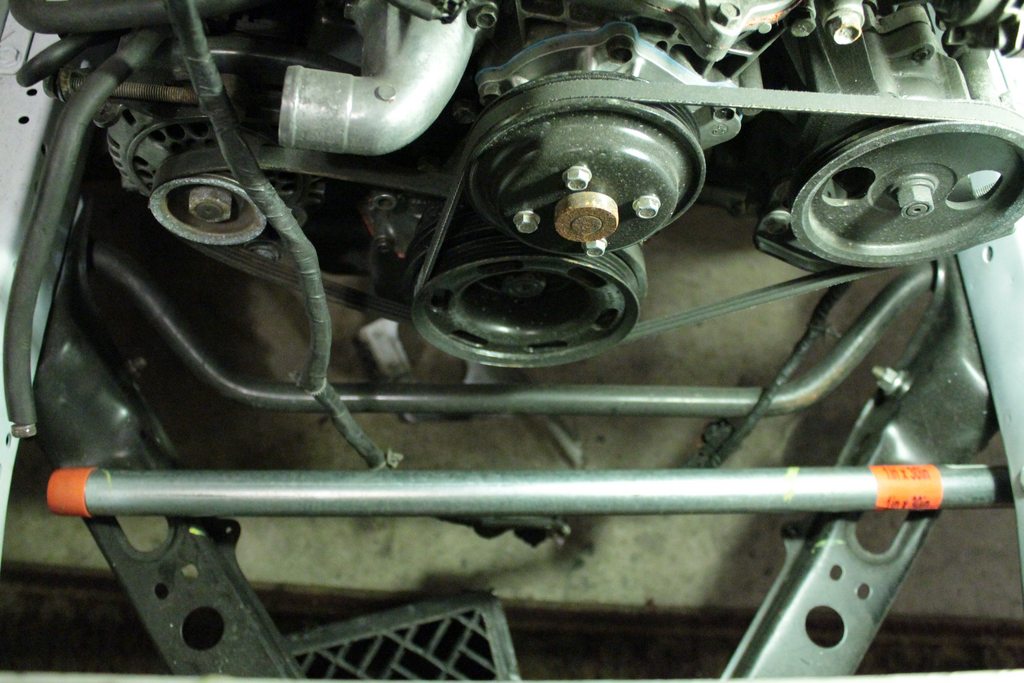 Cut and tacked in 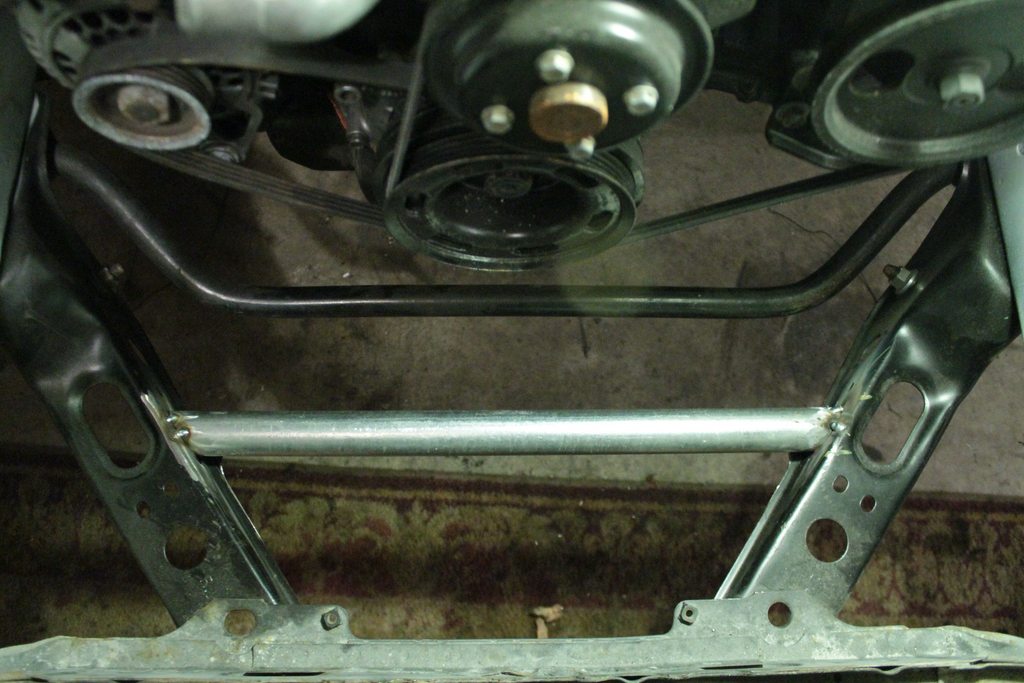 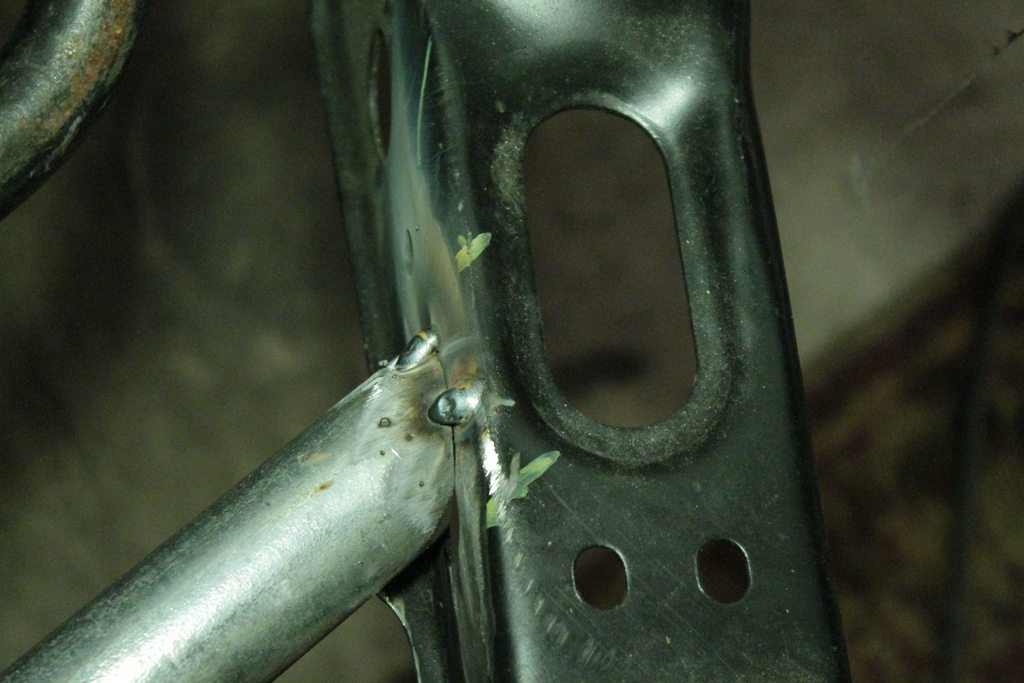 Took it off the car and welding the seams 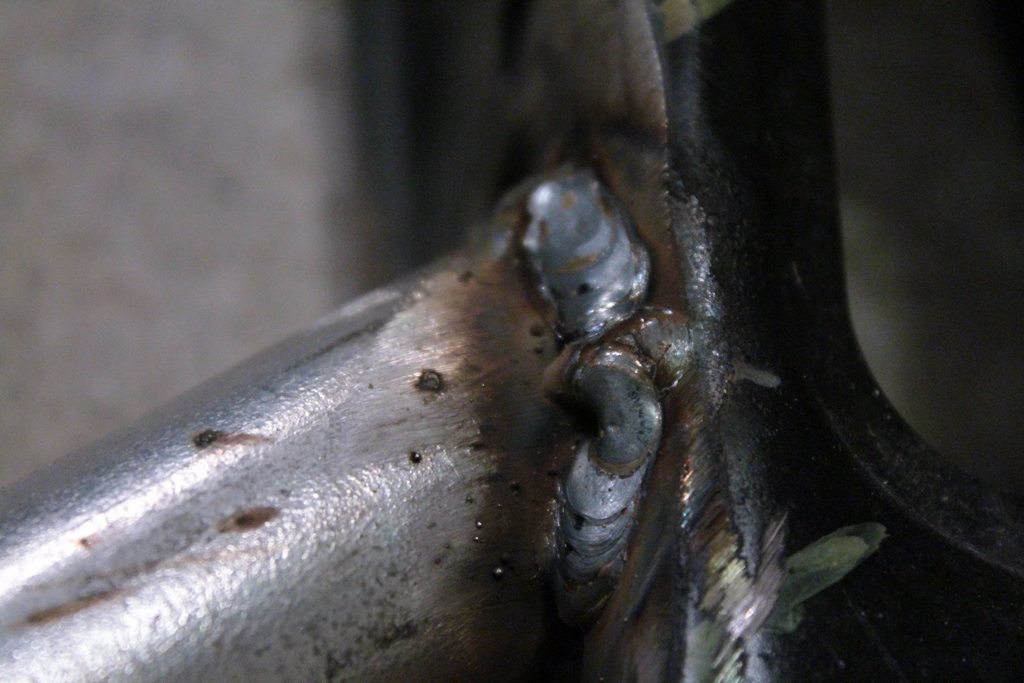 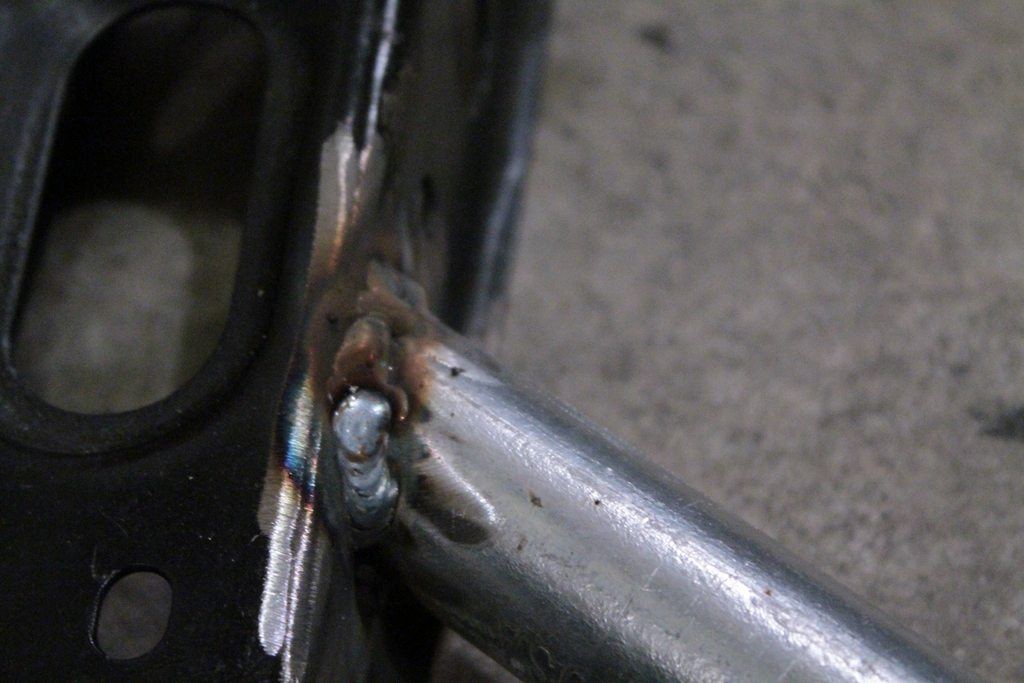 Last edited by homegrowngarage; 05-06-2015 at 10:08 PM.. |
|
|

|
|
|
#36 |
|
Leaky Injector
 |
And now we are fully up to date on the build thread.
Much more needs to get done, but we hooked the harness up to the battery and all the interior lights work, the key cranks the starter, fuel pump primes and headlight motors and lights work and rear tails work as well. It seems everything works except the front side markers. Not bad for the first time doing a wire tuck. 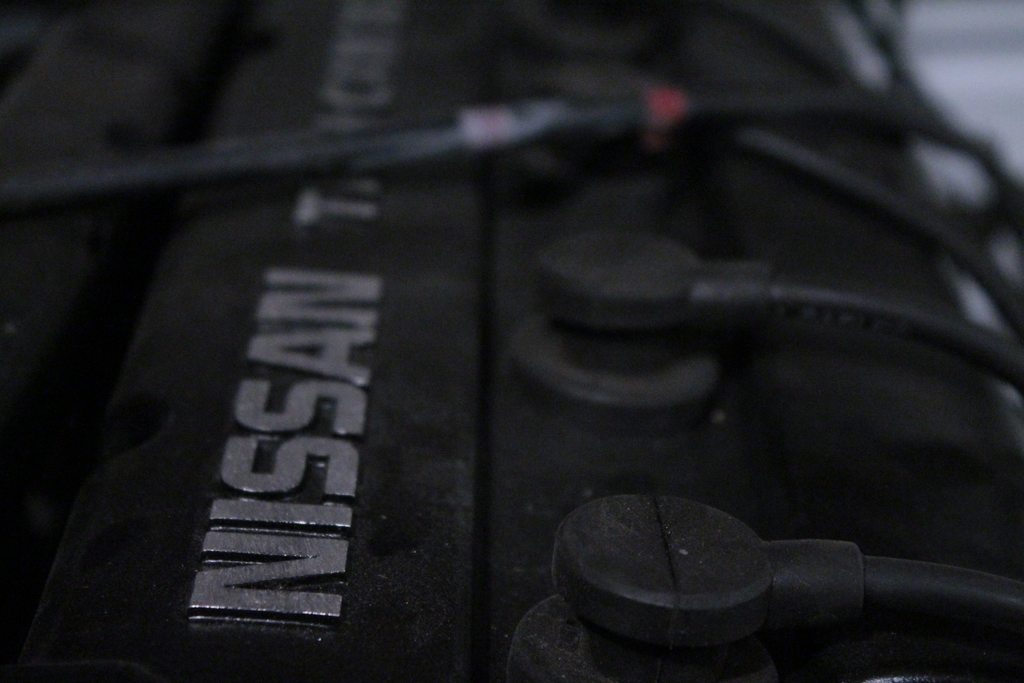 More updates coming soon so stay tuned! Last edited by homegrowngarage; 05-06-2015 at 10:07 PM.. |
|
|

|
|
|
#37 |
|
Zilvia Member
 Join Date: Jan 2012
Location: La Grange Texas
Age: 46
Posts: 274
Trader Rating: (1)
 Feedback Score: 1 reviews
|
In the begining my thoughts were...here goes another "typical drift build" but so far the work you guys are doing is great! The workmanship will get better during the process and Kudos to you guys for starting a project and following through....looking good guys!
|
|
|

|
|
|
#39 | ||
|
Leaky Injector
 |
Quote:
Quote:
 |
||
|
|

|
|
|
#41 |
|
Zilvia Addict
 |
I enjoy builds like these, where the owner(s) get better as they progress. And your work shows that.
Did you guys have a pin tool when doing the wiring, and whats planned next? |
|
|

|
|
|
#42 | |
|
Leaky Injector
 |
Quote:
We used a small screw driver for eye glasses, it worked pretty well. The next step is going to be getting everything semi-mocked up and see if we can get the motor running with the harness and trouble shooting that. This spring we plan on sanding the whole car down and painting it, fixing what's left of the rust and anything like that. Then get rid of the ebay seats and get a real seat, put on the grip royal wheel and quick release, and get some new wheels and other odds and ends. Then far future will be focusing on rear control arm upgrades and brake upgrades and possibly a turbo, but that will be a long time from now. |
|
|
|

|
|
|
#43 |
|
Leaky Injector
 |
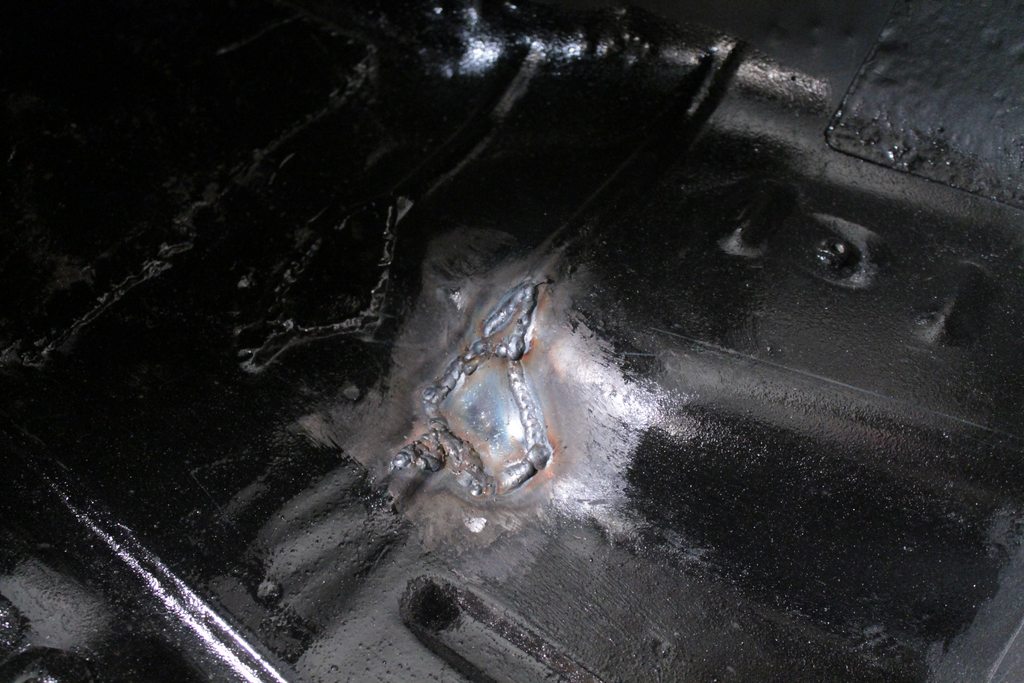
Finished the patches on the drivers side floor
 Working on redoing the passenger side floor patches. I cleaned out the frame rail the best I could and then coated the inside of the it with por-15 to prevent any more rust from forming. 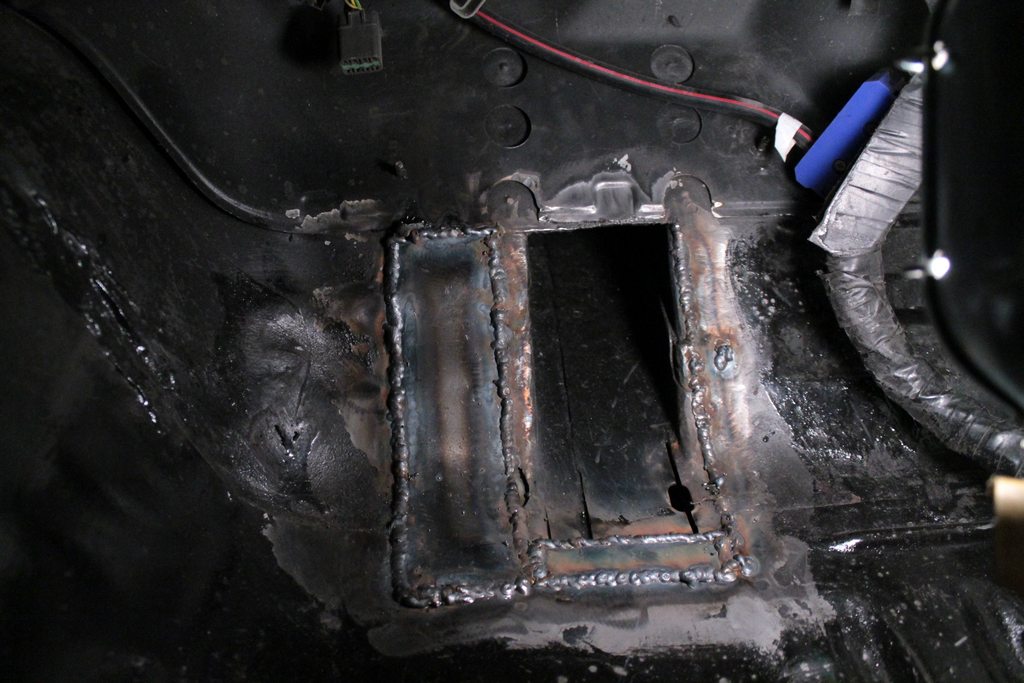 Last edited by homegrowngarage; 05-06-2015 at 10:07 PM.. |
|
|

|
|
|
#44 |
|
Leaky Injector
 |
Close up of the patching process.
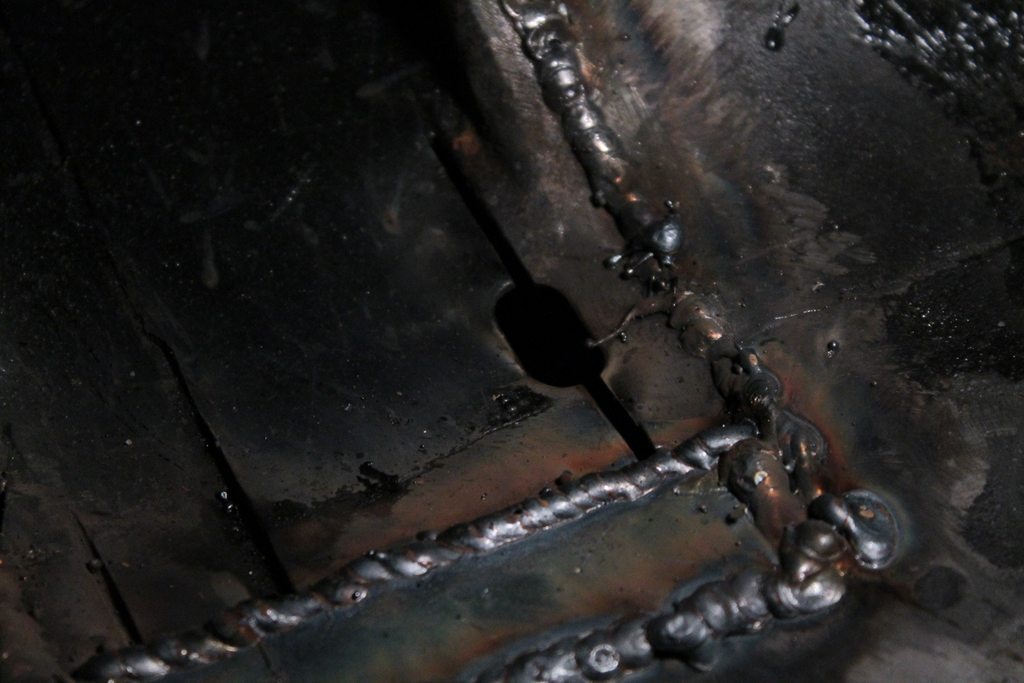 I also coated the back side of the frame rail patch in por-15 so it wouldn't rust. Here is the patches all done. Much better than our first attempt last year. 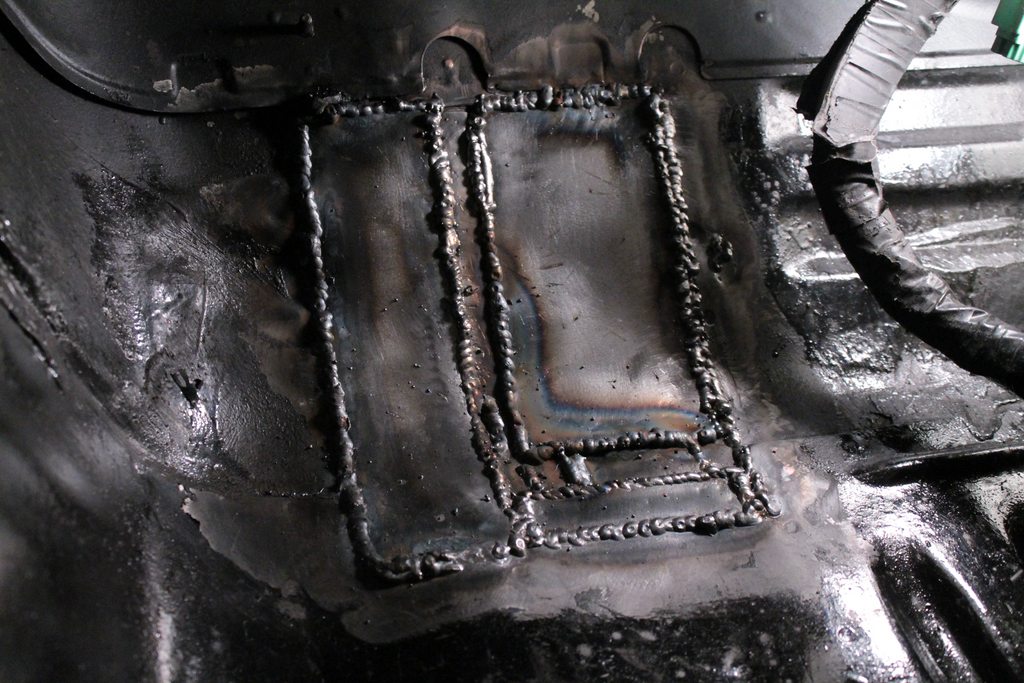 Last edited by homegrowngarage; 05-06-2015 at 10:07 PM.. |
|
|

|
|
|
#45 |
|
Leaky Injector
 |
We then coated both wheel wells with por-15 and any other section that was bare metal. We got the glossy finish por-15 and it looks awesome.
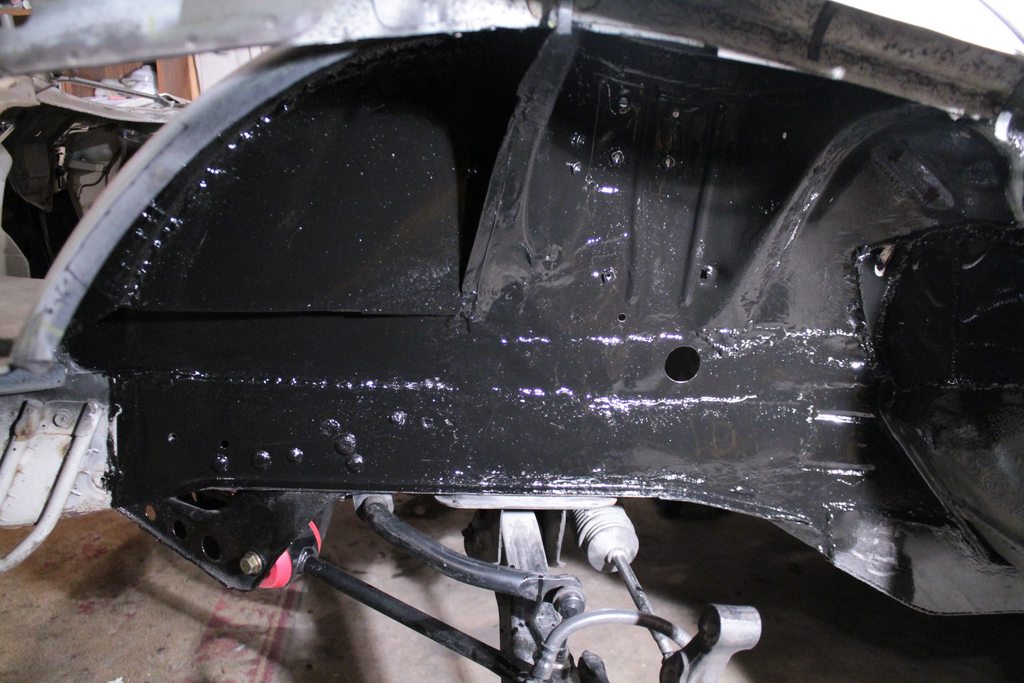 Then we coated the entire floor interior. We actually ran out before we got to the back drivers side section. So we'll have to order another pint.  Last edited by homegrowngarage; 05-06-2015 at 10:07 PM.. |
|
|

|
|
|
#47 |
|
Leaky Injector
 |
So we laid the harness in again, and started putting everything some what back together.
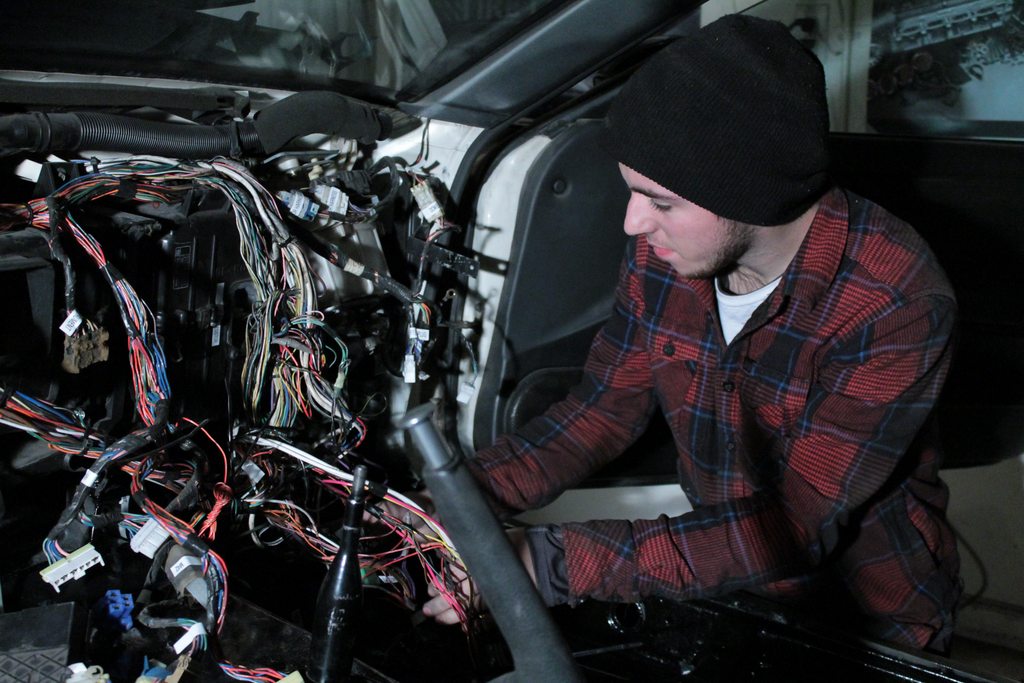 Dash, steering column, center console and seats all went back in. 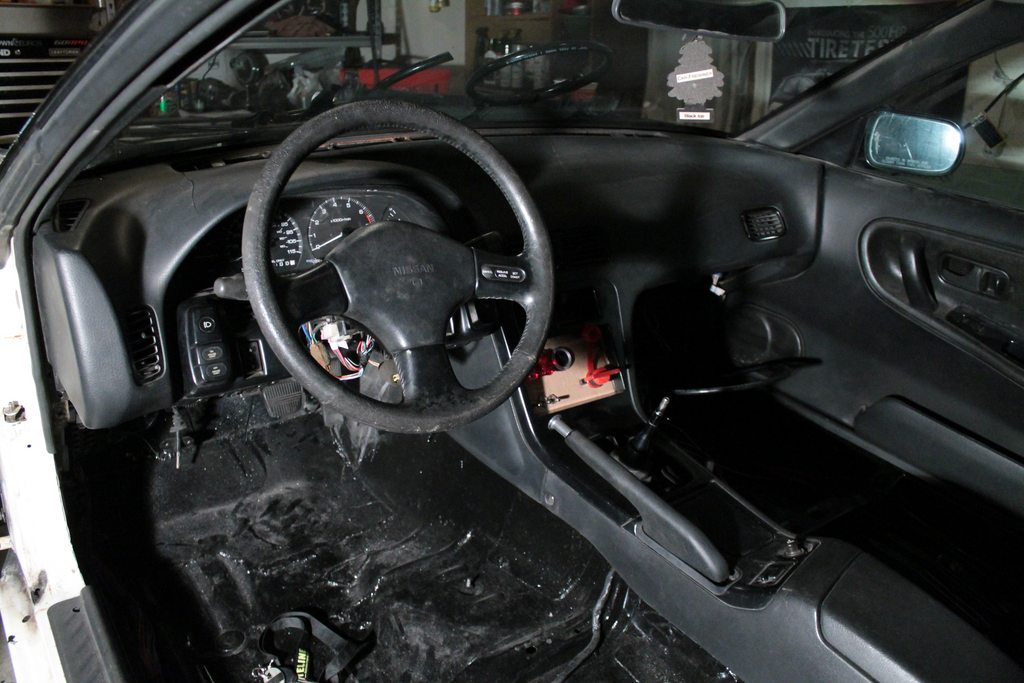 Last edited by homegrowngarage; 05-06-2015 at 10:06 PM.. |
|
|

|
|
|
#48 |
|
Leaky Injector
 |
We then began wiring up the head lights and such.
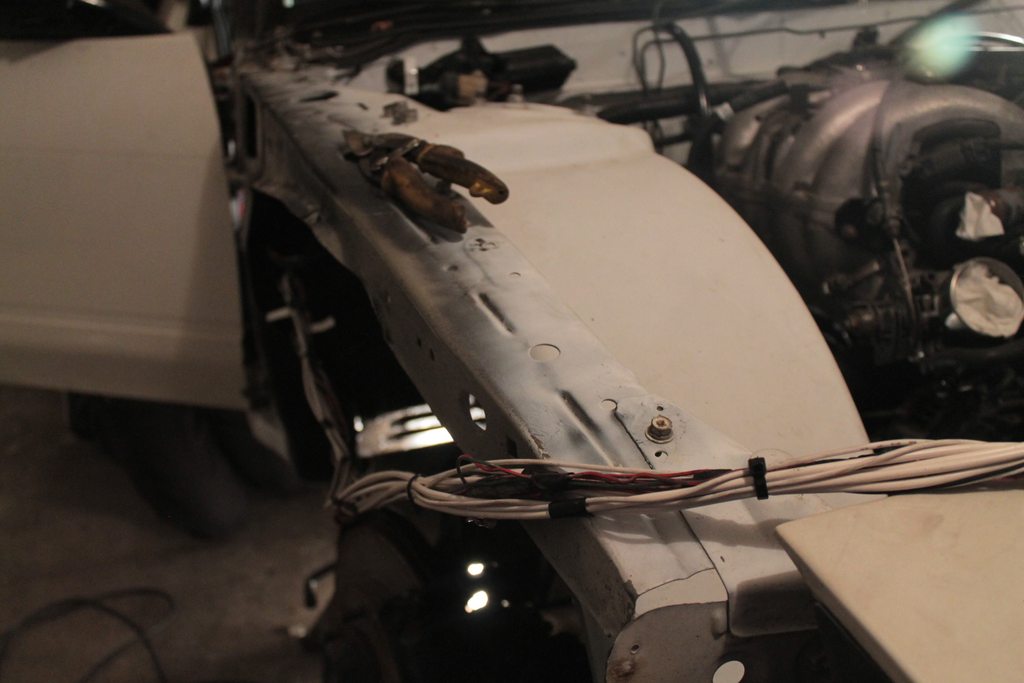 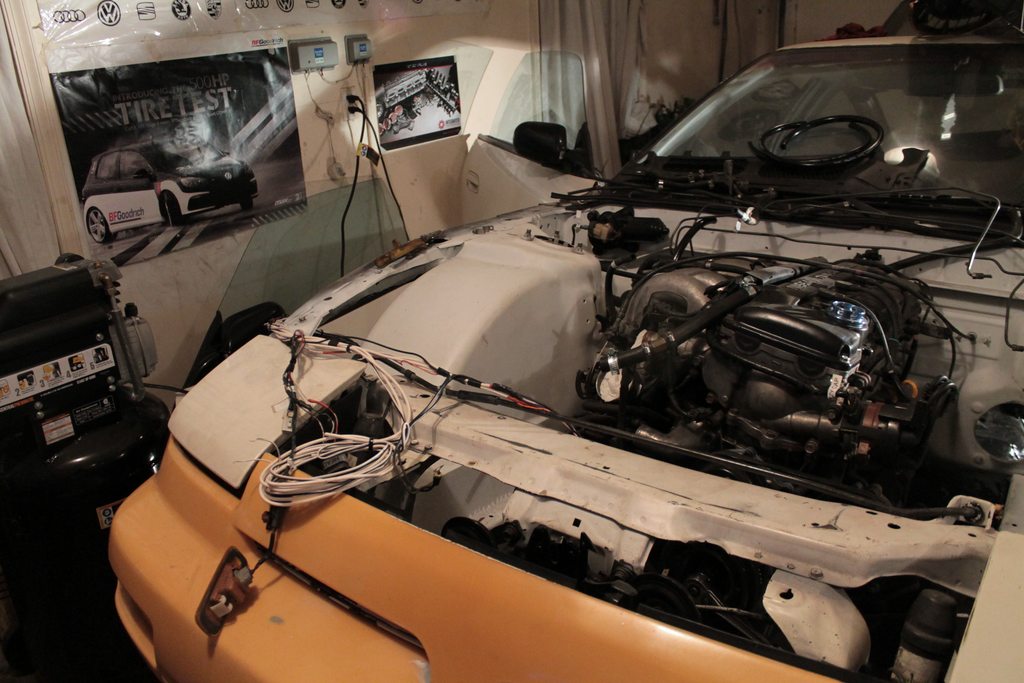 For now we have the harness zip tied up under the fender. In the spring when we tear the car apart to paint it all the wires will be nylon wrapped and tucked much better so you won't be able to see them. 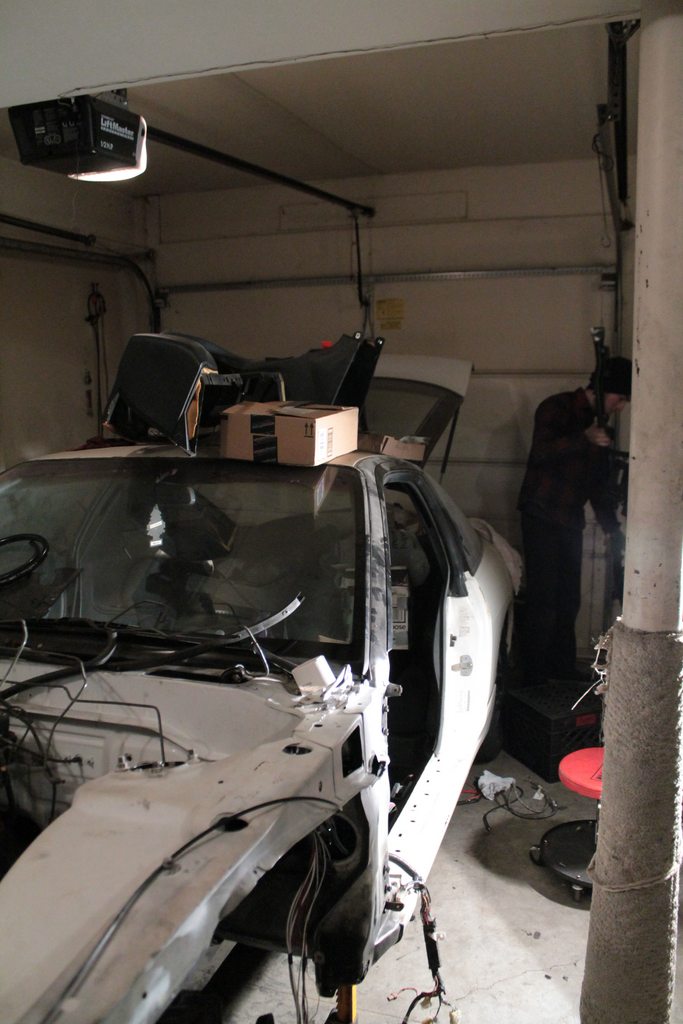 Last edited by homegrowngarage; 05-06-2015 at 10:06 PM.. |
|
|

|
|
|
#49 |
|
Leaky Injector
 |
Minus those stray wires on the left (that were later tucked), these are all the wires in the engine bay.
The fuse/relay boxes were relocated to the glove box. A lot of unneeded wires were deleted and now only the wires for the rad fans, headlights, headlight motors and the side markers are the only wires coming into the bay. In the spring we're going to get started on the actual engine harness. 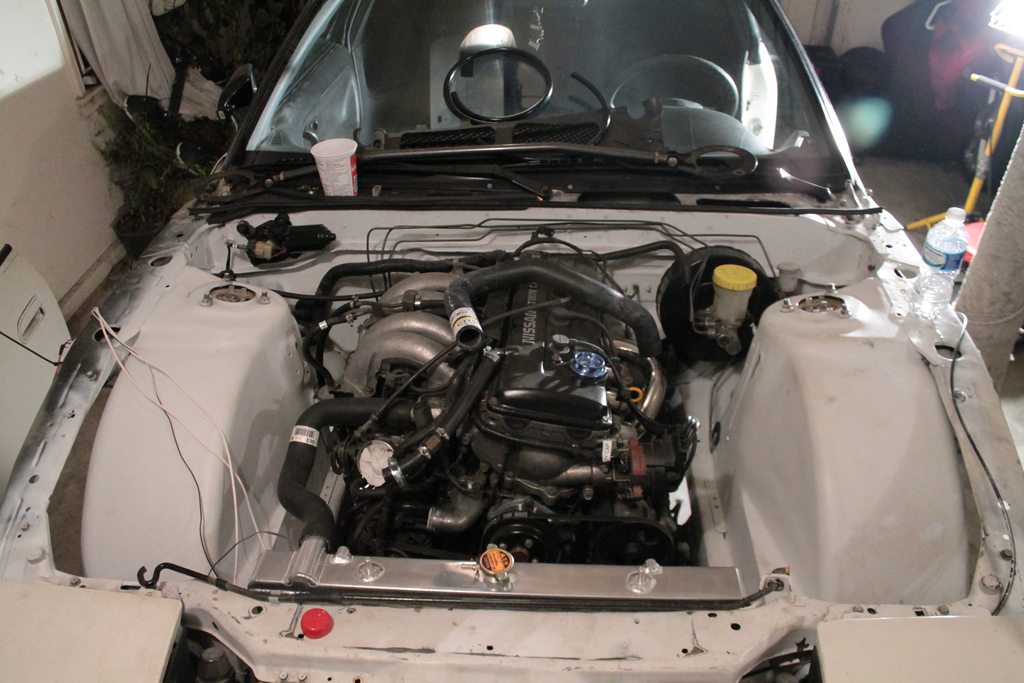 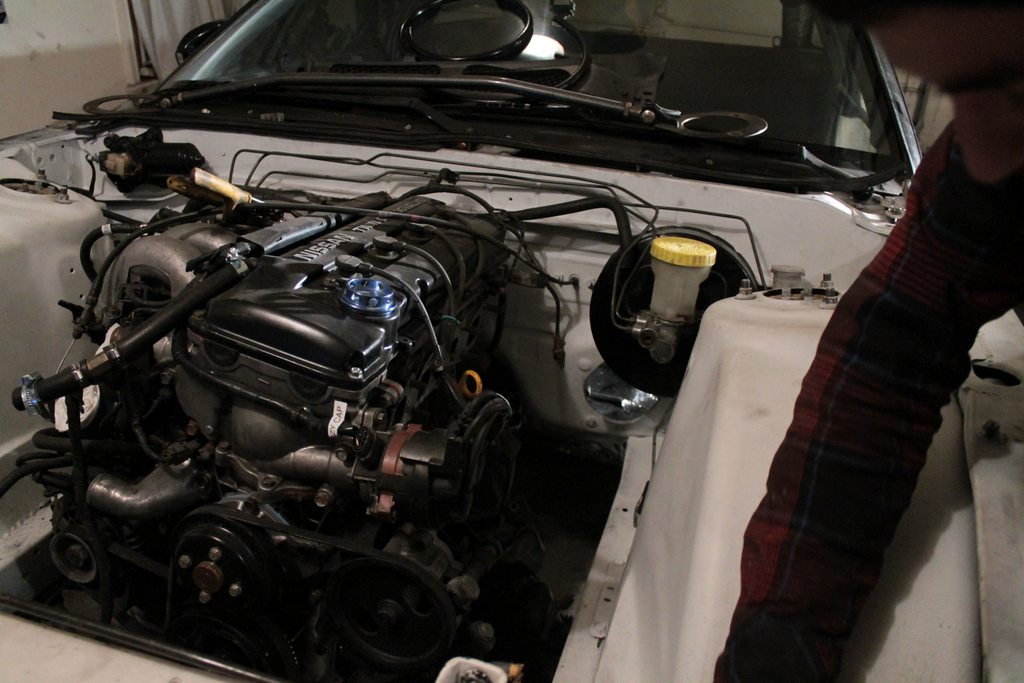 Putting on the headers. 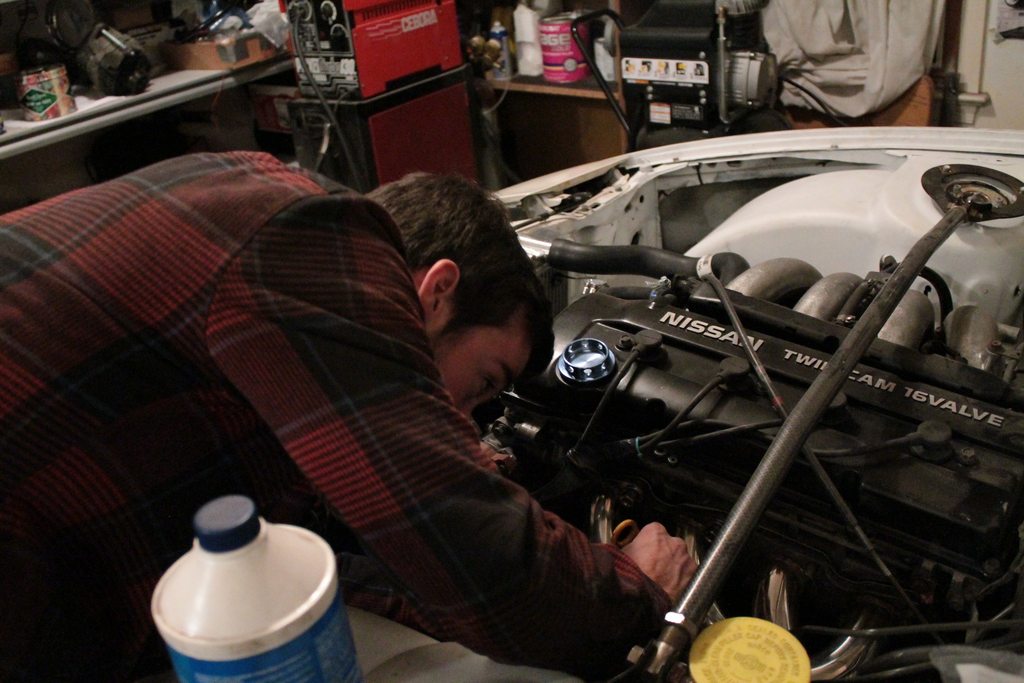 Last edited by homegrowngarage; 05-06-2015 at 10:06 PM.. |
|
|

|
|
|
#50 |
|
Leaky Injector
 |
Filling up the rad with coolant and distilled water. (Don't worry the coolant went in first I just didn't get a picture of it.).
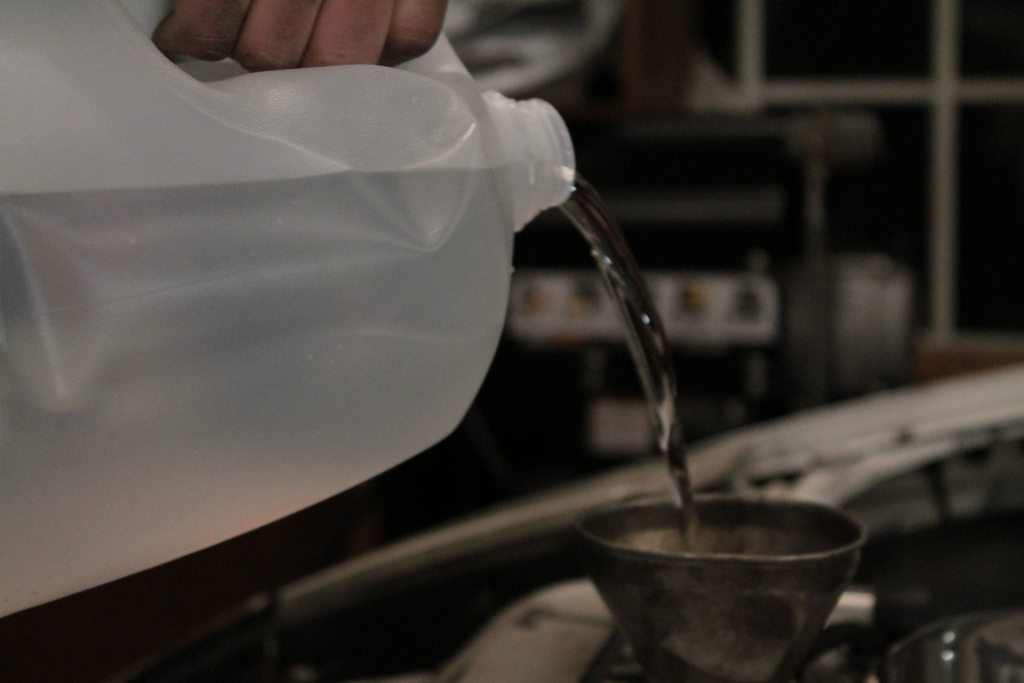 Made some radiator brackets. I don't like how they're not perfectly straight, I'm going to try and figure out how to make them look nicer. But for now they'll do. 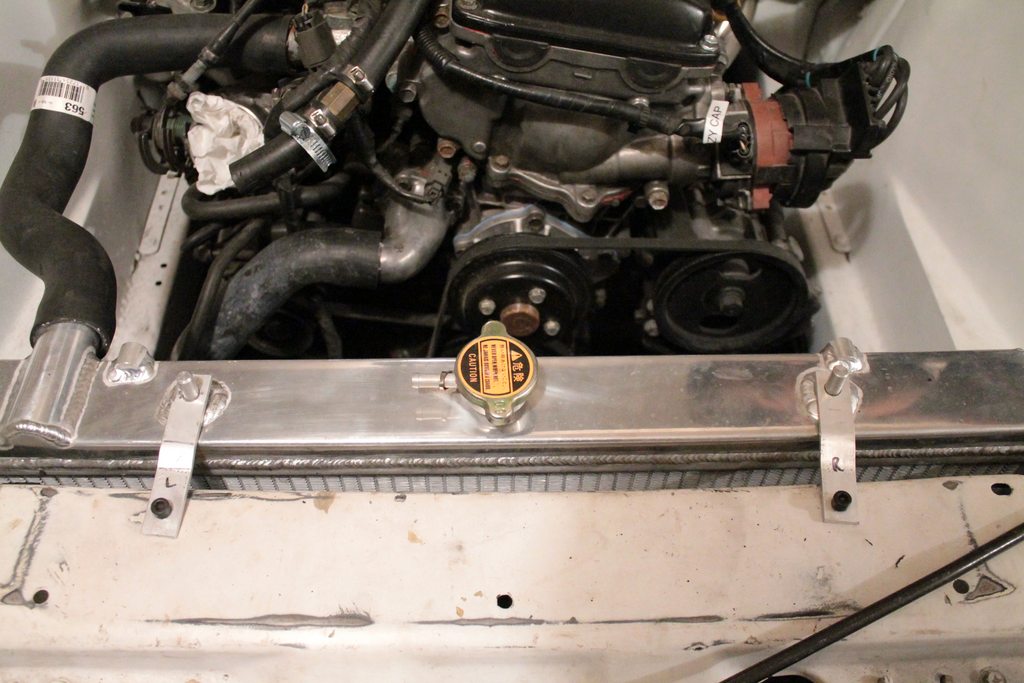 Last edited by homegrowngarage; 05-06-2015 at 10:05 PM.. |
|
|

|
|
|
#51 |
|
Leaky Injector
 |
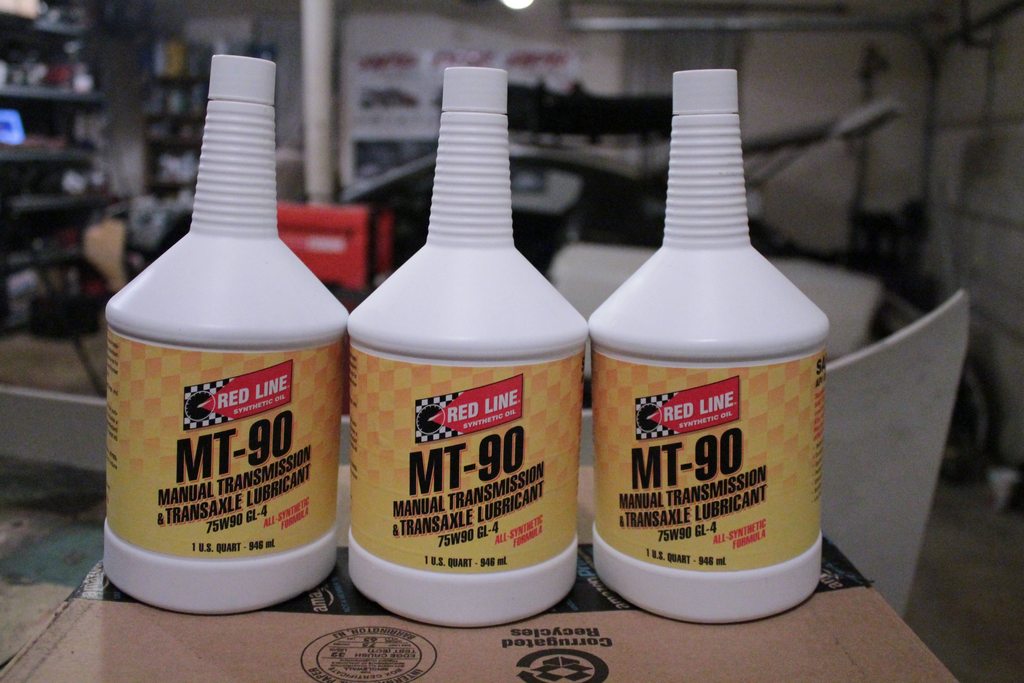
Also filled up the trans with some redline MT-90.
 Picked up a test pipe since the car had no cat to begin with, $26 and shipped in two days, gotta love ebay. 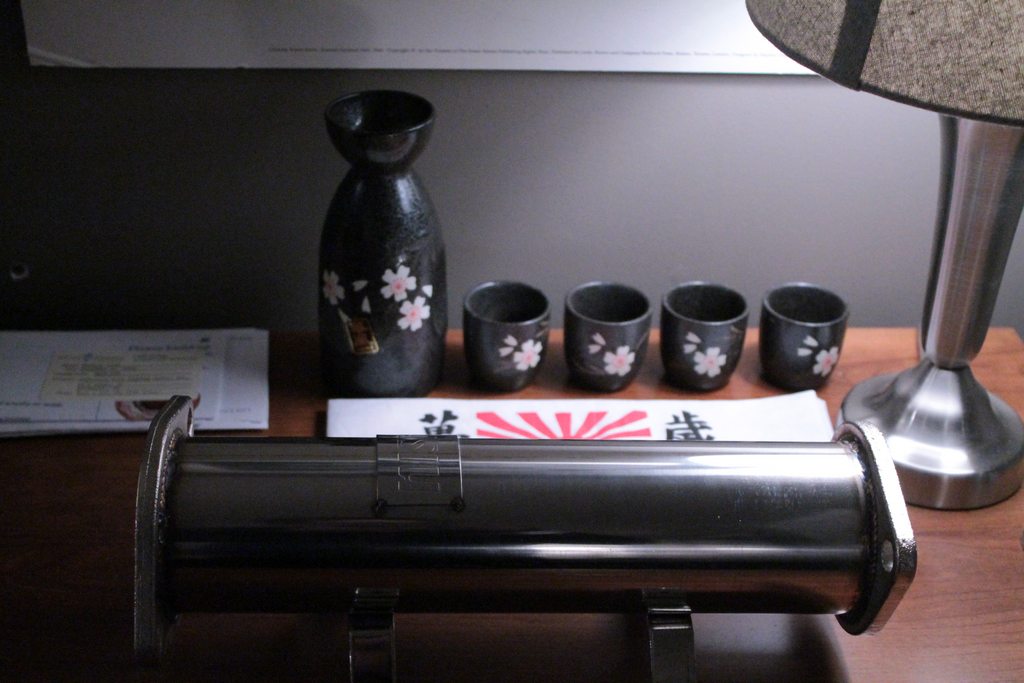 Nism0, lol 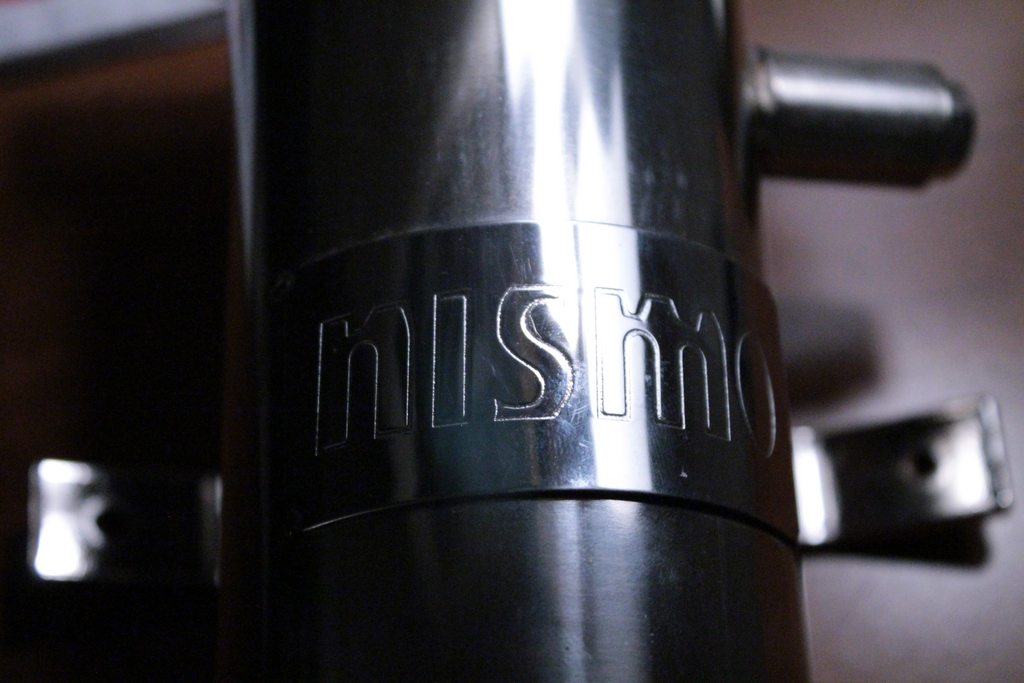 Coated the custom power brace in POR-15 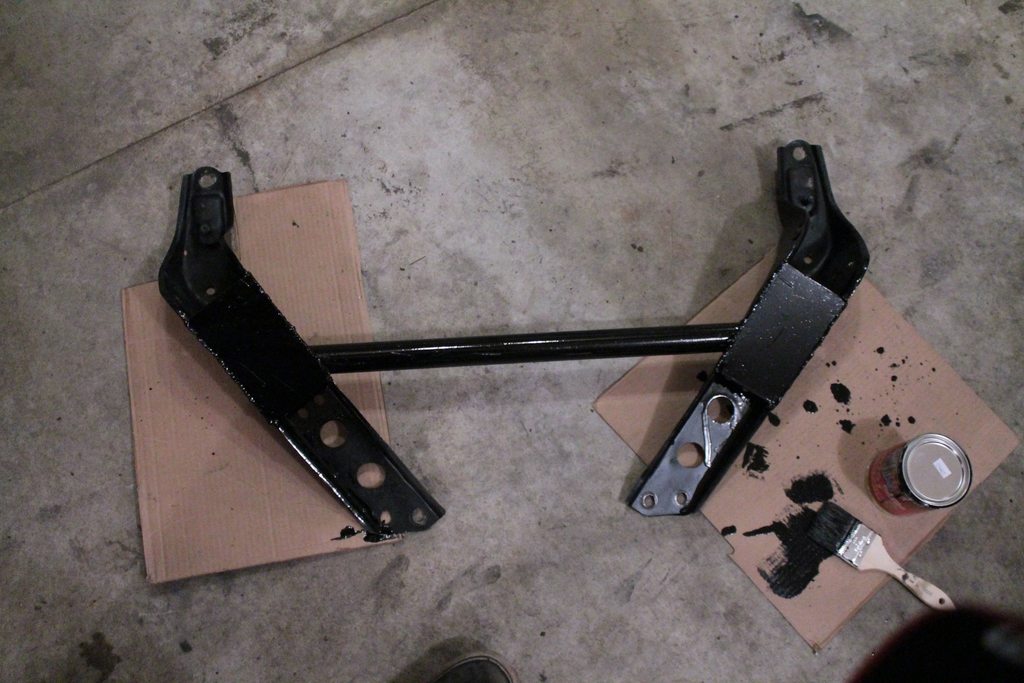 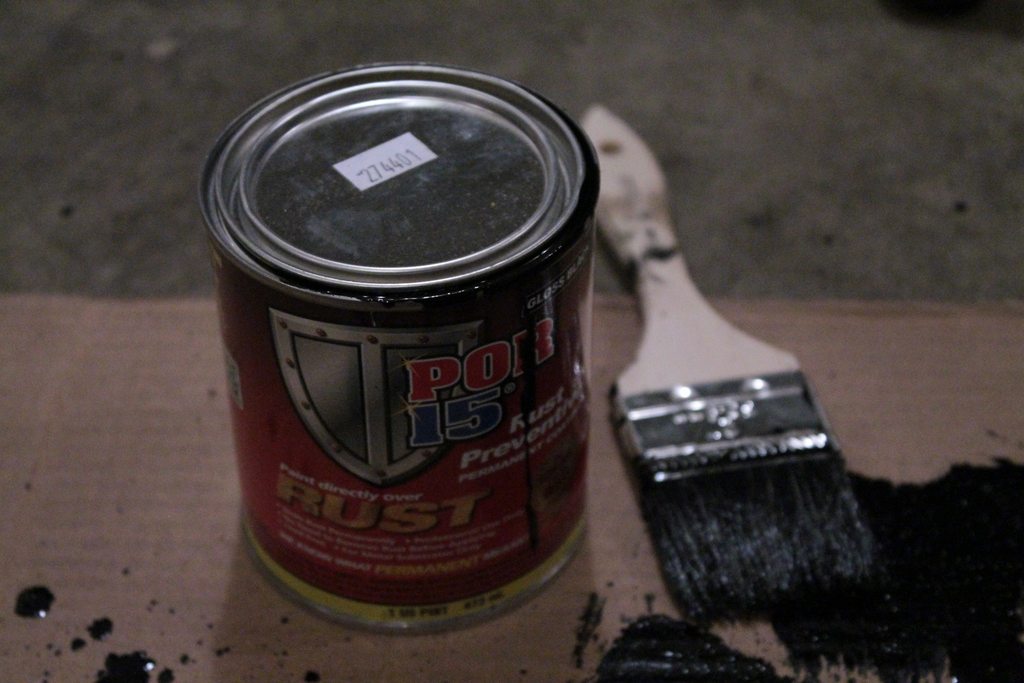 And success! We got the motor running! It's hasn't moved yet but this is definitely a milestone for us. This is the first time in over a year the car has had any type of running motor in it since we've owned it and I don't think it has run for 5 or so years before we bought it. The wiring all works except for the wipers but that shouldn't be too difficult to figure out. Now I just want to say, when we bought the car the main section of the engine harness was pretty much cut in half. In addition to that this is our first time really working on a 240sx and our first time doing a tucked harness. My brother, Jordan, was able to wire the whole harness, delete some wires, extend others and put it in and everything works except the wipers. I'm definitely proud of him. We'll post up videos of the first start soon!  -Brennan Last edited by homegrowngarage; 05-06-2015 at 10:05 PM.. |
|
|

|
|
|
#53 |
|
Leaky Injector
 |
Well not much has been going on since both of us have been away at school, along with all the snow and bitter cold.
Here's a picture of the s13 currently. 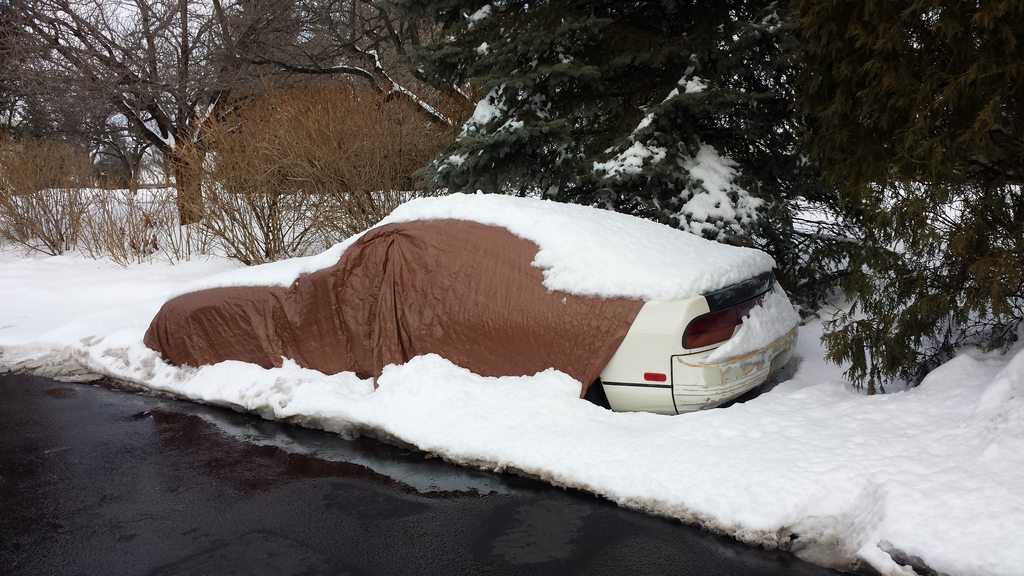 We have big plans for this spring and hopefully we'll be driving this thing soon!  -Brennan |
|
|

|
|
|
#55 |
|
Leaky Injector
 |
Here is a quick video I took when we first got it timed properly. You can see some flames pop out of the egr hole and o2 sensor holes since they are open, hence sounding like poo.
240SX First Start Spring break for us is 2 weeks away so more progress and updates will follow. We have been investing in equipment to start filming and produce decent footage so some cool new stuff will be coming up. Follow us on Instagram to keep updated with the build as well as our other members cars! @homegrowngarage -Jordan |
|
|

|
|
|
#56 |
|
Leaky Injector
 |
So it's been a little while since the last update.
A few weeks ago we got the car to move under it's own power! It was pretty exciting seeing as we haven't even driven the car since before we bought it back last year. We got the braided clutch line on, swapped out the leaky rear caliper and bled the entire braking system and got everything some what situated. The car does look like a bag of dicks but that is the next step of the process. Here is a video of the first time the car actually moved. https://www.youtube.com/watch?v=303l7urc_io -Brennan |
|
|

|
|
|
#60 |
|
Leaky Injector
 |
It's been awhile since we've really updated this build with whats been going on, but much more will be posted in the coming weeks!
First off, I'll start by saying that throughout this build we have been taking pictures with high resolution DSLRs, but due to some technical difficulties with imgur we have been posting potato quality 600x400 pixel photos. But that has been all cleared up and now we've got high def photos getting beamed straight to your eyeballs! I've also taken the liberty of updating all the old photos to high resolution as well, so feel free to page through them again and see some sweet sweet HD. Next up, went to the junk yard and found this beauty. Automatic but had good everything except the front end obviously. Even had a working gas flap latch, which I snagged. 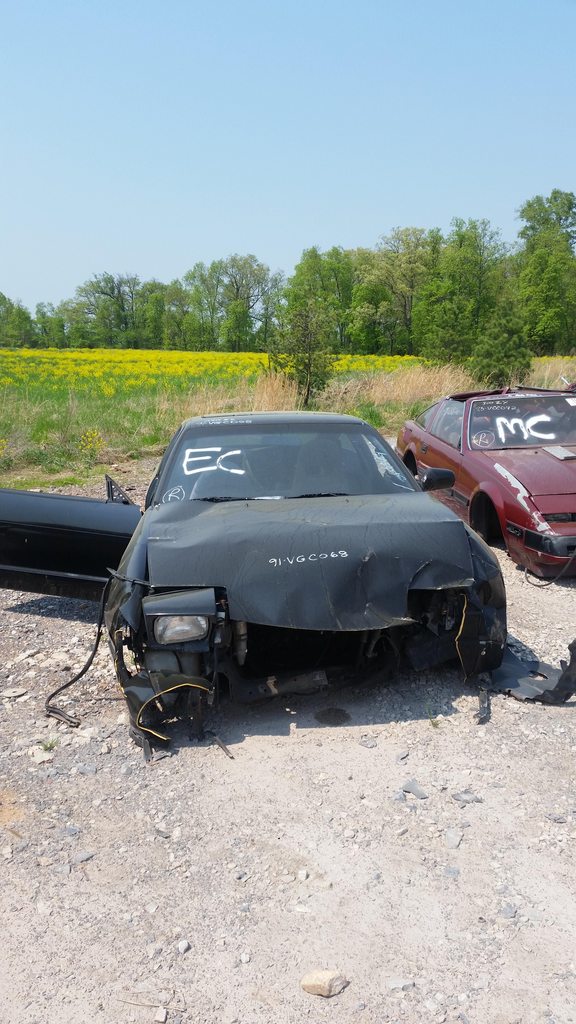 Also got a coolant overflow and power steering reservoir from an Altima, both of which are simpler and more compact than the oem 240 ones. I'm gonna try and tuck them out of the way behind the headlights.  More is to come next week! -Jordan |
|
|

|
 |
| Bookmarks |
| Thread Tools | |
| Display Modes | |
|
|