
 |
|
|||||||
| Home | Rules & Guidelines | Register | Member Rides | FAQ | Members List | Social Groups | Calendar | Mark Forums Read |
| Builds (and builds only) Got a build thread? It goes here, build threads anywhere else on the forum will be locked and never moved. |
 |
|
|
Thread Tools | Display Modes |
|
|
#1 |
|
Nissanaholic!
 Join Date: Jan 2009
Location: Definitely NOT FL....
Age: 29
Posts: 2,491
Trader Rating: (25)
          Feedback Score: 25 reviews
|
True Life: I'm Addicted to Stupid Old Nissans
So I have an old build thread on here my old s14, and in it I also started the build on this car but completely stopped updating. I don't really want to update the old thread because it was primarily for the s14, so I might as well start a new one.
Fair warning, this isn't going to be an update every day kind of build thread. Some of you guys may remember my old s14: 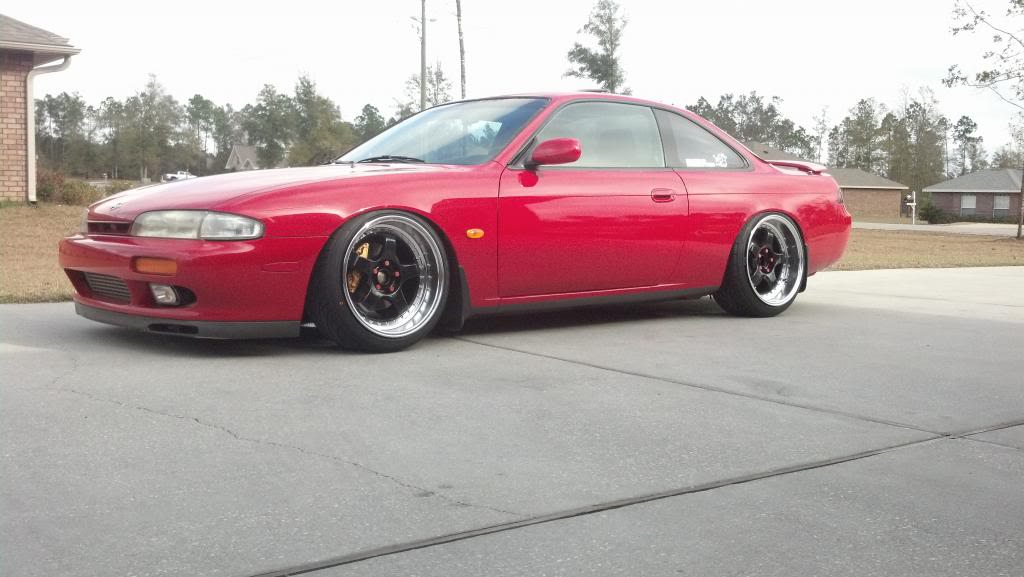 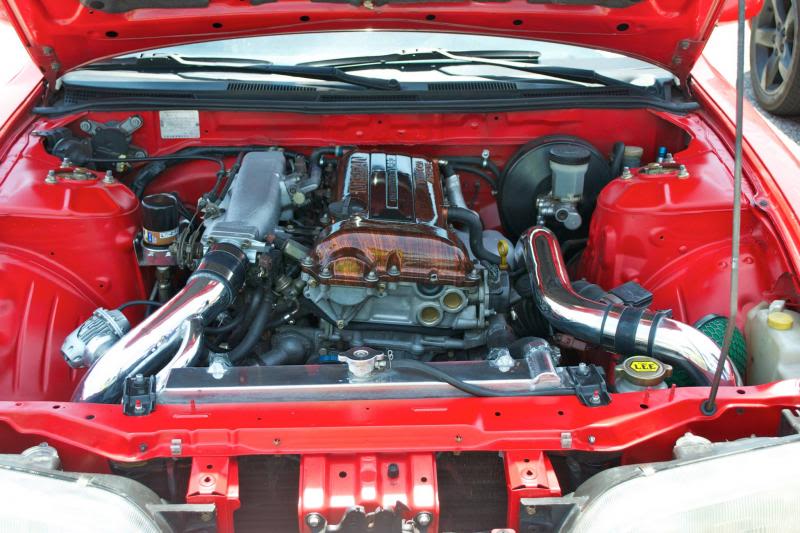 Long story short, I sold the SR in January and the shell is sitting. I've decided to put my high comp KA in it and sell it in the next few months. Will be sad to see it go, but happy that it won't be wasting away any longer. Now, this thread is mainly focusing on my s13 drift car. In the hopefully near future, it will include the resto project of the s14 I picked up last year: 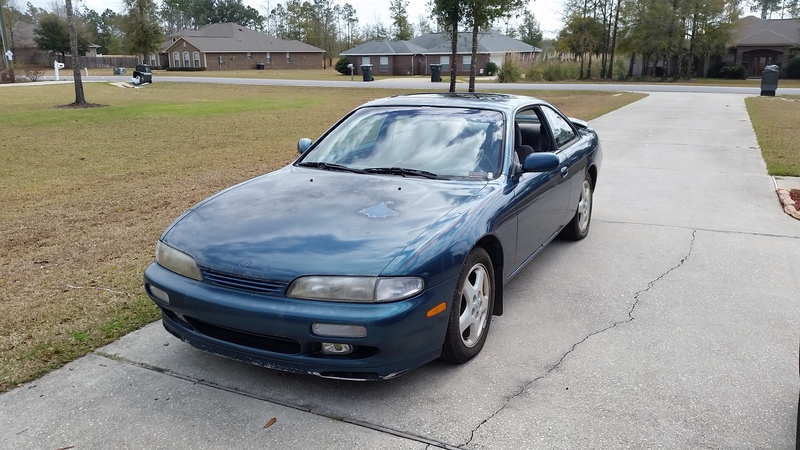 More on that later though. For now, let's get started on the s13, starting from the beginning. Phase 1: Beginner's Luck This period in my life was just dumb. I was barely attending school. I had no motivation because I had no idea what I wanted to do. I ended up taking a total of 4 semesters off, flunked some classes, and really screwed my degree plan up, for which I'm still making up for today. I read something recently where someone stated that most drifters are aimless kids with no real ambitions. I fit that description depressingly well. The only real smart decision I made in that time was buying this car. So I had my s14 as a daily. I had sank a shit ton of money and time into it. I wanted to start drifting, but didn't want to destroy the car. So I started looking for a shell. Surging craigslist one night I came across this 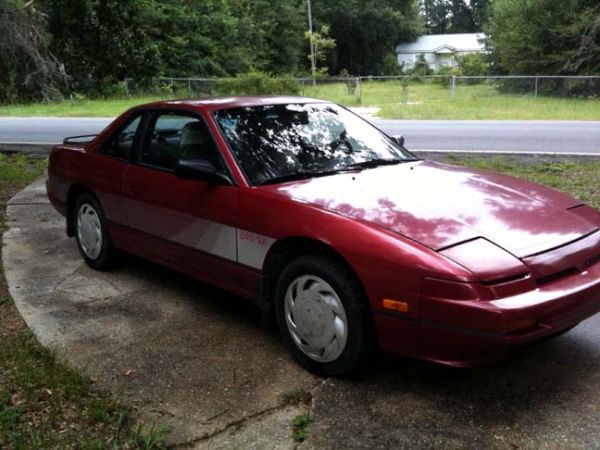 I emailed the seller that night, 15 minutes after its posting. I got a response shortly after saying I could come look at it in the morning. Got there and fell in love. It was a bone stock 89 coupe, auto, but had no engine. The woman I bought it from had gotten it from her mother, who bought it brand new. The woman was extremely nice and was really attached to the car, but it had been sitting for 2 years and she couldn't afford to put a new motor in it. I paid $550 for it and took it home. 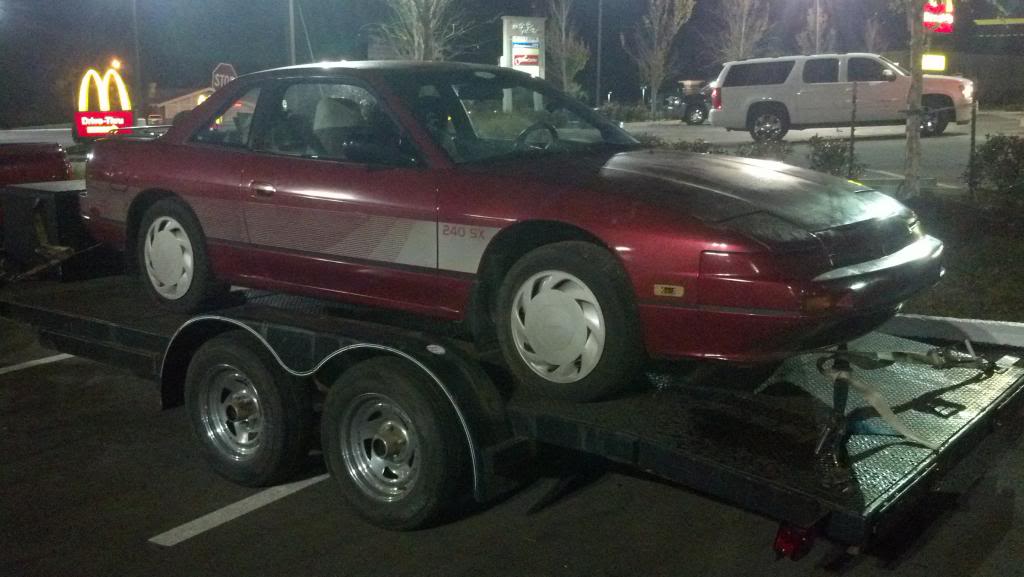  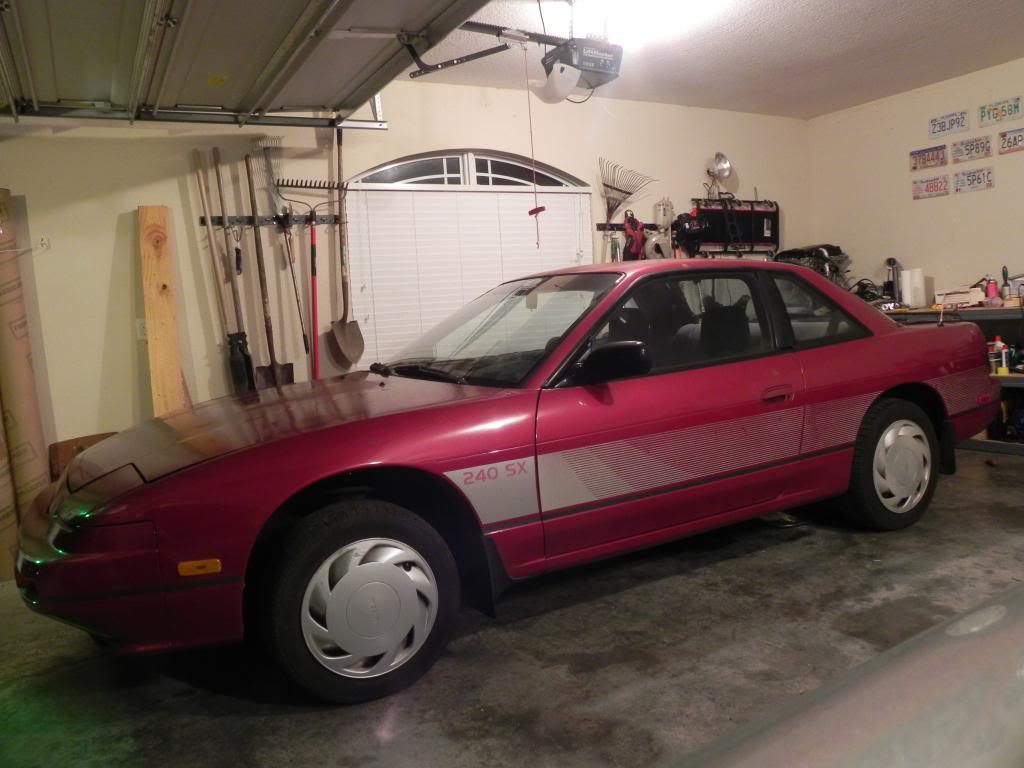 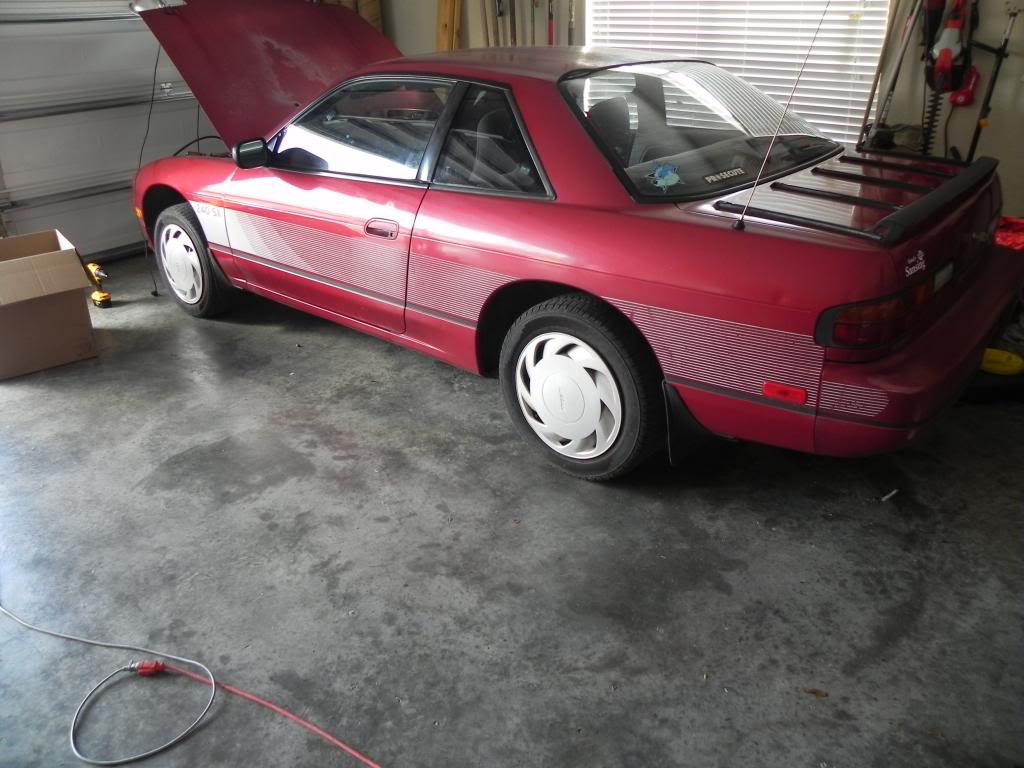 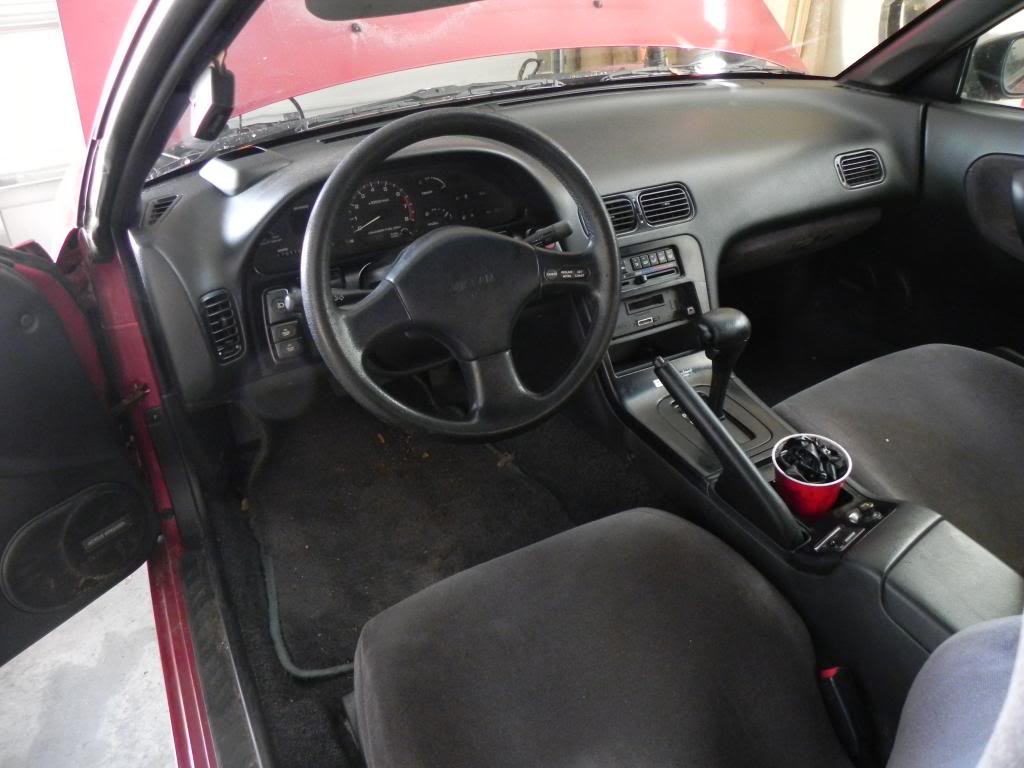 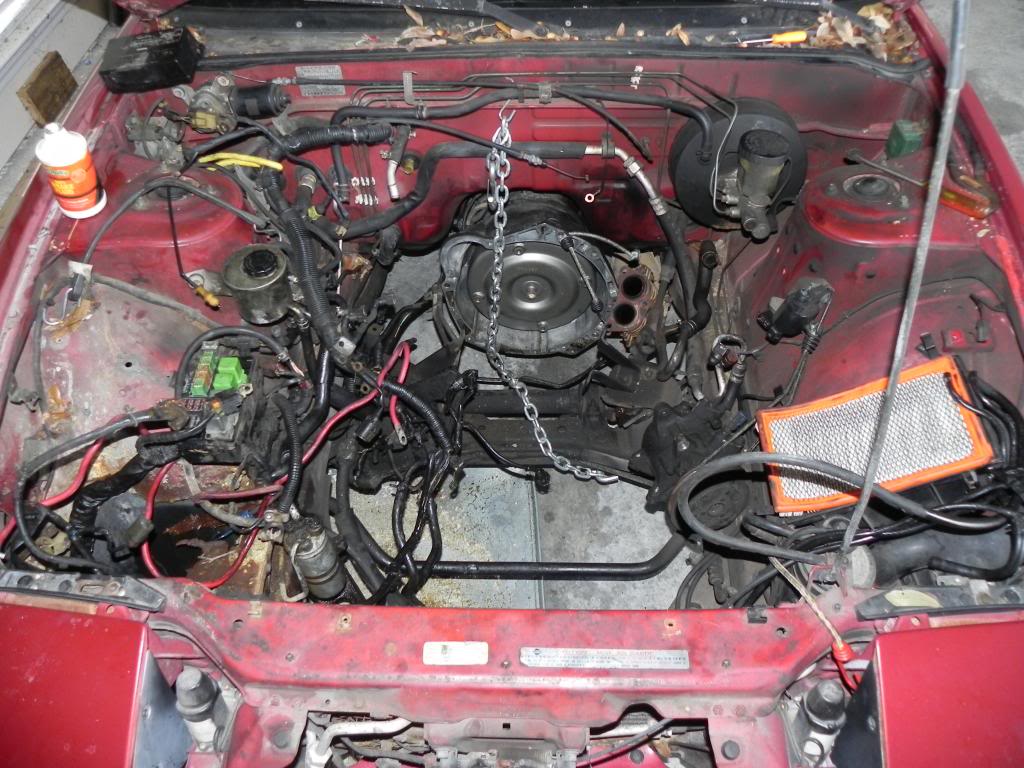 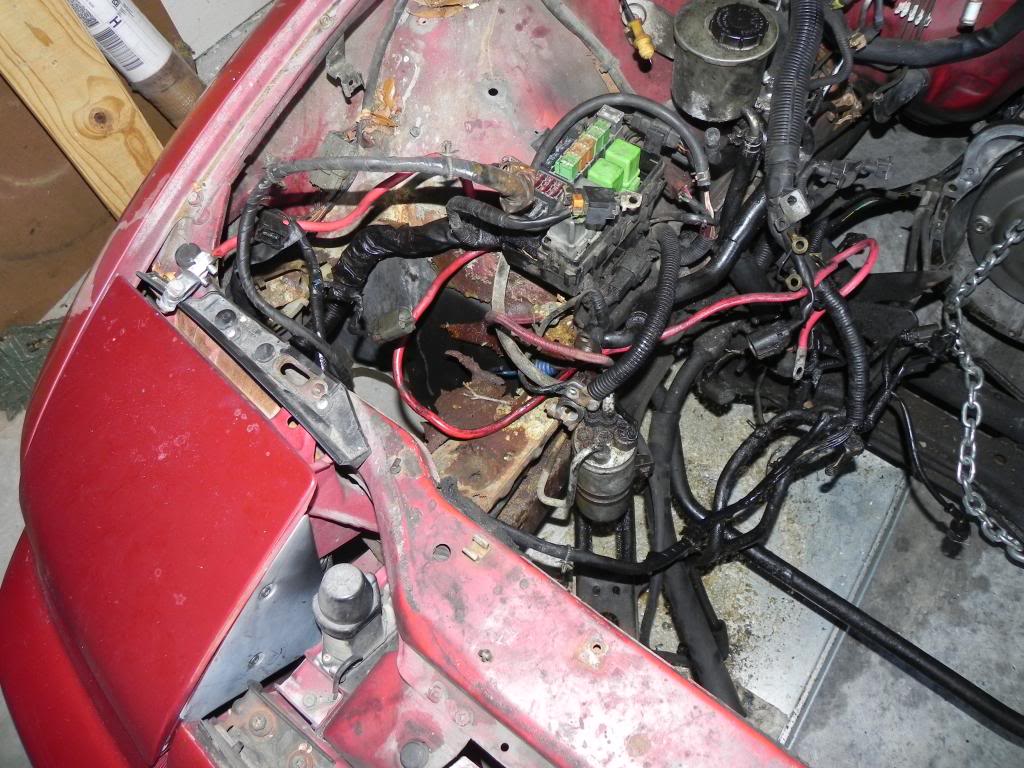 As you can see, the battery tray was completely rusted through. This was the only rust on the car, fortunately. The car had an uncracked HUD dash, although the HUD didn't work. On all accounts, this car was mint as some fuckbois would say. It took everything I had to not keep it bone stock and mob around in it. Since this wasn't my only car, I took my time with it. Because of that, stumbled upon some amazing deals, one of which being this $60 DOHC long block 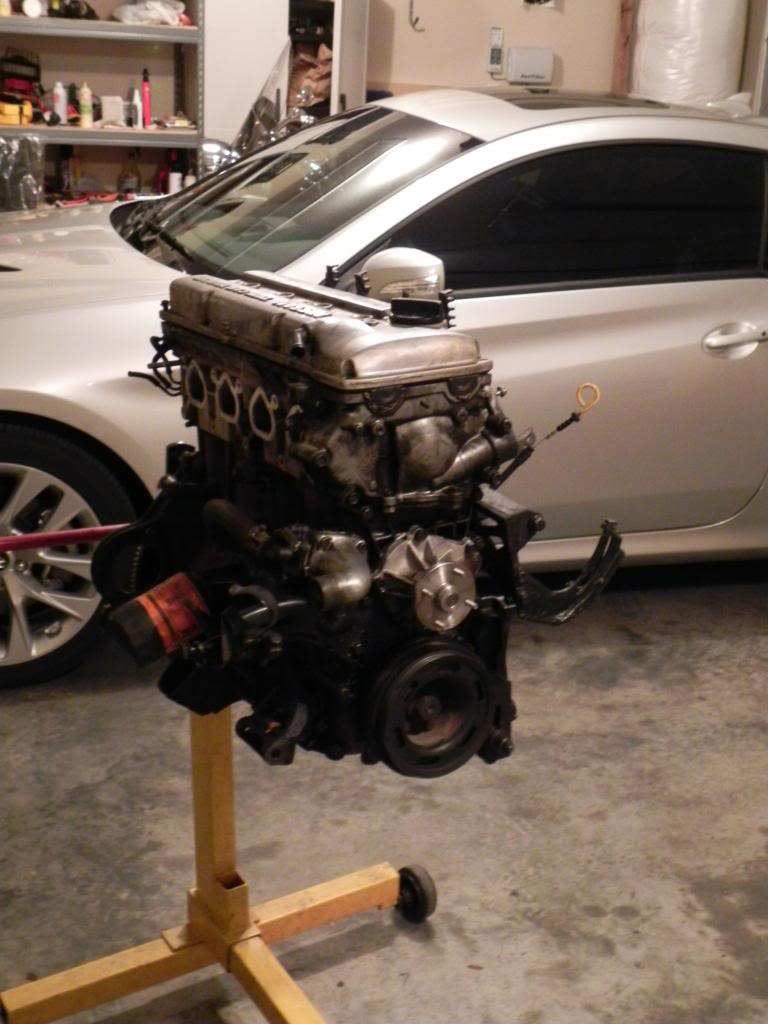 It was grimy 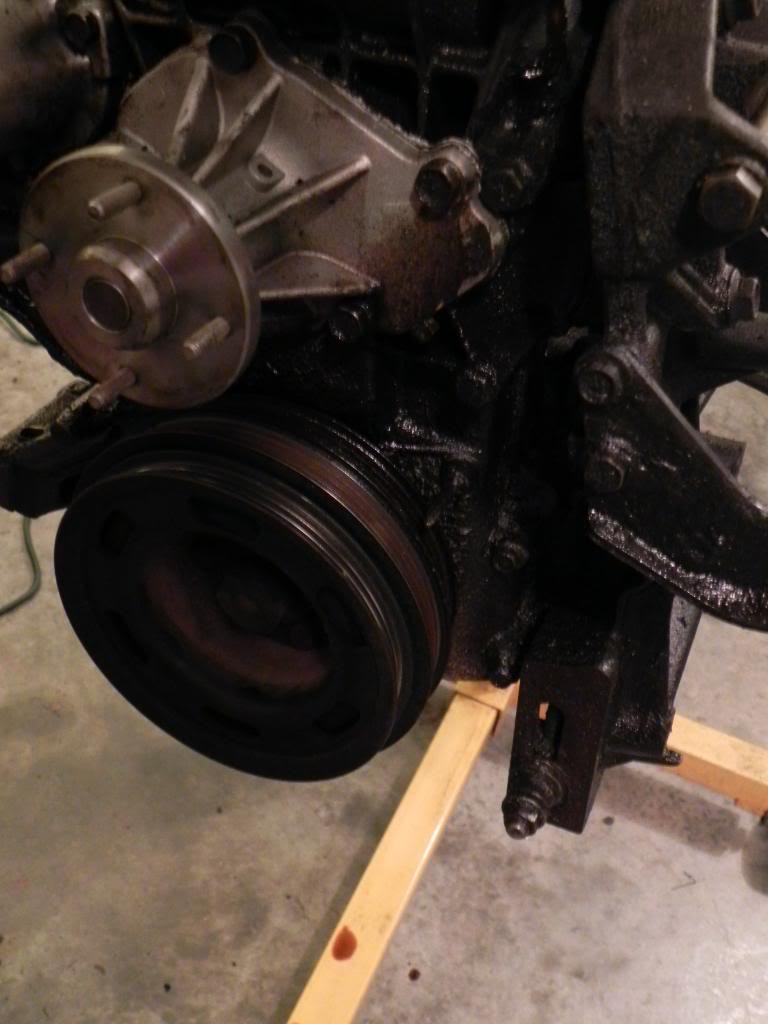 I went through it replacing every seal except the head gasket. I don't believe in breaking that factory seal unless necessary. Thanks to a really good friend, I got all s14 accessories and an SR trans. I had to source a distributor, ka bellhousing, and s13 wiring harnesses. The ultimate goal was to end up with an engine bay that looked 100% stock. The biggest mistake I made was going with an XTD clutch, but I was trying to keep costs down. The clutch set cost over 3 times what I spent on the motor anyways lol. I deleted the egr system as well as any vacuum and coolant lines that I could under the intake manifold. Ended with something like this 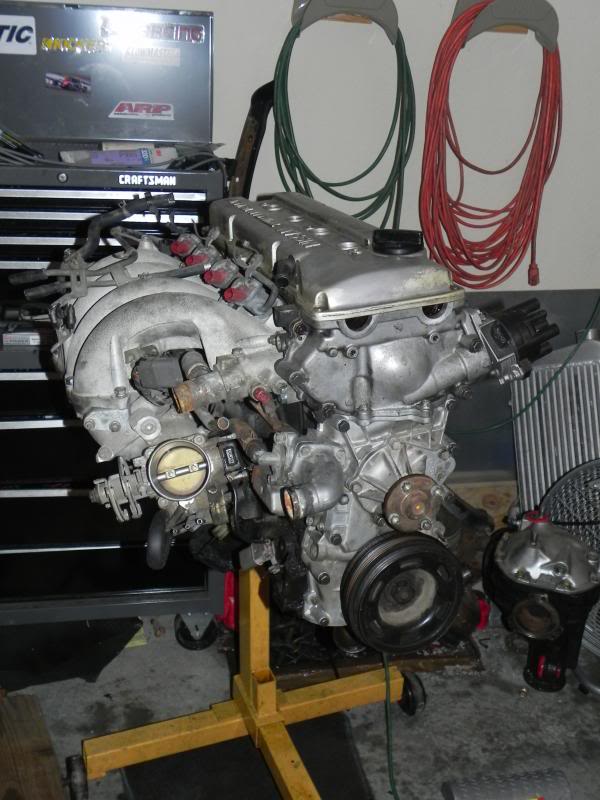 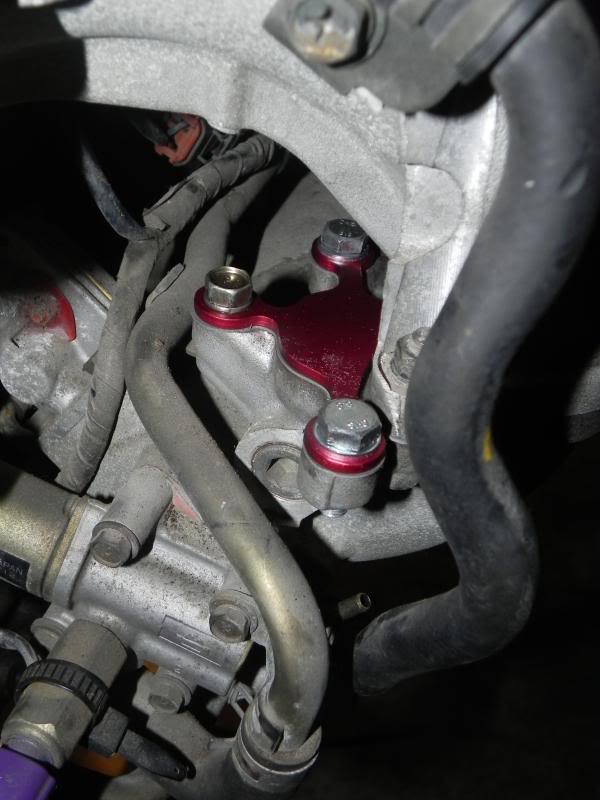 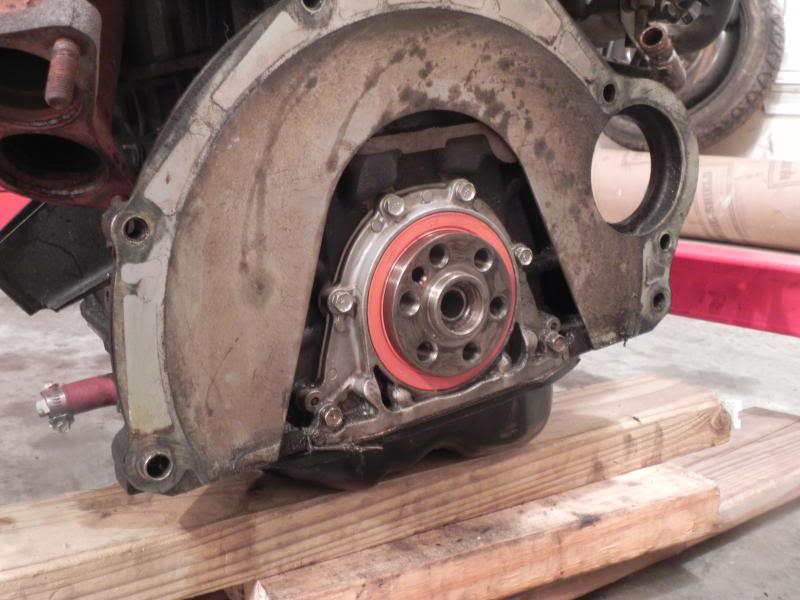 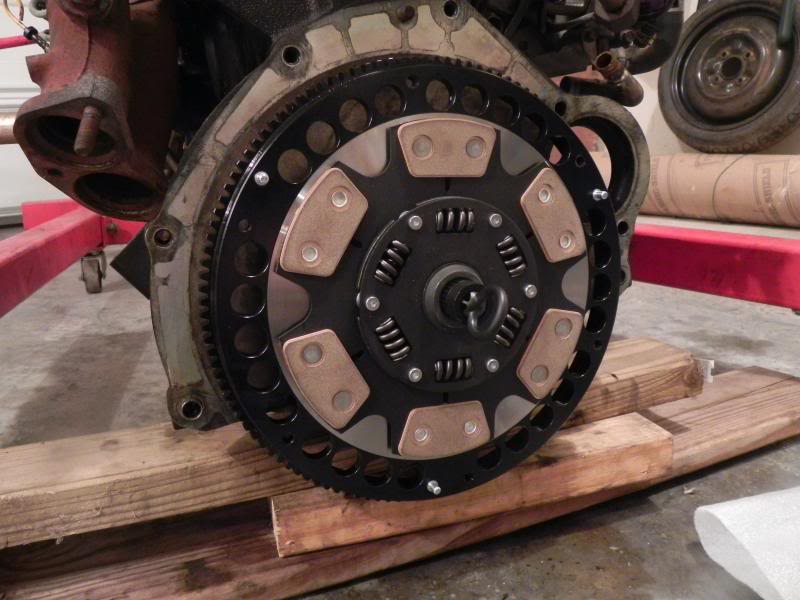 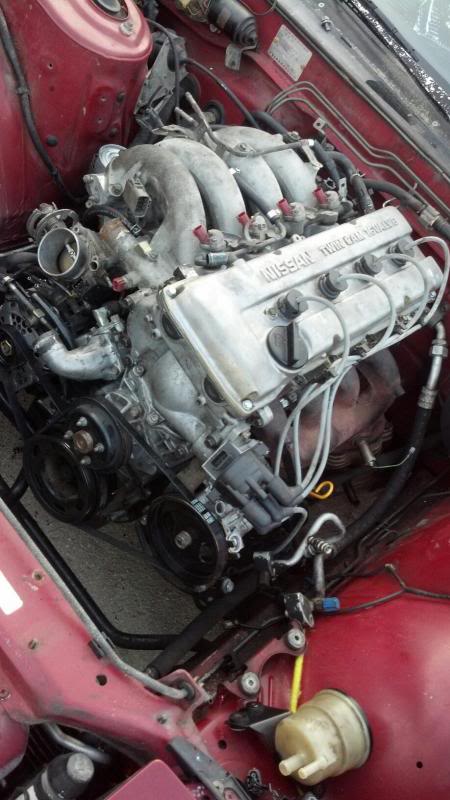 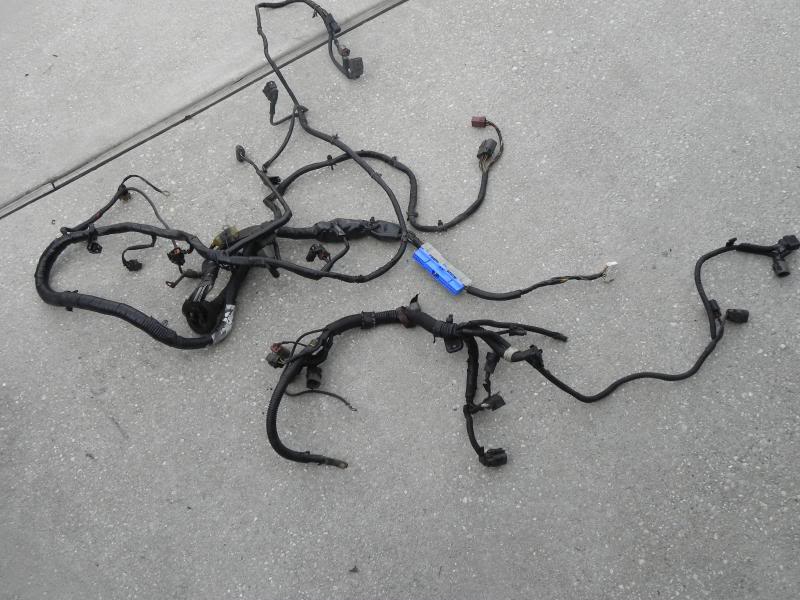 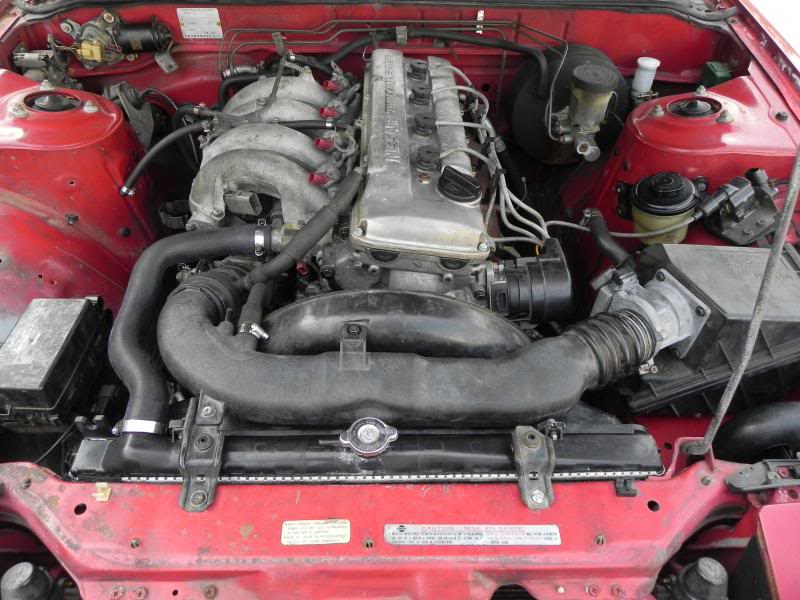 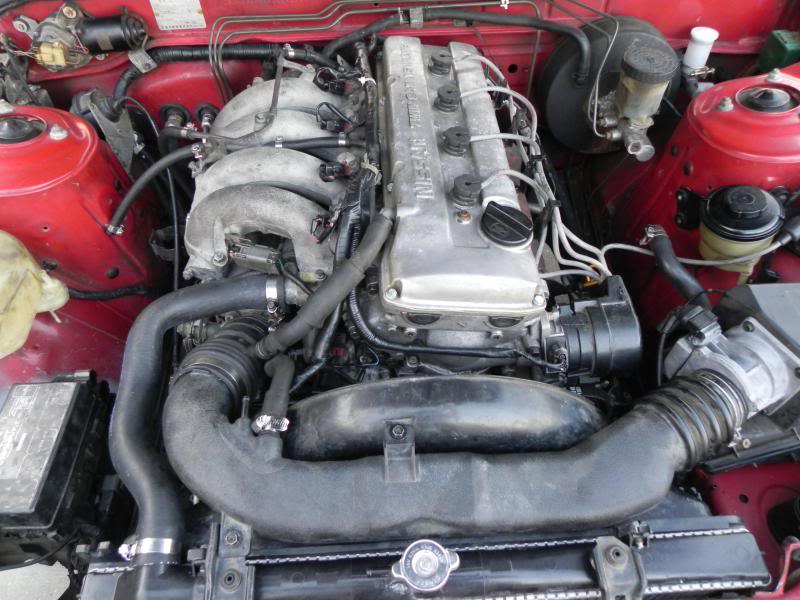 Moving onto the interior, the original seats were not comfy or supportive. I threw in my s14 se confetti seats. Also, as stated the car was originally a sohc auto. I converted the harness to sohc chassis plug as cleanly as I could and started with the auto-manual swap. Threw in a Tomei shift knob, a gaudy ebay shift boot, and a Grip Royal wheel. 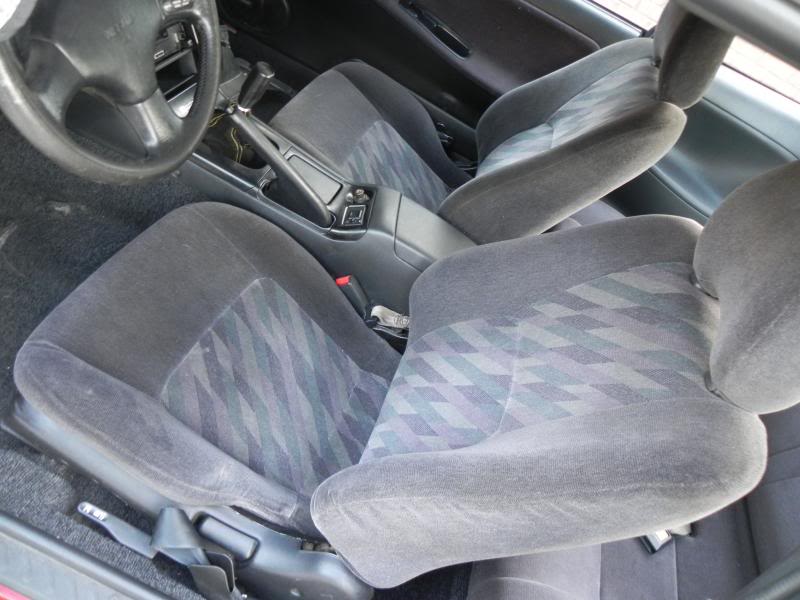 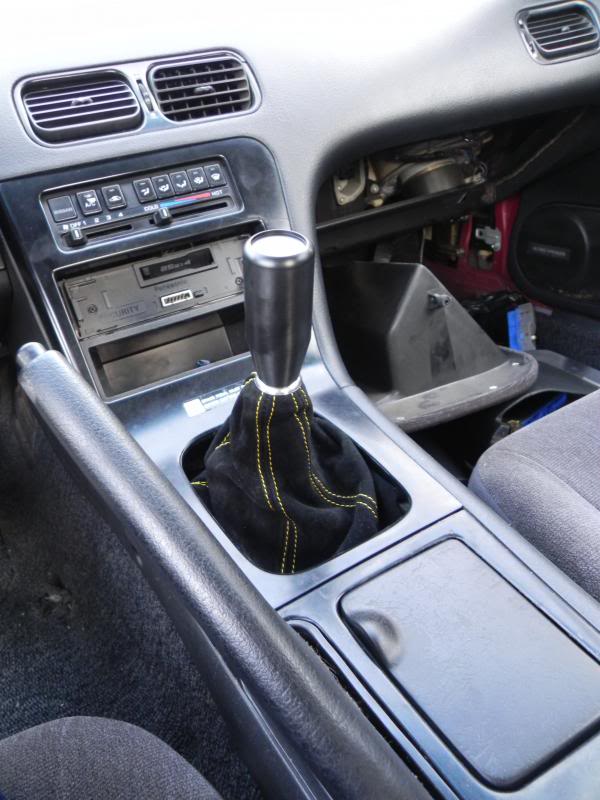 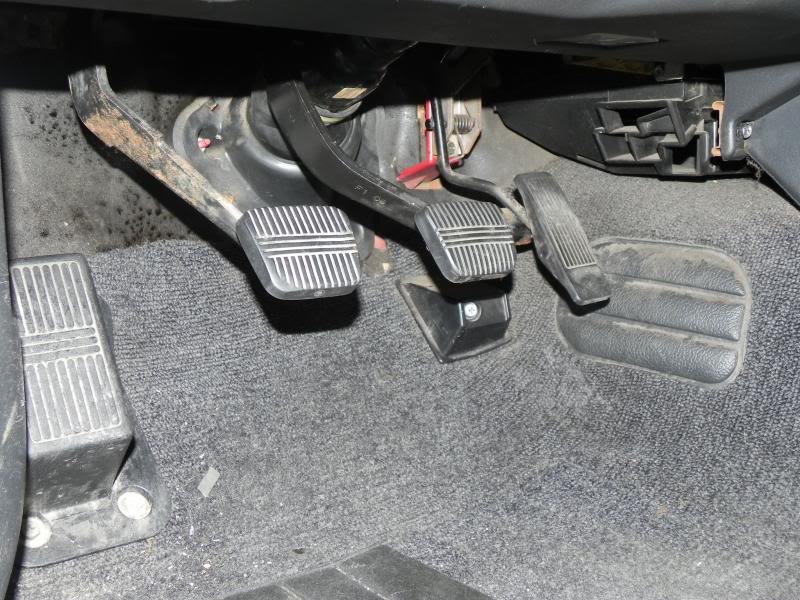 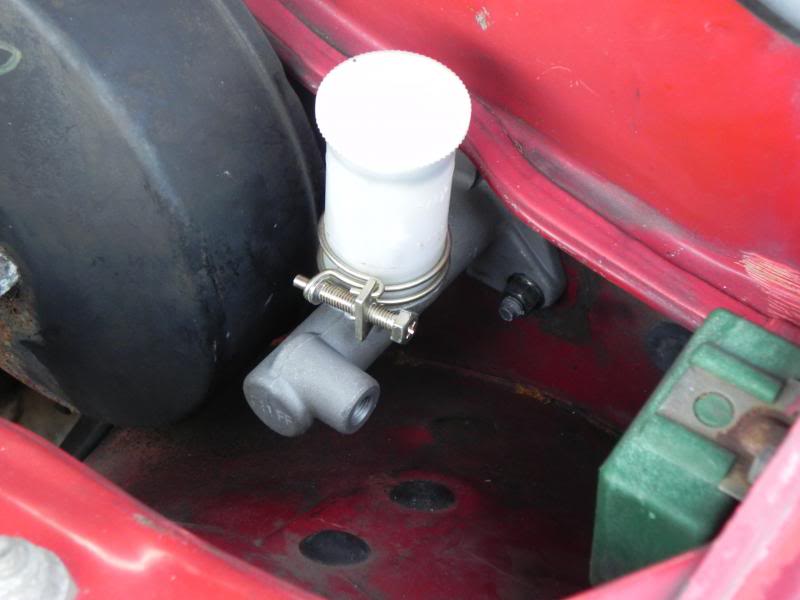 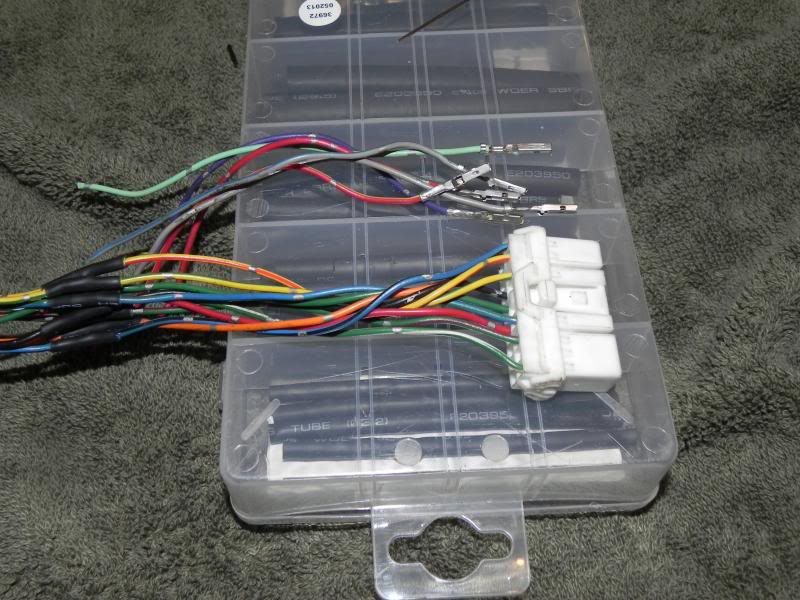 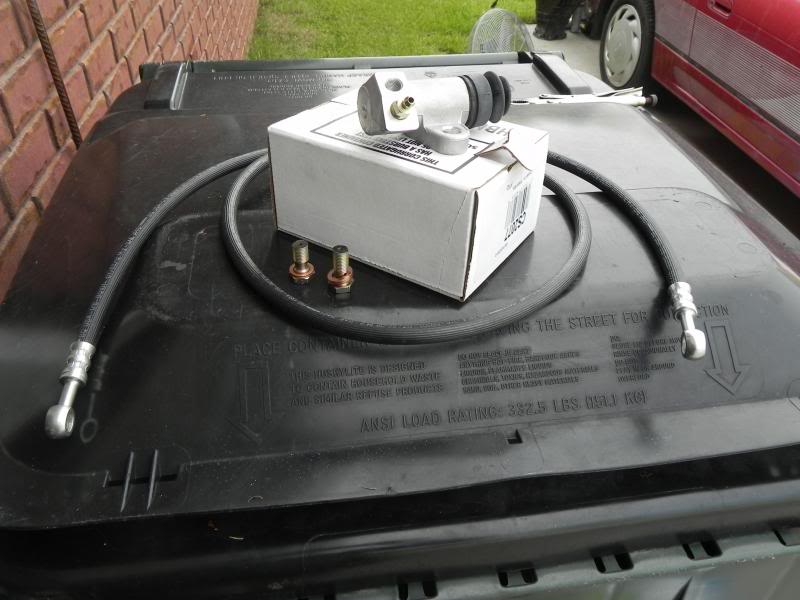 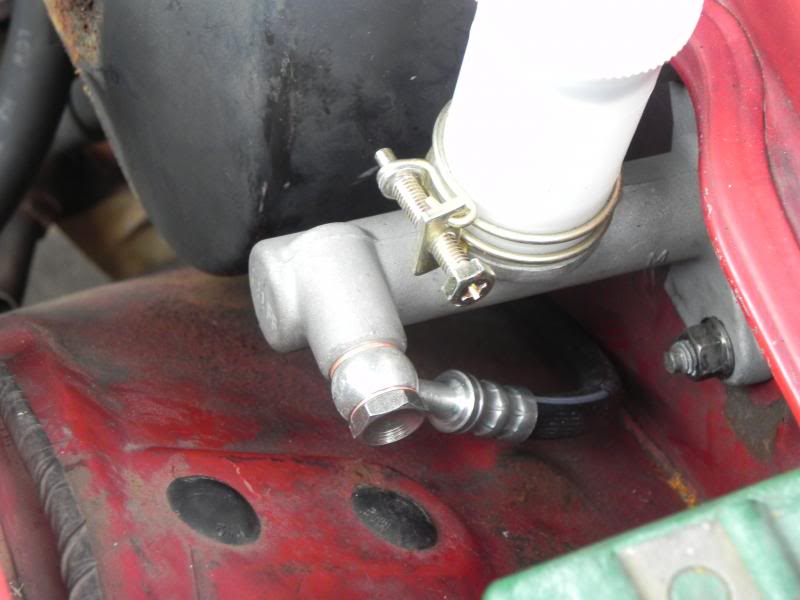 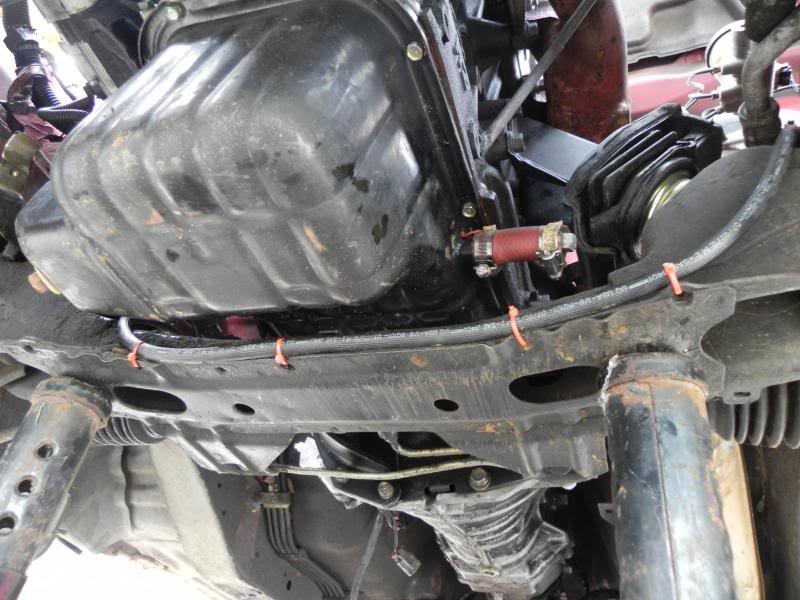 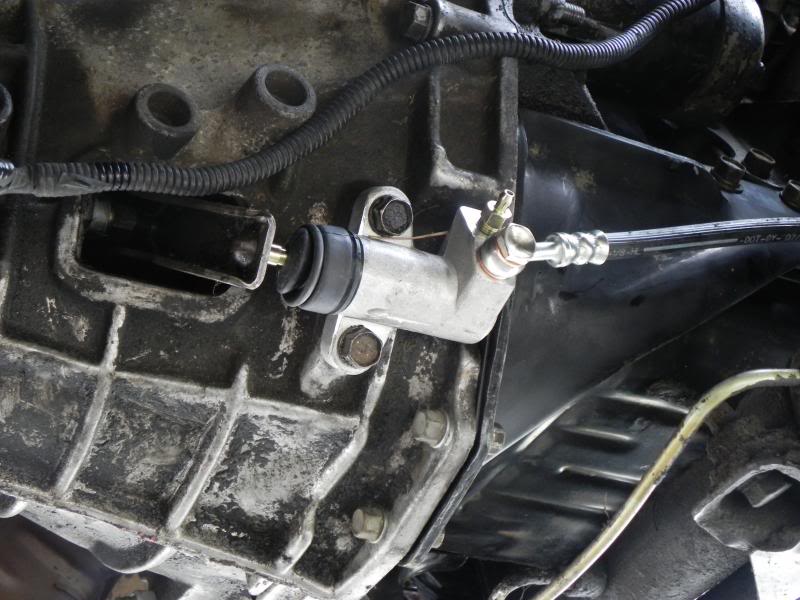 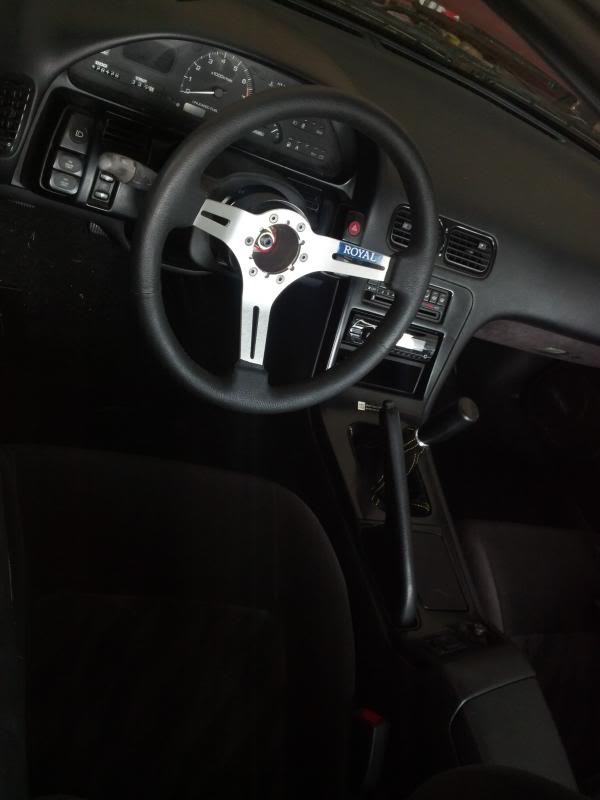 Got my hands on a 5mt drive shaft and started replacing bushings with poly replacements. 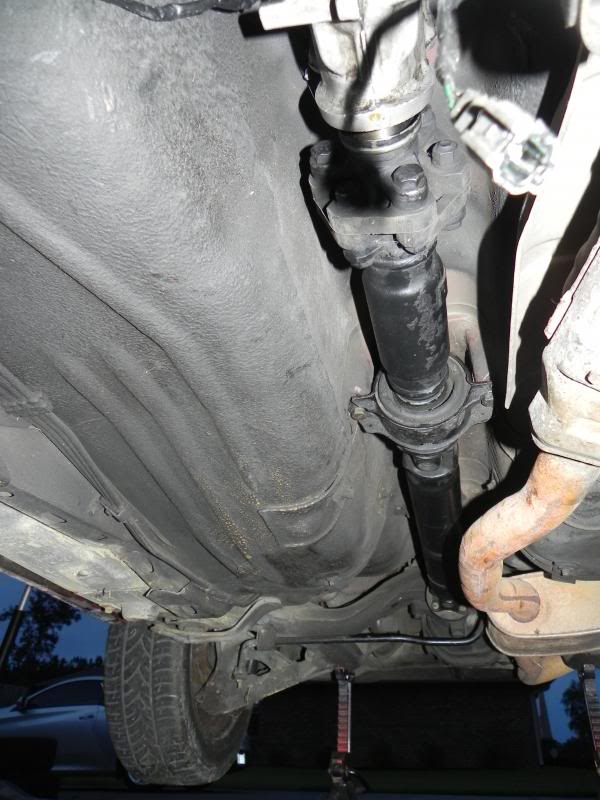 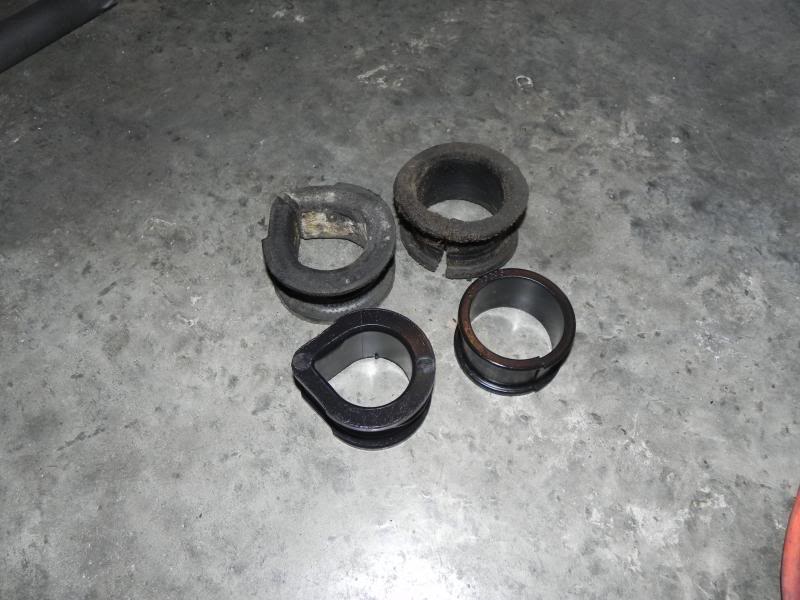 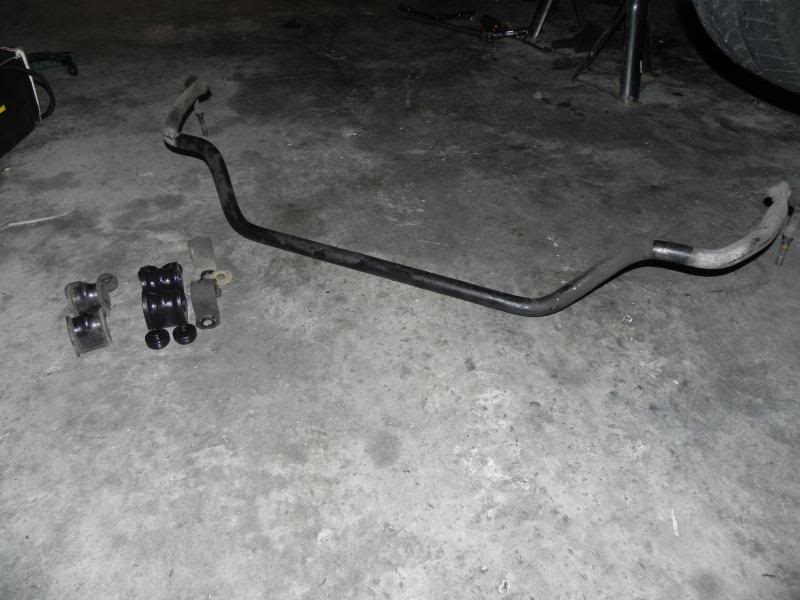 Soon after this I got the car running, and it ran great. I half expected to the engine to be toast for how cheap it was. So now I could turn the focus to suspension/braking. I got a super good deal on some almost new BC type BR coilovers. I think I paid $550 shipped for them. 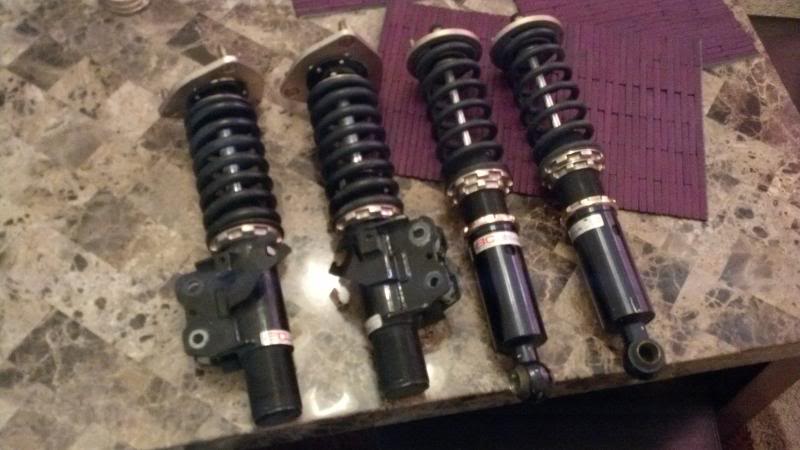 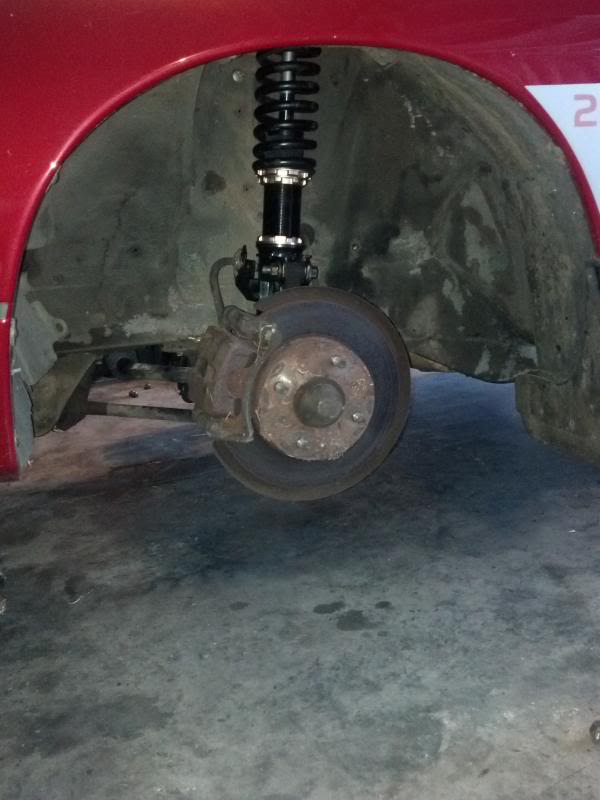 Next, the tie rods were bad. Replaced the inner and outters with s14's, along with the rack boots. 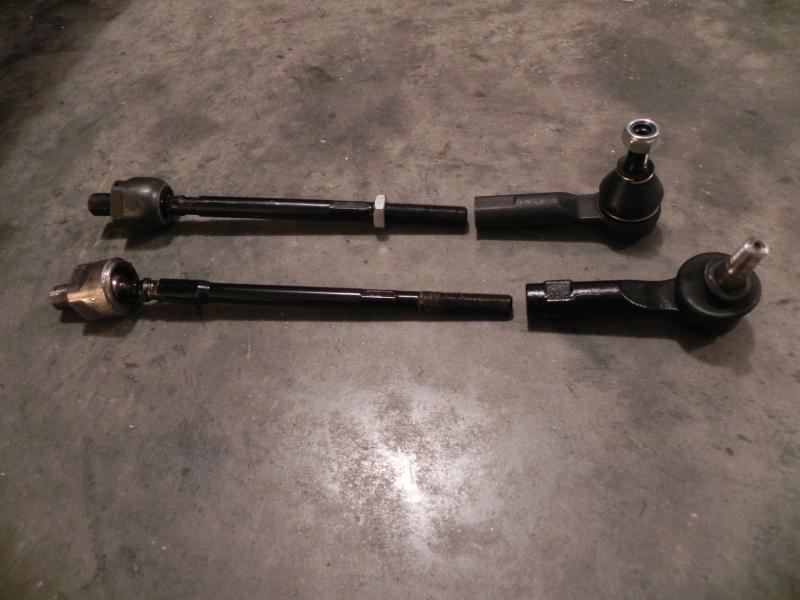 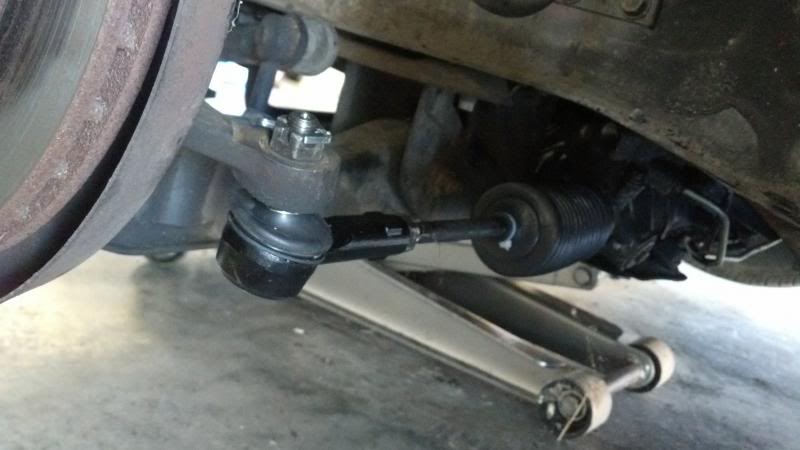 Next was brakes. Being one of the most important parts of the car, I went through them completely. New pads, rotors, rebuilt the front calipers and replaced the rears with reman'd units. Also went with Agency Power stainless lines. 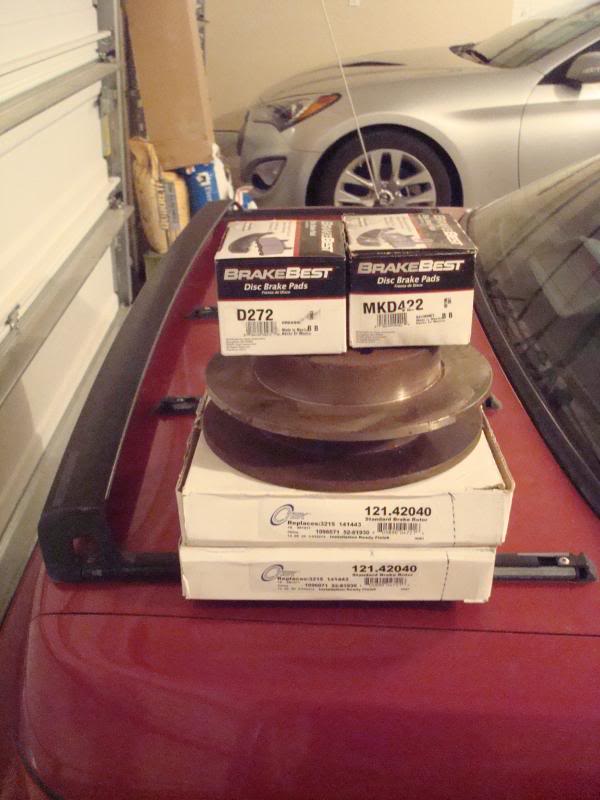 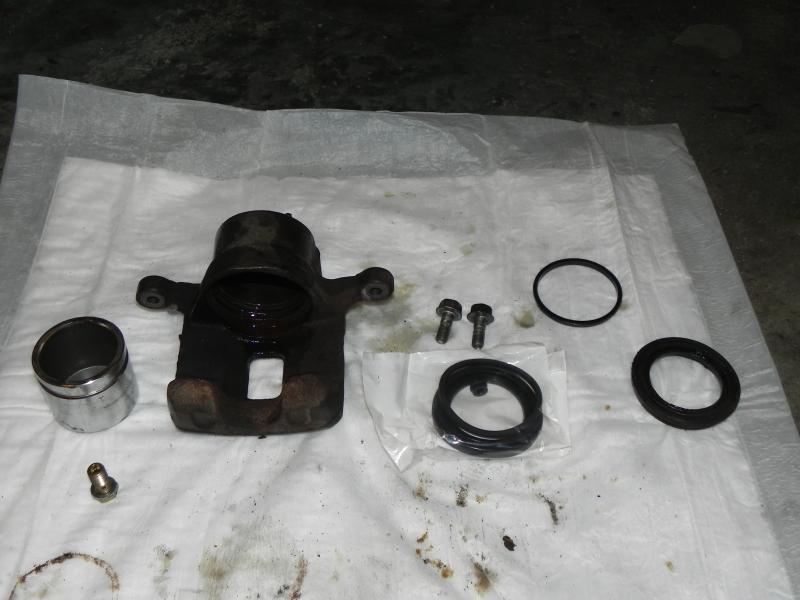 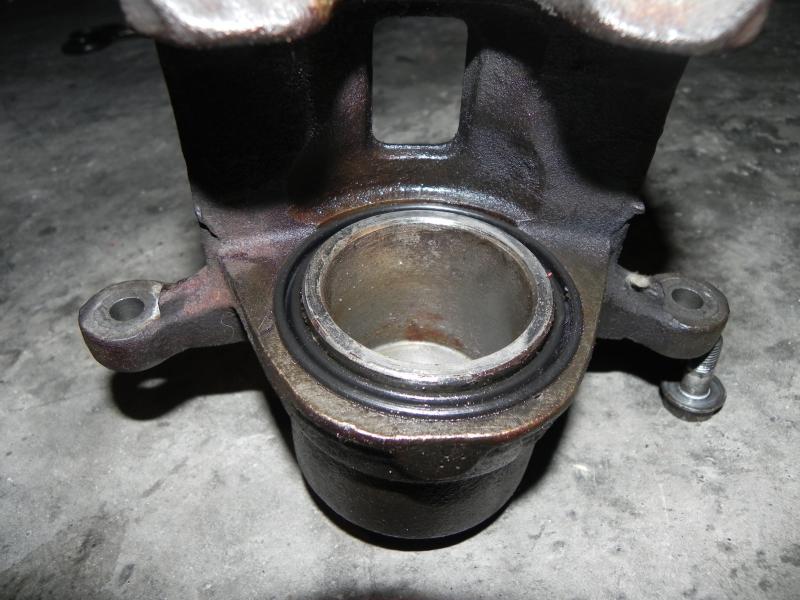 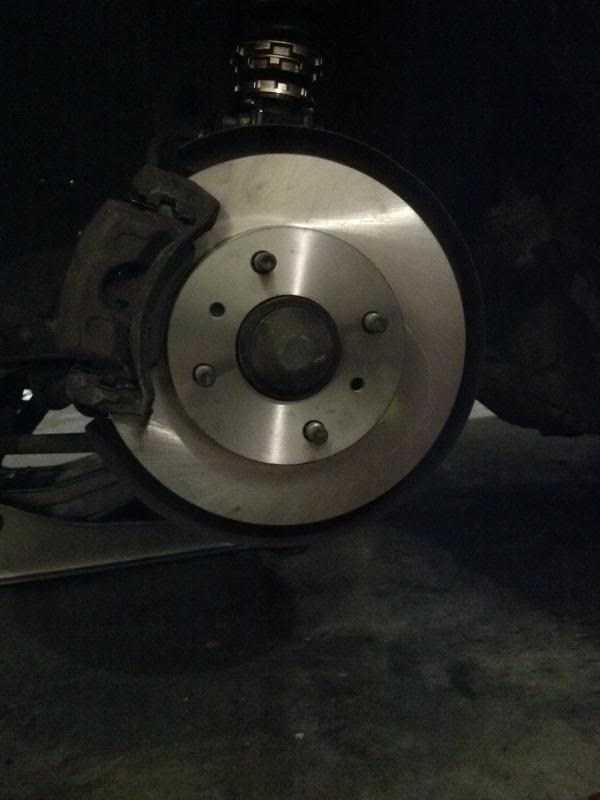 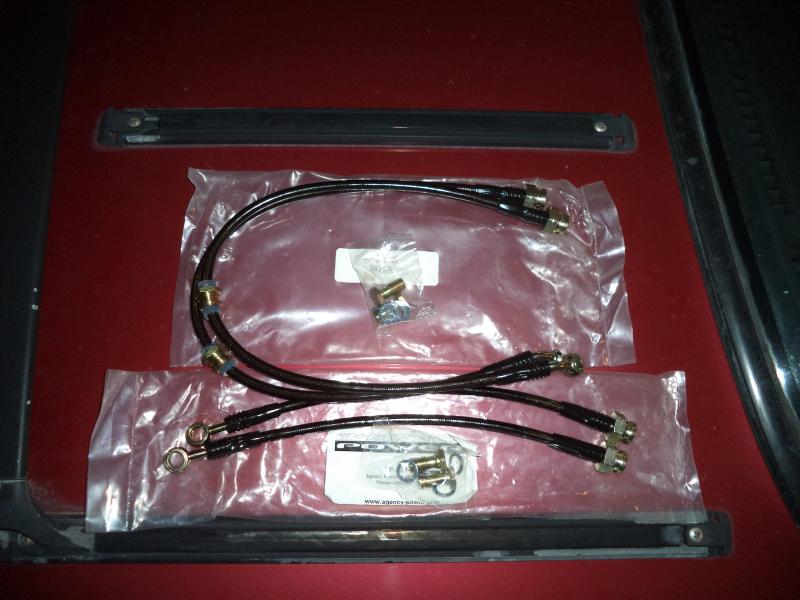 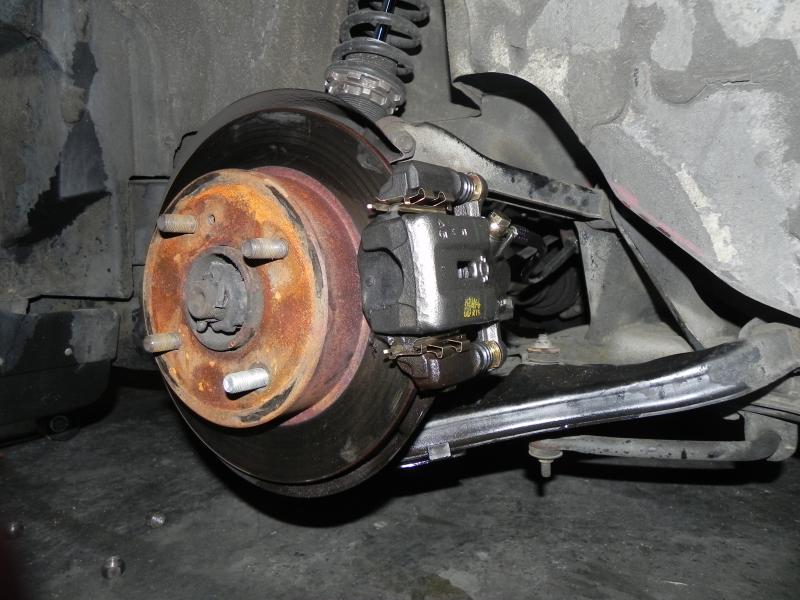 I also found play in the front ball joints, so I replaced the FLCA's 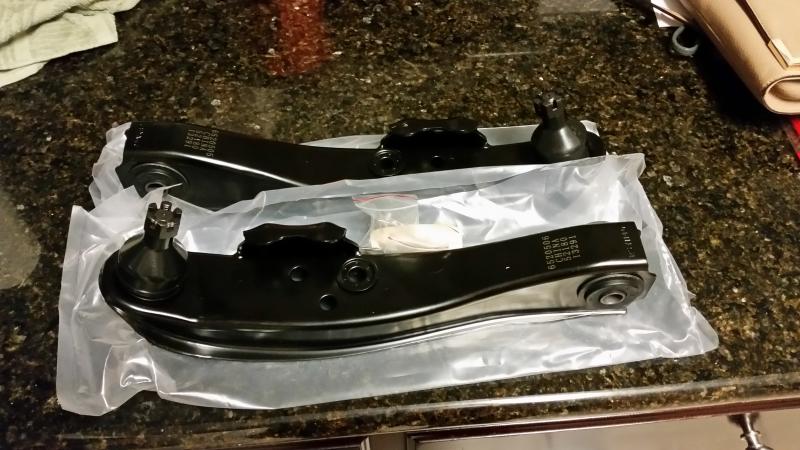 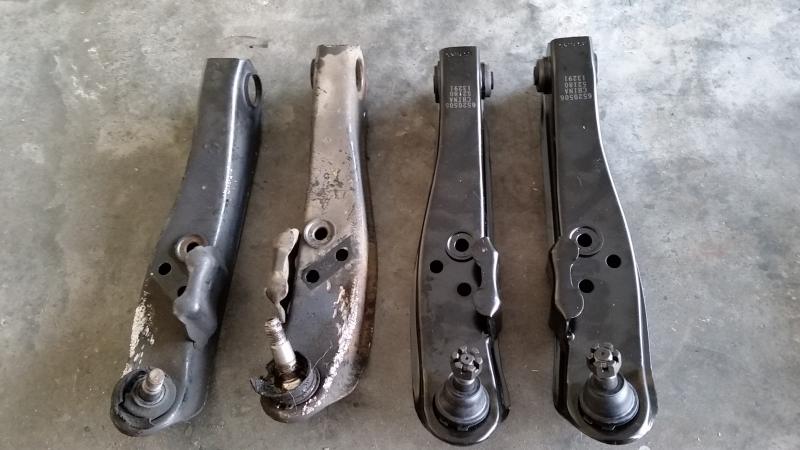 Only thing left was a locking differential. I originally wanted to go cheap and do a welded. A friend offered to trade his j30 straight up for my open, so I did that instead. Ordered a shim and threw it in. 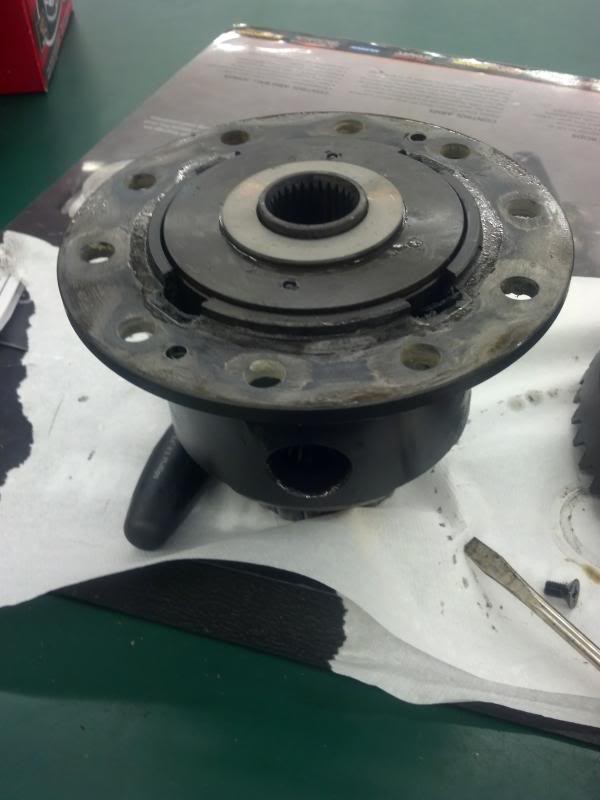 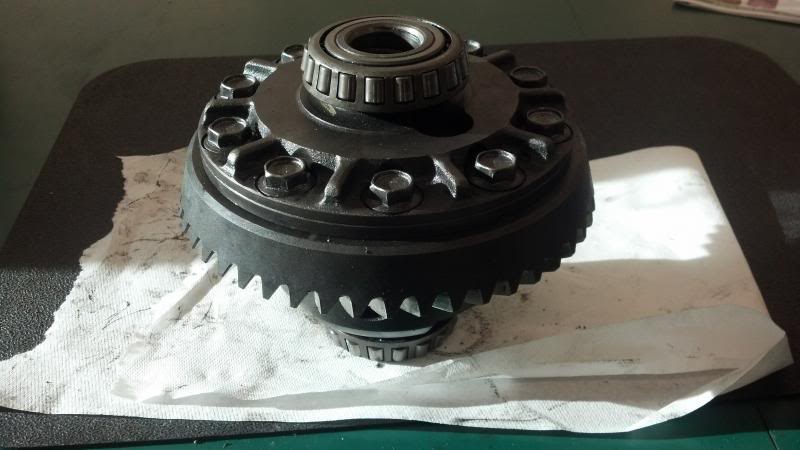 For those wondering, I really suggest this setup. I still run it to this day, and even went with the smaller .8mm shim. It locks perfectly all day long.
__________________

Last edited by Hoffman5982; 07-06-2017 at 11:29 AM.. |
|
|

|
| Sponsored Links |
|
|
#2 |
|
Nissanaholic!
 Join Date: Jan 2009
Location: Definitely NOT FL....
Age: 29
Posts: 2,491
Trader Rating: (25)
          Feedback Score: 25 reviews
|
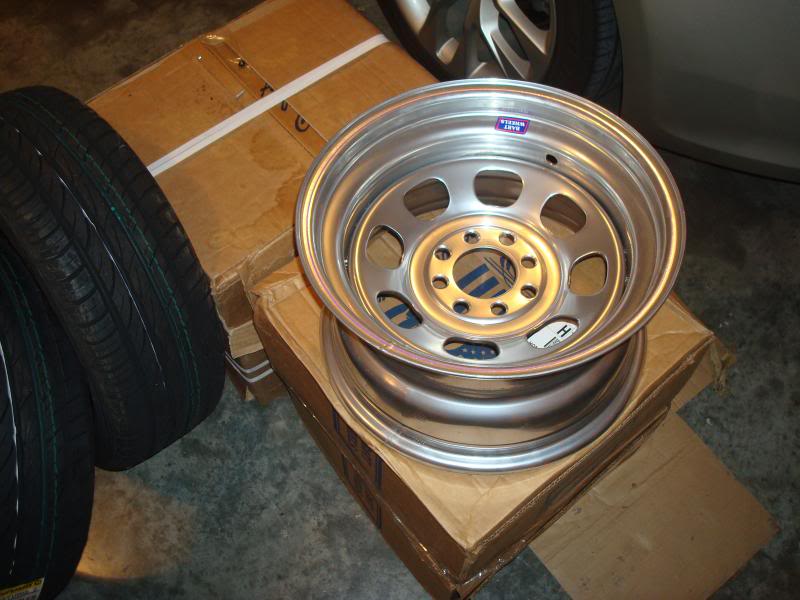
I was finally ready for my first event, a year later. Like I said, I took my time. Threw some super cheap steelies on as they were better than nothing, and I was trying to decide whether I wanted to go with 15's or not. Spoiler alert, I did.
 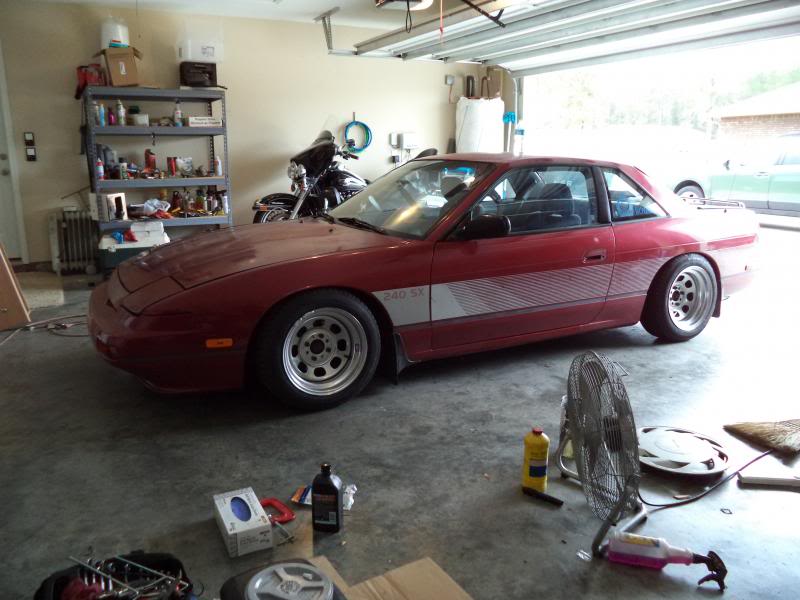 I did some skids 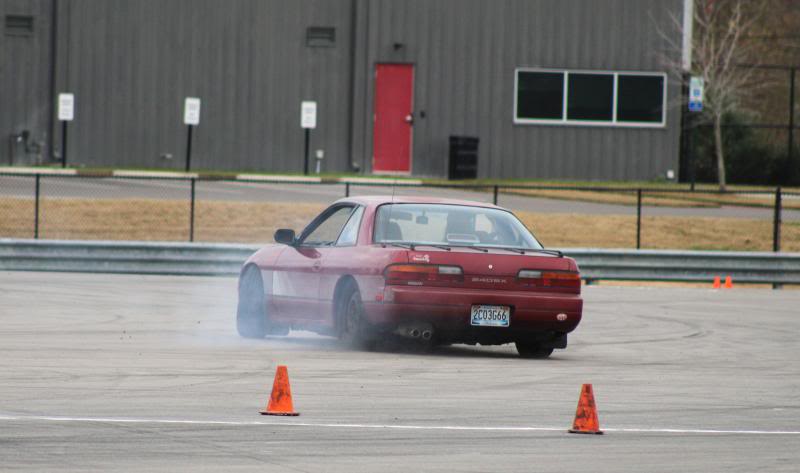 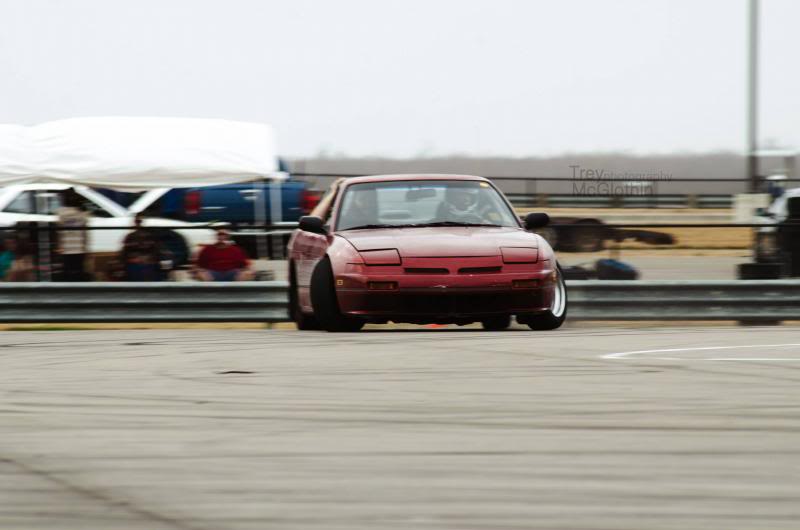 And I enjoyed driving the car around. Started enjoying it more than my s14, honestly. 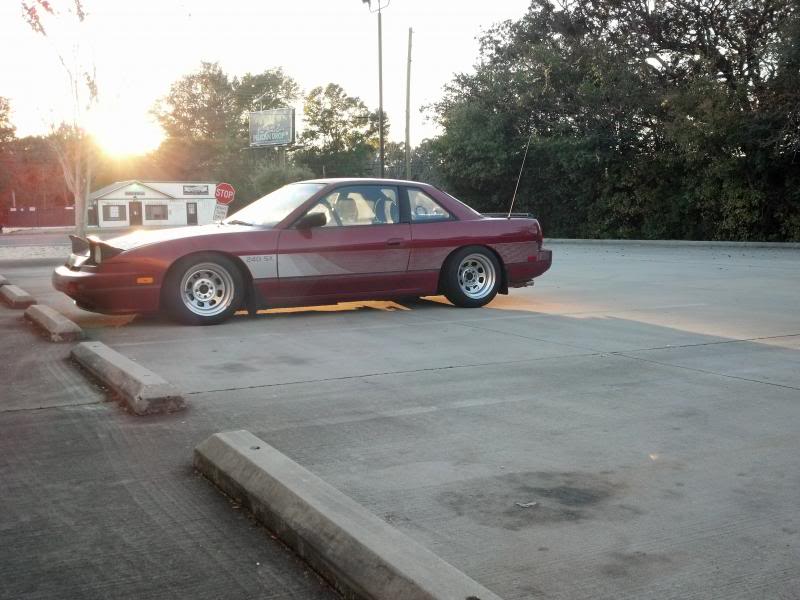 Had a lot of issues with power steering. ended up making a new line out of Earl's stuff, replacing the rack with an s14 unit, added some angle and PBM rack bushings, and a cooler 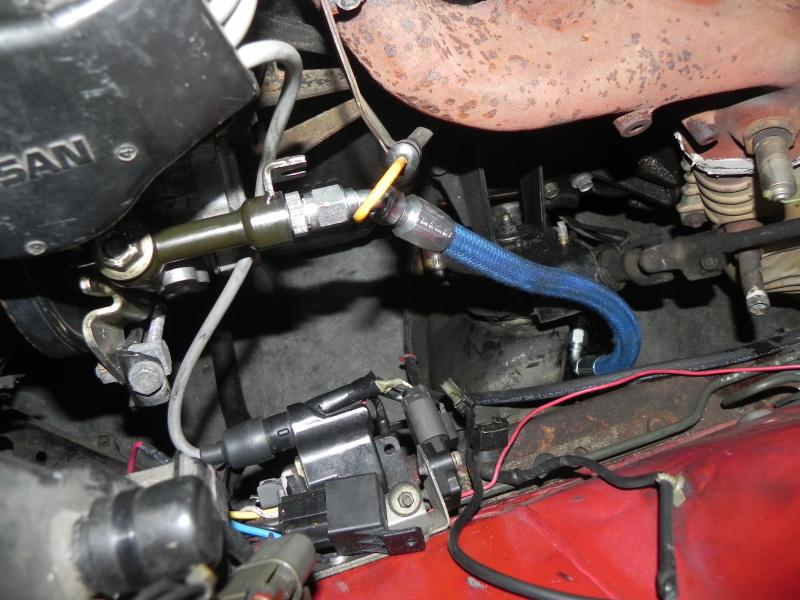 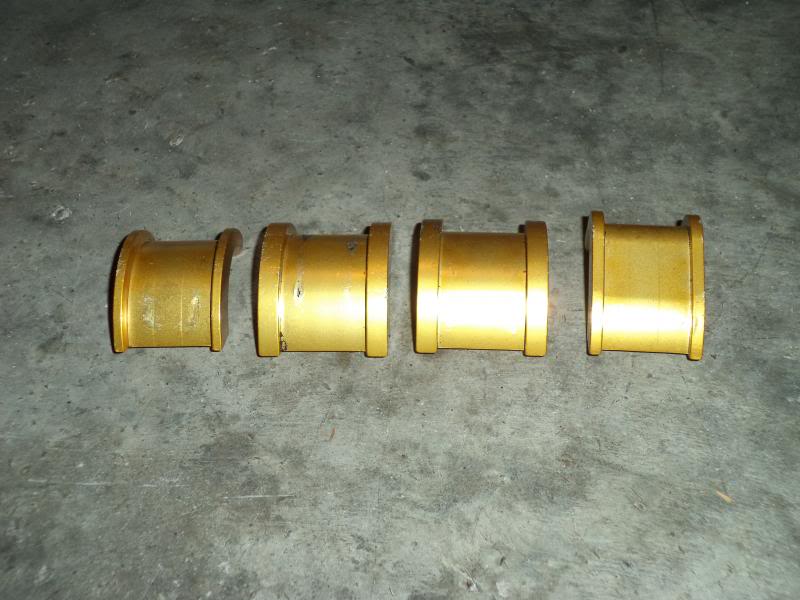 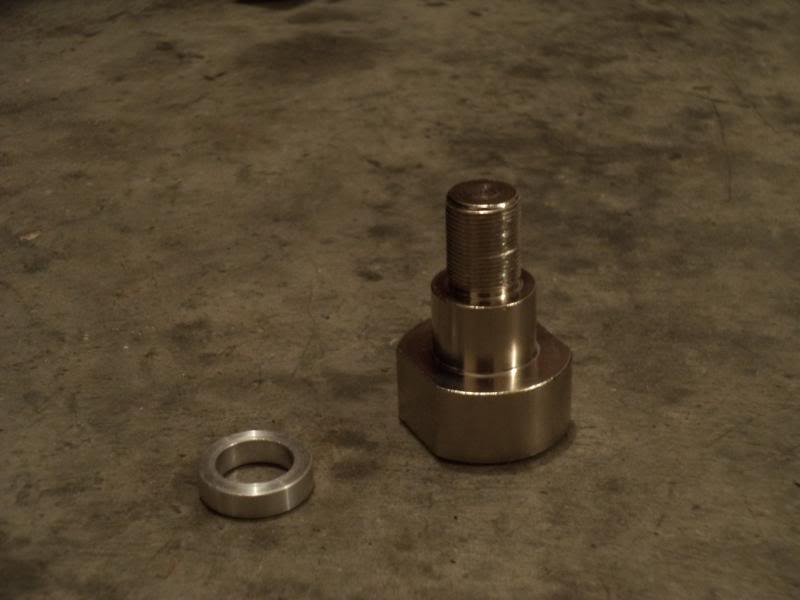 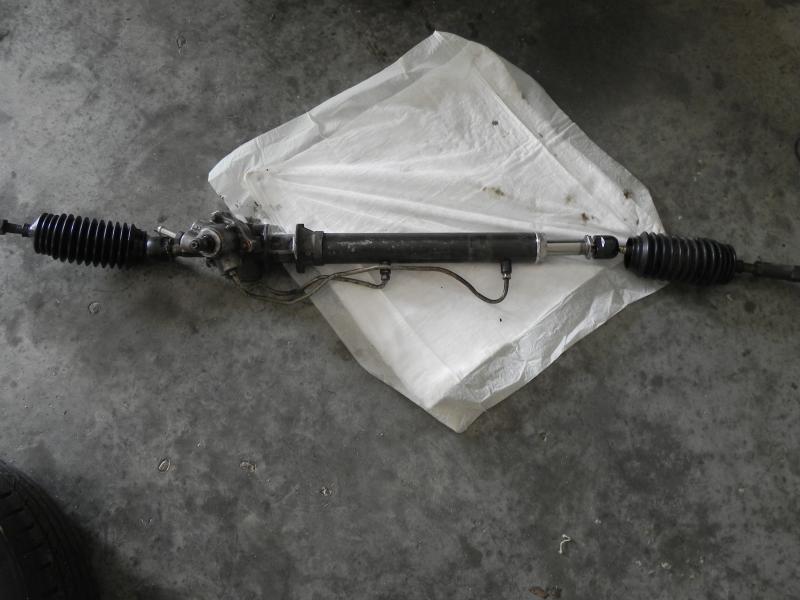 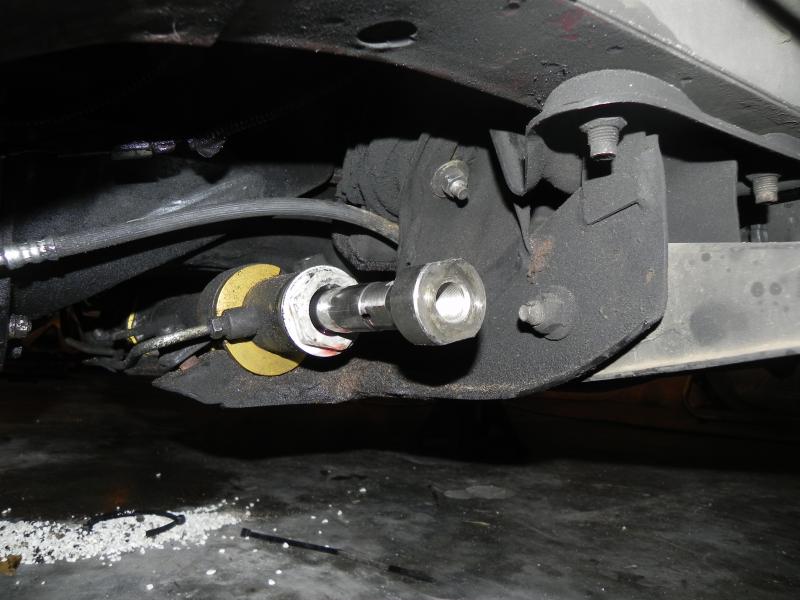 I did some more skids 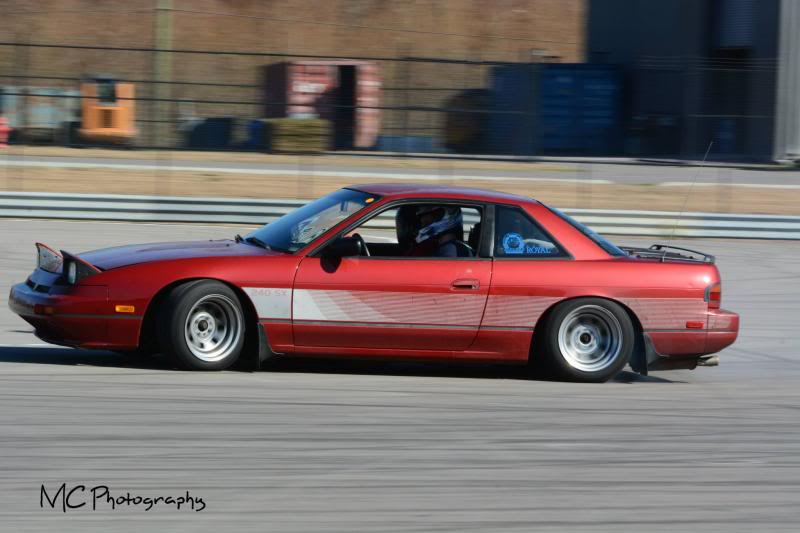 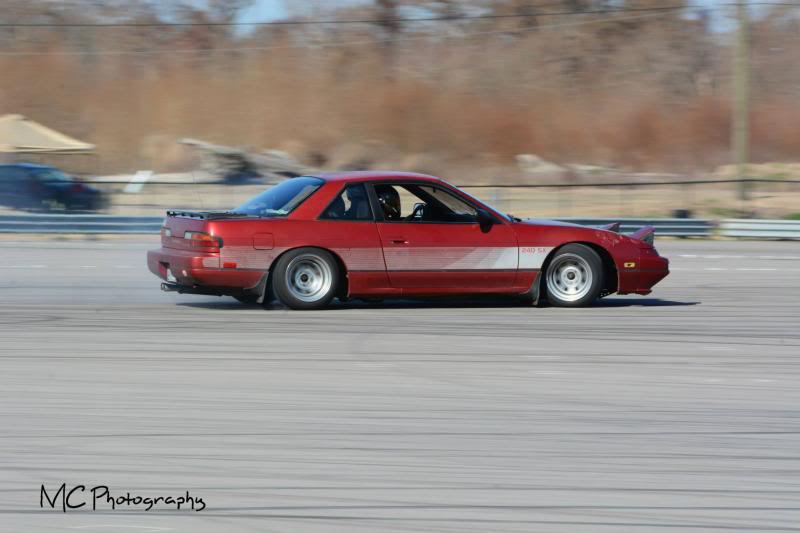 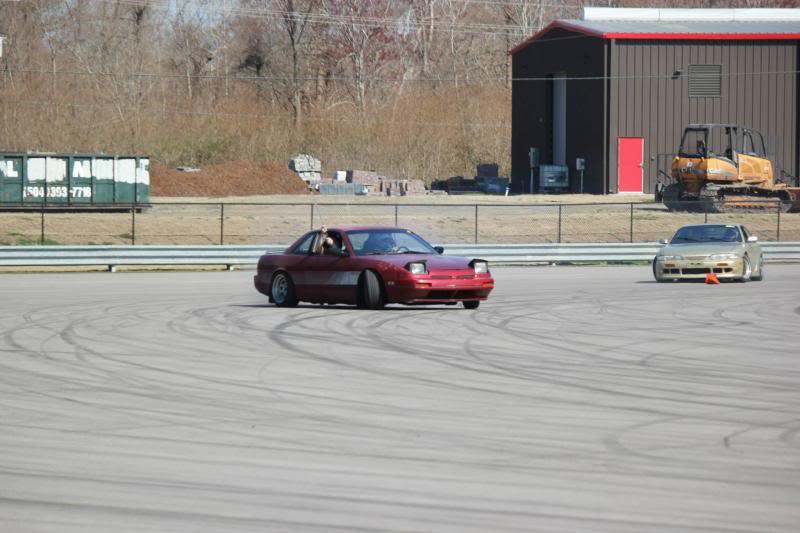 Ended up needing a seat. While over estimated my birth giving hips, I thought I needed a larger seat and went with a Corbeau FX1 and some Nagasia rails 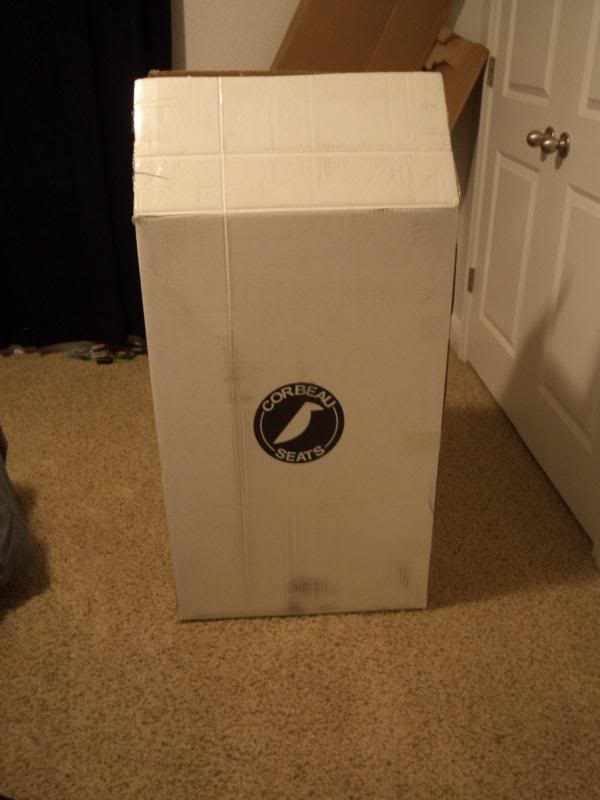 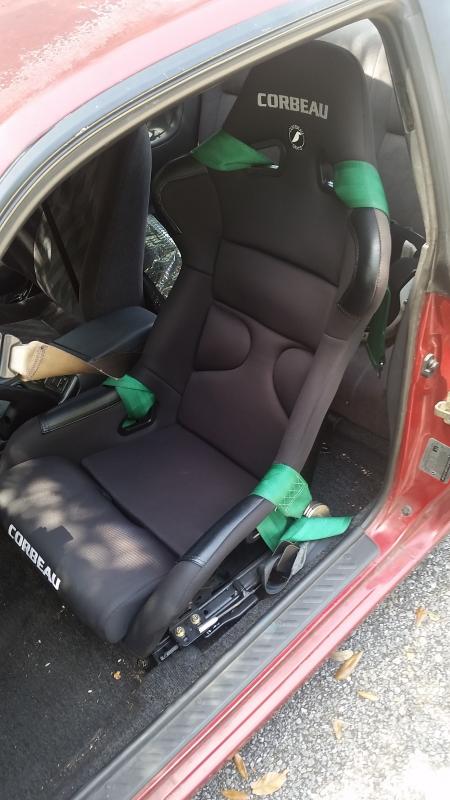 I pulled the fenders to fit the 15's 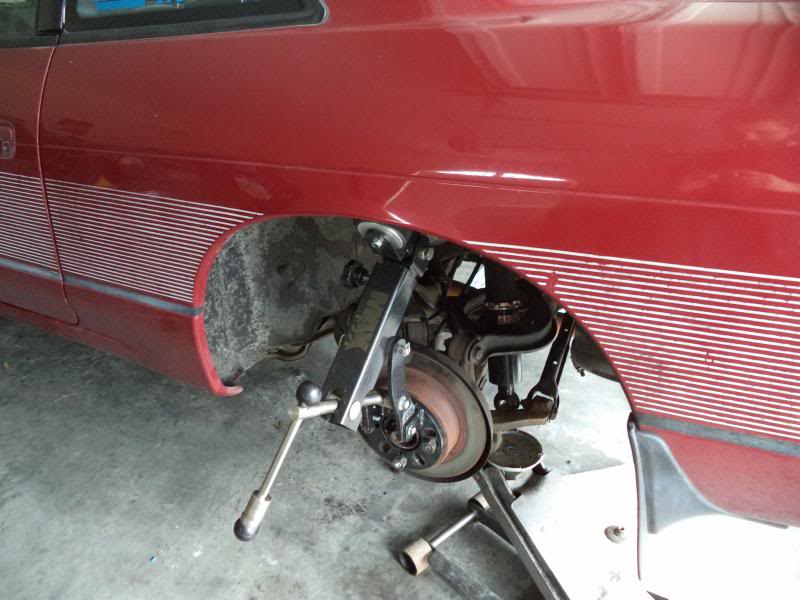 I also got a lip 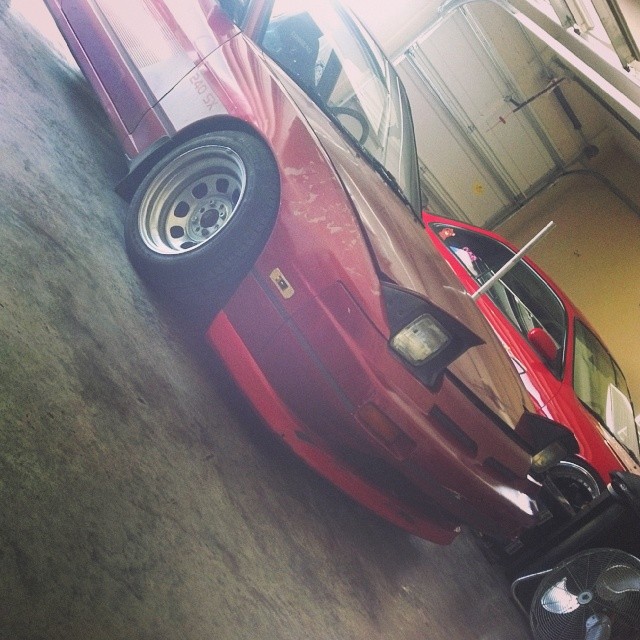 [IMG]  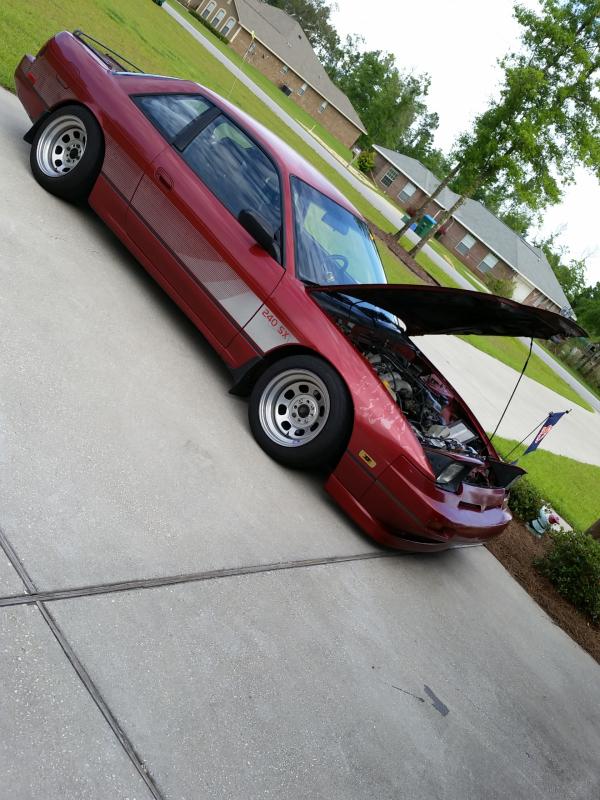 And I did some more skids 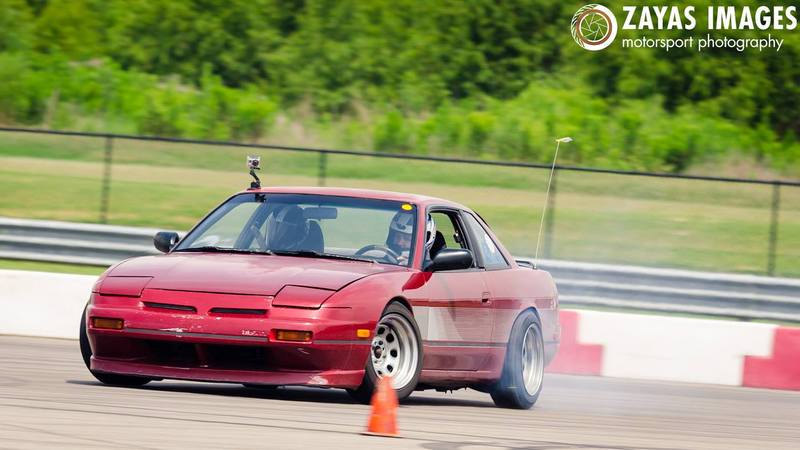 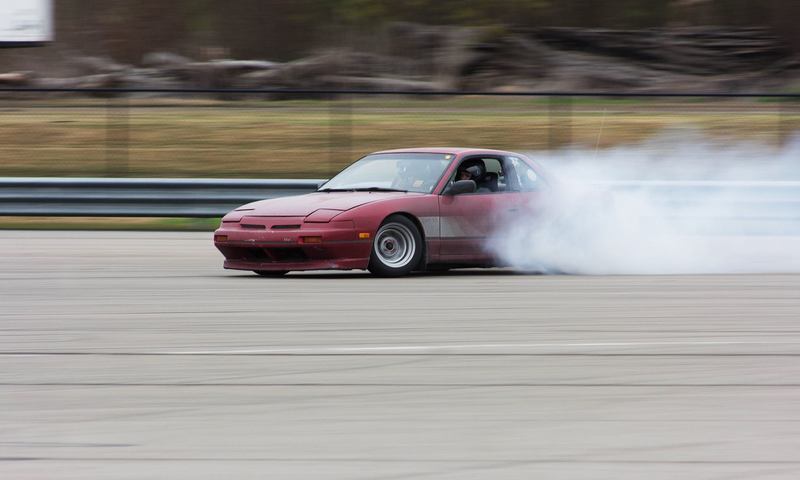   Phase 1 ends here 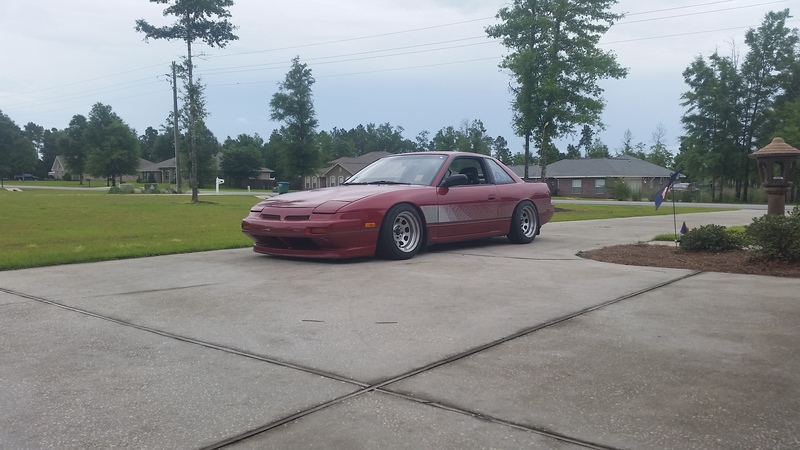
__________________

Last edited by Hoffman5982; 07-08-2017 at 05:47 PM.. |
|
|

|
|
|
#3 |
|
Nissanaholic!
 Join Date: Jan 2009
Location: Definitely NOT FL....
Age: 29
Posts: 2,491
Trader Rating: (25)
          Feedback Score: 25 reviews
|
Phase 2: Better Parts, Better Wheels, Papa Bless
So this is about where I stopped posting on the previous thread. The car was starting to develop what I thought was a good sense of style. My driving was improving and overall I was enjoying the car more and more. My whole intent for this car was to not spend an enormous amount of money, but I didn't want to cut corners. I try to do everything to the best of my ability, but only wanted to upgrade if/when I felt I needed it. I was really enjoying the KA naturally aspirated. I wanted a little more grunt so I looked into options. I picked up some s14 Megan headers, built a short ram intake, and changed my cams. First, the intake setup was pretty cool, imo. Since I had a huge hole where the battery tray should be, I made use of it. I cut a hole in the bottom of the stock air box. I picked up some 4" plastic RV ducting and ran it from the air box down to the opening in the front bumper. I also relocated the battery to the drivers side and threw in my Koyo rad. 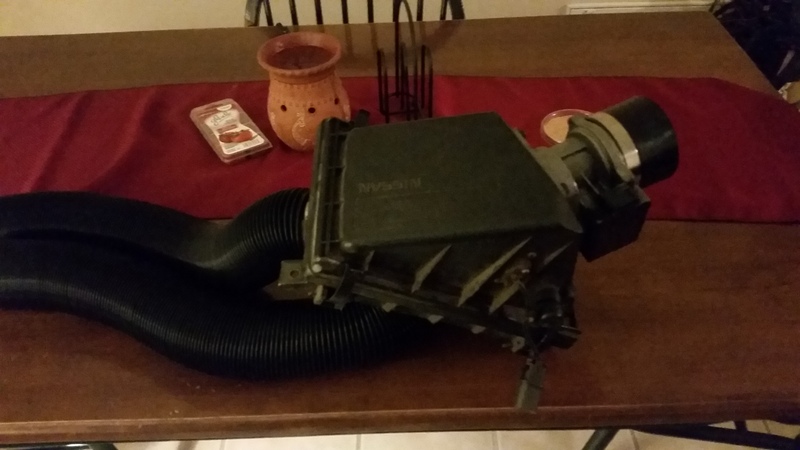 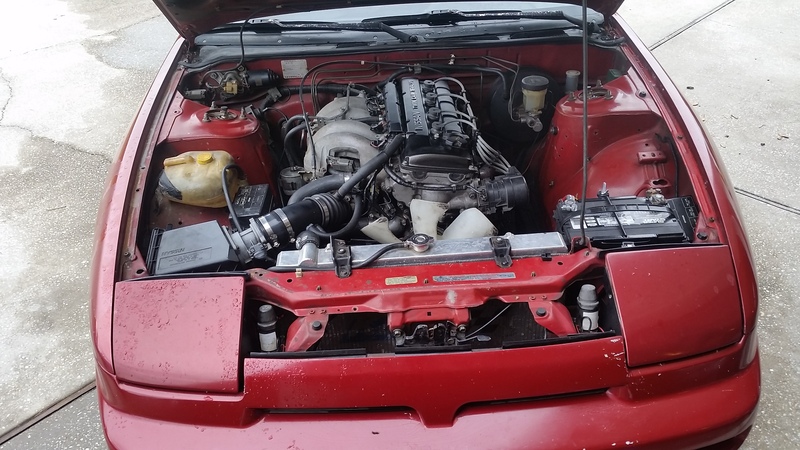 Got the headers installed along with a freshly painted valve cover. 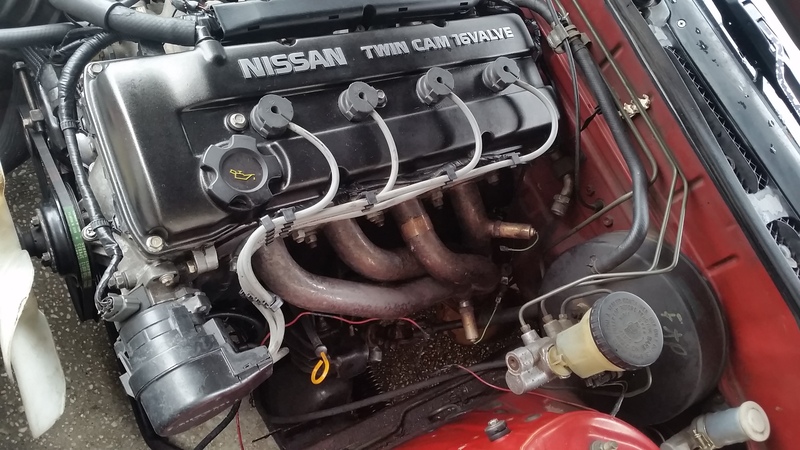 Around this time I was going through power steering racks like crazy. I'd either get one that was already leaking, or it would start leaking the very next event. After having enough with it, I had a friend convert one of the dead ones to manual steering. I also got the parts I needed to go single belt, which were SOHC alternator brackers, tstat housing, and water pump pulley. 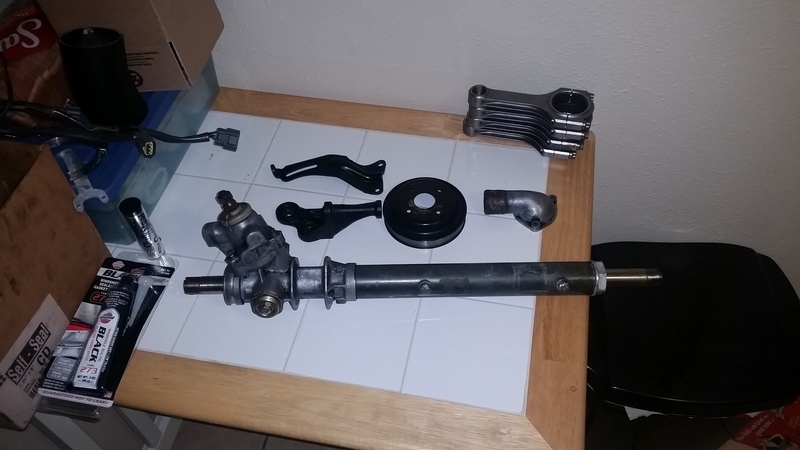 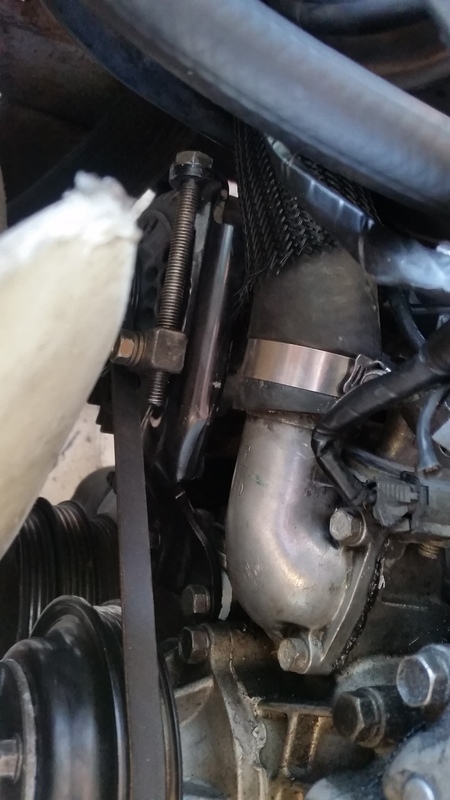 A lot of people questioned the manual steering. In all honesty, it was the best thing I ever did to improve my driving. Manual steering can be brutal, and because of that you really learn to let the car drive itself. Before it I would do that sloppy crossing hands things trying to counter steer enough and make a lot of adjustments. I hated watching videos of myself because that is all I saw. After this rack, I was a lot smoother. I made very little corrections because that's all my weak arms could handle. I actually drove with the rack for the next year and a half until I started doing more kart tracks. So next was the cams. I searched long and hard on this. Originally I was going to do the 248/248 setup because that's all anyone talks about. Then I found someone talking about 248/232. From my reading, it seemed that turning the intake side 4 teeth ccw shifted the power to the low end, 3 teeth would shift it to the high end, but 3.5 teeth would be a solid middle line. I really liked having power all around. I enjoyed the little bit of torque the KA provides down low, so I went with option C. To achieve this I just notched the cam gear. I picked up an s14 232 exhaust cam along with it's shims so that the clearances would be correct. I moved the exhaust side shims to the intake side when I moved the 248 cam over. 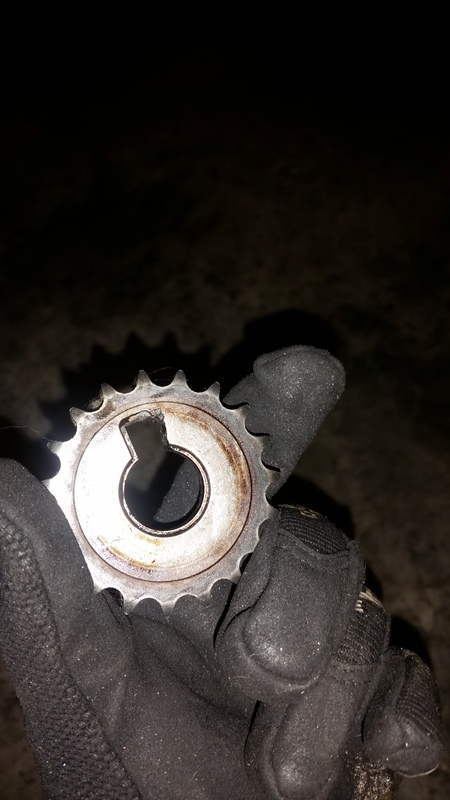 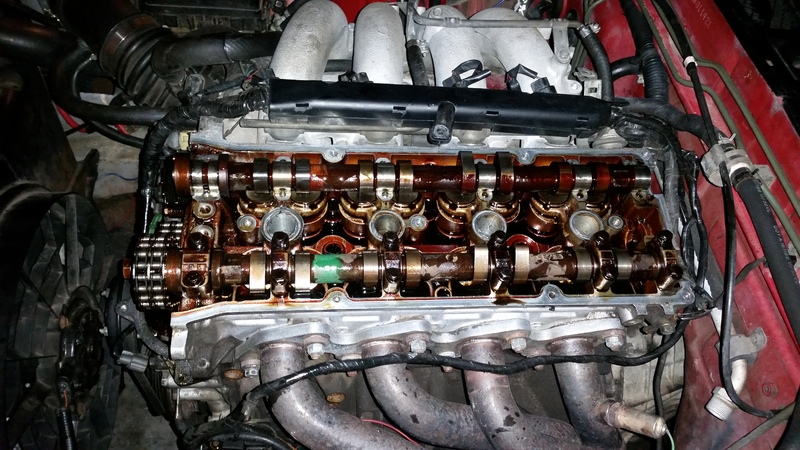 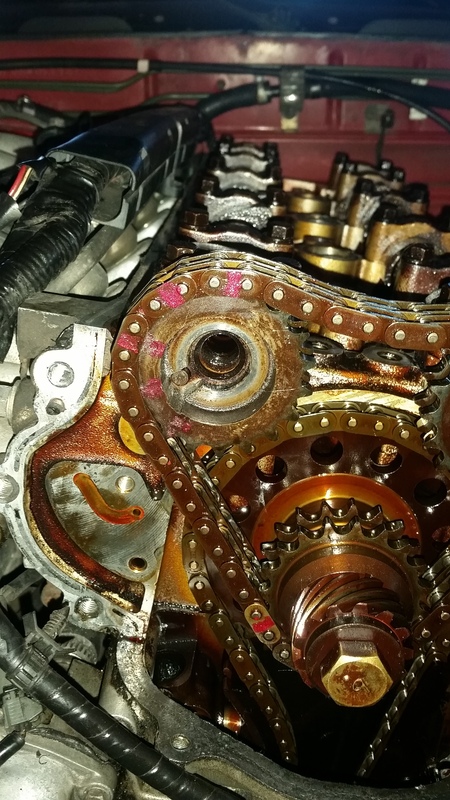 I did this the night before an event, so luckily it all worked out. I put it back together, set the distributor at 25 degrees, and it absolutely ripped. I instantly noticed a jump in power as low as 2.5k, and instead of dropping off after 5.5k(something this motor never did anyways), it felt like it opened up even more. Soon after I picked up a Recaro rep to replace the Corbeua that was too big, a pair of terrible Varrstoens, and a Taurus fan. I was running a clutch fan but the Koyo rad pushed it too close to the shroud and it ate itself. 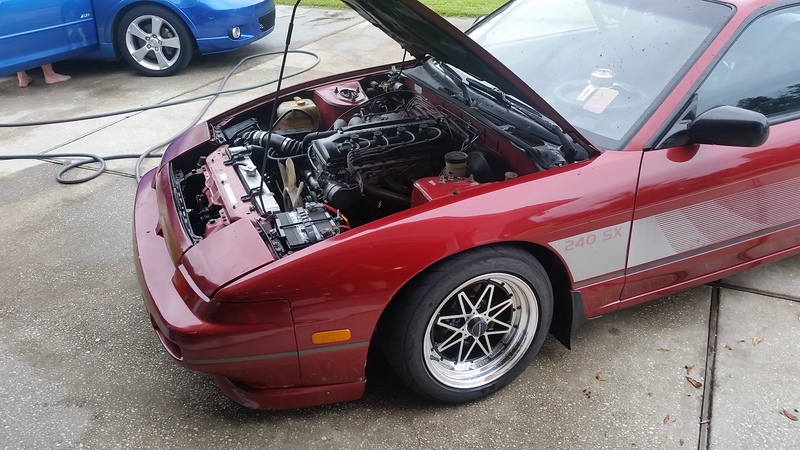 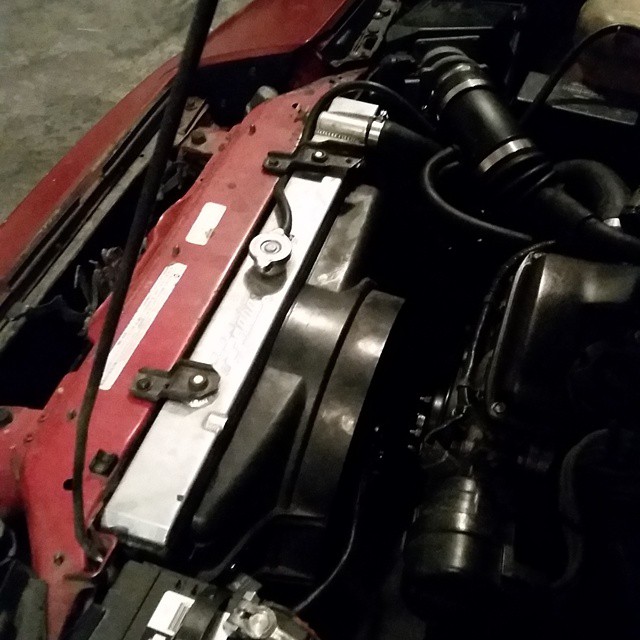 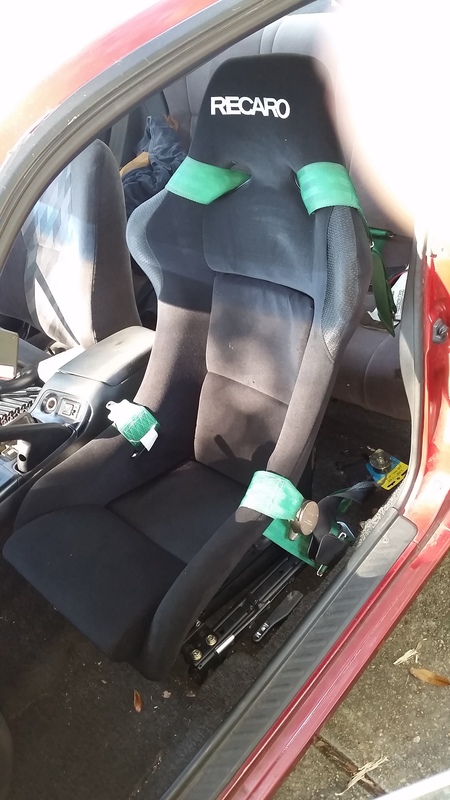 Probably one event later the clutch went. It was a stage 3 XTD on a mostly stock KA, and it lasted under a year. You get what you pay for. The 11lb flywheel, however, has been solid for the money. I went with a Clutchmasters FX300. I got it from a member here brand new. 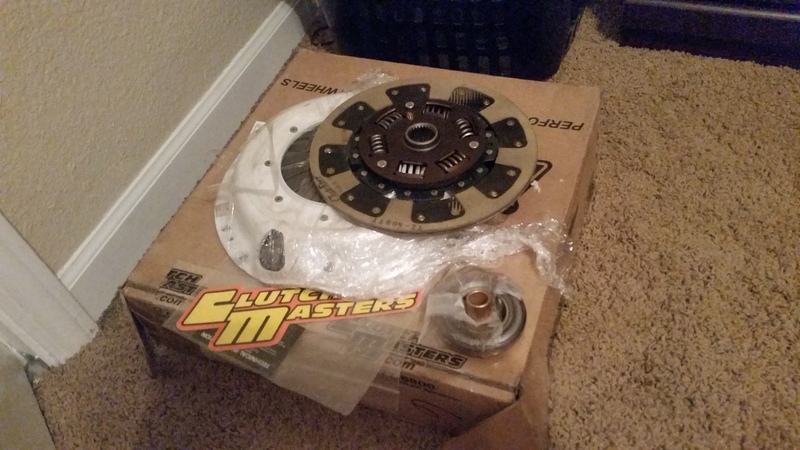 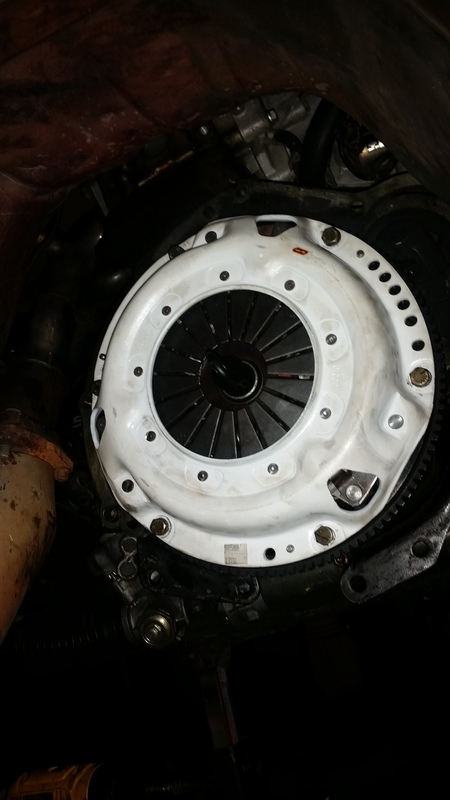 I really like this clutch. Engagement feels like stock but when you clutch kick or shift aggressively, it grabs hard and has never slipped. At this point my motor, cooling system, interior, etc was solid. My was suspension was solid, but I was also burning through tires due to so much camber. I bought one of the first sets of the ISIS pro arms. They seemed to be decent quality for the money, and they were. 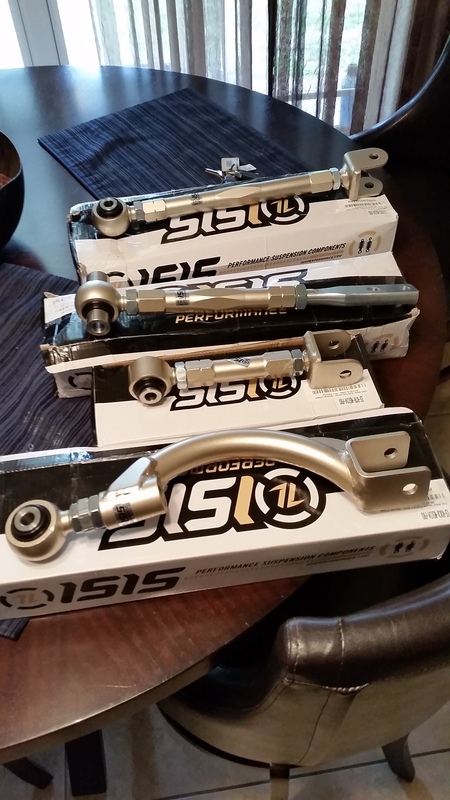 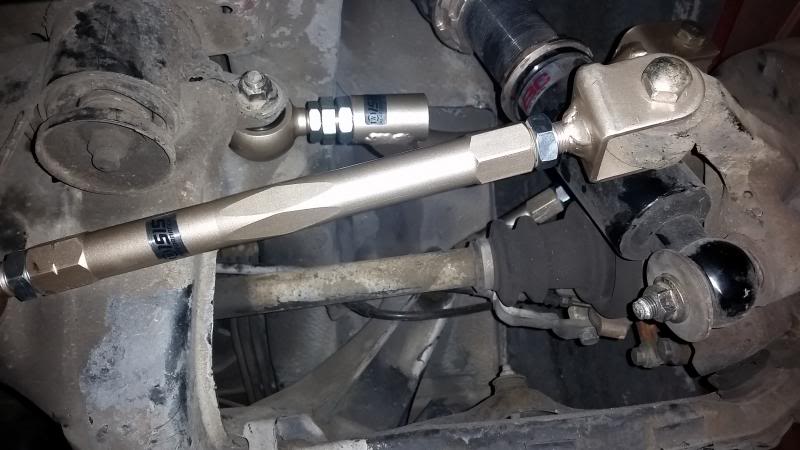 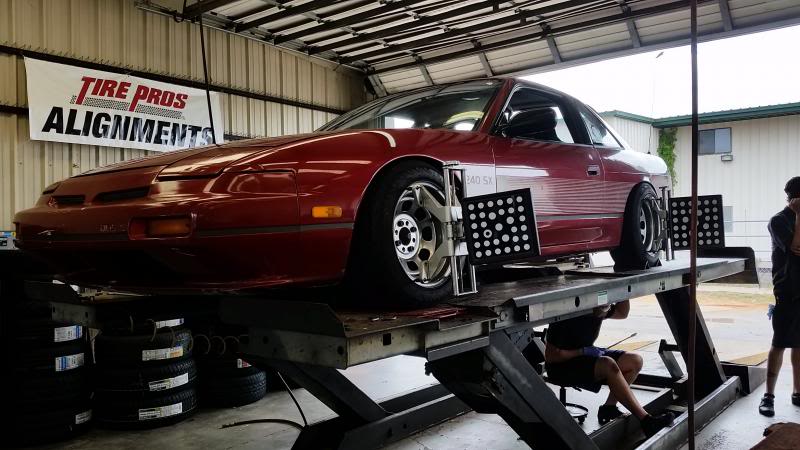 I got the car aligned to -3.5 camber up front, I think like -.1 toe, and -.8 camber in the rear, 0 toe. The car felt so much more planted and I got quite a bit of wanted grip in the rear. I started getting some bind up front so I ordered a set of Touge Factory outter tie rod ends. I went with these because they use Aurua(sp?) bearings. Now, I will say something I don't like is the lack of a cotter pin. On two separate occasions I've had these loosen on me, one time it completely came off, but luckily I was simply doing a u-turn in a cul-de-sac. I ended up adding a second nut on top to prevent it from coming loose. 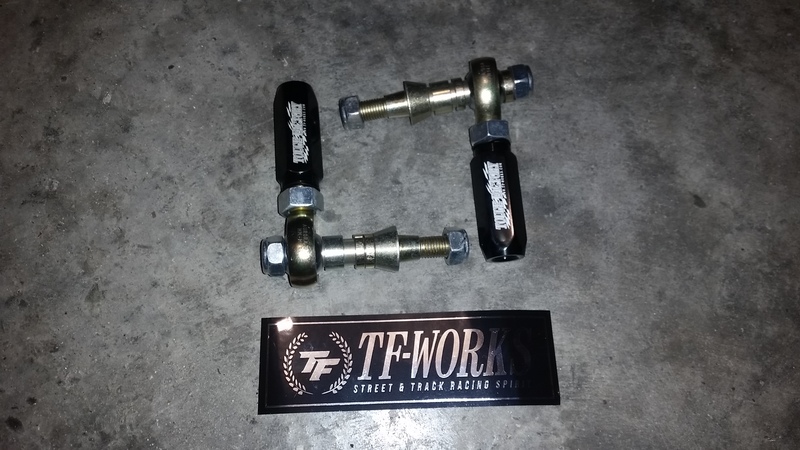 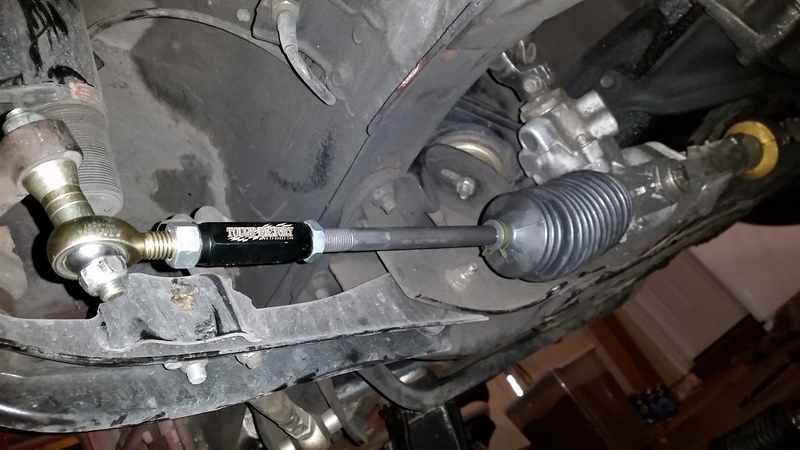 I did some skids and learned some valuable trailering lessons. 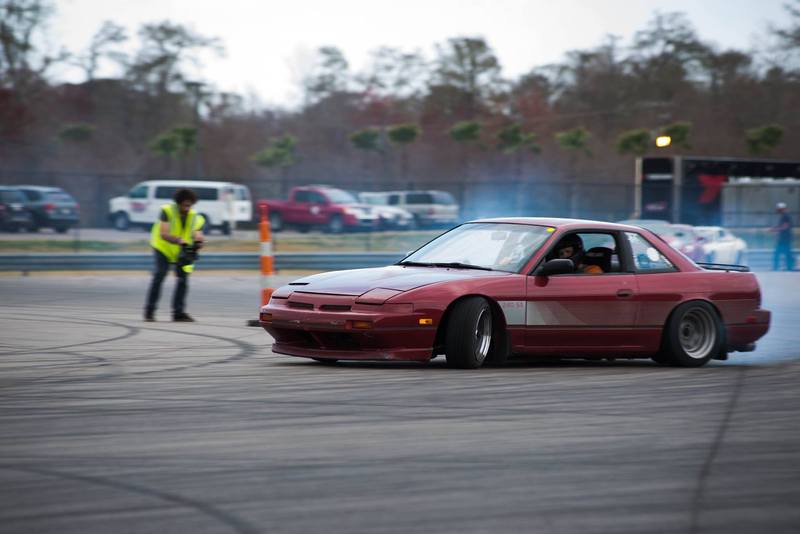 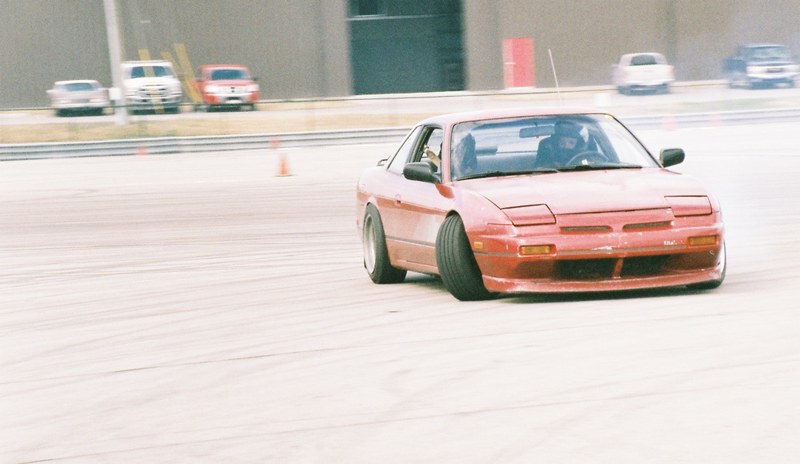 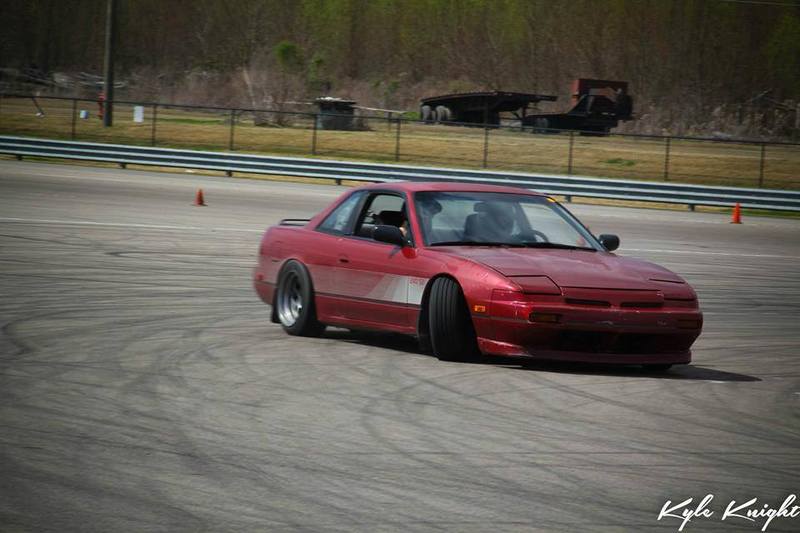 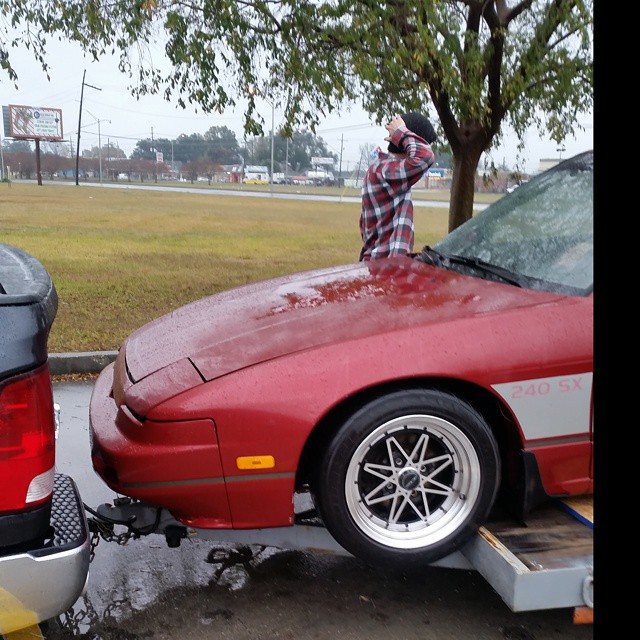 I wasn't feeling the wheels so I started looking for something else. Ended with these. 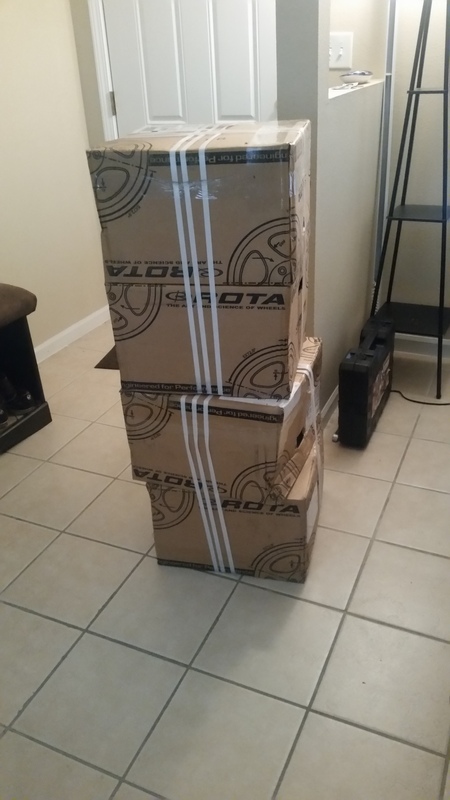 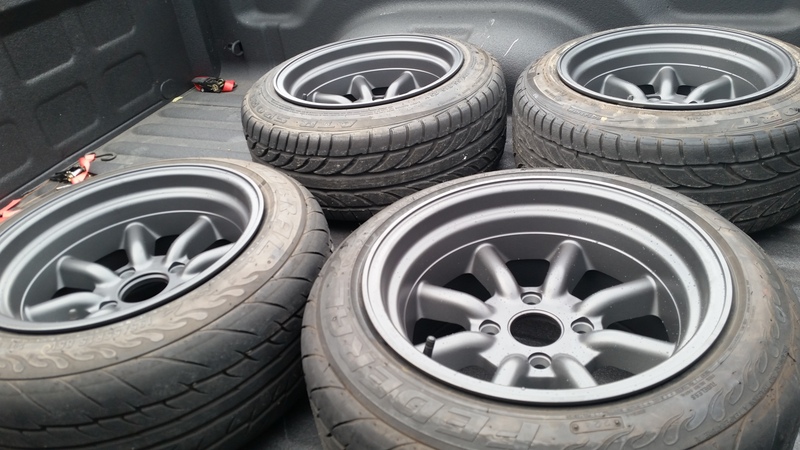 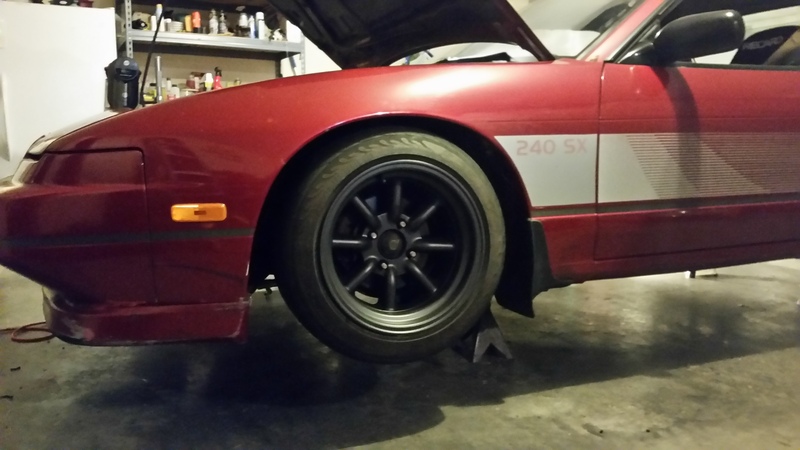 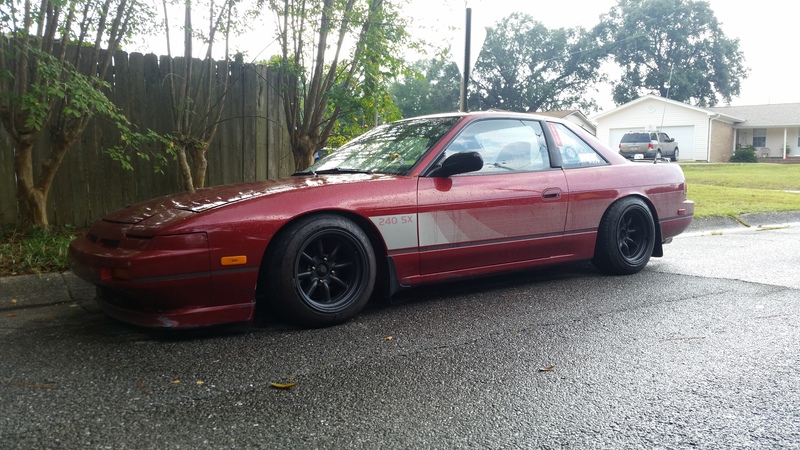 They are Rota RKR 15x9 et0 all around. At the time I was running 195/55's on them. I know they aren't real Wats, but finding real ones in around this size is both hard and stupid expensive. Next was a brake upgrade. I somehow acquired some q45 front calipers. Rockauto was having a sale on Brembo blanks for a 94 Altima for $10 a piece, so I went with it. I got rebuild kids, guide pins with boots, hardware, and Axxis Metal Master pads for the fronts. For the rears I just got some new rotors and Axxis Deluxe organic pads. I painted the front calipers to clean them up. These things were pretty big. I honestly don't think I can go any bigger with 15's, not that I'd want to. 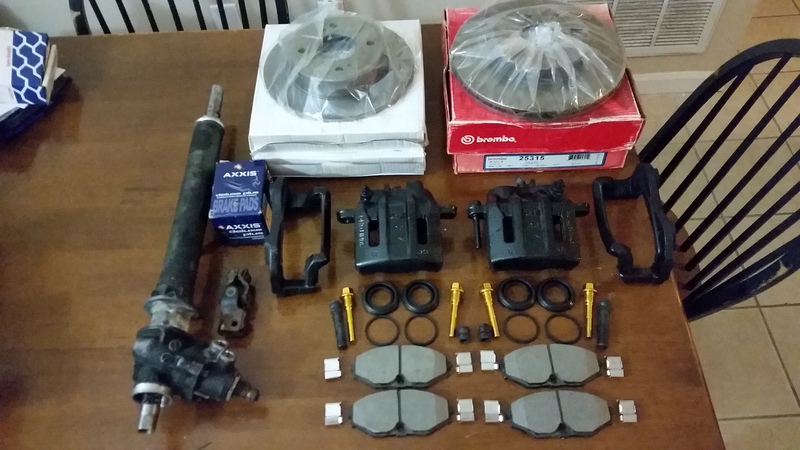 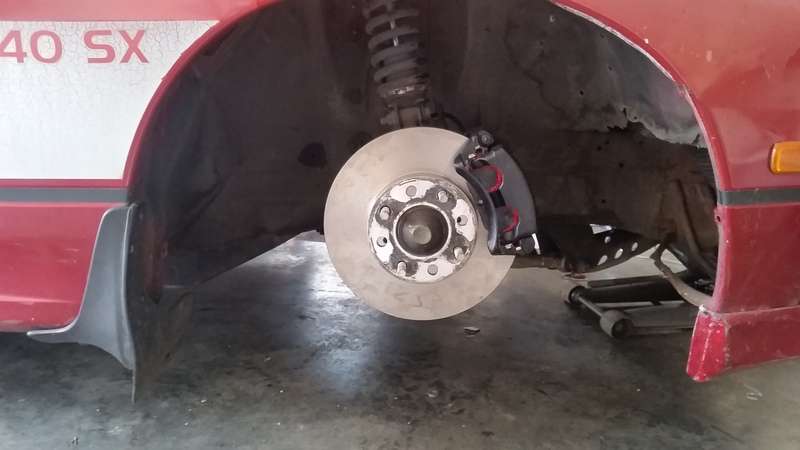 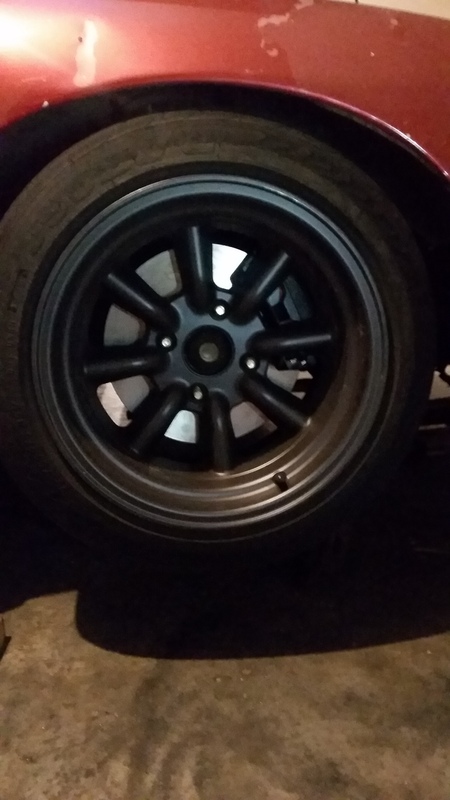 At some point I picked up a 4.36 ring and pinion and decided to go from a 1.20mm shim to a .80mm in the vlsd. I did this because it did chatter a little bit at parking lot speeds when turning tightly. Going down in size reduced it but didn't affect it's ability to lock. The 4.3 made the biggest improvement. I honestly think these cars should have came with them from the factory as it really improves the power band of a KA. 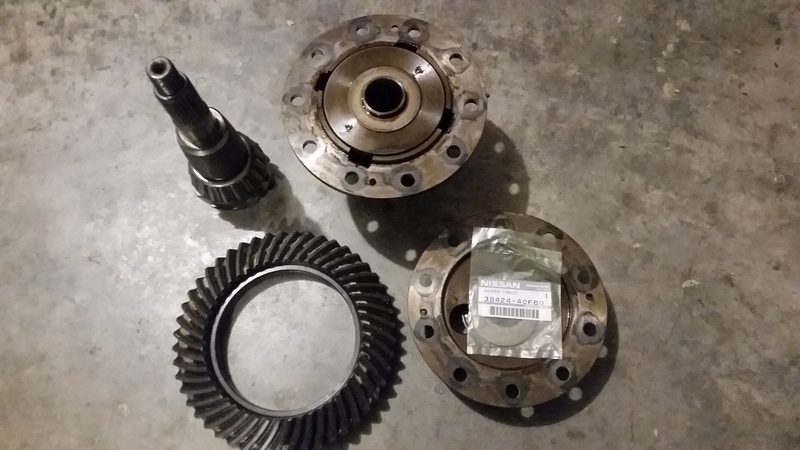 I also decided I was done with the Grip Royal and picked up a wheel I had wanted for a while. 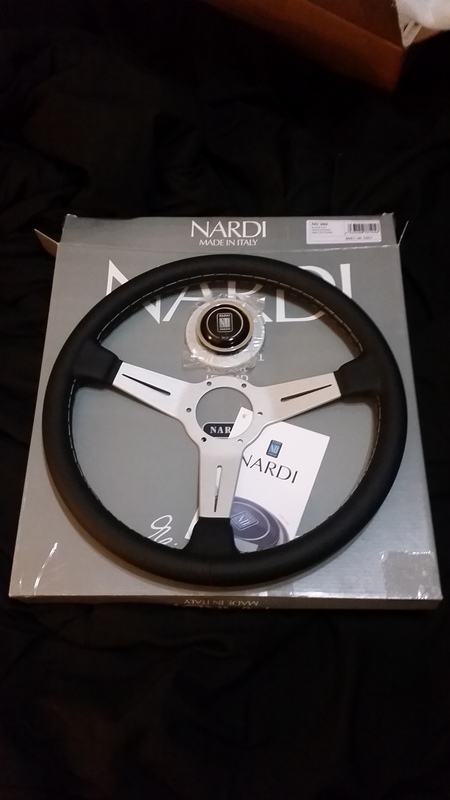 Nardi Classic. I went with a smooth leather, grey stitch 360mm due to having a manual rack. I also got a new NRG v2 quick release. After getting this I don't know how or why I ever wanted a GR. 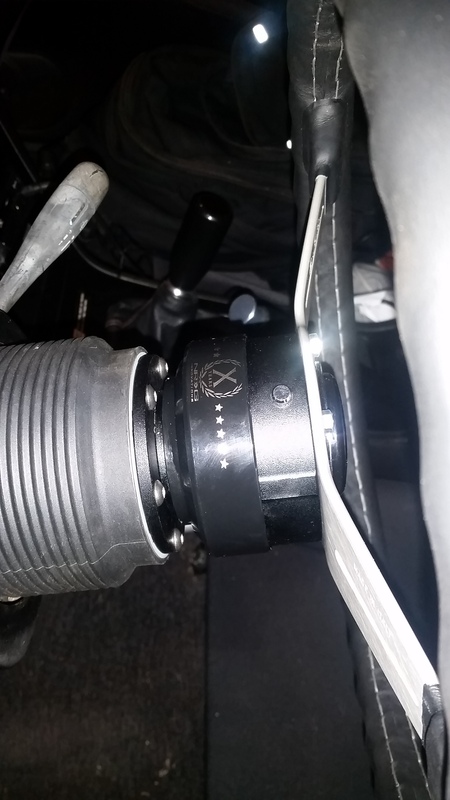 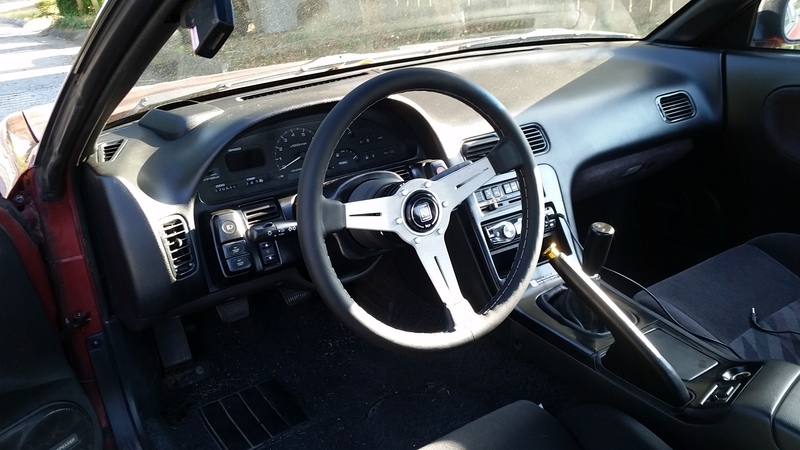 I did some skids 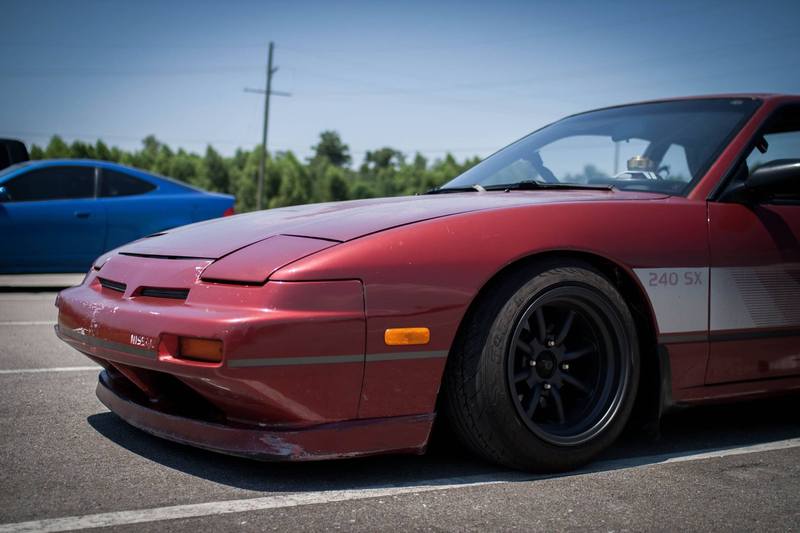 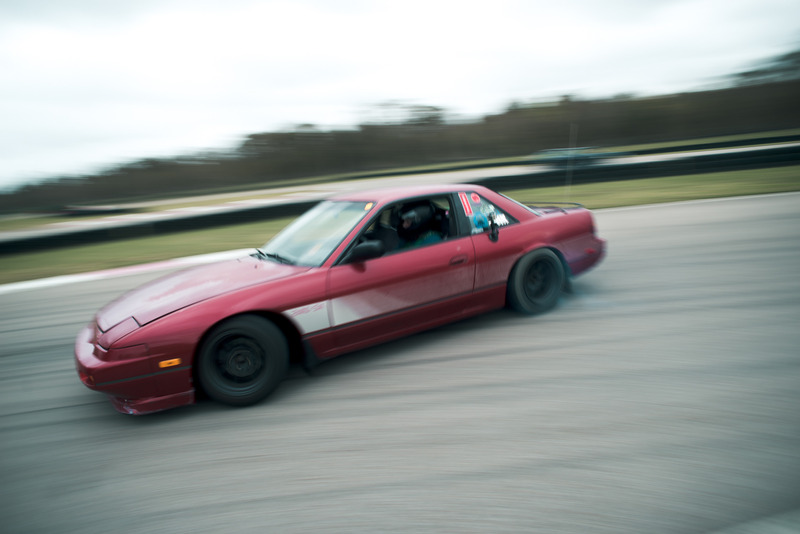 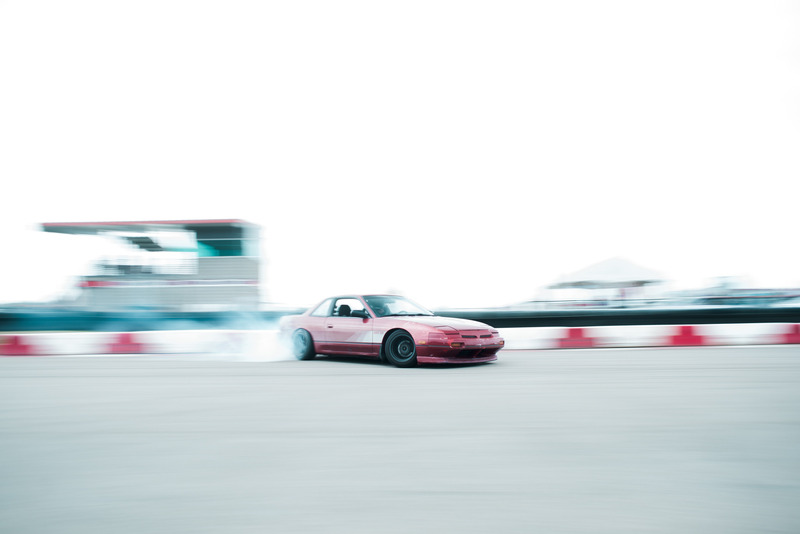 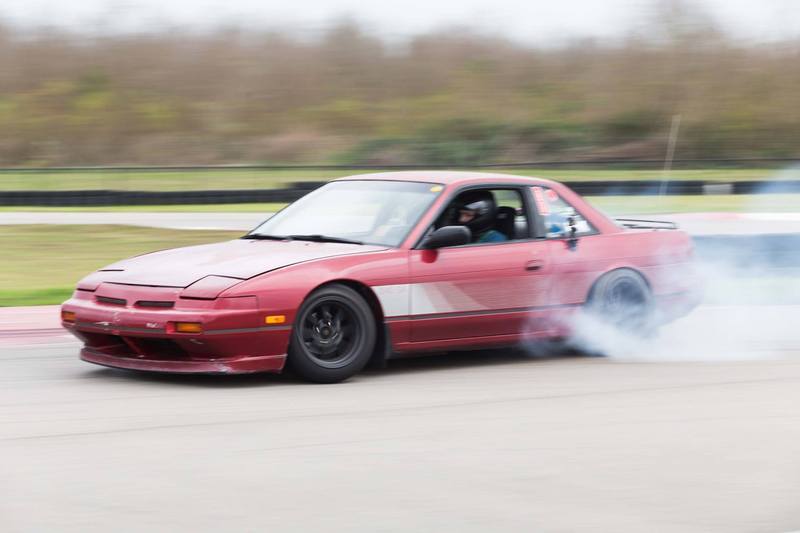 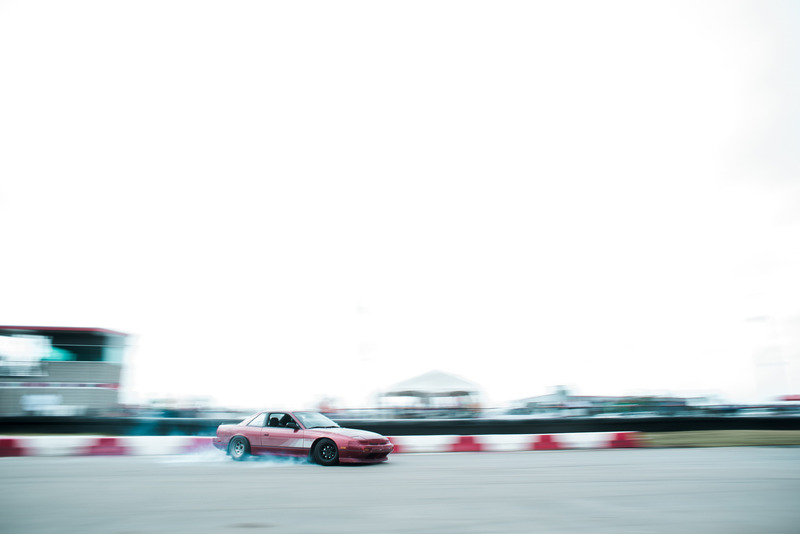 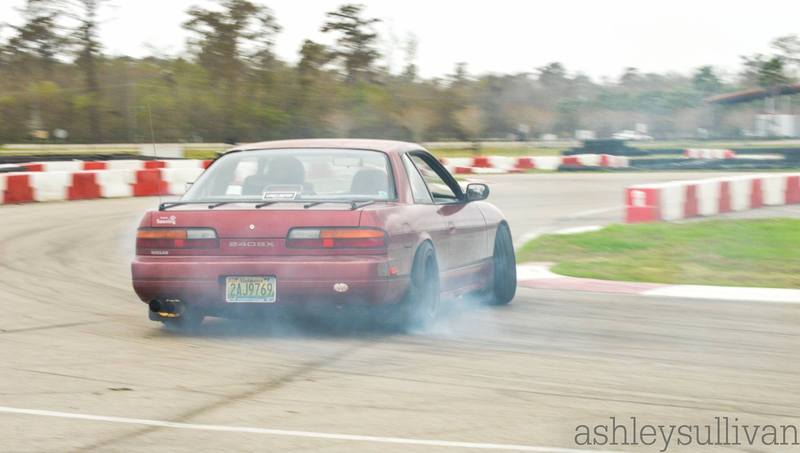  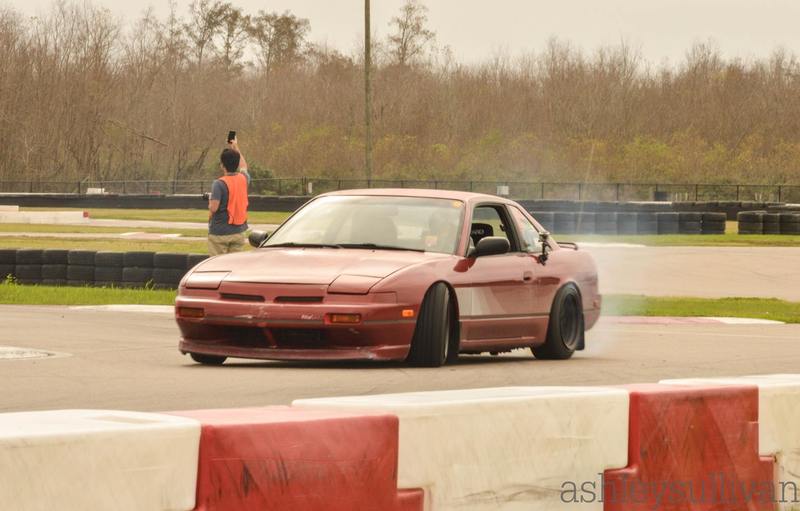 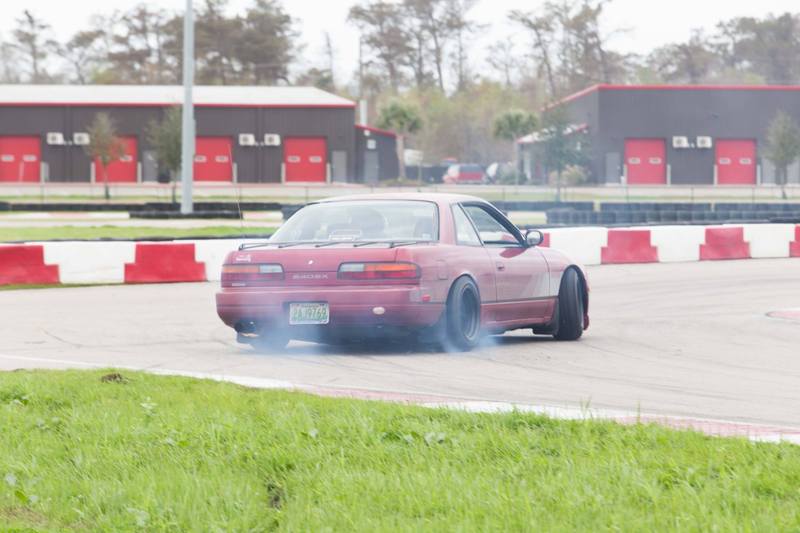
__________________

Last edited by Hoffman5982; 07-08-2017 at 05:48 PM.. |
|
|

|
|
|
#5 |
|
Nissanaholic!
 Join Date: Jan 2009
Location: Definitely NOT FL....
Age: 29
Posts: 2,491
Trader Rating: (25)
          Feedback Score: 25 reviews
|
Soon after this, Mother nature decided my body lines were too straight. In Feb of last year my neighborhood was hit by a tornado. I came home to this
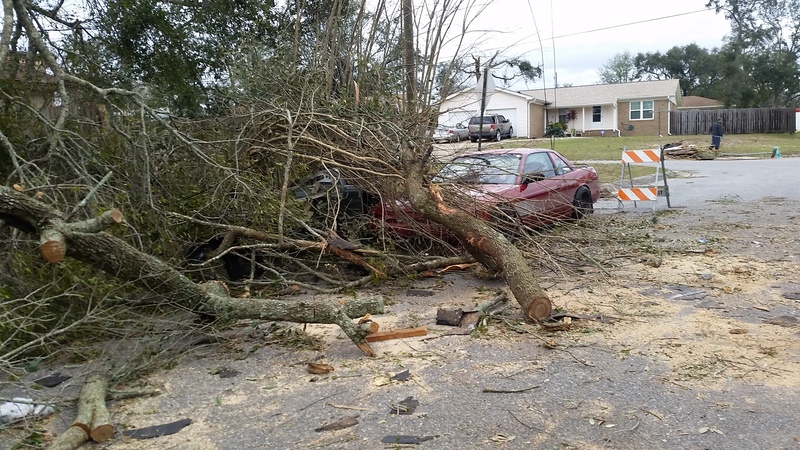 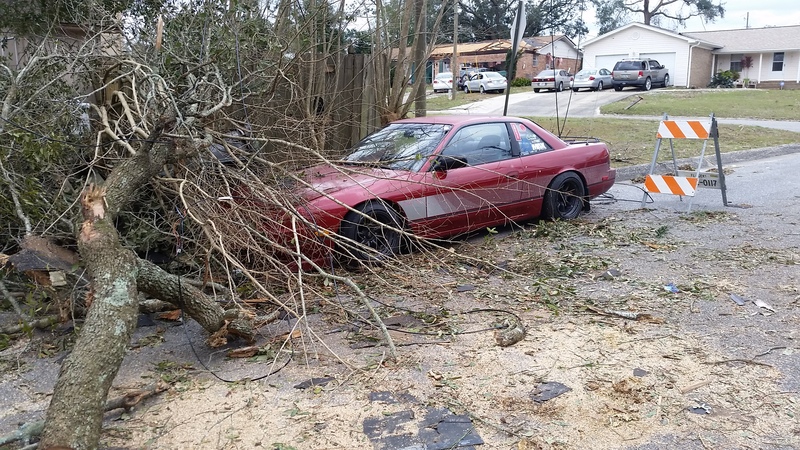 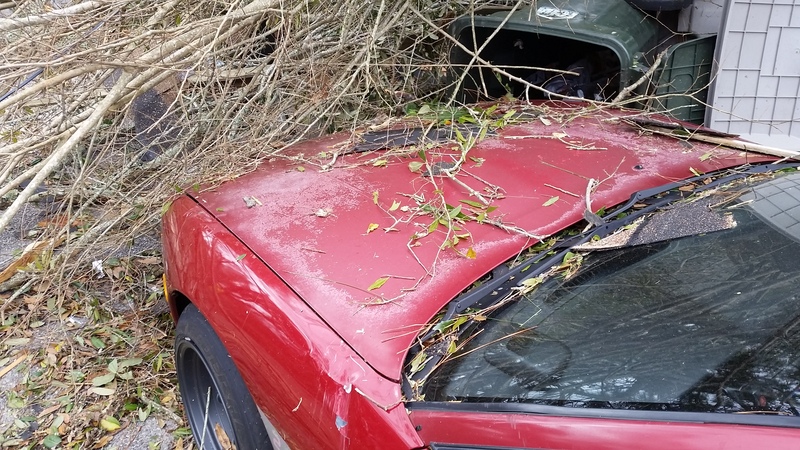 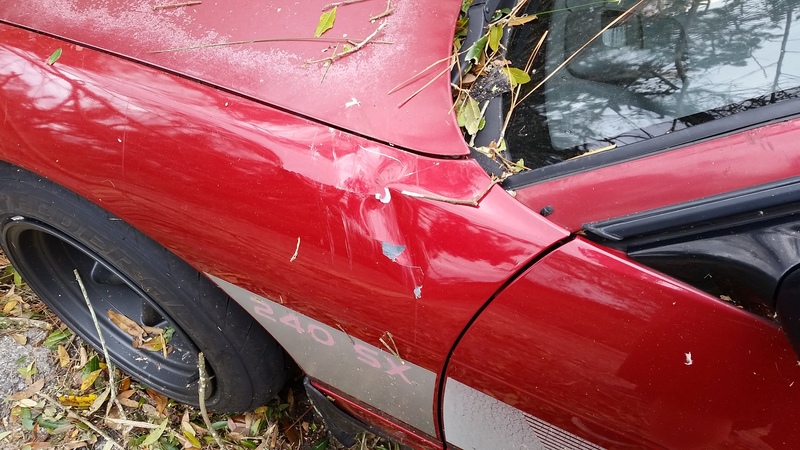 Overall, it wasn't bad at all when you consider this was 500ft away around the corner 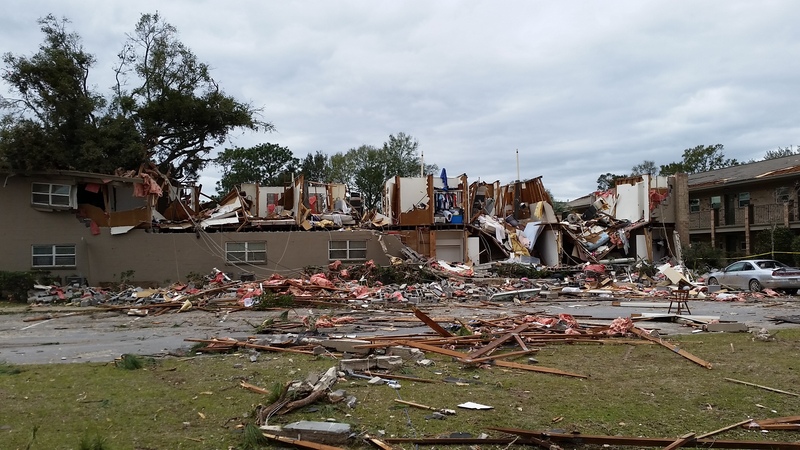 The overall damage was obvious cosmetic. The big dent in the fender being the worst of it. There was also a dent further up and a few dents on the hood. Still looked good though 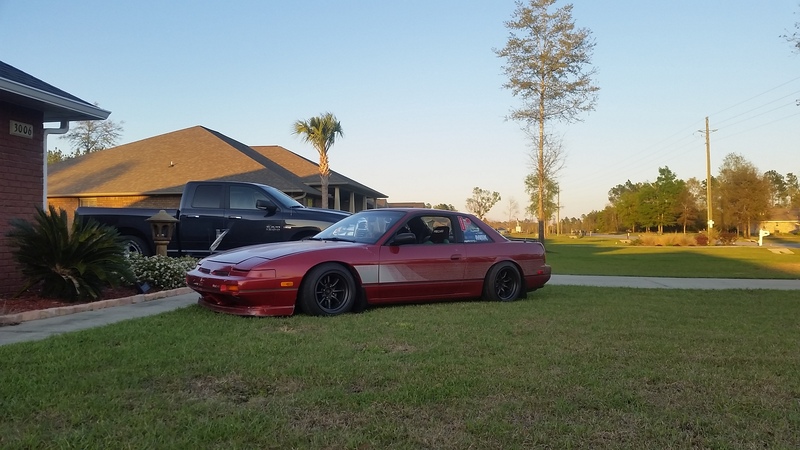 Around this time a C's short shifter fell into my lap. I ordered a new boot, bushing, and gasket as I had a Megan v2 shifter currently. I also picked up a DIF shift knob from a user on here. 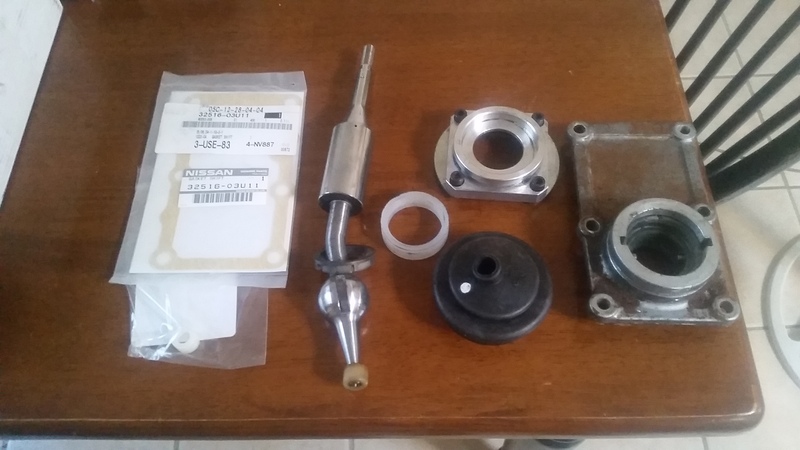 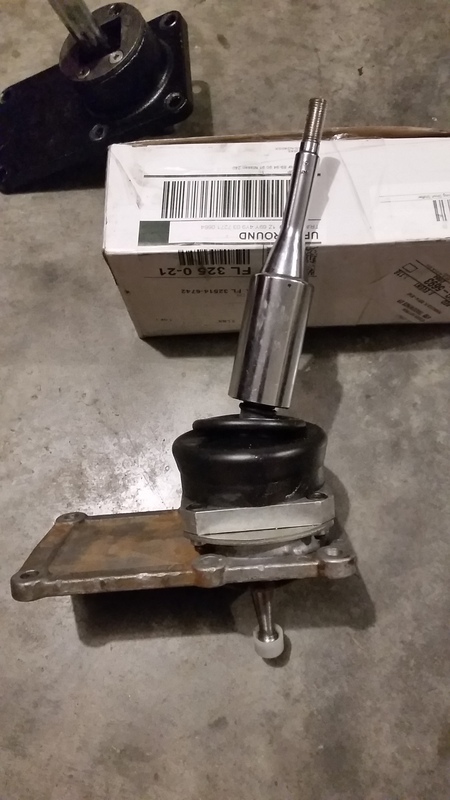 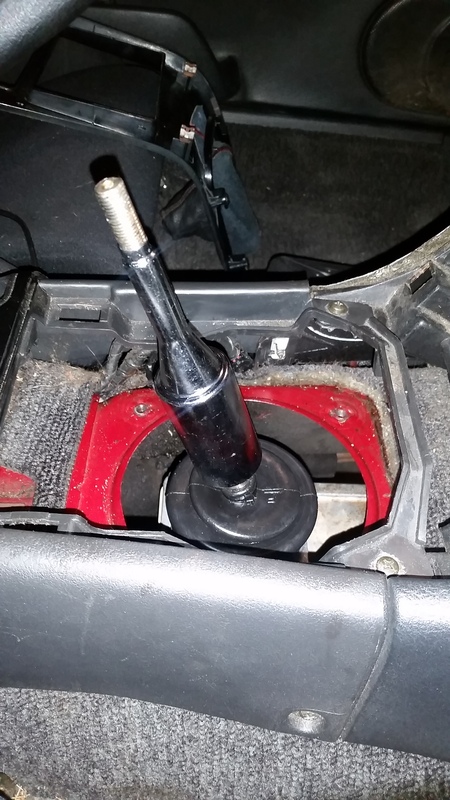 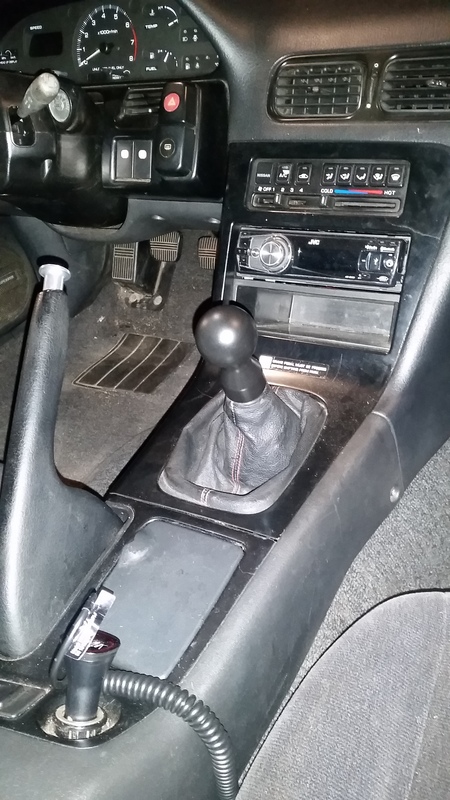 Similar to getting the Nardi and never going back, I'll never go back to eBay short shifters. This thing was awesome. No rattles whatsoever. My slowly dying trans shifted so much smoother now, I couldn't believe it. Then, my pristine dash cracked. Awesome. It bothered me at first but I got used to it. It's my fault for never using a shade. As fate would have it, I got a really good deal on an uncracked one along with a clean shift/radio bezel. Being a non HUD dash, and even though my HUD still doesn't work, I cut this one and mounted the housing. It was super nerve racking. 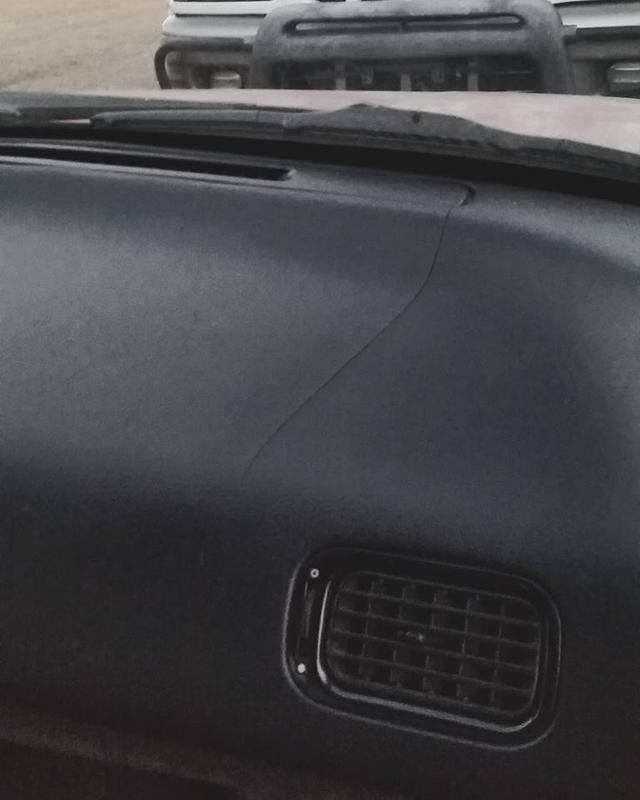 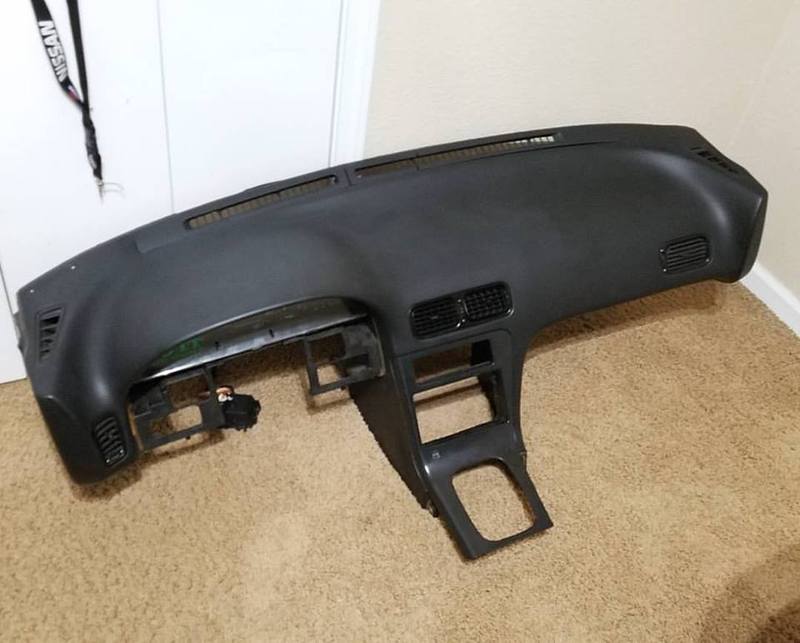 And then I decided to do what I had done on my s14 and install the jdm digital climate control, along with the head unit from my s14. The process is much easier on s13's. Hardest part is mounting the door motor. 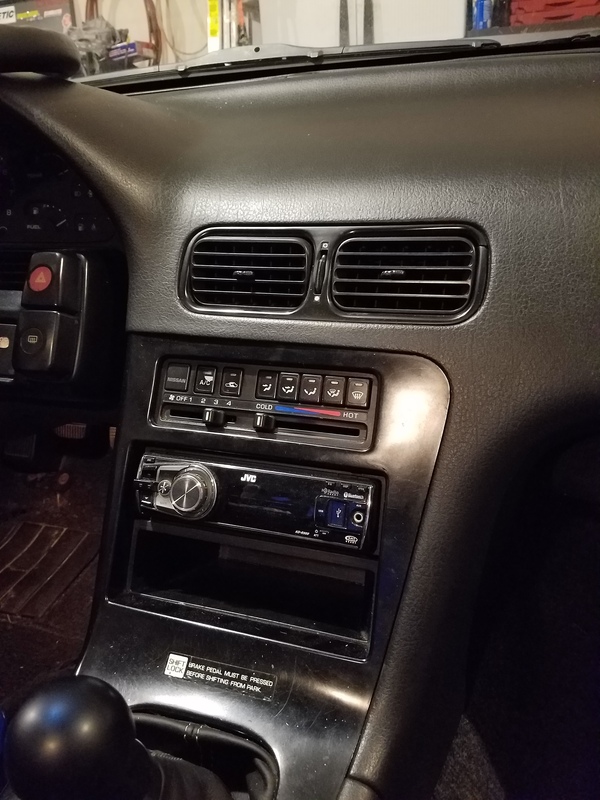 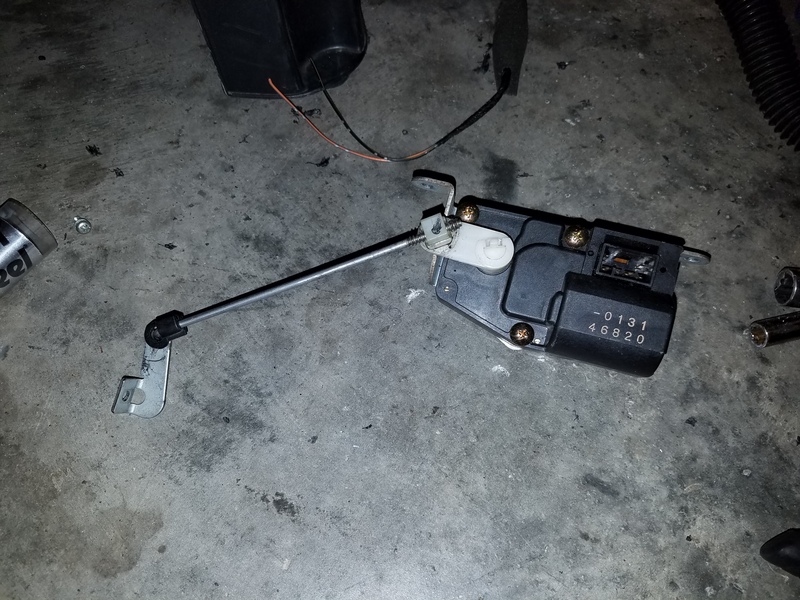 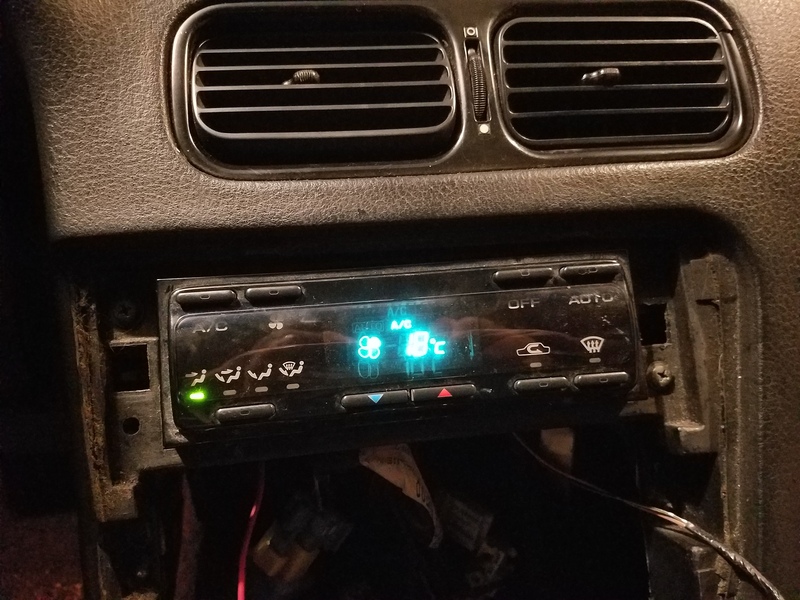 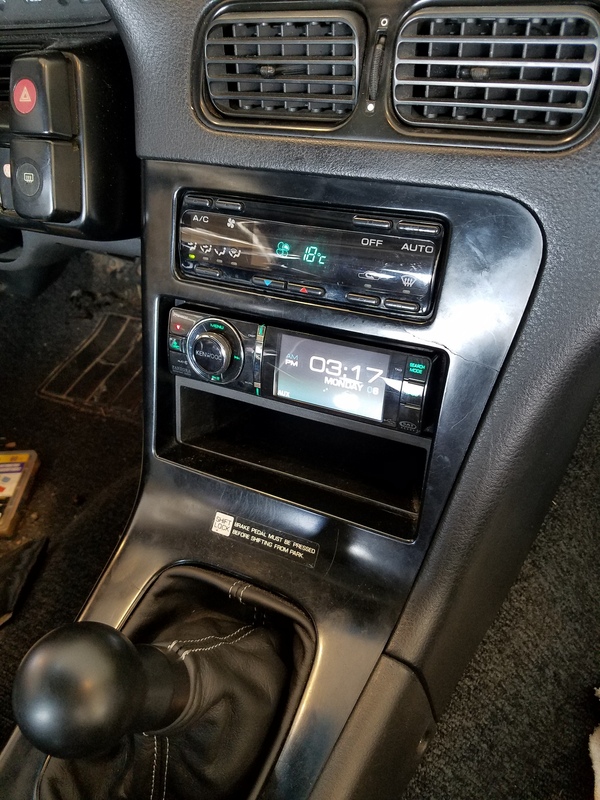 The interior was looking really clean at this point 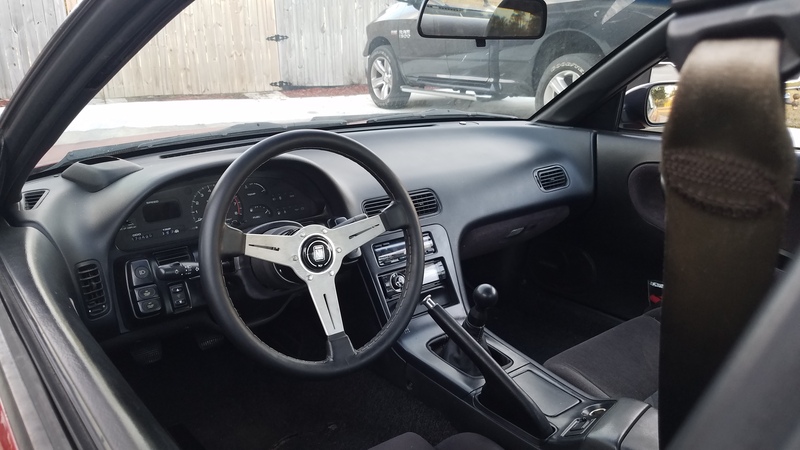 And then I finally got an actual exhaust. Until now, I had the jankiest exhuasts ever. I paid good money for a BRM because they gave me the option of going 2.5" and adding a resonator. Overall, though, I was never super pumped on it. The picture they showed for the single tip was an oval canister. What I got was a round canister, almost fart cannon style. It could have also easily been tucked a solid inch closer to the car with no issue. No worries, I destroyed it 2 months later when backing onto the track after going off and catching it on the lip of the rumble strip. 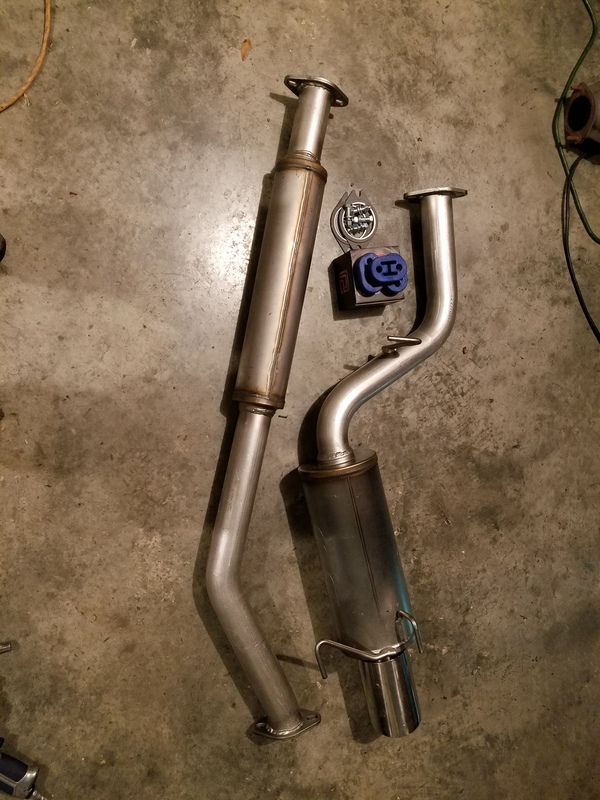 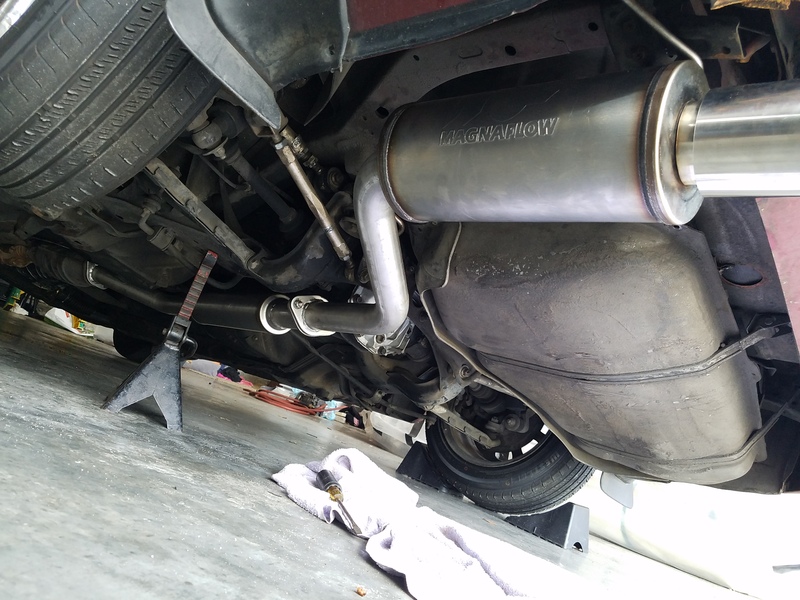 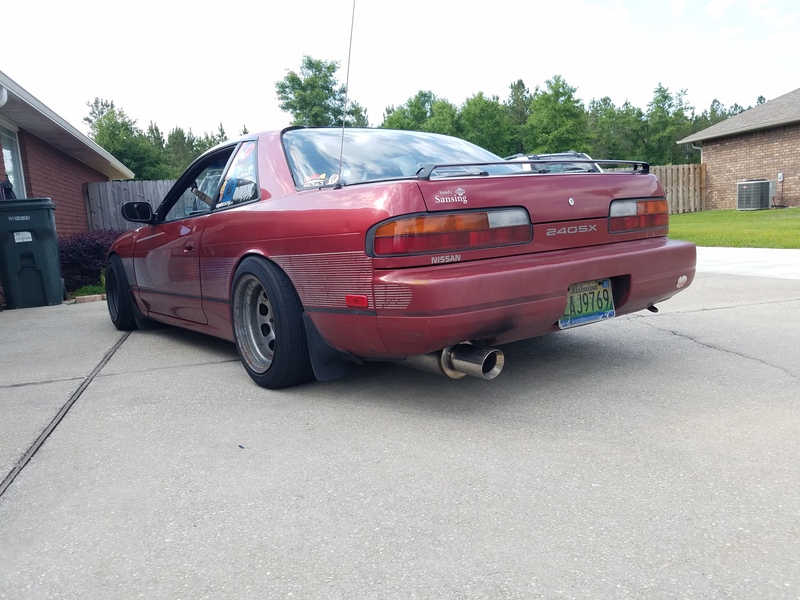 Unfortunately this is basically the end of Phase 2. I did some more stuff, but didn't take many pictures. So here's some more skids. 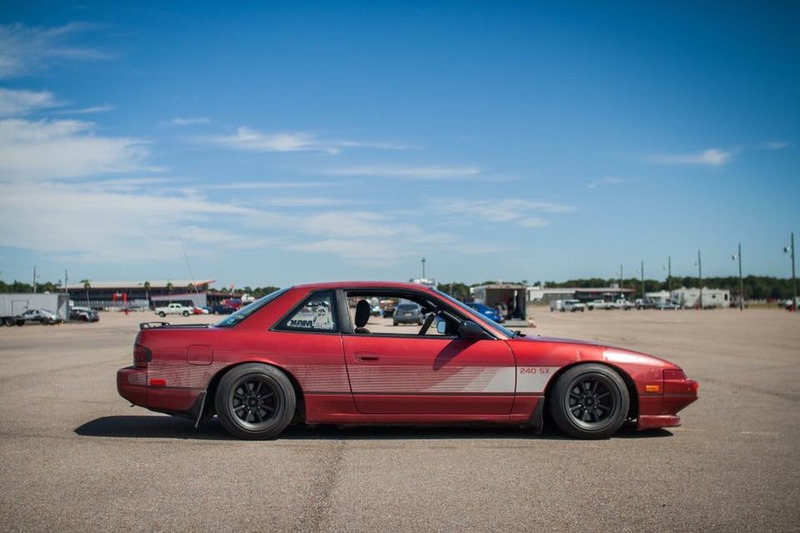 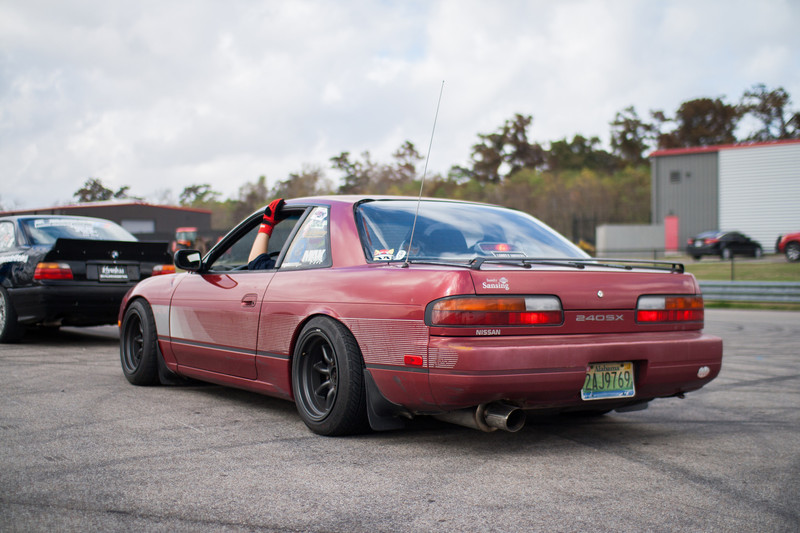 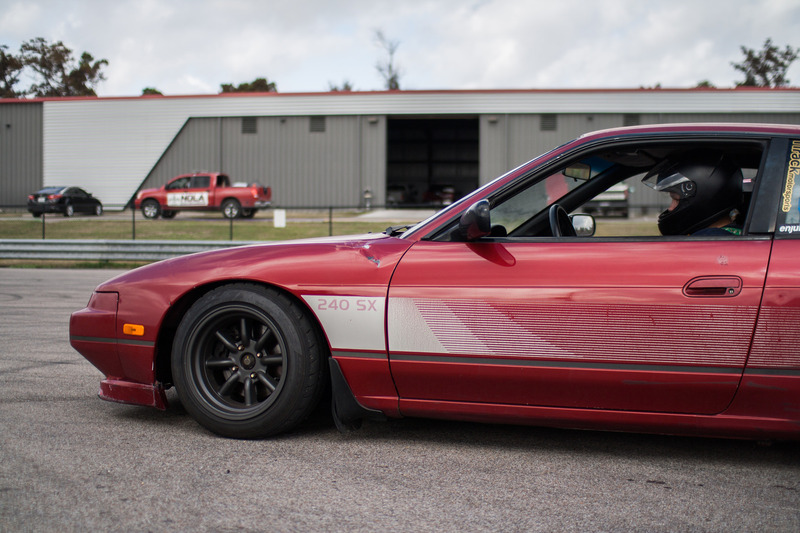 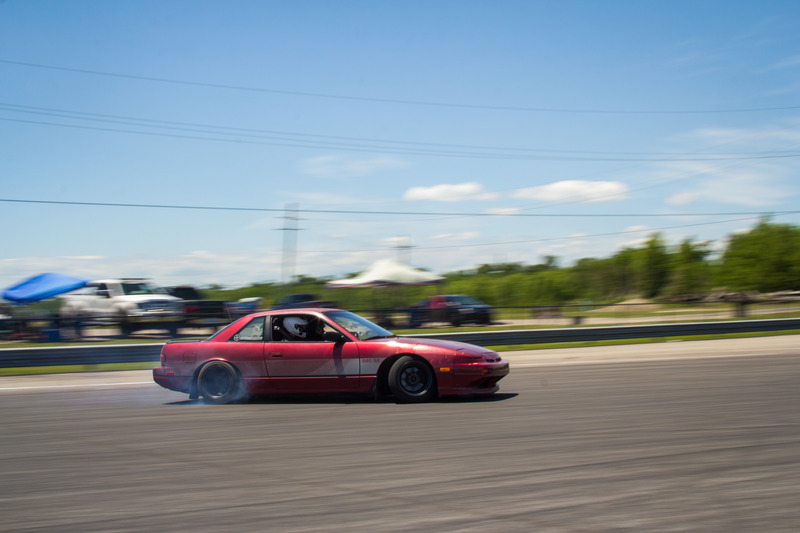 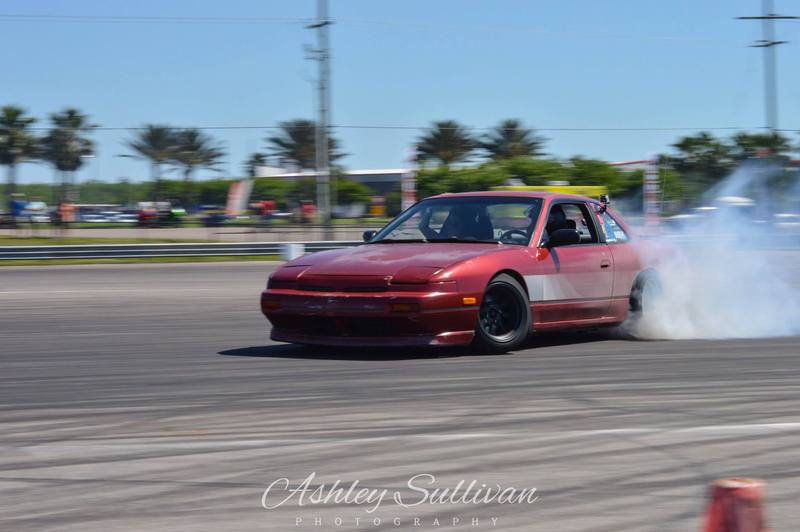 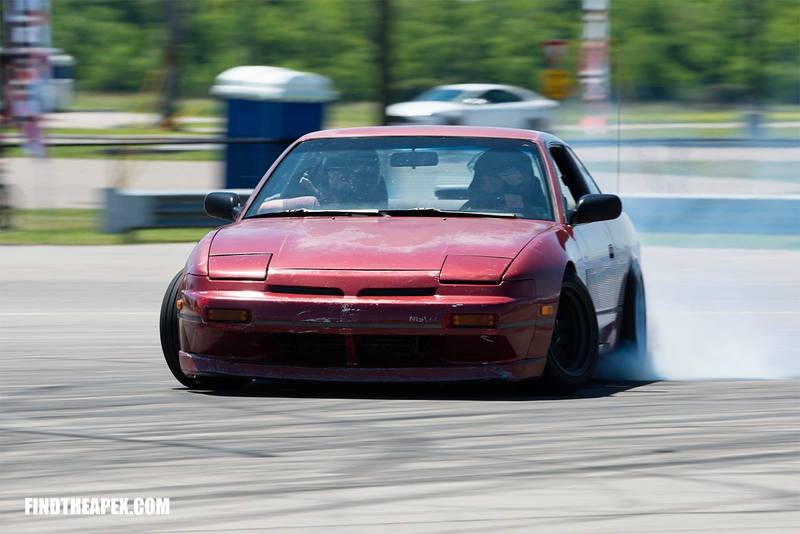 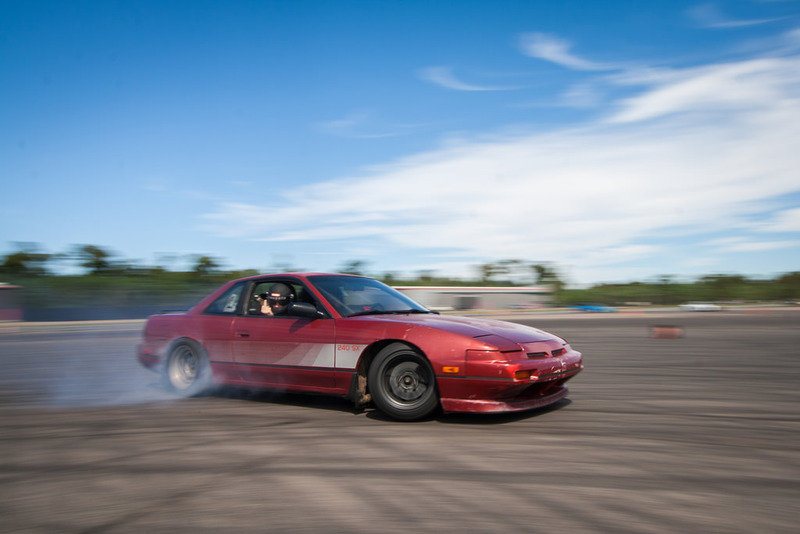  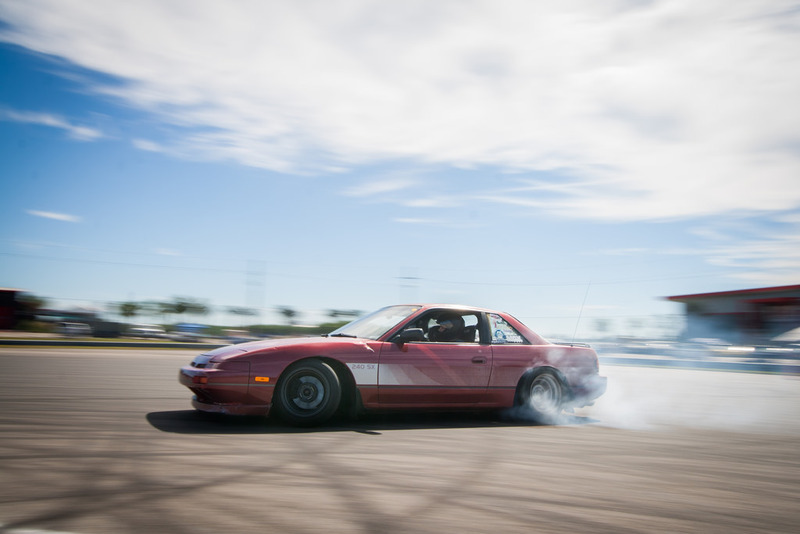 Phase 3 is next and will be updated in the next few days. It consists of more power and brings us to current times. All feedback is welcome. I haven't done a build thread in years and would love to hear what I can change.
__________________

Last edited by Hoffman5982; 07-08-2017 at 05:48 PM.. |
|
|

|
|
|
#6 | |
|
Nissanaholic!
 Join Date: Jan 2009
Location: Definitely NOT FL....
Age: 29
Posts: 2,491
Trader Rating: (25)
          Feedback Score: 25 reviews
|
Quote:
The bumper had some chipped paint and the lower support got a dent, which was the least of its problems, I'll update that later.
__________________

|
|
|
|

|
|
|
#7 |
|
Zilvia Member
 Join Date: Feb 2017
Location: Lansing michigan
Posts: 154
Trader Rating: (1)
 Feedback Score: 1 reviews
|
I love this build with my heart and soul. I have a hatch that's ah3 and I converted to the piggy front because it's fucking rad. Your car looks so cool with the little vinyl on the side too. I like that it's still 4 lug. Im pretty sure this has been probably the coolest build that's not all flashy and crazy expensive. Not doing what everybody wants to see but what you need to do to be a better driver. Fucking props to you man
|
|
|

|
|
|
#19 |
|
Zilvia Member
 |
this car is so awesome. I like how the tuning on this car is like Oem plus. I wanna try the cam setup. I think you and i found the same thread where some guy tried every combo of oem cams lol always wondered if that info was good since it was all done on a butt dyno.
__________________
Ayo that's crazy @originaldonjosh |
|
|

|
|
|
#20 |
|
Post Whore!
 |
I actually read all this and get to the end on the first page. Not cool. I want more of this!
__________________
The mark of a true sucka: 'RARE JDM' & 'OLD LOGO NISMO'
|
|
|

|
|
|
#23 |
|
Nissanaholic!
 Join Date: Jan 2009
Location: Definitely NOT FL....
Age: 29
Posts: 2,491
Trader Rating: (25)
          Feedback Score: 25 reviews
|
Alright, it's time. So I left off with pretty much my last drift event. From then(Dec 2016) til about March of this year, I didn't really do much to it.
To start off the year, I had to finally address the rear subframe bushings. There were so bad that I could feel it clunking around. Since the car is driven on the street as much as it is, I knew I didn't want solid bushings, so the obvious choice was Energy Suspension bushings. This wasn't too hard of a process, but I went off of everything I read online and tackled it as they said. Problem here is all of the write ups seem to be for s14's, which have two separate cups and you have to remove one. On s13's, though, you just remove the old material. I was able to find a new subframe fairly quick though. 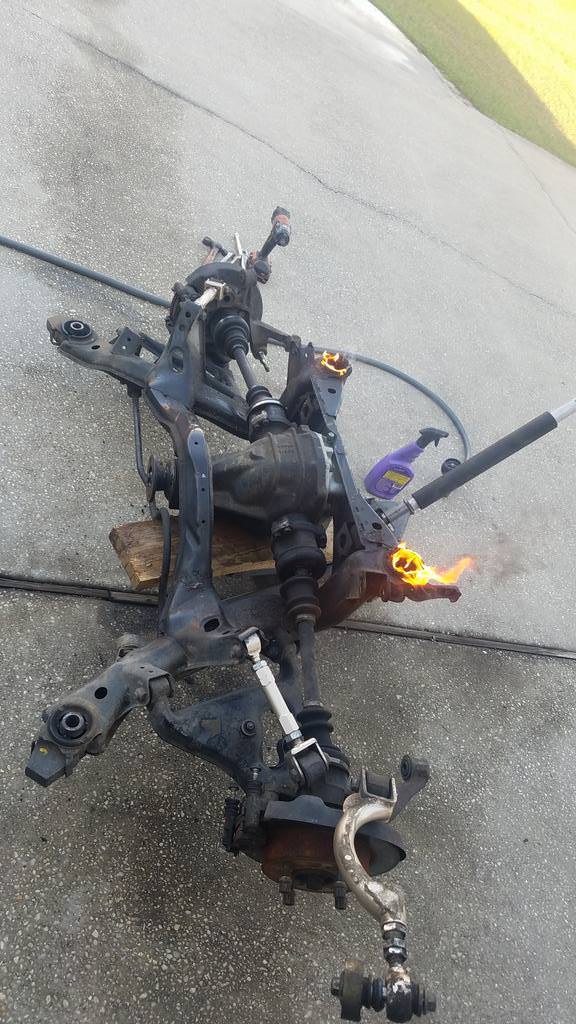 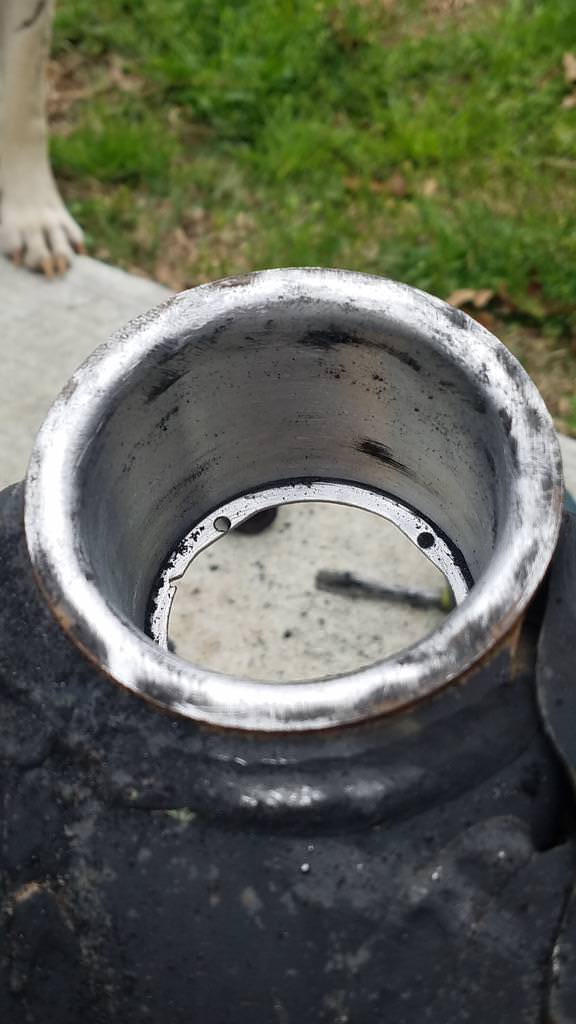 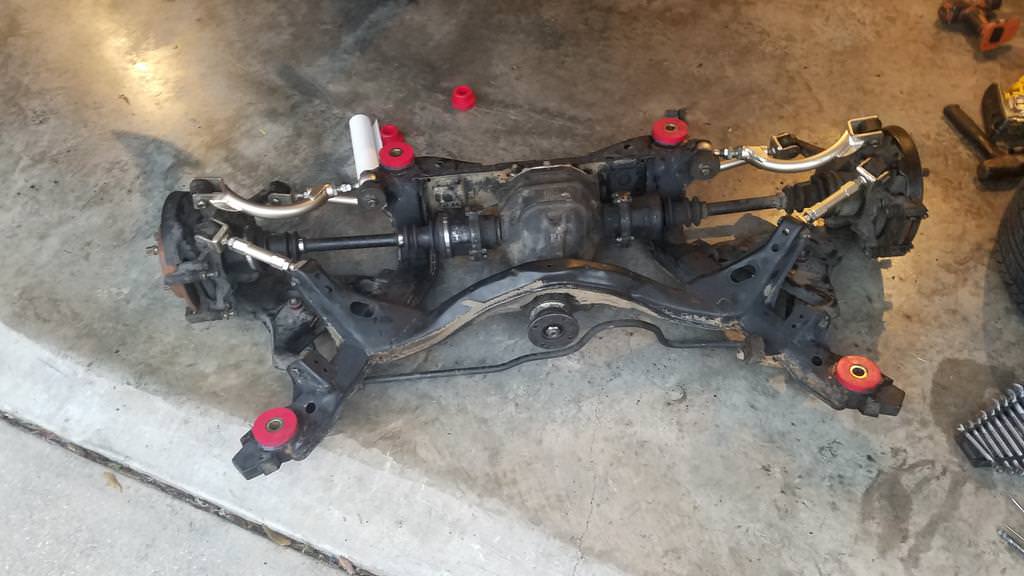 I put these bushings off for too long. The car felt super planted afterwards. There slightly more vibration in the butt, but it doesn't have too much of an effect on ride quality. Next I did about the most pointless thing you could do for a drift car, but it was worth it(not really). I picked up some tinted mirrors from an old 90's maxima. They are anti glare, but some also came with heated mirrors. The switch fits the s13 mirror switch as well, so I snagged it and wired it in. I ran the two wires to each mirror for the heat function which was a pretty big pain since I ran it inside the loom for that factory look. My daily Forester has this option and I loved it, so I figured why not. 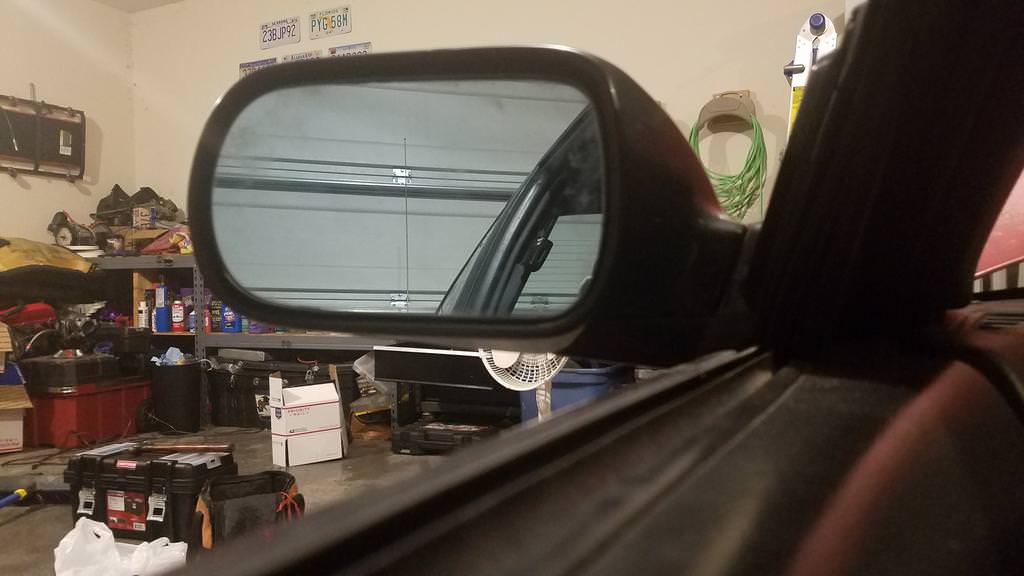 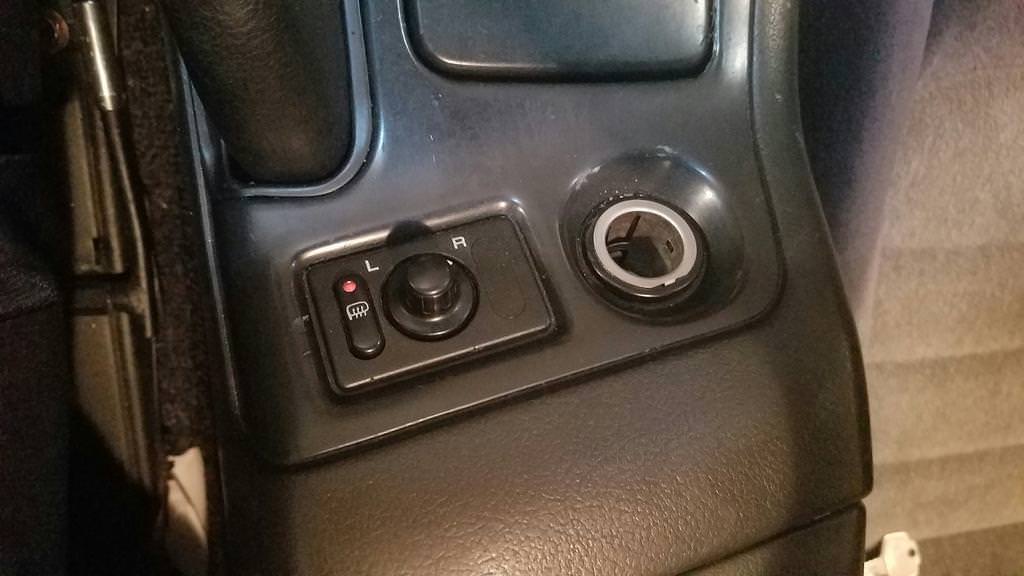 And lastly I put a tiny bit of work on cleaning up the interior some more. Picked up some S14 Phase 2 floor mats, restored the speaker grills, and picked up a new wheel. My friend offered me a killer trade on a Masi road bike for my Nardi, and I had been considering a new wheel anyways so I jumped on it. Picked up yet another Nardi Classic, but this time a 340mm(vs the 360mm), black spokes, and perforated leather keeping the grey stitch I had before. I'm really happy with it.. 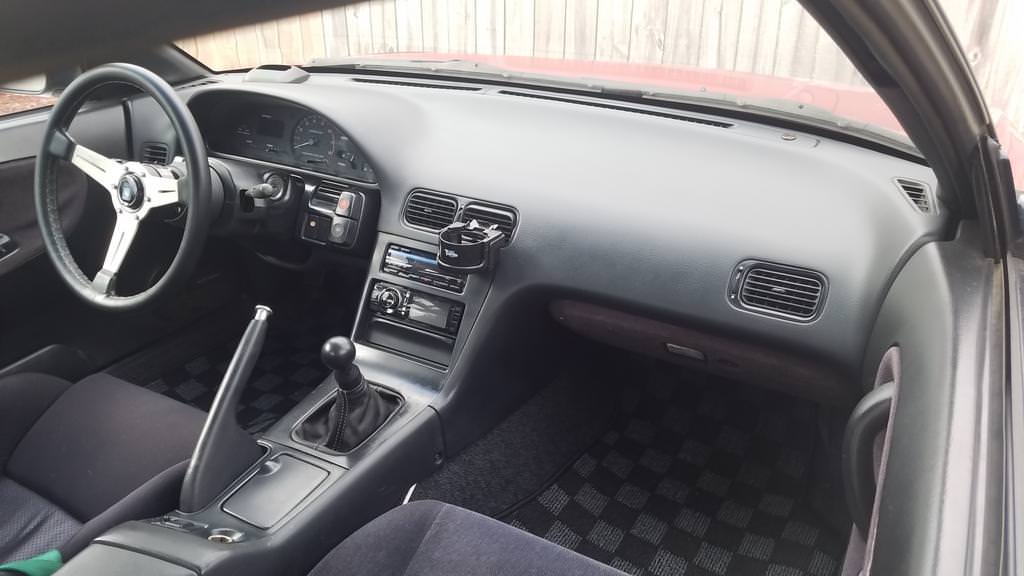 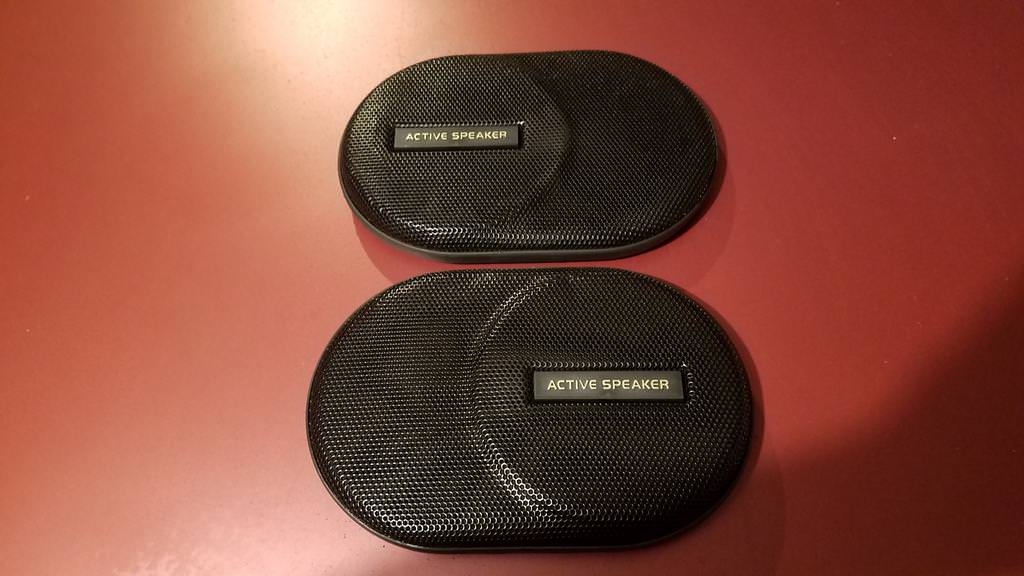 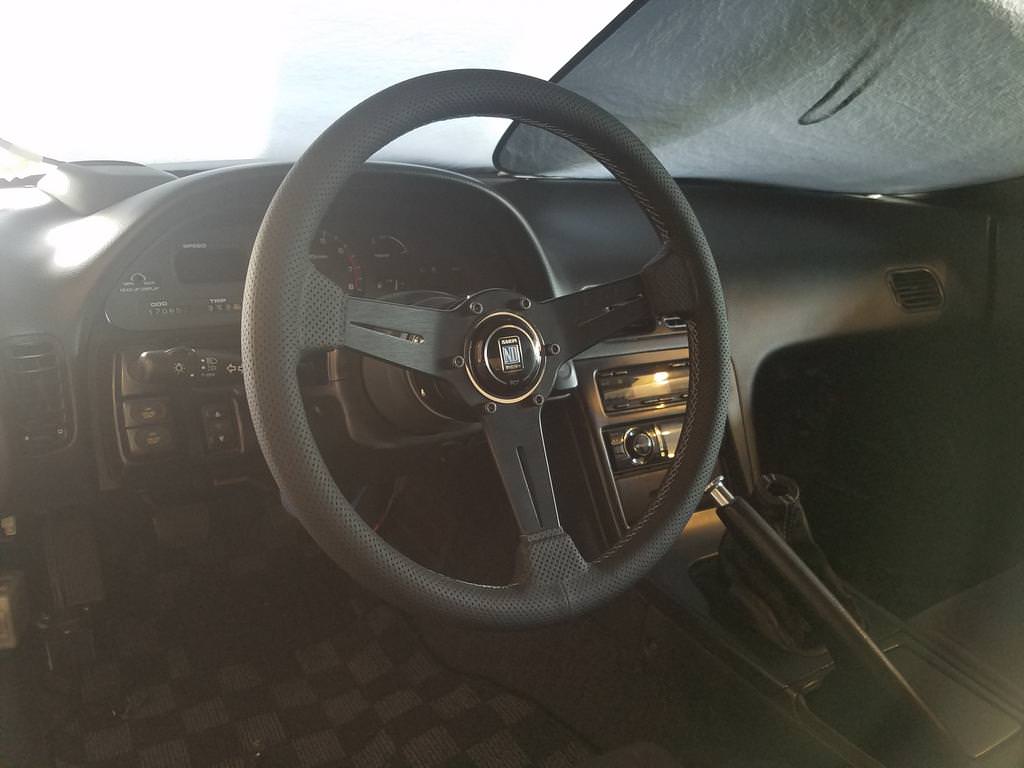 Now's where we get to the fun part. It's March and I have been collecting parts for quite a while. 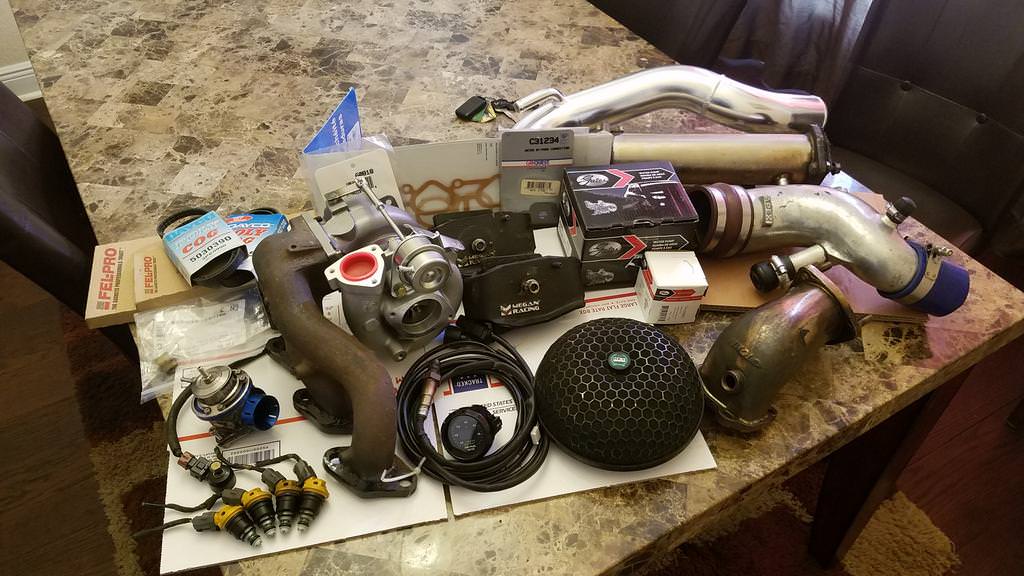 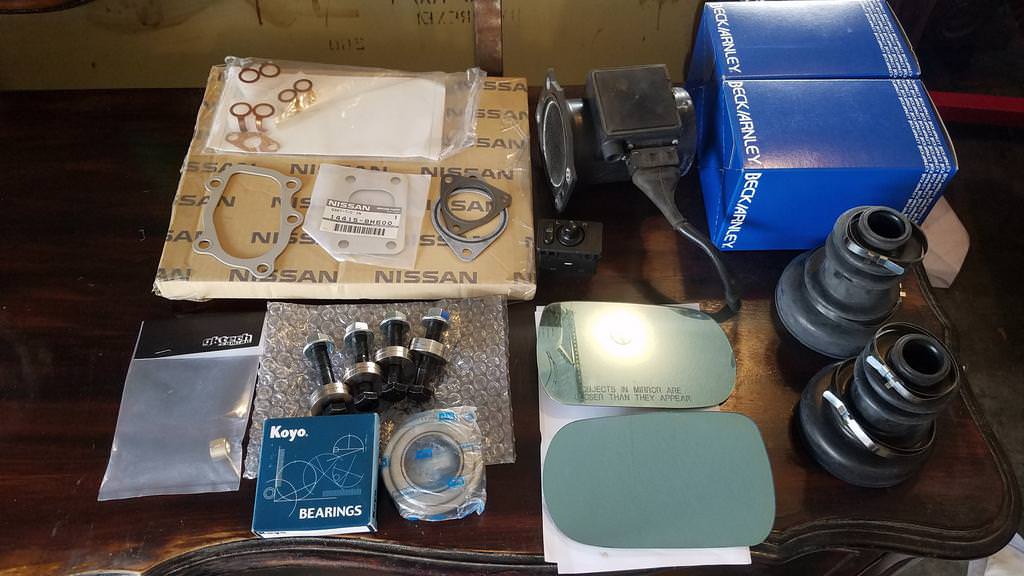 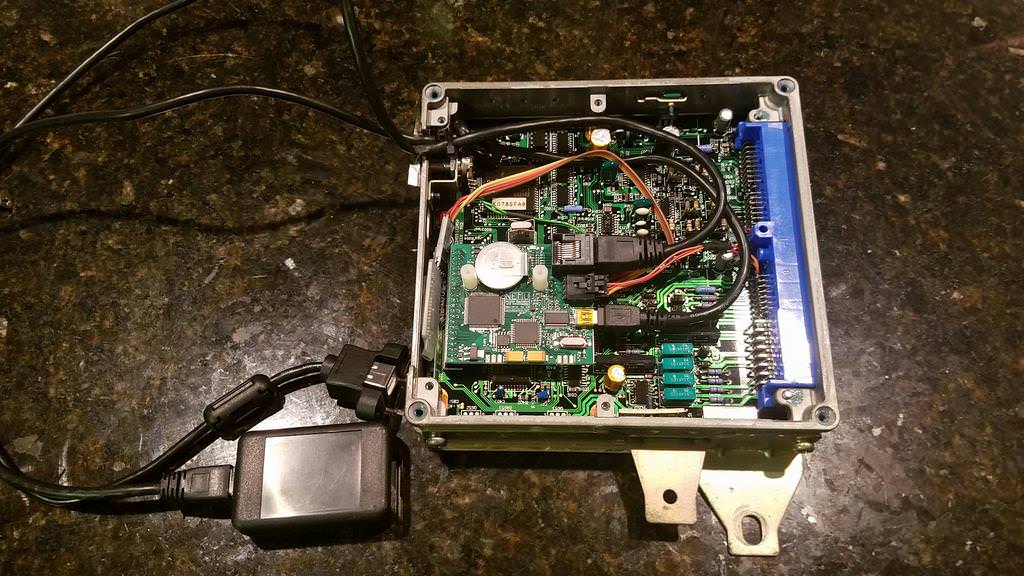 I had been driving NA for 3 years. I had plenty of fun but it was time for a change. I drove a friends 180sx with ~350hp and that was all the convincing I needed. I compression tested the motor and got 179psi across the board. My goals for the turbo setup were very conservative. I was not interested in peak numbers. In fact, my original plan was 370cc injectors and a t25. This motor had given me 3 years already and I wanted to get another year or two out of it, so I wanted this to be simple yet done right. What I ended up with was a Twisted Motion 2871 turbo, Nismotronic ECU, STI 525cc Injectors, SR hybrid turbo manifold, Tomei Elbow, ISIS Downpipe, etc. The first issue to address before adding boost though was to pull the motor and go back through it. After the last few years it was seeping oil in multiple places. Nothing major, but I didn't like seeing oil on the front cover or around the edge of the oil pan. On top of that, there was some structural work that needed to be done. So out the motor came. 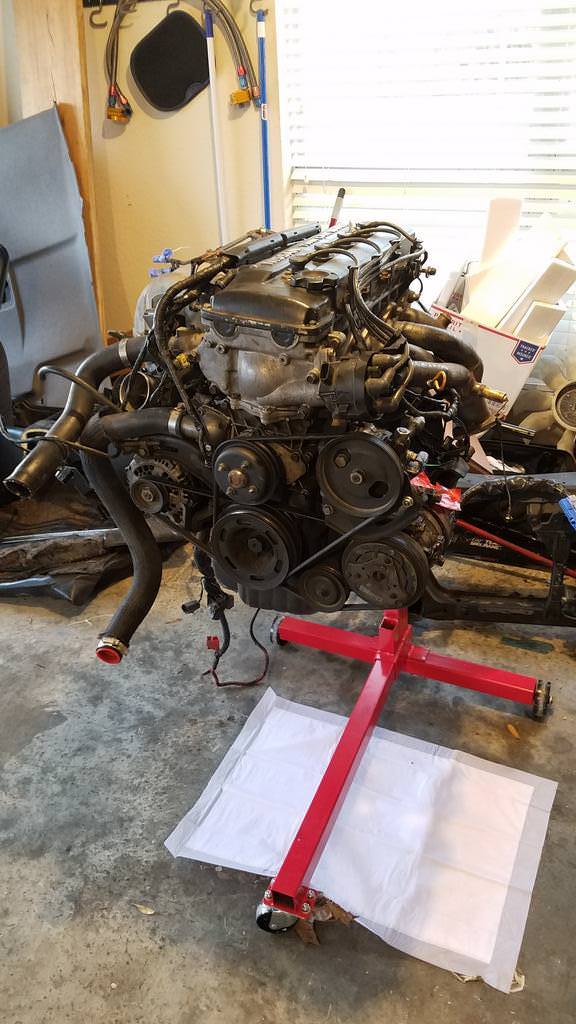 The motor was supposed to go back in NA. I wasn't planning to put the turbo on til later this year, but I threw it on just to see how it would look and again, that was all the convincing I needed. 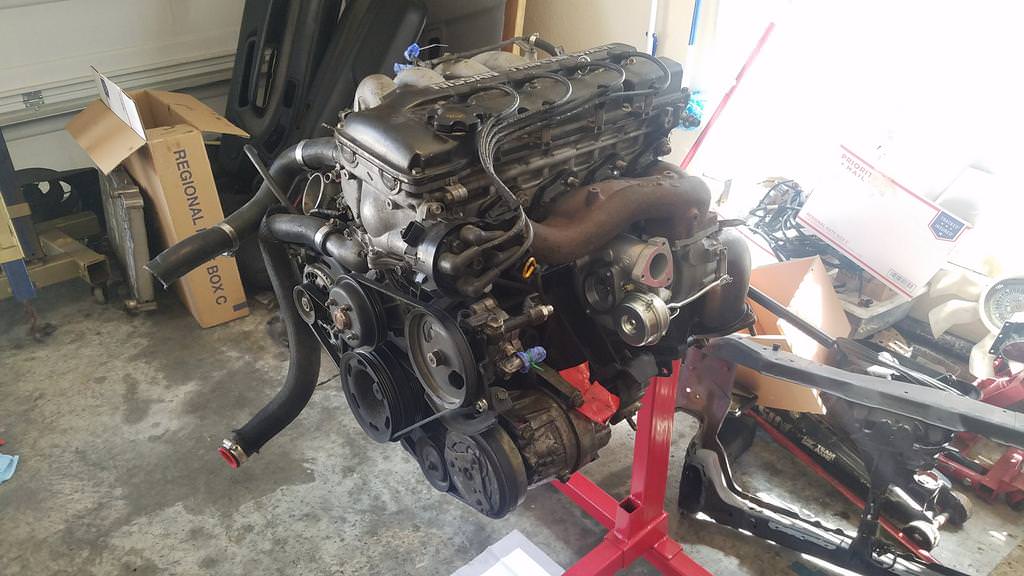 Next step was addressing the mall rust issue. This car has lived its entire life in FL, so there's no frame rot. However, the previous owner must have had a leaky battery that eventually rusted the battery tray and fell through. That rust spread down to the lower core support, where I always jacked my cars from. Soon it looked like this 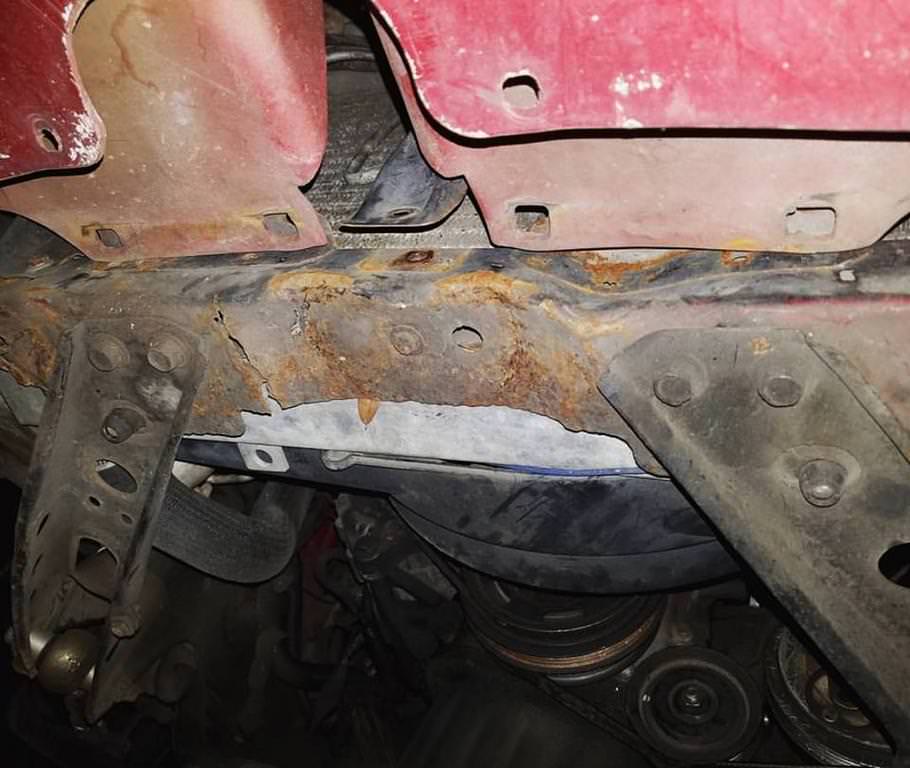 So I cut it out. The rust had also spread to behind the headlight bucket. Most of the bolts holding the headlight on snapped off. I ended up with this 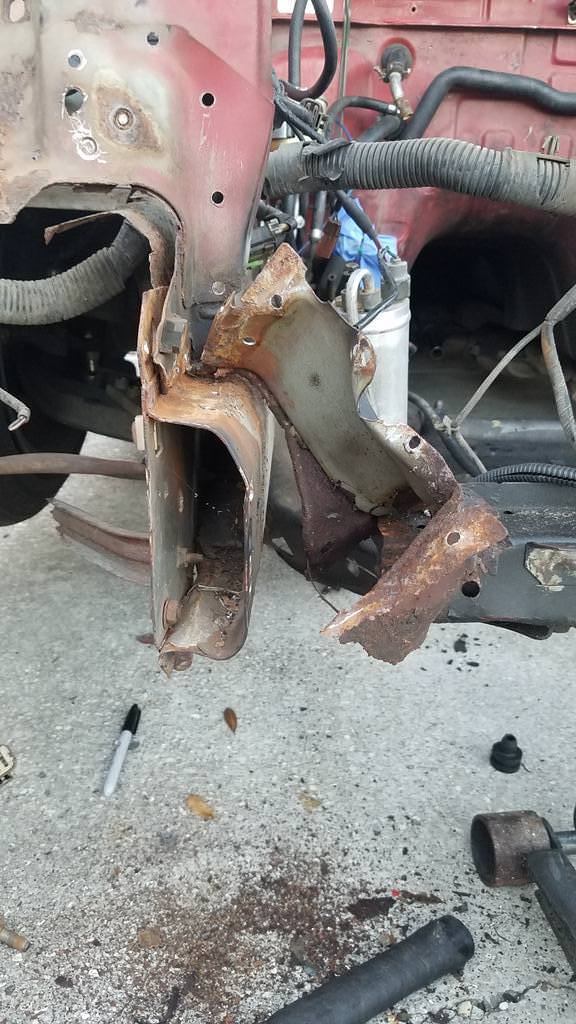 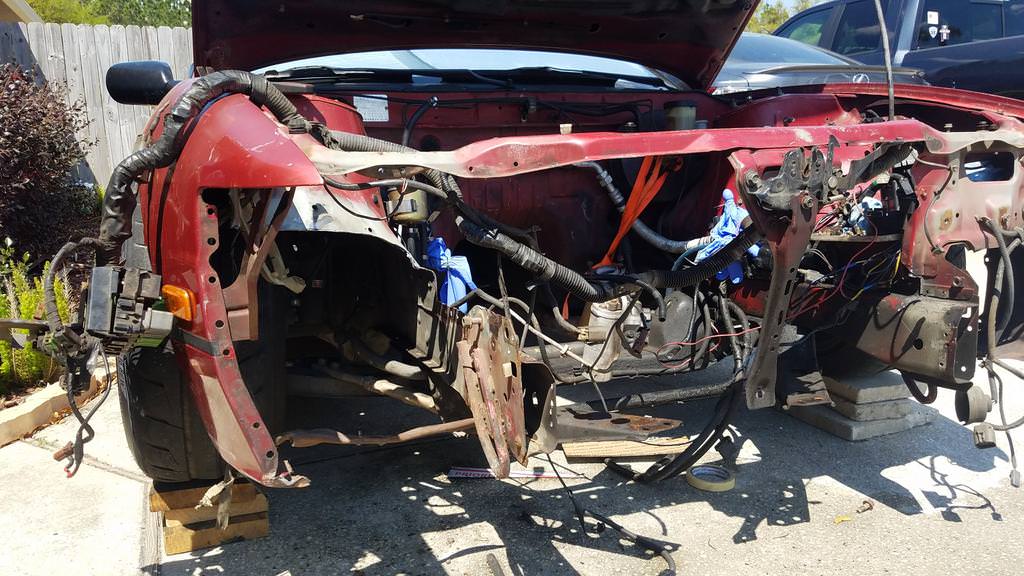 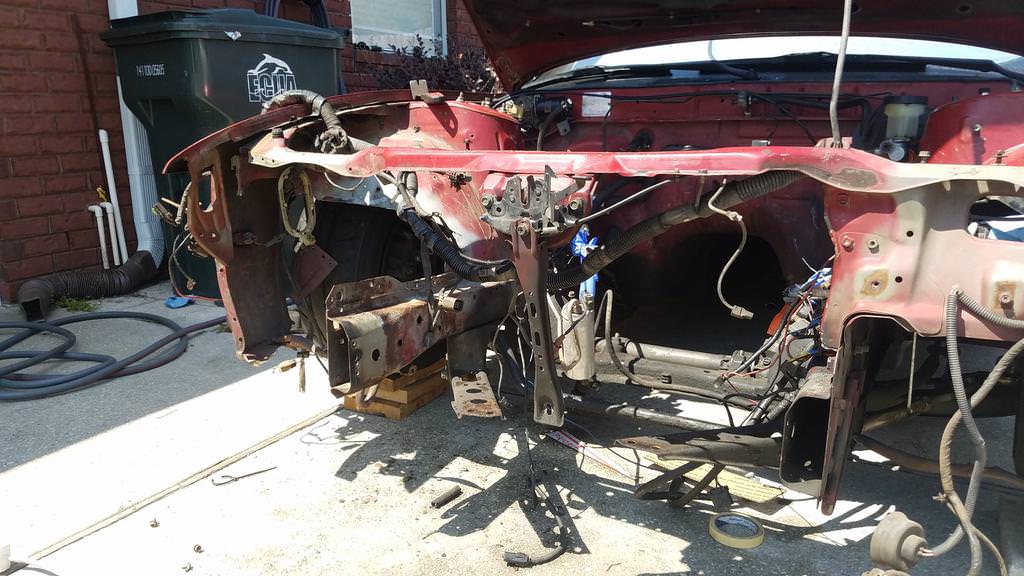 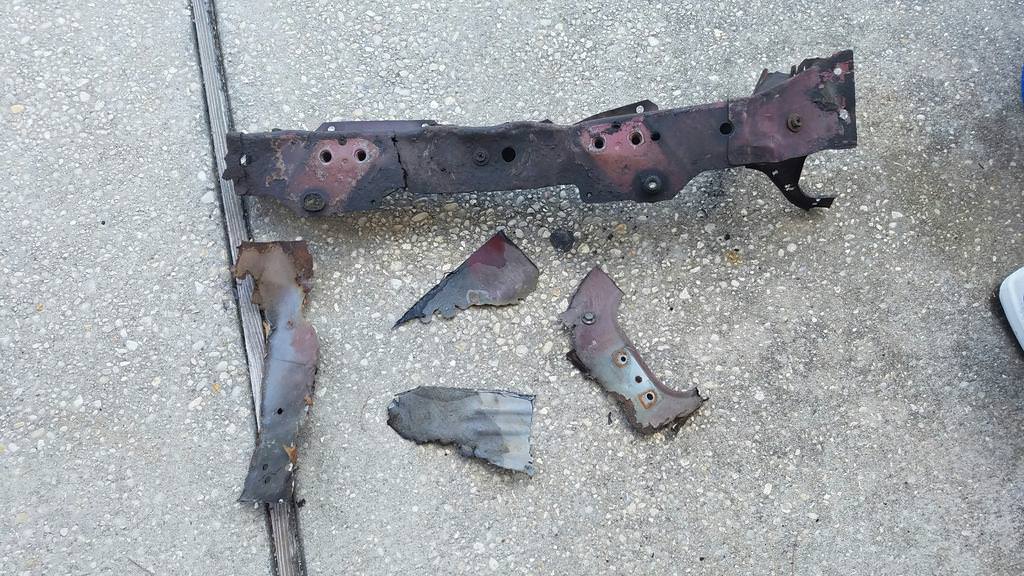 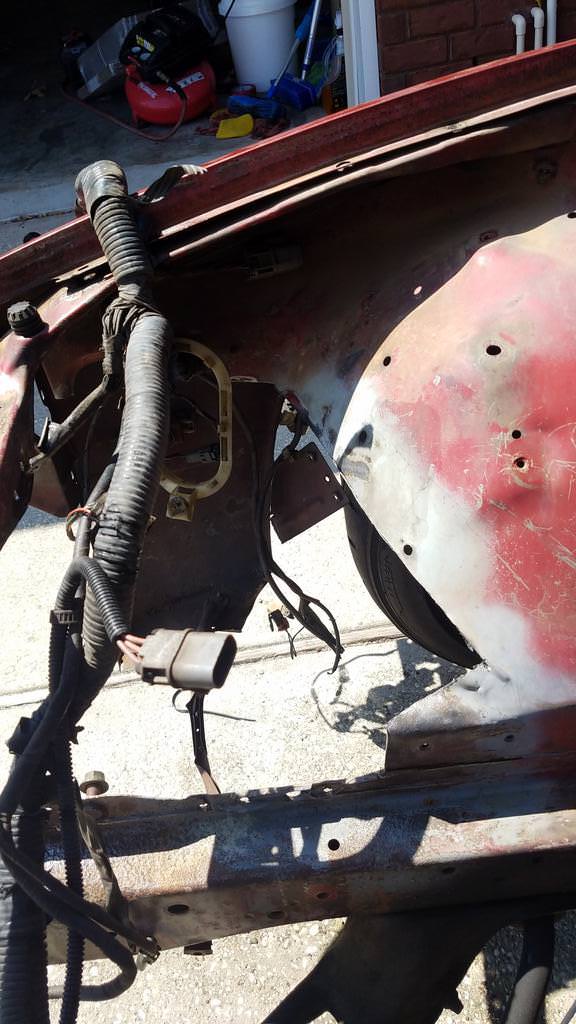 Had a friend come over with his welder and we put the new lower support in and boxed in the battery tray with some straight sheet metal. It wasn't the prettiest but it's functional and better than the giant hole that was previously there. I used some Duplicolor AH3 paint which actually matched decently. 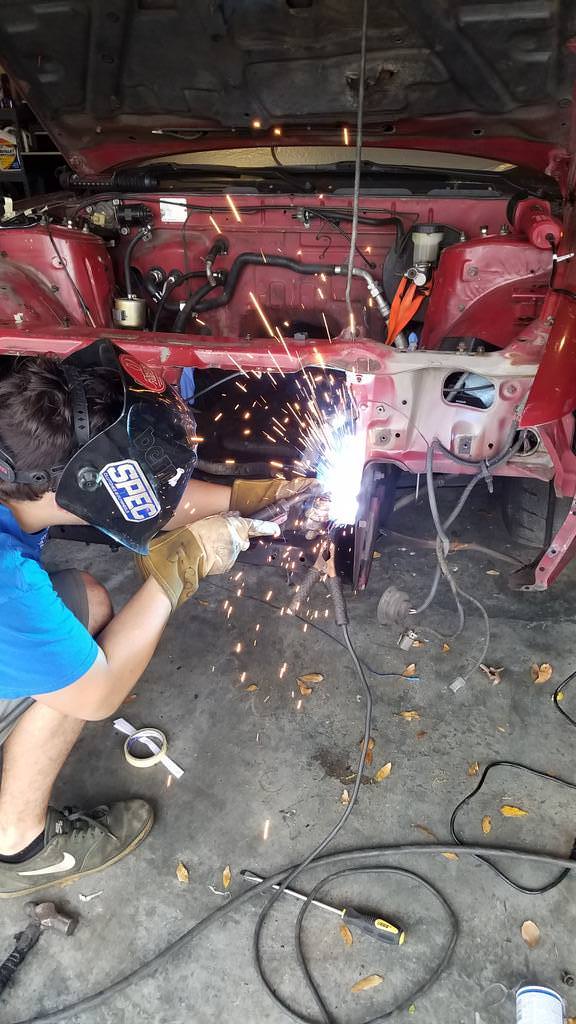 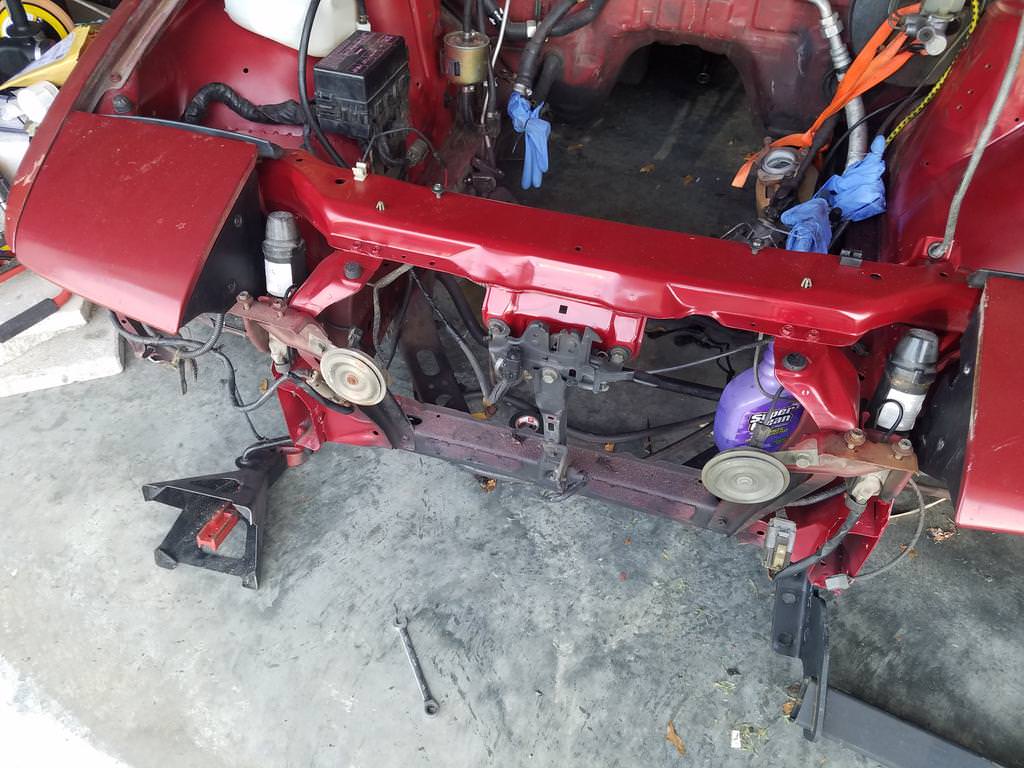 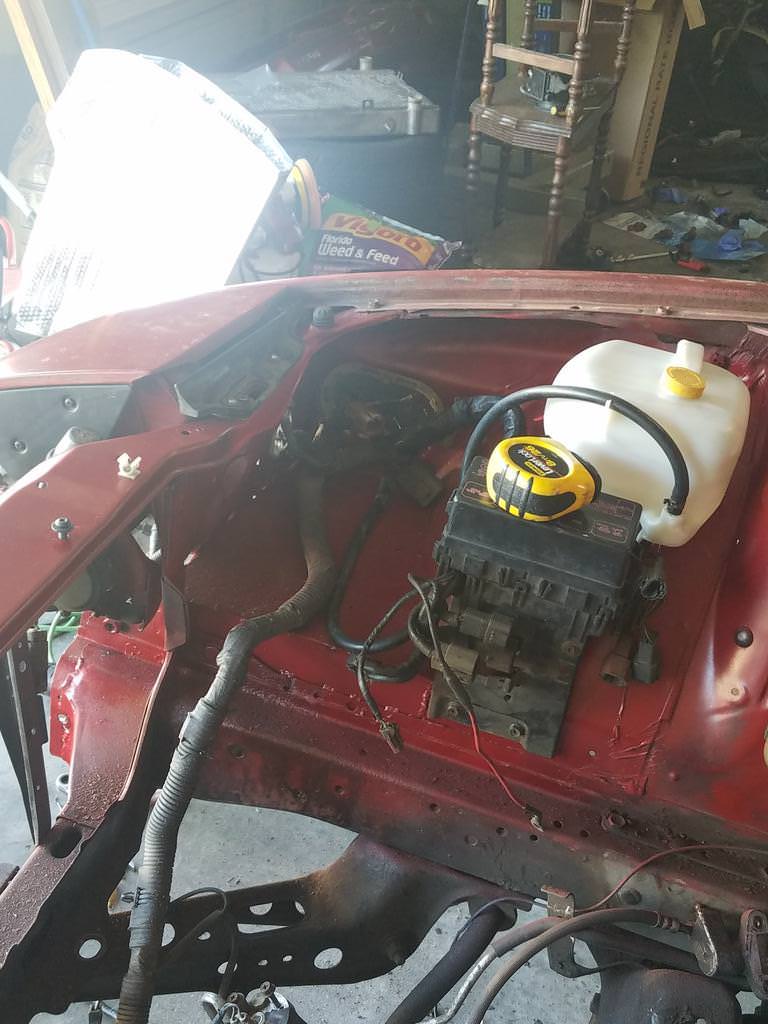 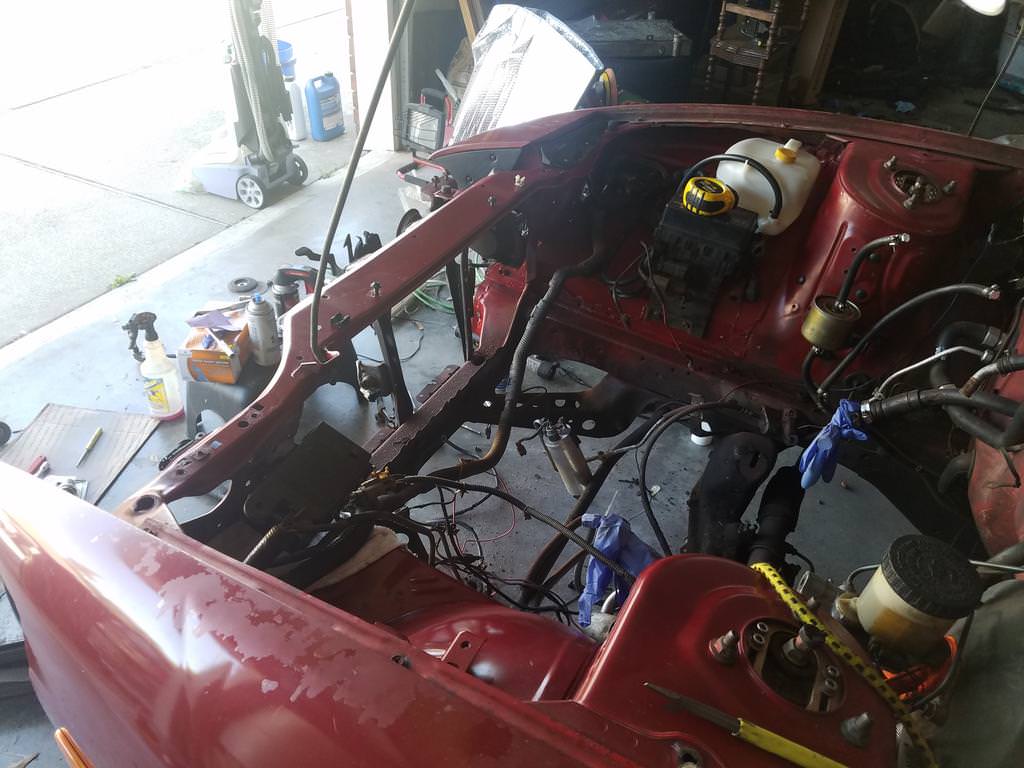 The front end matches up much nicer after doing this and I no longer feel uncomfortable raising the front end of the car. Back to the engine. I pulled the intake manifold off, replaced its gaskets and got rid of pretty much every vacuum hardline underneath. Popped the front covers off and put down fresh rtv. Installed a new Gates water pump and Nismo t-stat, front and rear main seals, as well as new belts. Like I said before, nothing major at all, just a little refreshen. With the turbo in place I started making the coolant/oil lines. 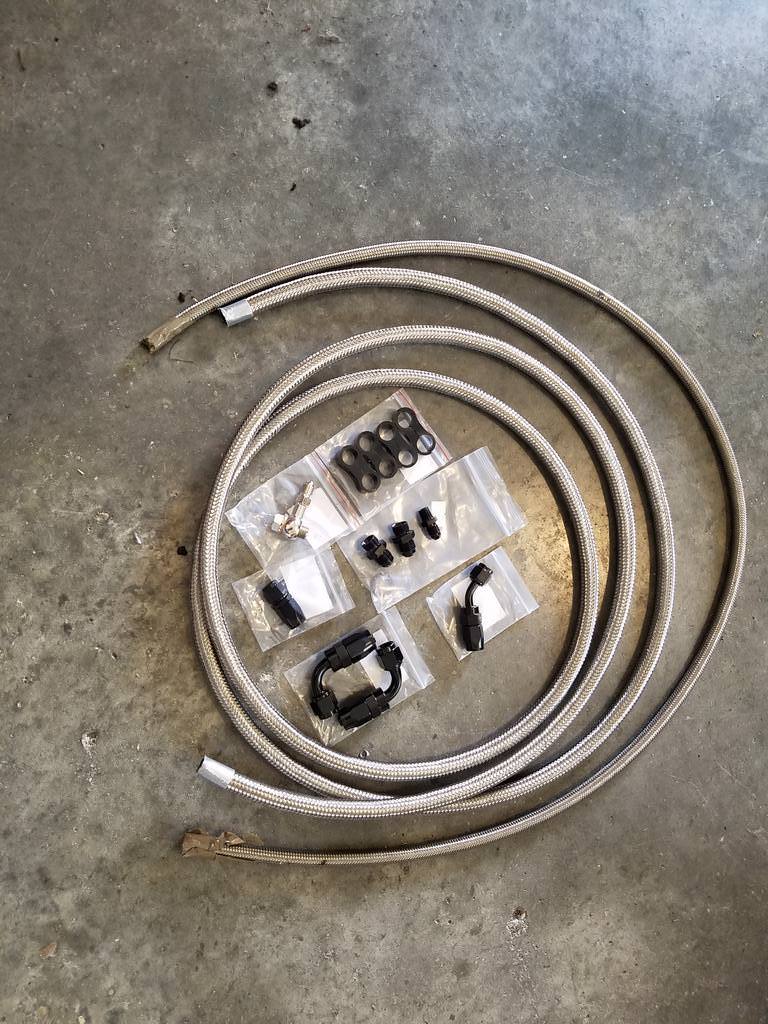 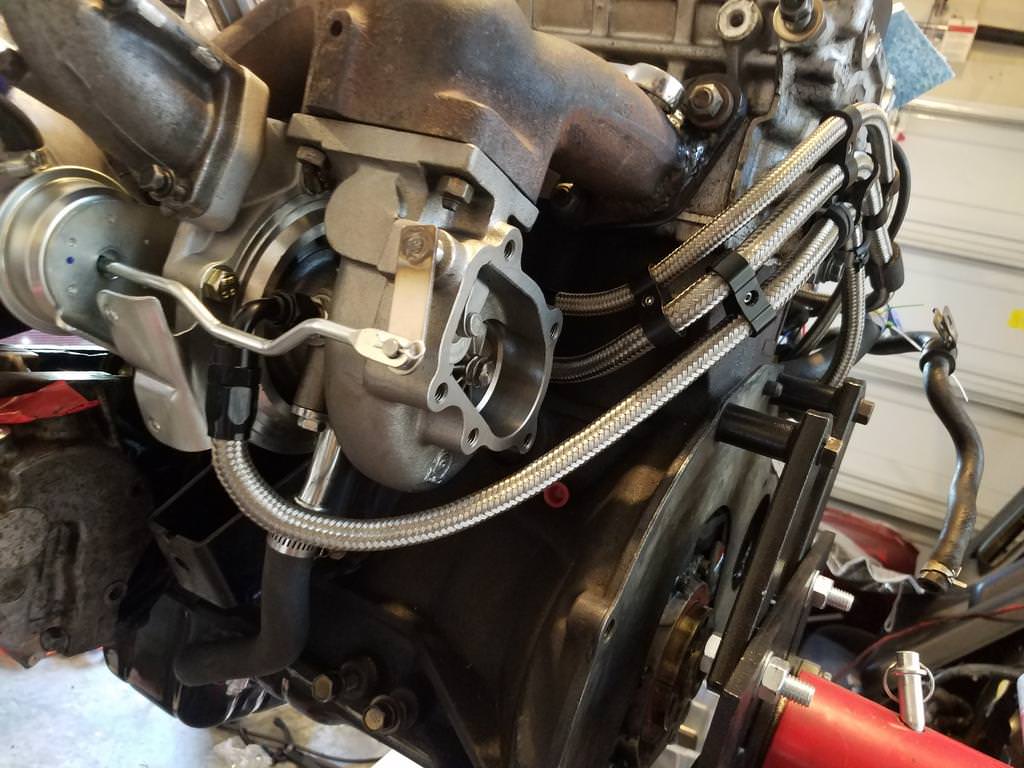 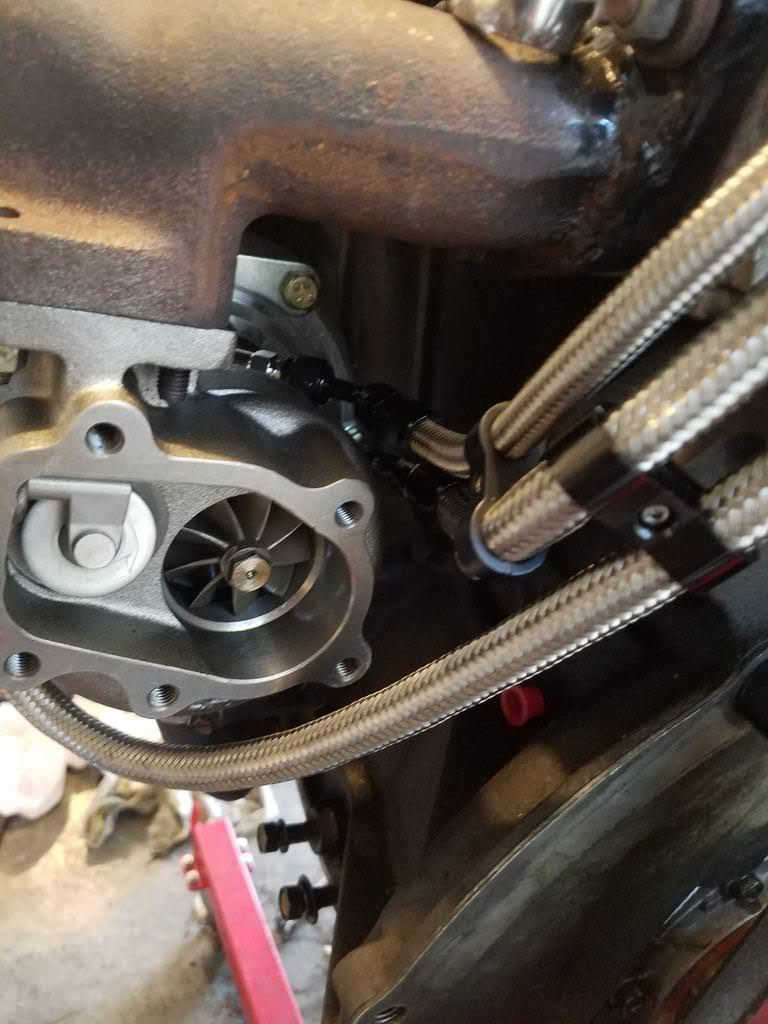 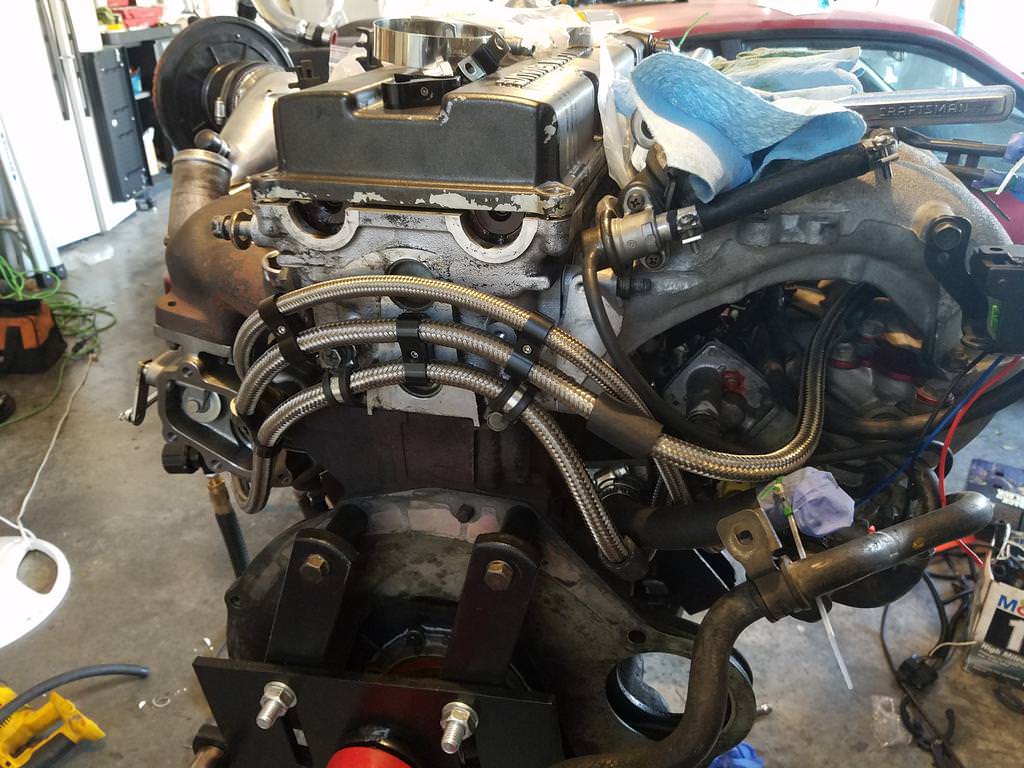 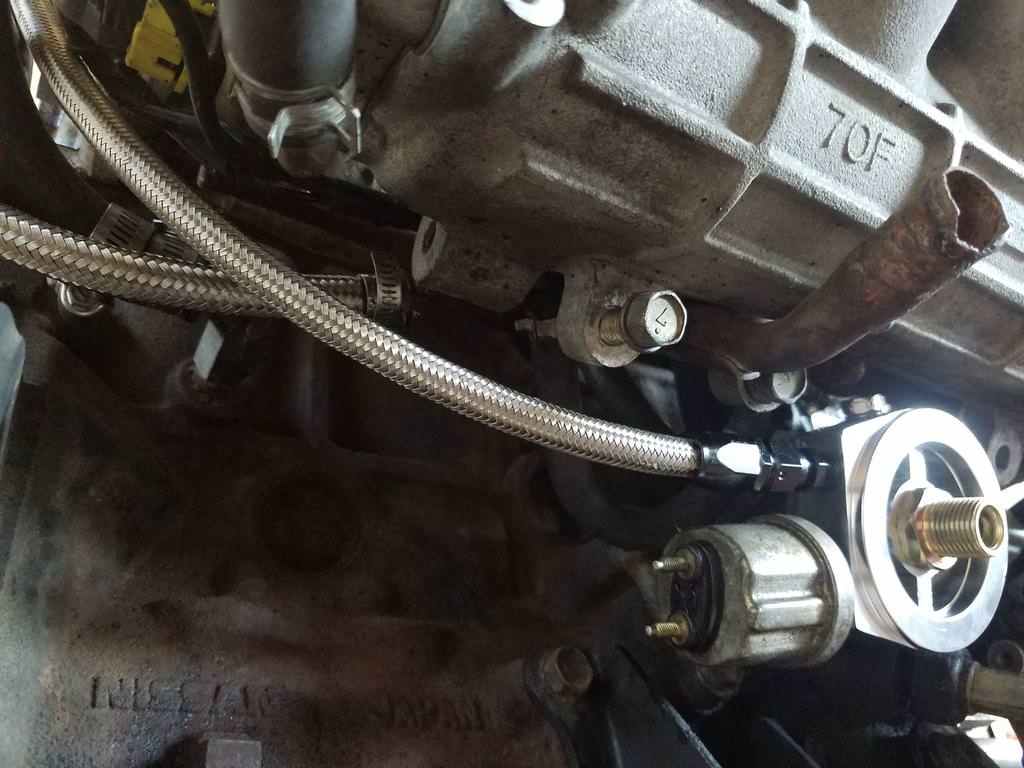 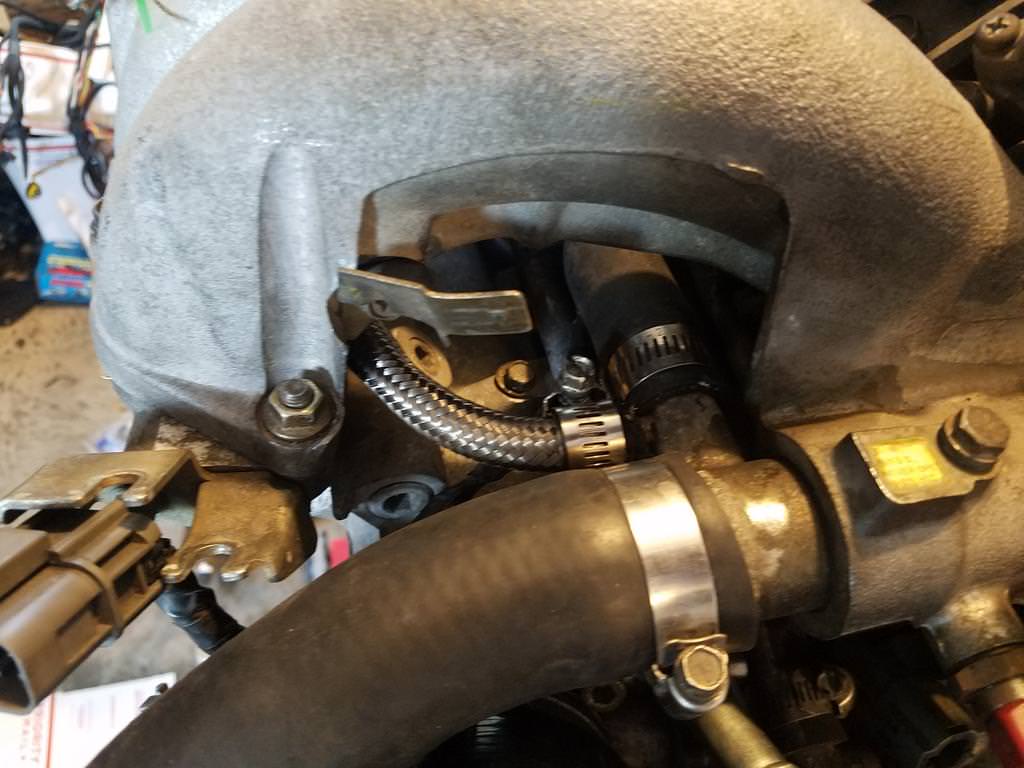 I did end up going back and putting heat shield on the lines around the turbo. I was really happy with how they came out. I also got the turbo drain line situated. I painted the oil pan and used rtv this time around instead of the felpro rubber gasket I used previously. 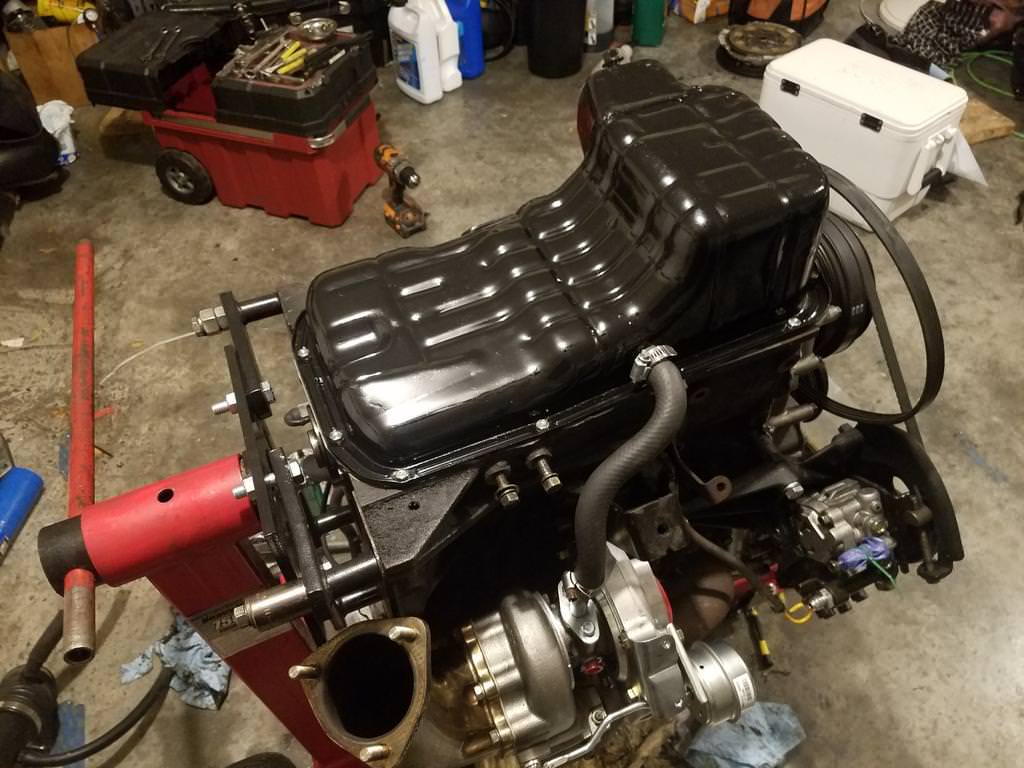 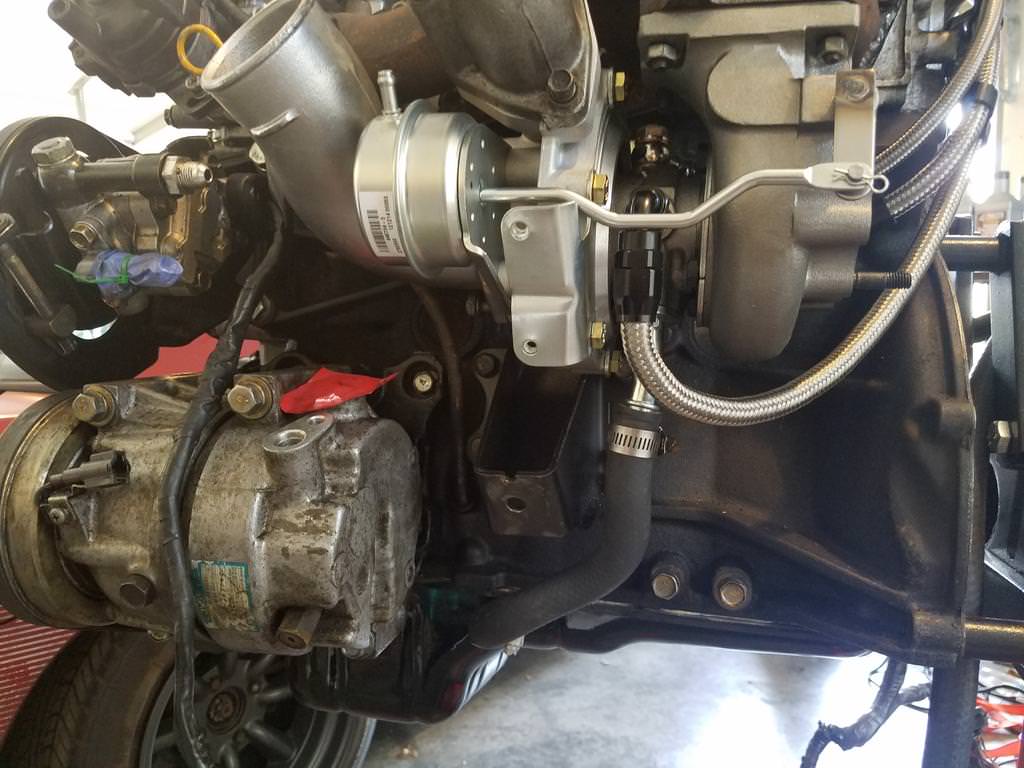 I was really happy that this setup clears the ac compressor perfectly. Next was wiring. This was a pain because I'm OCD. I needed to run a bunch of wires for the boost solenoid, iat, map, and oil pressure sensor. I wanted it to look factory so I deloomed the wiring harness and ran the wires along side it. Since the Omni 4 bar map sensor is a GM style, I got the bracket off a chevy in the junkyard and mounted at the back of the intake manifold. IAT: 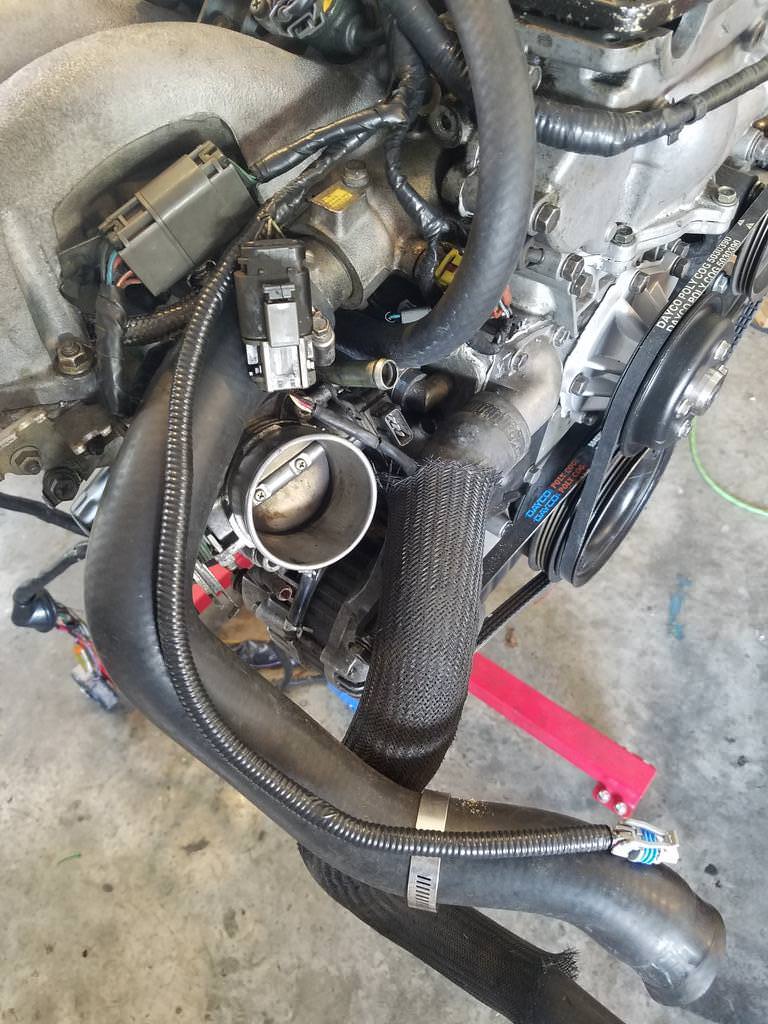 Map: 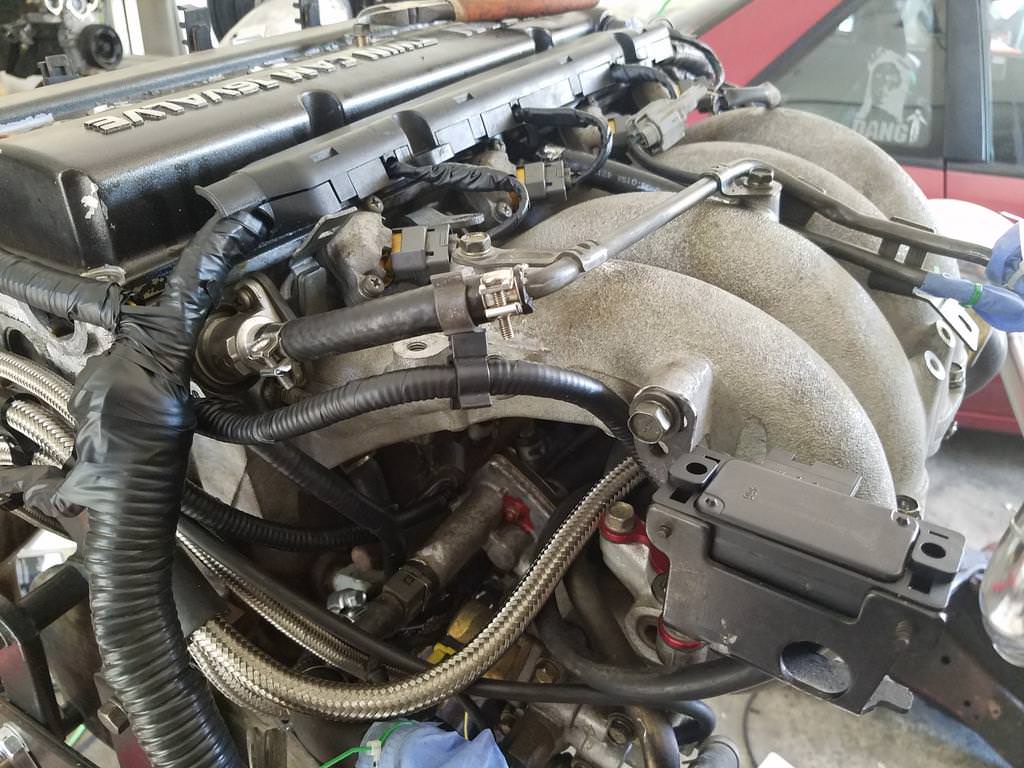 Boost Solenoid: 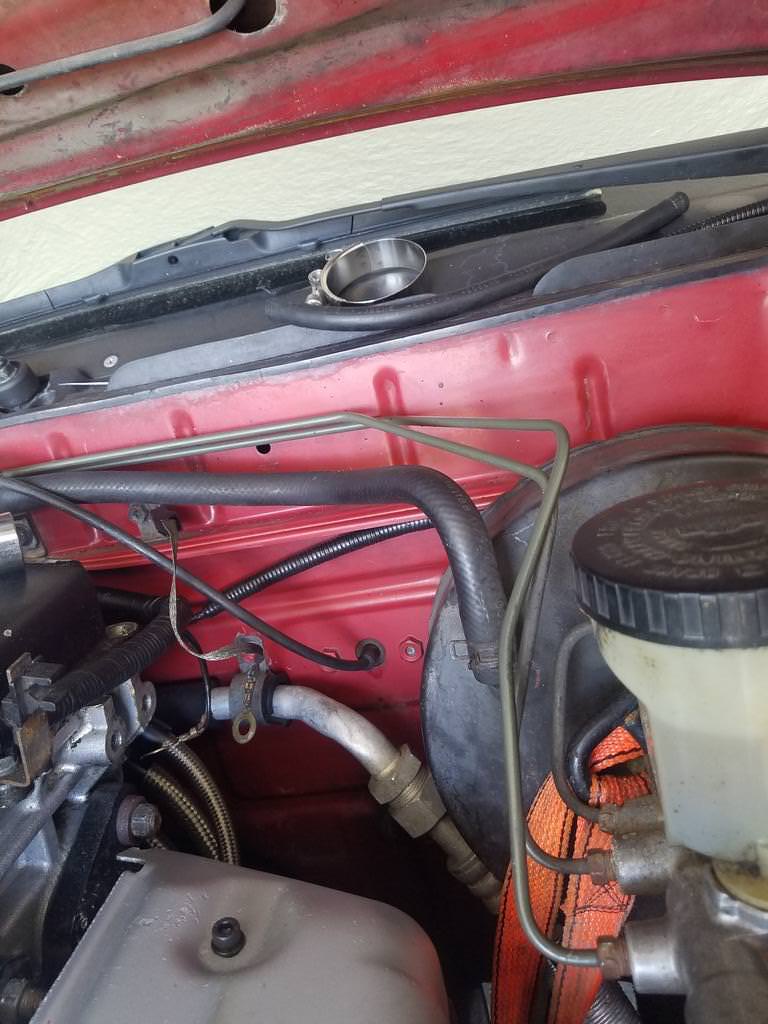 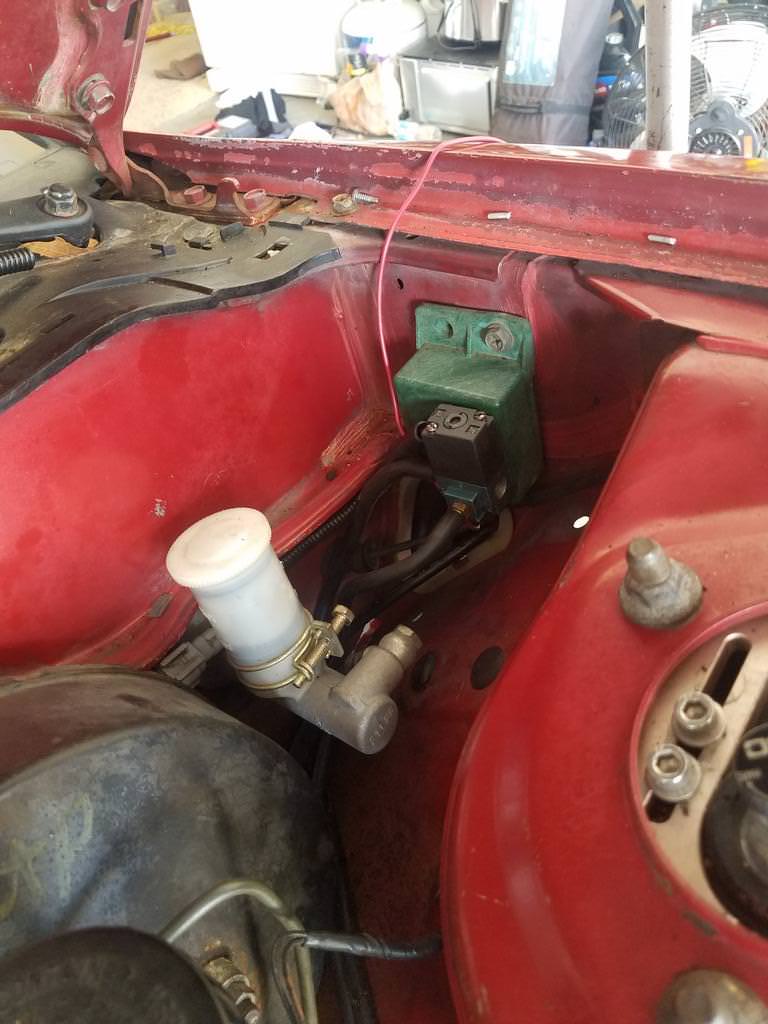 I ran these all back to the breakout box for the nismotronic. I popped in the STI injectors and wired in the new pigtails, and then decided to take a brass wire wheel to the intake. 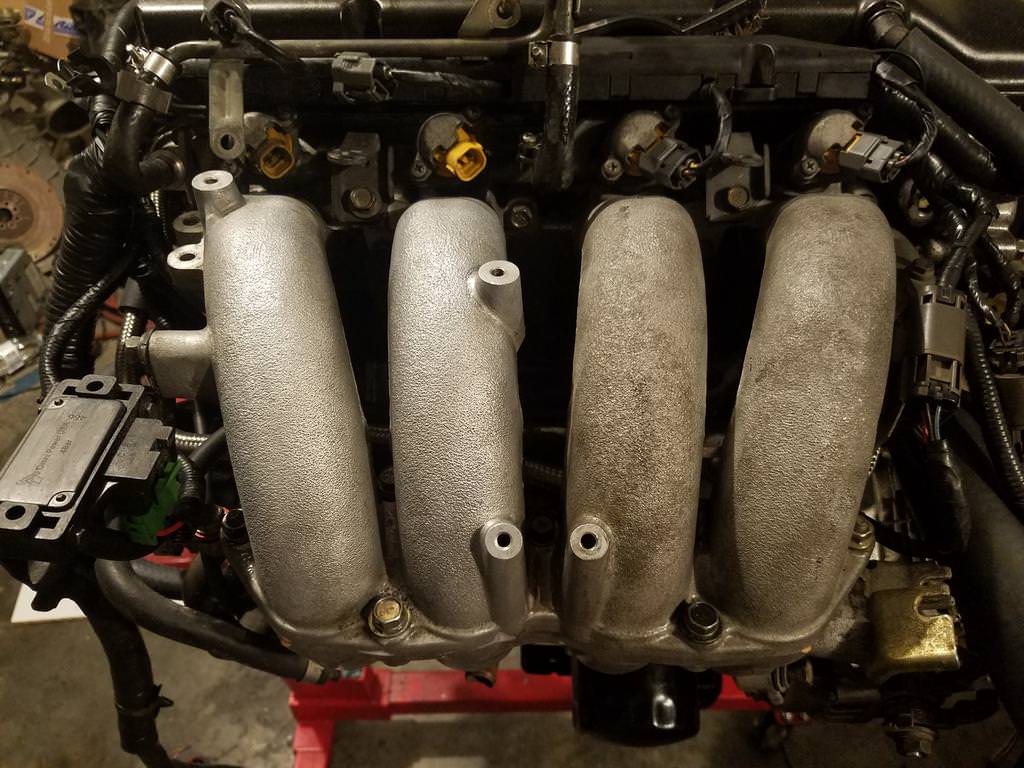 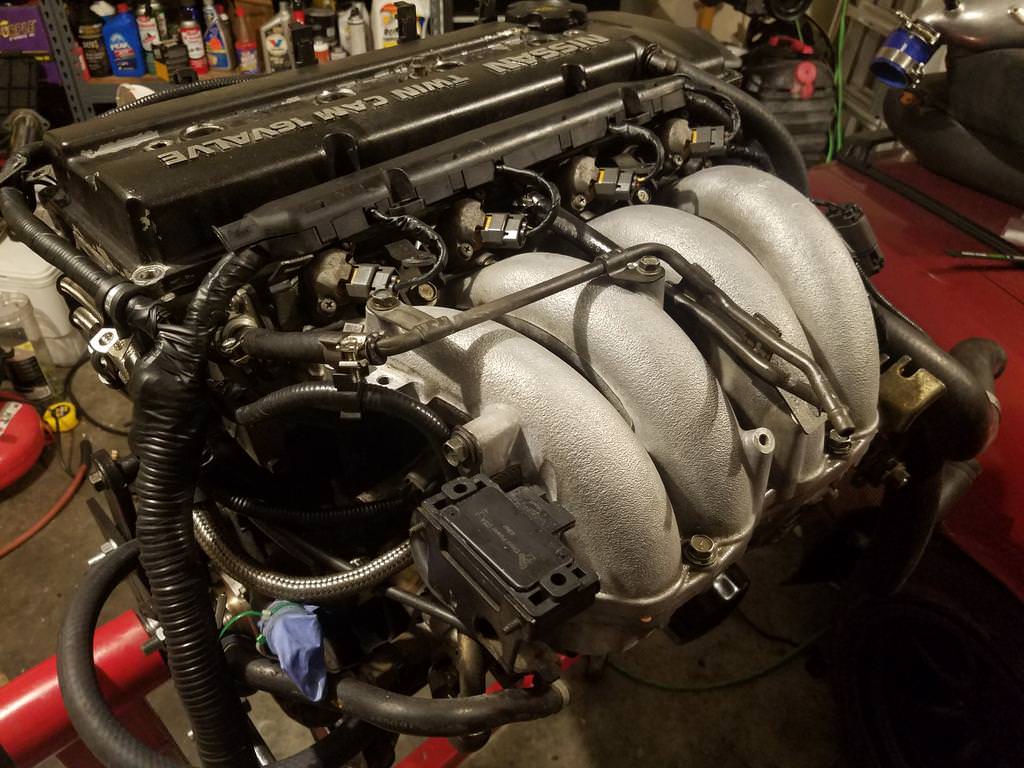 Also threw in a new filter on the HKS intake and test fitted it with the new s15 inlet pipe. 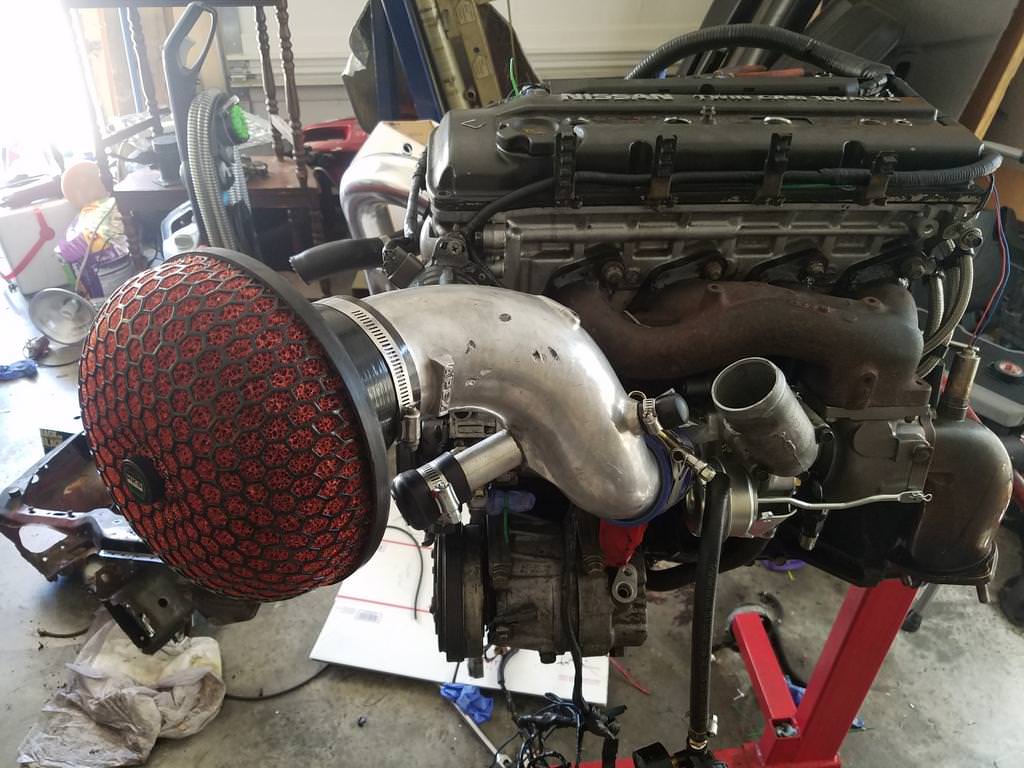 I didn't pictures but I also switched my trans out. The old SR trans was getting to be near impossible to downshift into 2nd and was also hard to get into 3rd while drifting. I got another SR trans, switched the bellhousing over and put on a fresh gasket for the front plate, along with a new Koyo throwout bearing and oem pilot bushing. This is the first throwout bearing I've had that doesn't whine. I was also pleasantly surprised to find that the Clutchmasters fx300 I had been kicking for the past 2 years had a tremendous amount of life left on it. With that, the motor was ready to go back in the car. 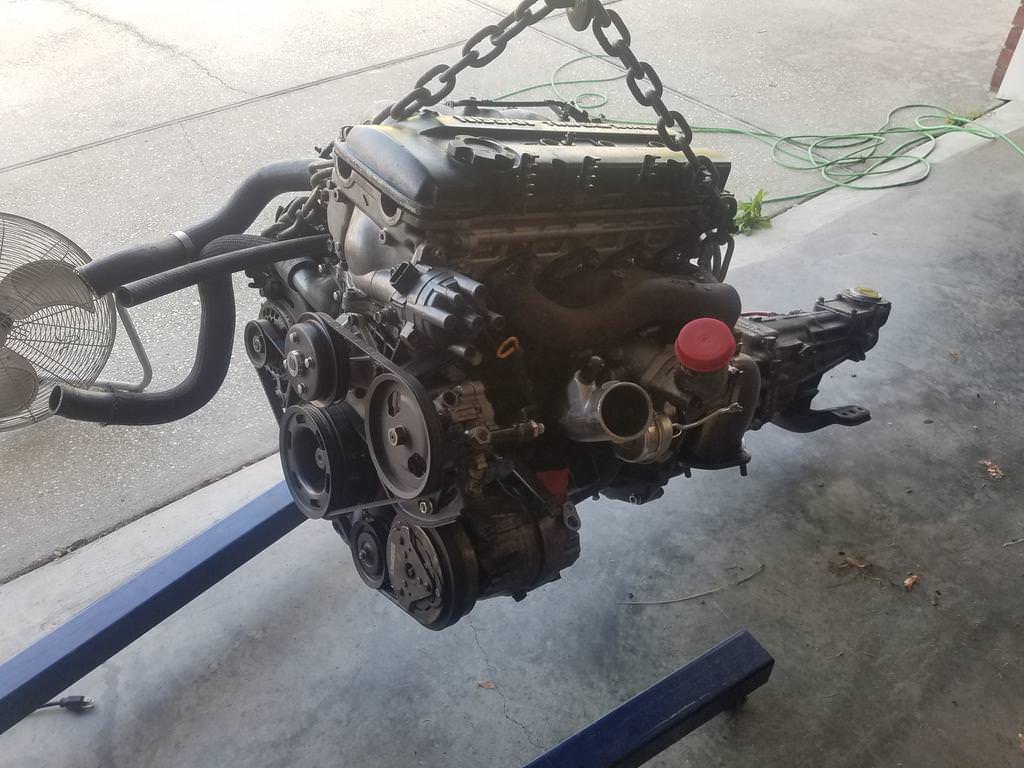 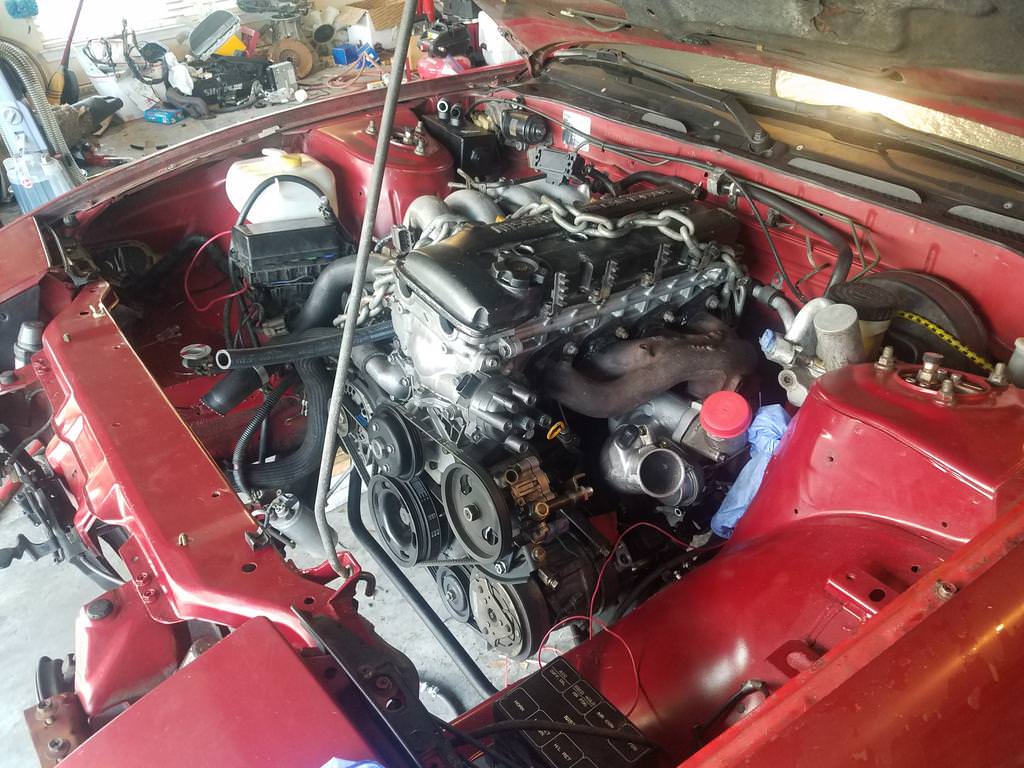 Getting it in was kind of a pain with the Megan motor mounts. I assume this is because it raises the motor about an inch, which I was happy about so no biggie. Once I got the new s15 outlet elbow in, I could start on the intercooler piping. On my old s14 I missed by a long shot on cutting the hole for the cold pipe and was left with a large, ugly hole. I didn't want to do that again so I took my time and created a mold using piper and tape, and spent a dumb amount of money on some good hole bits for metal. Came out nice though. The passenger hole is egg shaped because there was already a hole there, but not in the right spot. Also important to note that I used s14 SR piping with an s13 SR cold pipe that I already had and a CX core I already had. 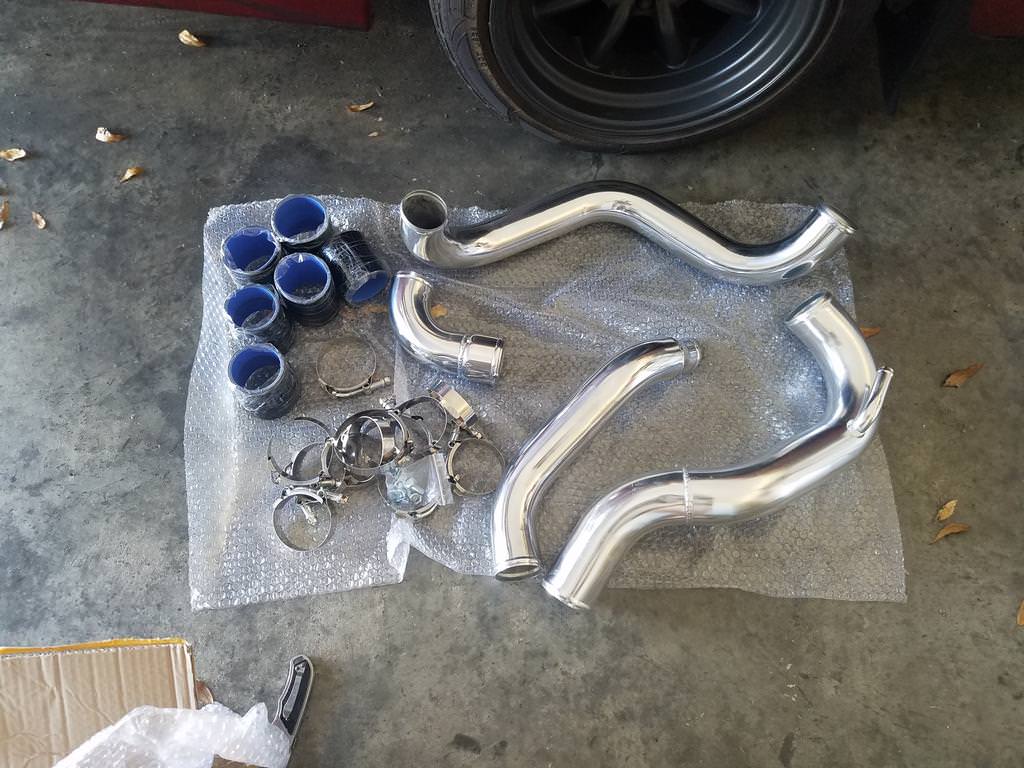 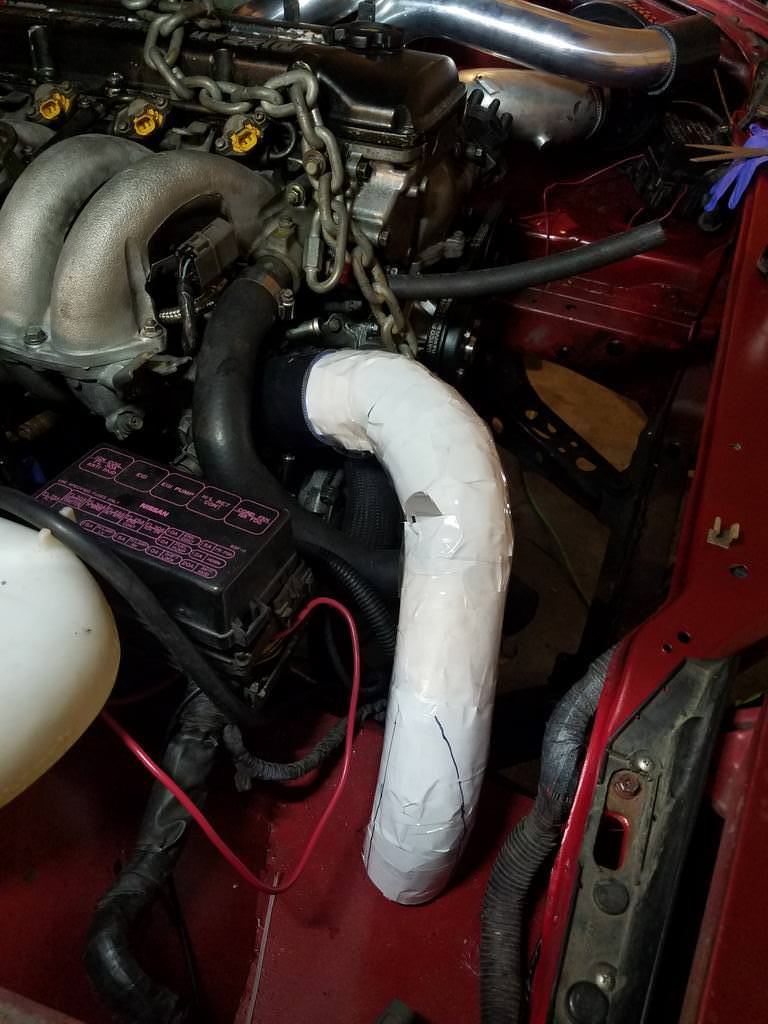 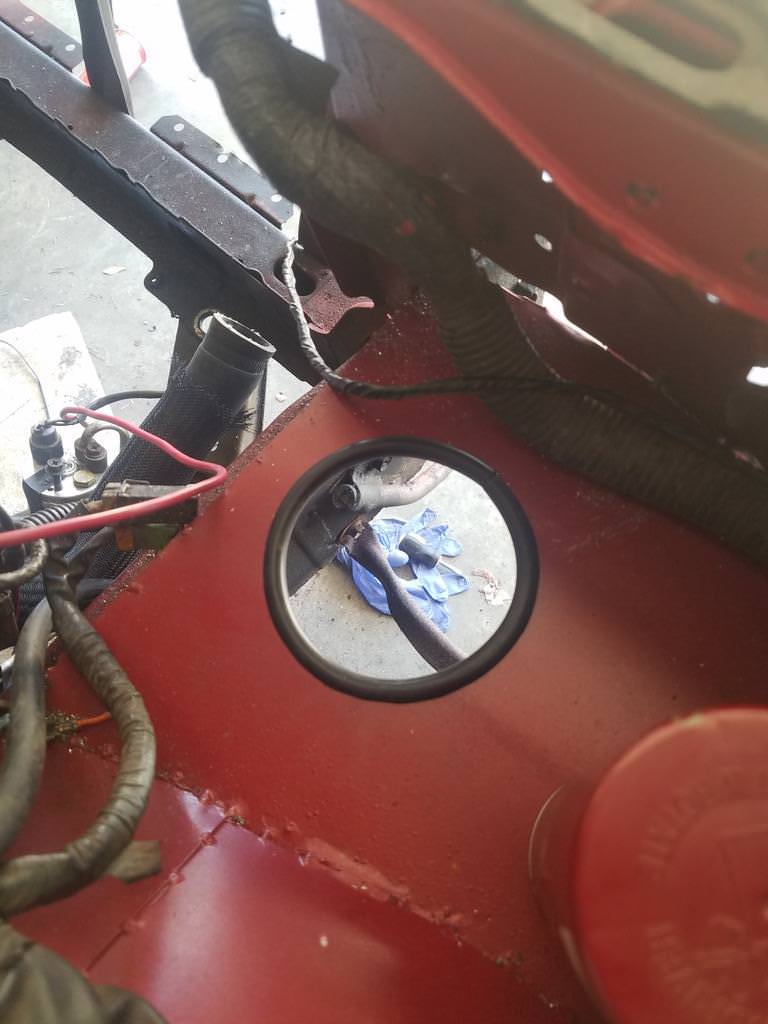 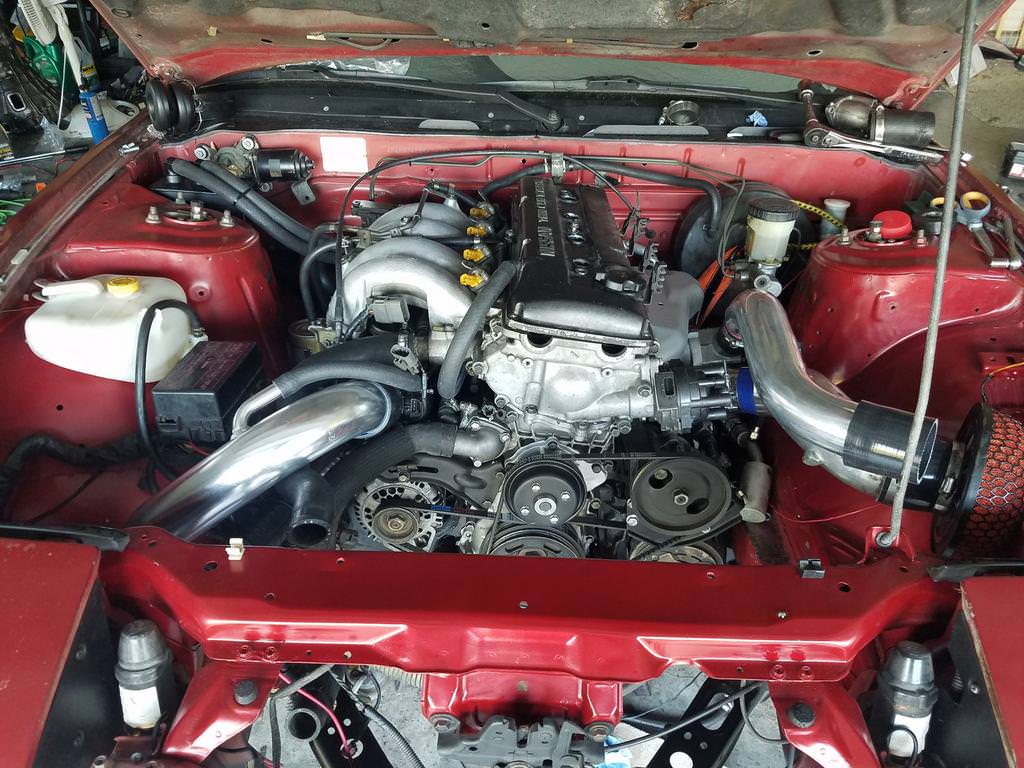 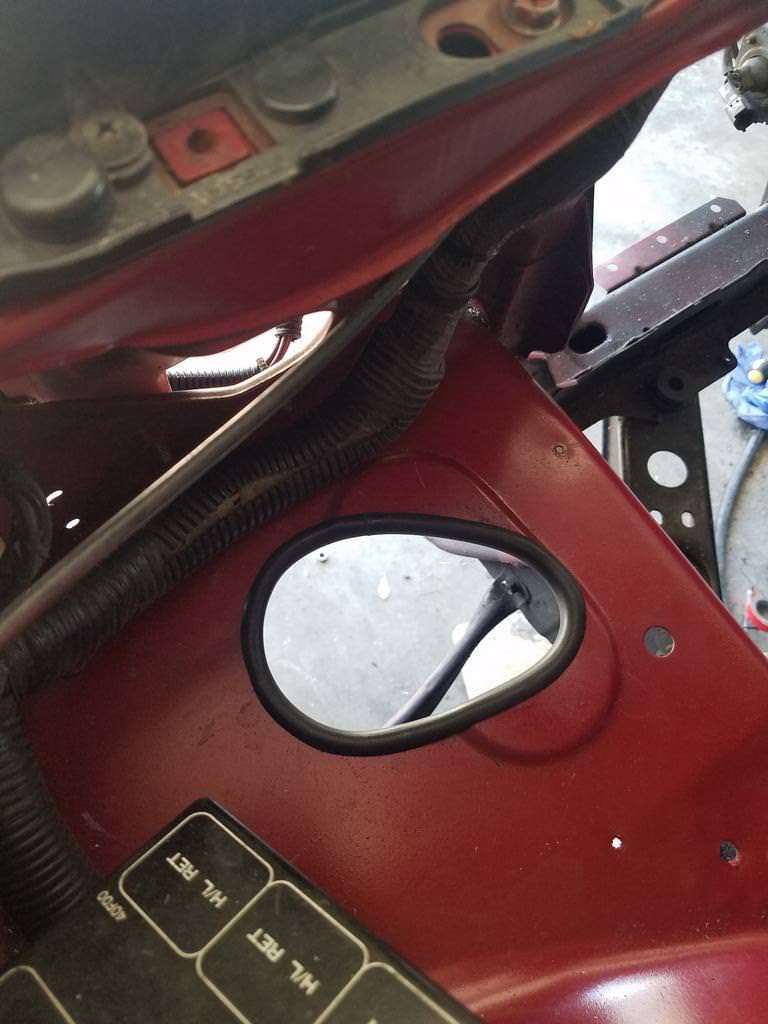  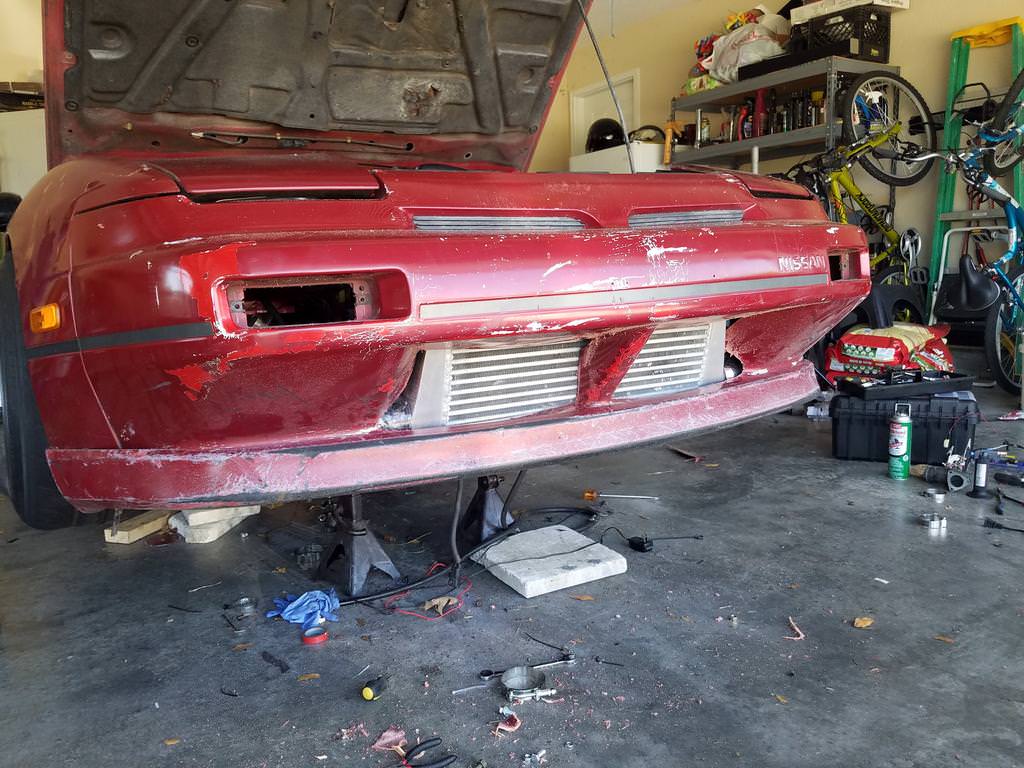 Got the iat bung welded on and the radiator setup back in 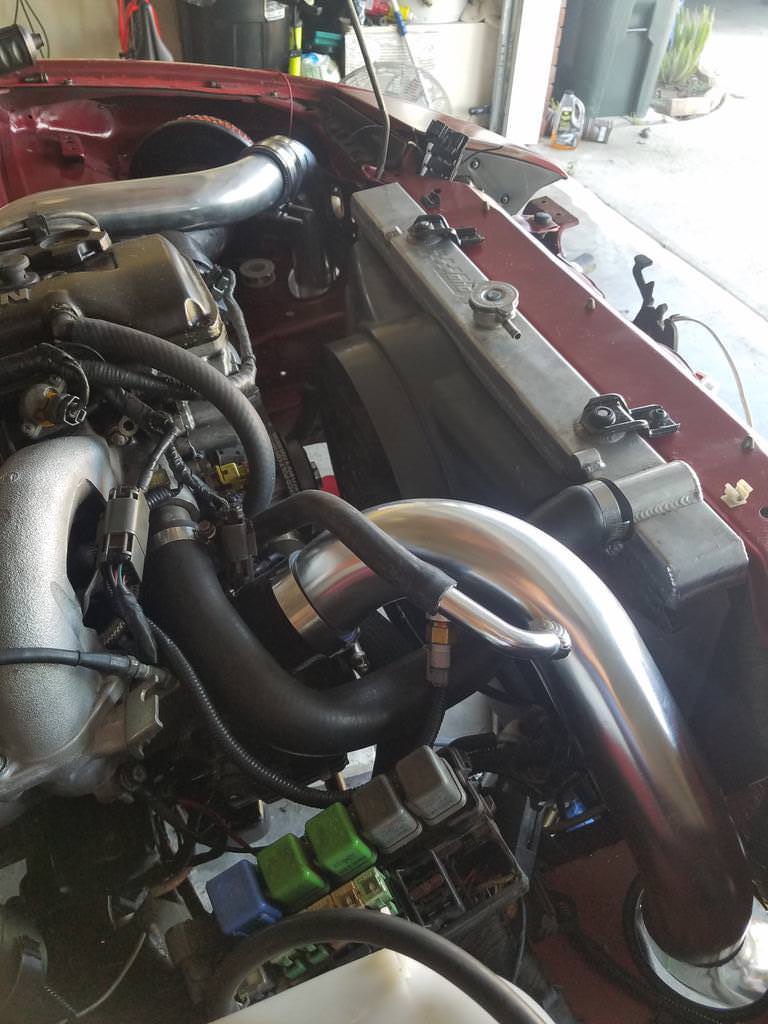 For the oil catch can, which I completely forgot about til the motor was back in, I picked up a universal on off eBay. It was made to sit up right with a big filter on top. I decided to mount it on its side where the cruise control solenoid sits. I had to buy 2x 10AN 90* to 3/4 barb adapters, a 12AN cap to replace the drain thing it came with, and for the folter(which is pointed outwards), I just got some black filter material and wrapped it around it. You have to be really looking to see it. 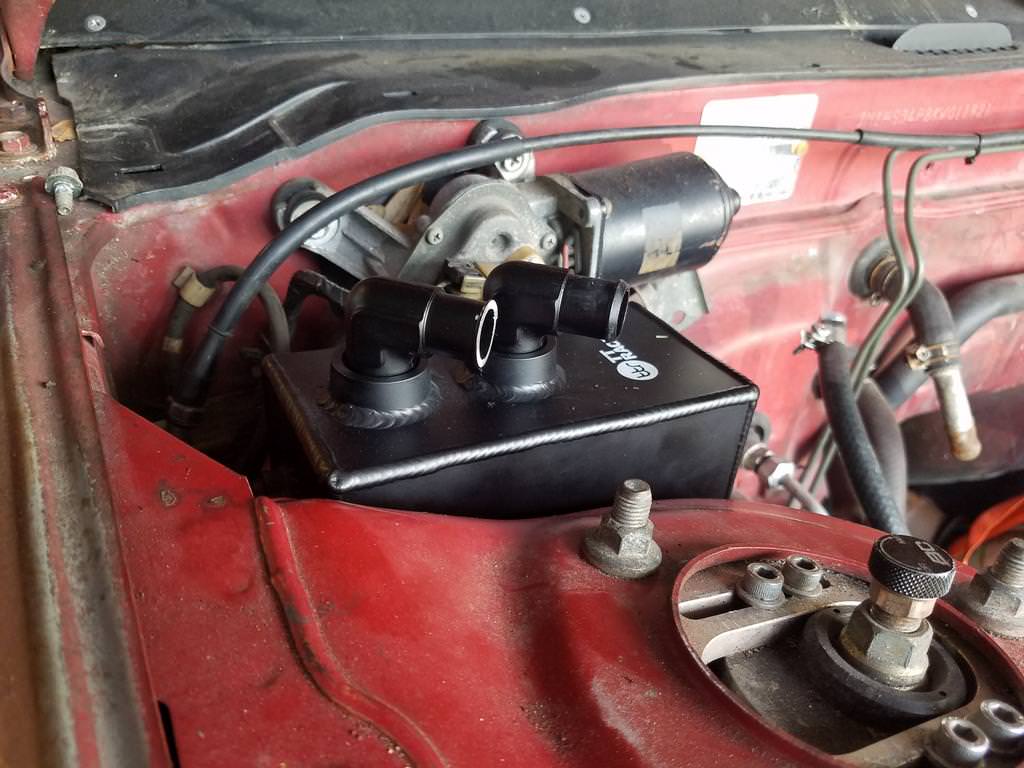 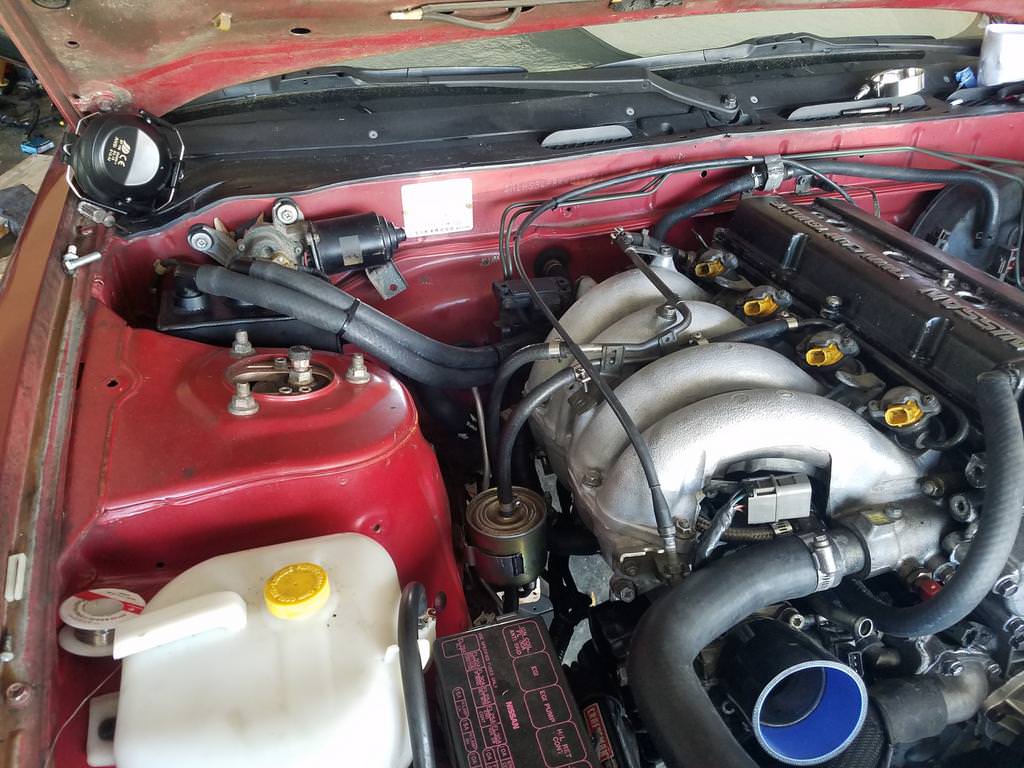
__________________

|
|
|

|
|
|
#24 |
|
Nissanaholic!
 Join Date: Jan 2009
Location: Definitely NOT FL....
Age: 29
Posts: 2,491
Trader Rating: (25)
          Feedback Score: 25 reviews
|
At this point the car was almost done. I rewired the cooling fan into the passenger side fuse box and the ignition coil to the drivers side box for an oem look, then printed off some labels.
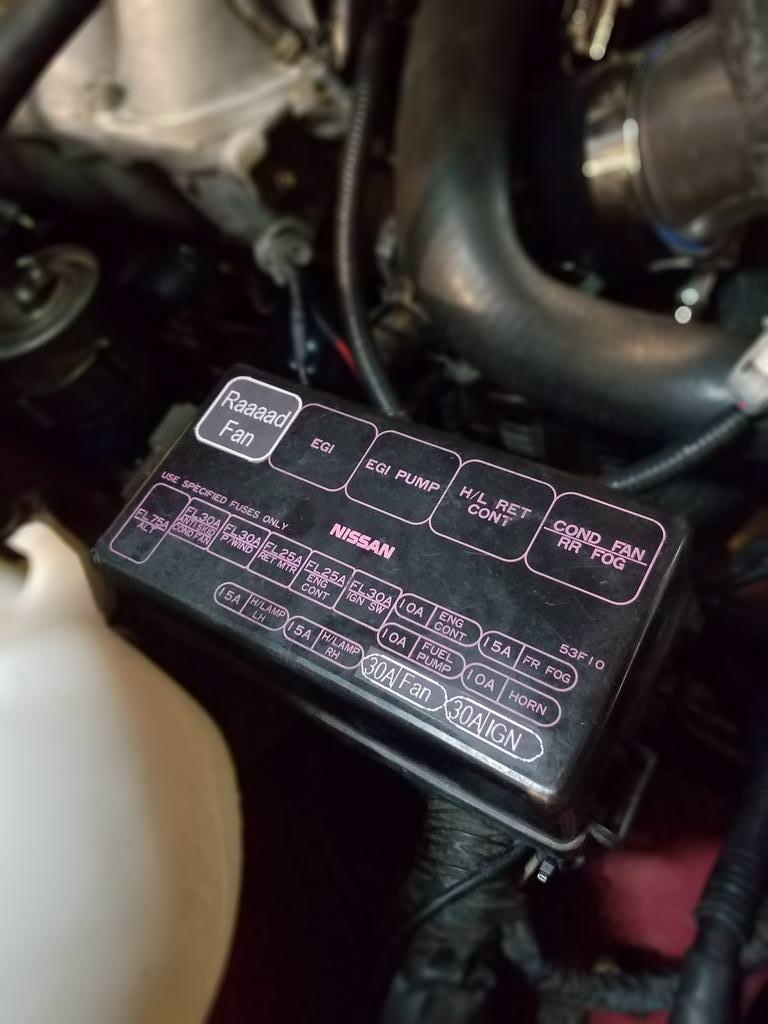 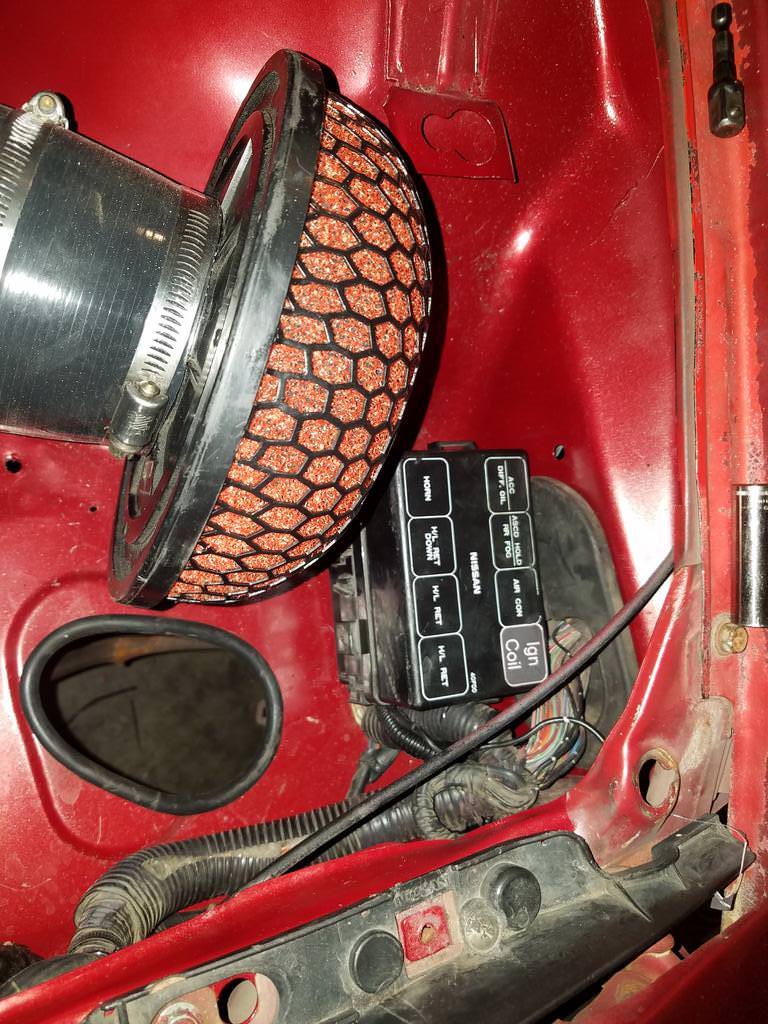 I decided to paint the intercooler core black and trimmed as little as possible to fit the crash support over it. The core is secured with 4 brackets and is as solidly mounted as it can be. That said, I have a Greddy core that I will be installing at some point. I need to get it patched and painted. 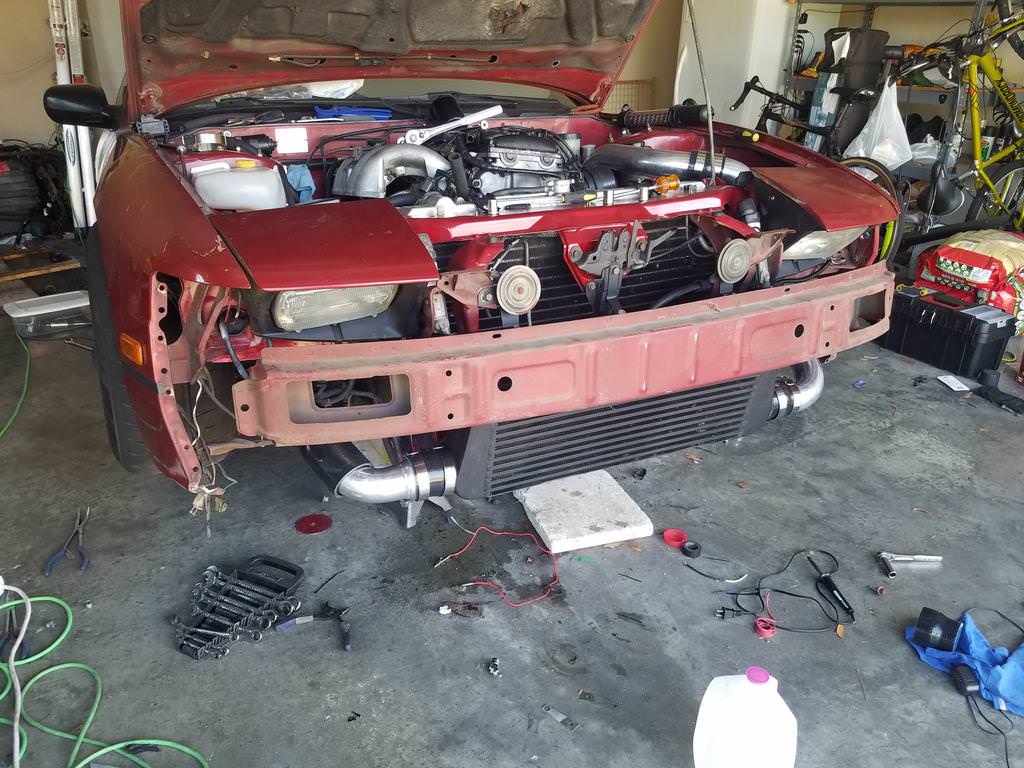 As I said before, I didn't want to run gauges. That was a big selling factor on the Nismotronic, being able to run gauges on tunerview on my phone. Unfortunately, to run the wideband to the ecu, I still had to have it hooked up and running. So I decided to mount it in the glove box all stealth like. 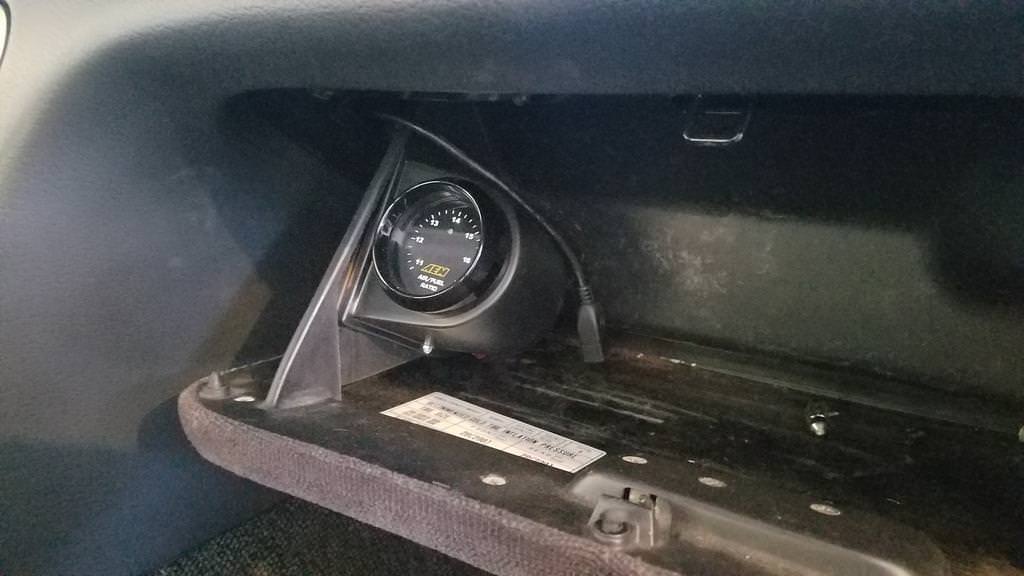 Now the car was ready for fluids. For the oil, I kept the Rotella 15w-40 w/ Wix filter I had been running for 3 years. For coolant I went with 50/50 and a bottle of water wetter. I changed it up on the trans fluid. I have always run Pennzoil Synchromesh with good luck. I was going to try Redline but didn't like how it shifts really hard when cold. So I picked up some Amsoil fluid and what a difference it made. With every penny of the $16/qt.  The car started right up and I was able to drive it around the block. It was now June/July so it had been a few months since I had driven it. 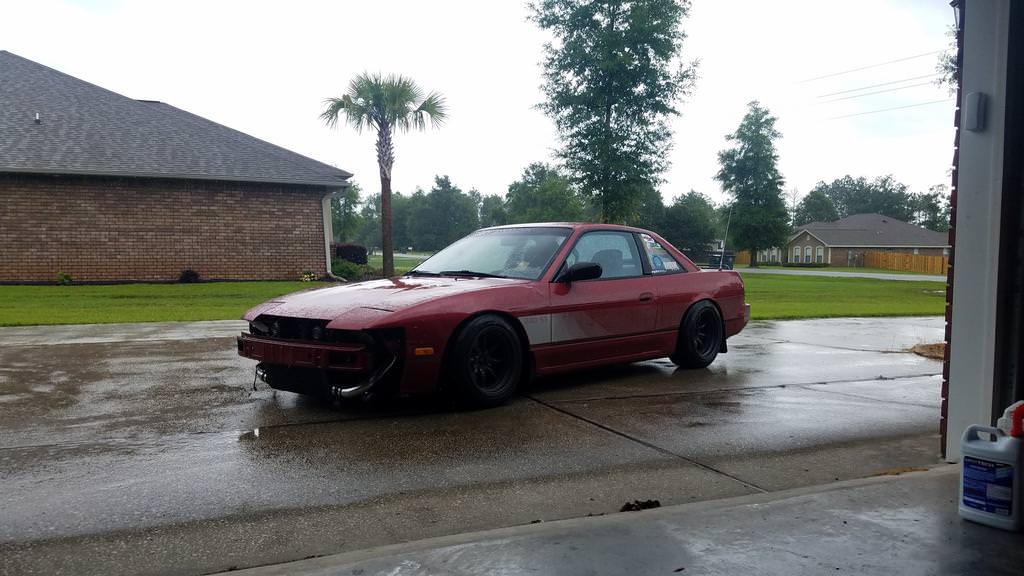 With that, the car was almost ready to hit the dyno. I decided to trade out the C's short shifter for a Tomei shiter. Put on a brass bushing and new rubber boot. 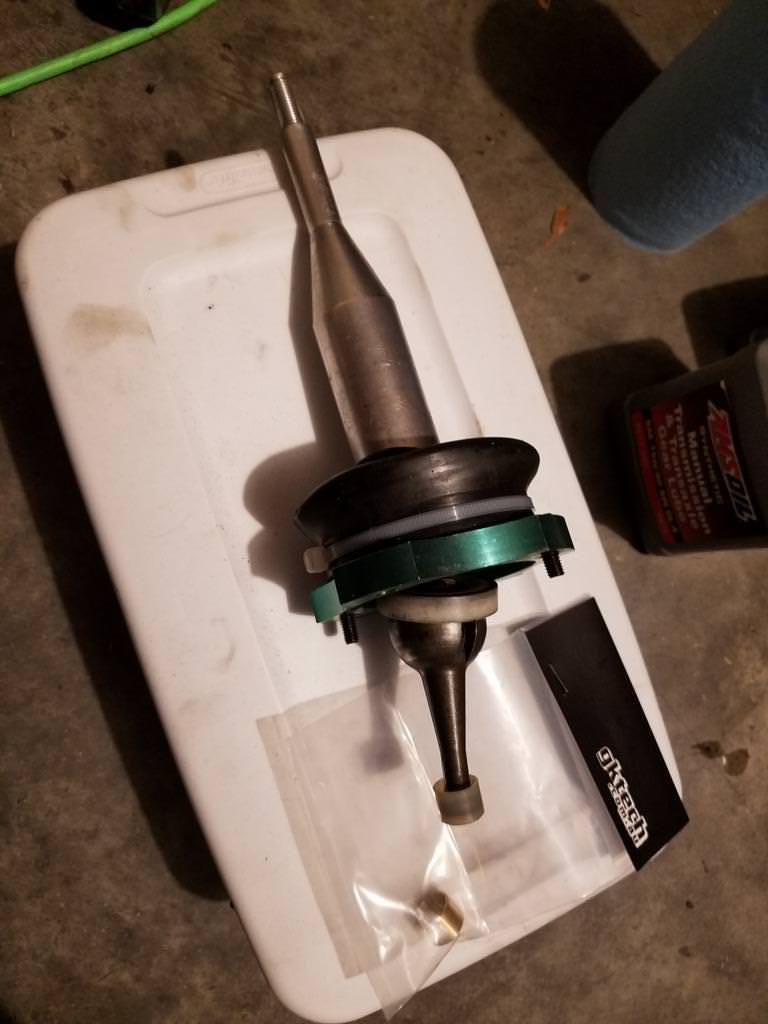 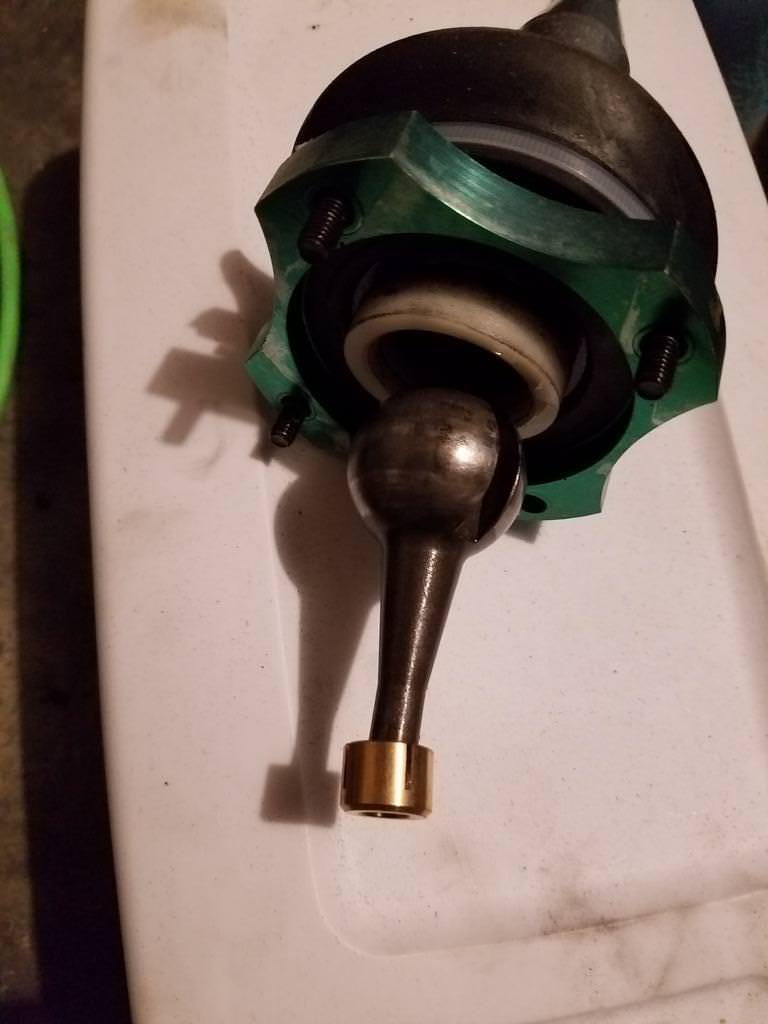 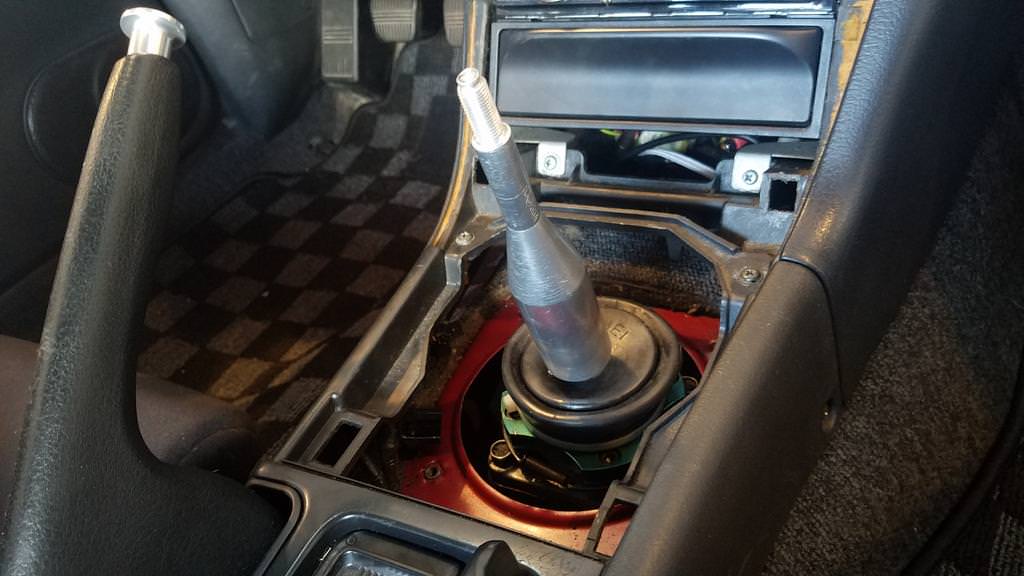 And lastly, I put the finishing touch on the engine bay. If you remember, I had a member here hydropdip my SR valve cover in woodgrain. I wanted to keep the theme alive so I hit him up and sent the KA cover to be done, and it came out rad. 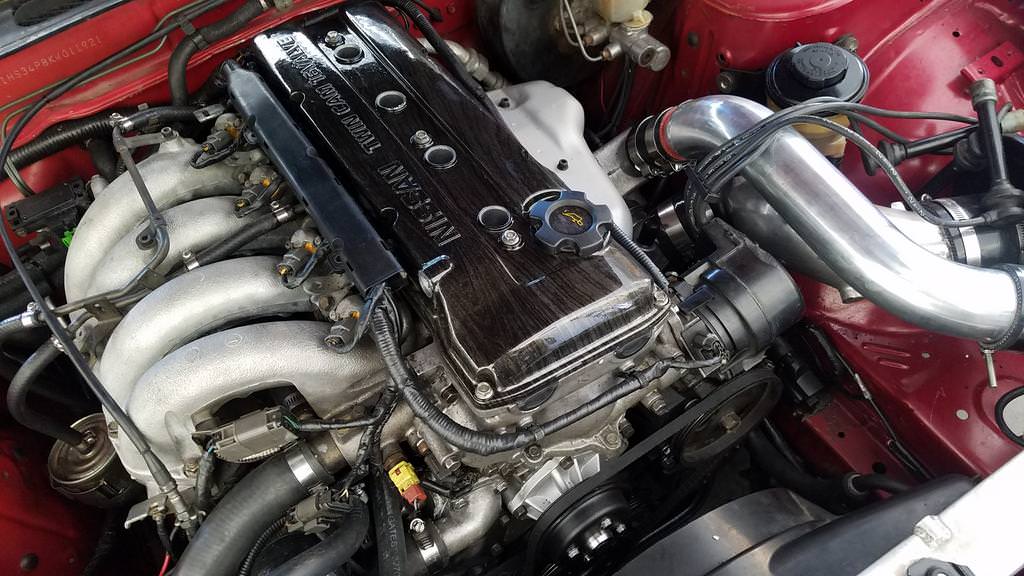 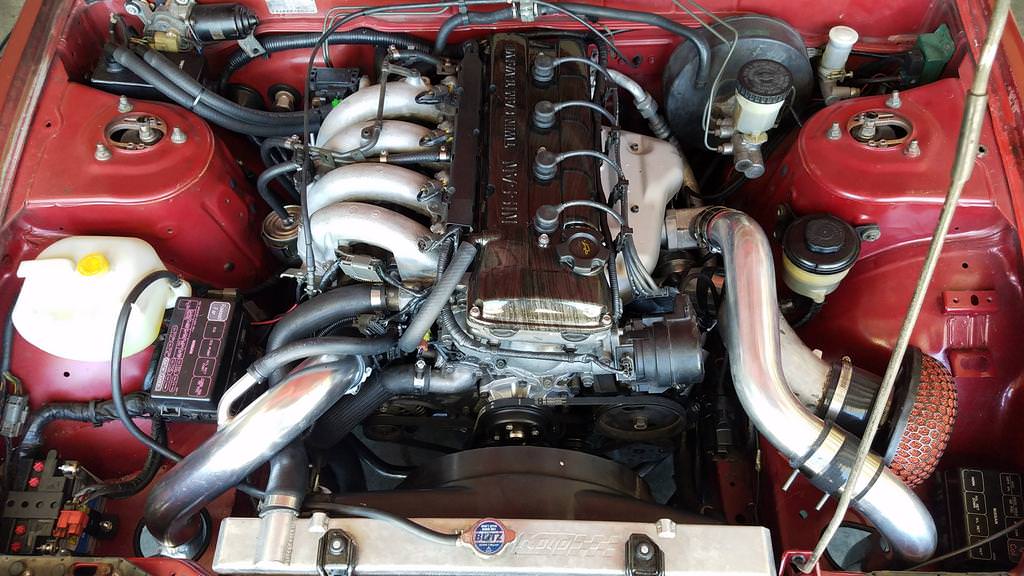 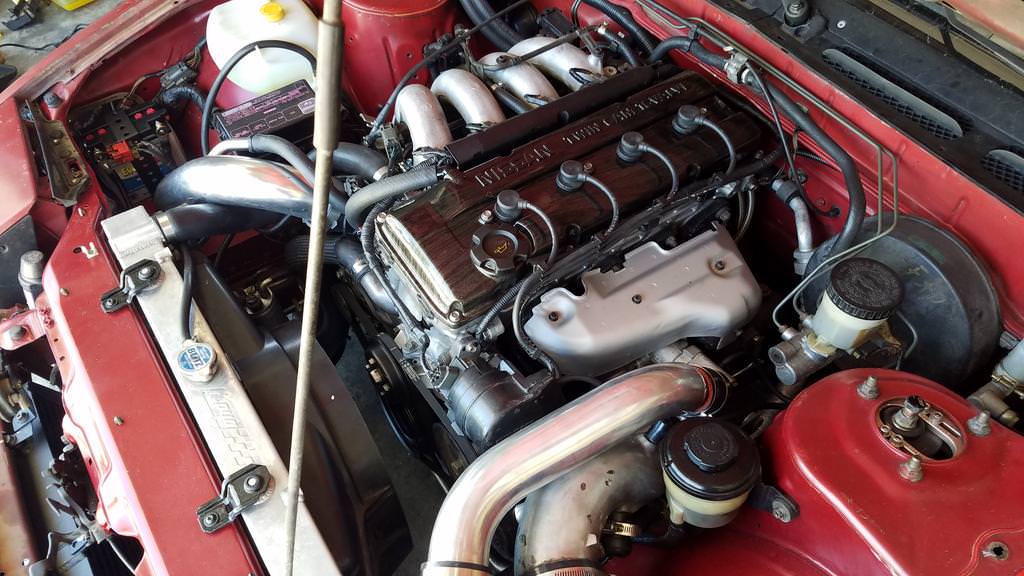 Off to the dyno she went, which I'll come back to. 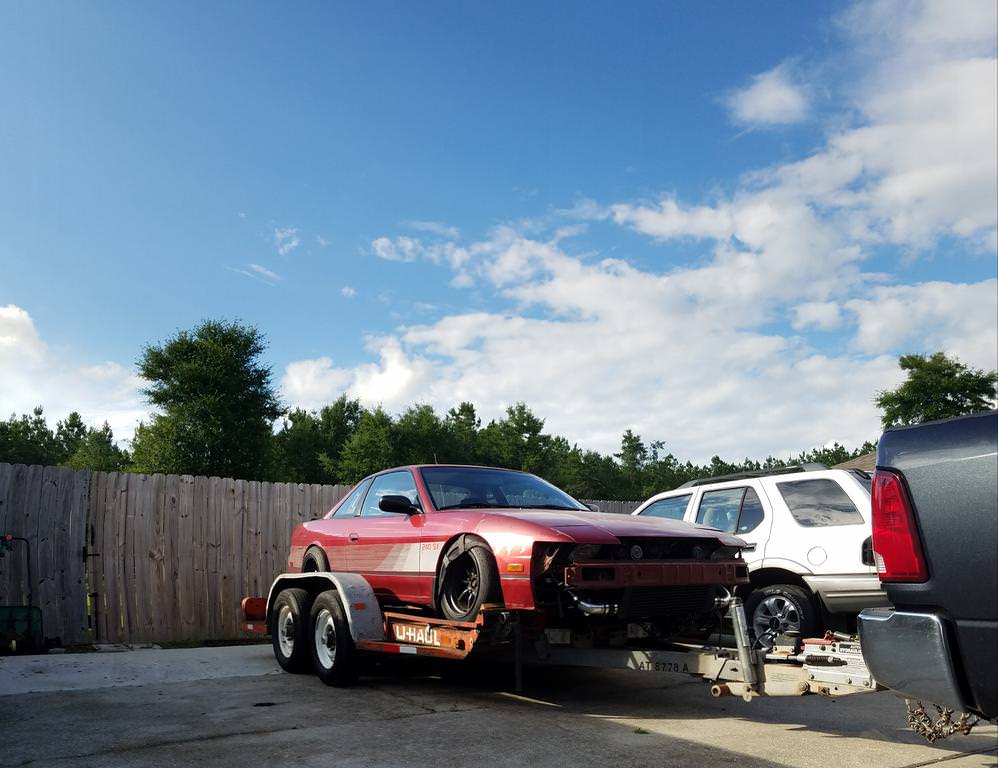
__________________

|
|
|

|
|
|
#26 |
|
Zilvia Addict
 Join Date: Jul 2008
Location: Canada
Age: 34
Posts: 686
Trader Rating: (0)
           Feedback Score: 0 reviews
|
This is done really well. I like the fact that was a progression as required and not an over the top build that never gets enjoyed
__________________
-Jordie Lewis '93 Skyline Type M |
|
|

|
|
|
#27 |
|
Post Whore!
 |
Yeah the Amsoil is definitely better when cold. I've tried Amsoil M/T GL4 and Redline MT90 and I'd say the shifting feel is the same when both fluids are fully warmed.
Also, I hope those aren't regular heater hoses for your catch can setup. Need to use hoses meant for oils otherwise you're gonna have a bad time (been there done that).
__________________

|
|
|

|
|
|
#28 | |||
|
Nissanaholic!
 Join Date: Jan 2009
Location: Definitely NOT FL....
Age: 29
Posts: 2,491
Trader Rating: (25)
          Feedback Score: 25 reviews
|
Quote:
 Quote:
Also, I like how you're the only person that would notice such a minute detail, but good looking out! I'll get those switched lickity split while the head is off and it's easy to access the pcv valve area.
__________________

|
|||
|
|

|
|
|
#30 | |
|
Post Whore!
 |
Quote:
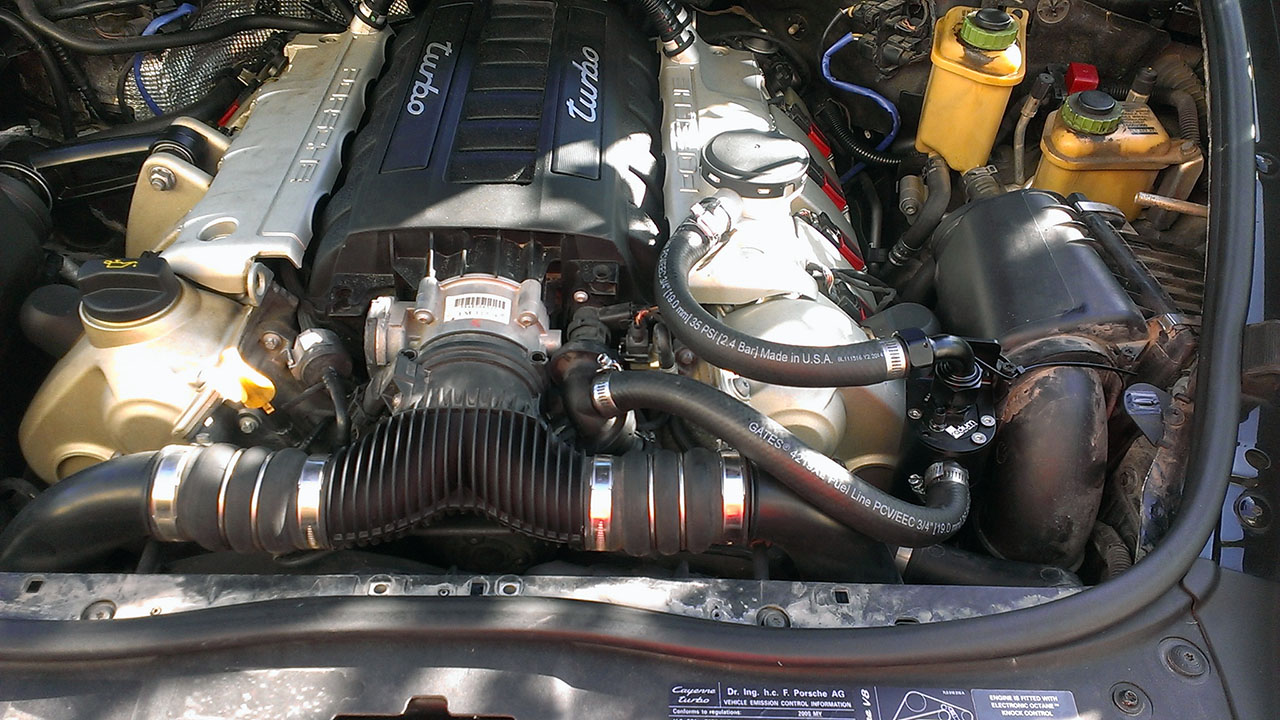 These have been holding up good so far, purchased at O'Reillys.
__________________

|
|
|
|

|
 |
| Bookmarks |
| Thread Tools | |
| Display Modes | |
|
|