
 |
|
|||||||
| Home | Rules & Guidelines | Register | Member Rides | FAQ | Members List | Social Groups | Calendar | Mark Forums Read |
| Builds (and builds only) Got a build thread? It goes here, build threads anywhere else on the forum will be locked and never moved. |
 |
|
|
Thread Tools | Display Modes |
|
|
#1 |
|
Zilvia Junkie
 |
AWR S13 Coupe Street/Drift Build {Project Phoenix}
What’s up guys, Well first off my name is Andrew.. I am from northern Virginia and I have been involved in cars since I can truly remember. Not only has it been a passion of mine but it eventually transitioned into a career for some years and then into an online parts business I have been running since 2013. I have owned a decent amount of fun toys over the years; Couple DSM’s making big power, E36 M3, S14, G37, Evo 9 and the list goes on. But I recently picked up a new project that I have been very excited about since day one. Although there was some ups and downs in the first couple months of ownership (nothing having to do with the car) everything has worked out and I am now in a position to start focusing on reviving this car back into a track killing monster it once was!! “Project Phoenix” After selling my evo this past spring I knew I wanted something different… Something I have never really owned or have built before. Being an AWD guy my whole life, I thought it was time to make a transition. I always wanted a high hp RWD car, and since throwing a pair of twin turbos on my G37s was an interesting idea and had the BADA$$ factor…that potential project was instantly crushed while doing more in depth research. The best kit on the market was $9-10k before supporting mods, and I kept hearing about cooling issues and such. I just didn’t want to deal with those headaches if I could avoid it. Since my first choice of RWD projects was a letdown I turned to craigslist to see what exactly was out there and if anything would catch my eye. And of course something did! I came across an ad with this title “FS: 89 240sx S13 Silvia Drift Car” Now I have always wanted a badass tracked out s13, I mean who doesn’t? Also I always thought drifting looked like ton of fun when I would watch the cars run heats at hyper-fest. So a couple emails and phone calls later I was heading down 81 south to check out this beast. The name Nate Brasz might sound familiar to some of you? Nate competed in many drifting events, and from what I have seen and heard he was very good. Although he may have moved on from drifting into other ventures, I feel lucky to be the new owner of this car and am very excited to take it out to our first track day together. On to the pictures..... :] Current state of the car when we went to see it. 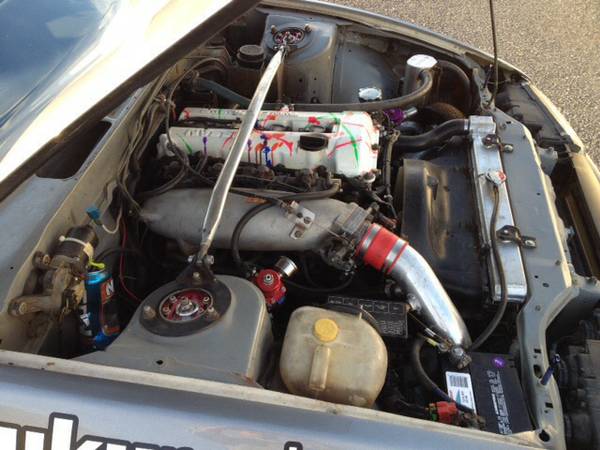 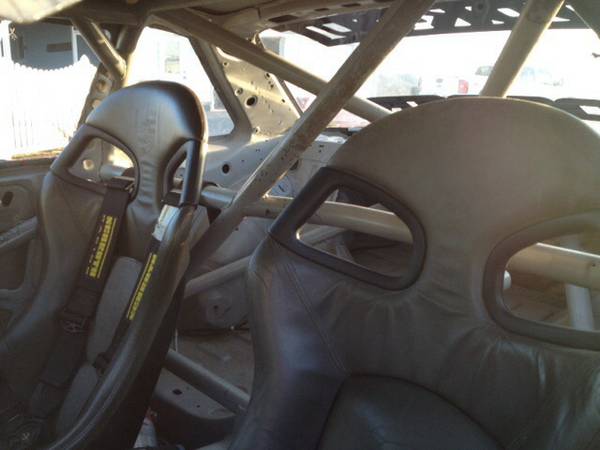 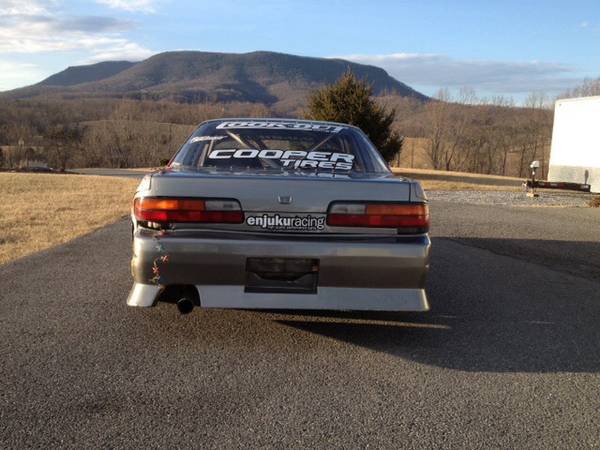 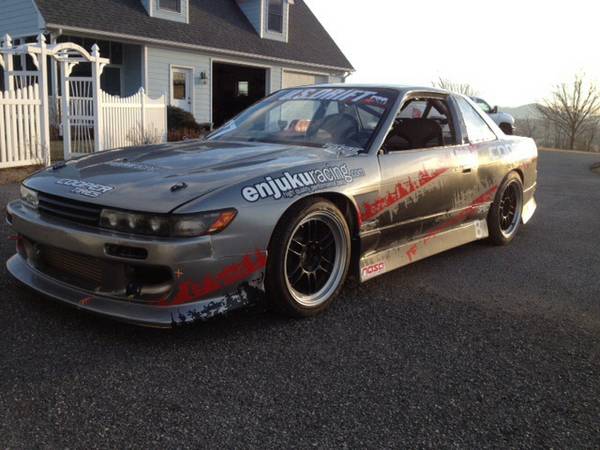 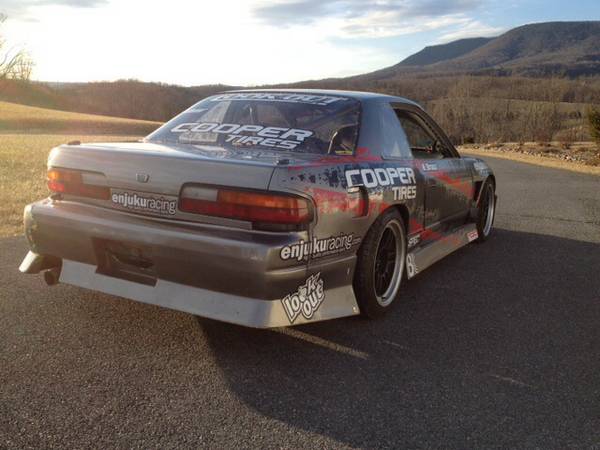 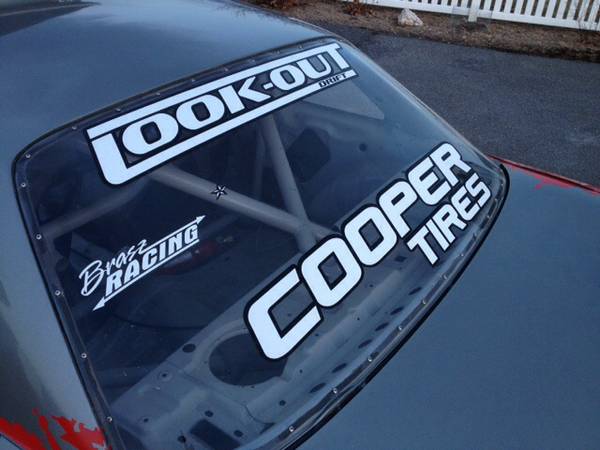 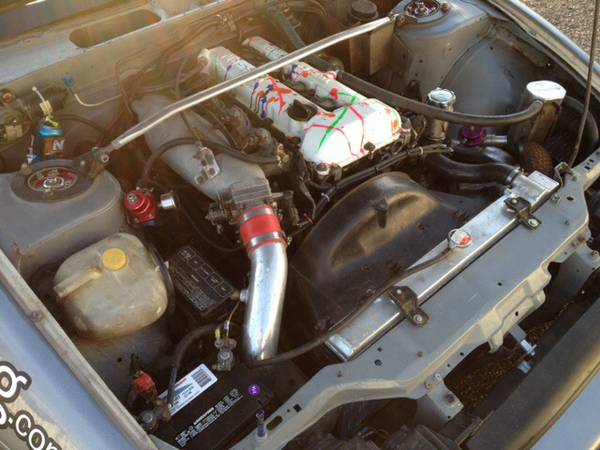 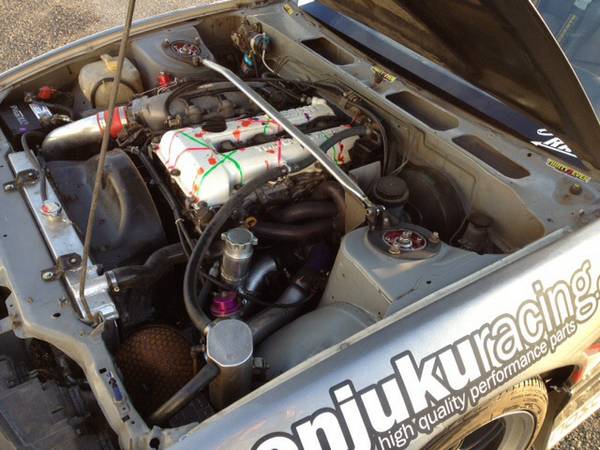 Moved the car outside to check it out, and drive it. Car was pretty clean inside and out. Frame rails looked okay. Power steering cooler lines were leaking some. Compression was slightly low but all very close to one another. Z32 tranny synchro's were toast as well. Hour or so later we came to an agreement and my buddy and I were loading it onto the trailer. Got it back home safe and sound. I really started tearing into the car at this point. See what was going to stay, what I was going to sell and just get and overall picture for how I wanted the car to start progressing. Found out later this master kill switch would be a cause of some problems. Getting a familiar with the wiring. This car is basically striped down to bare essentials. Eventually i'm going to do a nice panel setup. Move the car outside to pressure wash the engine bay. 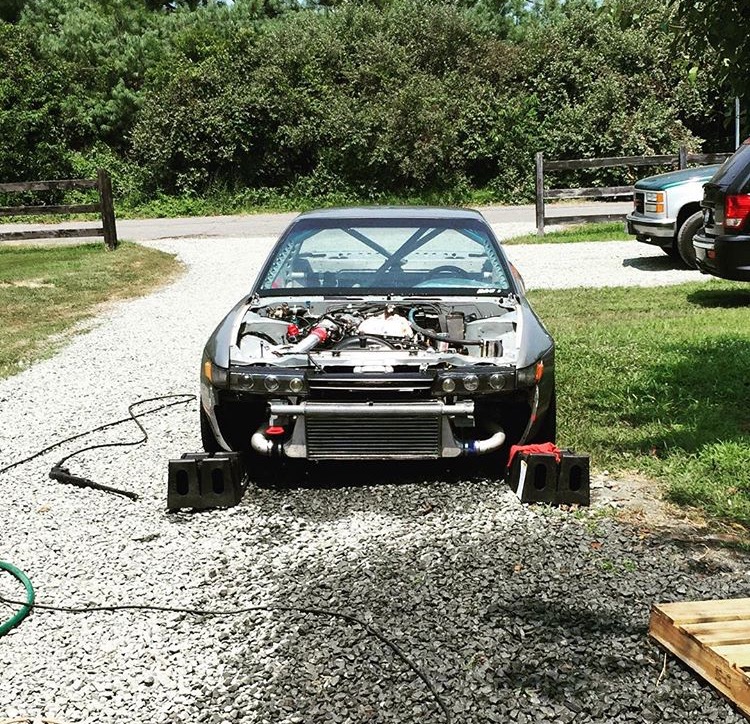 Much better to work on. Started peeling off all of the stickers.  And parts start coming in....Sold the Porsche seats and picked up some bride reps Picked up some planted seat rails for the driver side. Quality is nice fitment was ok-poor. I had to modify one of the bracket mounting points to seat flush with my floor. As some of you probably saw, the car was missing many interior pieces. Yes I know its a drift car but I like my interiors to be stock and as clean looking as possible. This is a street/drift build after all :] Here is a pic of me re finishing some interior trim pieces. Final product. I wish I would have remembered to take a before pic. After bringing the car home I found out quickly it had a draining issue. I didn't really have time to work on the car so it sat for a couple of weeks before I was able to discover the problem. The alternator was complete shot and draining the small battery every time I went to mess with it. So I took the alt out and got it rebuilt locally. Took a little time to clean, prep, and re-spray the floors before test fitting the seats. To anyone wondering the planted mounts bolted up just fine with the rep bride seats. Took some time and refinished my sparco steering wheel
__________________
89 S13/2JZ Silvia(Project Phoenix) IG @awrperformance FB awrperformance Last edited by drewr4411; 02-04-2016 at 06:50 AM.. |
|
|

|
| Sponsored Links |
|
|
#2 |
|
Zilvia Junkie
 |
Here is the where the build gets a little more in depth. I decided it was time to replace the broken tranny and the get the car ready before the end of the season. I want to try and make it out to 100 drifters of December this year.
After countless hours trying every trick to remove the z32 tranny from the bottom. We decided to pull it out...... This was my first time pulling a motor on a 240sx. probably wont be my last  Pic of my Dad and my friend Ray helping out. 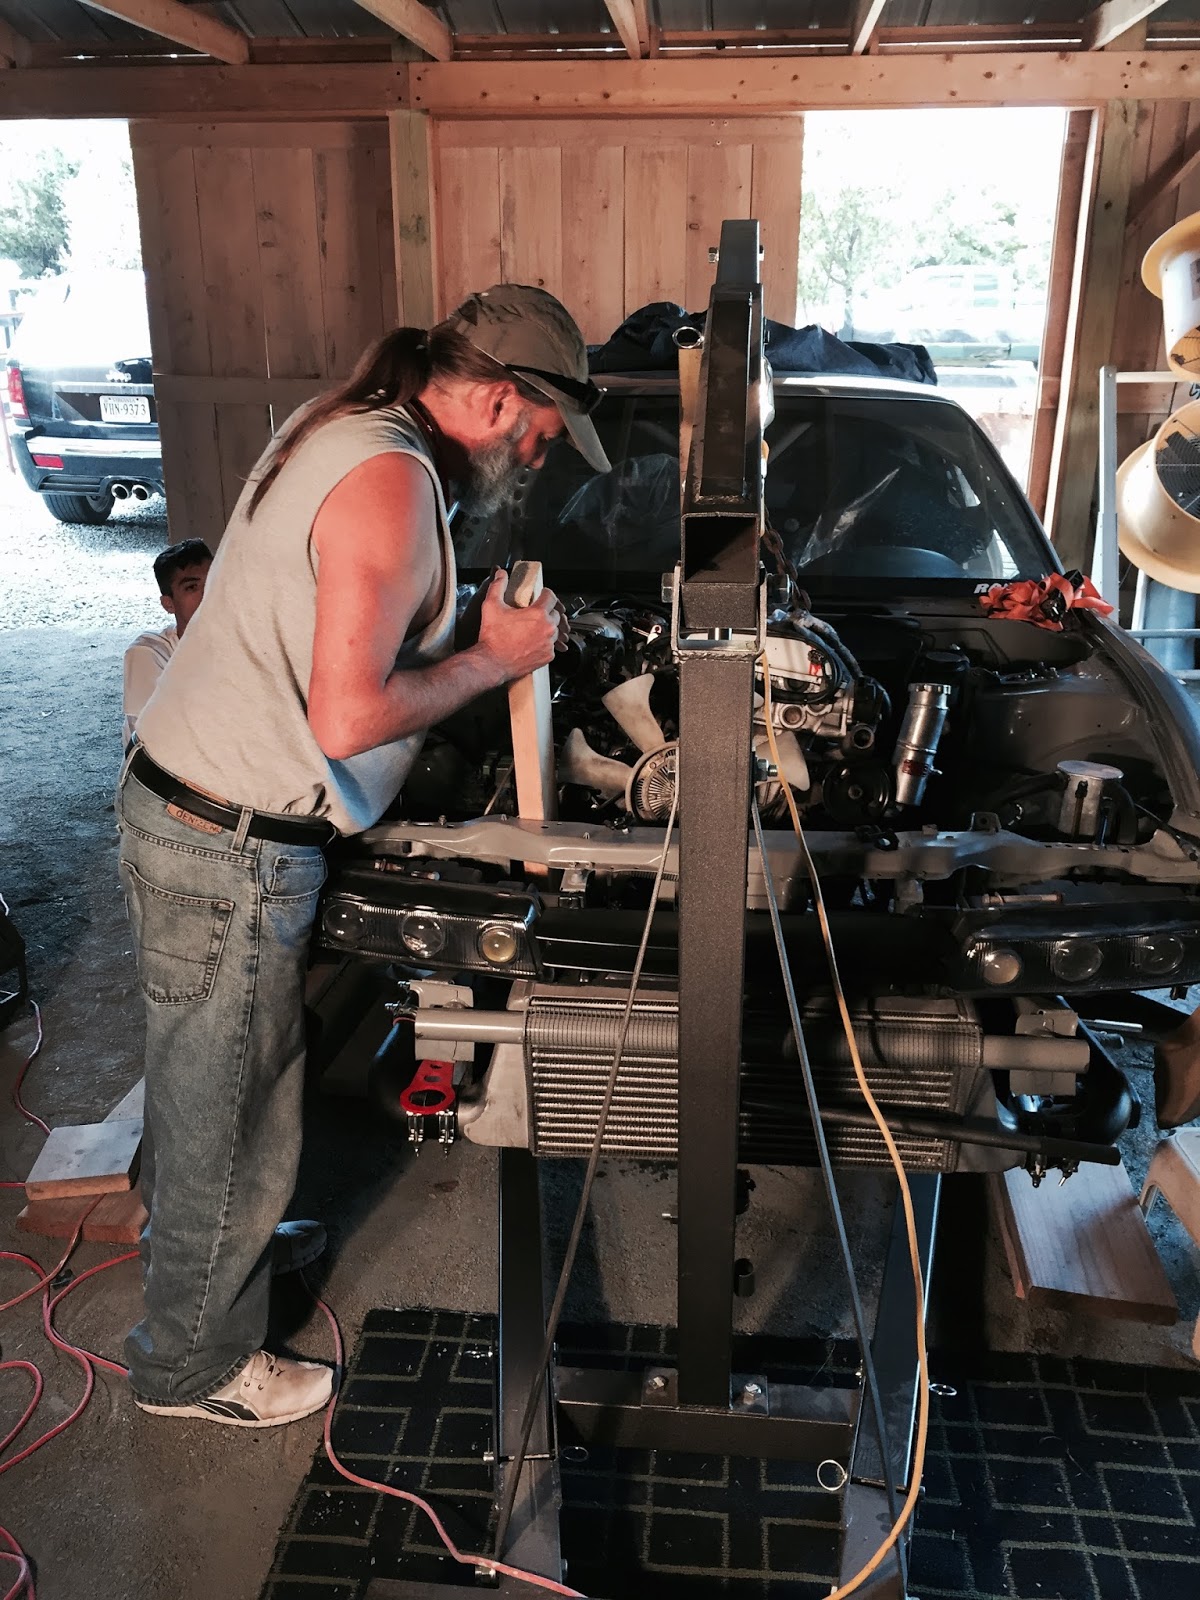 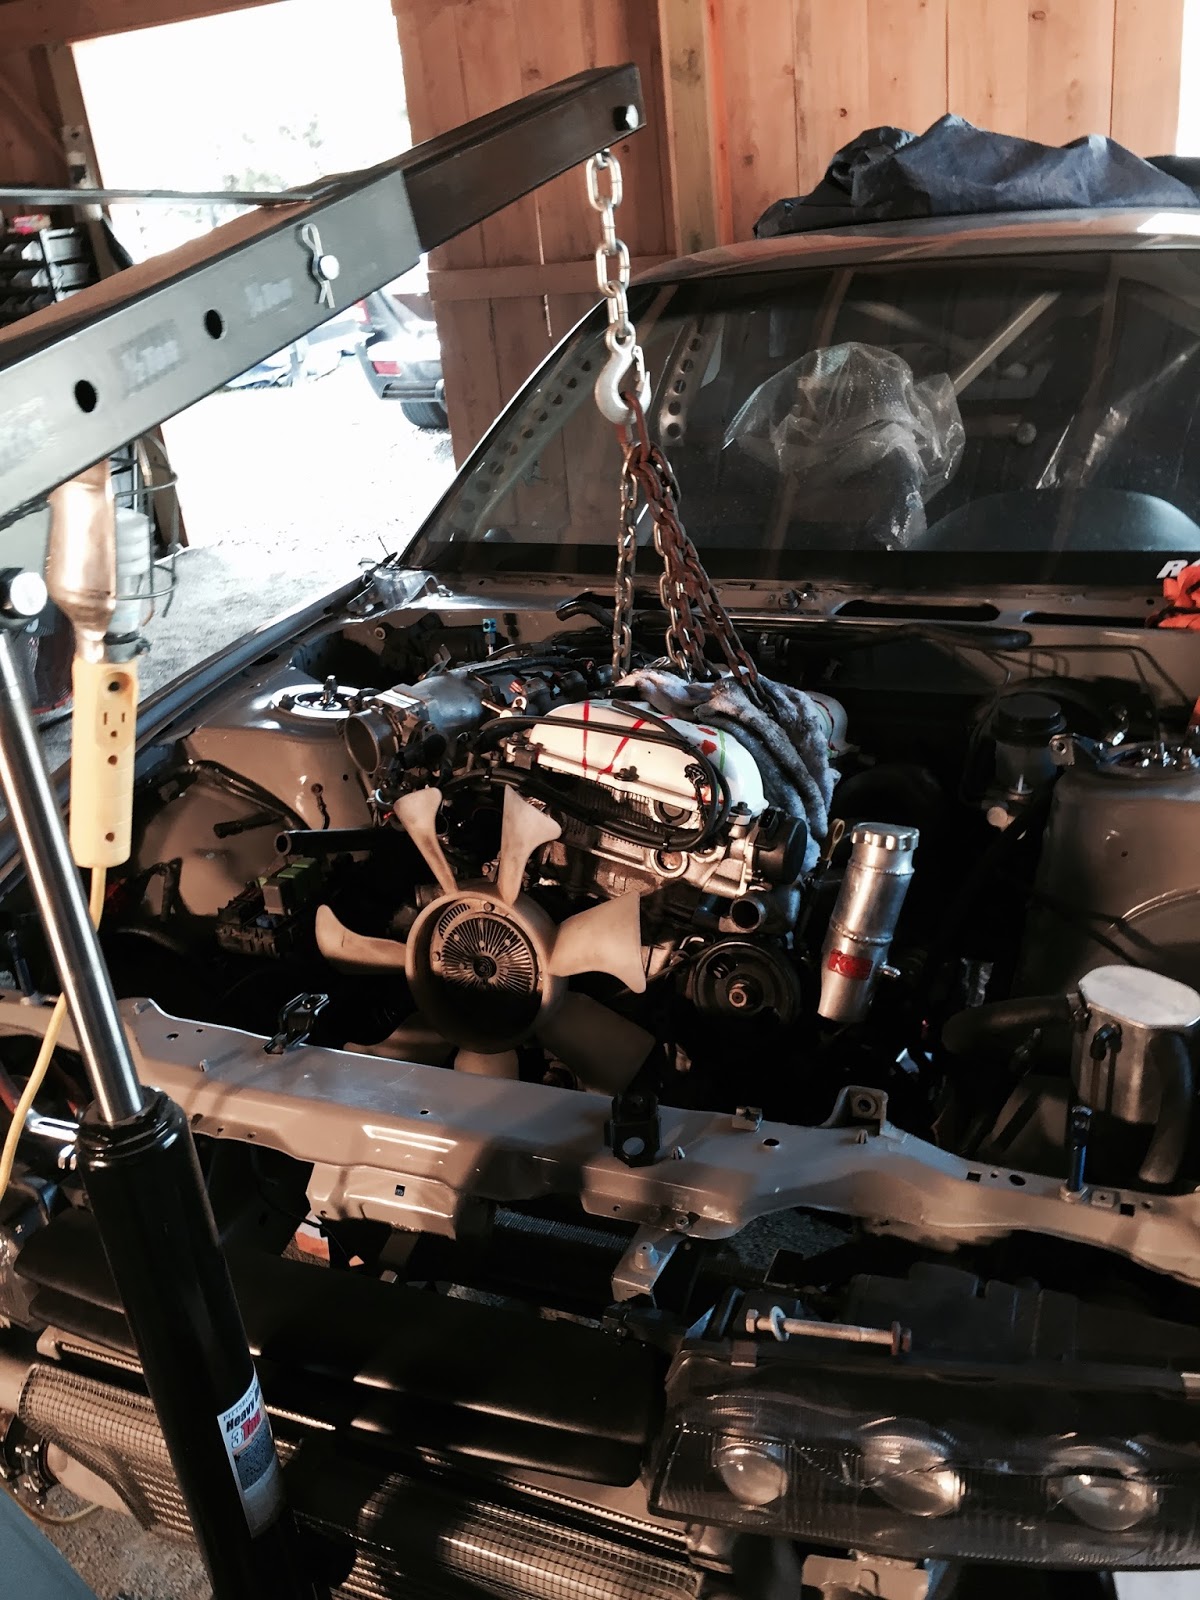 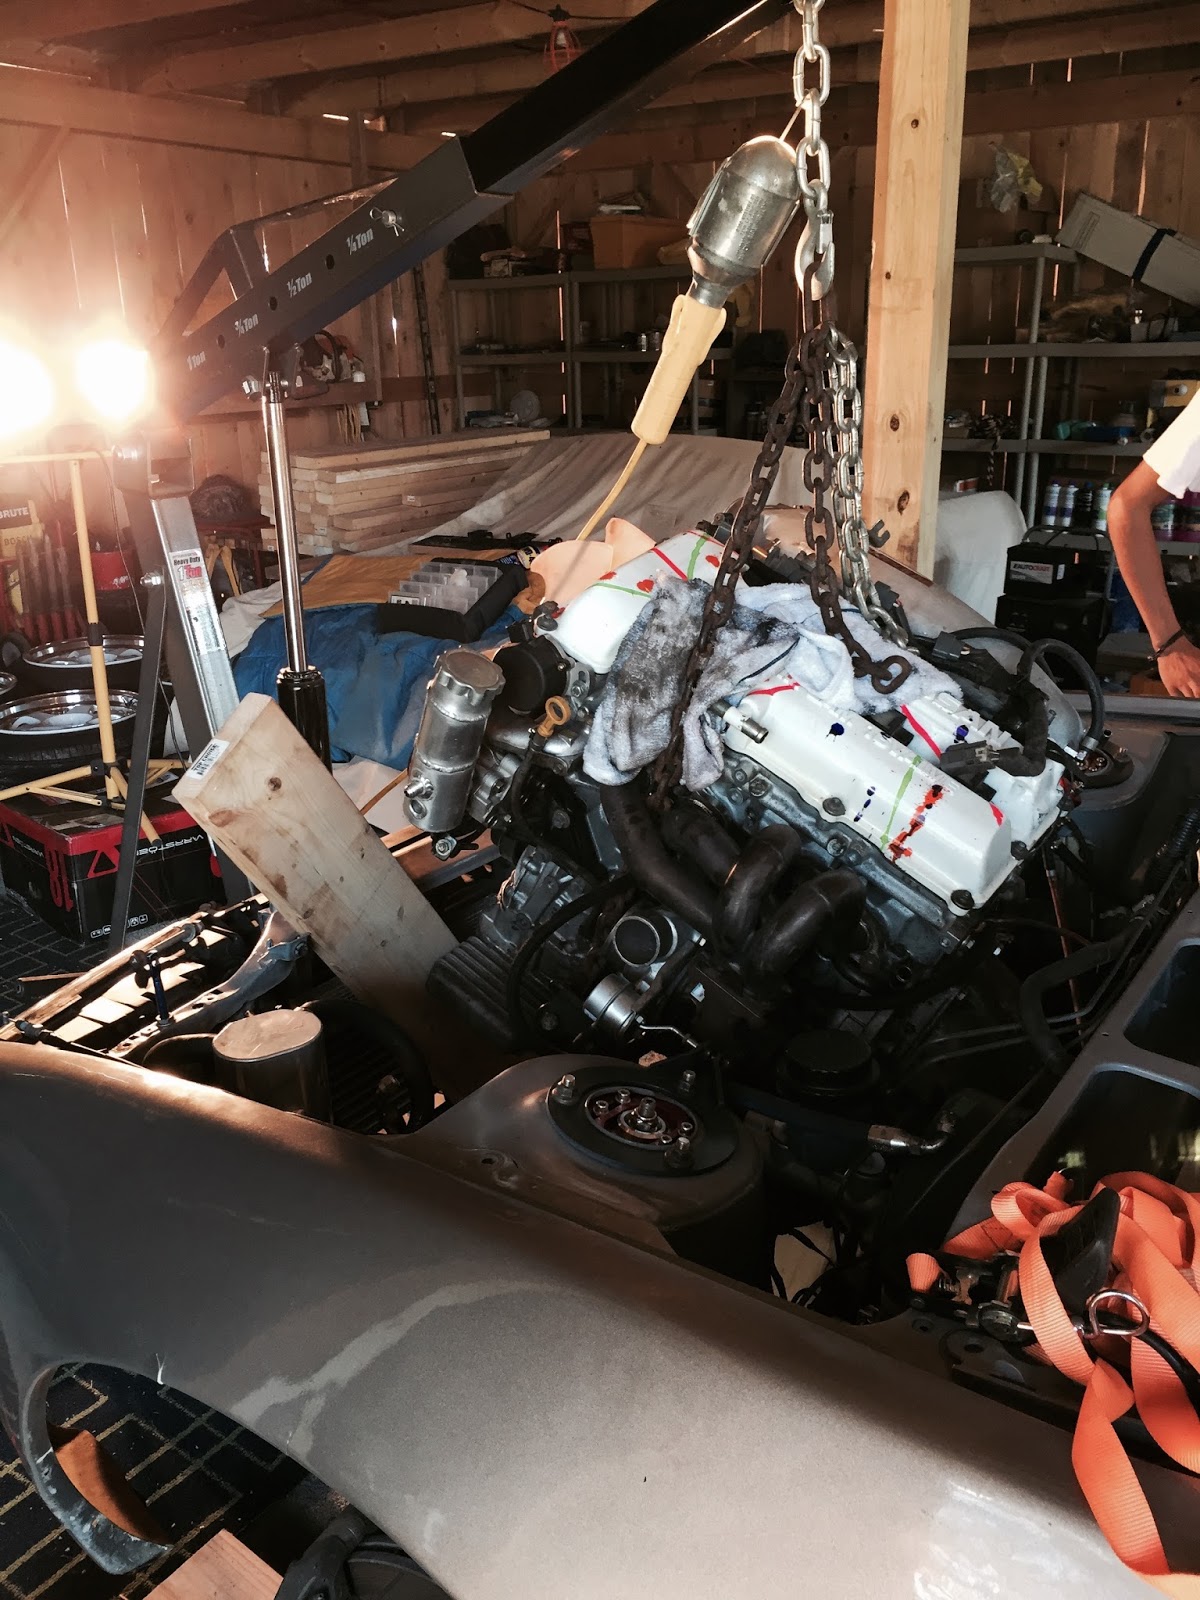 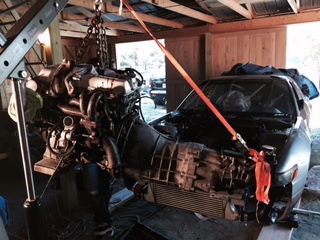 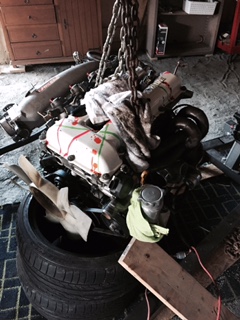 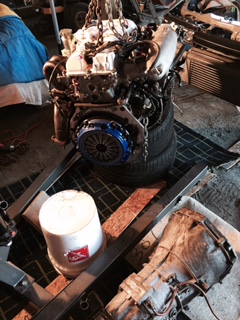 Stopping the crank from turning while I break lose the flywheel bolts. 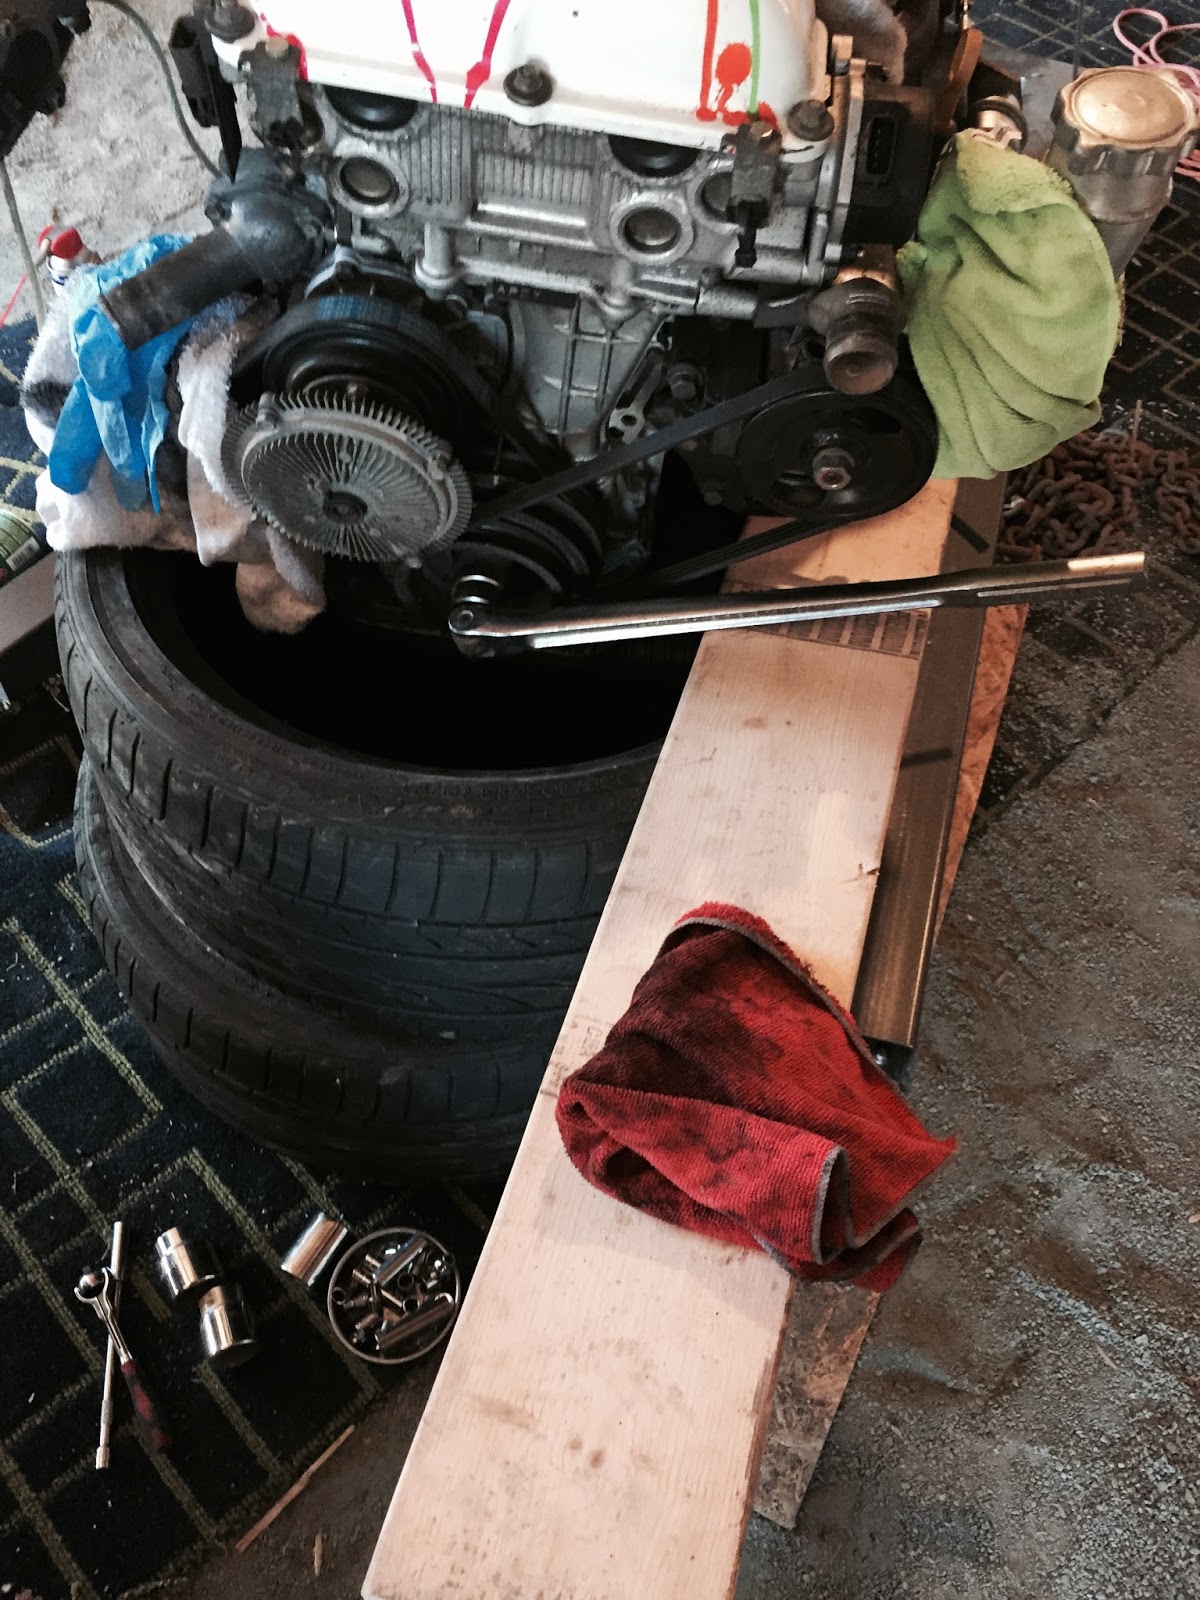 Finally got the motor on the stand. Im going to be taking this time to replace worn out items before dropping it back in.  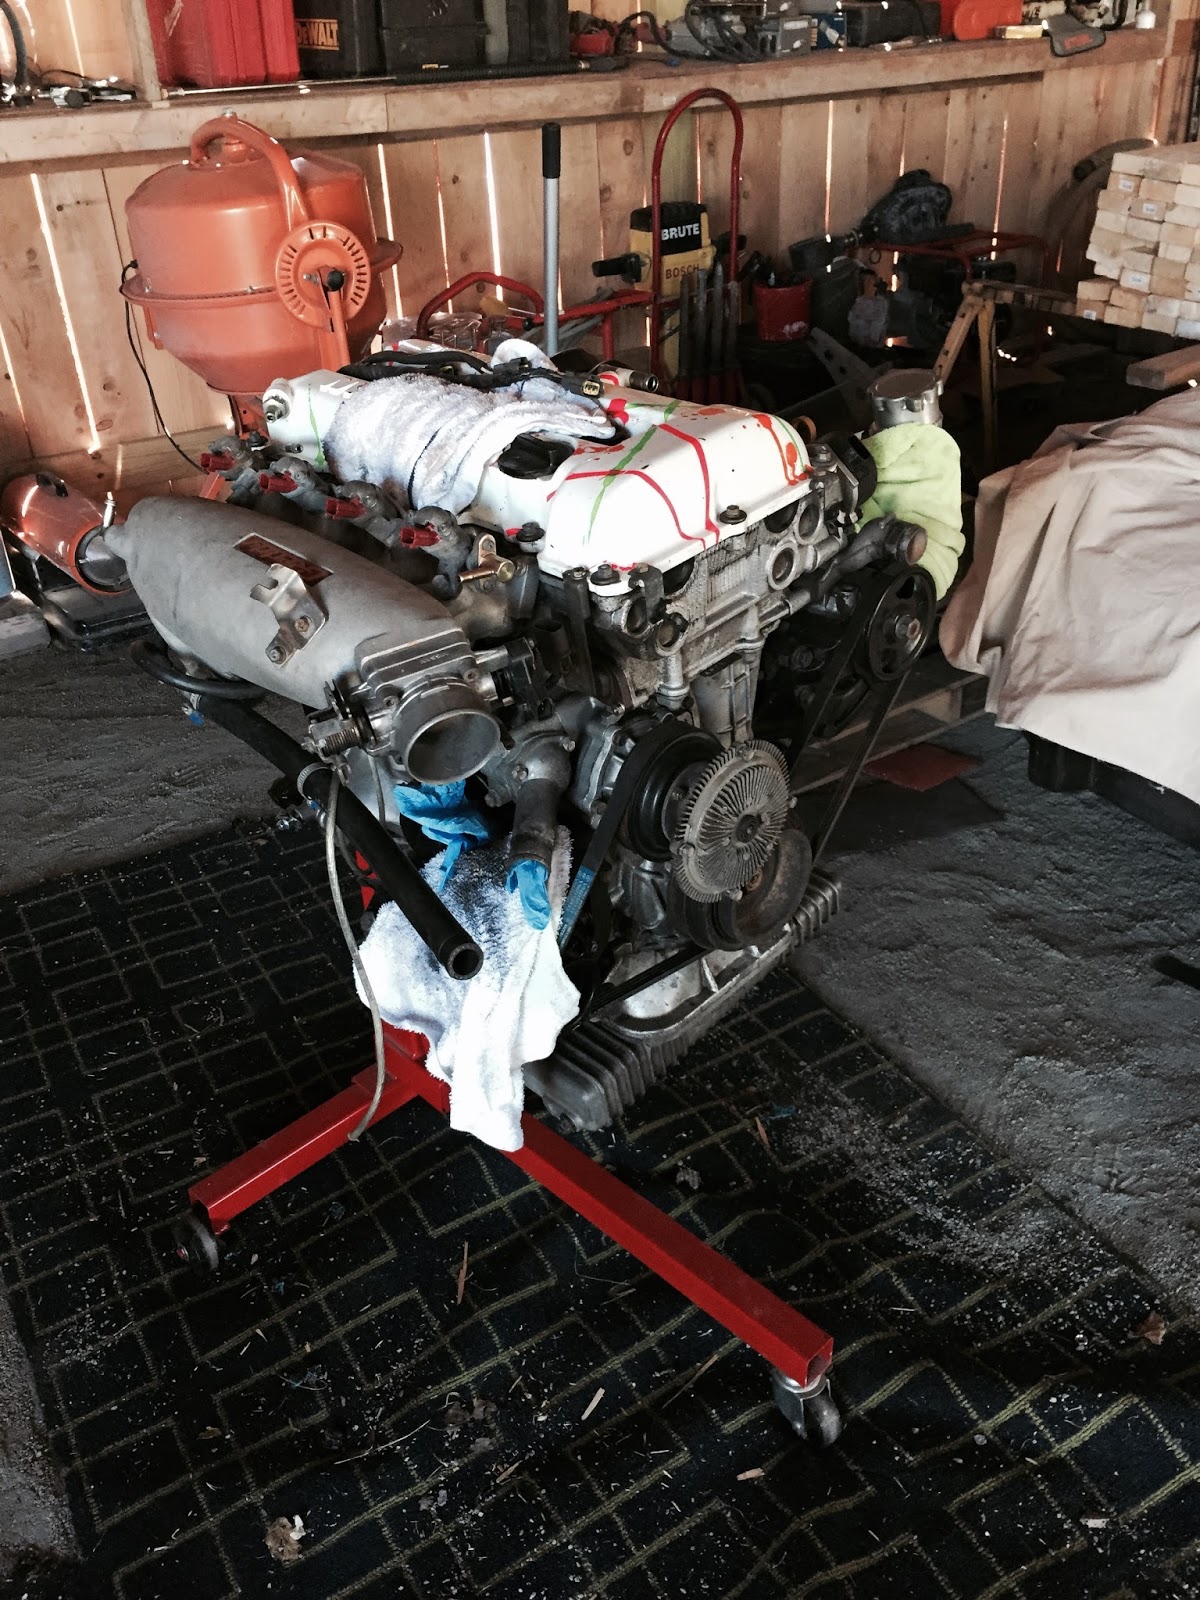 Found a crack on my turbo elbow. The whole exhaust on this car is in rough shape. Guess im buying new everything..... 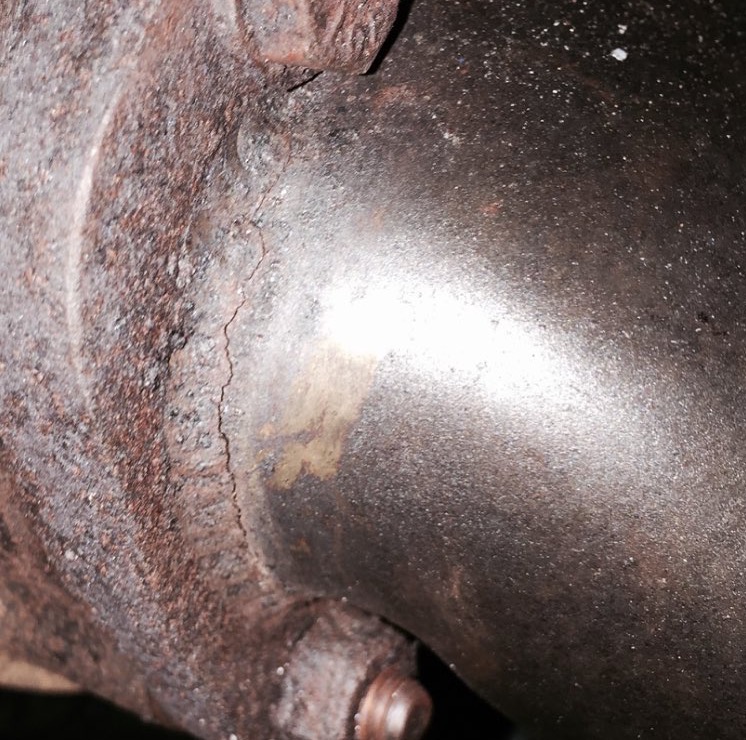 Pic of the clutch and conversion kit. 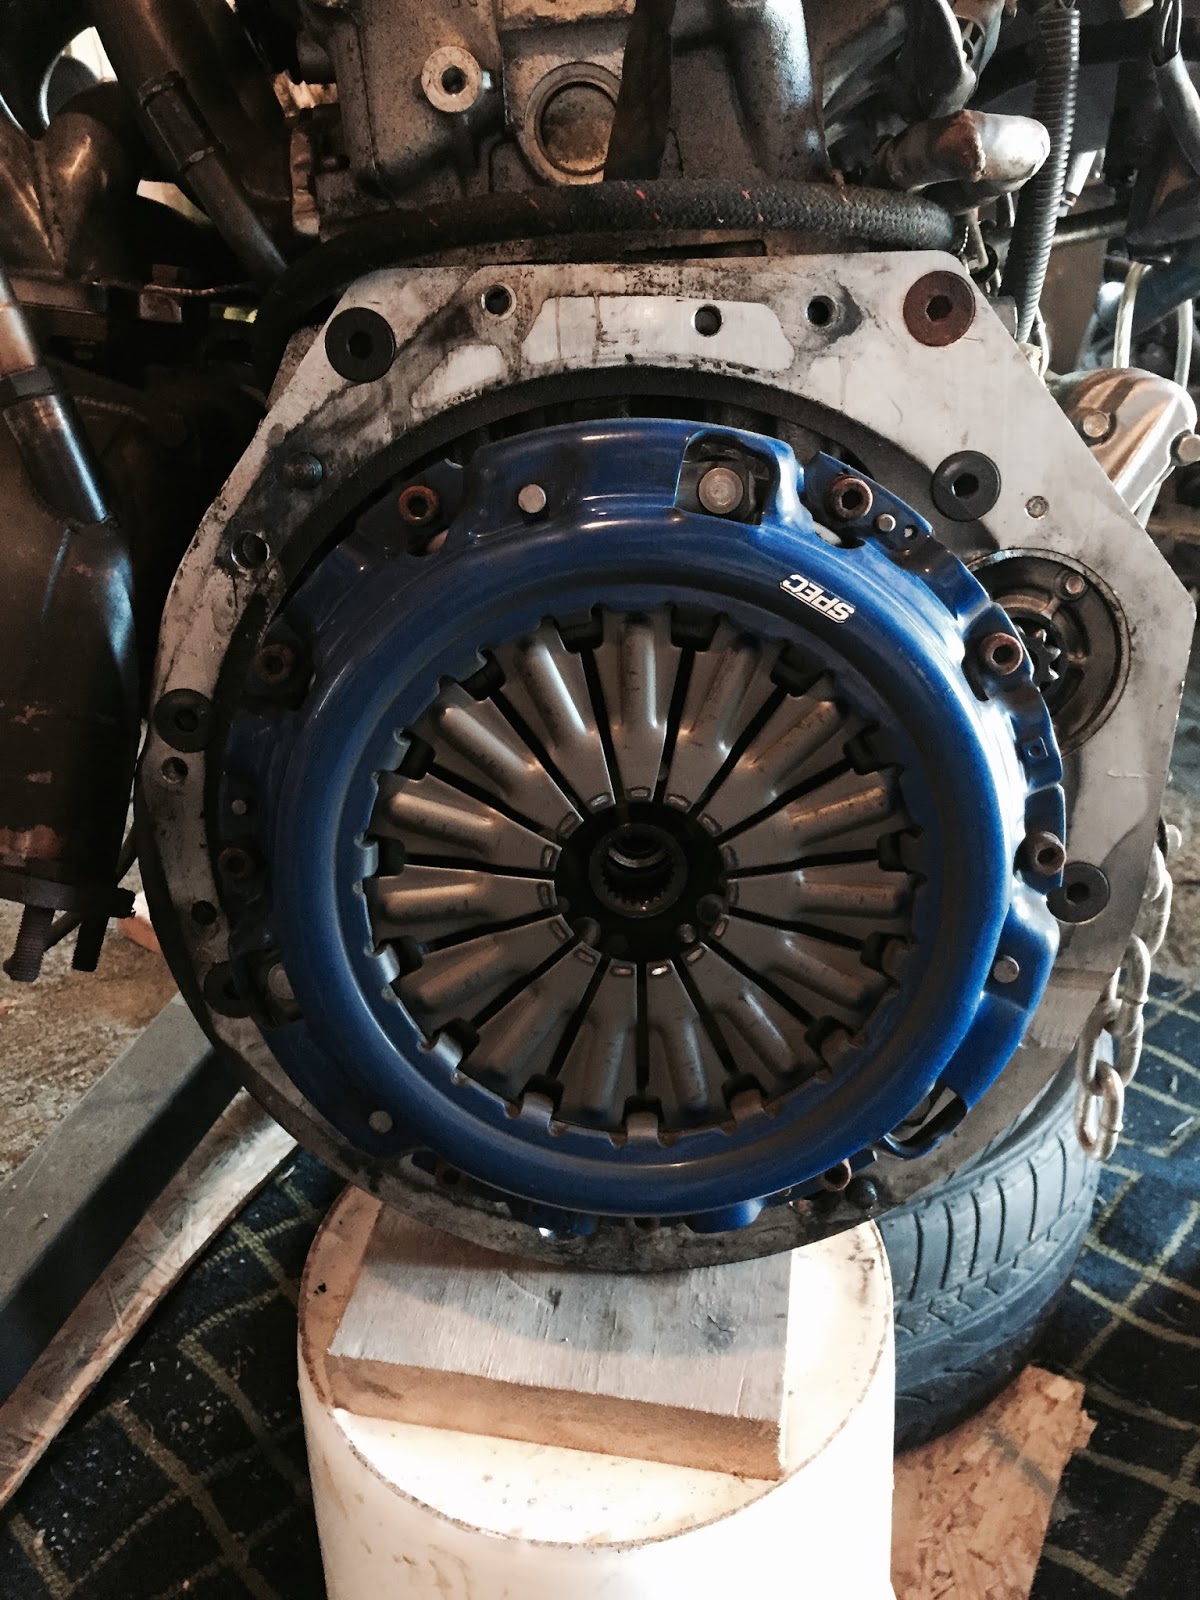  Getting organized again.  Traded my Fiberglass doors for some OEM doors with windows and a bunch of other stock parts. 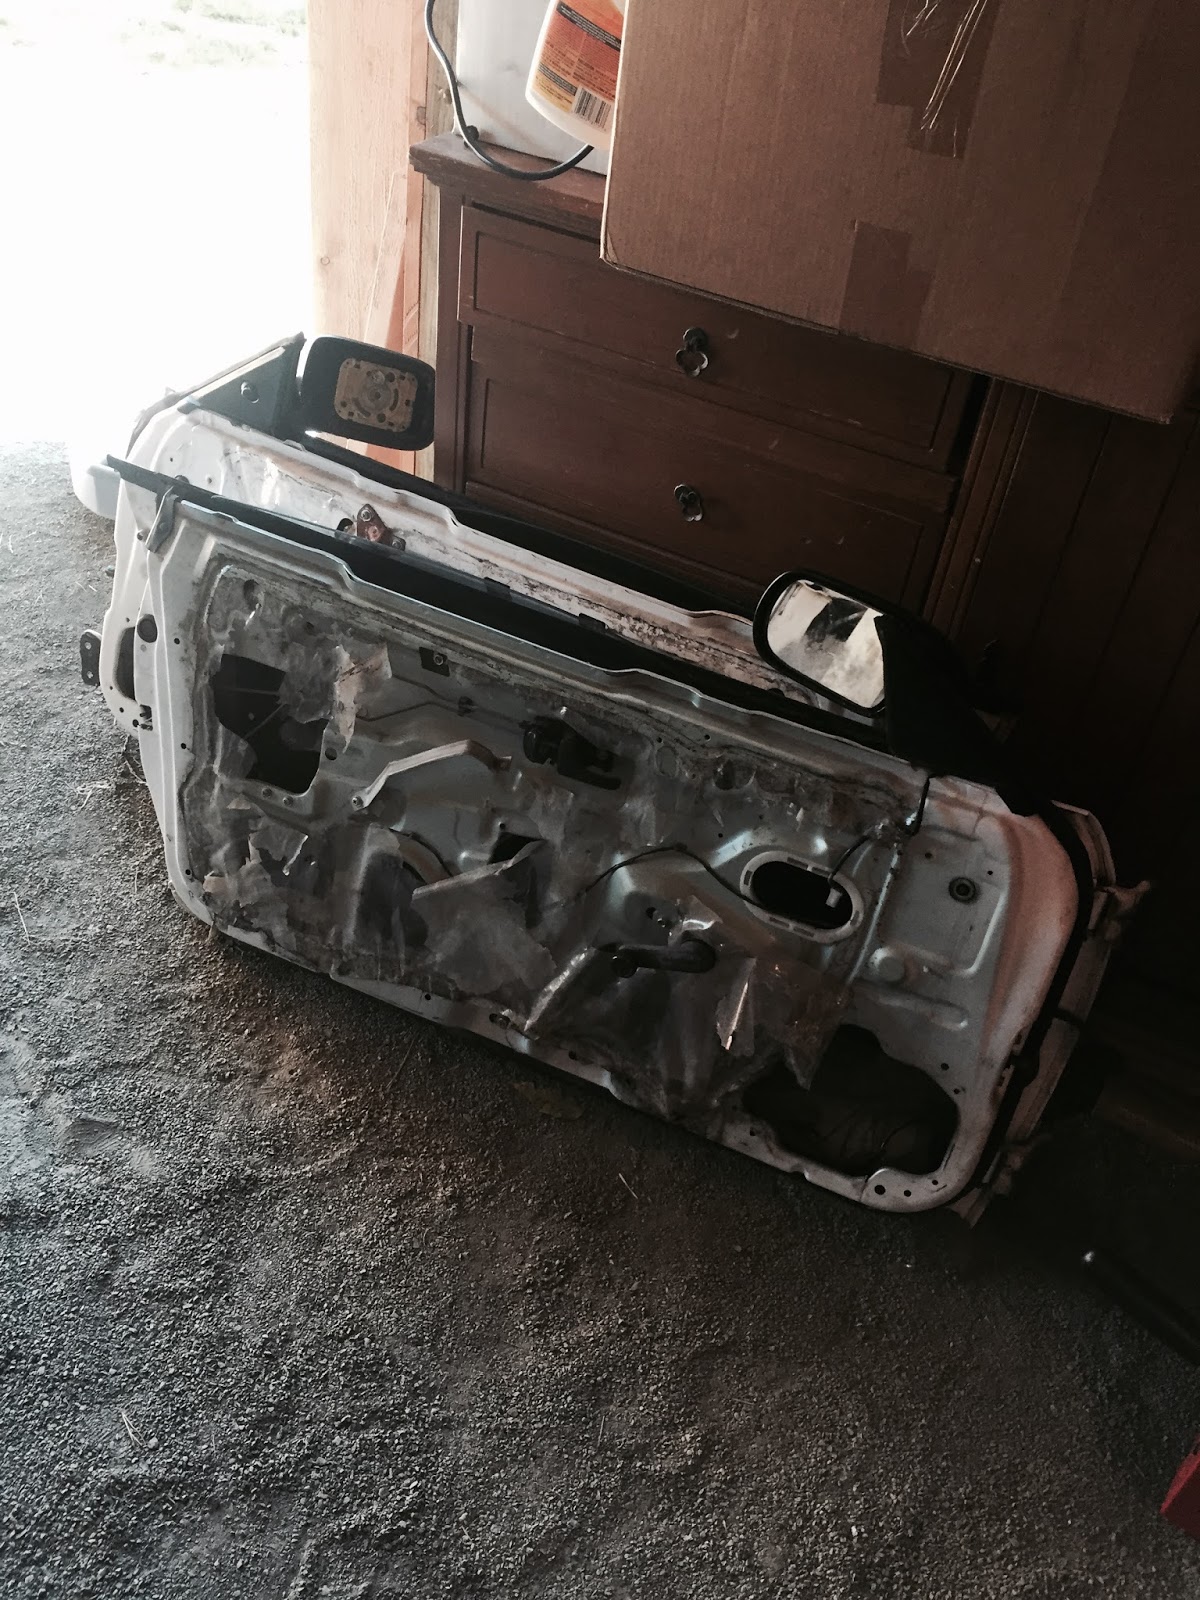 Before: 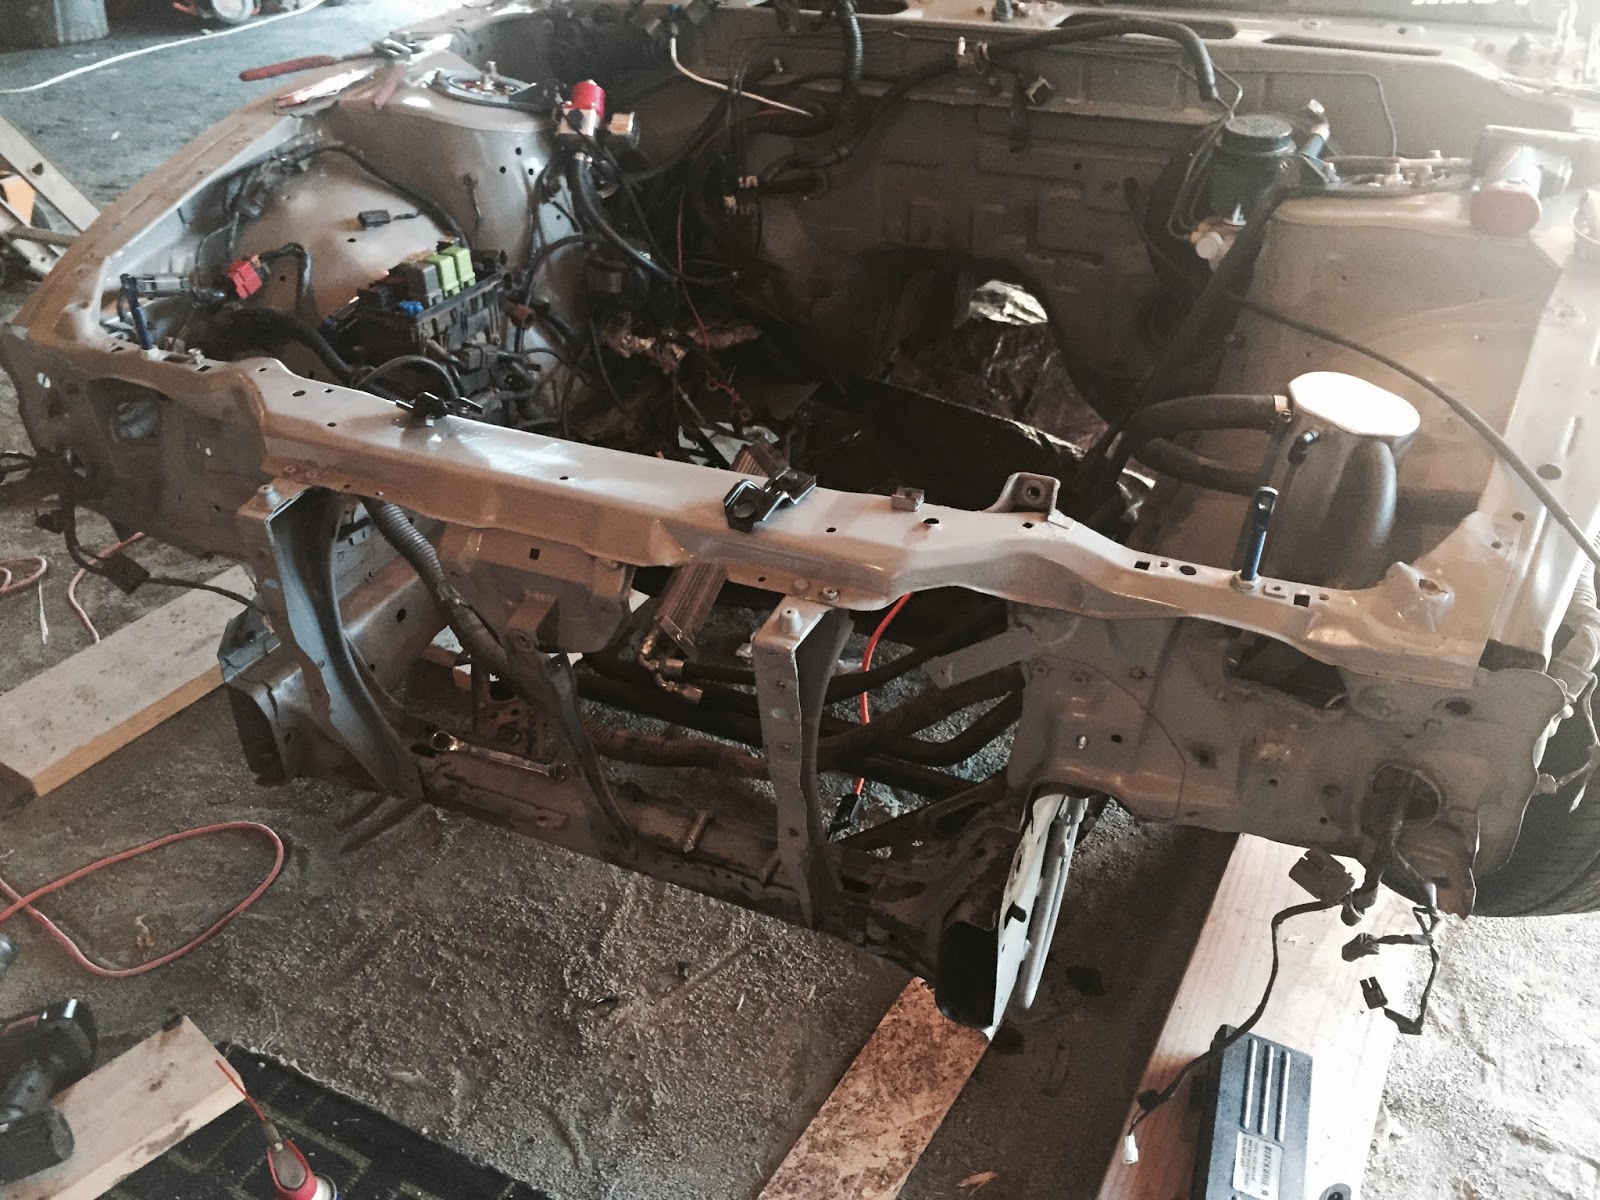 After: 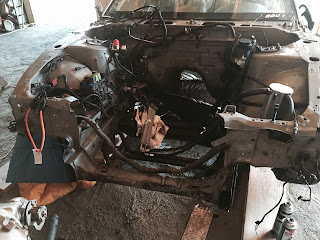 Traded my RPF1's for these badboys. Test fitted with Z1 motorsports 15mm spacers on the front. 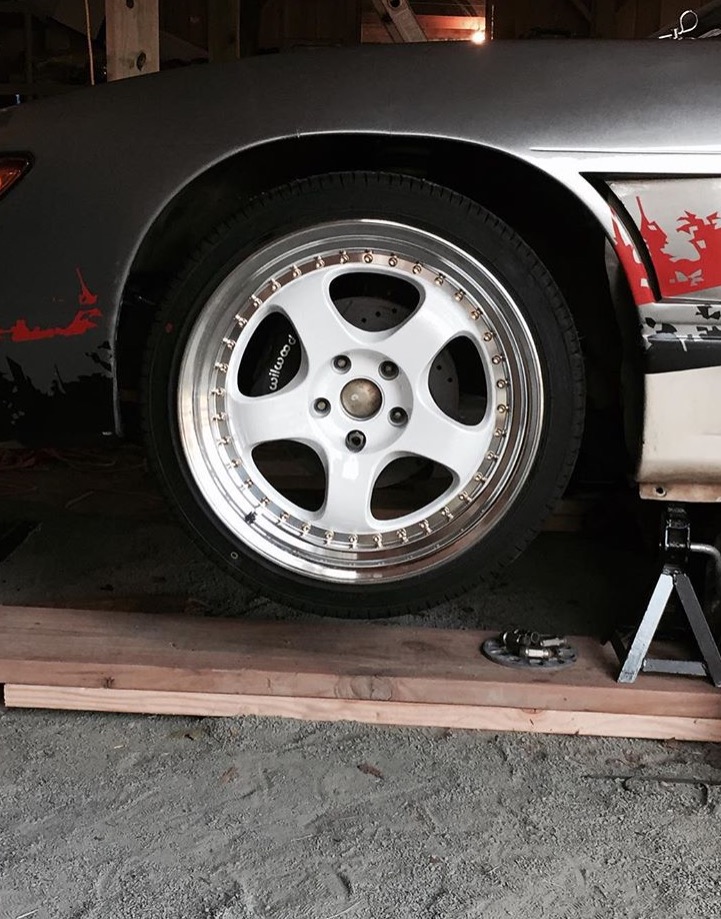  Tested fitted my doors. I will be redoing my cage on the driver side.  Some more interior re-finishing Pressure washing the bay again. The steering rack was covered in grime and grit. 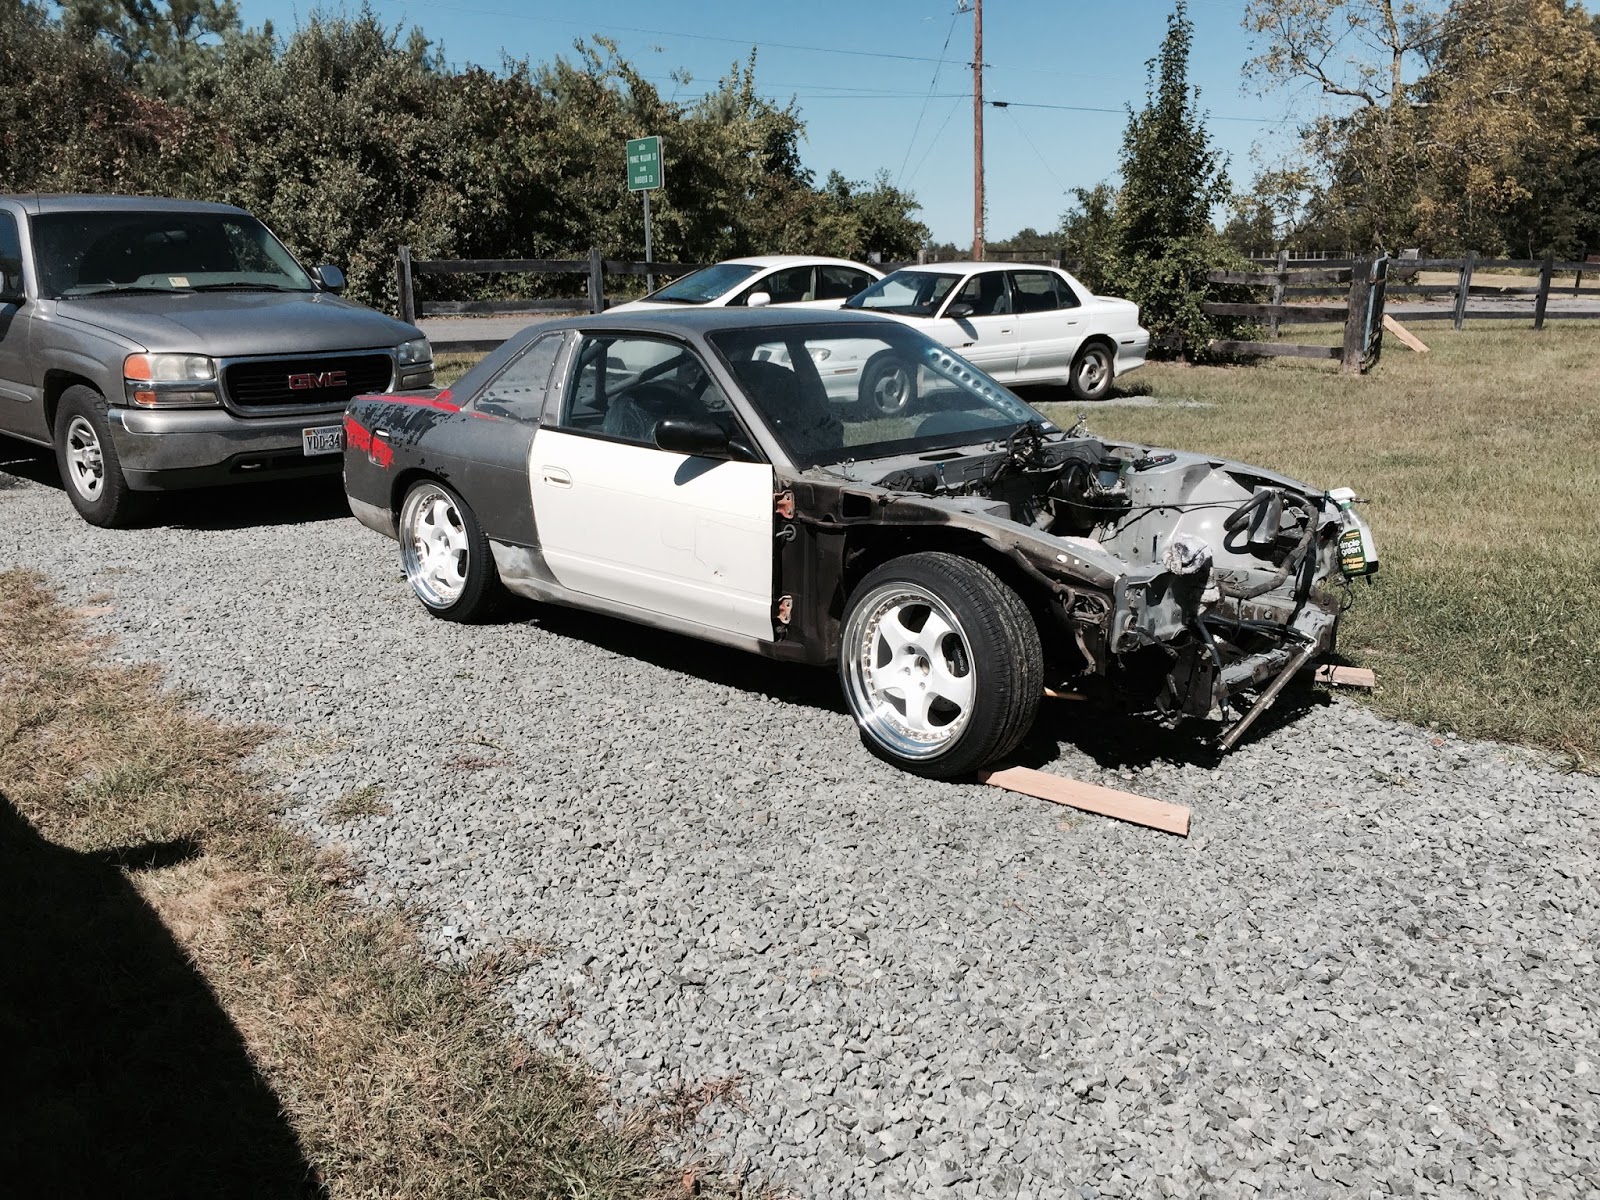 All clean. 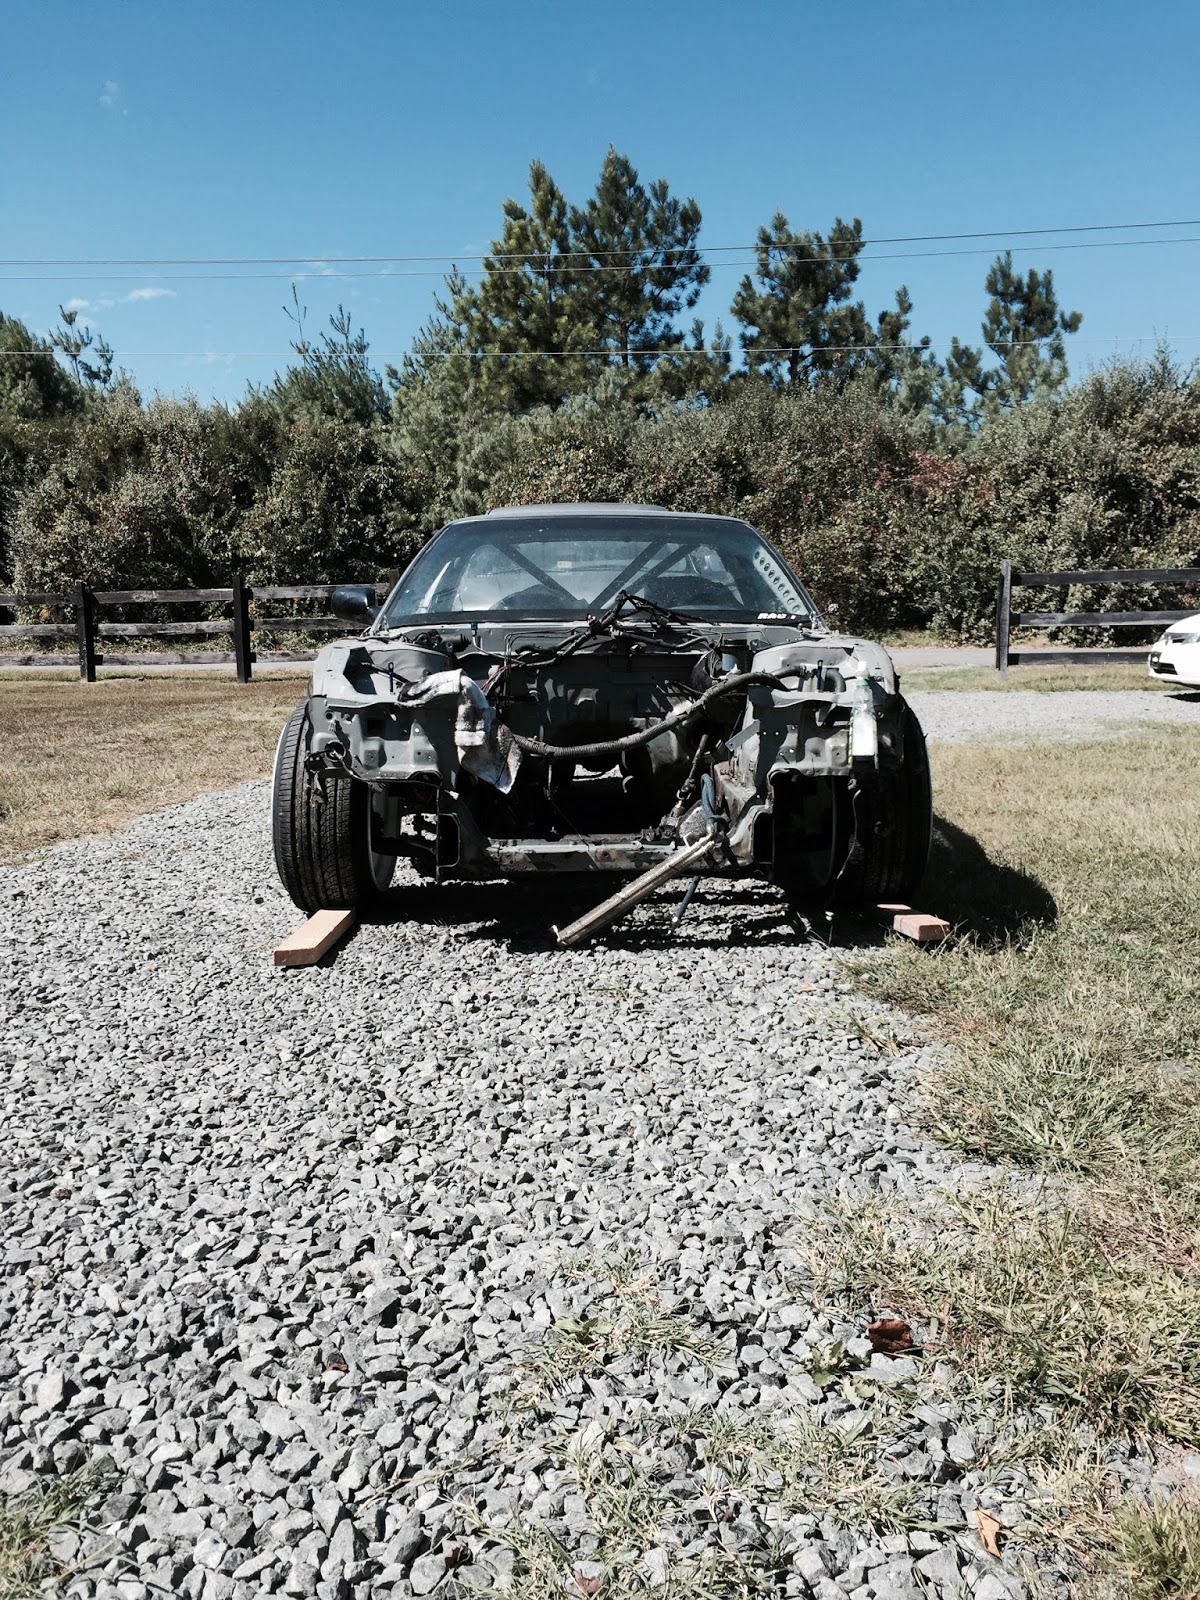
__________________
89 S13/2JZ Silvia(Project Phoenix) IG @awrperformance FB awrperformance Last edited by drewr4411; 02-04-2016 at 06:50 AM.. |
|
|

|
|
|
#5 | |
|
Zilvia Junkie
 |
Quote:
I'm using SEM chip guard to re finish all my interior pieces. Same stuff broad field use's in his custom clusters. I love it. It's all in how you prep it.
__________________
89 S13/2JZ Silvia(Project Phoenix) IG @awrperformance FB awrperformance |
|
|
|

|
|
|
#7 |
|
Zilvia Junkie
 |
Thank you!
The bezel cover and buttons will soon be covered in chip gaurd as well
__________________
89 S13/2JZ Silvia(Project Phoenix) IG @awrperformance FB awrperformance |
|
|

|
|
|
#8 |
|
Zilvia Junkie
 |
Small update.
Picked up a couple small items for the car. Little bit of maintenance and performance. Redline MT-90, Muteki lugs and rear APR extended studs.  Some coolant for refilling the rad, brake clean just cause it was on sale, and a new KA pilot bushing (which im told the SR and KA are the same, correct me if I am wrong), And a 300ZX TT Fuel filter. Also grabbed a spare clutch alignment tool from ACT. 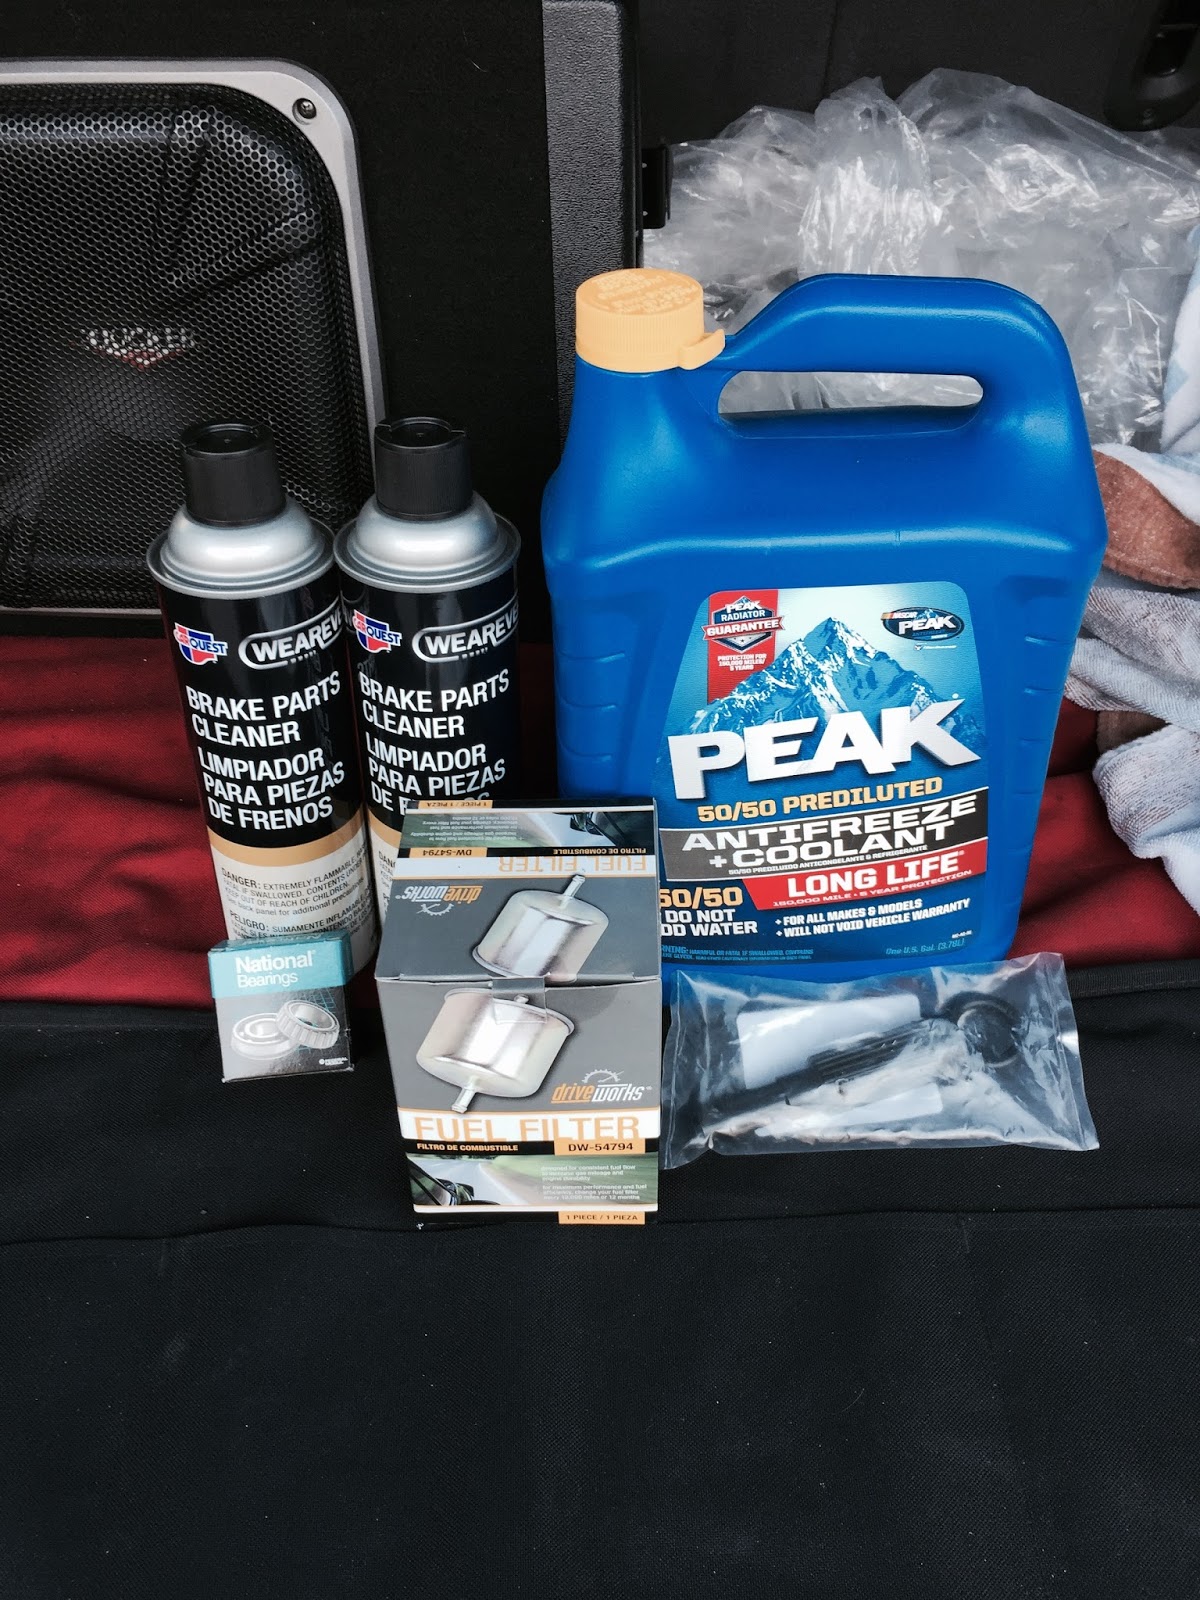 ISIS performance Straight pipe w/ 4" tips. I love the look of this exhaust on all SR's. I originally wanted the 3" tips but it was on backorder.. So I grabbed one of the 4" they have left on the shelf. I think I made the right choice.  
__________________
89 S13/2JZ Silvia(Project Phoenix) IG @awrperformance FB awrperformance |
|
|

|
|
|
#10 | |
|
Zilvia Junkie
 |
Quote:
More updates to come after Sunday.
__________________
89 S13/2JZ Silvia(Project Phoenix) IG @awrperformance FB awrperformance |
|
|
|

|
|
|
#11 |
|
Leaky Injector
 Join Date: Oct 2014
Location: AZ/ South Korea
Age: 33
Posts: 121
Trader Rating: (0)
 Feedback Score: 0 reviews
|
The 3" tips are on back-order? I got mine about a year ago and the 4" tips were on back-order so I went with the 3" I'll trade you haha. Really nice progress tho, loving the way this seems to be going. I hope you really fix that hack job of wiring.
|
|
|

|
|
|
#12 |
|
Zilvia Junkie
 |
I'm good man I'm keeping the 4" for now. And yes there is a decent amount of stuff needing attention from what iv seen. Just want to give the car my touch at this point.
__________________
89 S13/2JZ Silvia(Project Phoenix) IG @awrperformance FB awrperformance |
|
|

|
|
|
#13 |
|
Zilvia Junkie
 |
Small update.
Got a little more organized with tools and labeled all my bags of bolts & nuts that go to the car. I will be prepping the bay this weekend for quick paint job. I'm just going to rattle can it this time around. When and if I decide to TUB the front end then I will go crazy with a engine bay refresh. The goal right now is to make it out to 100 drifters of December! So every day counts. 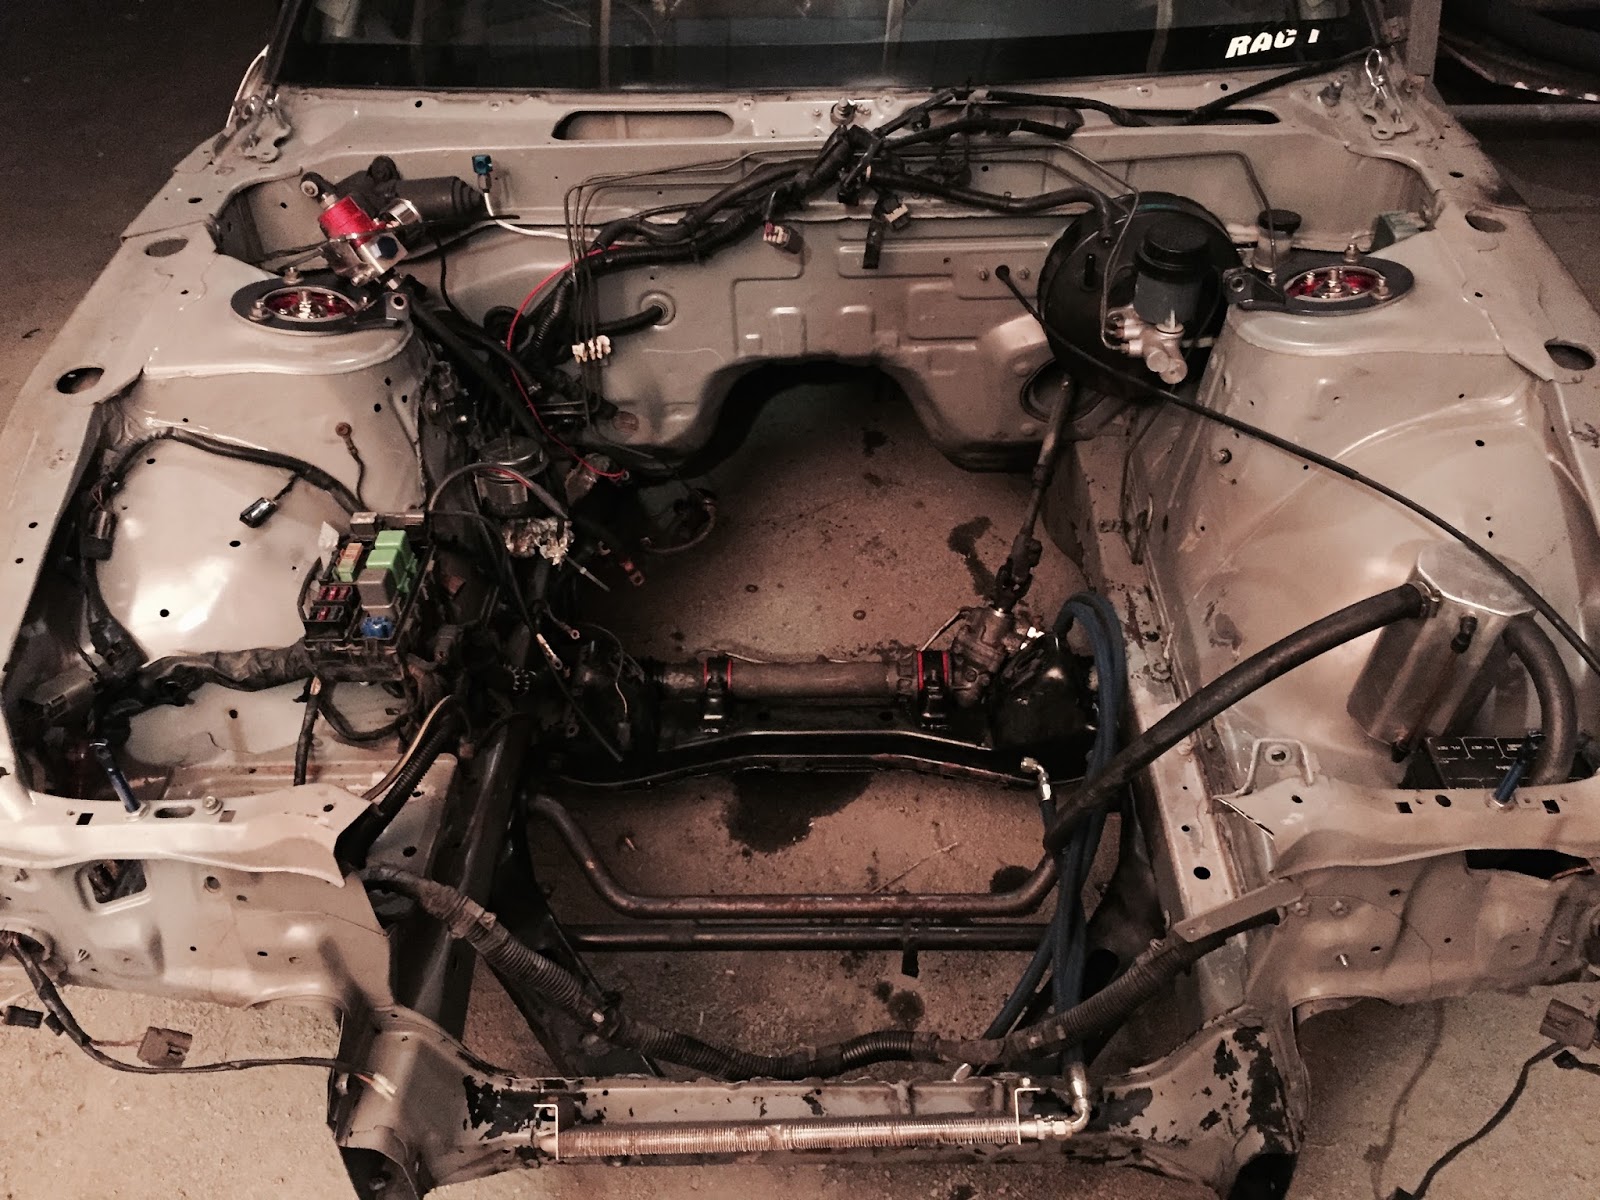 My little corner of the barn/garage my dad was kind enough to let me use. 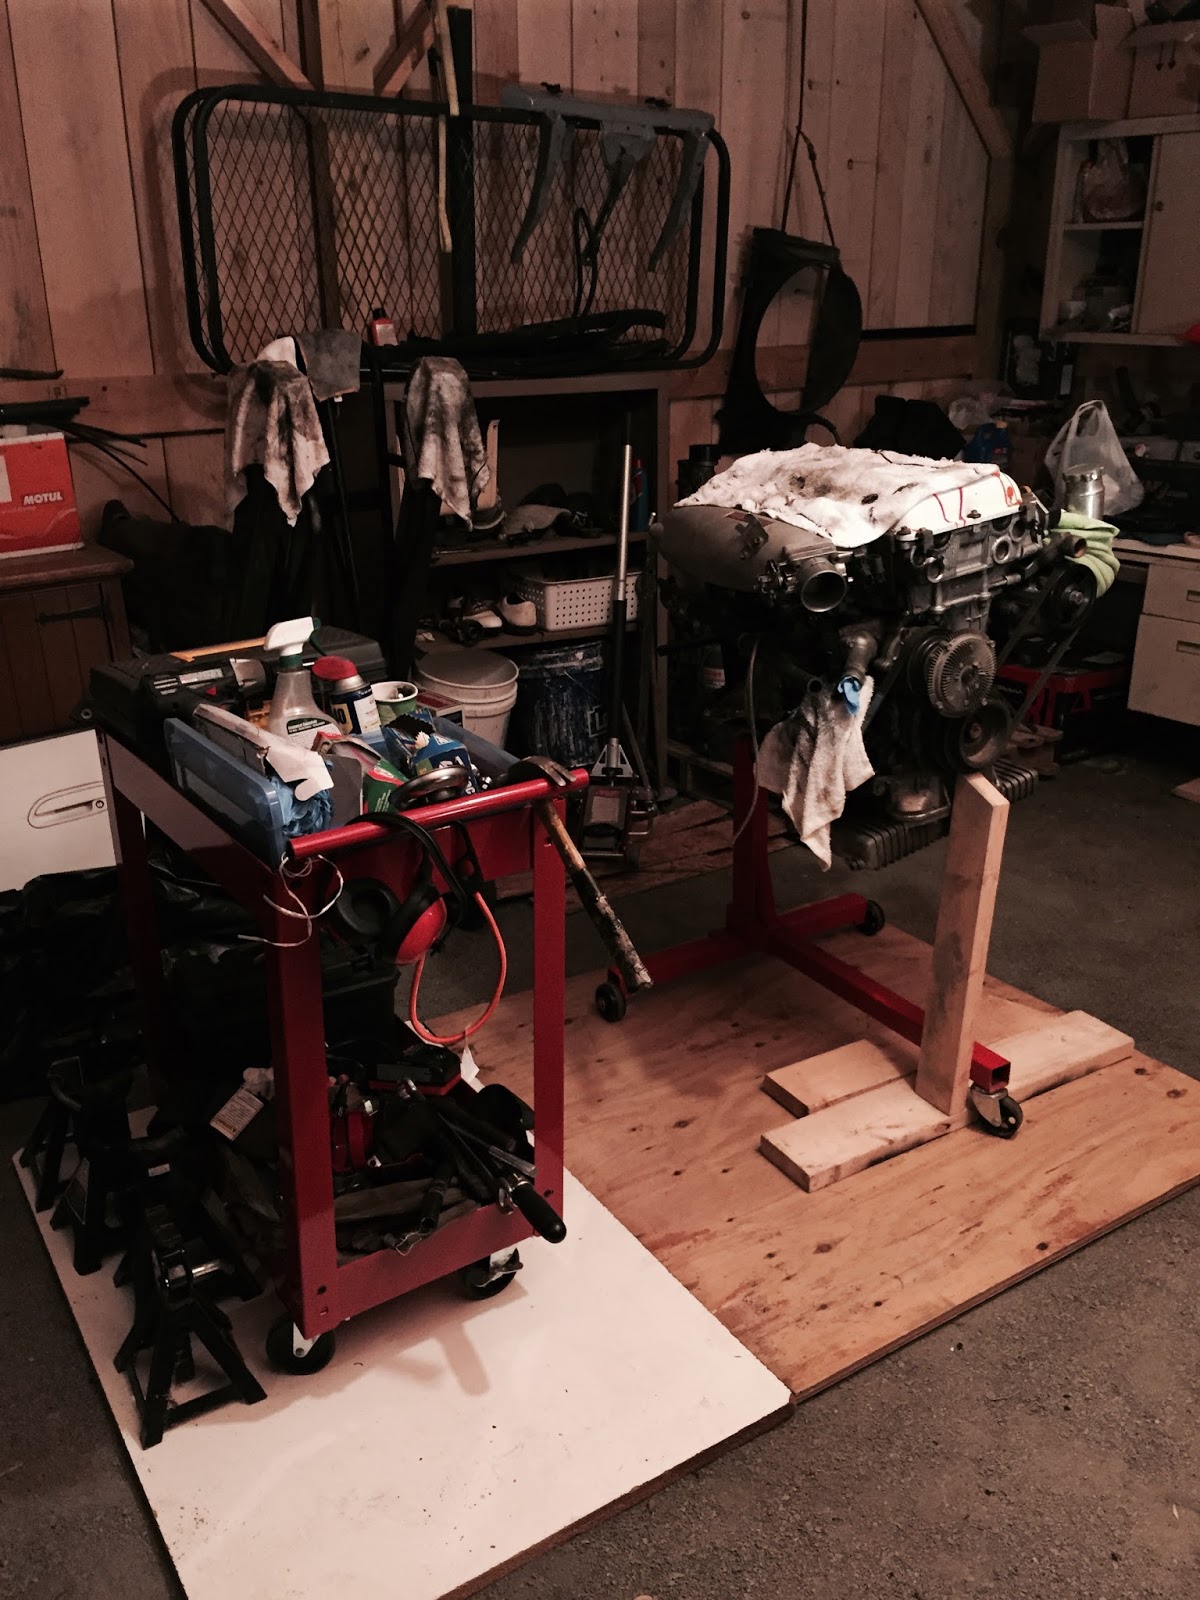 After talking with a friend I decided I'm going to be reusing my Enjuku Racing Spec D clutch setup that came on the car. It is in fairly good shape and will save money for other items. Pressure Plate 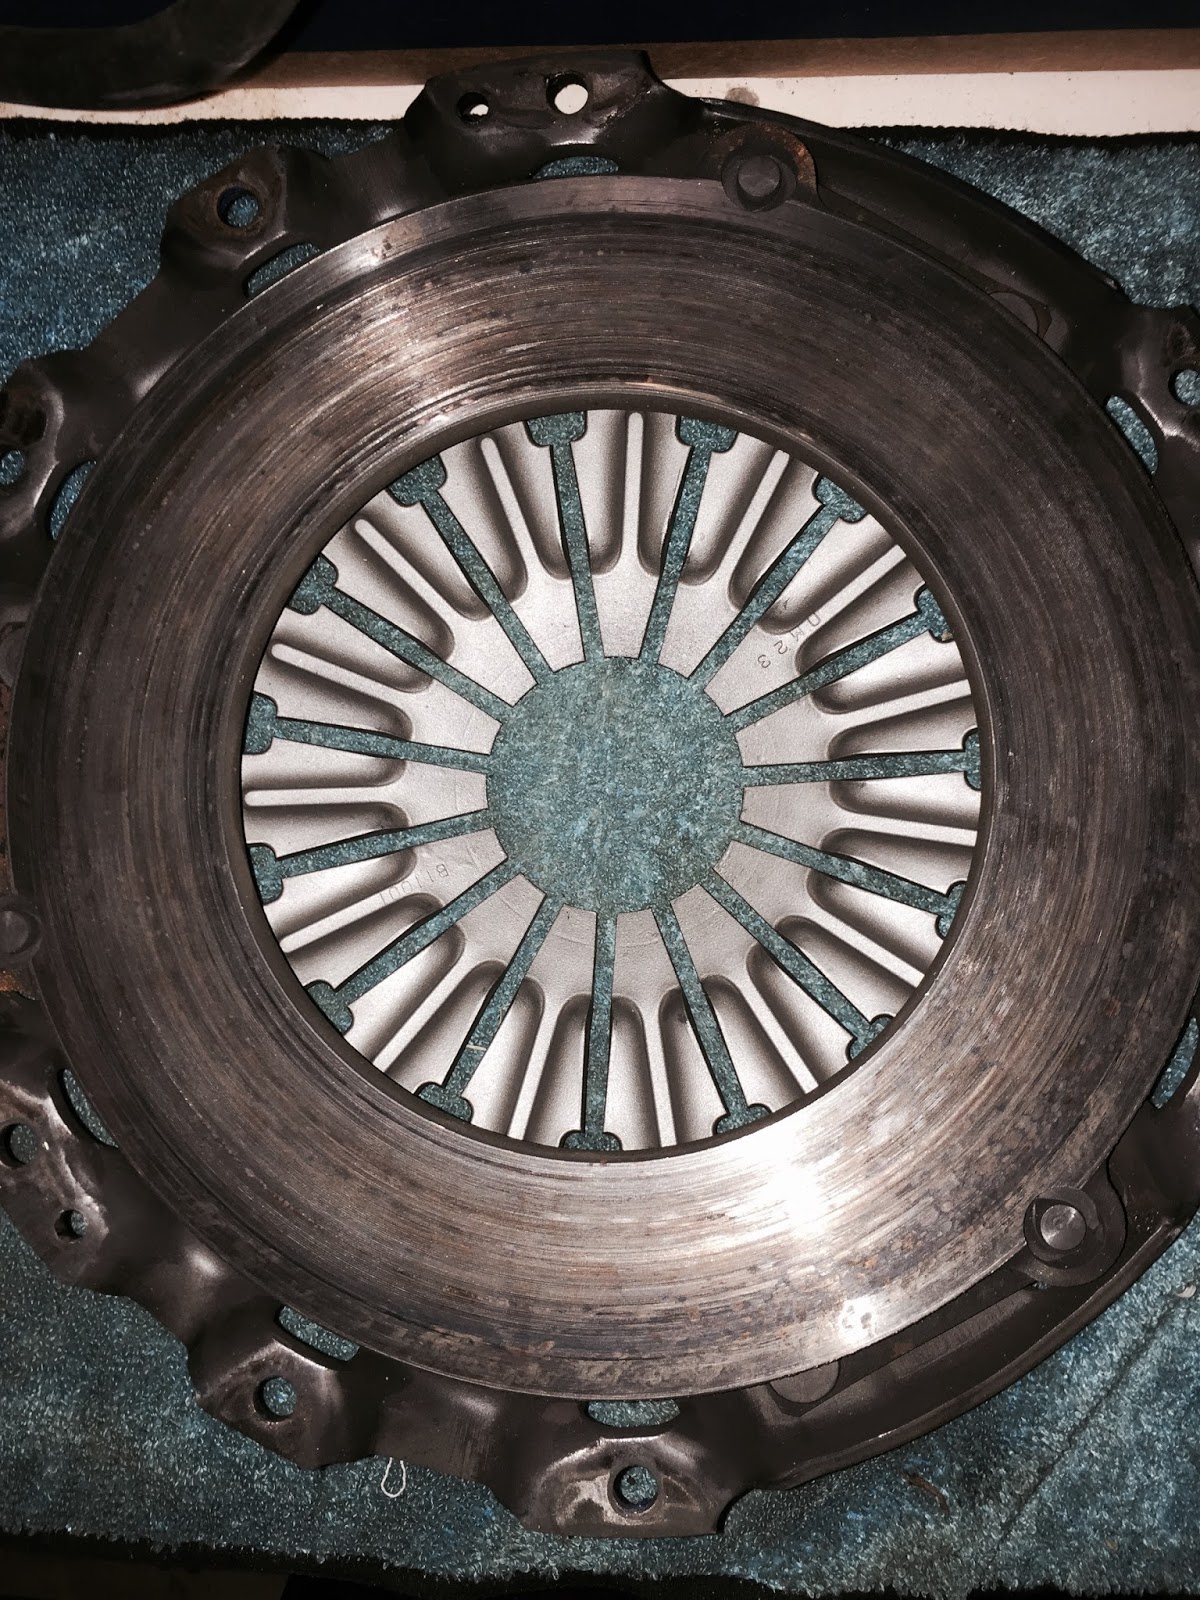 Disk  Flywheel 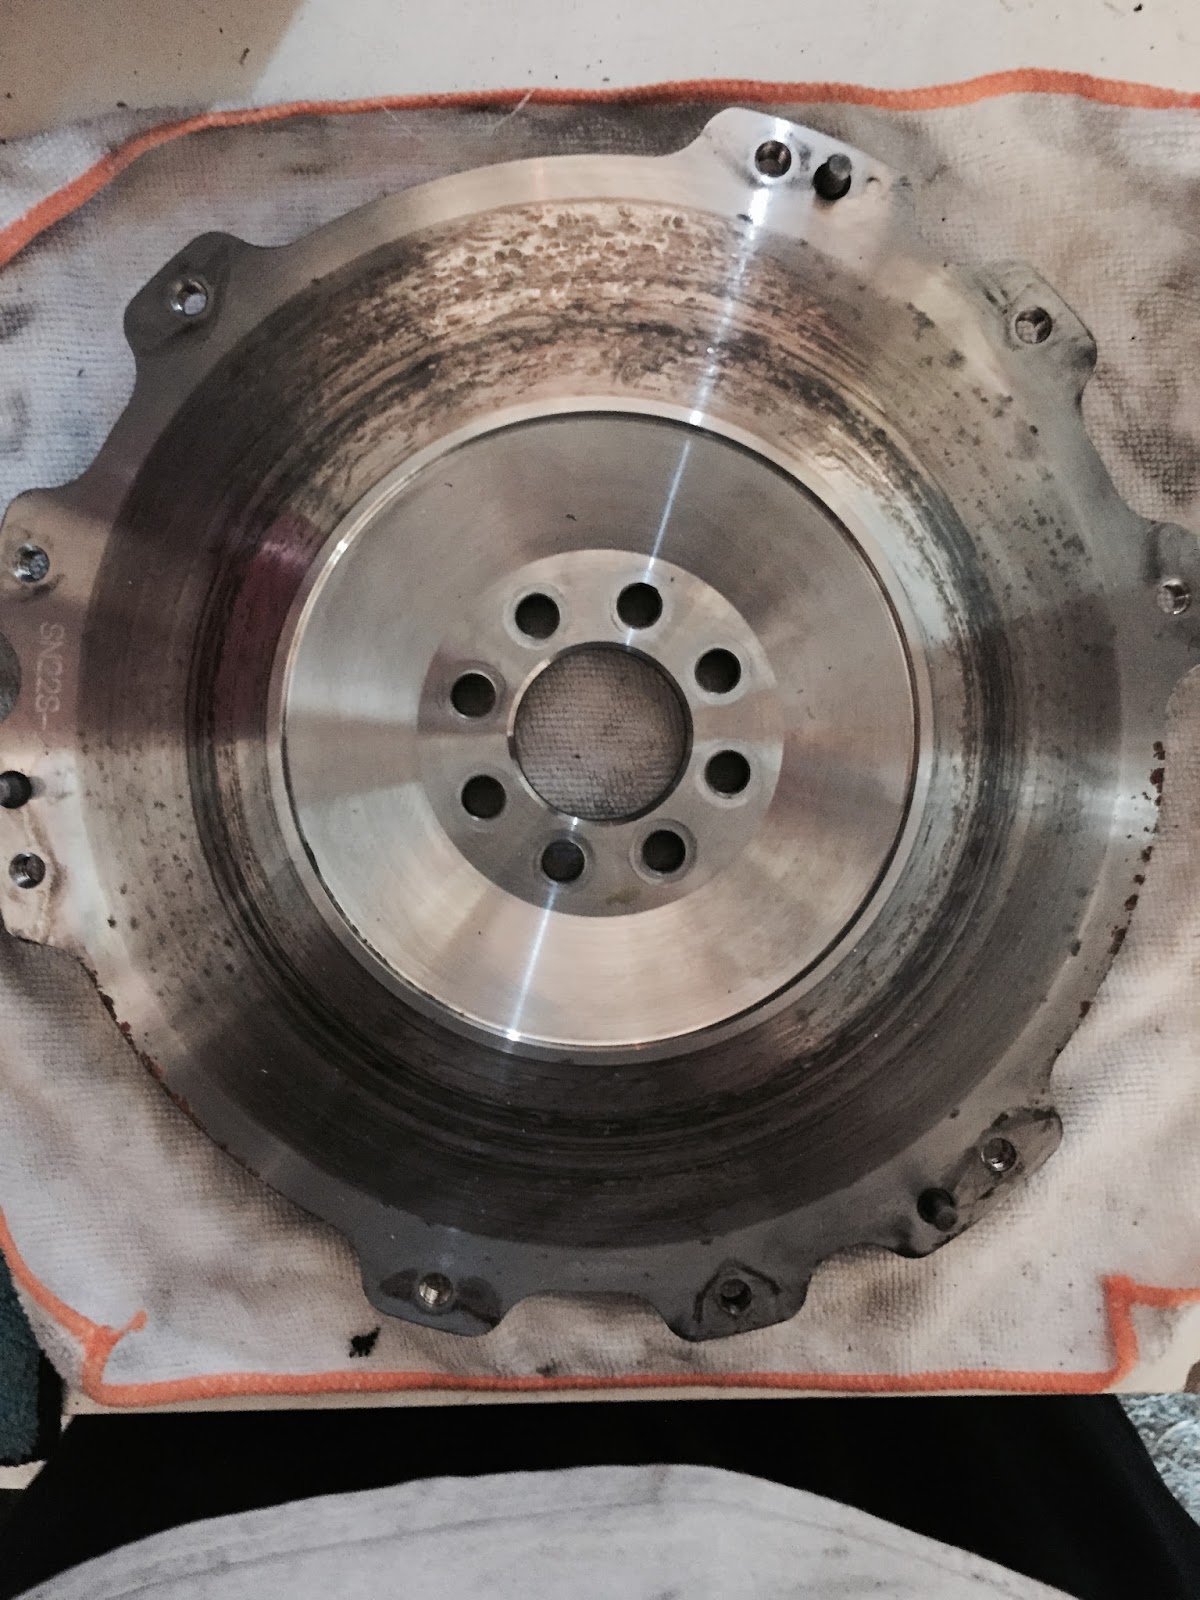 Also grabbed a new Mishimoto starter. I kept seeing used one selling for $80-100.00 so I thought why not spend an extra $40.00 and pick up a new one. Only a couple more items and I will be bolting the trans back to the motor. Also I was shipped arp extended studs in a 12x1.50 format so I had them swapped out for correct 12x1.25.
__________________
89 S13/2JZ Silvia(Project Phoenix) IG @awrperformance FB awrperformance Last edited by drewr4411; 09-25-2015 at 06:28 AM.. |
|
|

|
|
|
#14 |
|
Zilvia Junkie
 |
Spent this weekend cleaning up the bay and sorting out the engine harness. Eventually I want to run the fuse box inside but for now this will do. Just need to pick up a few more parts.. And I will be ready to reinstall the motor.
First off here is my Dad helping to remove the OEM battery tray. This is starting to turn into a father son project which is kinda cool. Tray is gone. Little more cleaned up. Not much to look at but this will do for now. Undercoated the front wheel wells. Ready for install. October to do list: -ISIS 3.0" turbo outlet Ordered* -ISIS short shifter Ordered* -Install motor w/trans -Fluid change -Source driveshaft carrier bracket Sourced* -Mount seats -Install seat harnesses much more.
__________________
89 S13/2JZ Silvia(Project Phoenix) IG @awrperformance FB awrperformance Last edited by drewr4411; 11-19-2015 at 02:00 PM.. |
|
|

|
|
|
#16 | |
|
Zilvia Junkie
 |
Quote:
39813 Tip. When you spray stand 18" back and mist it on. It will take 3-5 coats for full coverage
__________________
89 S13/2JZ Silvia(Project Phoenix) IG @awrperformance FB awrperformance |
|
|
|

|
|
|
#17 |
|
Zilvia Junkie
 |
Decided to redo my cluster bezel in the SEM chip guard last night. I think it came out decent. It has a little darker finish, because it already had a satin black under coat to it.
__________________
89 S13/2JZ Silvia(Project Phoenix) IG @awrperformance FB awrperformance |
|
|

|
|
|
#18 |
|
Zilvia Junkie
 |
Small update from over the weekend.
Sold my z32 conversion kit and picked up another spare SR20 tranny. Installed my ISIS short shifter. Very happy with the fit and finish. Also I bought a new ISIS 3" turbo outlet. Since my greddy one had started to crack. The ISIS Supplied replacement gaskets are junk. I reused my metal one. Drained the oil and started to position my motor for reinstallation. Struggled with the flywheel install tho see below. The flywheel was very had to put on /slip on over the crank lip. I put a little lithium grease which helped but I really had to tap it on hard. (the broken bolt is only there as a guide for the holes) I have ARP flywheel bolts on the way. My question is...Does the flywheel look seated properly? As of right now I am able to screw those bolts in by hand until, the bolt head touches the flywheel. Then I tighten them to 60 Ftlb as a test. It feels right to me, but I am unsure. This is my first Flywheel install on a sr20. October to do list: -ISIS 3.0" turbo outlet Ordered* -ISIS short shifter Ordered* -Install motor w/trans -ARP Flywheel bolts Ordered* -Fluid change -Source driveshaft carrier bracket Sourced* -Mount seats -Install seat harnesses Thanks for reading and if you have any comments they are more then welcome. More updates coming next weekend.
__________________
89 S13/2JZ Silvia(Project Phoenix) IG @awrperformance FB awrperformance Last edited by drewr4411; 10-05-2015 at 09:00 AM.. |
|
|

|
|
|
#19 |
|
Zilvia Junkie
 |
Well it was a long Saturday this past weekend, putting the motor back in the car.
I spent about an hour Saturday morning making sure the SPEC D clutch, and flywheel were clean and ready for install. I Loctite'd all the flywheel bolts and the pressure plate bolts as well. Went to install the tranny and the input shaft put up a little fight going in. Lubed it with a tiny bit of lithium grease and it finally decided to give in. After that we dropped here in. Now this was a little tougher then I thought it would be. Trying to hit those slots with the motor mount studs was a challenge. PICS I spent the rest of the afternoon plugging things in and wiring things back up. I will be going out again tonight to continue putting things back on the car. Need to buy some now tranny cross member bolts as well.... October to do list: -ISIS 3.0" turbo outlet: installed* -ISIS short shifter: installed* -Install motor w/trans: installed* -ARP Flywheel bolts: Installed* -Install cooling components: -Install driveshaft with carrier bracket: -Fill car with fluids: -Bleed clutch pedal: -Mount seats and harnesses: -Install down pipe and exhaust: -Re tune for 93 octane: Thanks for reading!
__________________
89 S13/2JZ Silvia(Project Phoenix) IG @awrperformance FB awrperformance |
|
|

|
|
|
#20 |
|
Zilvia Junkie
 |
Got a little more done last night
 Finalized some wire routing, plugged in more sensors. Made sure I had enough grounds for the motor. This is something that has always slowed me down on start ups. 1 from the coil pack harness to the head. 1 on the head to the firewall. 2 on the intake manifold (either side) to the chassis and firewall. 1 from the block tranny area to the chassis. 1 from the battery to the chassis. 1 from the fuse box to the chassis. etc (if I am missing any please let me know) Filled the car will oil. Installed the fan. Installed the rad and shroud, which I modified a little, so I can pull it out easier. Bolted in the power steering cooler and lines. I went to install my tranny cross member last night and the bolt holes are not lining up properly. I am going to level the car back out and look at it again. Front core support mocked up. I need to find some plates and bolt the top together properly. Next on the list will be to install the intercooler and finalize some piping revisions.
__________________
89 S13/2JZ Silvia(Project Phoenix) IG @awrperformance FB awrperformance Last edited by drewr4411; 10-13-2015 at 07:56 AM.. |
|
|

|
|
|
#22 | |
|
Zilvia Junkie
 |
Quote:
Wiring will be cleansed up. Currently it works which is a plus for me. So it will be fine for now. This winter I plan to do a nice new panel.
__________________
89 S13/2JZ Silvia(Project Phoenix) IG @awrperformance FB awrperformance |
|
|
|

|
|
|
#24 |
|
Zilvia Member
 |
|
|
|

|
|
|
#25 |
|
Zilvia Junkie
 |
Rpf1 well after buying this car that makes this the 4th set of rpf1s iv owned. Iv been wanting to change it up with this build, so bye bye they went. I sold them for cash and traded for the other set, for the wheels I have currently. plus it got me into 18" for now which is what I wanted. Plus my rpf1 needed to be re finished.
Just like the wheels the seats needed to be refinished also. Quoted $1500 for original refinish. Which is the only way I would do it. They were also hard mounted in and since the last owner was 6 foot tall and I'm 5-8" I decide to switch it up. The bride reps are just there for now. I plan to go status or race tech next year. Honestly just preference as of now. Nothing in the car was really worth putting more money into refinishing. Rather by new it used new just for now.
__________________
89 S13/2JZ Silvia(Project Phoenix) IG @awrperformance FB awrperformance Last edited by drewr4411; 10-22-2015 at 02:26 PM.. |
|
|

|
|
|
#26 |
|
Zilvia Junkie
 |
__________________
89 S13/2JZ Silvia(Project Phoenix) IG @awrperformance FB awrperformance |
|
|

|
|
|
#27 |
|
Zilvia Junkie
 |
Build update 10/19/15.
Got a lot of the smaller details completed this weekend. -Bolted in the Rad shroud. -Made brackets for my removable core support. (Sorry no pic :/) -After I installed the brackets, I was able to mount the FMIC and work on the piping. This is when things started to slow down at least on the drive side. Mocking up the piping before secure the T-bolts. Passenger side FMIC done Started working on the driver side. This side took the longest to setup. Because I needed to open up the hole in the chassis more and more to make everything fit correctly. The way they were ran before caused a lot of pull and rubbing all over the front part of the body. It was pretty obvious after removing all the old couplers as there were tears and holes in them. I decided to use a 8" coupler to help reduces some of those issues. I think it came out pretty good. -Unfortunately I need a new AEM sensor. The head on this one is completely rounded off and the threads seem seized.  -Mounted my chase bays coolant catch can finally. -Got all my vacuum fittings sorted out and installed. And this is how she sits now, about 80% complete.  October to do list: -Install cooling components: DONE -Mount FMIC and Piping: DONE -Make Core support brackets: DONE -Install driveshaft with carrier bracket: work in progress >:[ -Fill car with fluids: Oil DONE, coolant done. -Buy AEM sensor: done -Mount driver door: -Bleed clutch pedal: -Install clutch cylinder: -Mount seats and harnesses: -Install down pipe and exhaust: -Re tune for 93 octane: Thanks for reading!
__________________
89 S13/2JZ Silvia(Project Phoenix) IG @awrperformance FB awrperformance Last edited by drewr4411; 10-20-2015 at 06:55 AM.. |
|
|

|
|
|
#29 |
|
Zilvia Junkie
 |
Worked on the car for about 2 hours last night.
Installed my new AEM sensor. Topped off all my fluids. Bolted in my slave cylinder. Found a wire for my fuel pump I didn't reinstall. Put that back in the the right location. Installed my Downpipe and the rear section of my exhaust. I'm holding off on the mid pipe until I get the driveshaft installed. Im glad I went with 4" tips :]
__________________
89 S13/2JZ Silvia(Project Phoenix) IG @awrperformance FB awrperformance |
|
|

|
|
|
#30 |
|
Premium Member
 Join Date: Mar 2009
Location: Maricopa, AZ
Age: 30
Posts: 7,679
Trader Rating: (10)
           Feedback Score: 10 reviews
|
Like this build, I need to do the removable core support myself, just wish someone made weld in brackets or something for that!
I wouldn't have sold the z32 conversion to go back to an s13 trans though, might have been better off getting the syncros rebuilt instead. It's nice not worrying about breaking a trans. |
|
|

|
 |
| Bookmarks |
| Thread Tools | |
| Display Modes | |
|
|