
 |
|
|||||||
| Home | Rules & Guidelines | Register | Member Rides | FAQ | Members List | Social Groups | Calendar | Mark Forums Read |
| S Chassis Technical discussion related to the S Chassis such as the S12, S13, S14, and S15. |
|
|
Thread Tools | Display Modes |
|
|
#1 |
|
Nissanaholic!
 |
s13 EL CHEAPO fog lights project
Thought I would share this little project I did a few months back before I sold my s13.
For those of us with stock chuki bumpers who are too poor to afford "real" fog lights, but still gotta scratch that itch, here's a cheapo and decently executed solution. NOTE: Check your local laws, or whatever... This will only work on chuki bumpers, as it will require the bumper vents that sit below the bumper lights. Go to walmart and get a set of Optronics Platinum Burners for about $20. The ones that look like this: 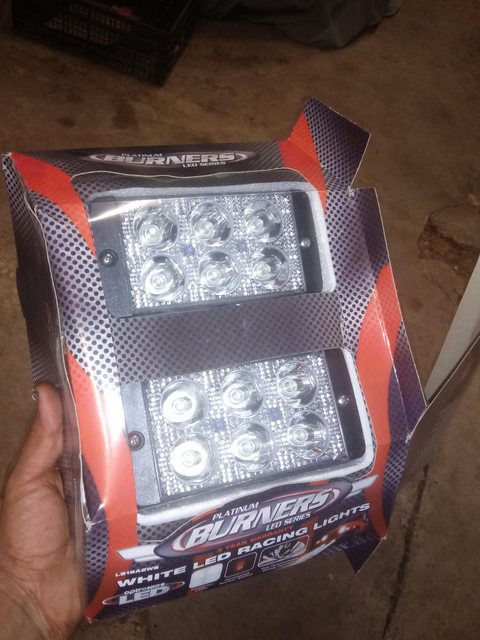 Remove the mounting brackets and cut and shave the part of the fog light assembly where the mounting bracket mounts. Now shave the sides of the fog light assembly enough to where it fits inside the chucki bumper air vent, but not to much to where it would be too weak. It will be a tight fit, and it will make the air vent bulge a bit, but as long as the air vent fits back into the bumper: 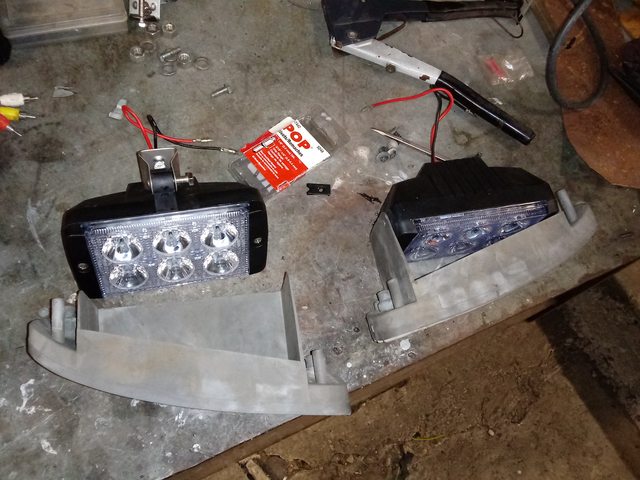 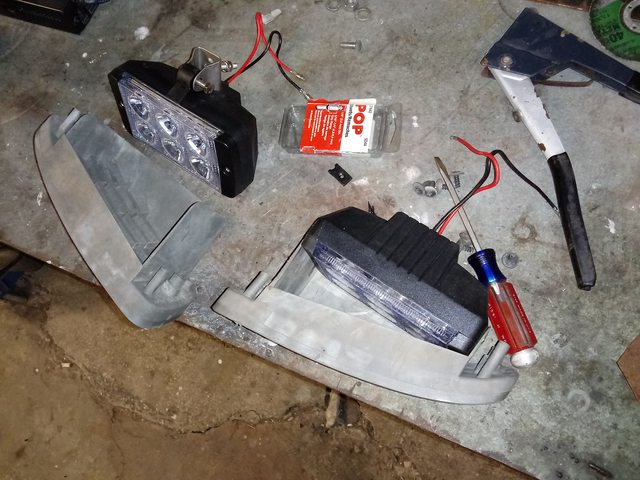 Next you will want to secure it in place. I think rivets would be the safest bet in this case, as screws on plastic would loosen up too fast and using nuts inside the fog light assembly would be impossible. I found that the lines on the inside edge of the air vents are pretty leveled, so I used those as a reference to mount them in place, so try to line them up the best you can with the lines of the fog light assembly. Now drill the holes through both, the air vent and fog light assembly were your rivets will go while you hold them both together . When you install the rivets, depending on how strong they are, if you keep pumping your riveter until the rivet breaks, you'll probably end up breaking through both the fog light assembly and the air vent, so once it feels tight, break out your cutting wheel and cut the remaining center rod on the rivet. It will be a tight fit and the heads of the rivets will rub against the bumper as you install your air vent and fog light assembly, so smoothen out the heads of those rivets the best you can without heating up the rivets too much as they could melt the plastic. At the end they should look something like this: 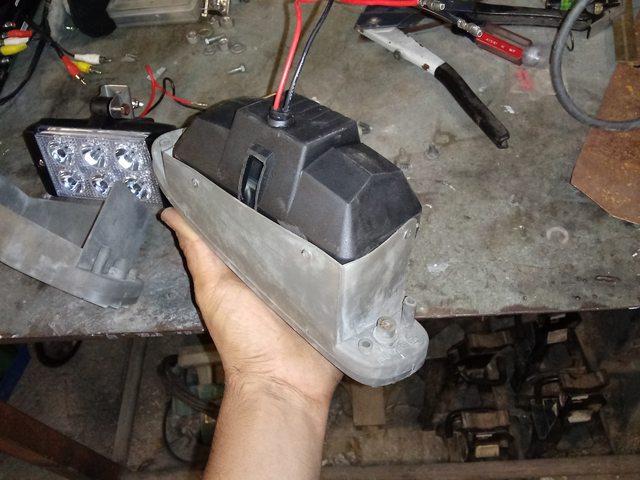 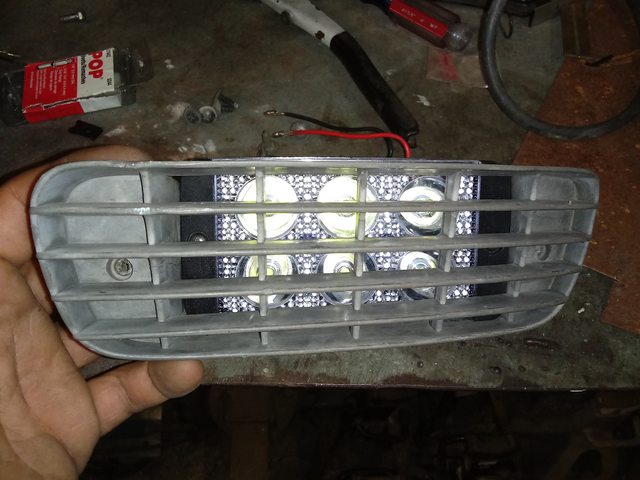 That's pretty much it! Now, this fog light kit comes with a switch which is pretty straight forward to wire. Basic stuff. Only thing about it is, the light on it is really bright. If I had known I probably wouldnt have used it. I used my stock O/D button to mount it in place to give it that stockish look, but the light would give it away... 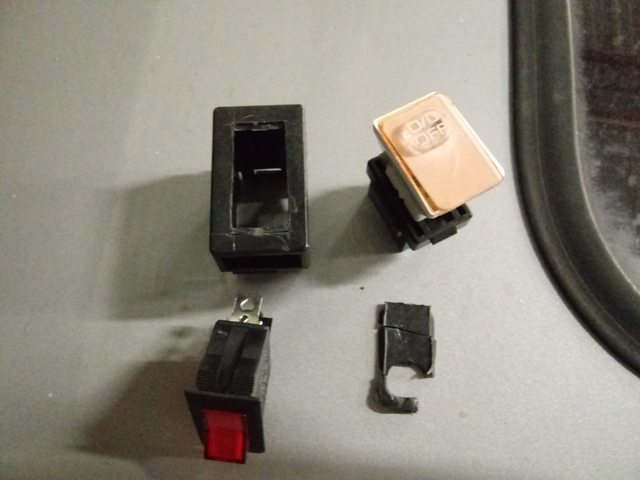 Wire them as you please and that's it! These things are pretty bright, so be responsible. At the end you should have something like this: 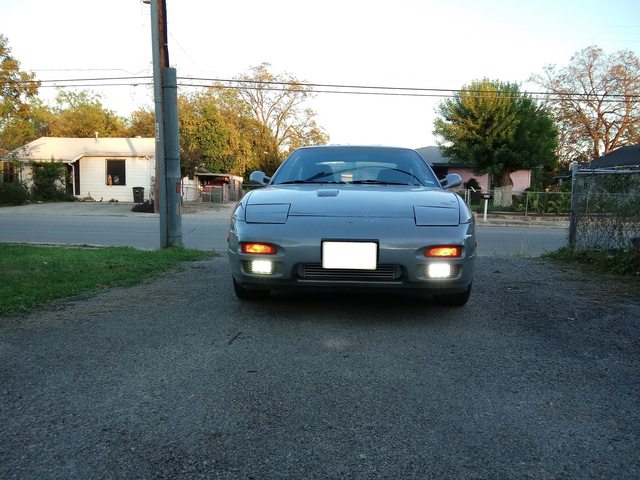 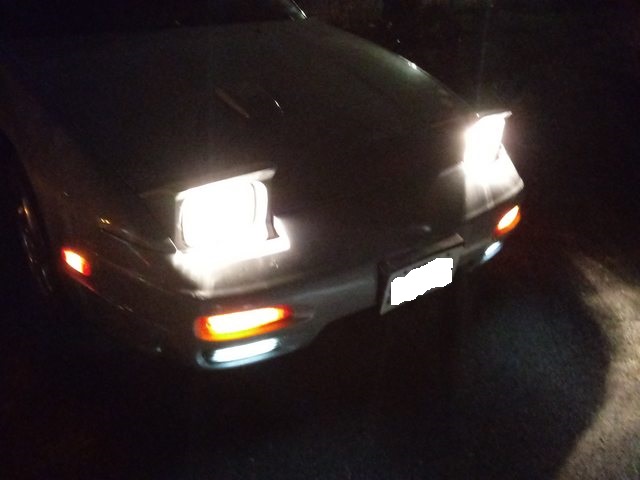 hookers will pay attention to you now  Enjoy, my fellow cheap basterds!!
__________________
Tuners are big bullies 
|
|
|

|
| Sponsored Links |
| Bookmarks |
| Thread Tools | |
| Display Modes | |
|
|