
 |
|
|||||||
| Home | Rules & Guidelines | Register | Member Rides | FAQ | Members List | Social Groups | Calendar | Mark Forums Read |
| Builds (and builds only) Got a build thread? It goes here, build threads anywhere else on the forum will be locked and never moved. |
 |
|
|
Thread Tools | Display Modes |
|
|
#121 |
|
Zilvia Junkie
 Join Date: Sep 2012
Location: LongBeach, CA
Age: 28
Posts: 371
Trader Rating: (4)
     Feedback Score: 4 reviews
|
Suprareal's S13 FB build (sr20det eventually)
This covid plague has really slowed down business for me like most and instead of going insanely bored I decided to start on my roll cage.
It will be a full cage with interior Im using typical DOM tubing 1.5 .095 wall Started with stripping the interior and sound deadening. I will be adding back some new deadening after though. 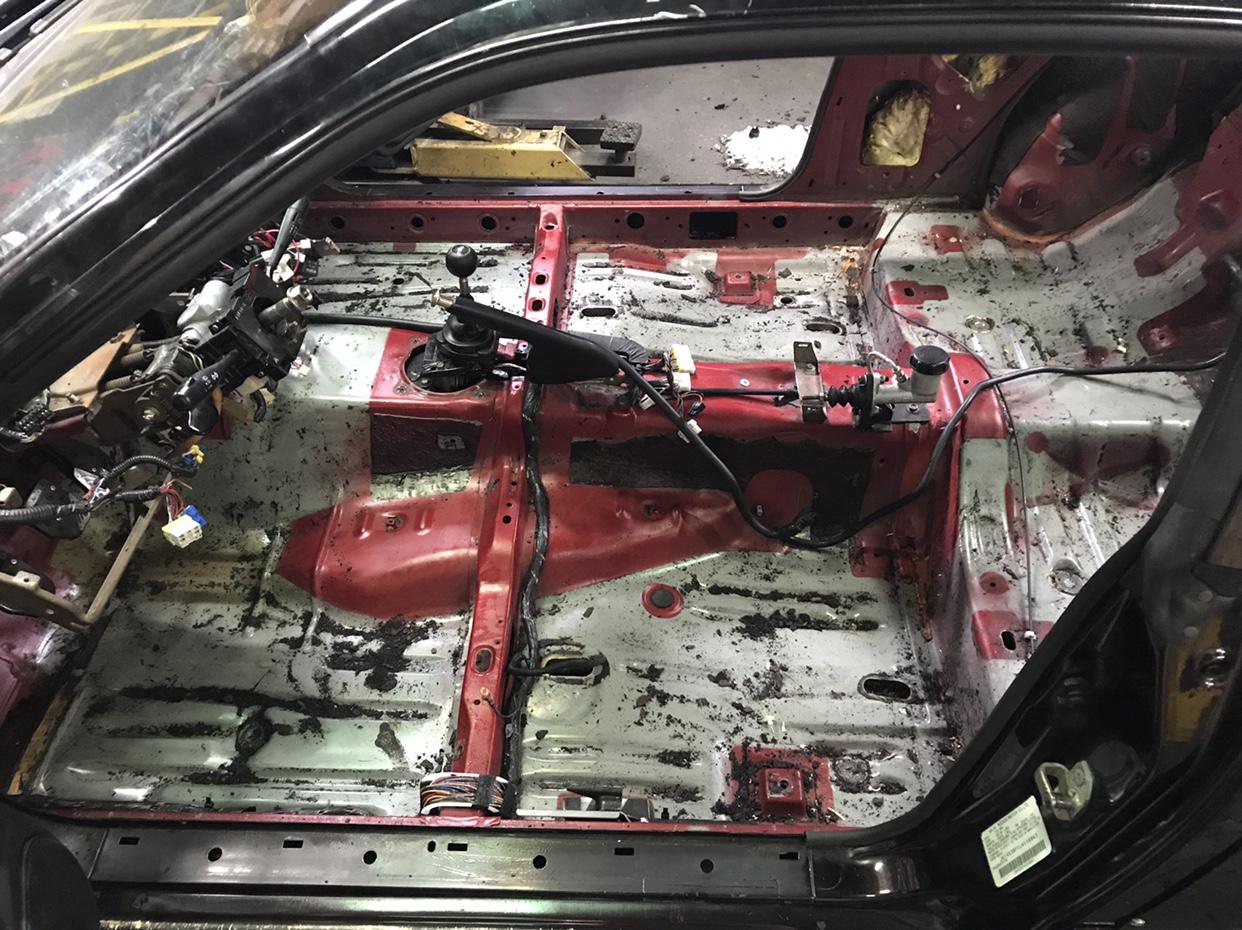 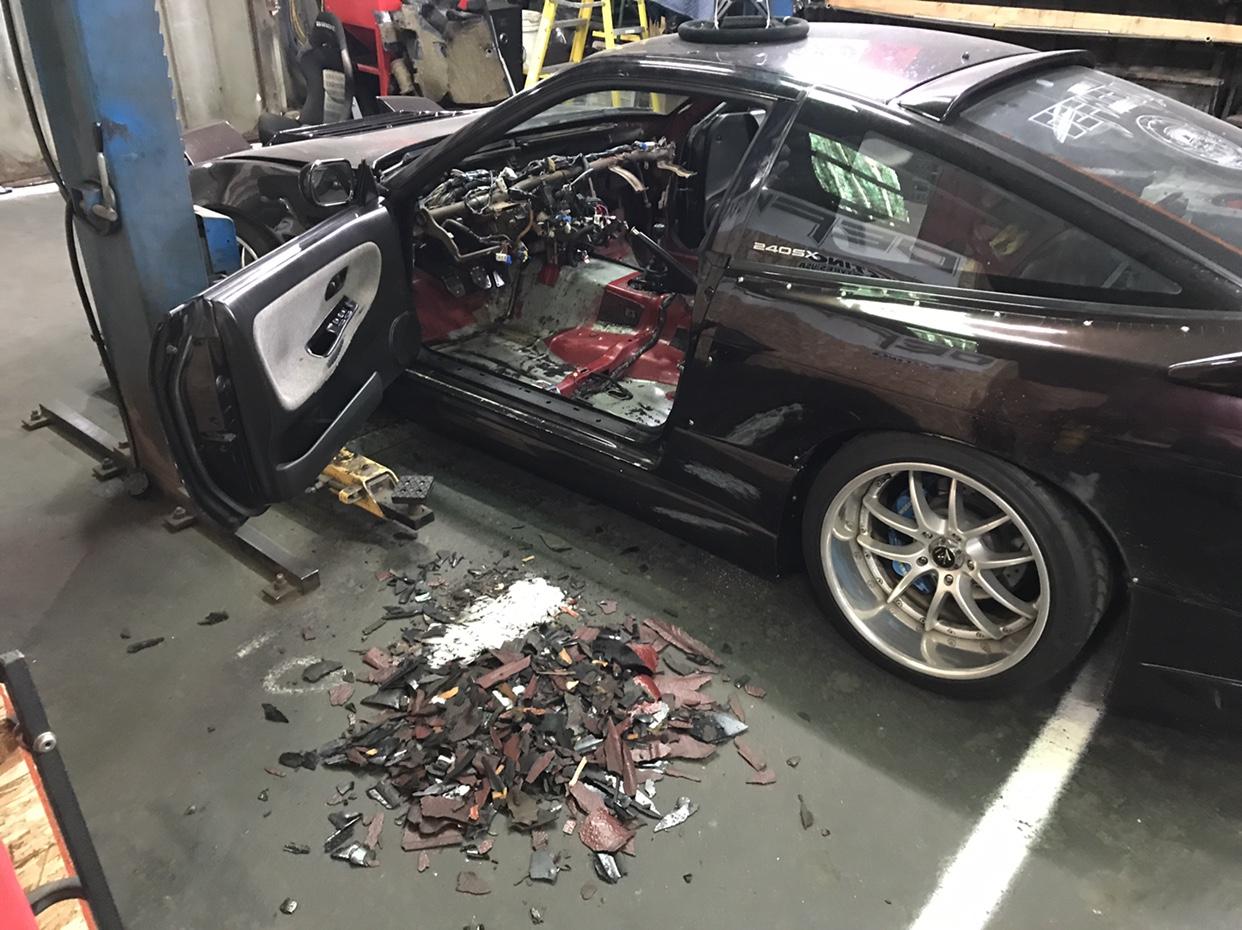 I built the front boxes outside of the car for a much easier job when they need to be welded in 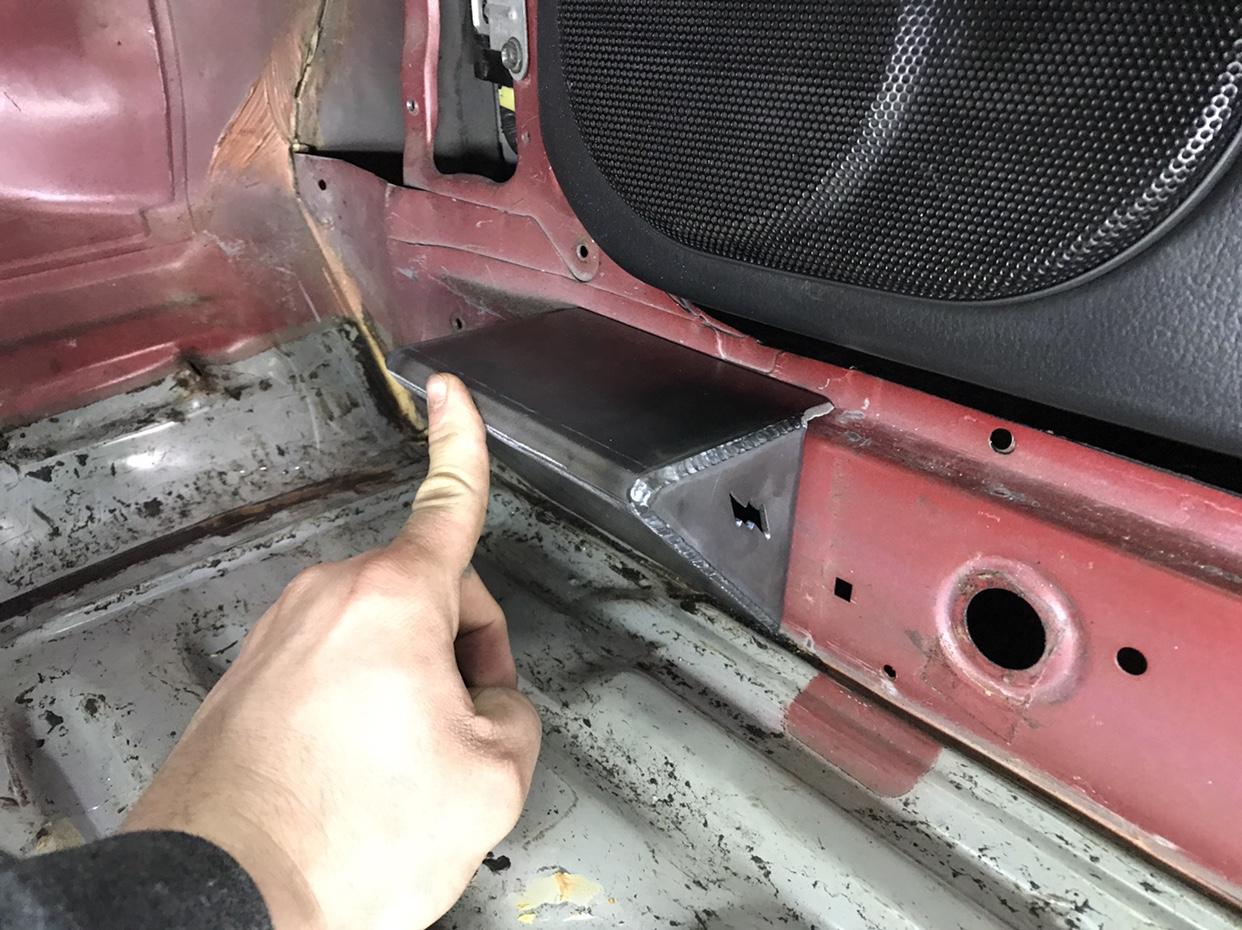 Harness lap belt bolt on plate. You can simply use one of the stock bolt holes with your harness but I found this centered the bolt allowing the strap to come out of the carpet hole much cleaner 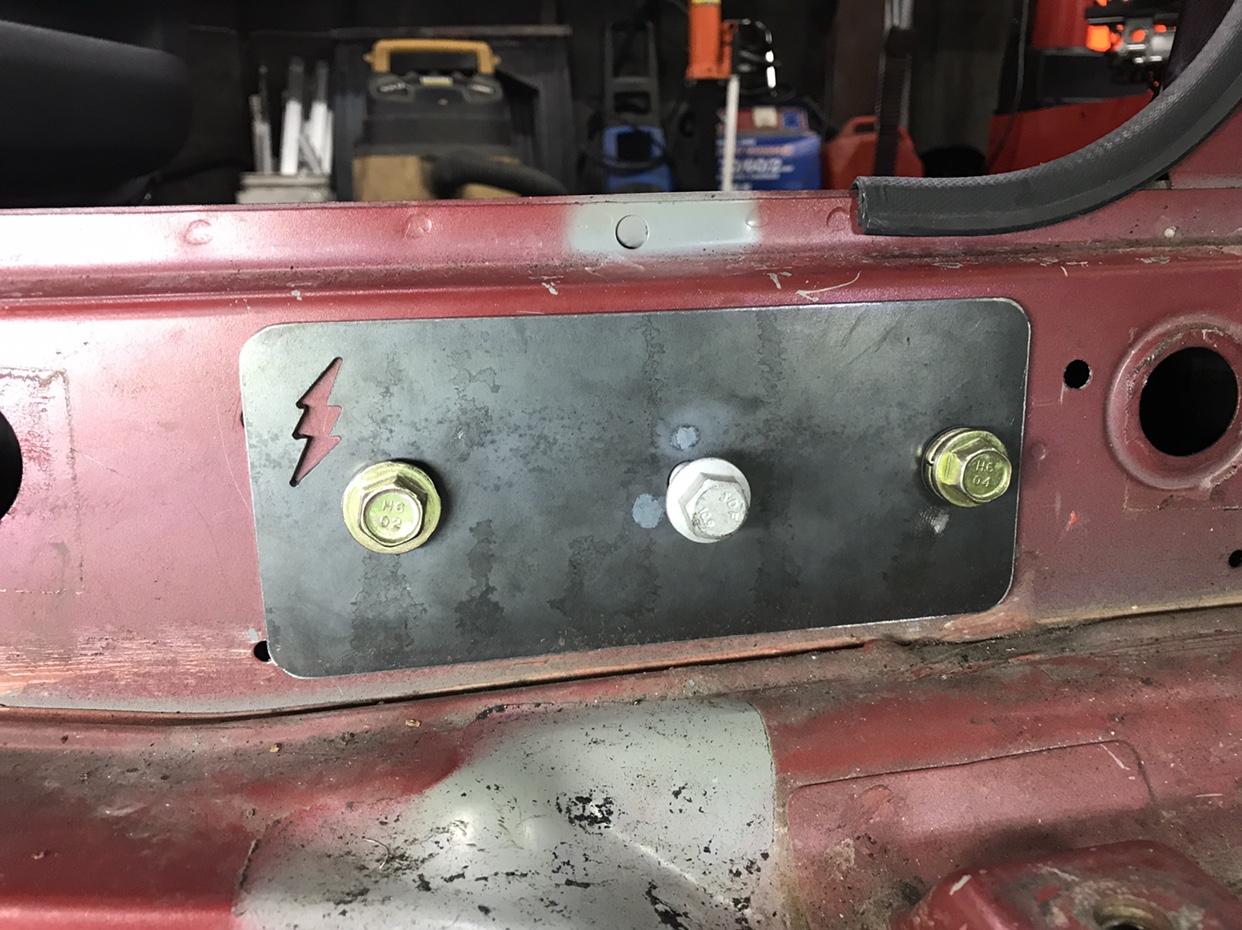 The rear plates counter the chassis nicely to get great coverage 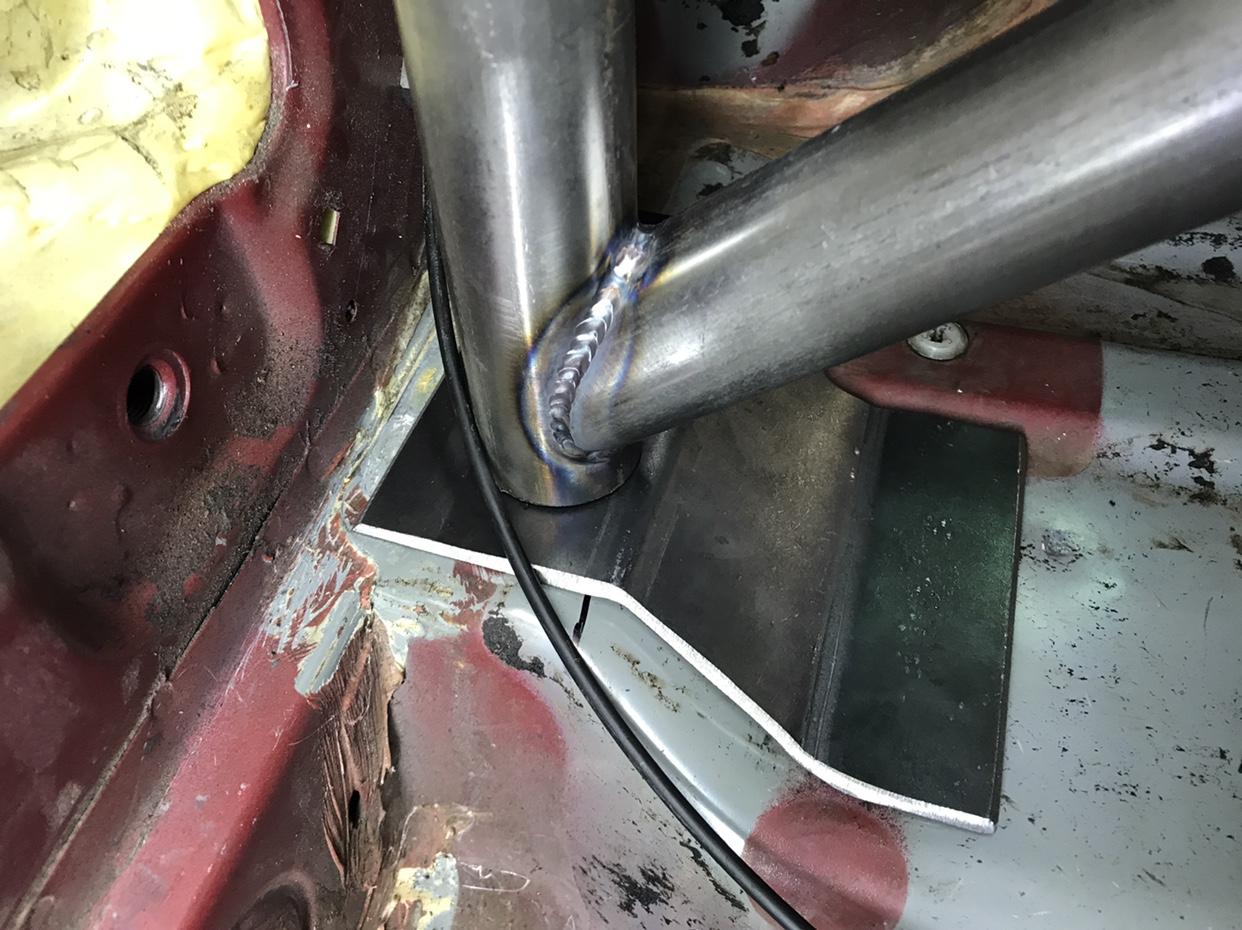 I?m TIG welding the entire cage minus the base plates to chassis. The entire main hoop was built and welded outside of the car 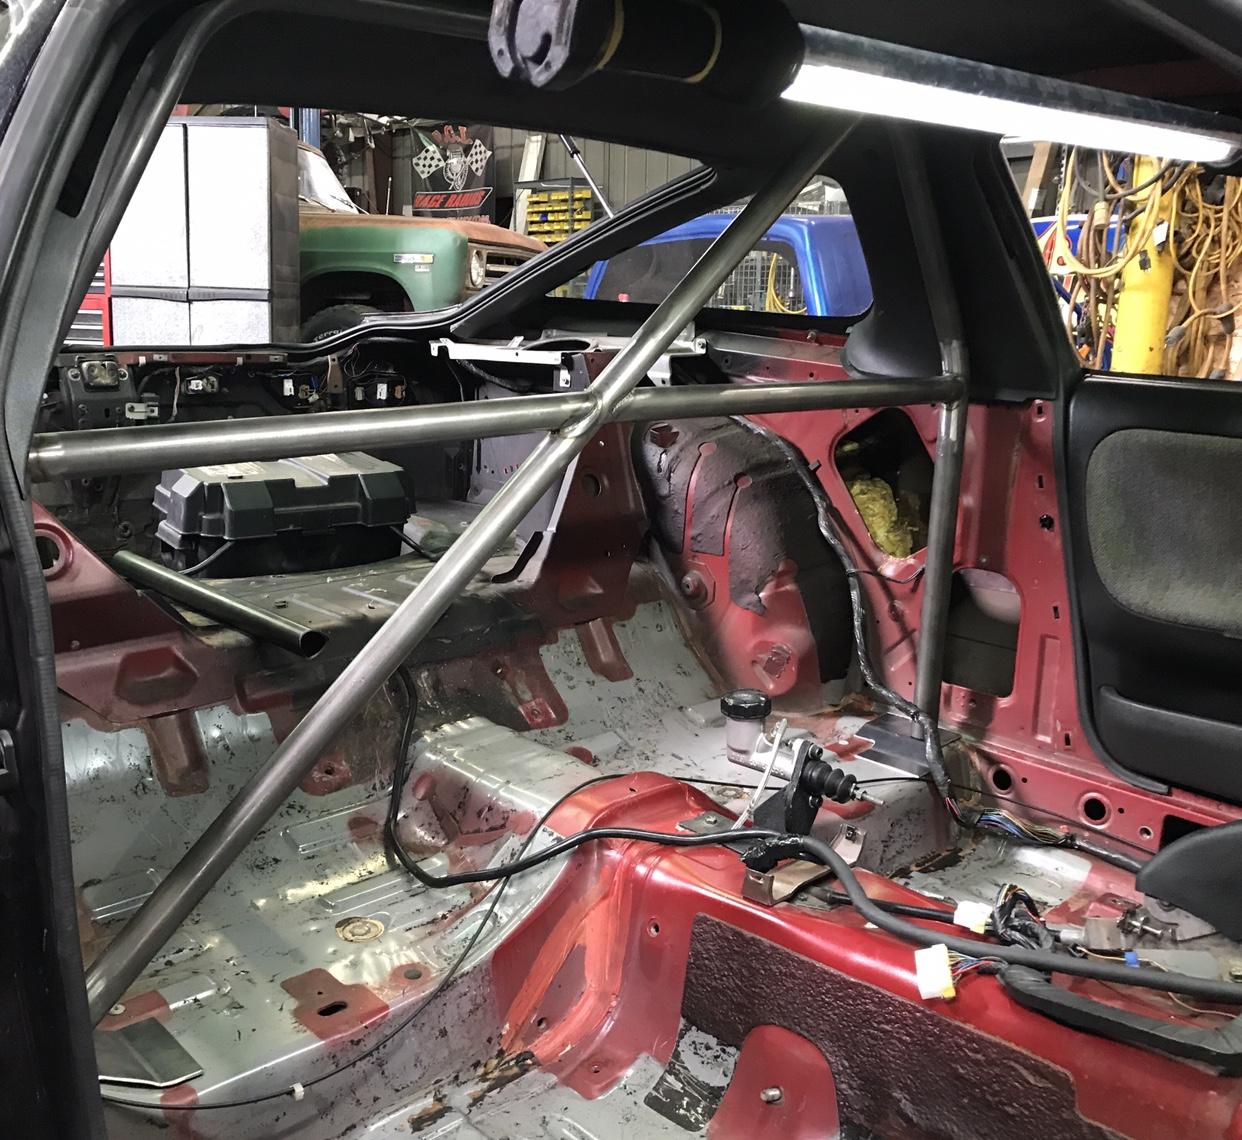 I?ve built a few cages in the past but never with interior. Finding it a lot more difficult to build working around the panels 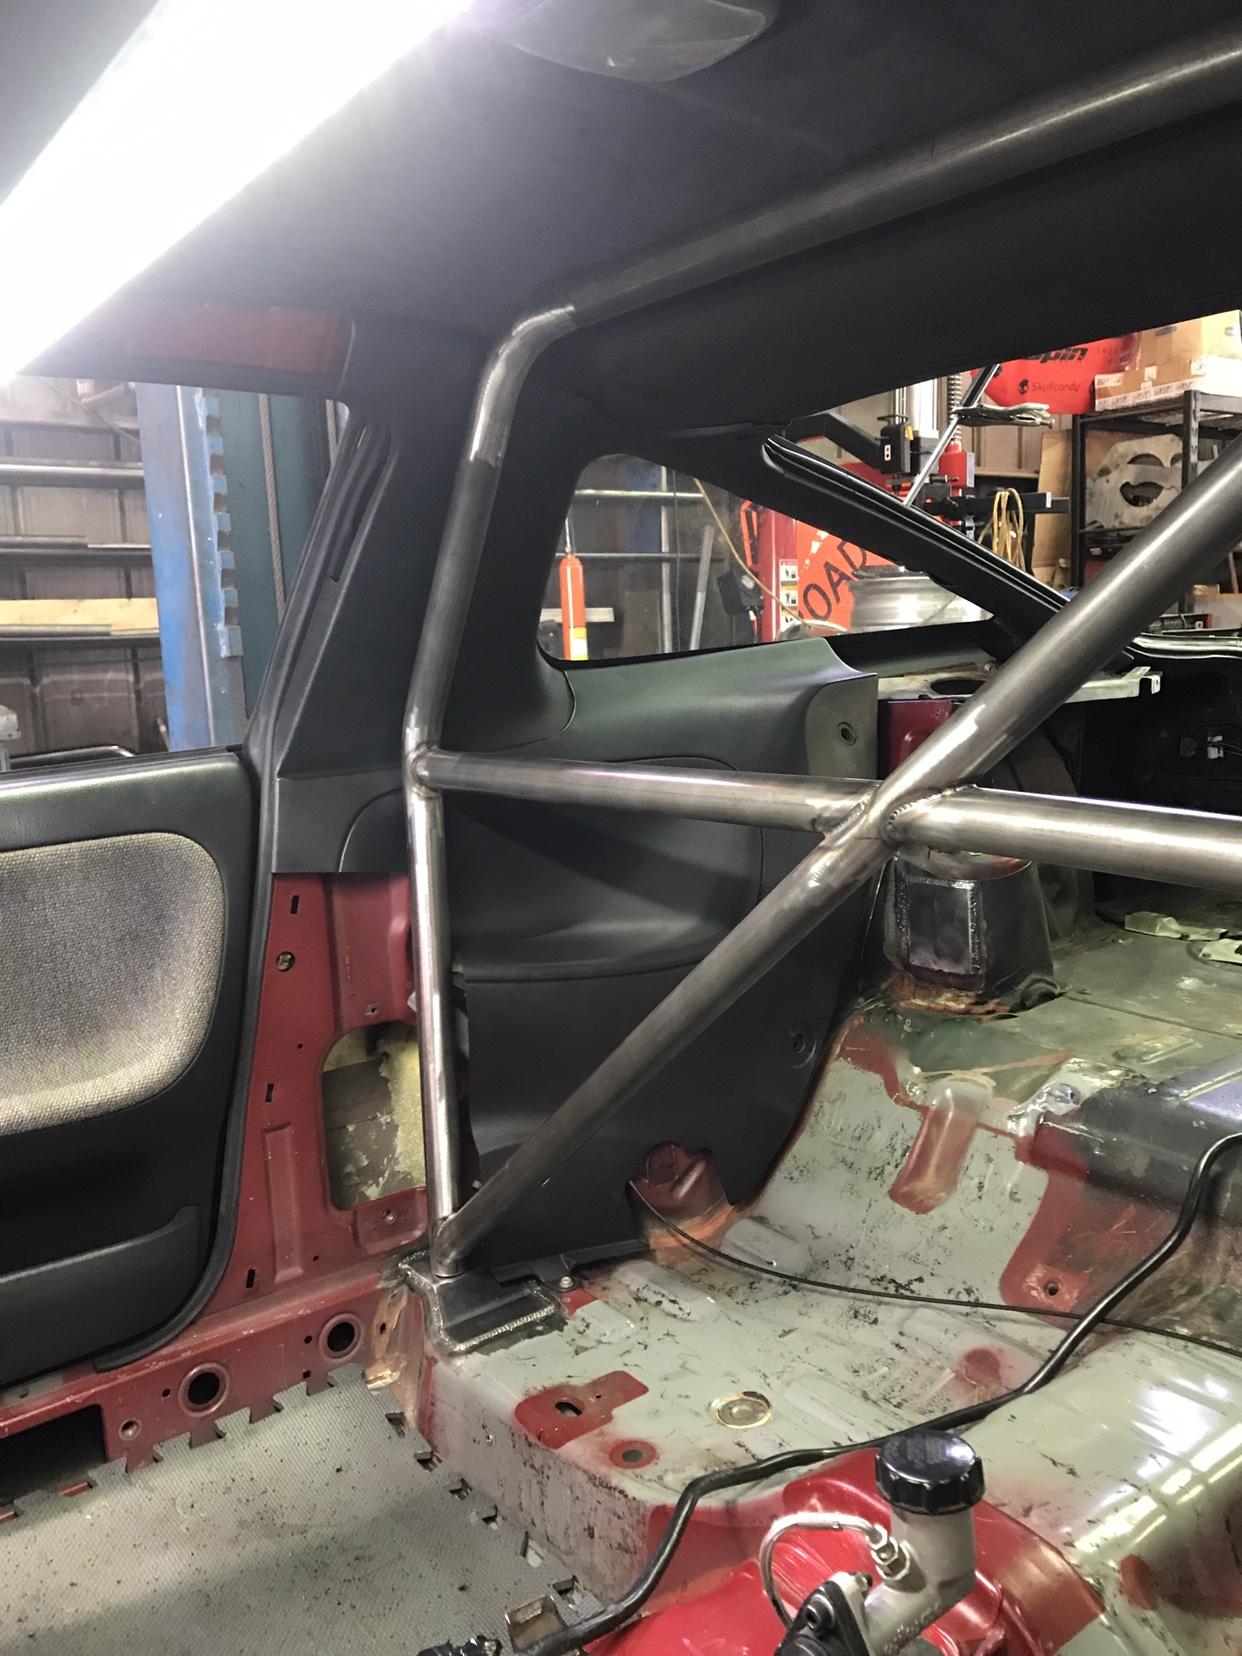 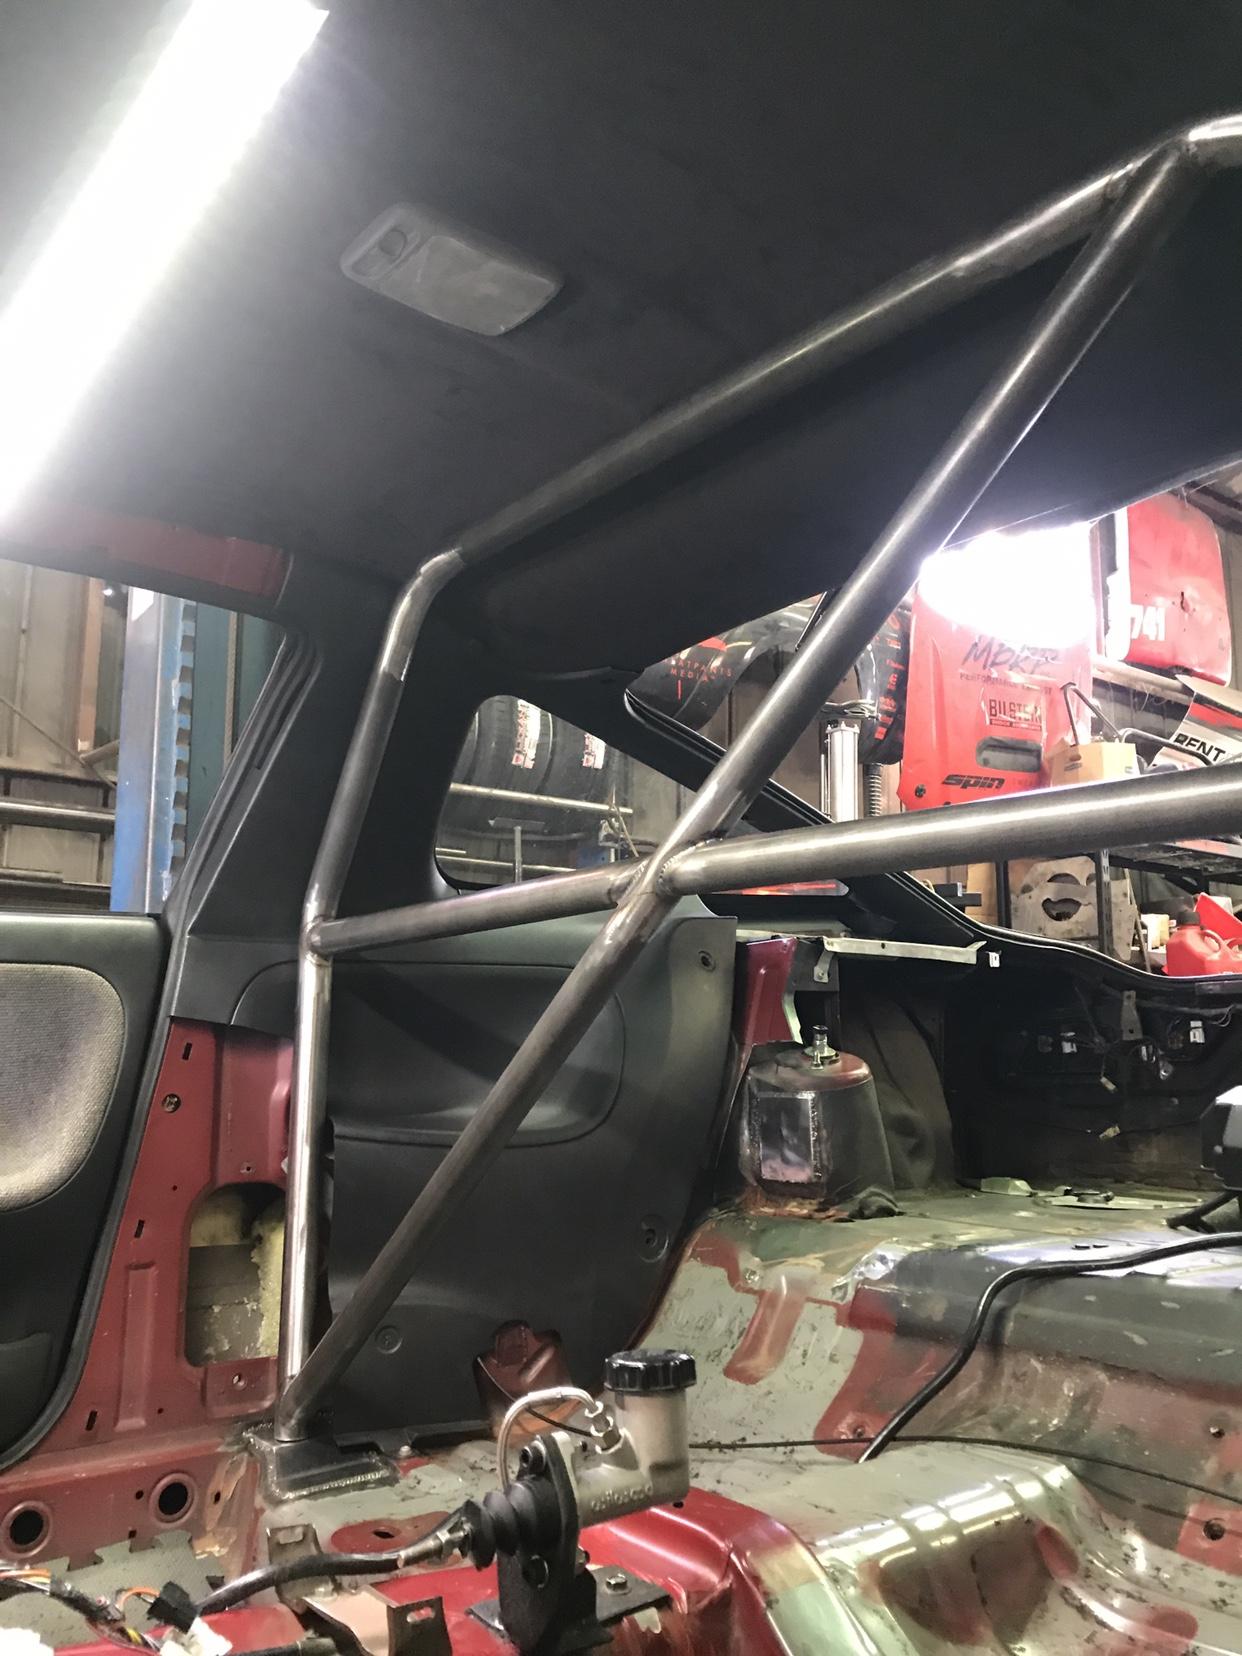 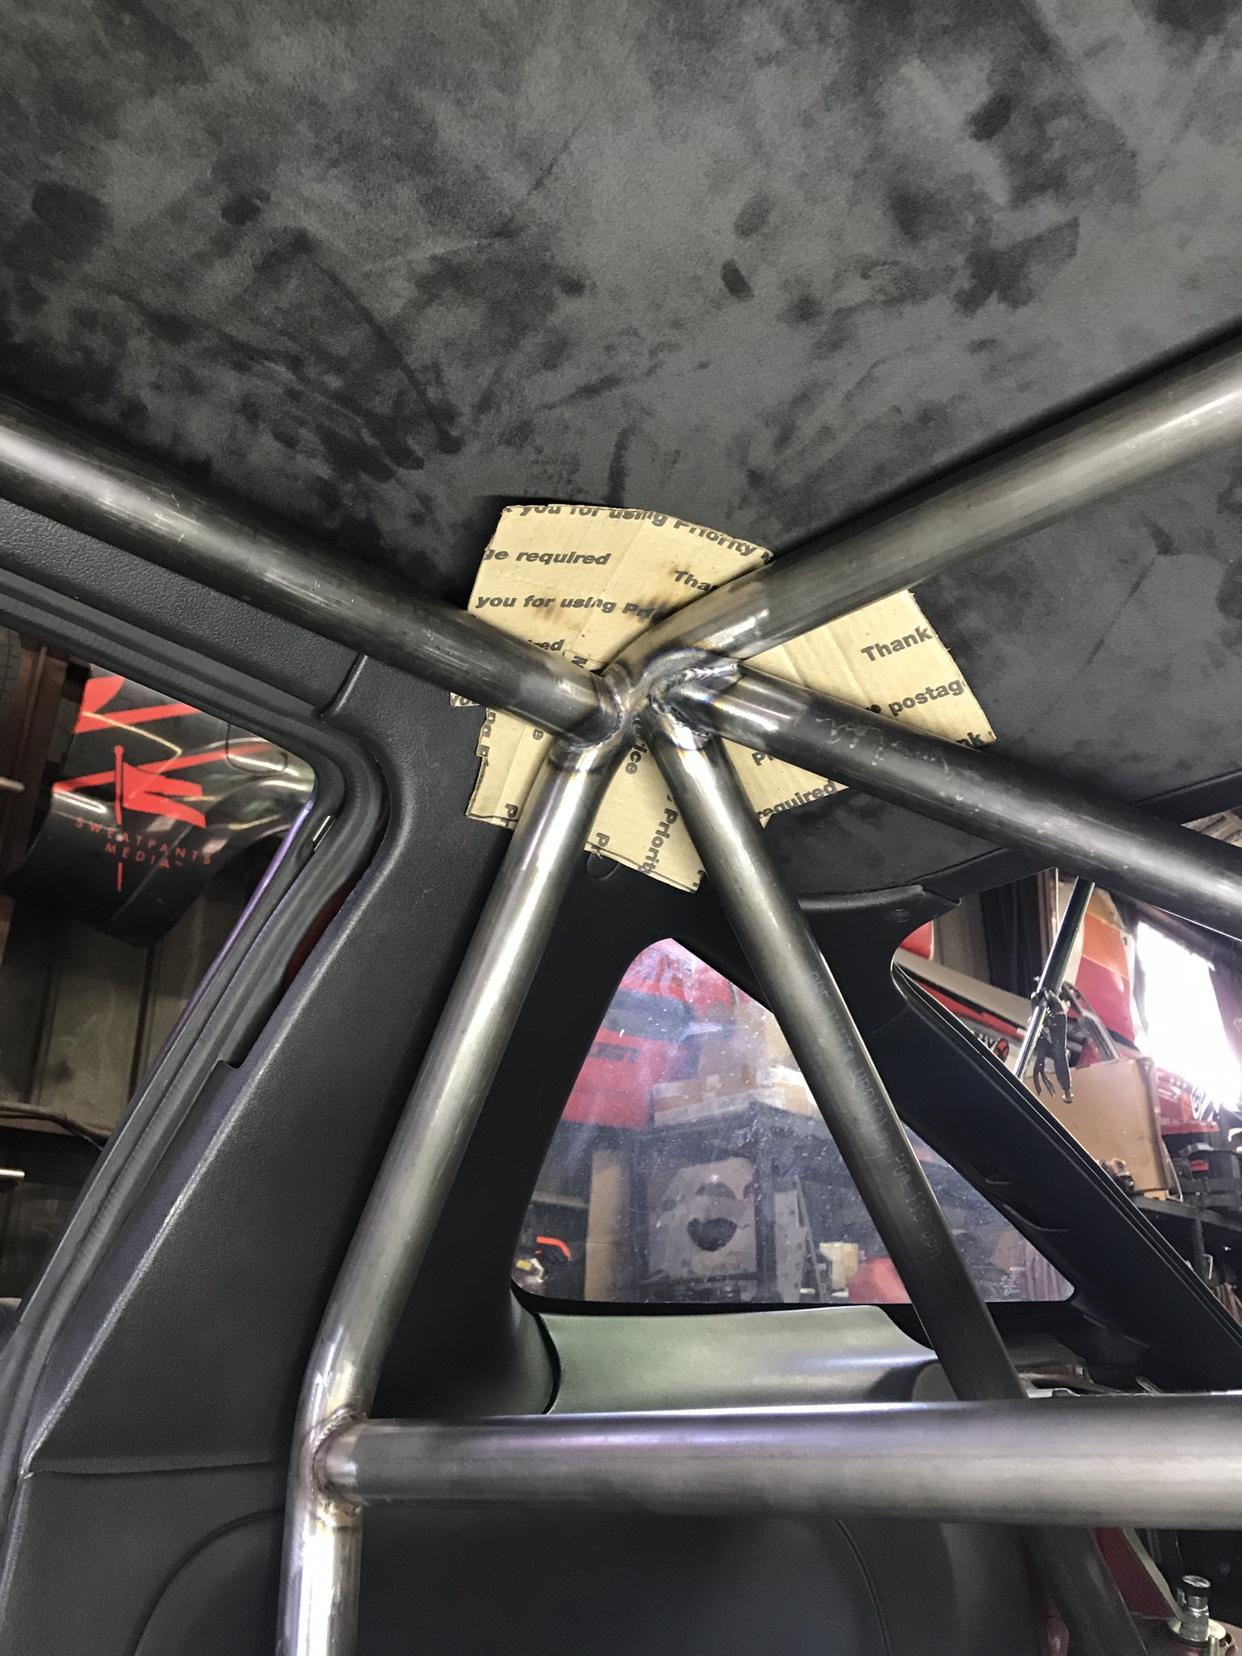 The rear section I decided to do a little differently than a standard X. Since these are extra added tubes not needed for a standard cage you have more design freedom. This to me was unique and gave me a little less blindspots on the driver seat in comparison to the X design 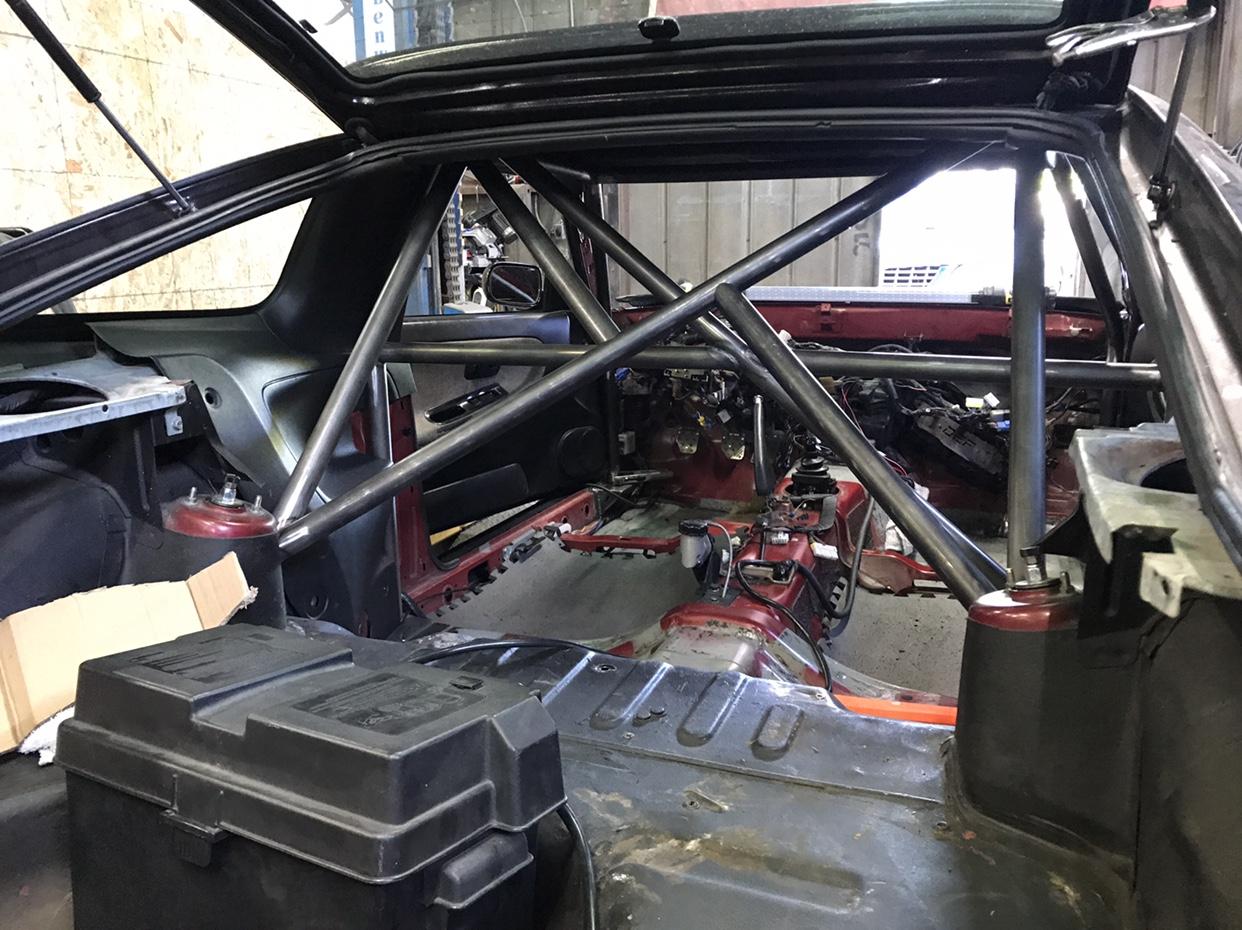 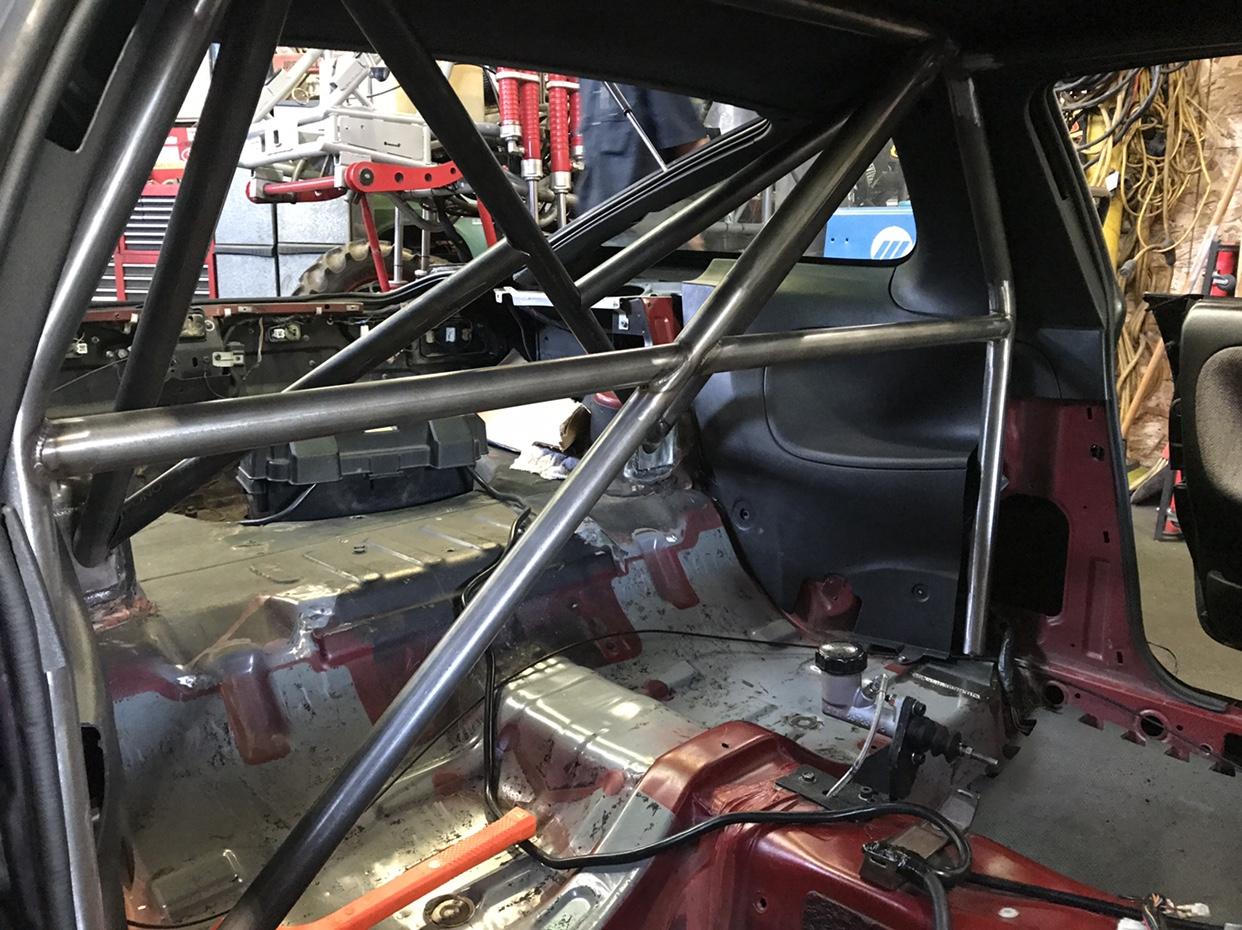 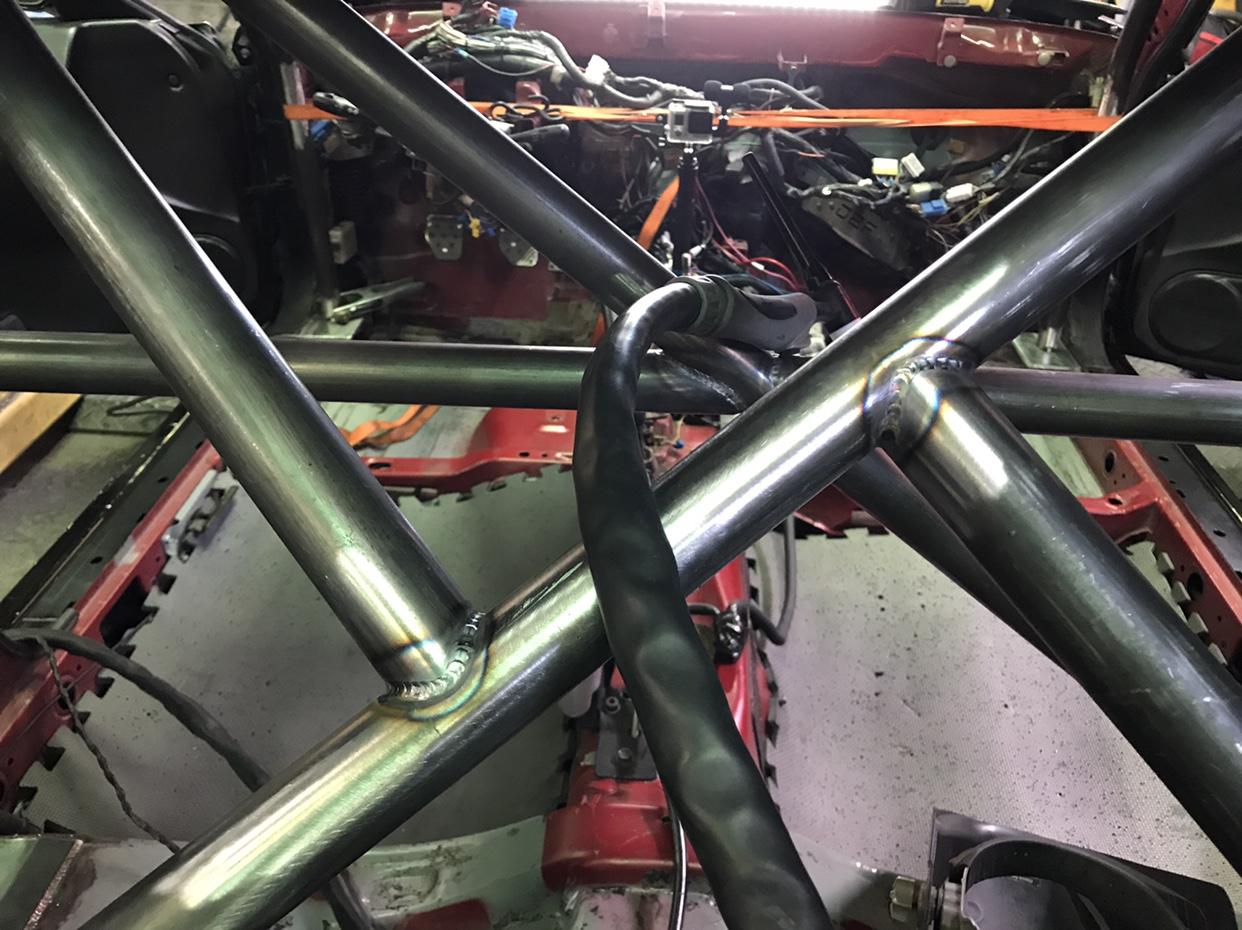 Sent from my iPhone using Tapatalk |
|
|

|
| Sponsored Links |
|
|
#122 | |
|
Nissanaholic!
 Join Date: Mar 2007
Location: Ft. Lauderdale
Age: 35
Posts: 1,776
Trader Rating: (12)
        Feedback Score: 12 reviews
|
Quote:
No worries thanks for the response. Cage is looking fire! Sent from my iPhone using Tapatalk Pro
__________________

|
|
|
|

|
|
|
#123 |
|
Zilvia Junkie
 Join Date: Sep 2012
Location: LongBeach, CA
Age: 28
Posts: 371
Trader Rating: (4)
     Feedback Score: 4 reviews
|
After the windshield and A pillar bars were finished it was time to drop the cage down in order to weld the tops. A lot of people will skip this and be left with a unfinished cage
I do this by simply pushing the cage forward till it drops off the boxes. 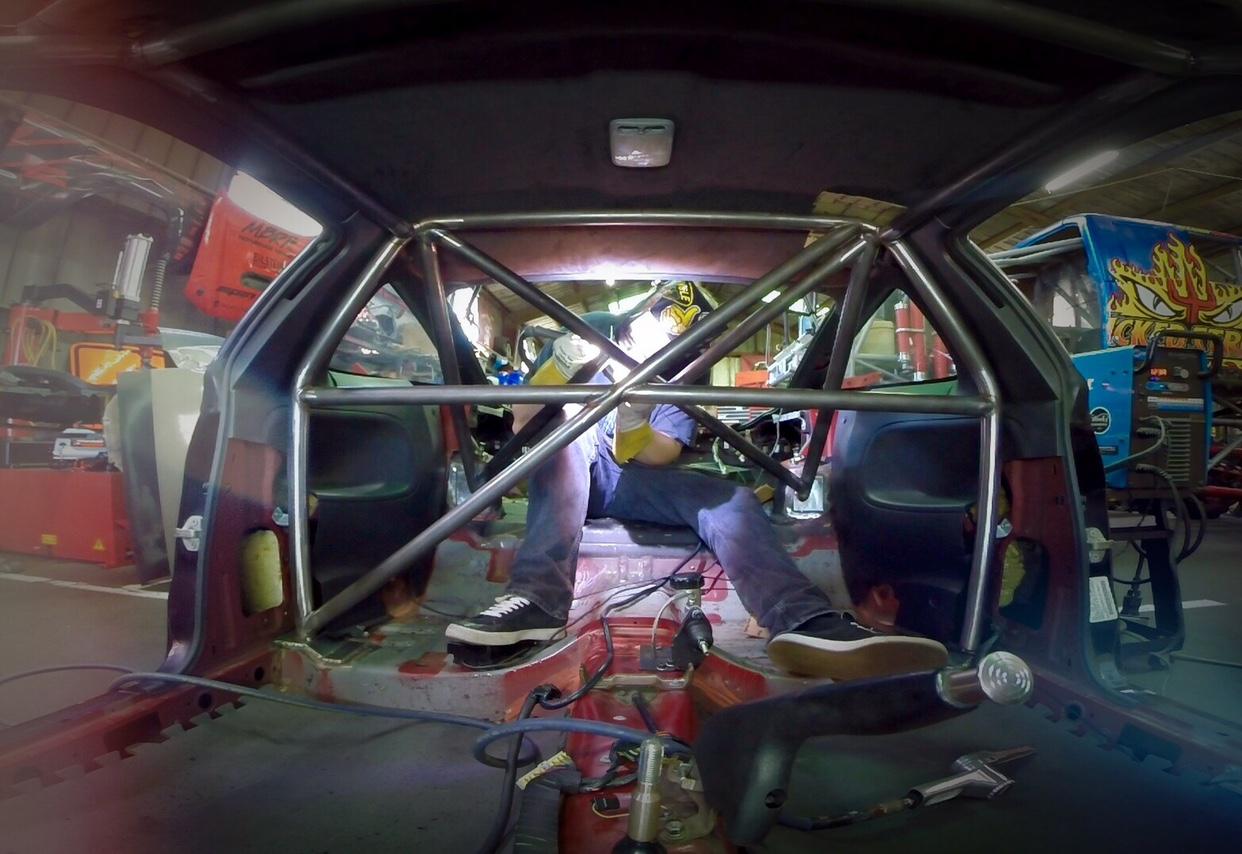 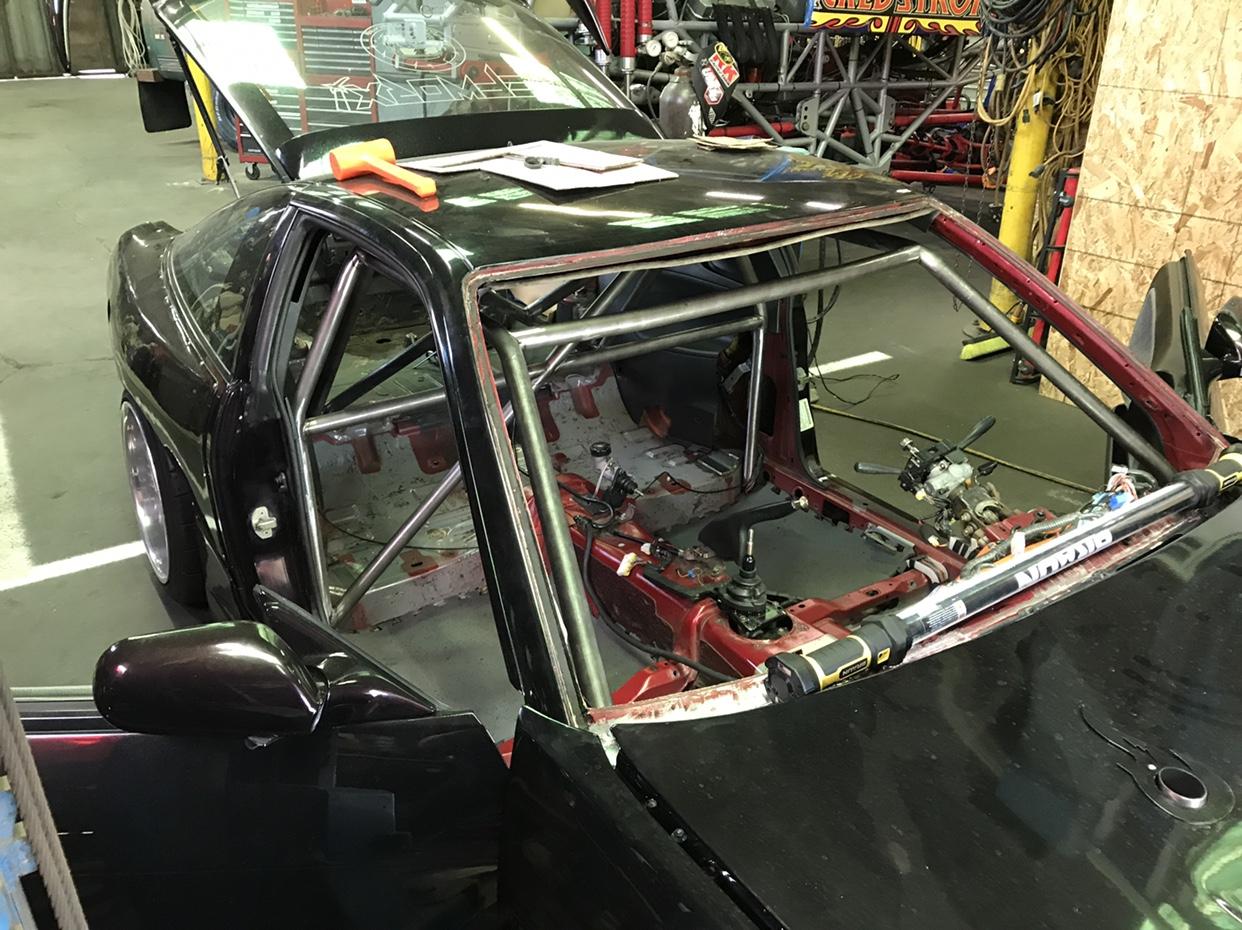 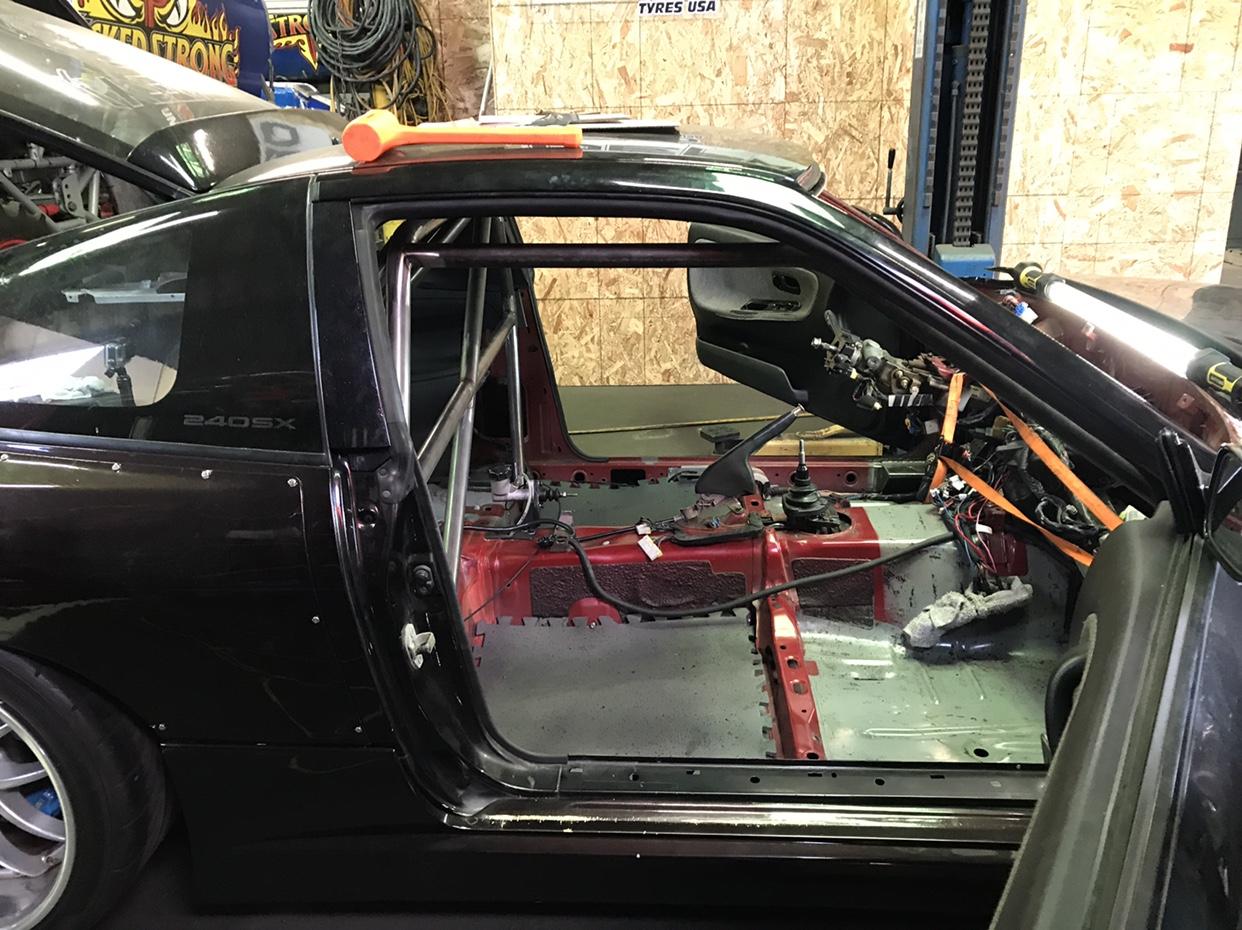 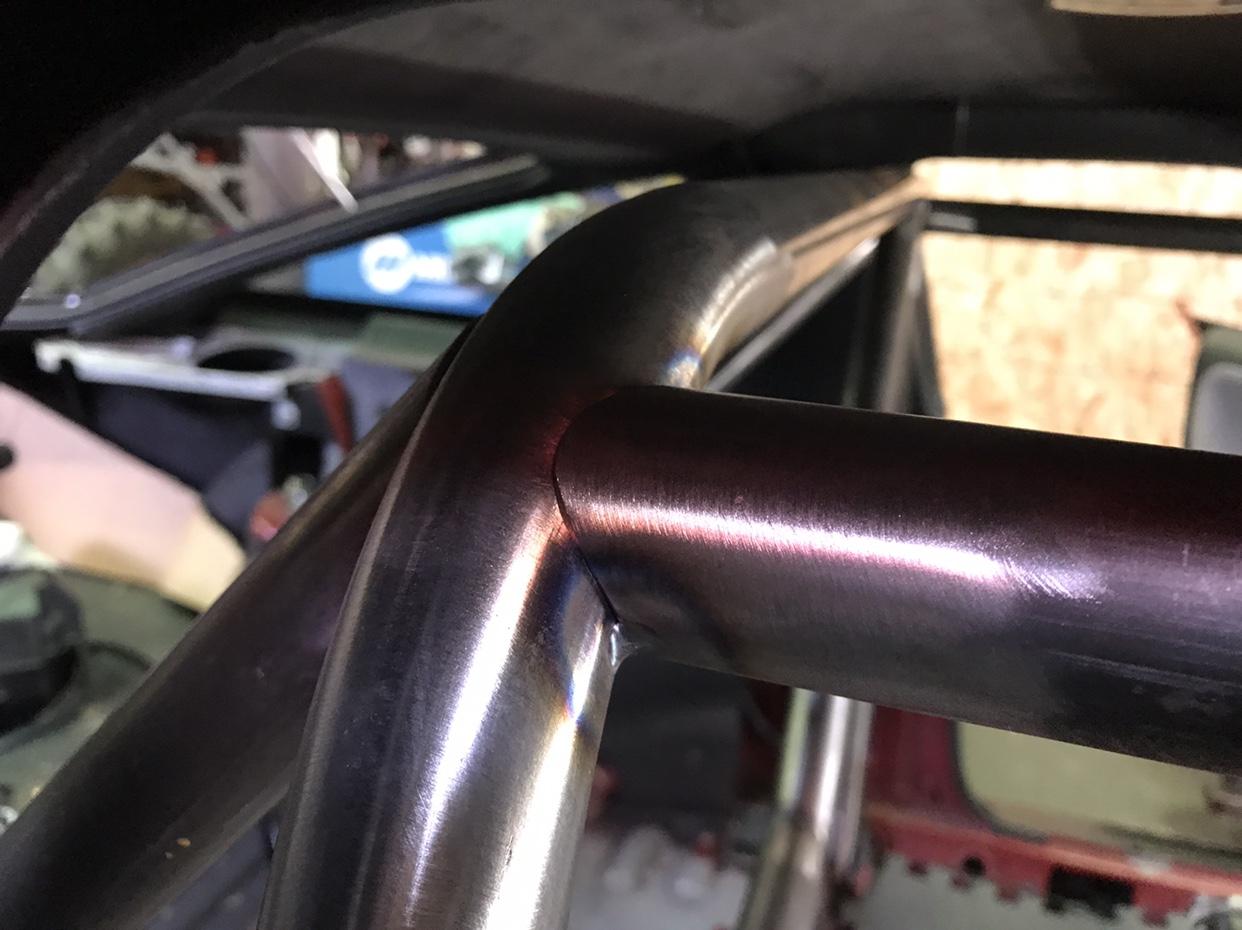 Sent from my iPhone using Tapatalk |
|
|

|
|
|
#124 |
|
Zilvia Junkie
 Join Date: Sep 2012
Location: LongBeach, CA
Age: 28
Posts: 371
Trader Rating: (4)
     Feedback Score: 4 reviews
|
With that finished the dash bar could be made along with the mounting brackets for the steering column and fuse boxes
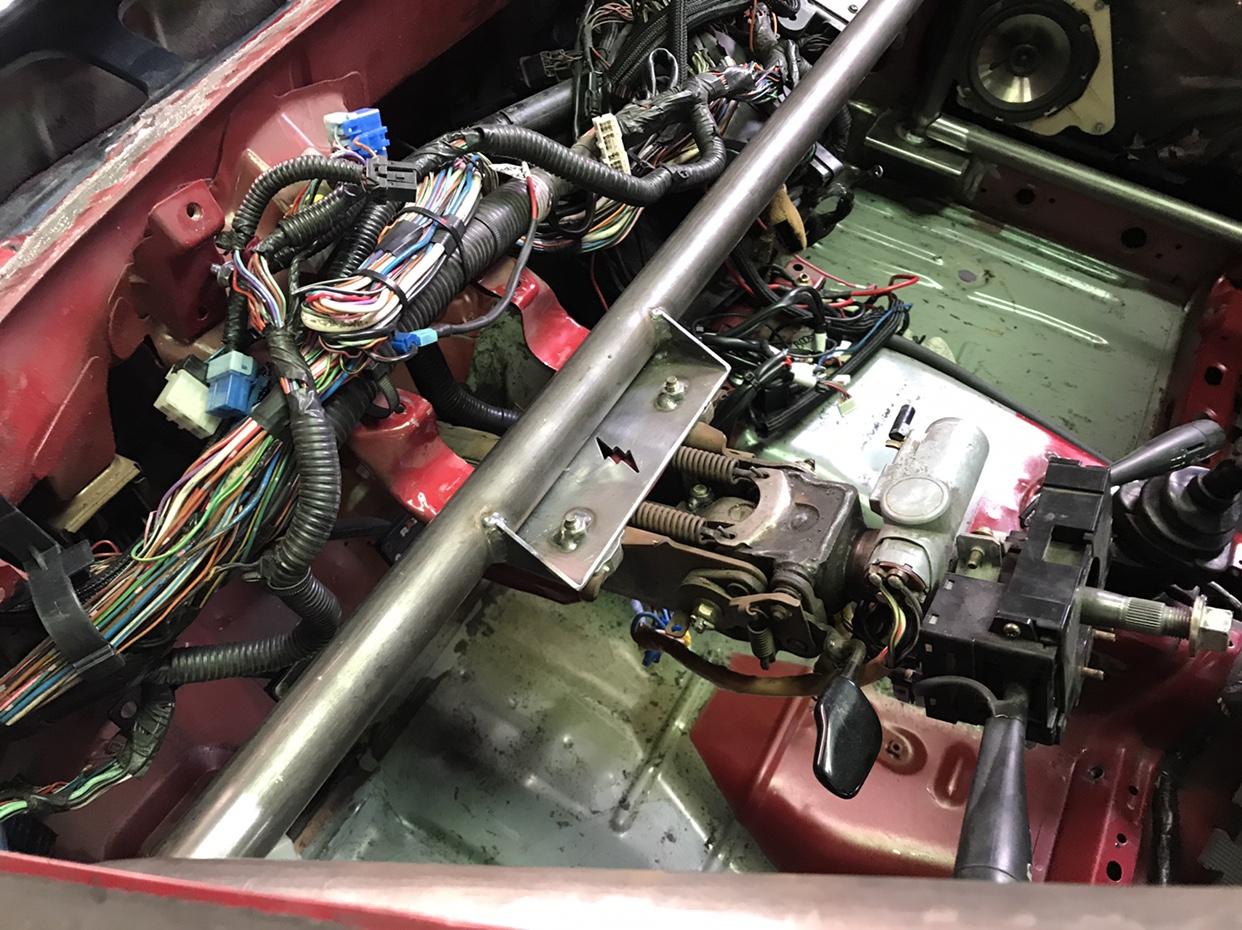 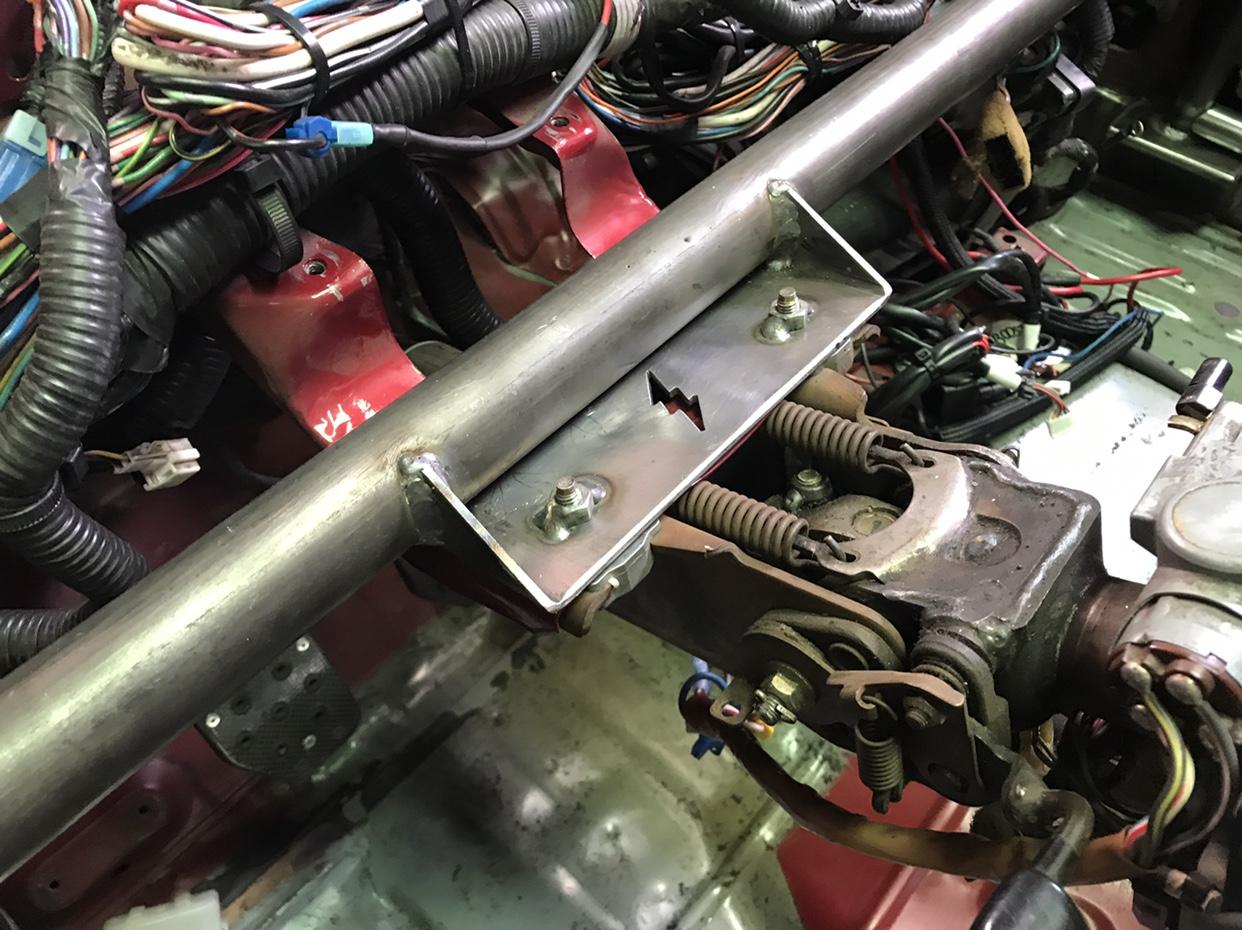 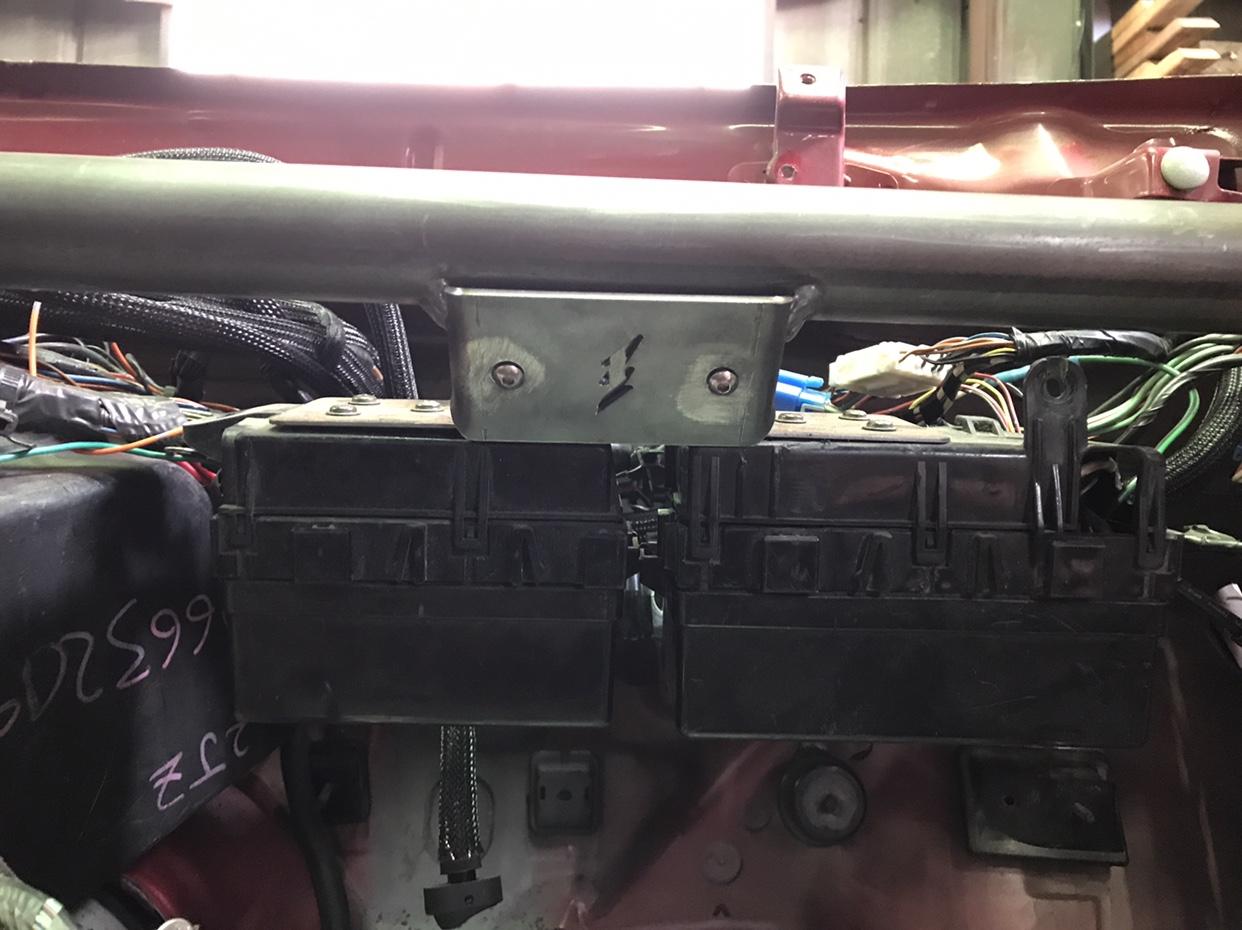 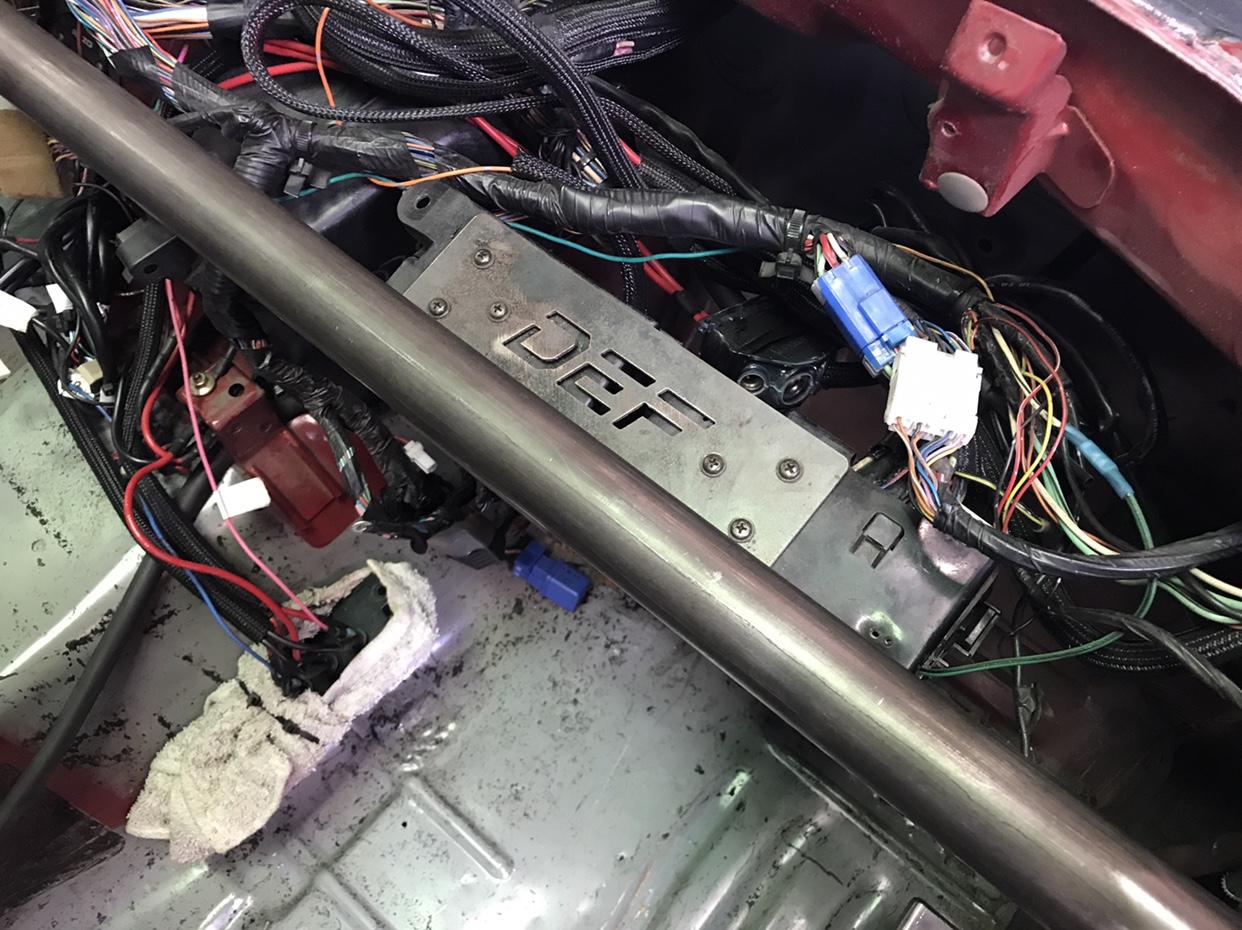 Before I move onto the door bars it?s easier to trim the dash, carpet, and any other panels now. 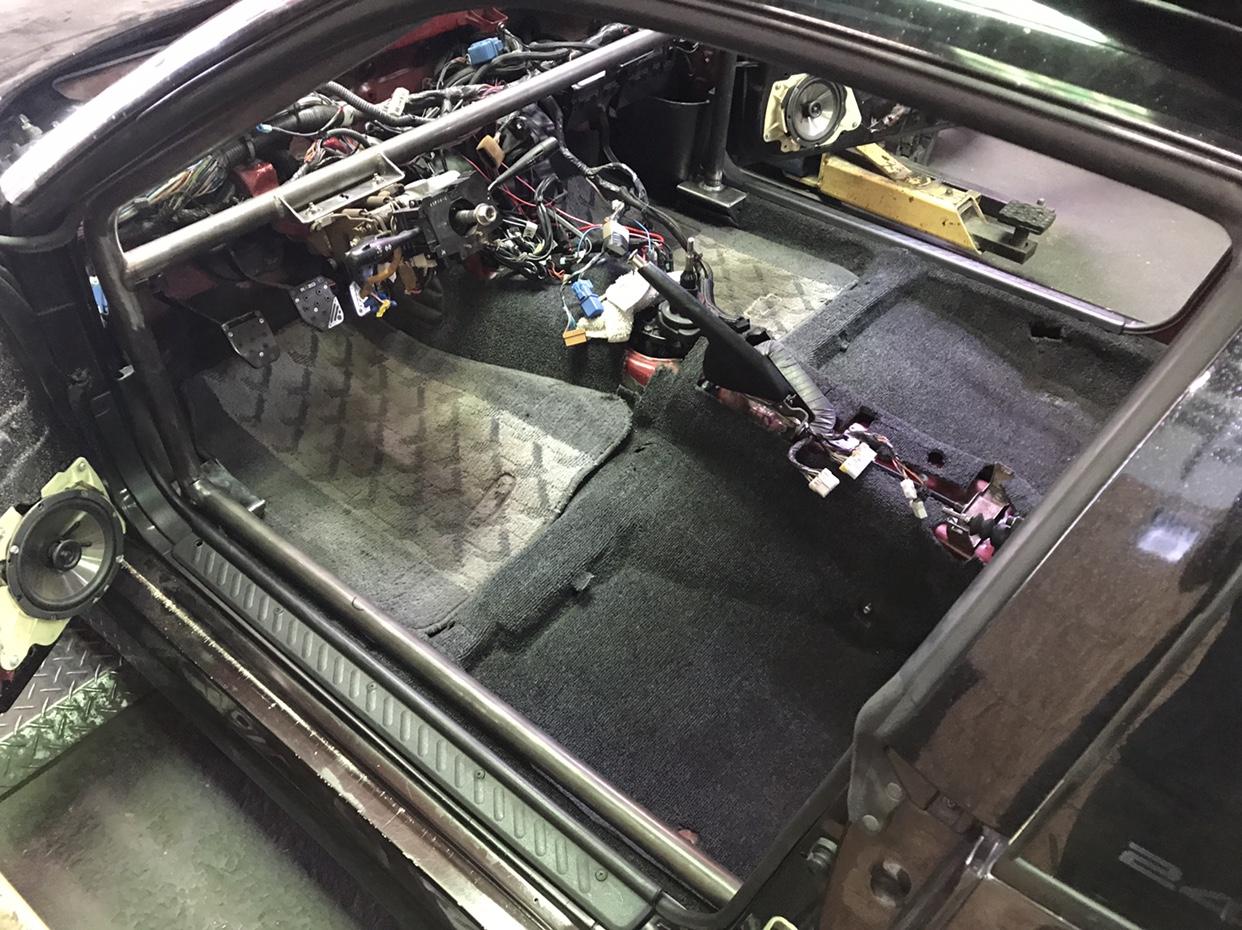 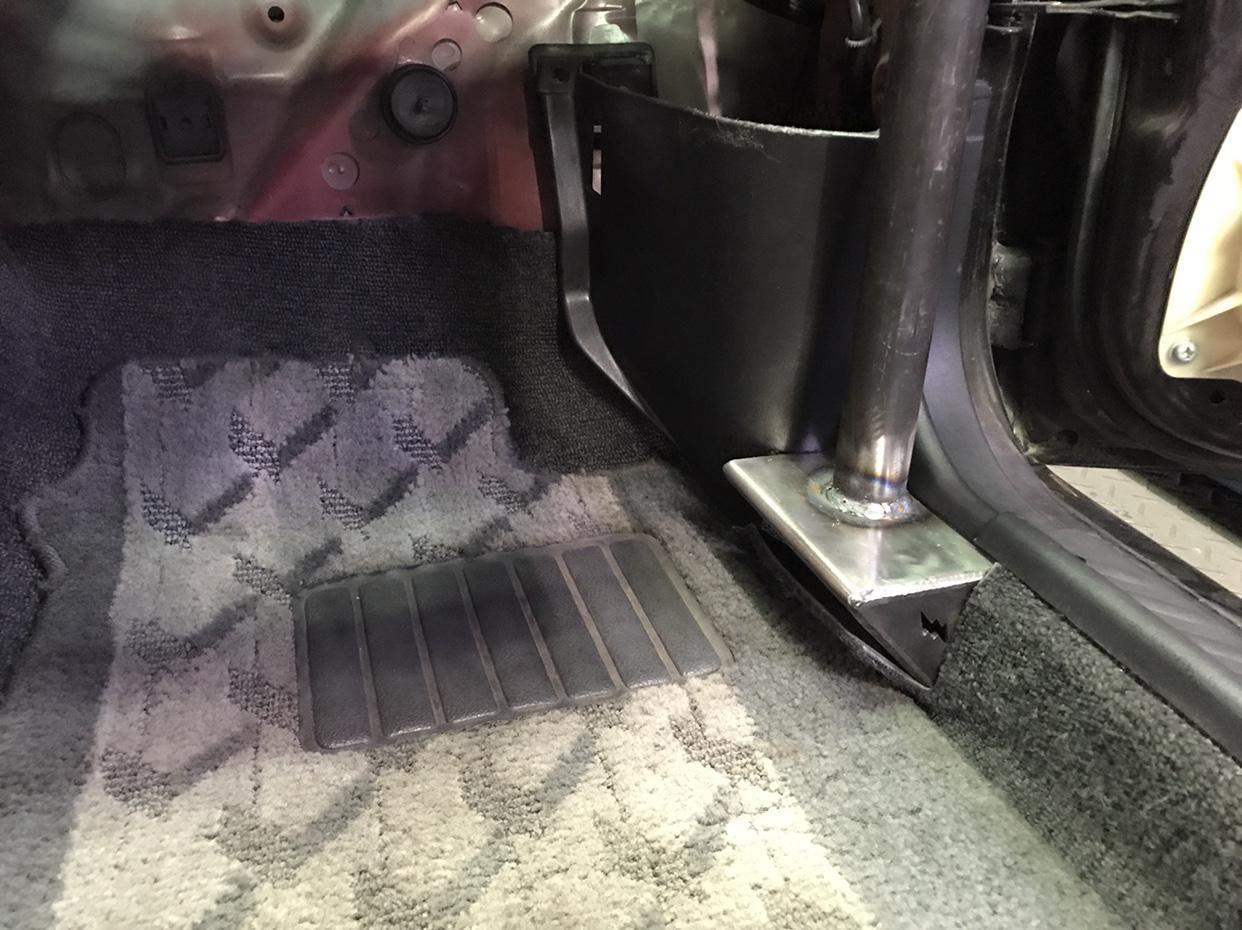 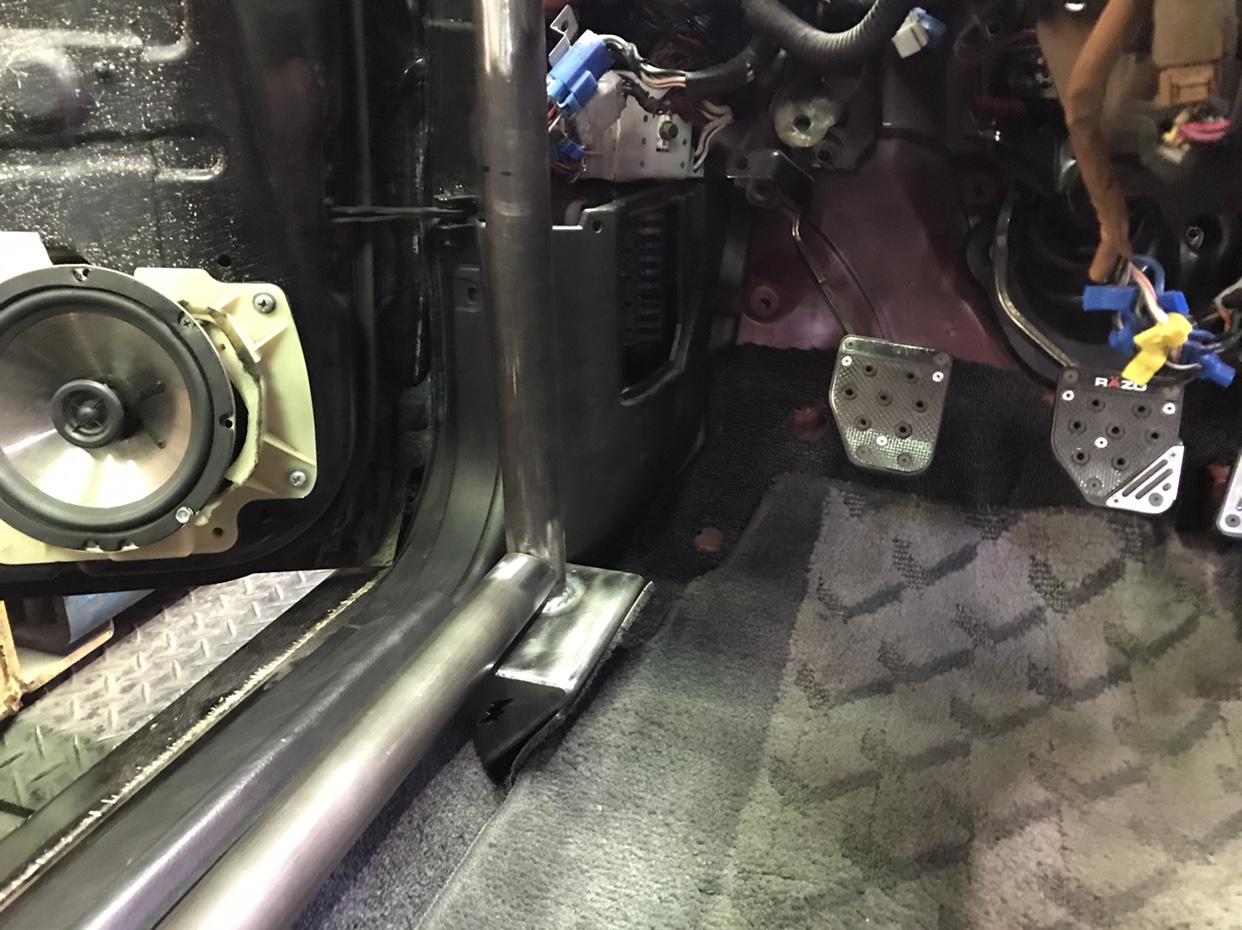 I used my spare dash to cut since I can?t see myself using my original Uncracked dash. This dash will be reupholstered and have the top protrusions cleaned up 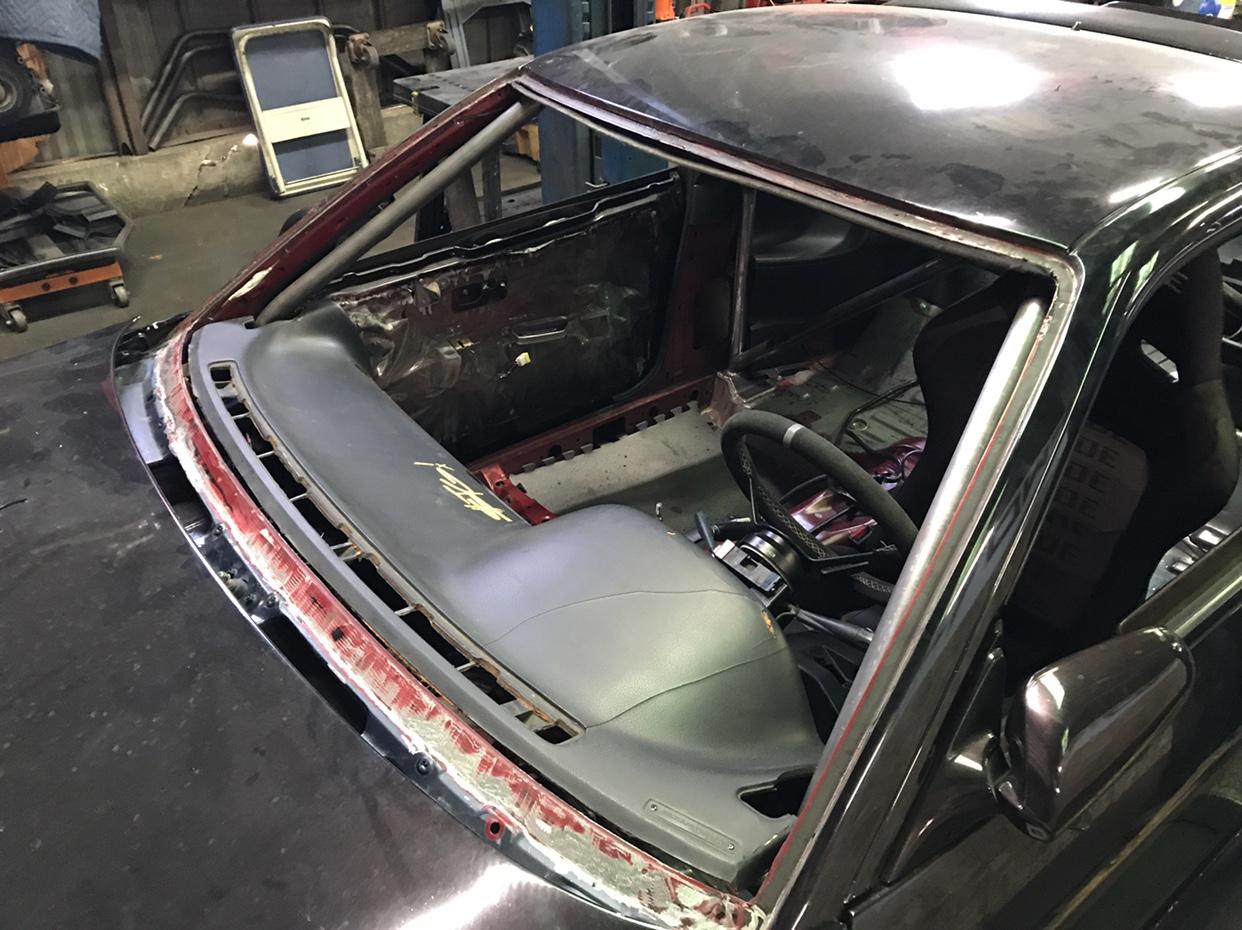 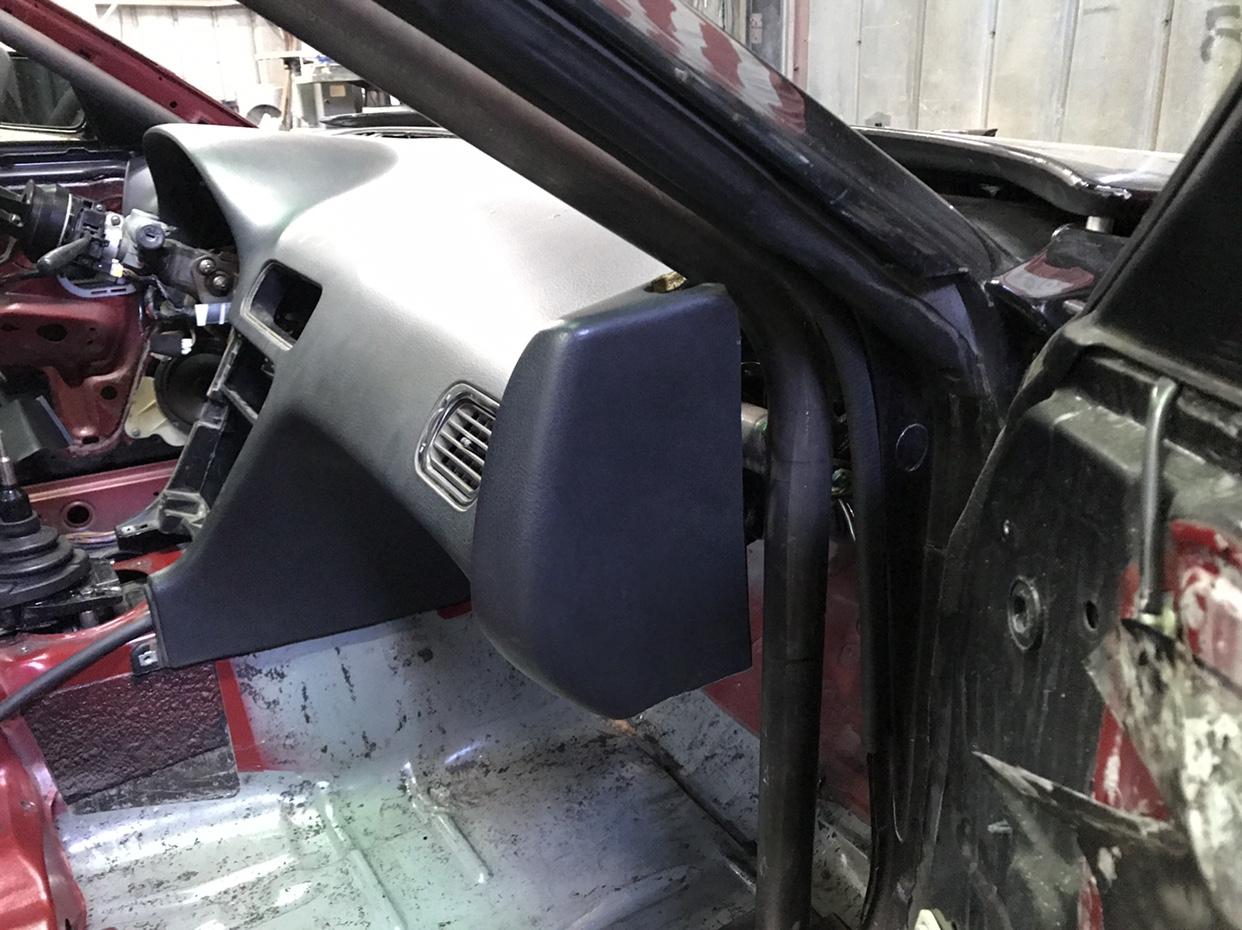 I?ll still be using the lower half of the s14 rear seat 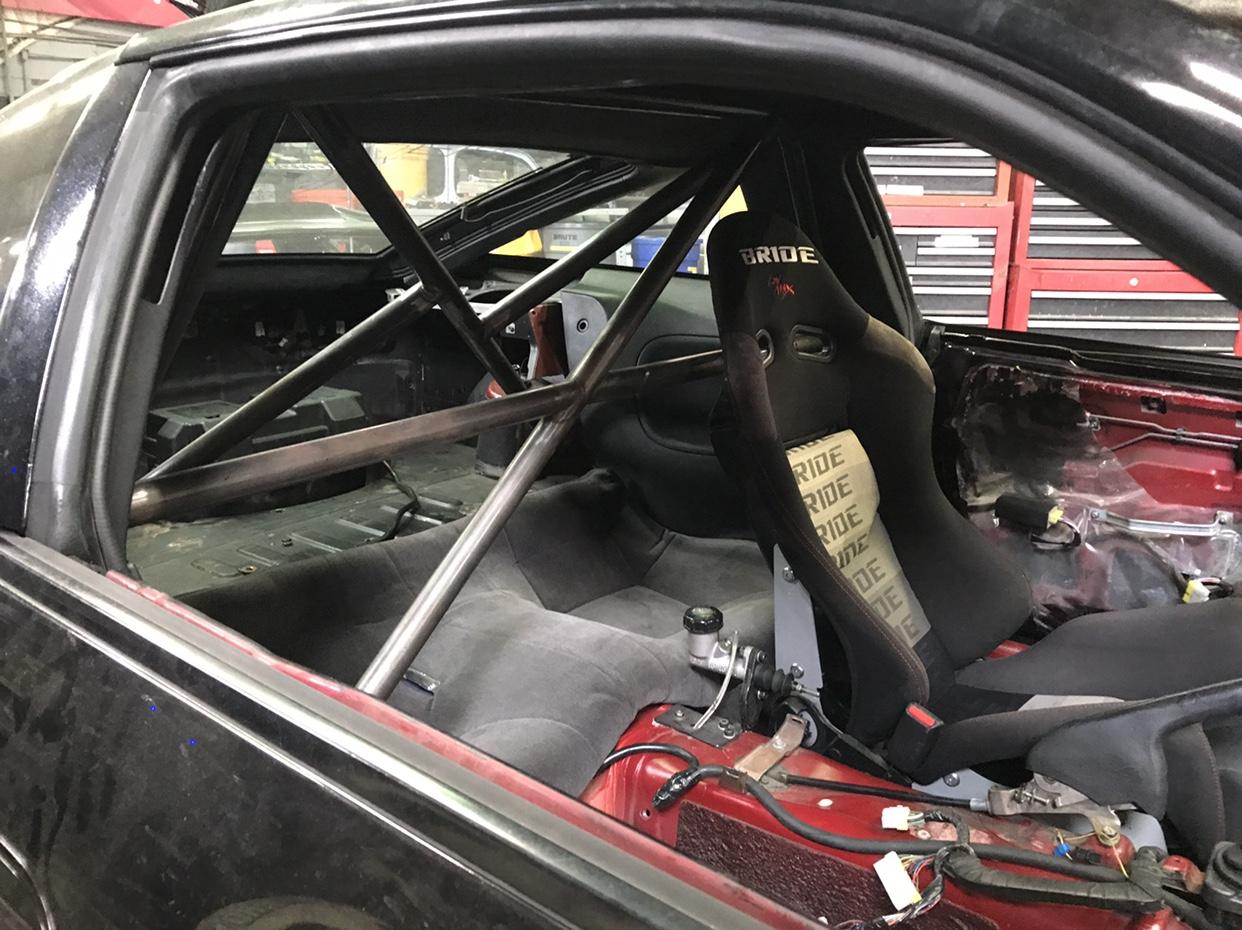 Sent from my iPhone using Tapatalk |
|
|

|
|
|
#125 |
|
Zilvia Junkie
 Join Date: Sep 2012
Location: LongBeach, CA
Age: 28
Posts: 371
Trader Rating: (4)
     Feedback Score: 4 reviews
|
Work turned around when everyone got their stimulus checks. The past 2 weeks I was lucky to get a hour a day on my cage
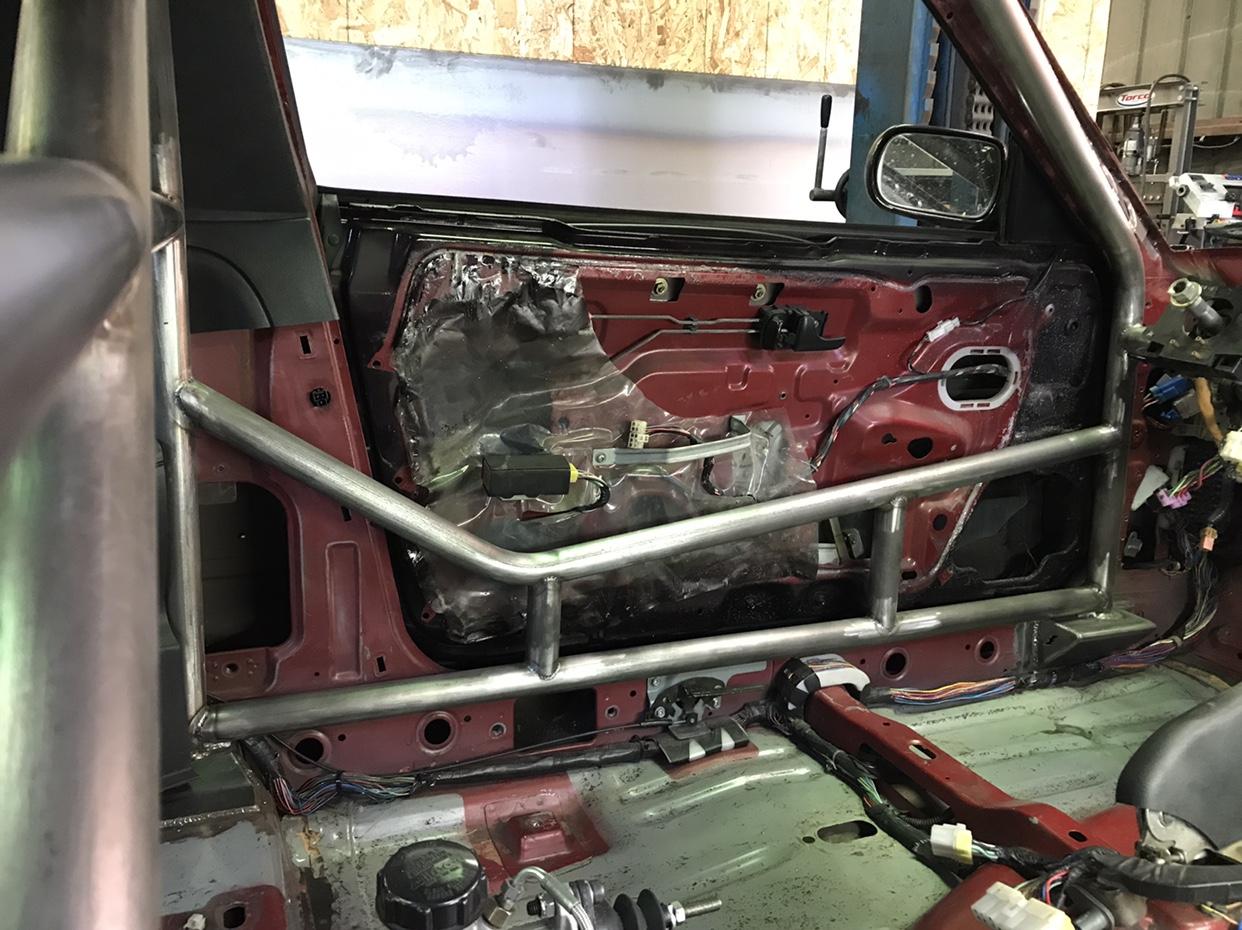
A lot of thinking and changing my mind on the door bar designs and I finally decided on this style because they clear my seat perfectly, required only minor trimming of the door panel, and my legs/elbows won?t hit them when getting tossed around drifting Vertical bars will be added to them 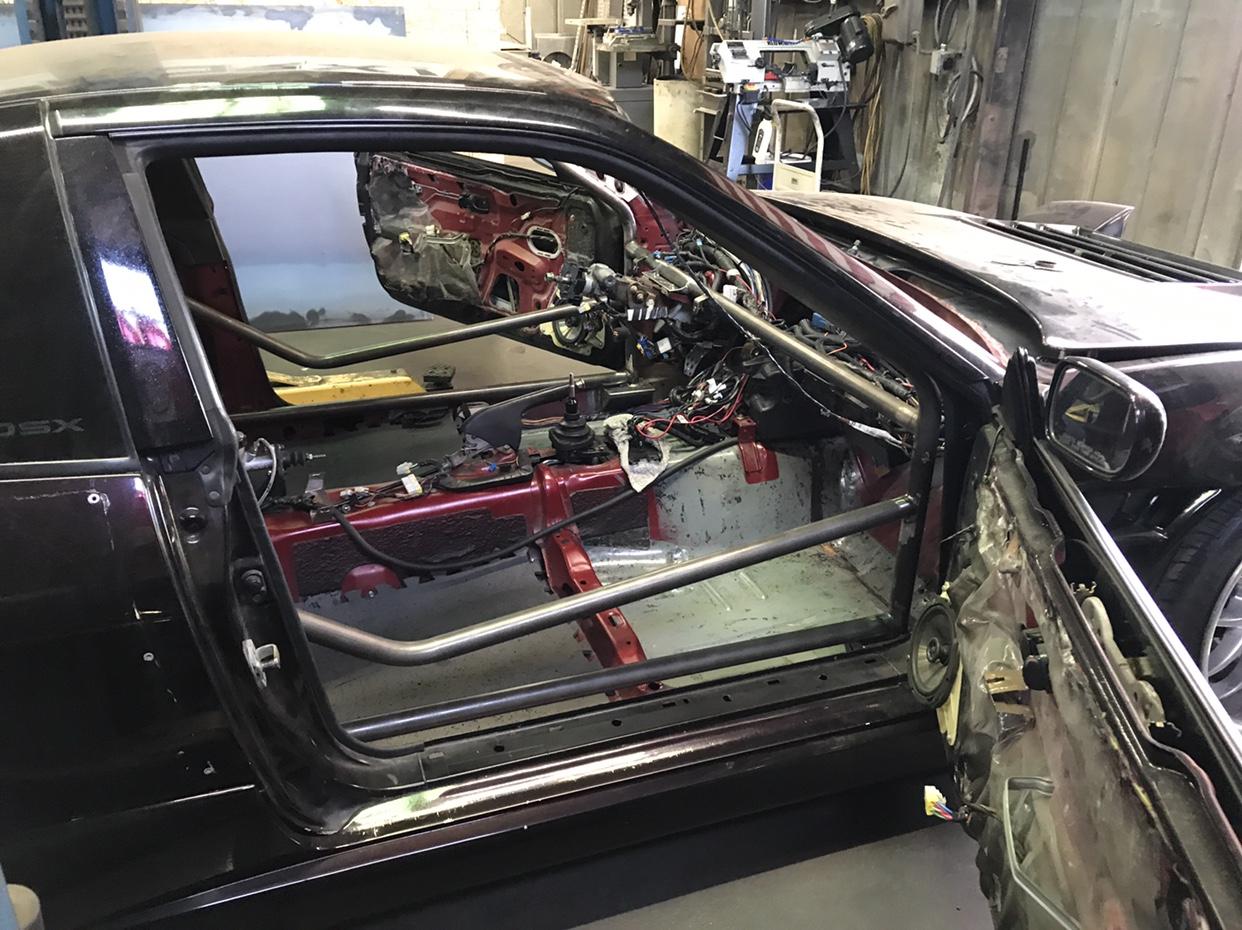 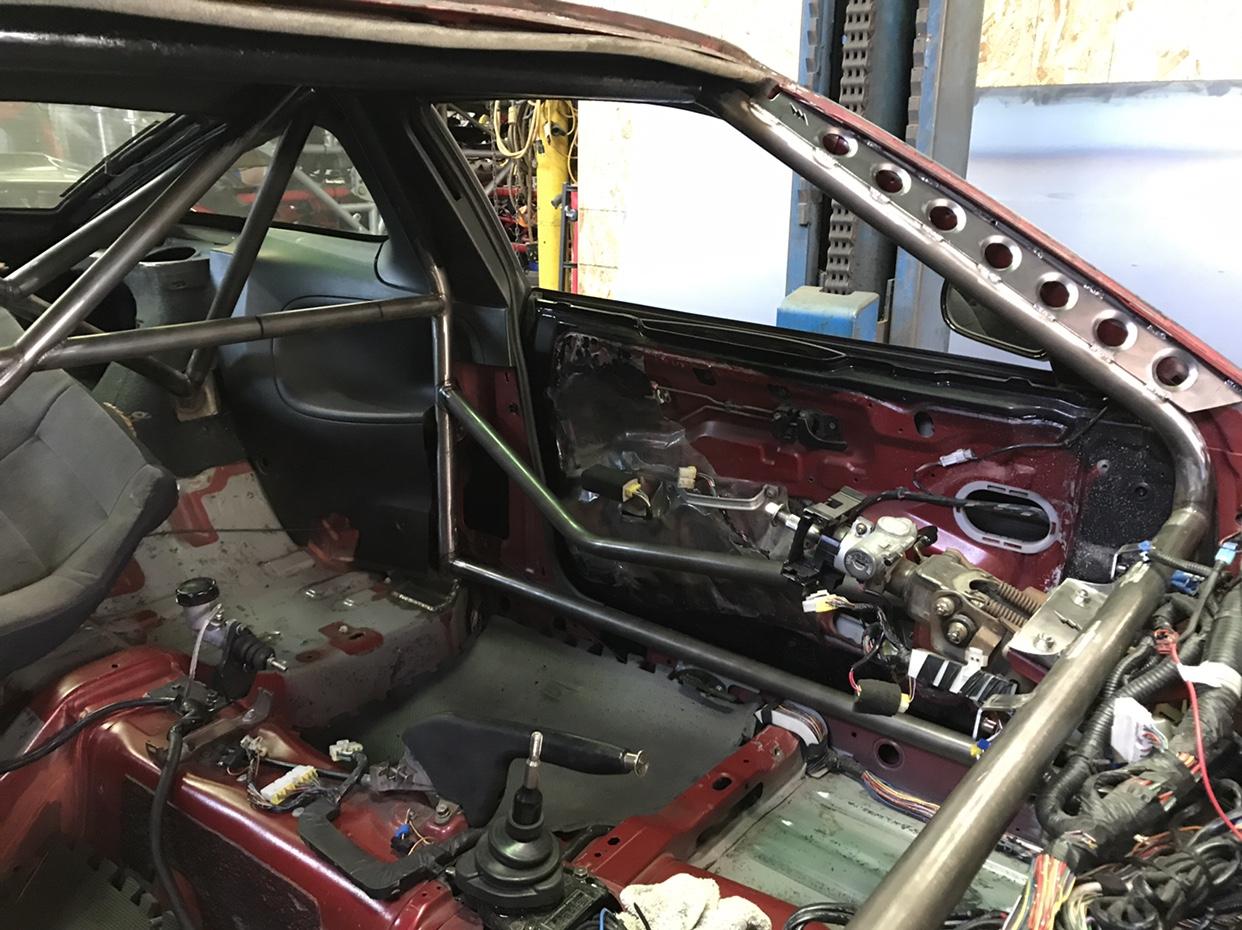 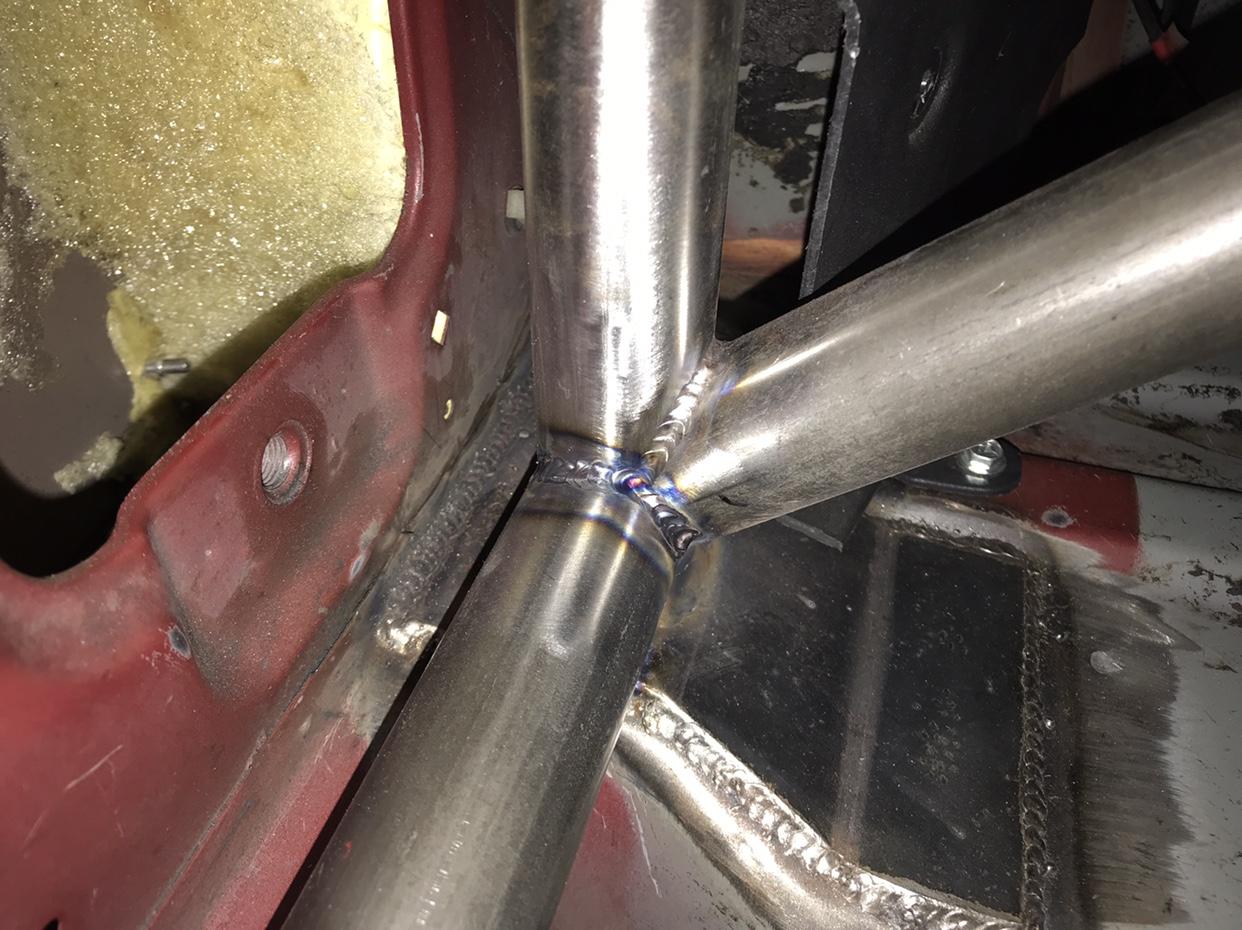 A pillar gussets nicely contour the chassis 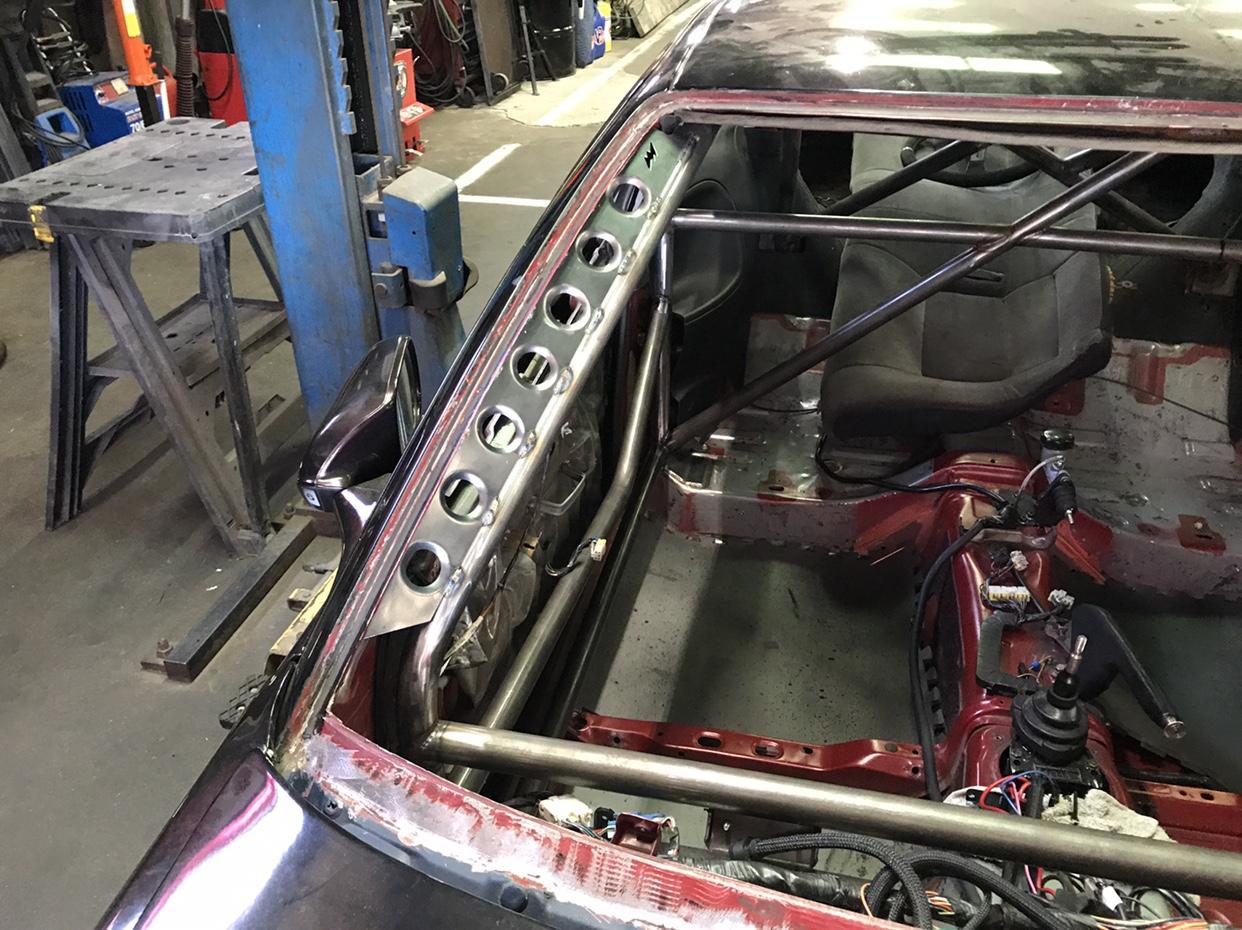 My bride reclinable sat way to high causing my head to hit the a pillar bars ( I?m 6?3?) so I picked up this Bride Cusco XL seat. For the first time I have a authentic seat! 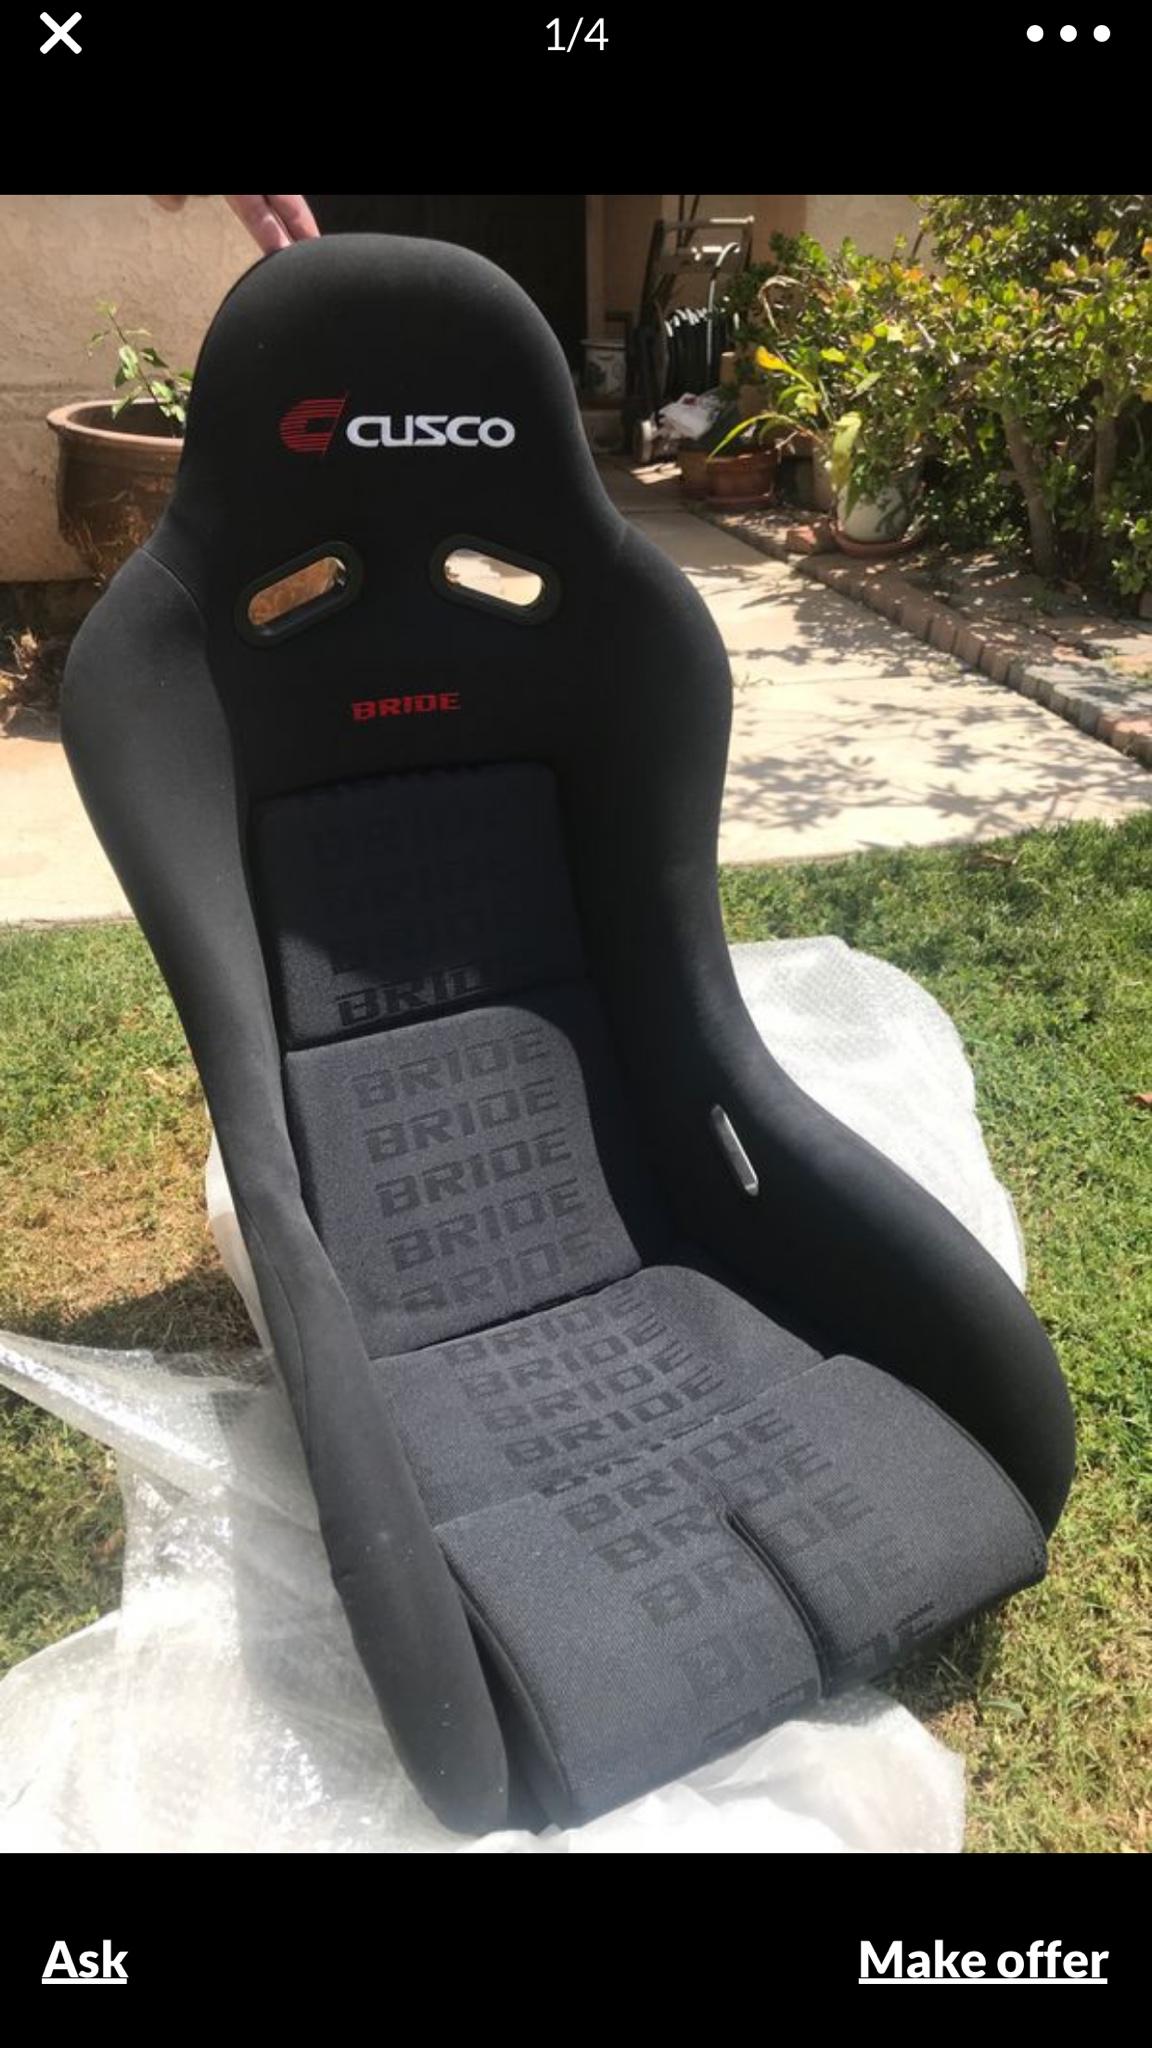 Rear trim was further trimmed to fit. Now is in 3 removable pieces 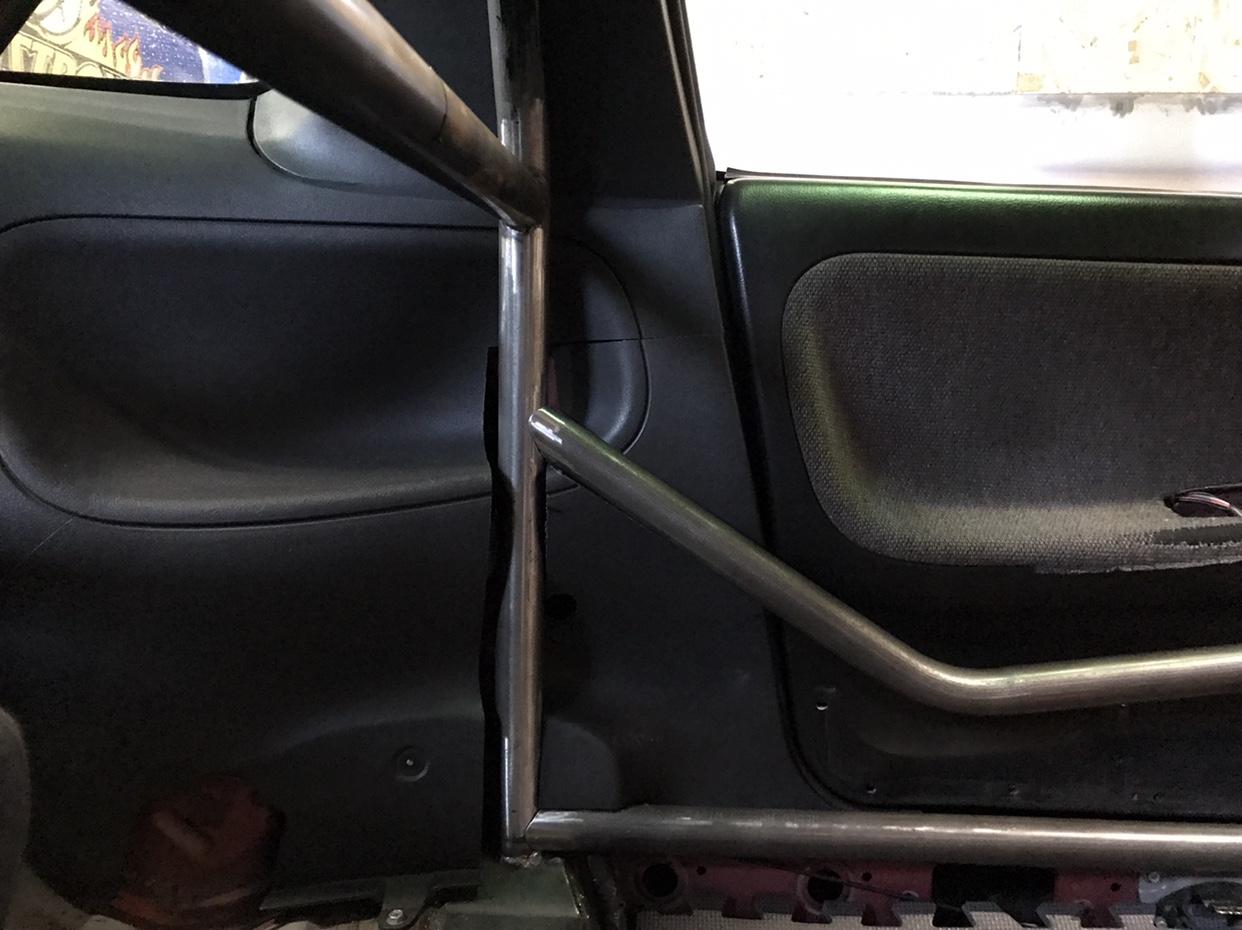 My buddy from Socal auto image came by to get a part welded. My twin in Silvia form (My rear fenders are off and changing to type3) 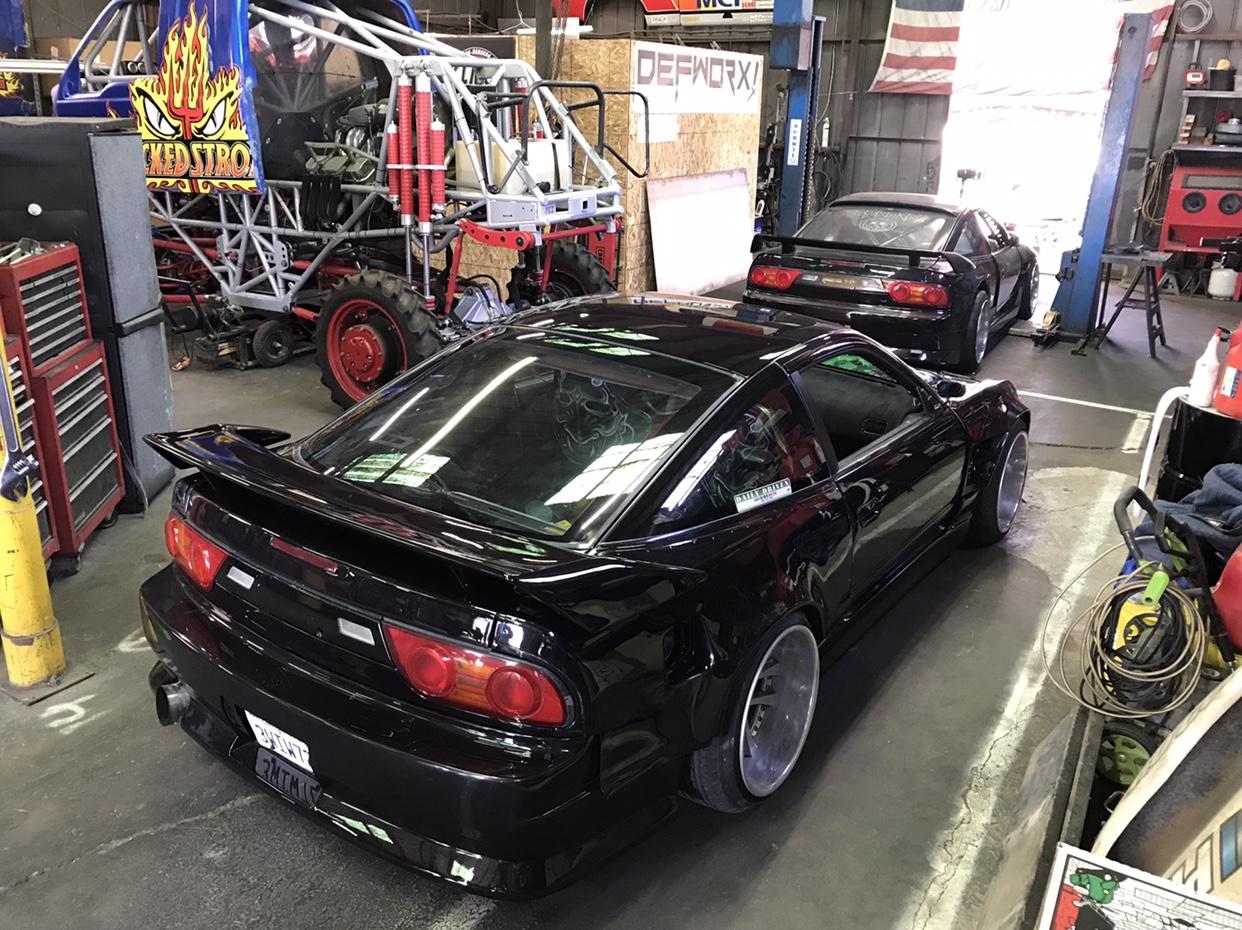 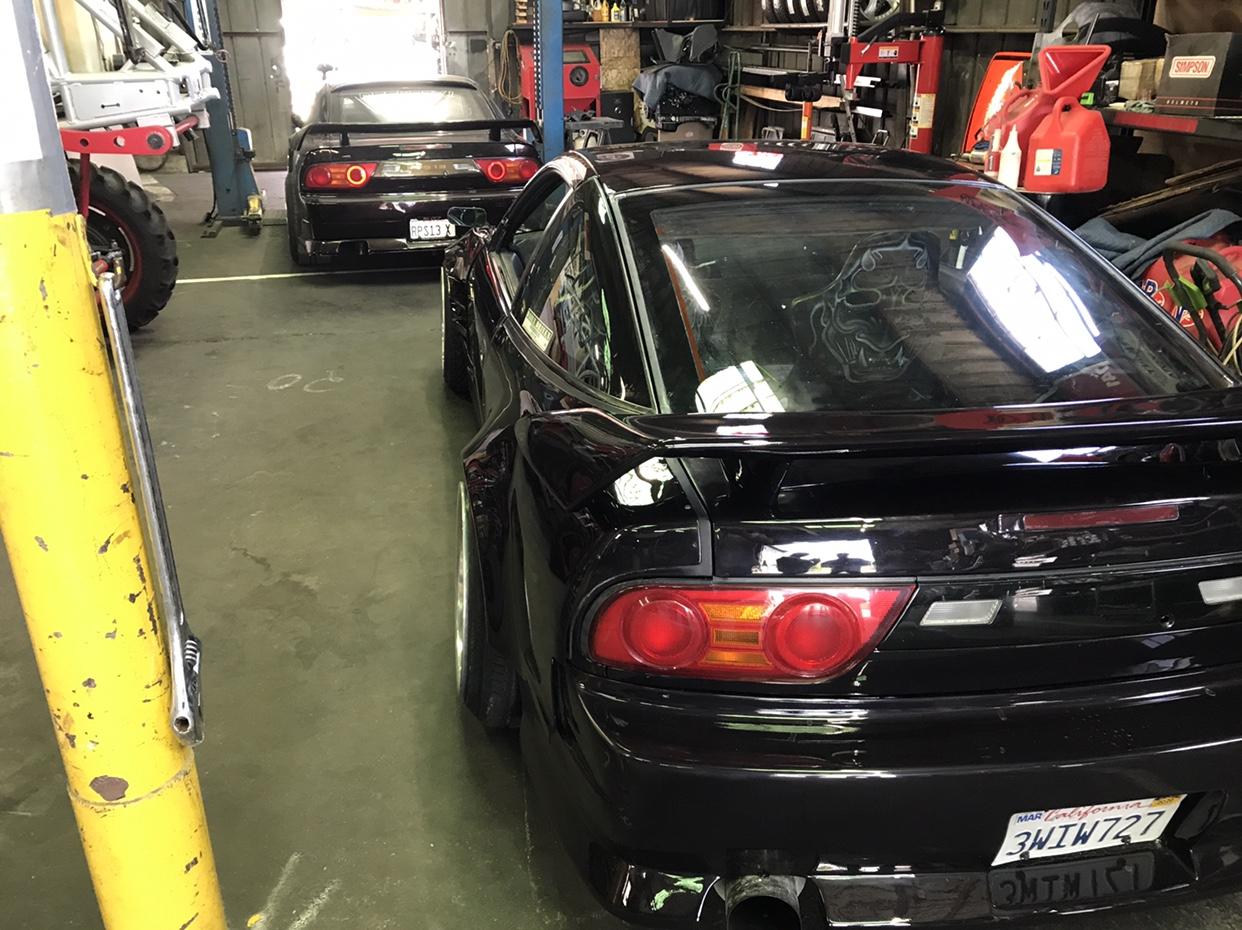 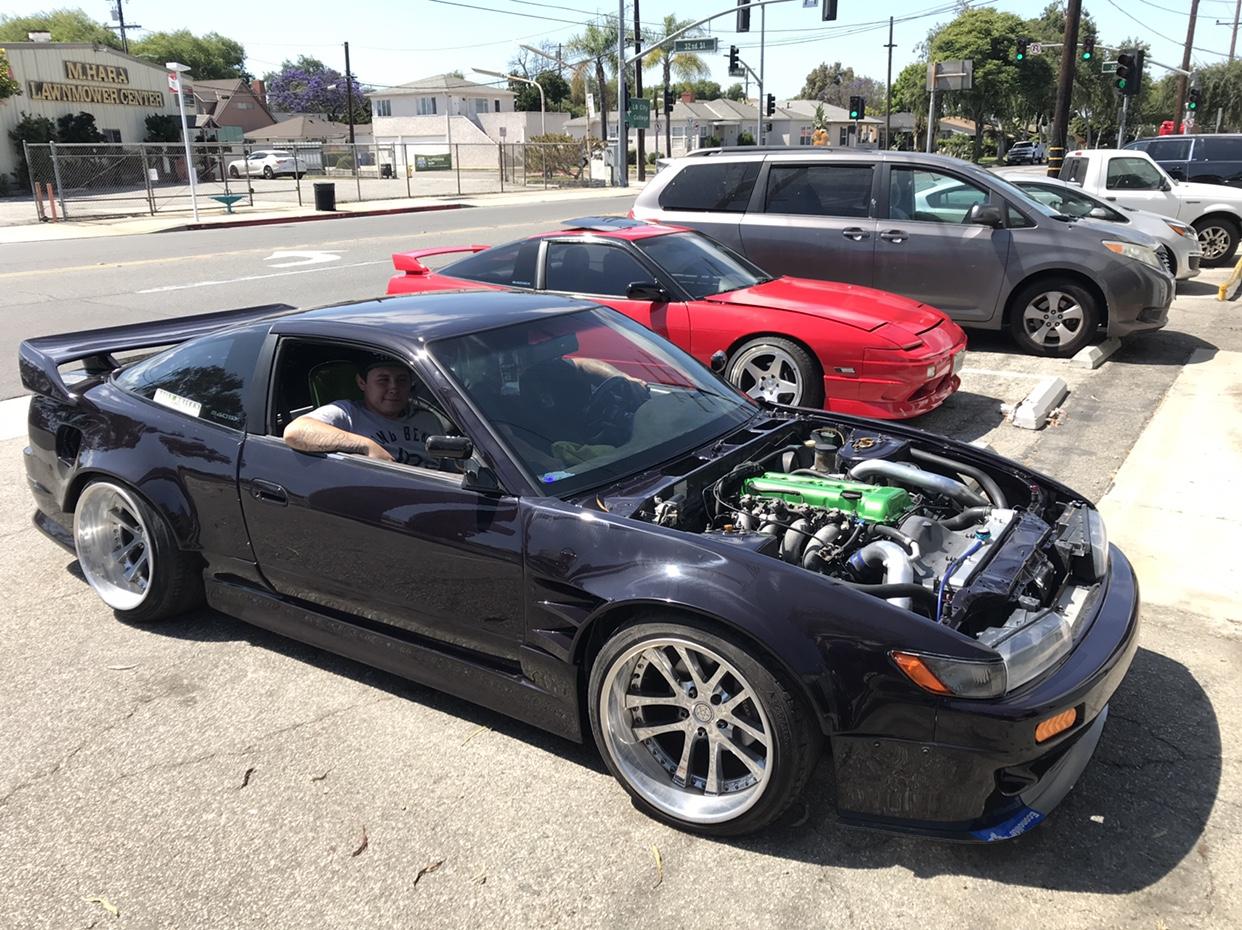 Sent from my iPhone using Tapatalk |
|
|

|
|
|
#126 |
|
Zilvia Junkie
 Join Date: Sep 2012
Location: LongBeach, CA
Age: 28
Posts: 371
Trader Rating: (4)
     Feedback Score: 4 reviews
|
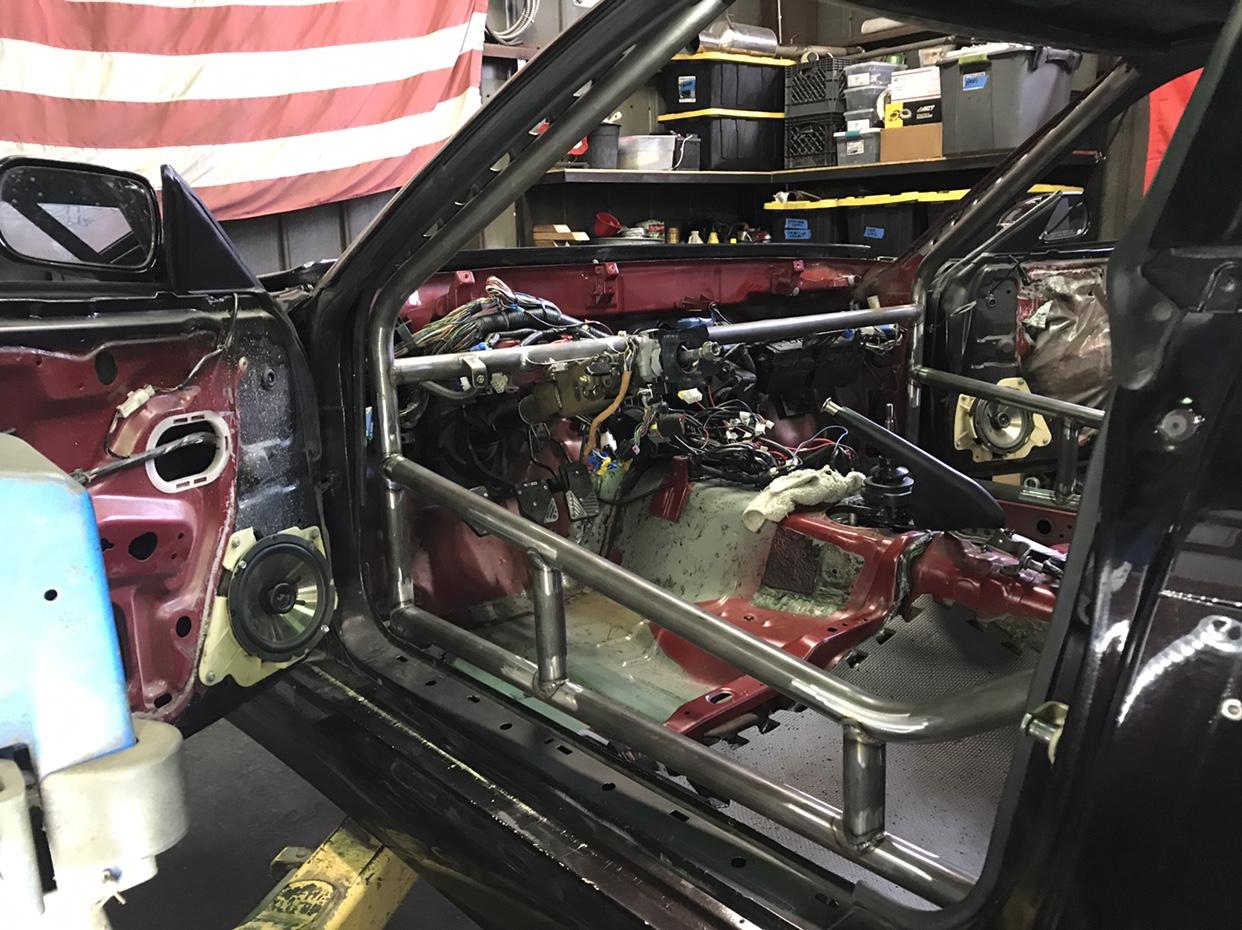
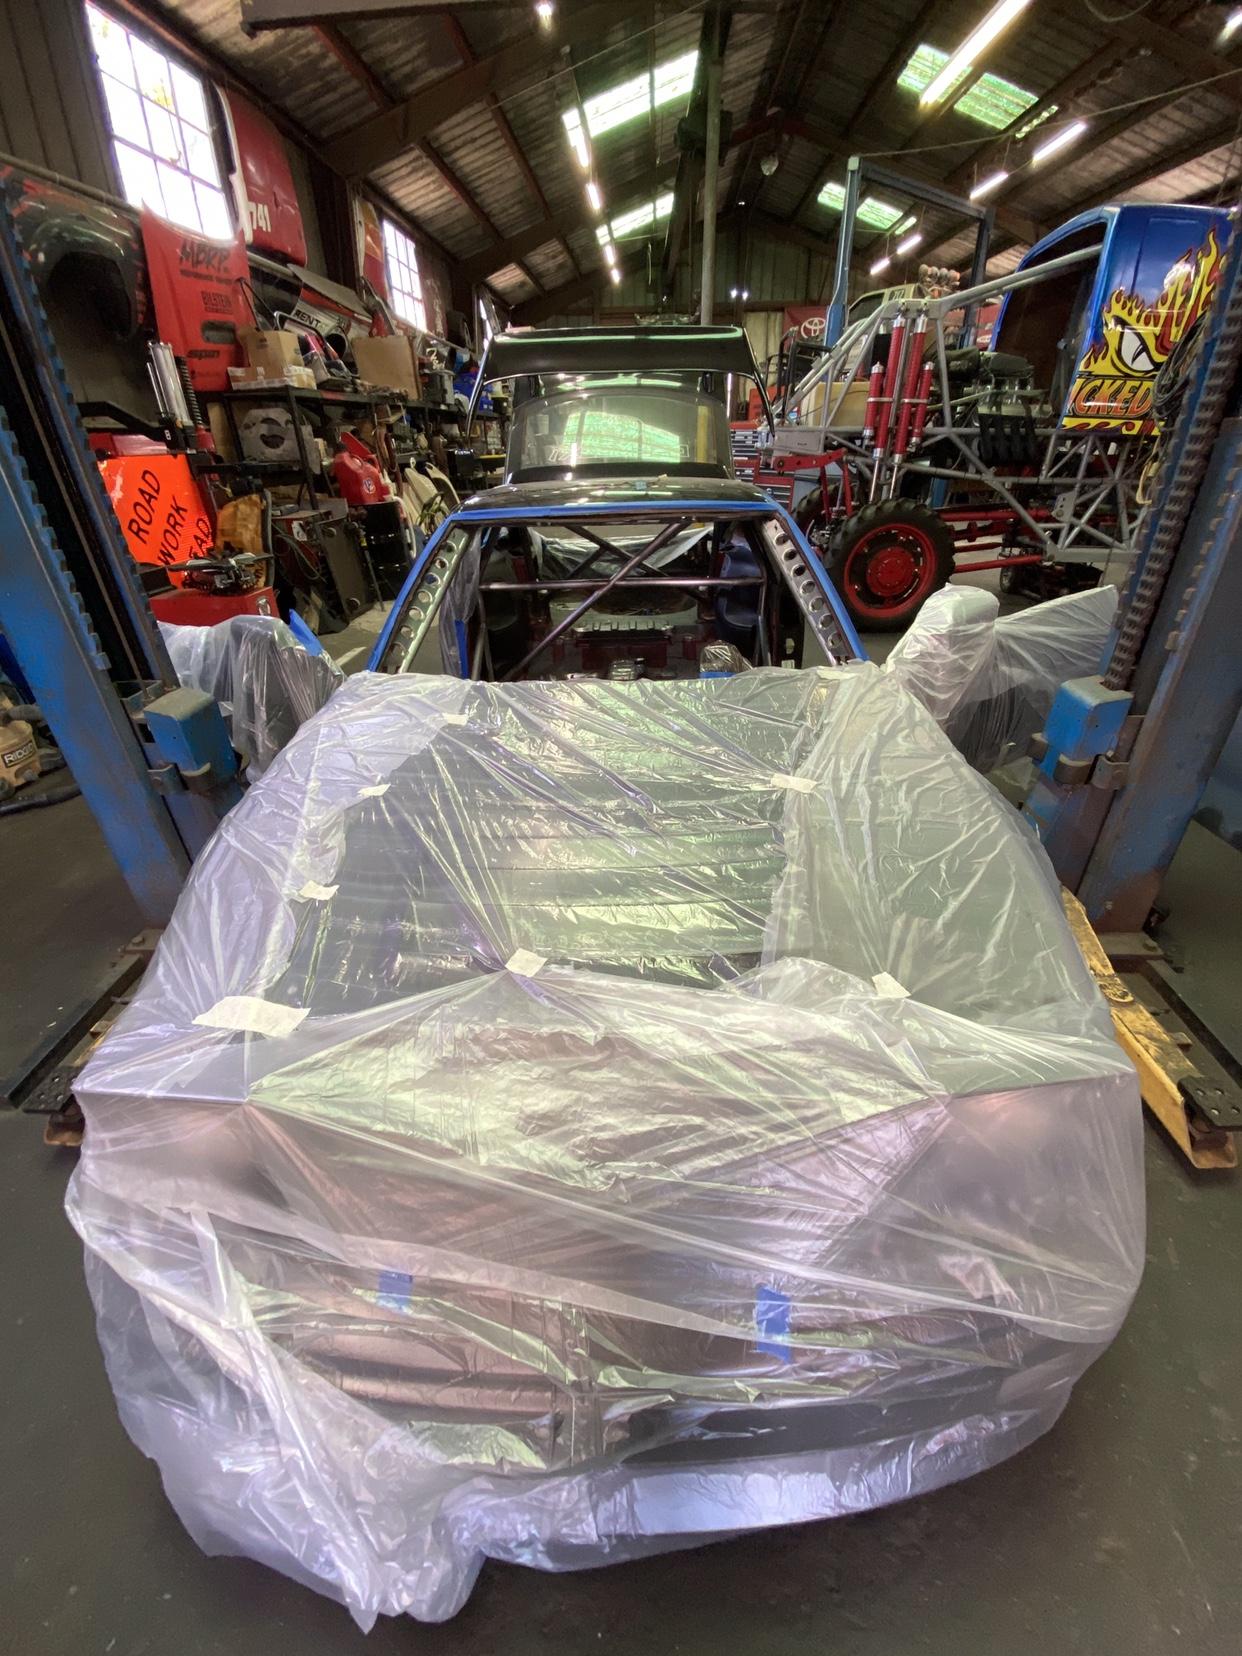
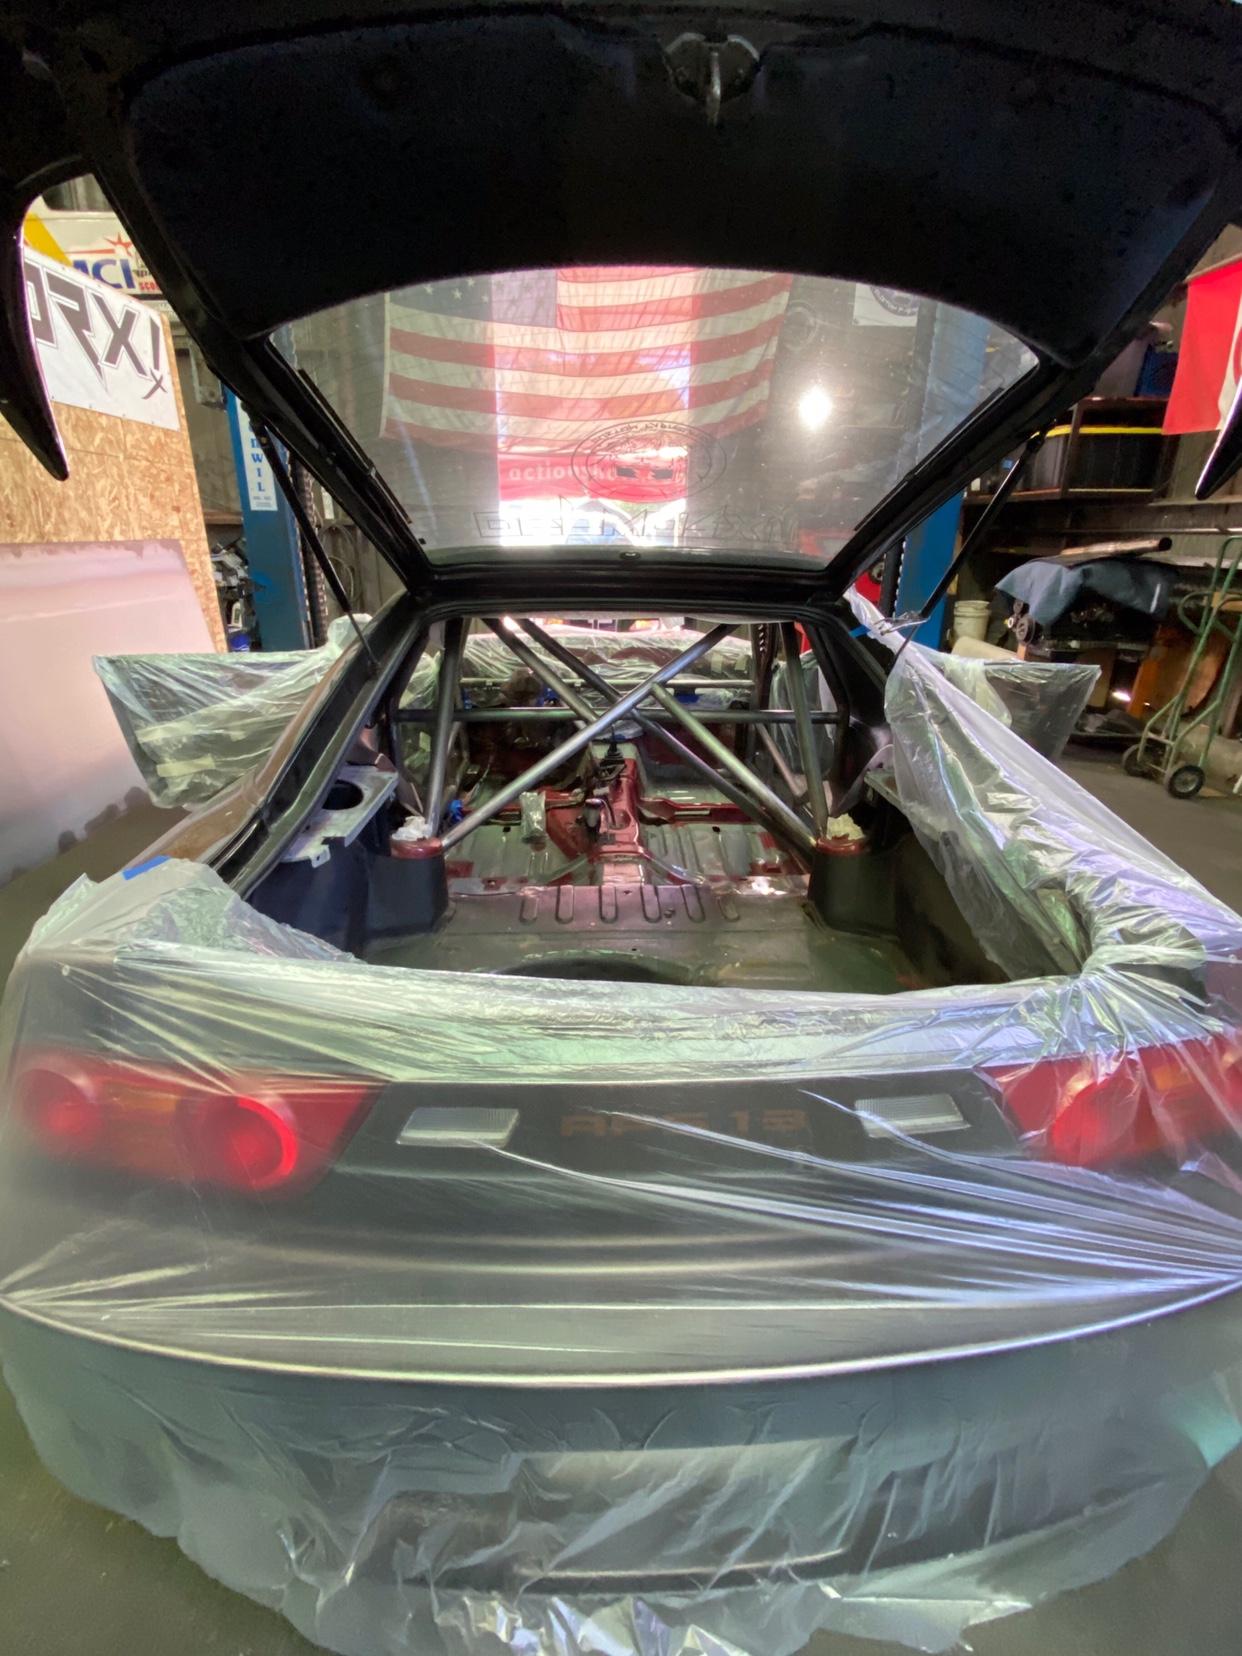
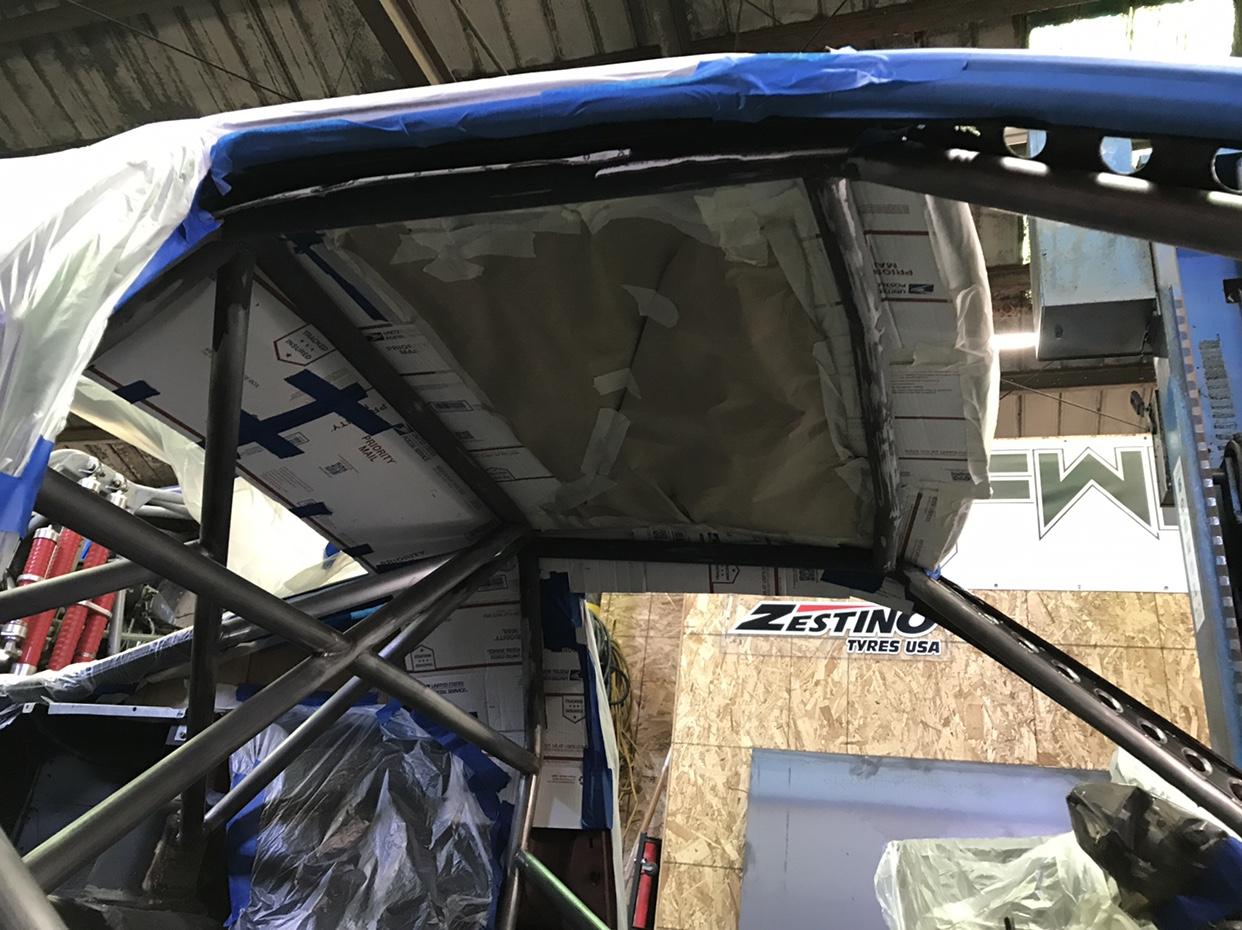
With the door bars finished up I was able to prep and mask for paint. The color is a mix of body color and black but turned out straight black
     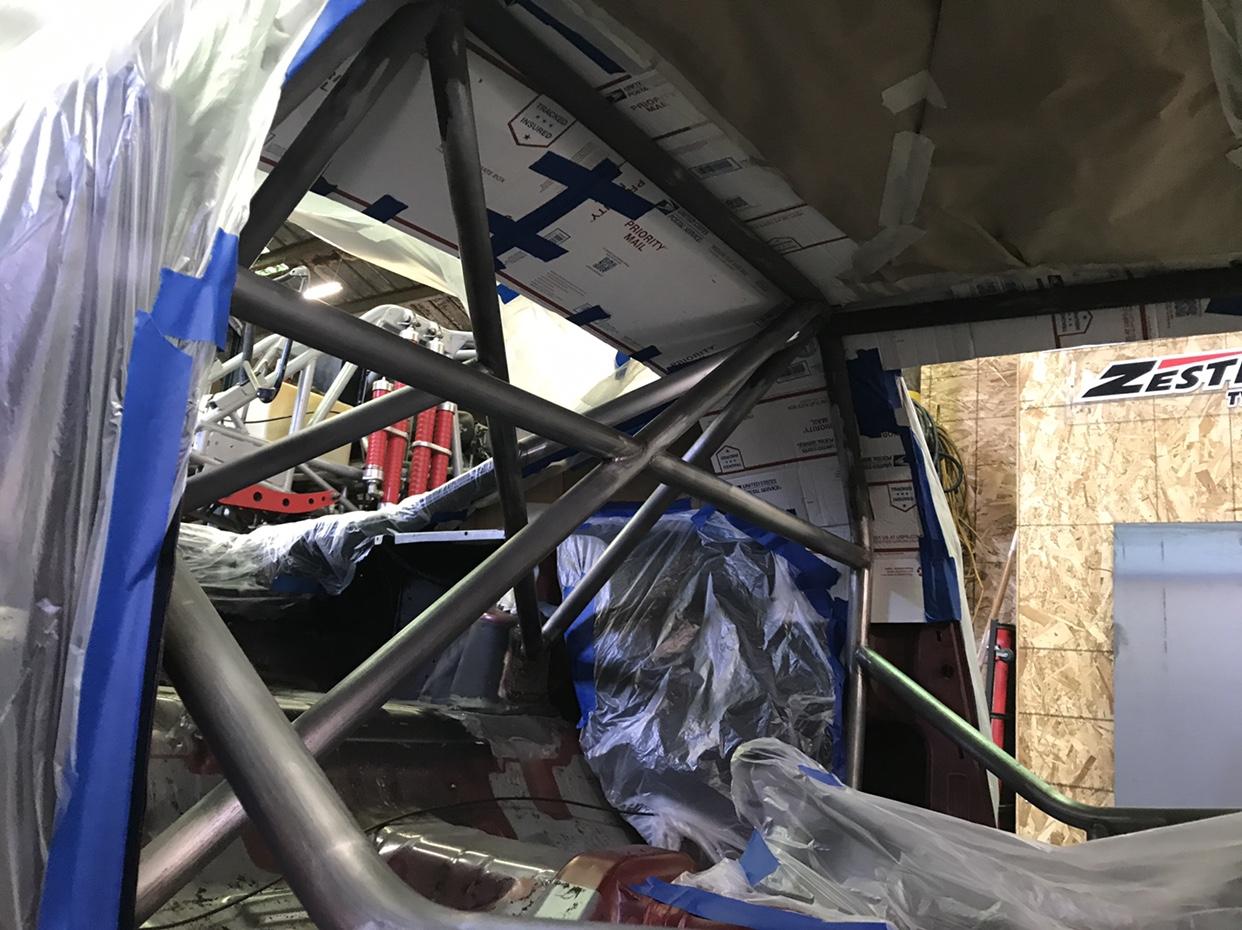 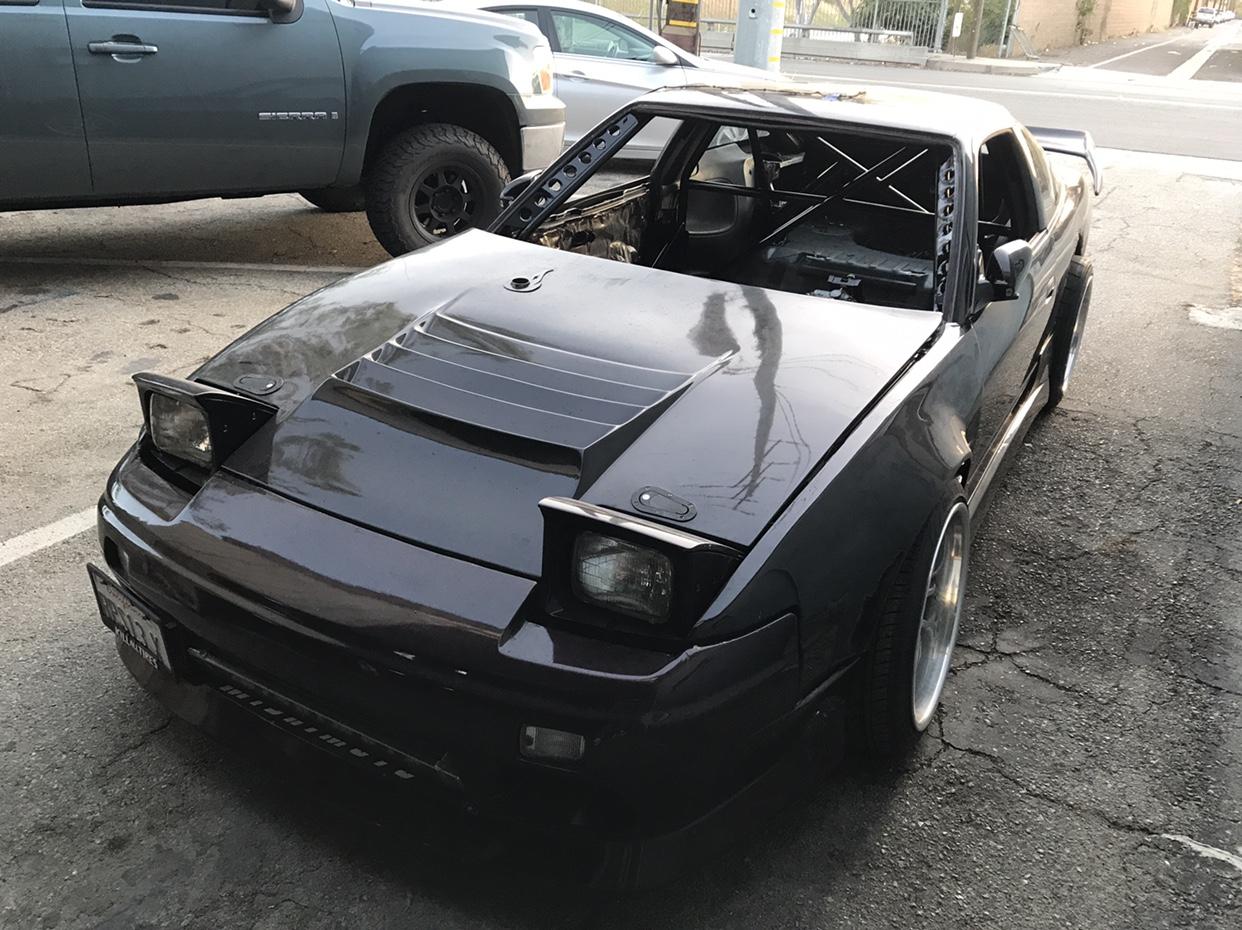 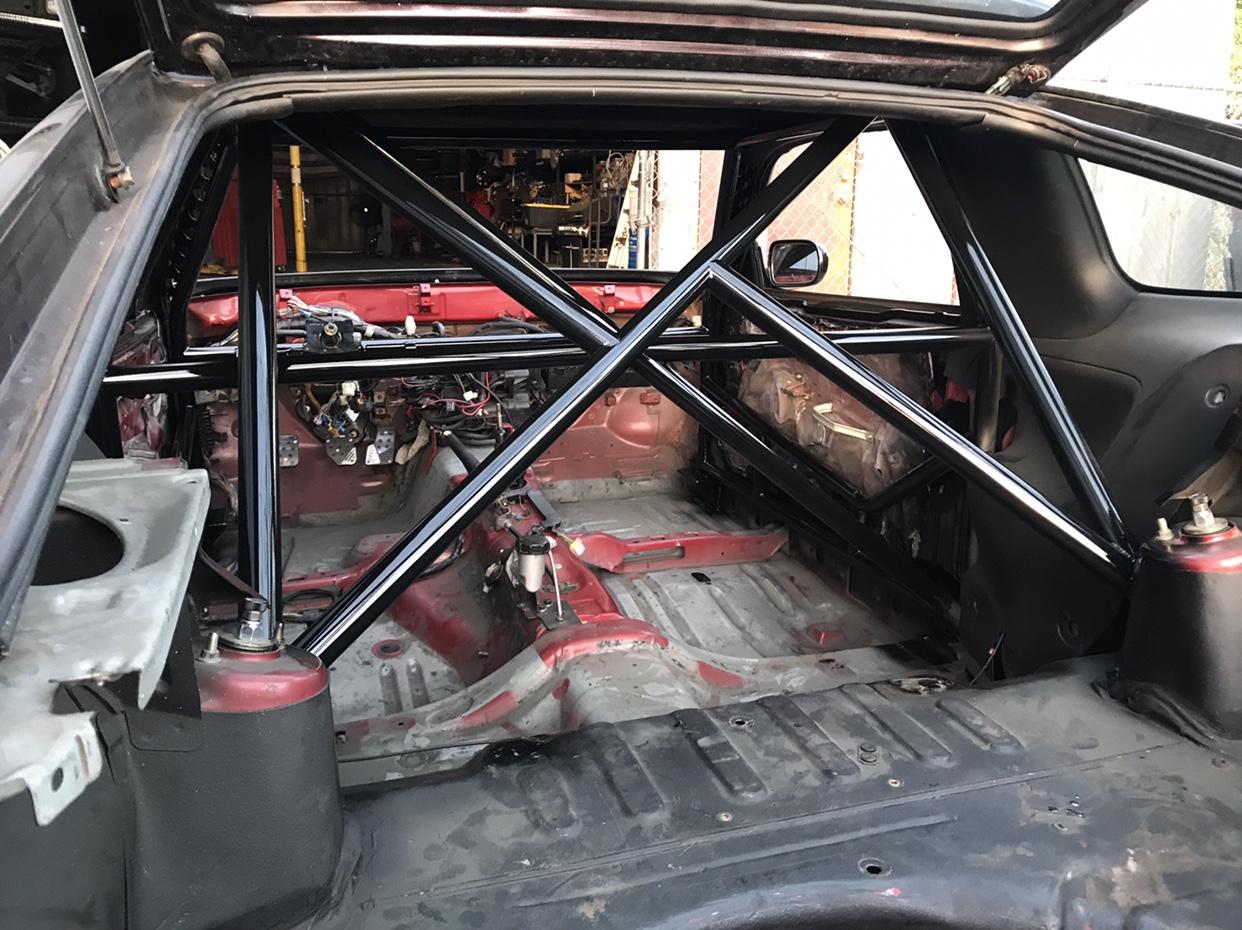 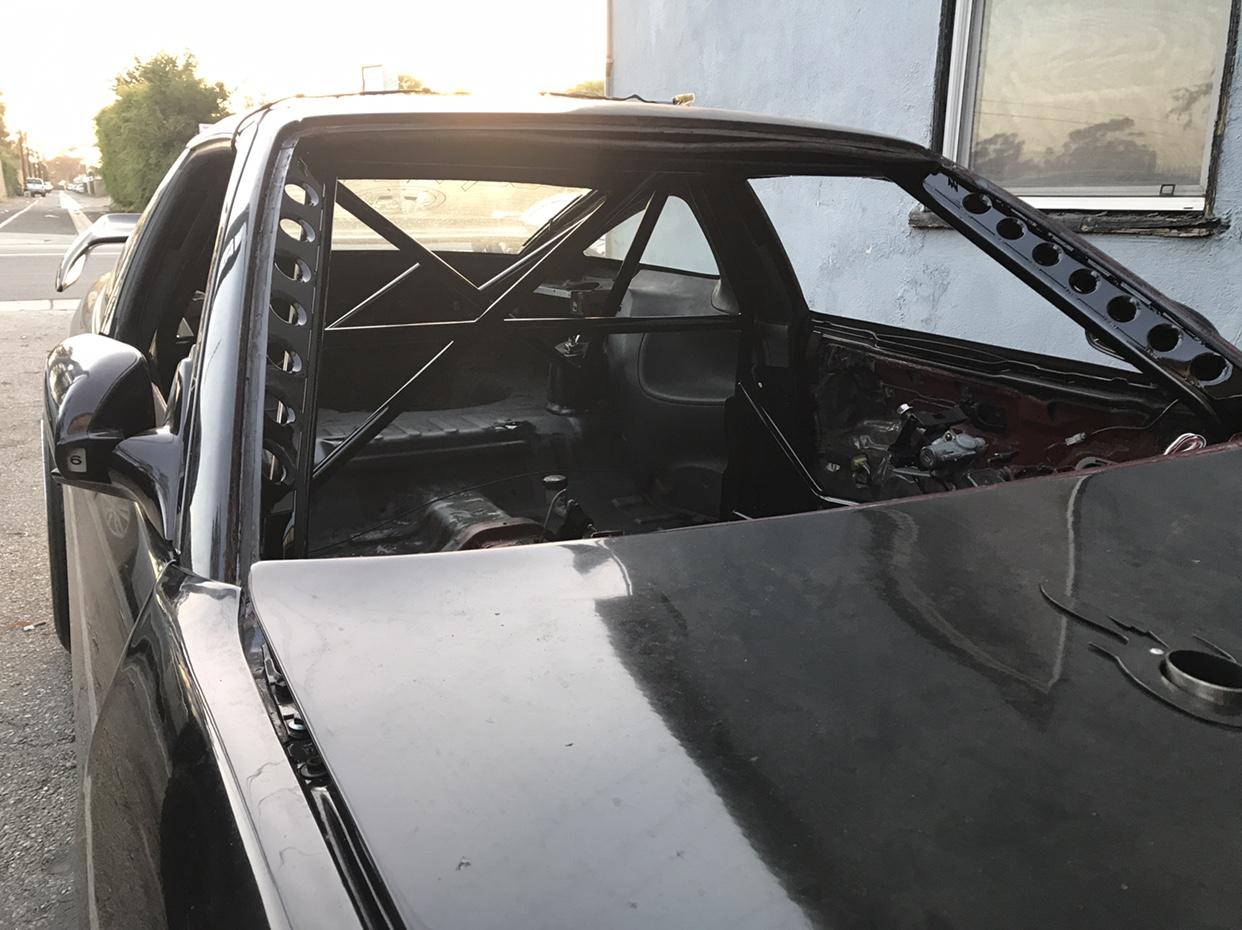 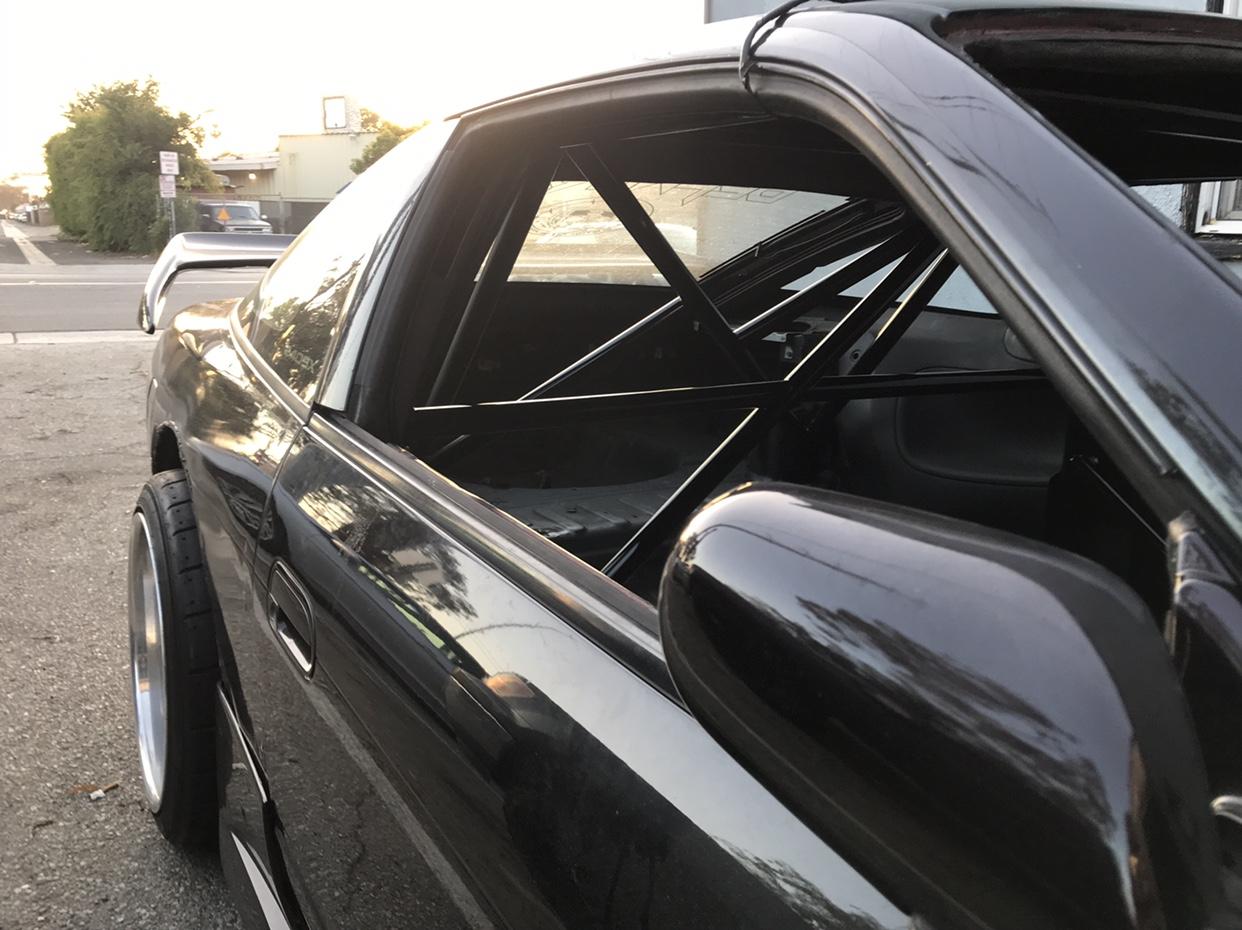 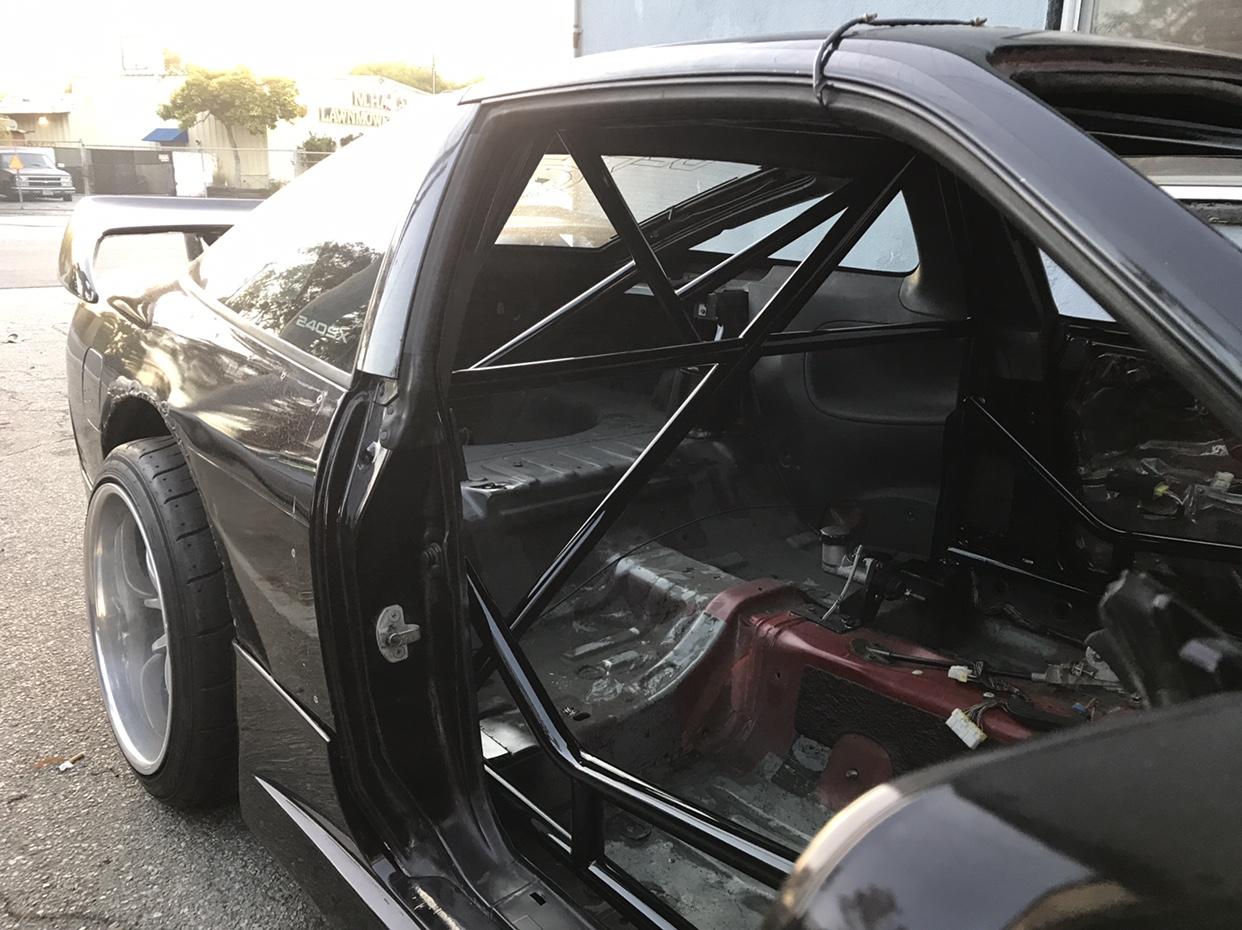 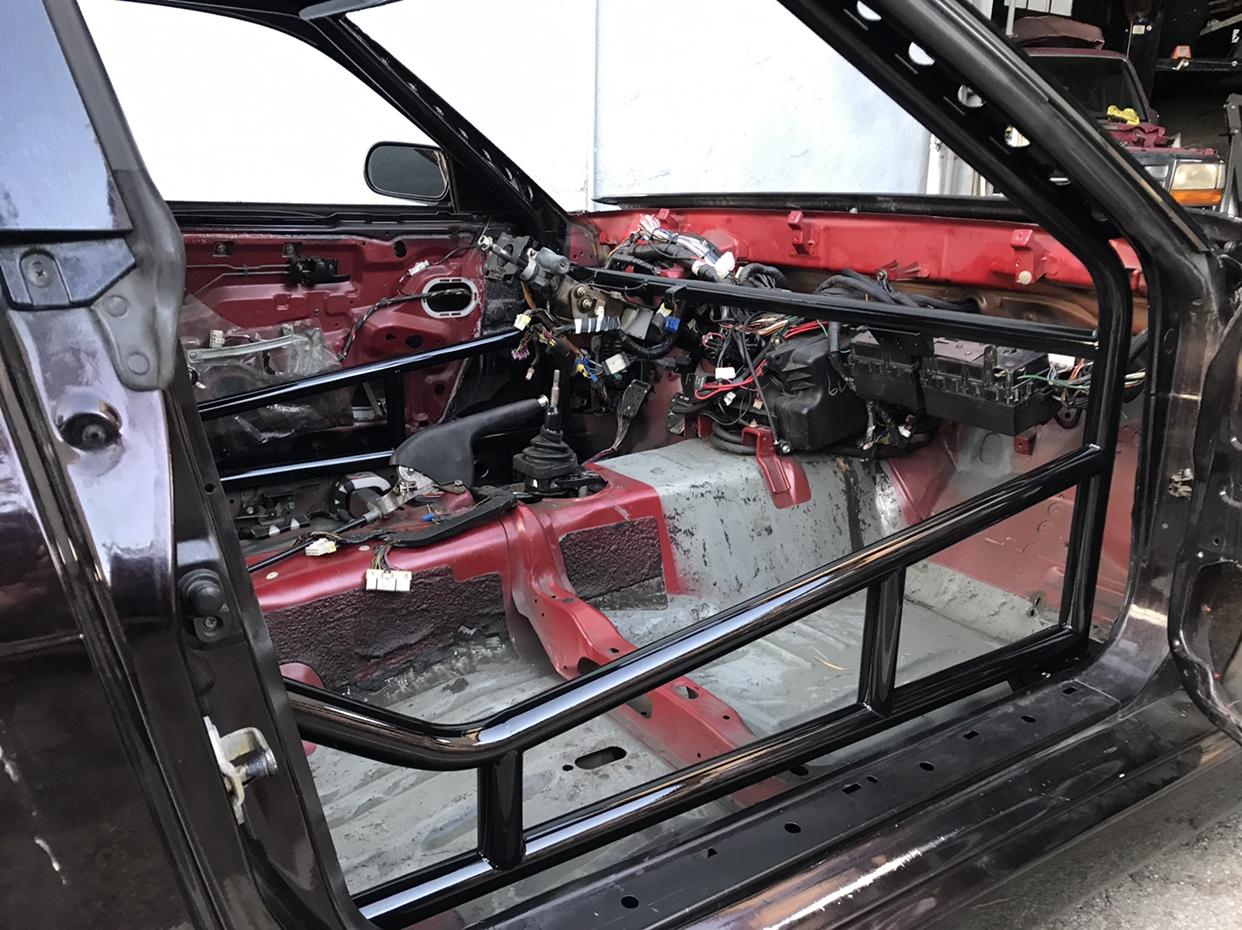 Sent from my iPhone using Tapatalk |
|
|

|
|
|
#127 |
|
Zilvia Junkie
 Join Date: Sep 2012
Location: LongBeach, CA
Age: 28
Posts: 371
Trader Rating: (4)
     Feedback Score: 4 reviews
|
Suprareal's S13 FB build (sr20det eventually)
Decided to throw a little bit of deadening back in to reduce the tin canning of the sheet metal
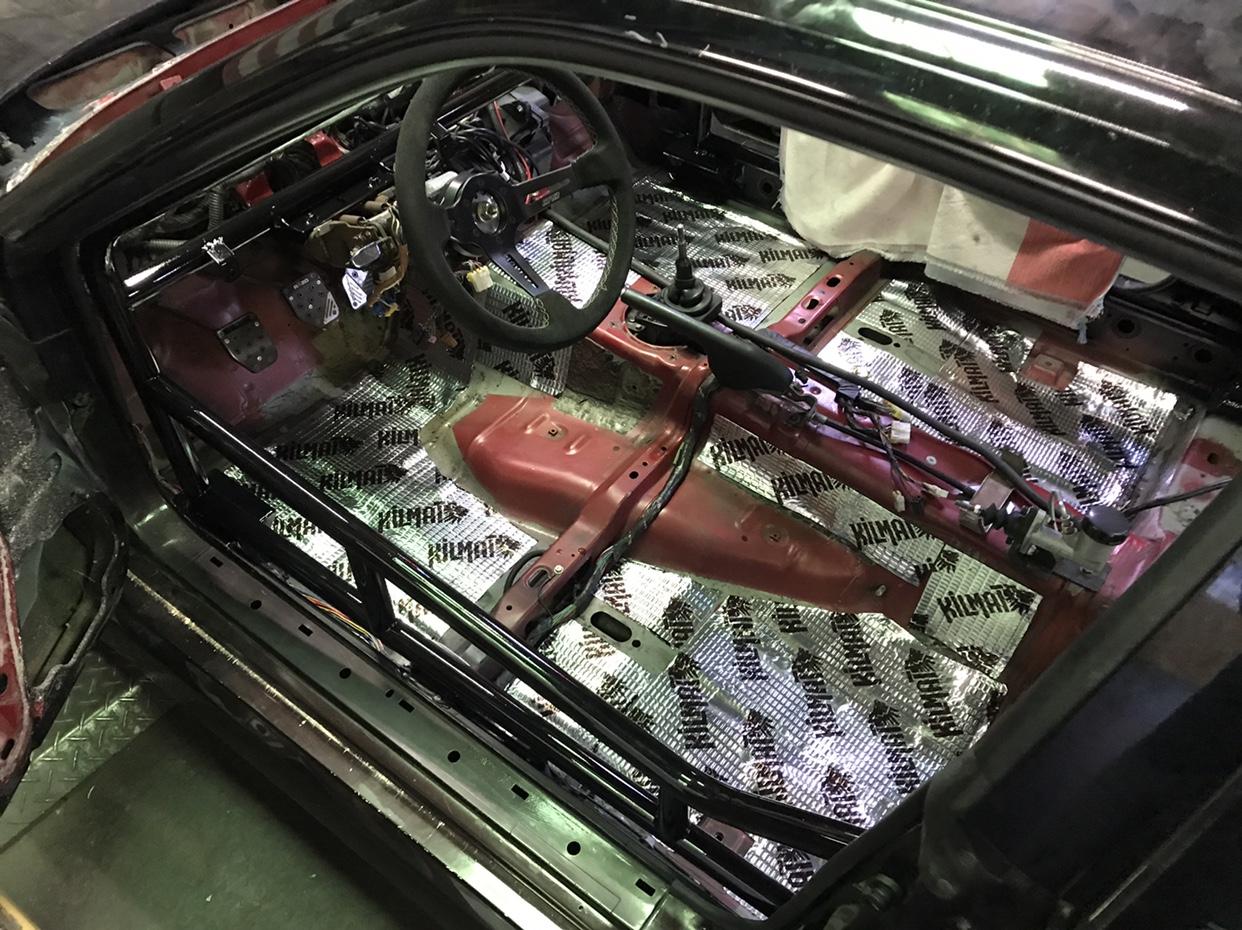 Interior is going back in little by little. My dash is being wrapped before it goes back in 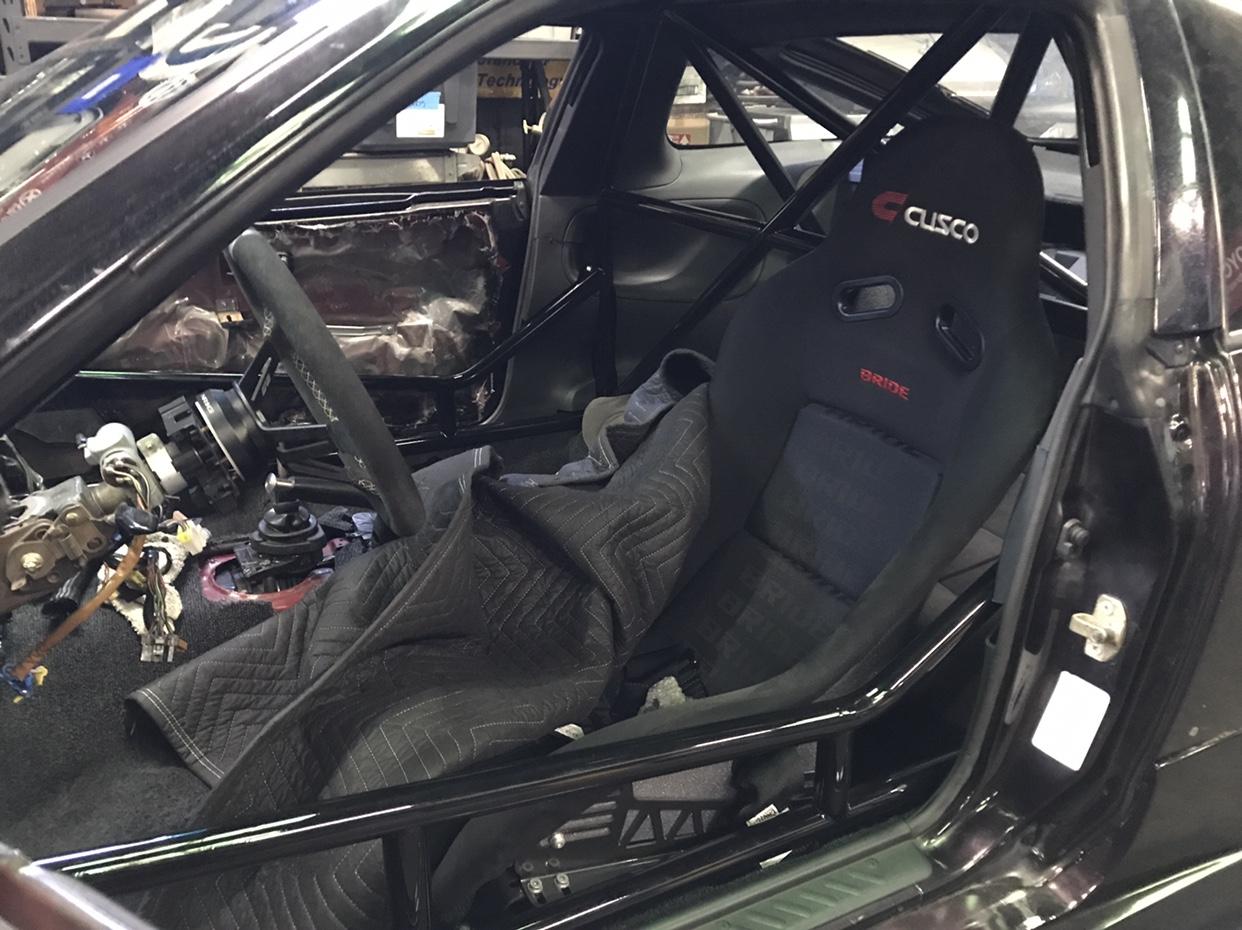 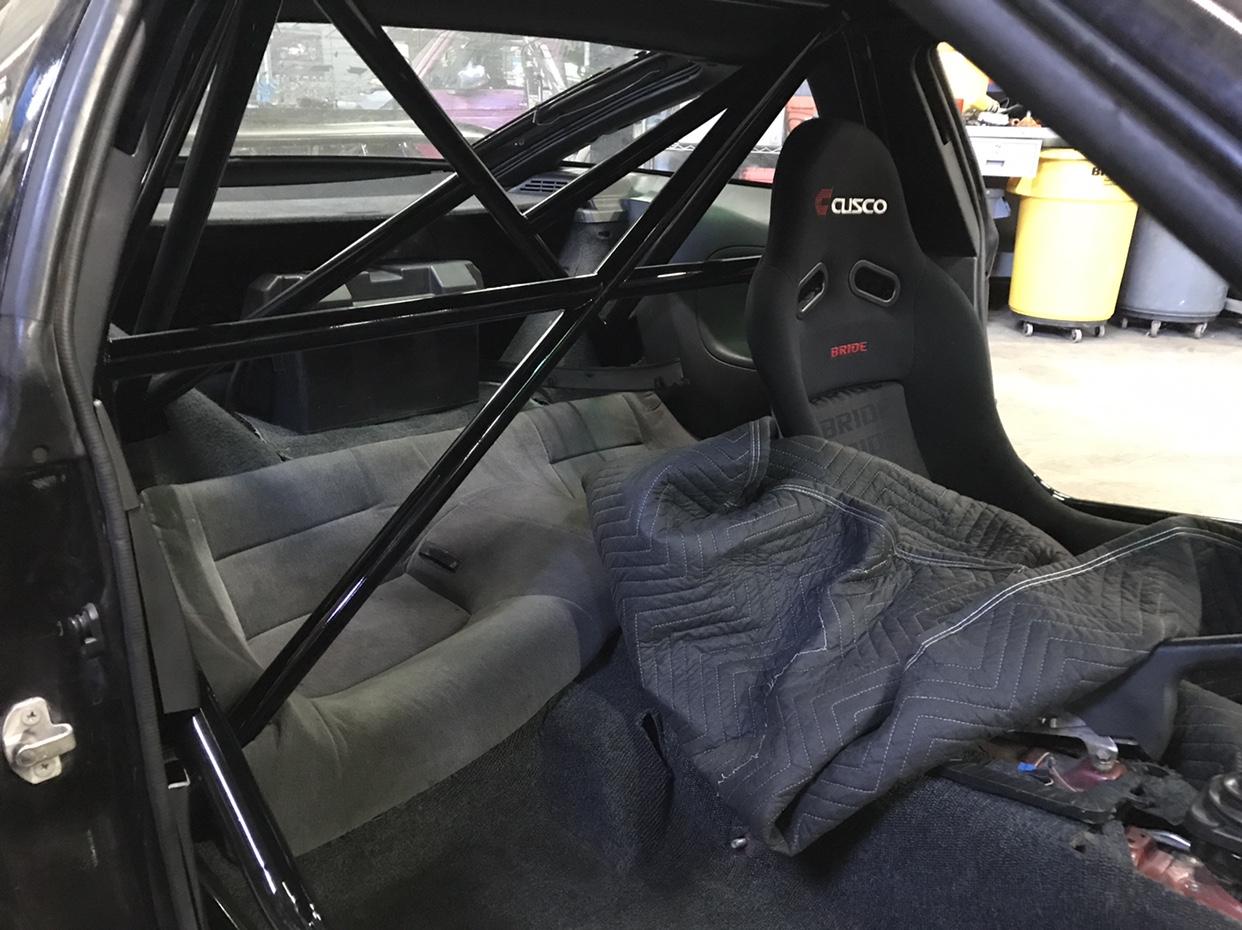 Sent from my iPhone using Tapatalk |
|
|

|
|
|
#128 |
|
Zilvia Junkie
 Join Date: Sep 2012
Location: LongBeach, CA
Age: 28
Posts: 371
Trader Rating: (4)
     Feedback Score: 4 reviews
|
Custom cluster I made and had a friend draw up and cut decals for imitation gauges since none of mine worked anyways
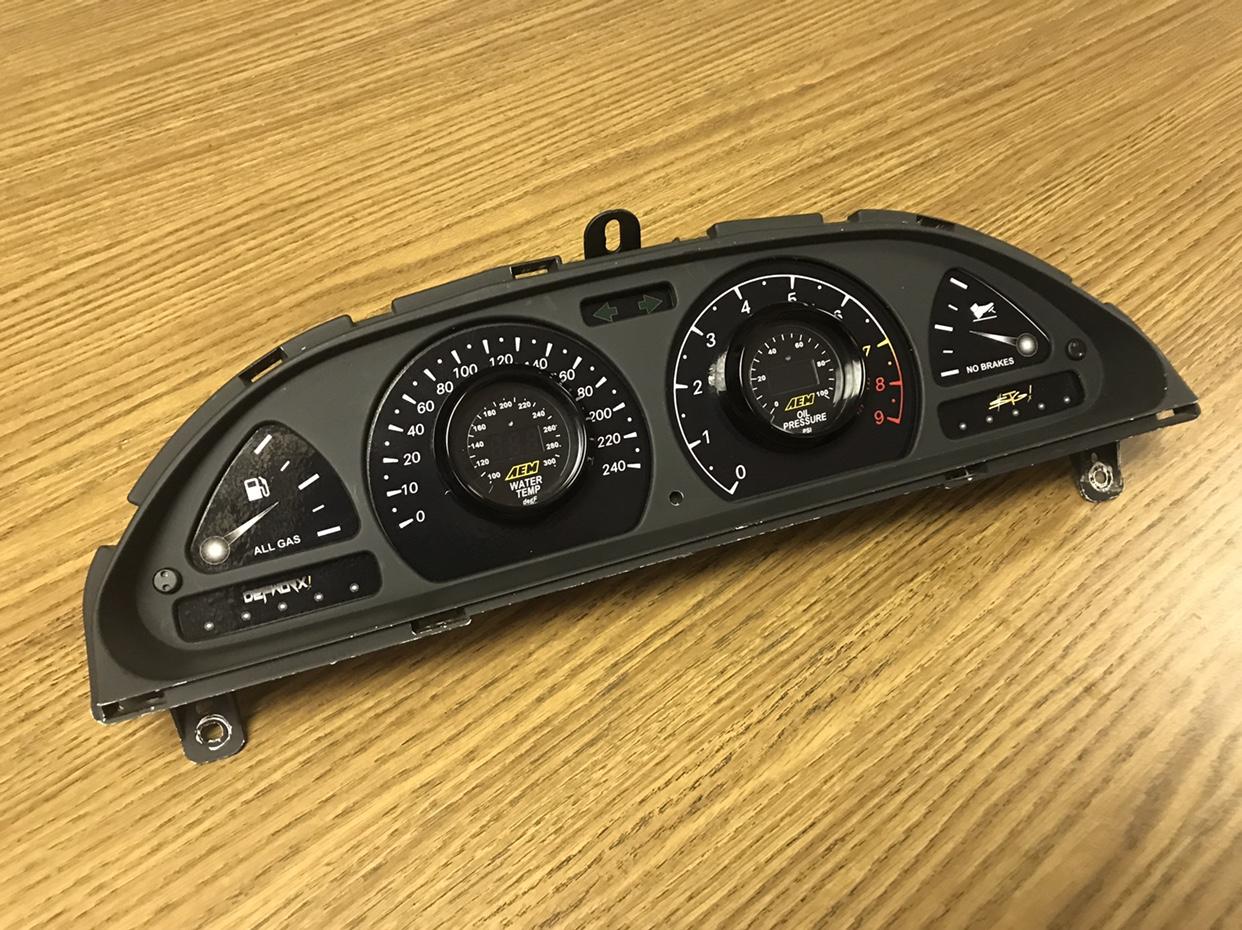 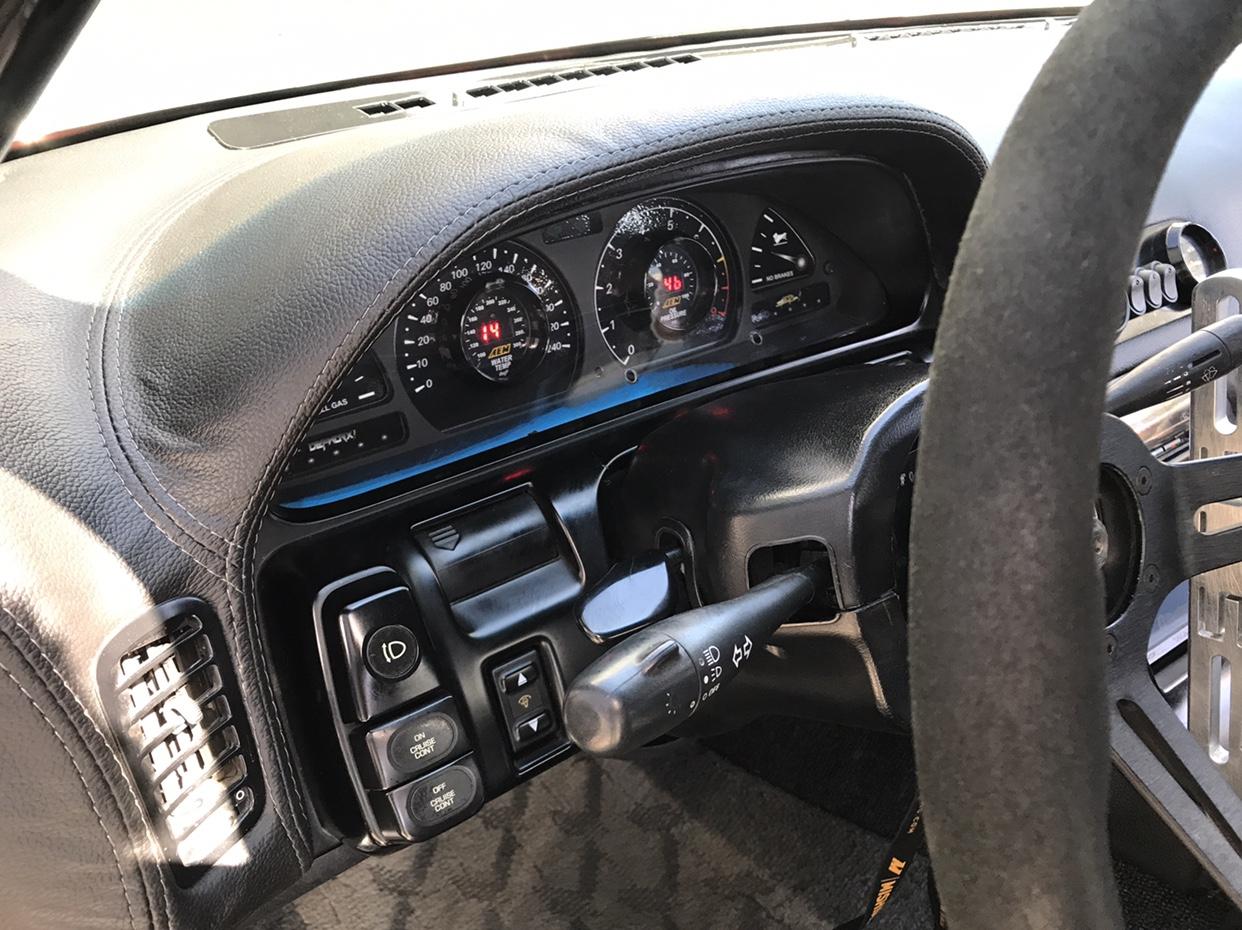 Interior is all back together now Had my interior guy wrap the dash. It was his first dash so it?s not perfect but I think it turned out great. New gauge pod for the ac hole and I threw the digital climate control back in. It?s just wired so it lights up. 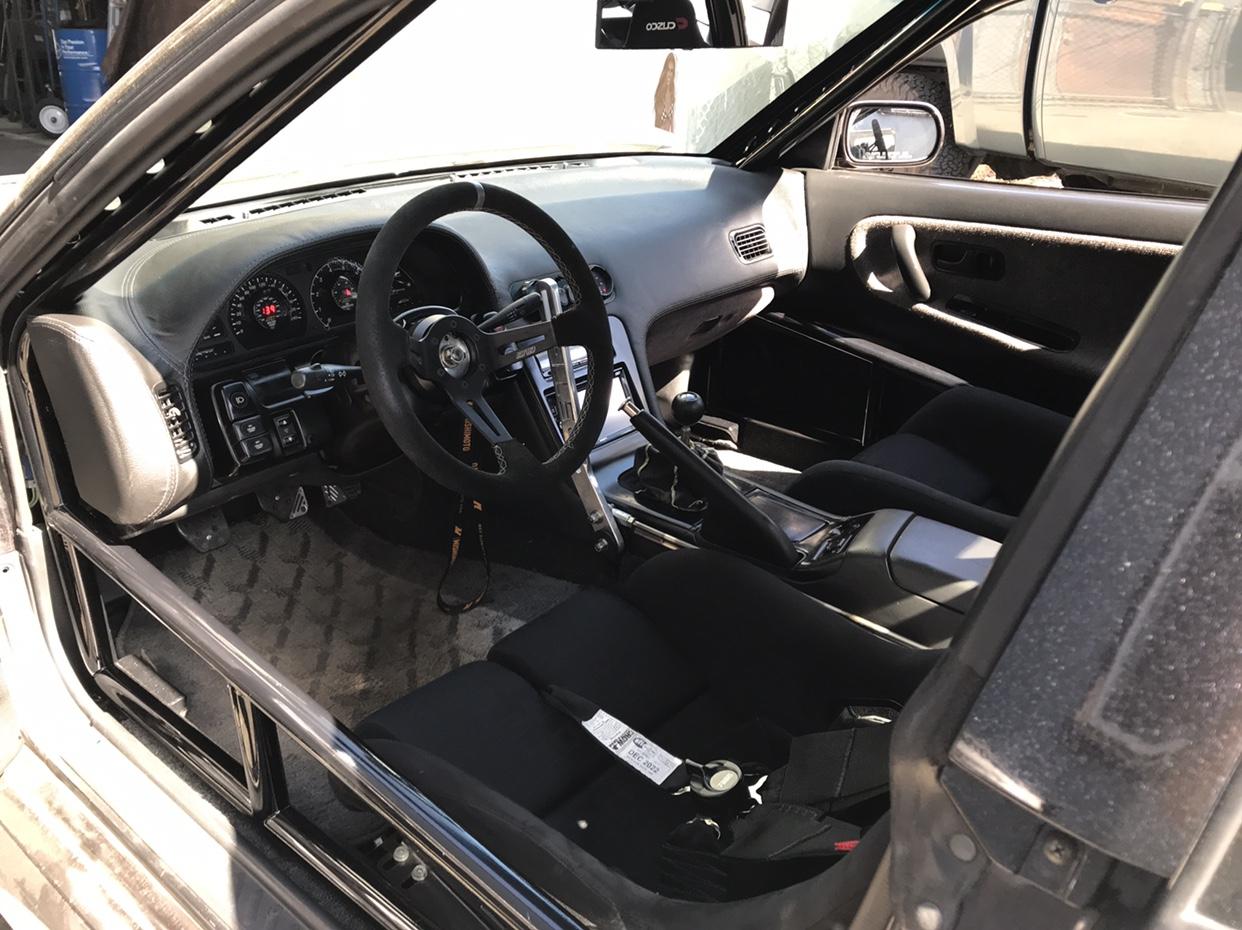 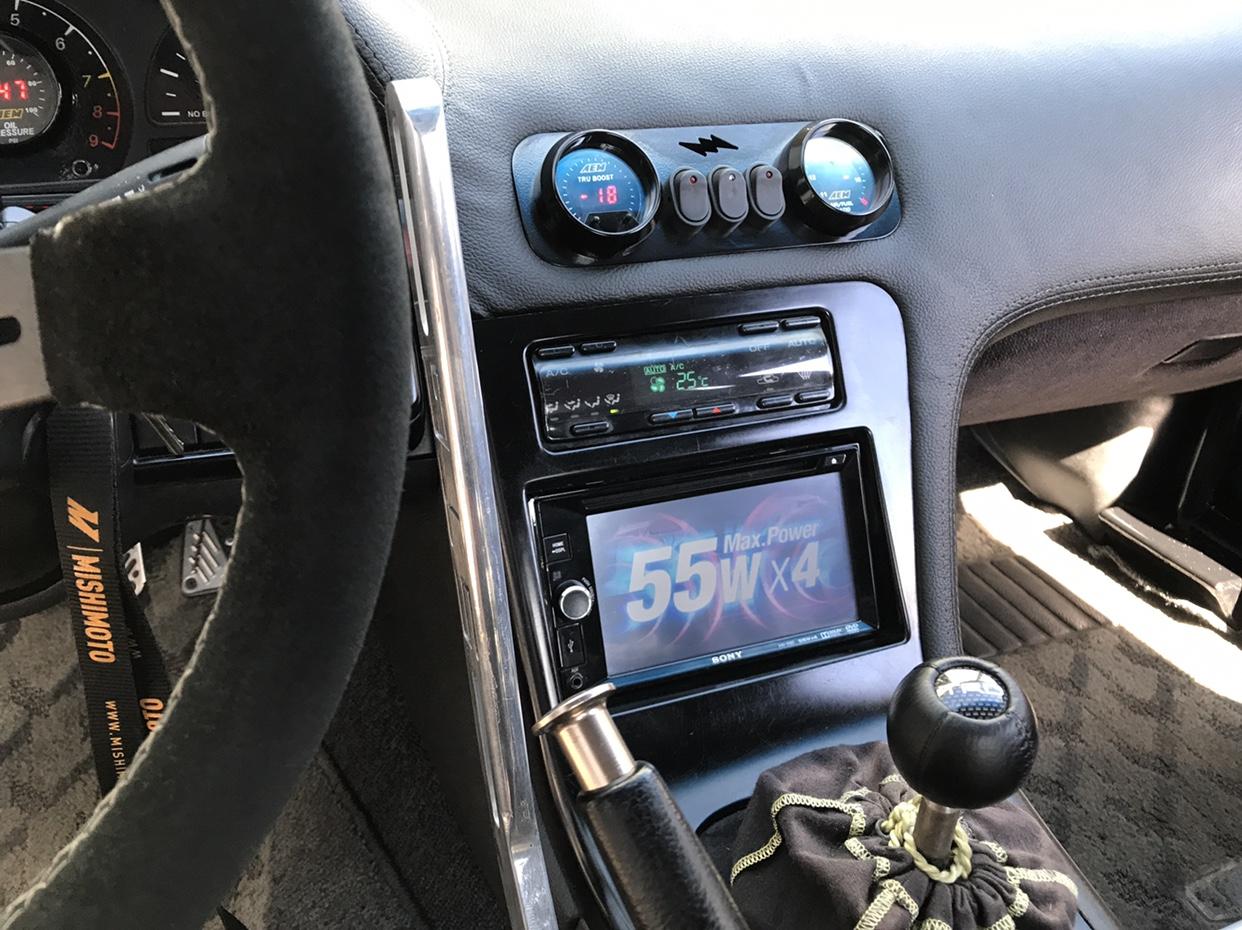 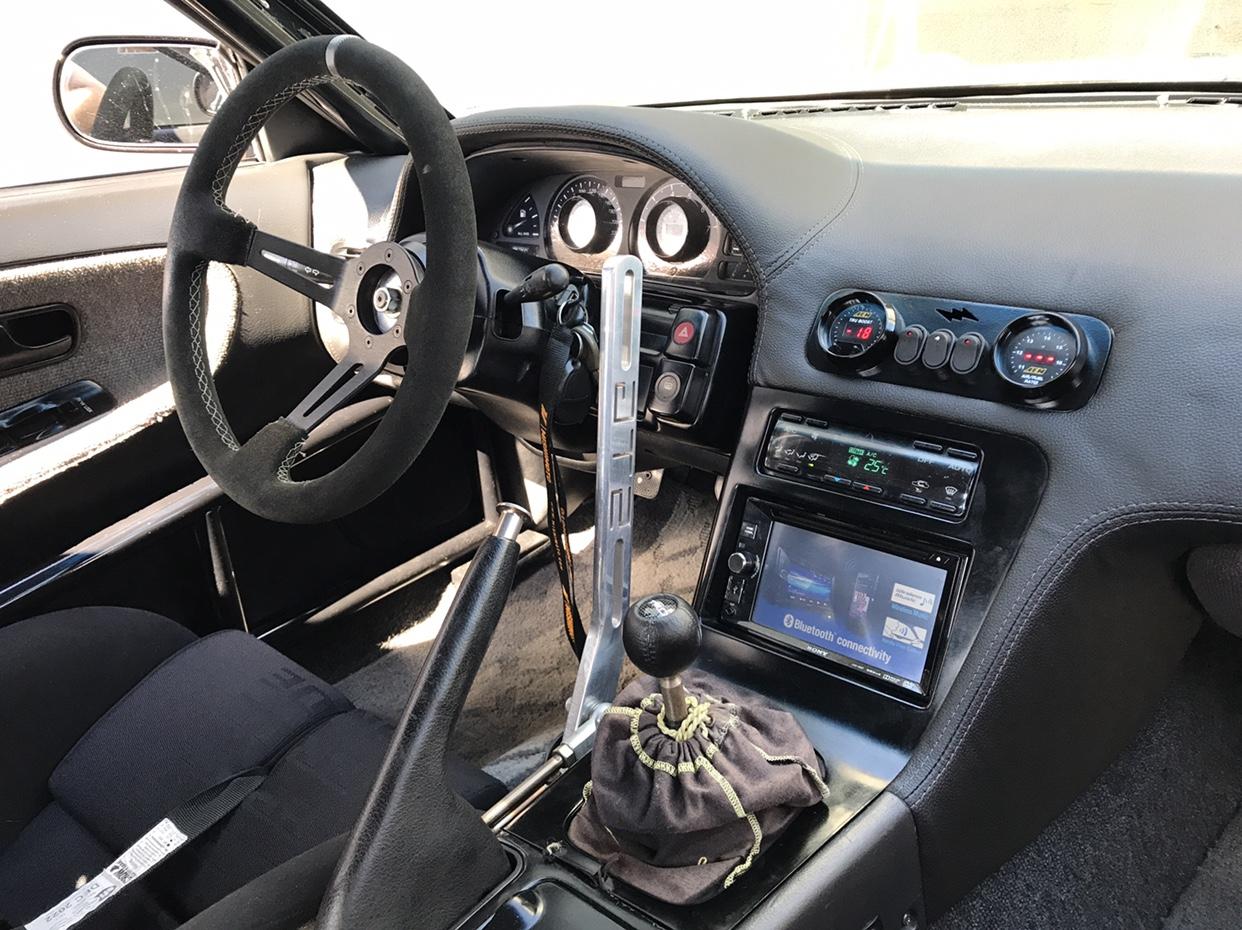 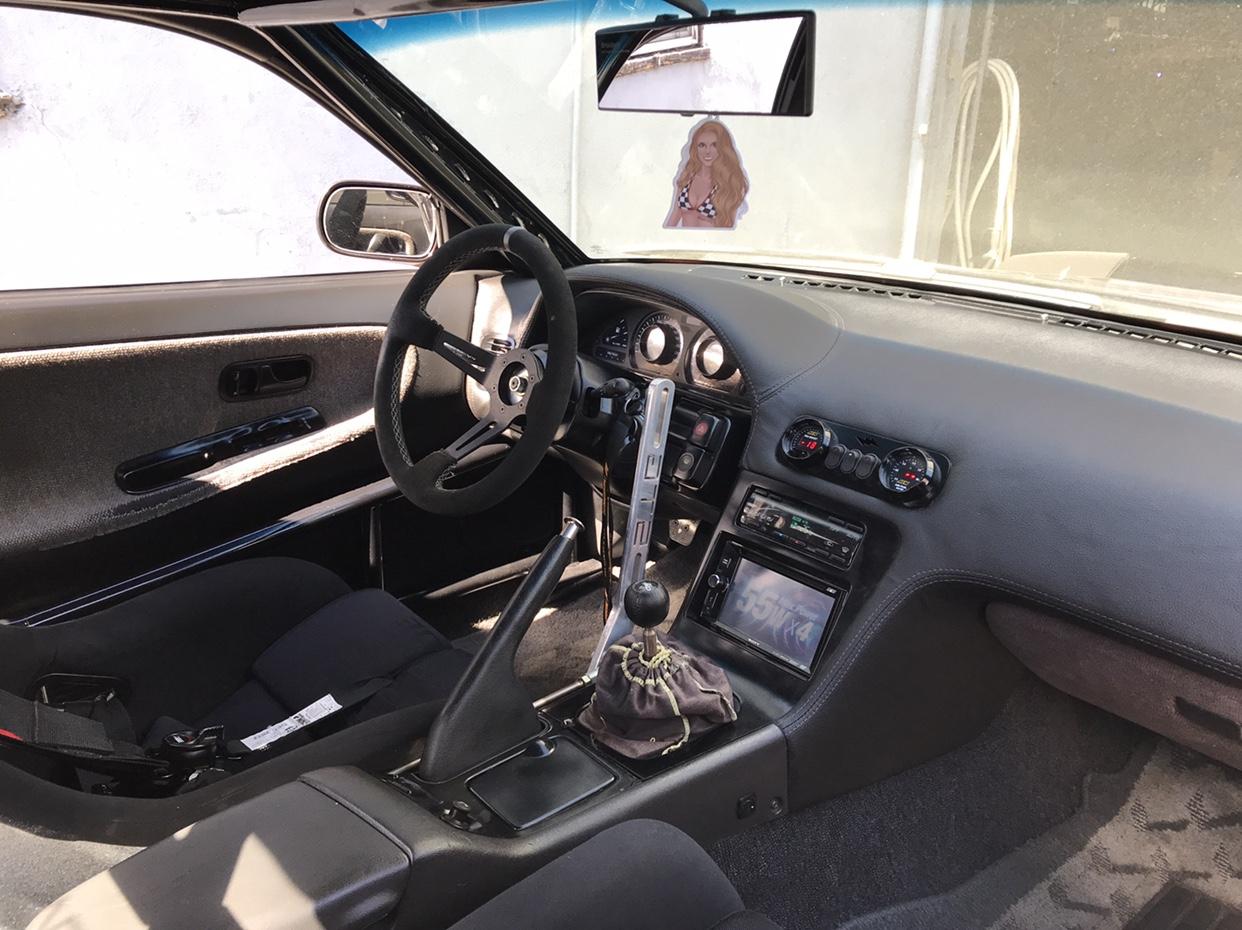 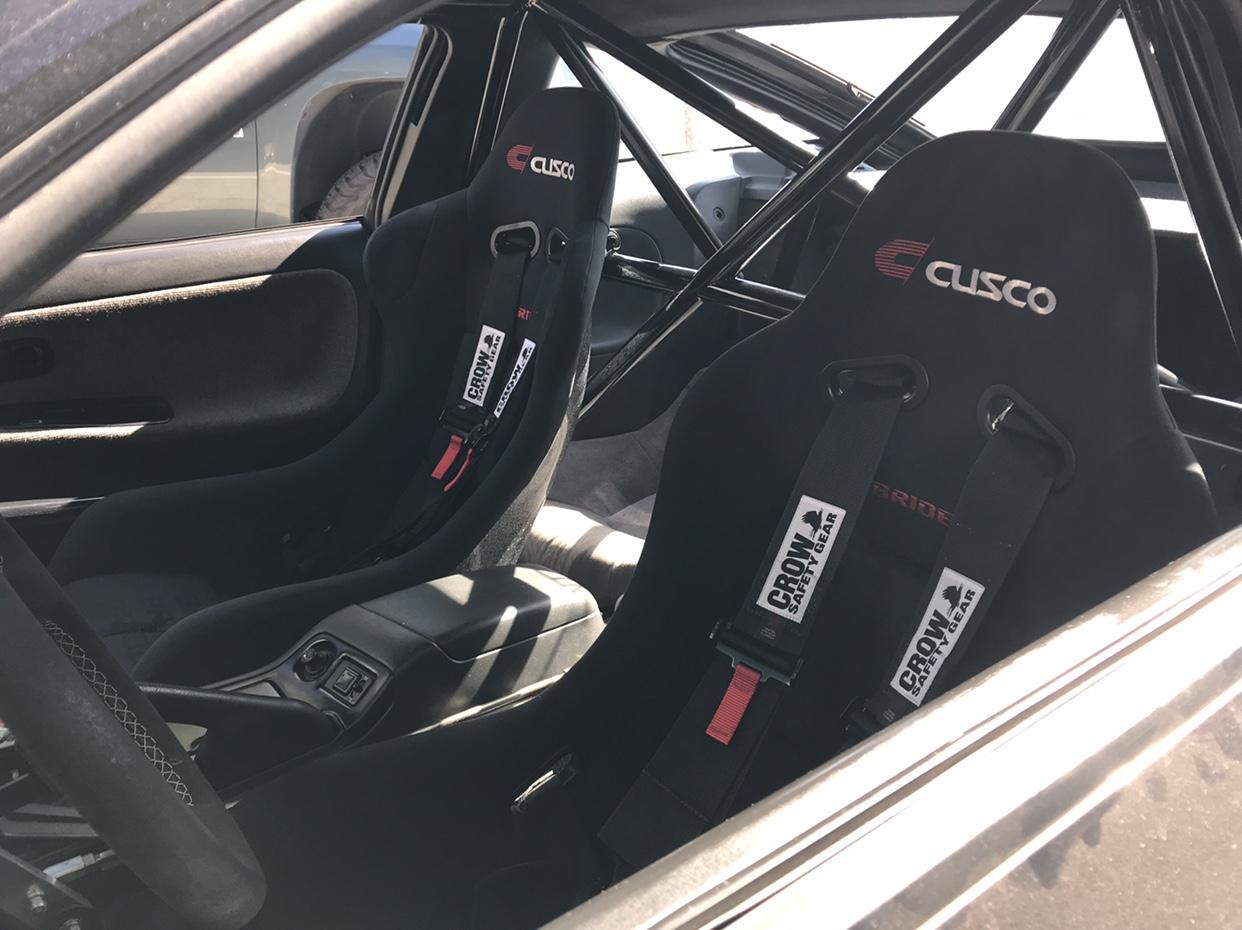 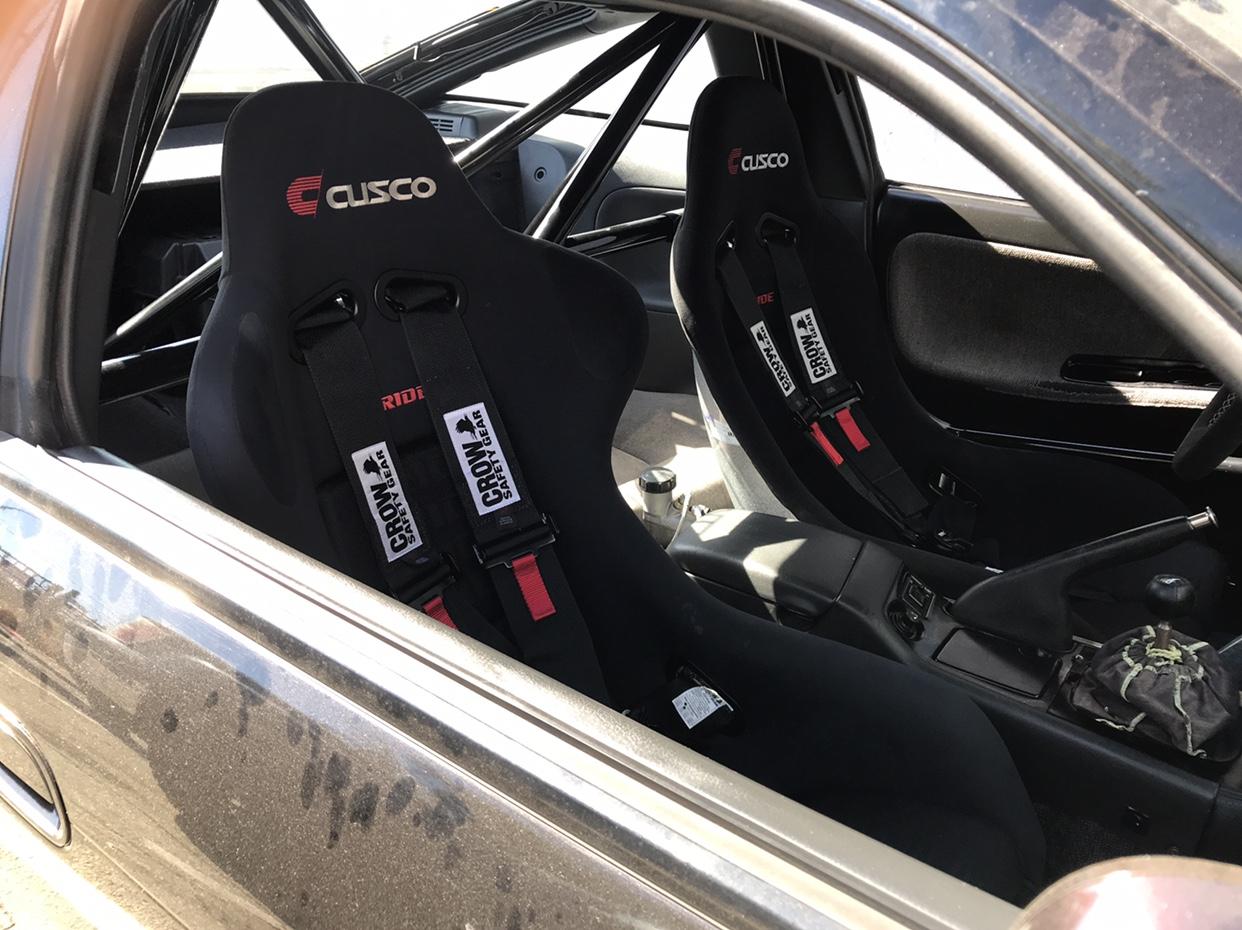 Sent from my iPhone using Tapatalk |
|
|

|
|
|
#130 |
|
Zilvia Addict
 |
|
|
|

|
|
|
#132 | |
|
Zilvia Junkie
 Join Date: Sep 2012
Location: LongBeach, CA
Age: 28
Posts: 371
Trader Rating: (4)
     Feedback Score: 4 reviews
|
Quote:
I run a full size battery in that box. It wouldn?t fit where the spare is without making a big bulge in the carpet. To me this plastic box is clean, I personally hate exposed battery?s/ boxes. I may later make a delete panel to hide the rear section and have it wrapped the same material as the dash though Sent from my iPhone using Tapatalk |
|
|
|

|
 |
| Bookmarks |
| Thread Tools | |
| Display Modes | |
|
|