
 |
|
|||||||
| Home | Rules & Guidelines | Register | Member Rides | FAQ | Members List | Social Groups | Calendar | Mark Forums Read |
| Builds (and builds only) Got a build thread? It goes here, build threads anywhere else on the forum will be locked and never moved. |
 |
|
|
Thread Tools | Display Modes |
|
|
#61 |
|
Zilvia Addict
 Join Date: Oct 2008
Location: Bay Area, CA
Age: 29
Posts: 914
Trader Rating: (28)
    Feedback Score: 28 reviews
|
Removing the oil pan so I can change out the oil pick up that is slightly dented and has holes drilled in it. I should have done it before I installed the trust oil pan but I didn’t really think it was a big deal. Someone pointed it out on my build thread on Zilvia and convinced me to go back and change it. Seriously was a PITA. This is one of those things you want to do once and forget about it.
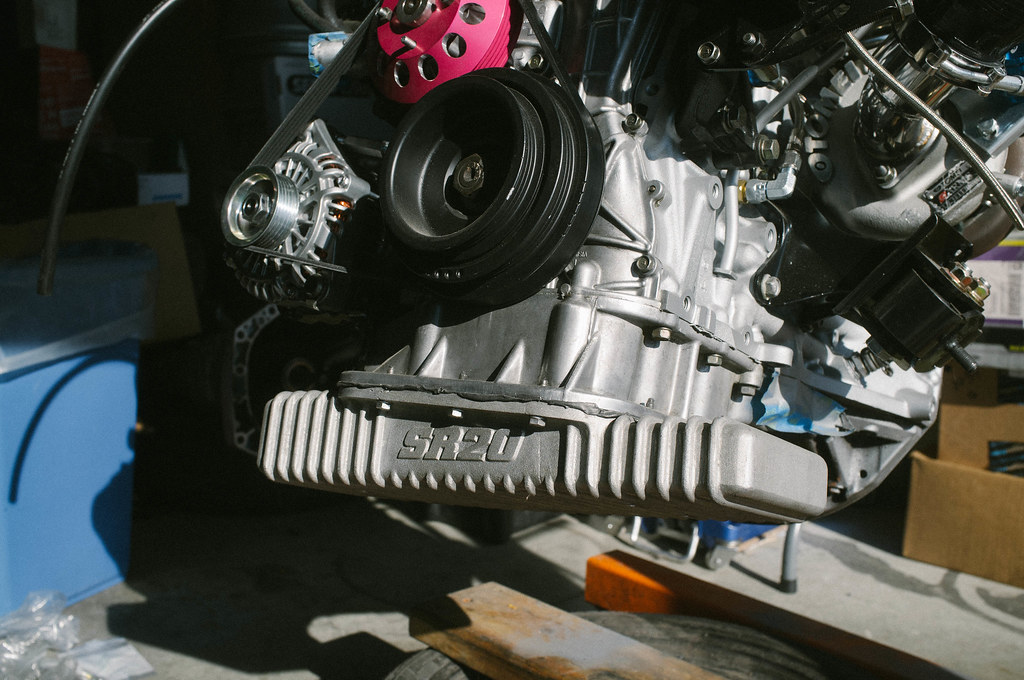 Oil pan finally removed. I think this took me a solid hour to remove. I kept trying different things to remove it. You can’t really use a flathead/chisel to pry it apart since the pan is aluminum and it just digs into the pan if you try and hammer anything into it. What I think worked for me was when I used a piece of woos 4x4 and hammered it in various areas of the pan until the gasket eventually gave. This was not fun at all. 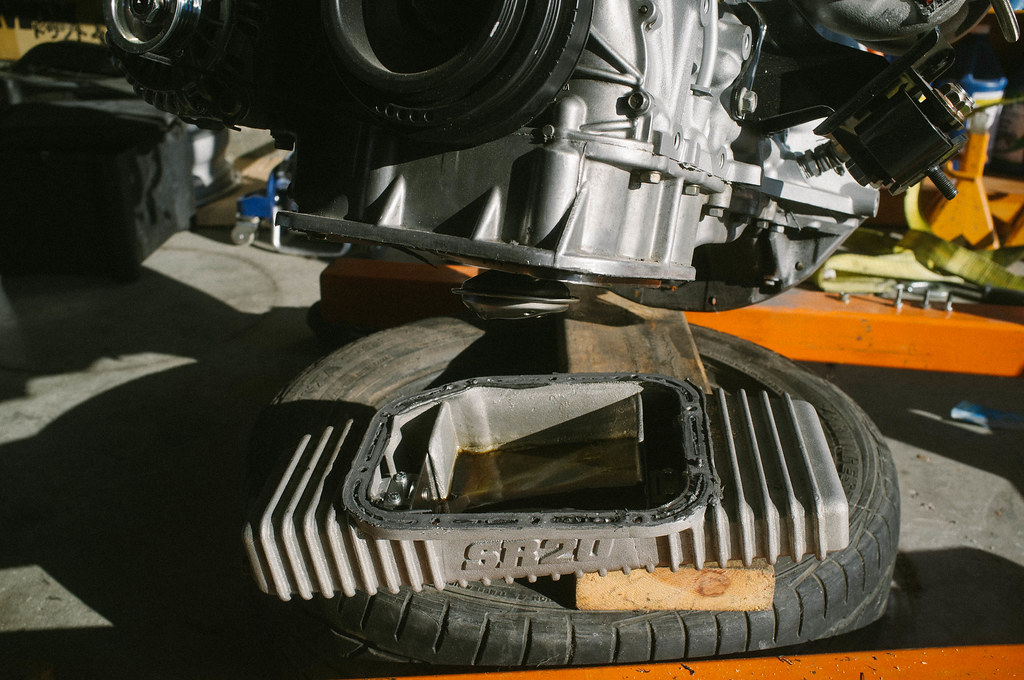 Oil pan is removed exposing the oil pickup that needs to be removed. First the cover needs to be removed. I believe there were (7) 10mm or 12mm bolts holding this cover on. Once the cover is removed you have access to the oil pickup, which is held on by 3 bolts. 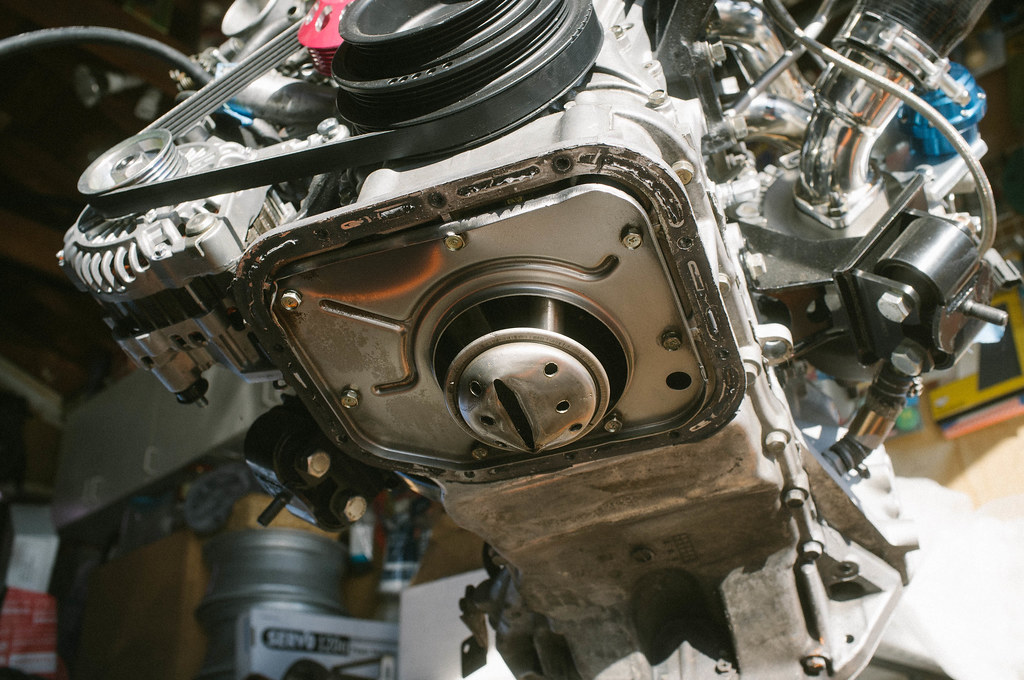 Oil pickup ready to be removed. It is slightly dented and has holes drilled in it by previous owner. 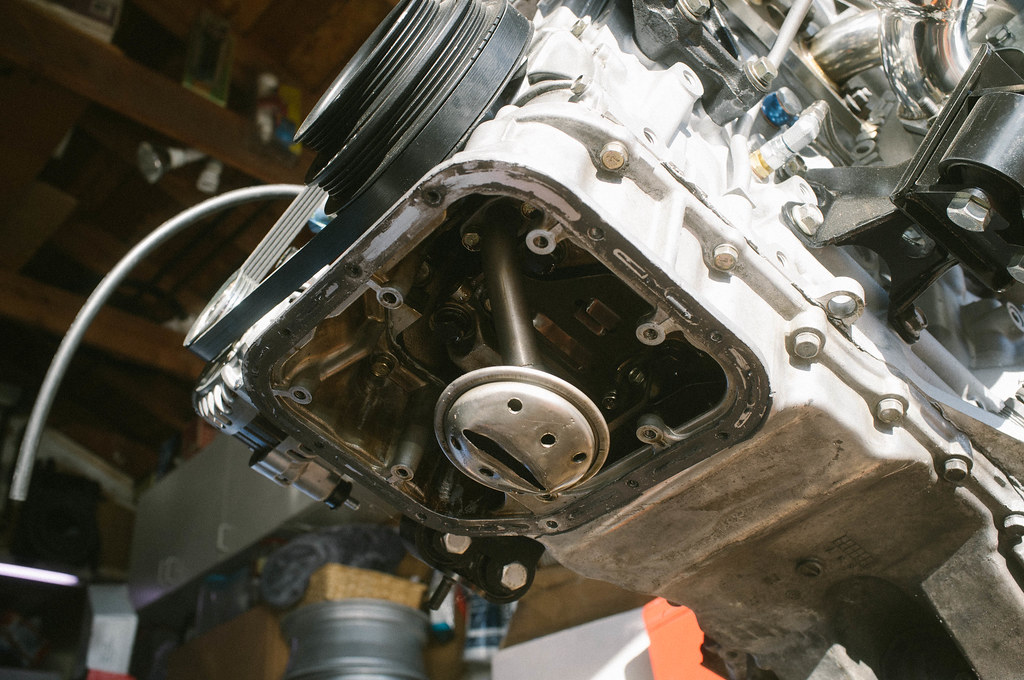 This third bolt in the back holding the oil pickup was a PITA to remove. Good luck to any of you attempting this with chicken tender fingers. 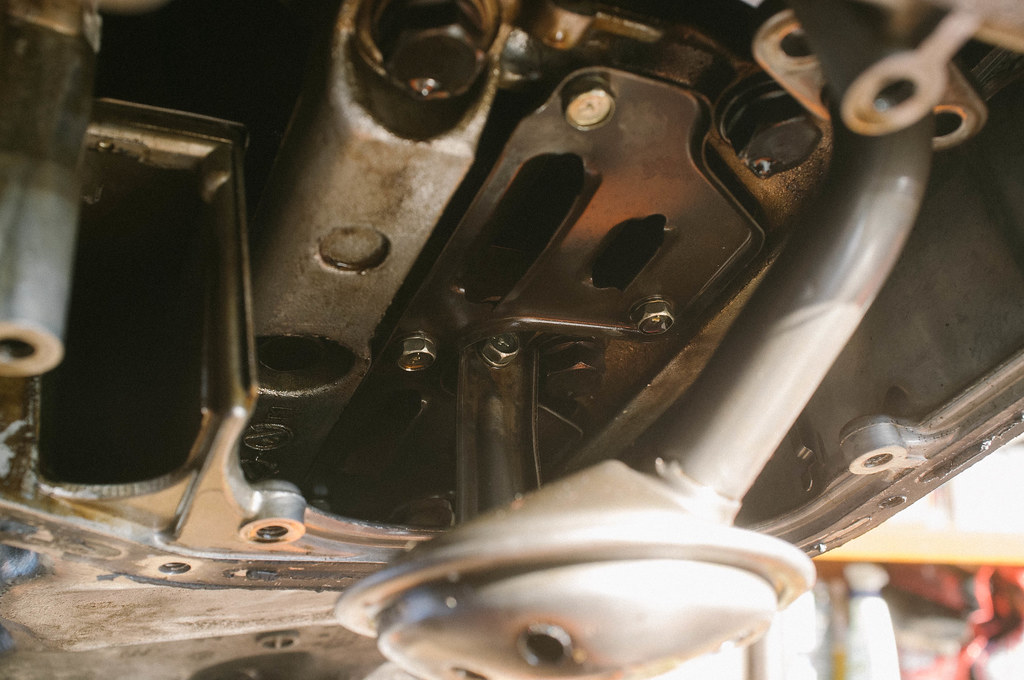 Oil pickup removed 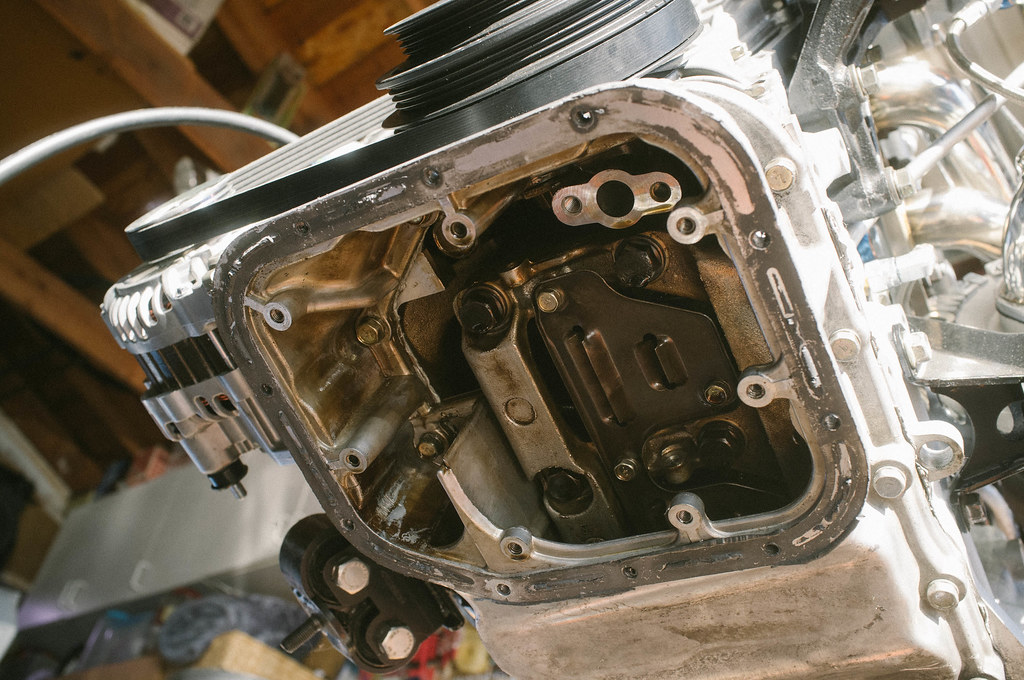 Old oil pickup vs new. Previous owner drilled holes in the oil pickup. In theory this would be better since it would pickup more oil, but is actually harmful since there is a higher chance of air being sucked up. It was also dented so I decided just to go back and change it. I should have done it the first time around… Also, don’t forget to order the gasket if you are changing this part. Part numbers are in the photo. 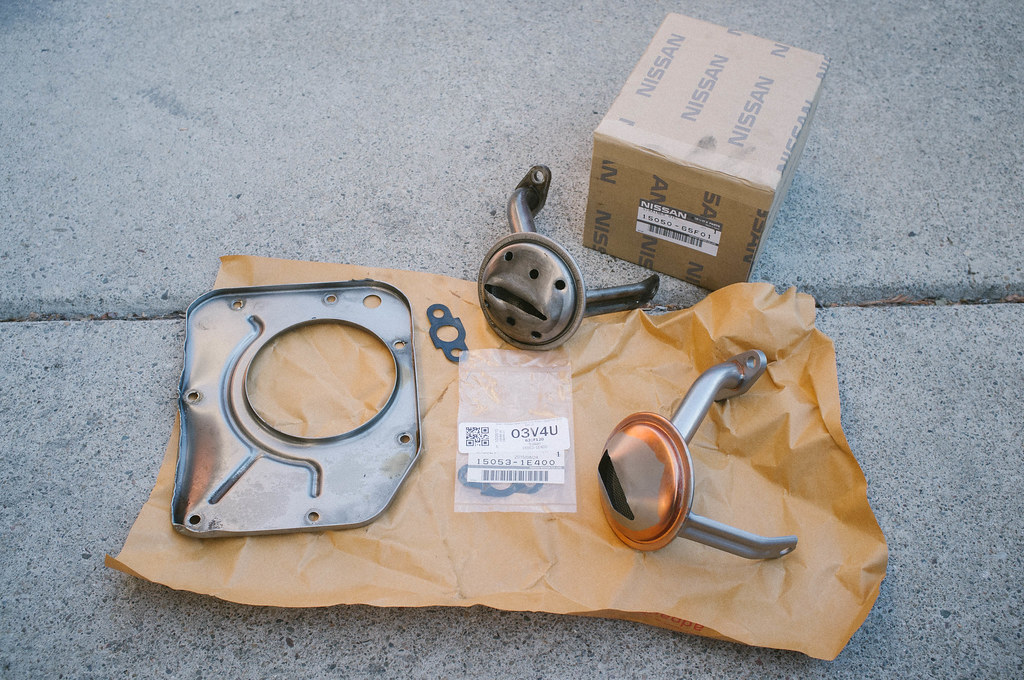 Removing all of the old gasket before I seal the oil pan back up. The only effective method I found to removing black RTV gasket is a wire brush. Anyone have anything better? 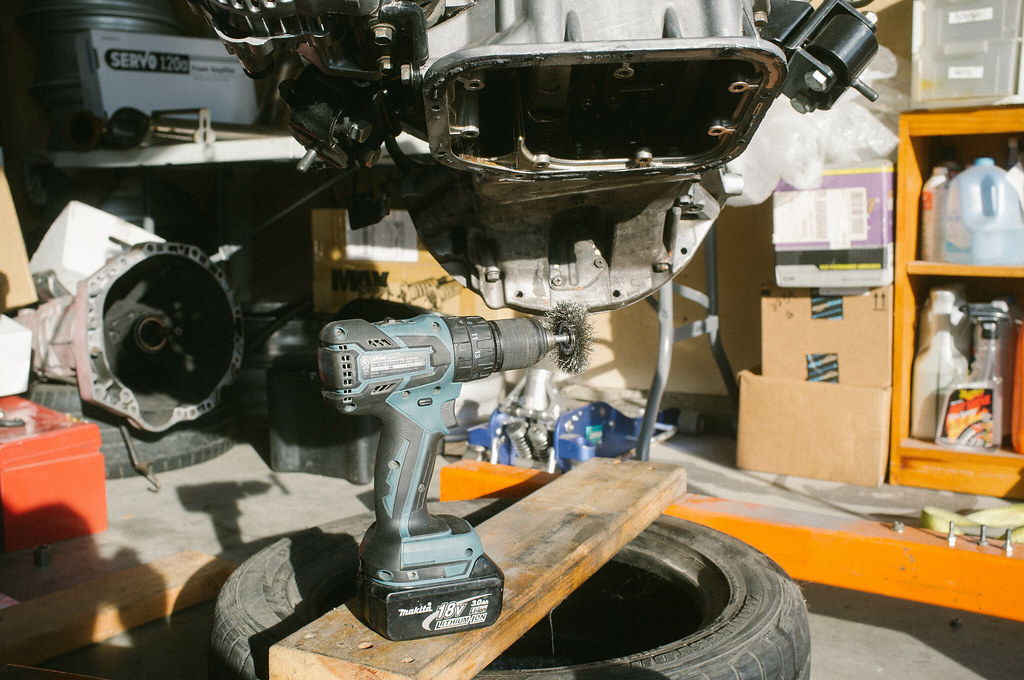 Oil pickup back in. God that third 10mm bolt in the back holding the oil pickup was a pain to get in. Not only did it not thread easily, but there is also little room in there to maneuver. Good luck to all of you with chicken tender fingers. 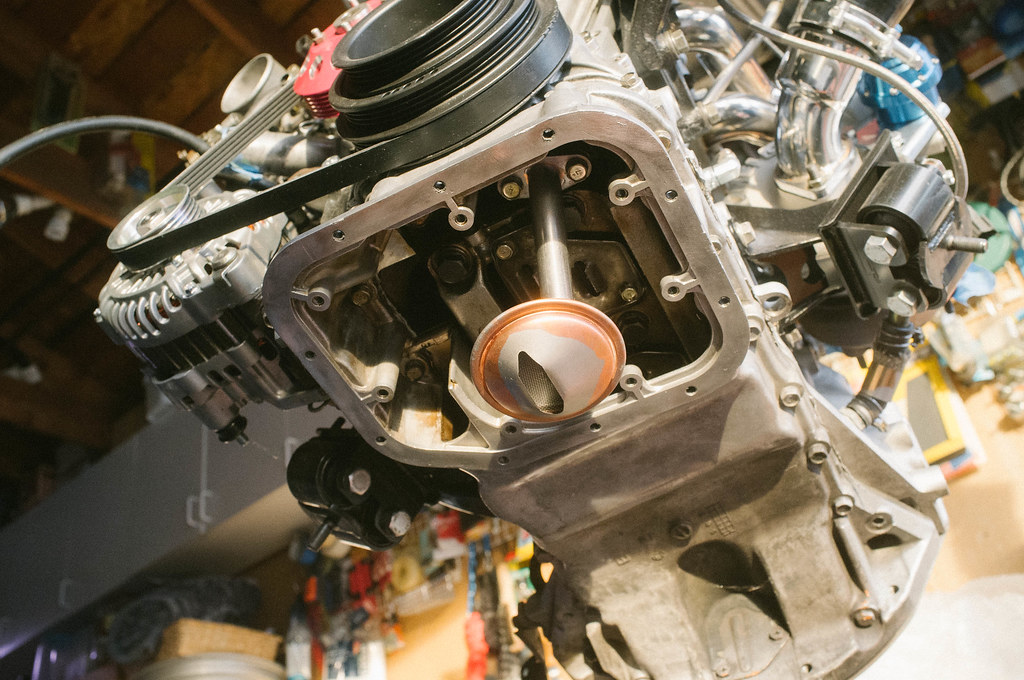 Oil pickup back in with cover 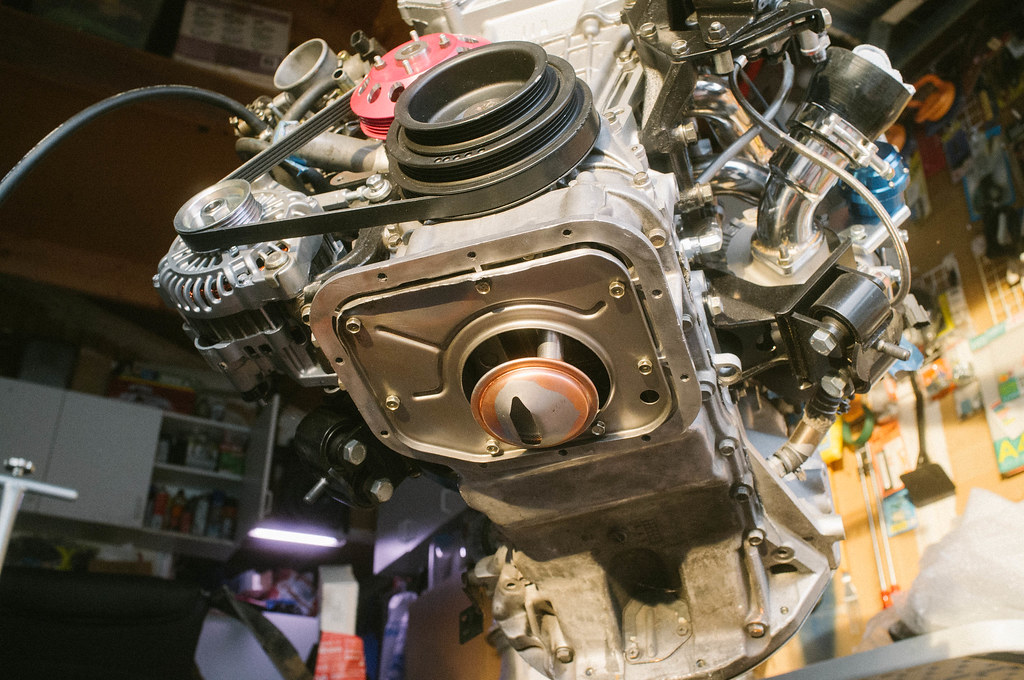 permatex ultra black and the trust oil pan 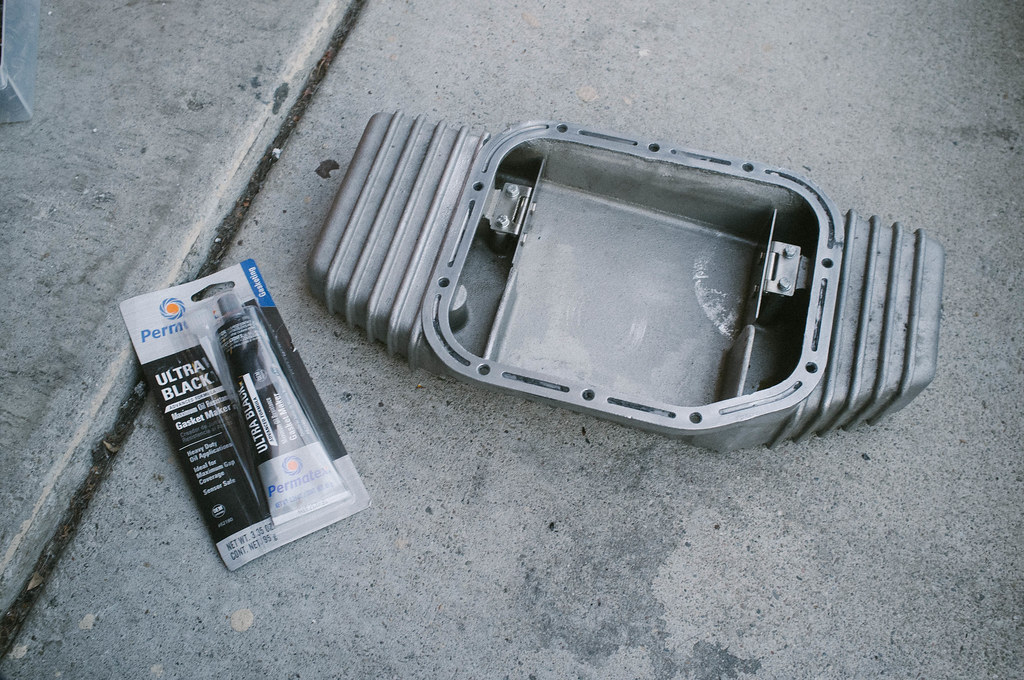 Oil pan sealed up. Hand tightened the bolts until the black gasket oozed a bit and waiting an hour before torqueing, per the instructions. 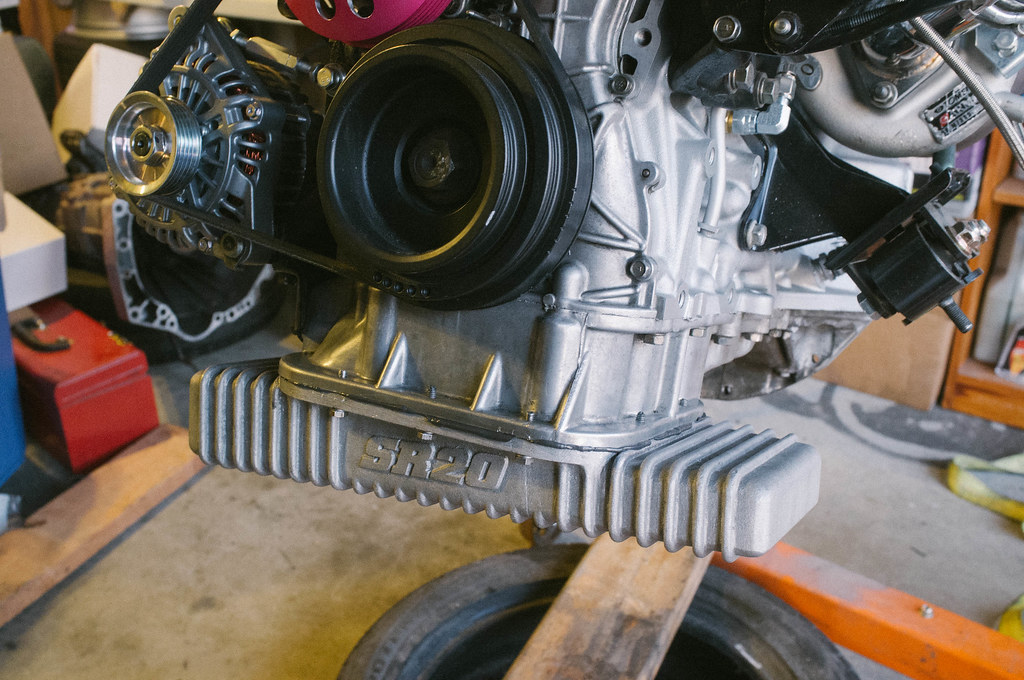 Decided to ditch the Cusco solid motor mounts for the Nismo motor mounts. I originally wanted the Nismo motor mounts, but I scored a great deal on the cusco ones so I was like fuck it why not. Then I thought about how much lower the motor is going to sit, which is bad because I also have the trust oil pan which sits lower as well. I don’t feel like having to change an oil pan again so I decided to just order the Nismo motor mounts. The nismo ones make the engine sit higher and won’t rattle my teeth out compared to the solid Cusco mounts. I’m cool with that. Cusco mounts are for sale btw lol 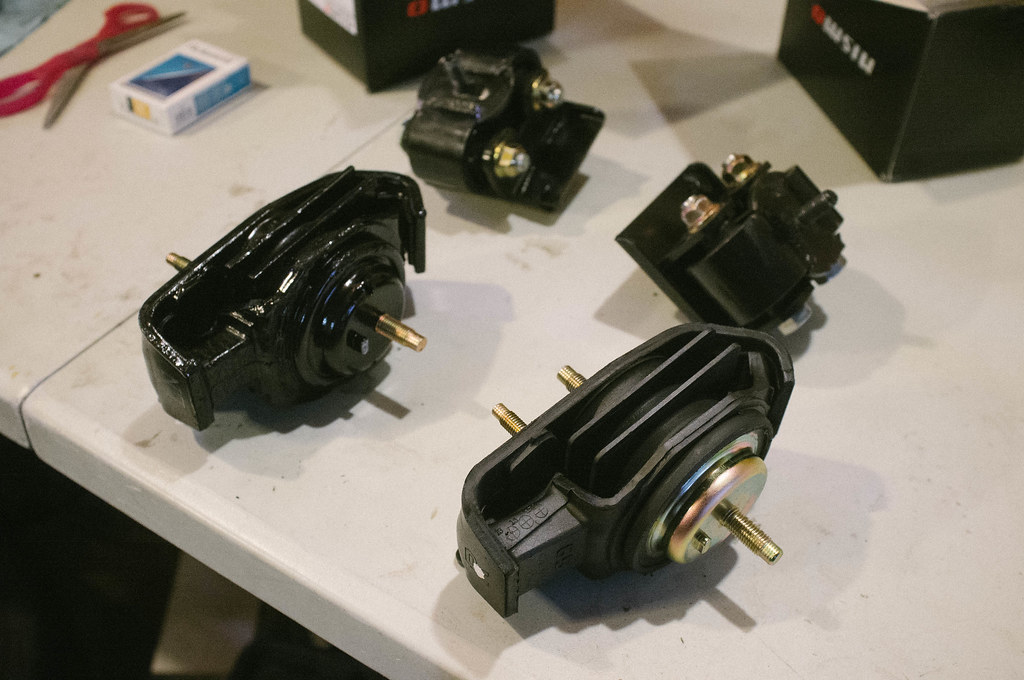 Nismo motor mounts installed. They are alot uglier than the Cusco. Oh well, not everything can be pretty lol. 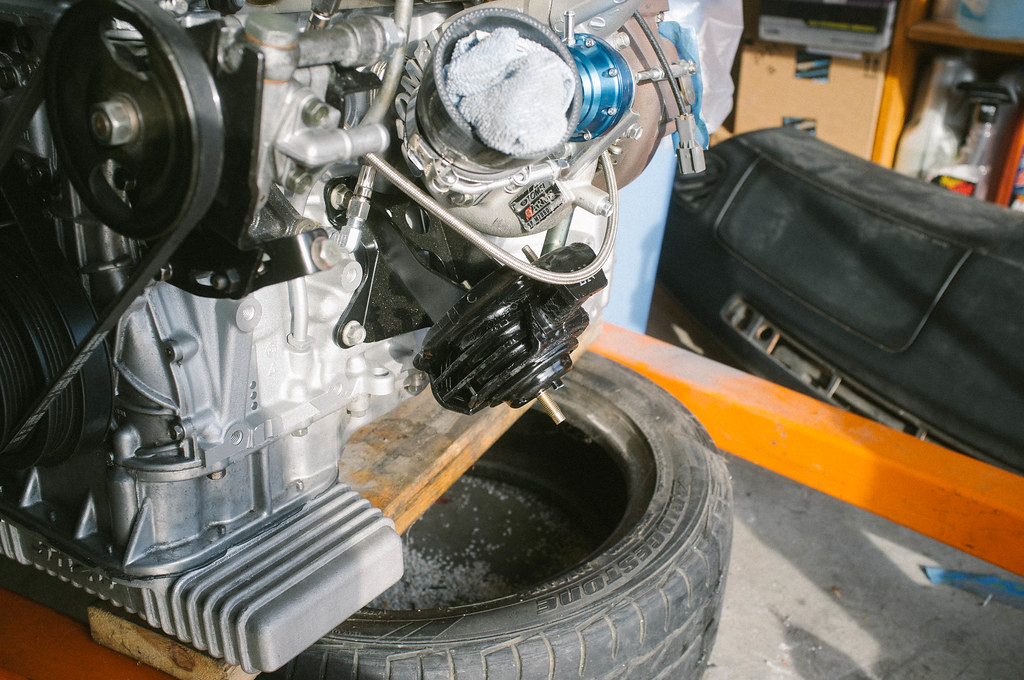 The dirty ass transmission covered in filth and red overspray from a maaco paint job. I’m going to waste a few hours of my life degreasing, cleaning, and painting it. No one will see this so who cares right? Wrong. I care. I’m painting it. It helps me sleep at night. Fuck off. 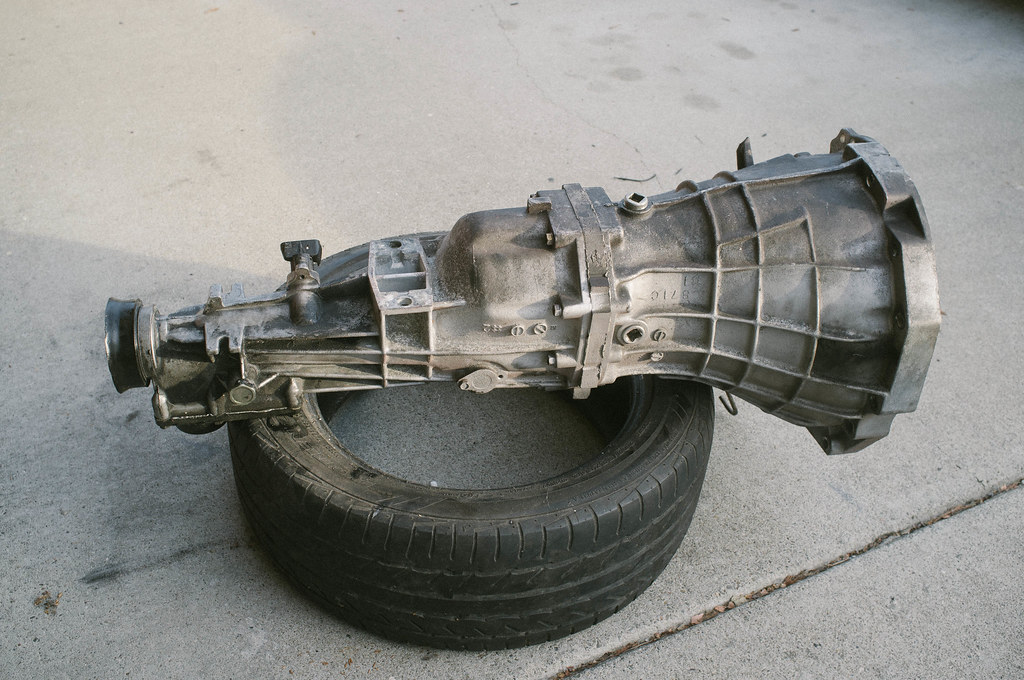 This will receive some TLC later… plan on cleaning, greasing, and changing out the stock clutch pivot ball with a hardened nismo clutch pivot ball. Might as well right? 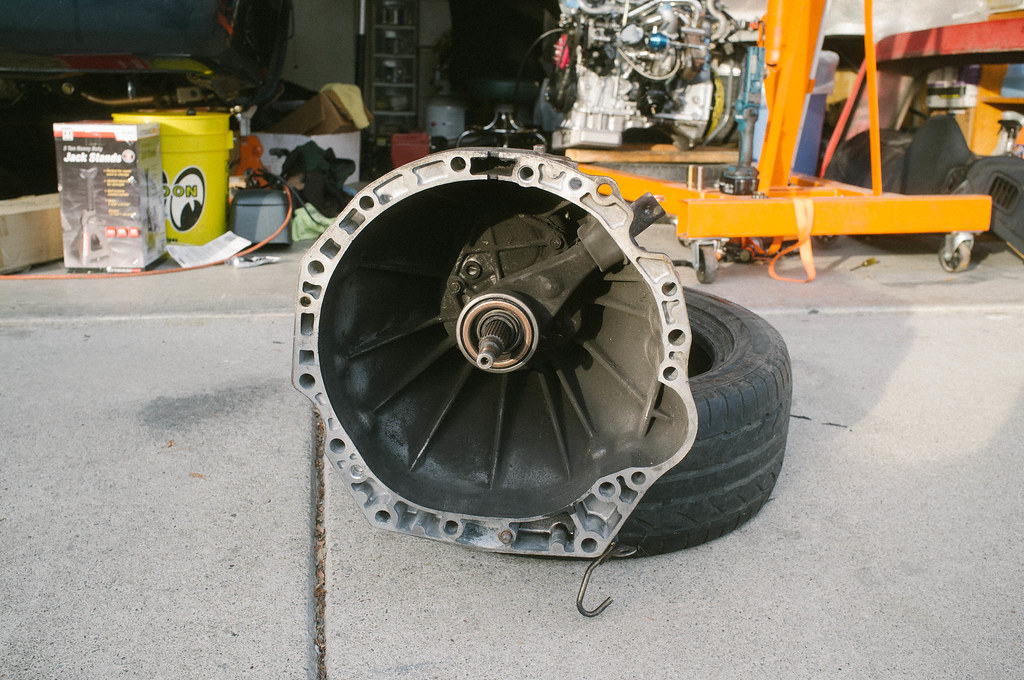 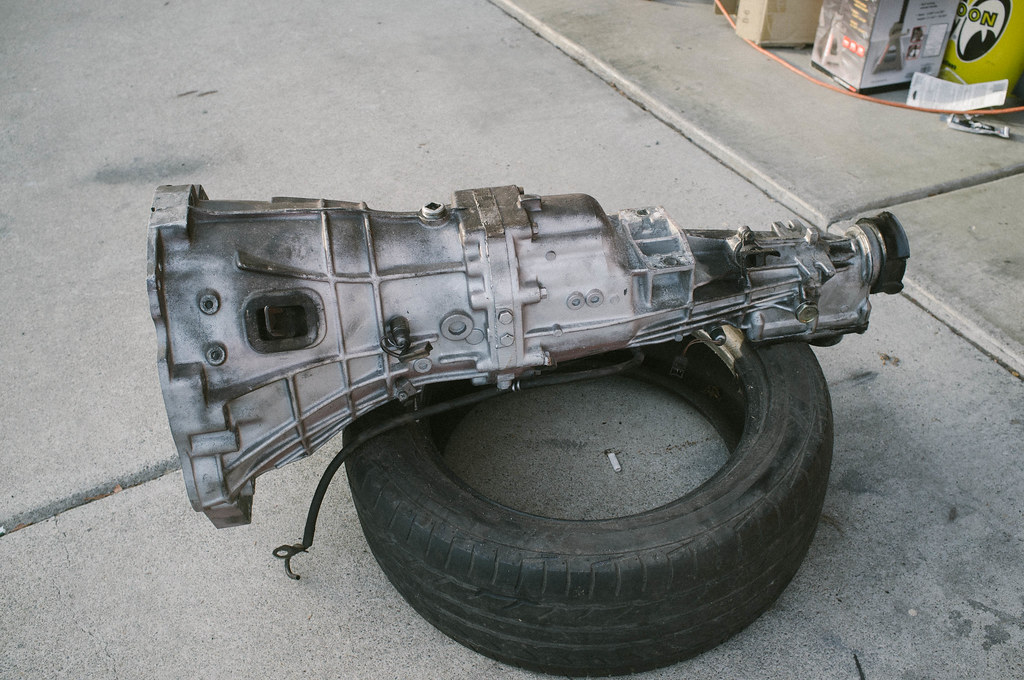 Transmission degreased, and painted with some aluminum silver engine enamel paint. Not bad! 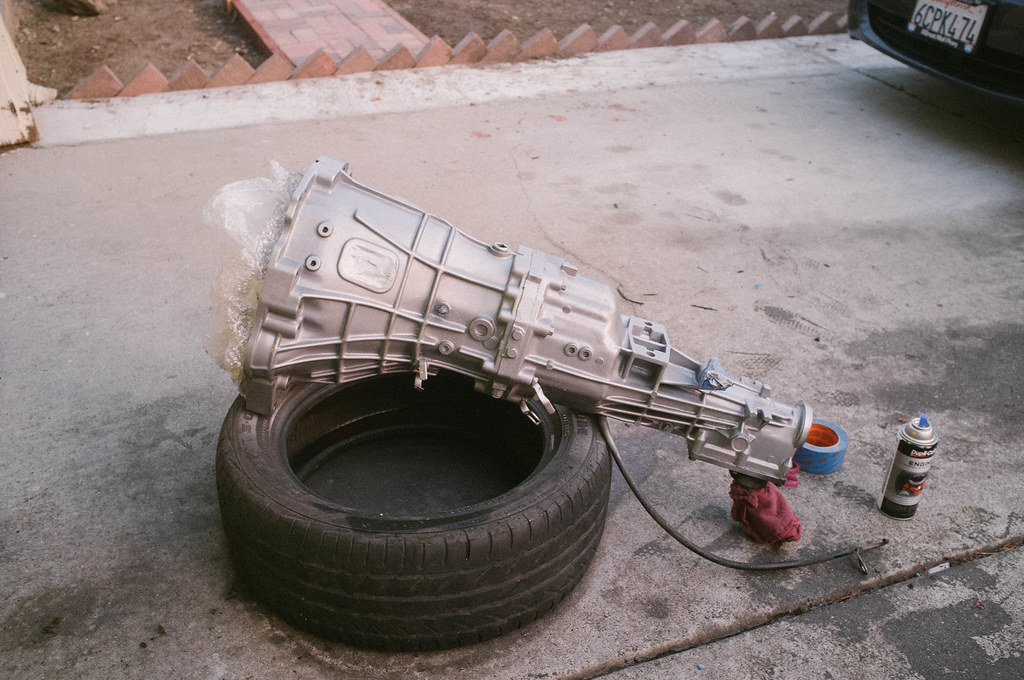 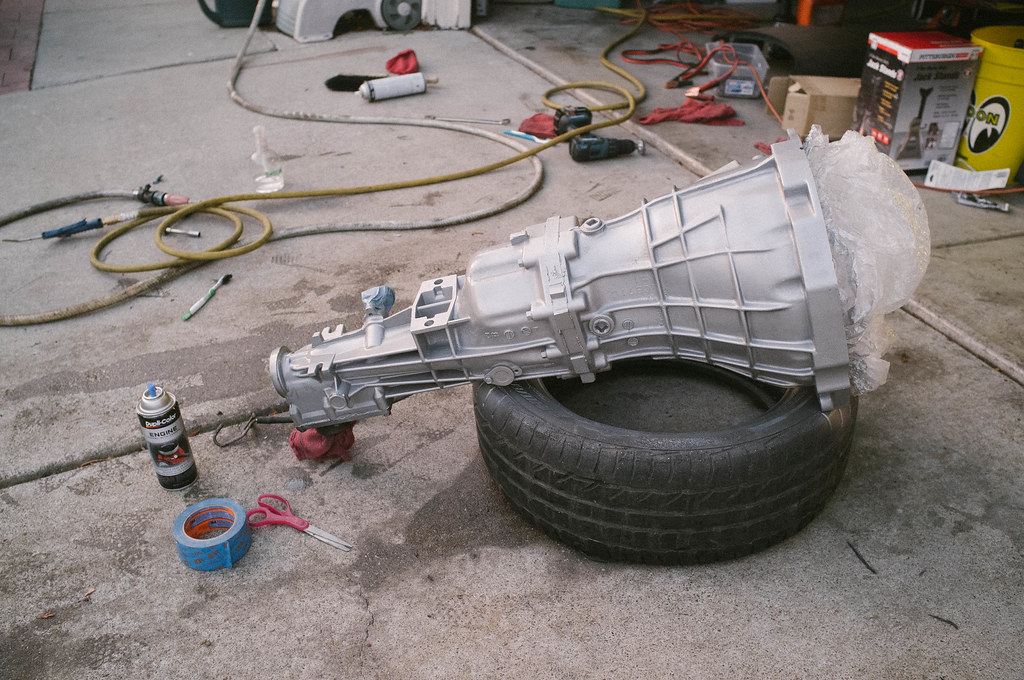 YO!!! I need help. In this photo you can see that the power steering high pressure fitting is REALLY close to the turbo inlet silicone hose. I have this fitting in there for a Chasebays power steering cooler I am running. When I attach the high pressure line (90 degree fitting on the hose) I am making contact with the silicone hose on the turbo inlet. Do I have any other options besides relocating the power steering pump down to the AC pump position? 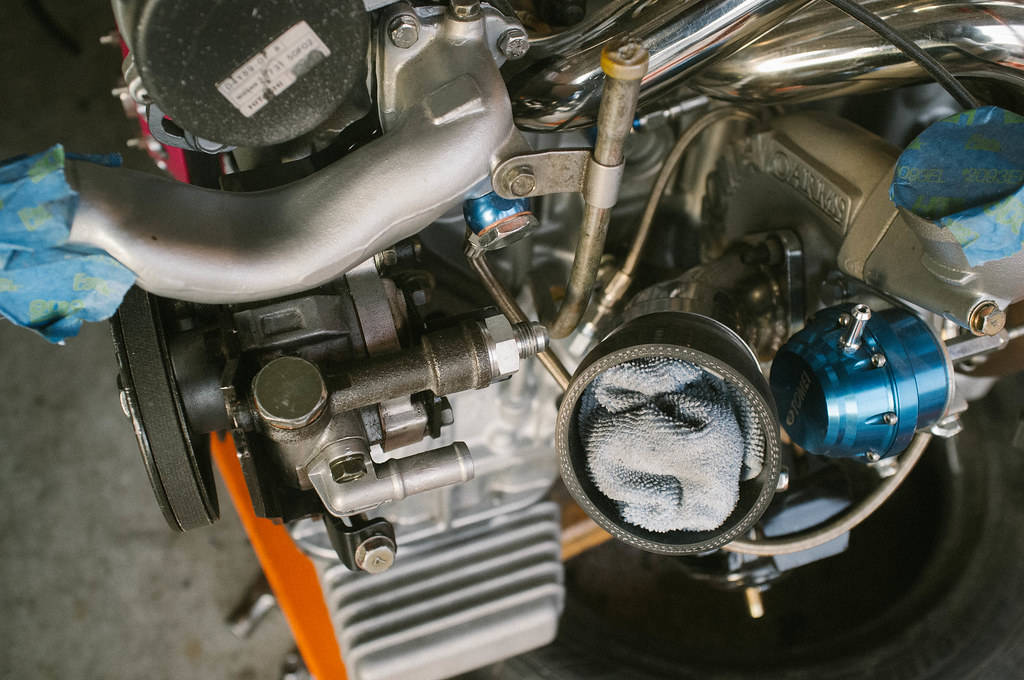 |
|
|

|
| Sponsored Links |
|
|
#62 |
|
Zilvia Addict
 Join Date: Oct 2008
Location: Bay Area, CA
Age: 29
Posts: 914
Trader Rating: (28)
    Feedback Score: 28 reviews
|
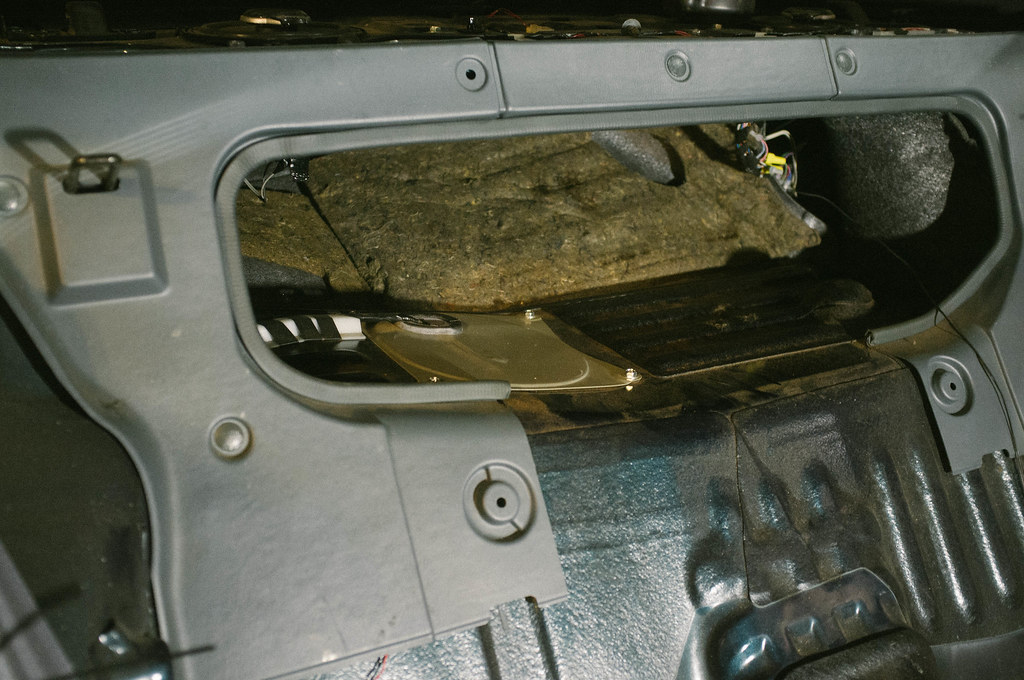
Decided to install my Walbro 255 fuel pump. The gas tank is located between the back seats and the trunk. Remove the carpet which will expose the cover held down by 4 10mm bolts that hold the gas tank cover in place. Once you remove the bolts, swing it out of the way.
 Remove the fuel lines. You’ll need nose pliers to move the clamps. Once the clamps are pulled back pull on the hoses or use the needle nose to help you pull the hoses off. They will be a little tough to remove if they have never been touched before. After the hoses are removed you need to take a piece of wood or chisel and hammer it against the edges of the circular ring counter-clock wise to remove it. Be very careful since the ring is plastic. It’s basically like removing a stubbon cap off a jar. It is on pretty tight so I doubt you will be able to twist it off with your hands. 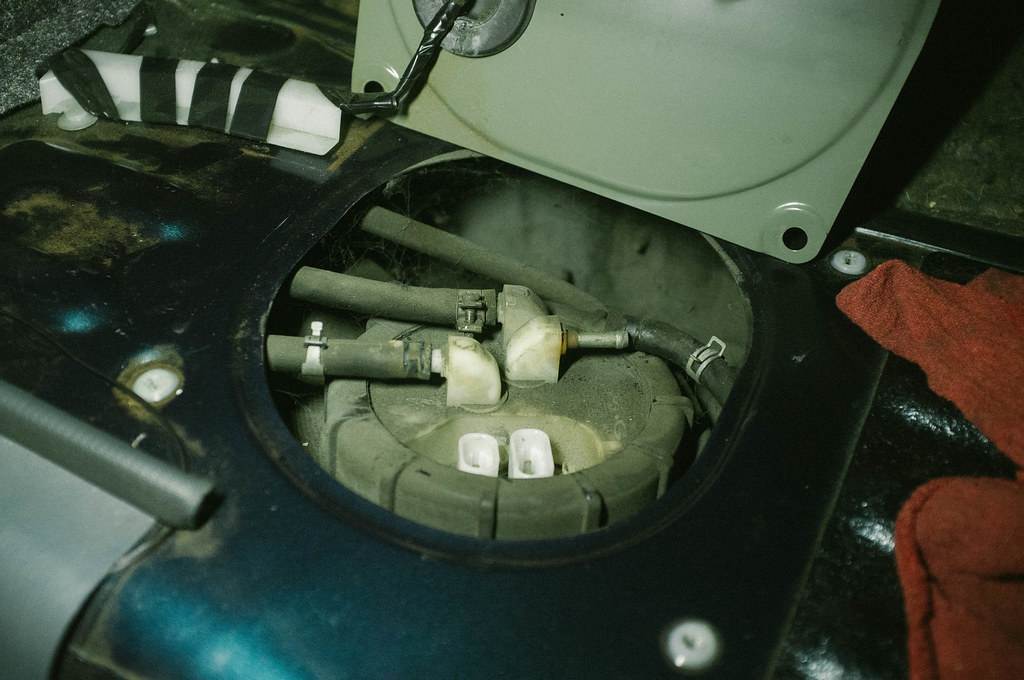 After removing the plastic ring, pull the cap off and get ready to get high off gasoline. You will now need to stick your hand inside (thats what she said) and pull up to remove the fuel pump bracket assembly. 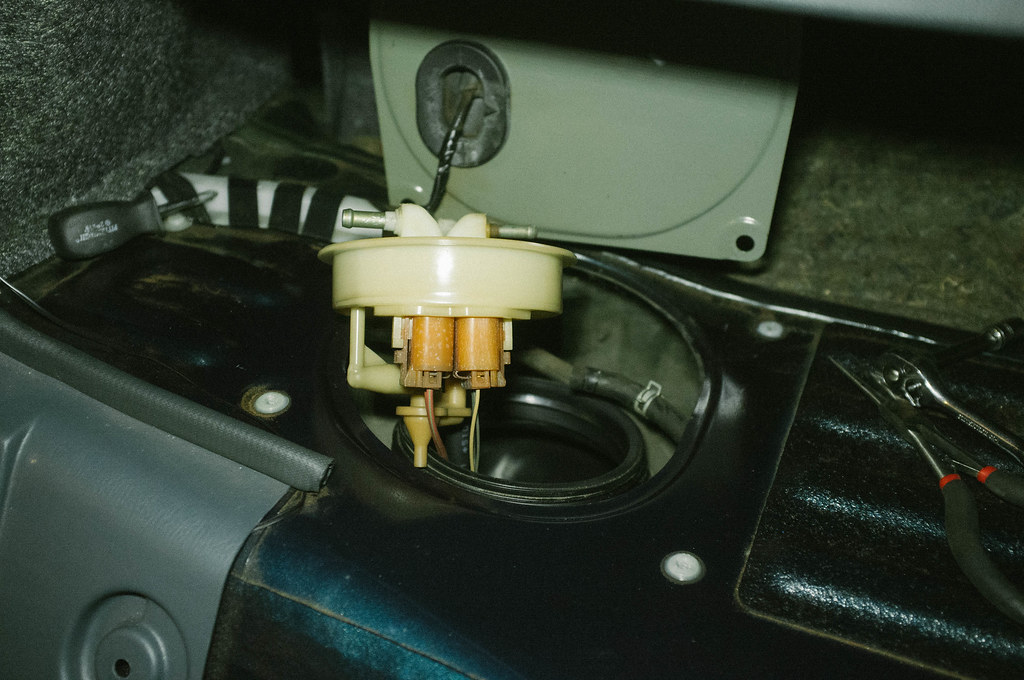 Walbro 255 LPH fuel pump vs OEM s14 fuel pump. My walbro fuel pump was previously used in an s13z i had to purchase another strainer, which is made for the s14. It is alot longer in size. Some people reuse the original fuel strainer, but I decided I didn’t want to do this install twice. Cheap insurance. Just change it. 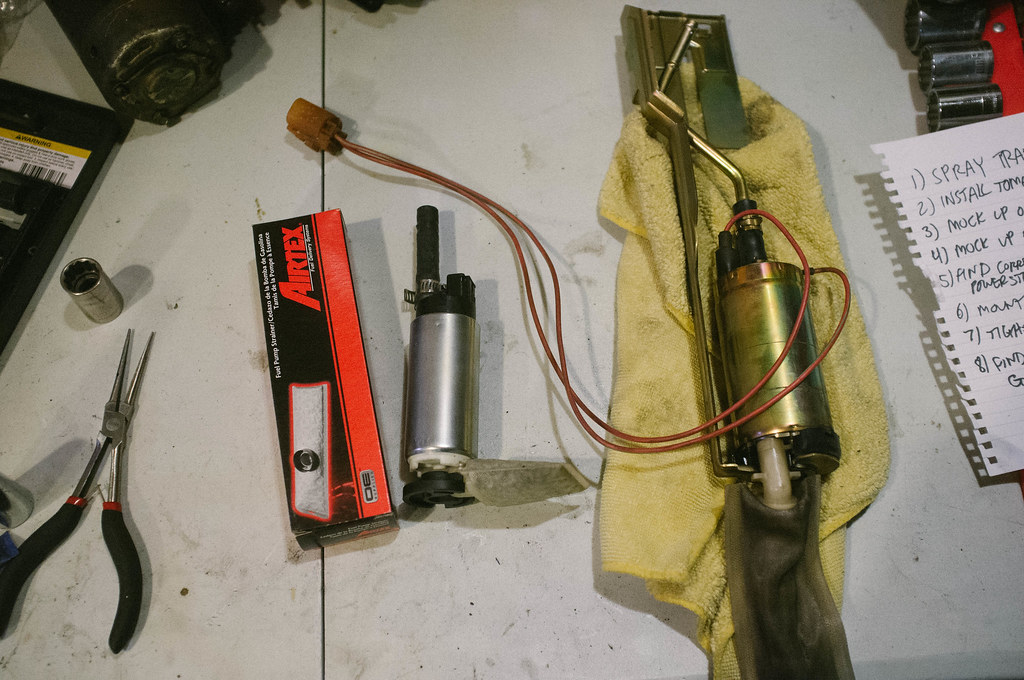 Prepping to wire up the Walbro harness to the Nissan one. Spliced the wires and fed some shrink wrap up the wires. Once you solder them together you want to pull the shrink wrap over and heat gun it. Make sure the shrink wrap isn’t too close to the exposed wire where you solder. The wire gets hot and could cause the shrink wrap to shrink before you want it to. 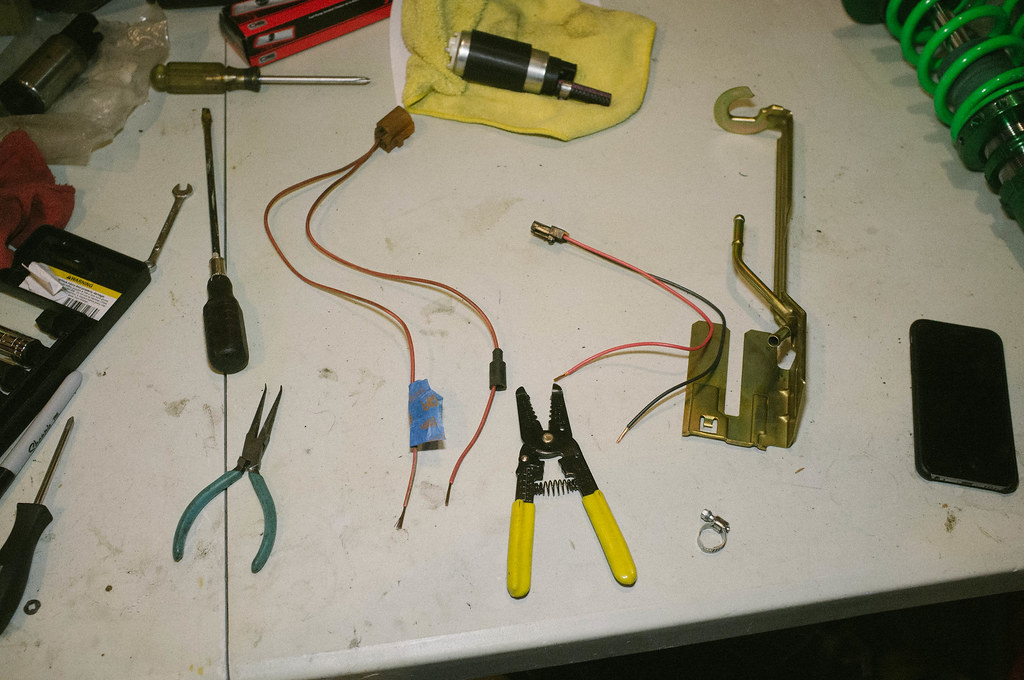 Soldered the Walbro harness to the OEM Nissan Pump harness then shrink wrapped. Red to power, black to ground. The power wire has the little black rubber boot thing on it. 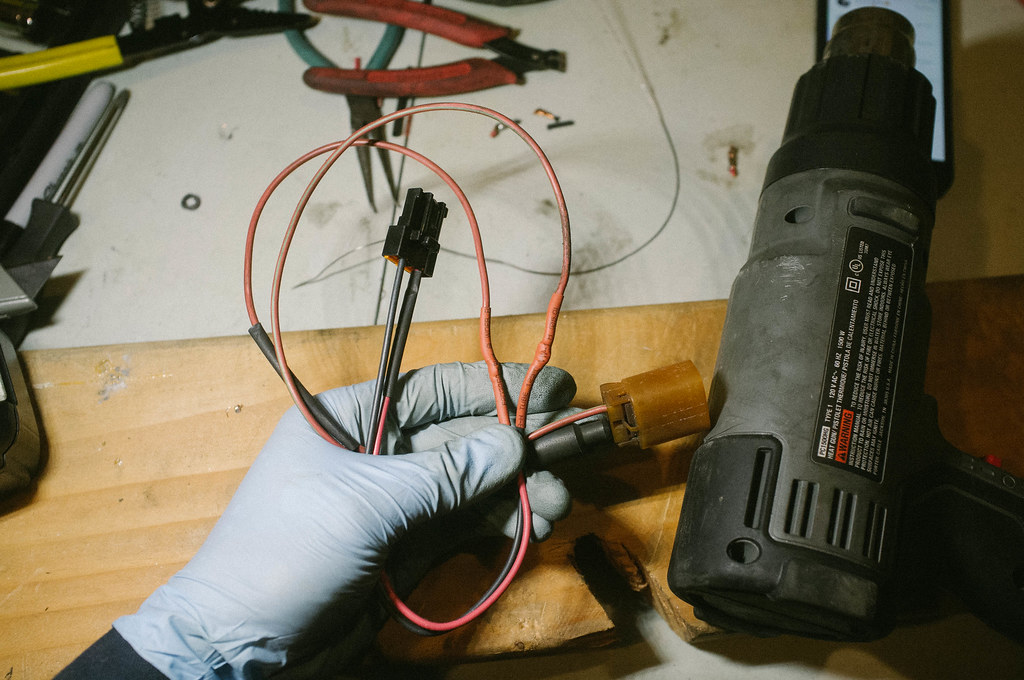 Calling it a night because I can’t find the freaking rubber grommet (isolator) that holds the fuel pump to the metal fuel pump bracket. I am about to rip my hair out. I sent an email to Walbro, hopefully they sell those rubber isolators seperately. I can’t find it anywhere. Would anyone happen to have a spare one for S14? 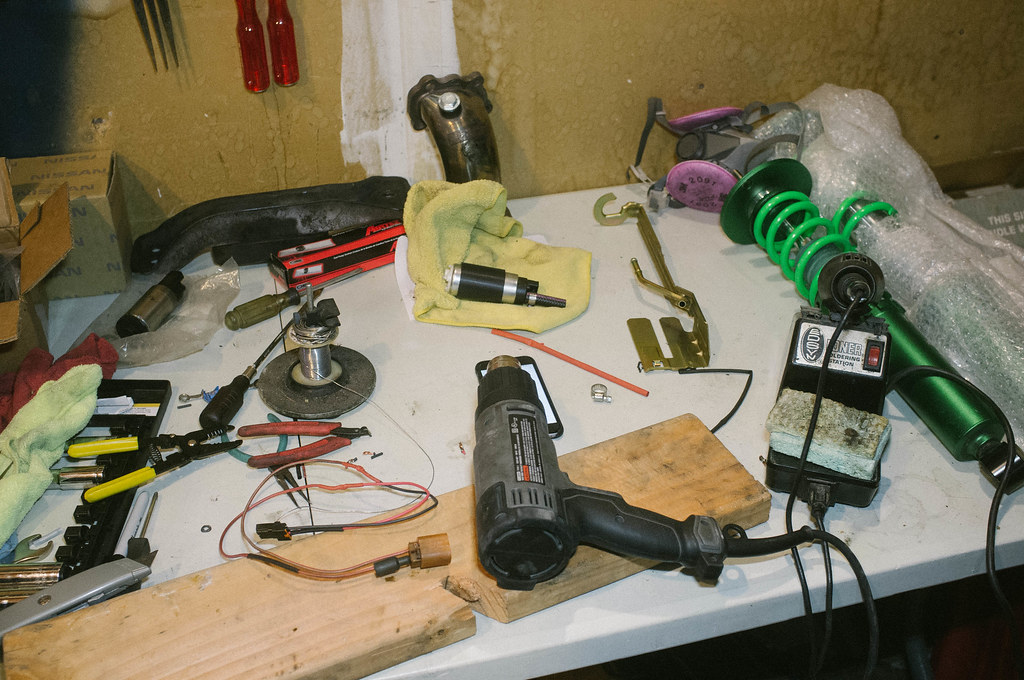 Forgot I had these laying around so I decided to mount them up in the engine bay. Left is the Chasebays power steering reservoir with all of the lines attached to it. This will be used with my power steering cooler. I also mounted the Chasebays coolant over flow tank in the bottom right hand corner. I really liked the look of the aluminum one made by circuit sports, but I ended up hammering my wheel well for more clearance and now nothing fits in the area above where I hammered. I can’t even fit the OEM coolant over flow tank. Oh well. The chasebays one will suffice. 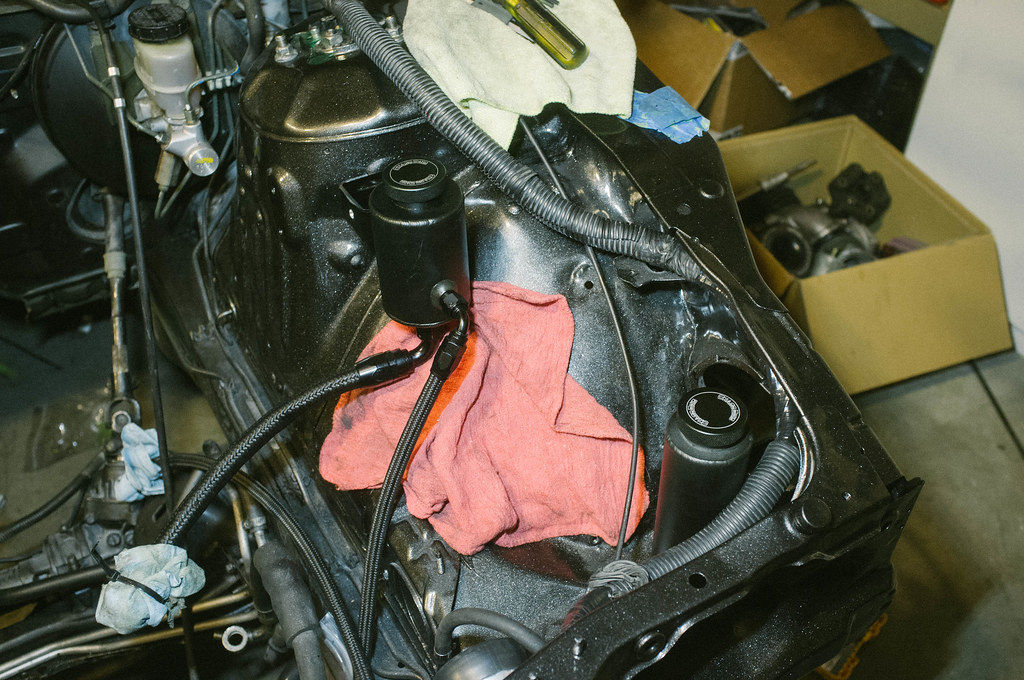 P.S. IF ANYONE HAS A SPARE S14 WALBRO 255 FUEL PUMP ISOLATOR RUBBER GROMMET THING PLEASE LET ME KNOW. I WILL BUY IT OFF YOU. Or if you know where to get one LMK please. I can't install my pump back into the tank without this thing. The one I have looks like it is for s13. |
|
|

|
|
|
#64 |
|
Zilvia Addict
 Join Date: Dec 2010
Location: San Diego, CA
Posts: 956
Trader Rating: (39)
 Feedback Score: 39 reviews
|
Beautiful build dude, loving the choice parts, attention to detail and the photo documentation looks great! - by the way, what camera are you using for this build?
__________________
 IG - allen.kerose |
|
|

|
|
|
#66 | |
|
Zilvia Junkie
 Join Date: Sep 2012
Location: Huntsville Alabama
Posts: 531
Trader Rating: (2)
 Feedback Score: 2 reviews
|
Quote:
OP great build. looking forward to seeing the end product and I love how you included the 'i dont know a fucking thing about cars but im gonna do shit anyway' phase im sure we've all gone through. haha. |
|
|
|

|
|
|
#70 | ||||
|
Zilvia Addict
 Join Date: Oct 2008
Location: Bay Area, CA
Age: 29
Posts: 914
Trader Rating: (28)
    Feedback Score: 28 reviews
|
Quote:
Quote:
I am shooting everything with my Fuji X100  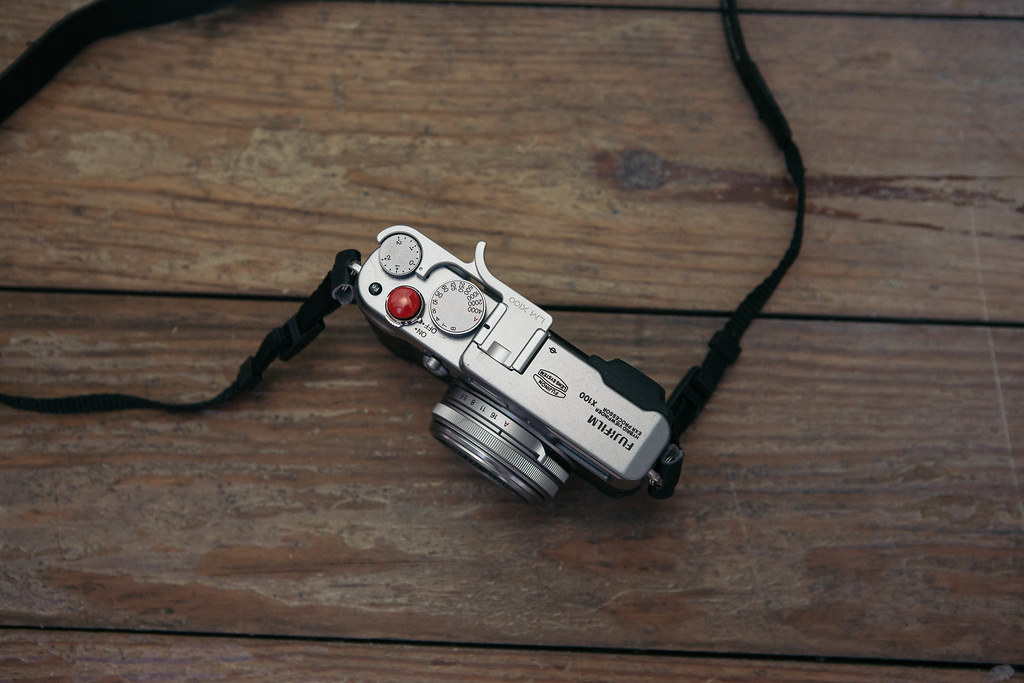 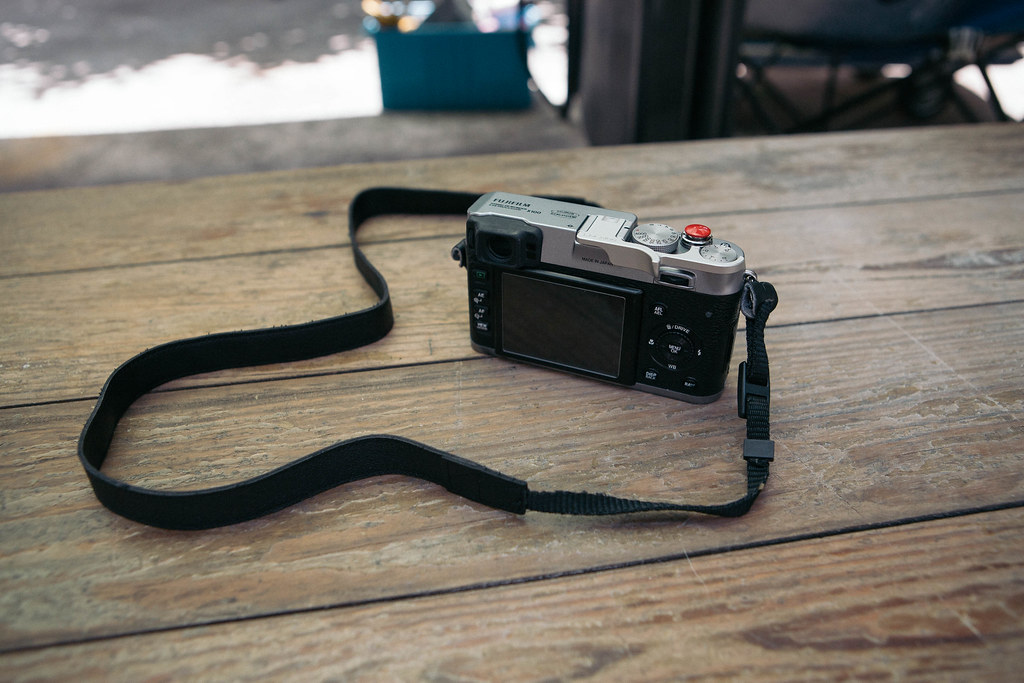 Quote:
Me too, too bad I don't know how they ride yet. Thanks! Impact is working fine! Couldn't be happier. |
||||
|
|

|
|
|
#71 |
|
Zilvia Addict
 |
mmm throughly enjoyed reading this build thread good stuff dude, reminds me of my build such quality and time put in.
__________________
Some black guy who lurks zilvia. |
|
|

|
|
|
#73 |
|
Zilvia Addict
 Join Date: Oct 2008
Location: Bay Area, CA
Age: 29
Posts: 914
Trader Rating: (28)
    Feedback Score: 28 reviews
|
Sorry for the lack of updates. I attended a 3 month coding bootcamp which was super intense and left me with zero time to work on the 14. I just recently graduated and am currently looking for a job. Once I land one, the updates should be coming in consistently. Thanks for checking in. Can't wait to get my hands dirty again
 |
|
|

|
|
|
#74 |
|
Zilvia Member
 |
Love the build! You've learned a lot, and I really appreciate the time you've taken to document and show everyone exactly what's happening, I've learned a ton.. Thanks man! In for updates. Good luck landing a sweet job
|
|
|

|
|
|
#76 |
|
Join Date: Jan 2014
Location: Cincinnati, Ohio
Age: 34
Posts: 24
Trader Rating: (0)
 Feedback Score: 0 reviews
|
Just read this whole thing! Looks awesome! Land that job and get to to work! I'll be posting up a build thread as soon as I get somewhere with my engine! Definitely subbing to this!
|
|
|

|
|
|
#78 | |||
|
Zilvia Addict
 Join Date: Oct 2008
Location: Bay Area, CA
Age: 29
Posts: 914
Trader Rating: (28)
    Feedback Score: 28 reviews
|
Quote:
Thank you! Real recognize real  Quote:
 Thats the plan! Thank you! Will be seeing some updates from me soon. Thats the plan! Thank you! Will be seeing some updates from me soon.Here is a tiny update. Picked up this complete Akebono big brake kit with 2 piece rotors! Going to need to also upgrade my version 1 rear drop knuckle from Parts shop max to their ver2 knuckle which support drum brakes. The current knuckle I have is only for wilwood caliper. I can’t wait to get these on the car. Purchased these off crimsonrocket! Photos were taken from his for sale thread. 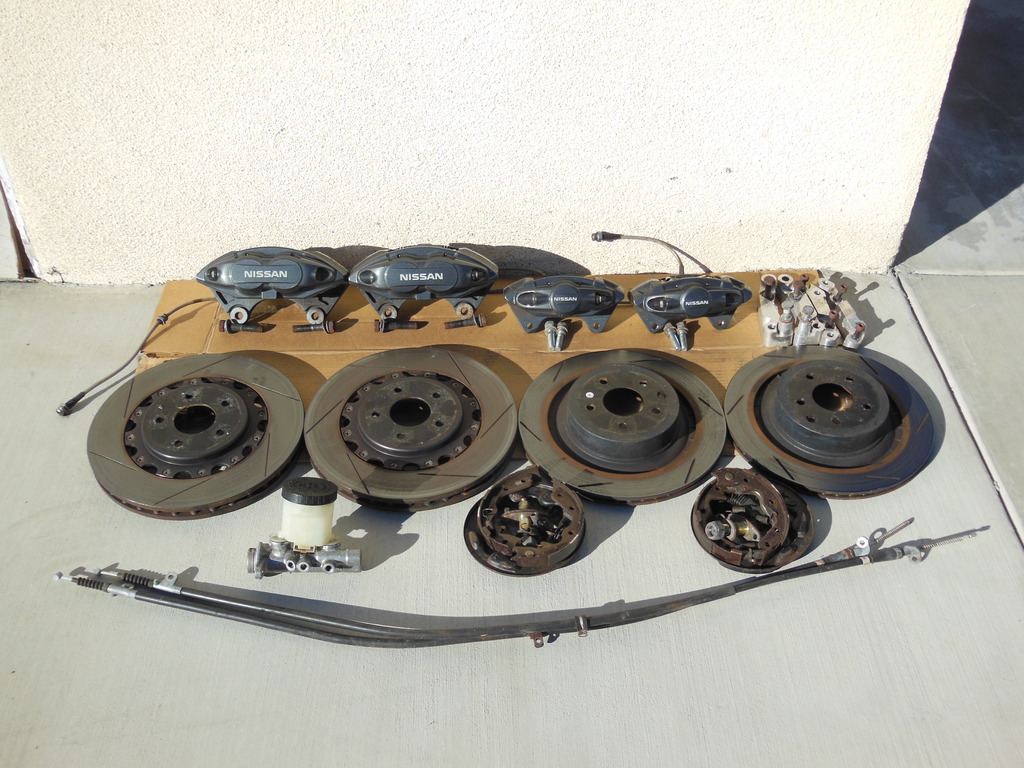 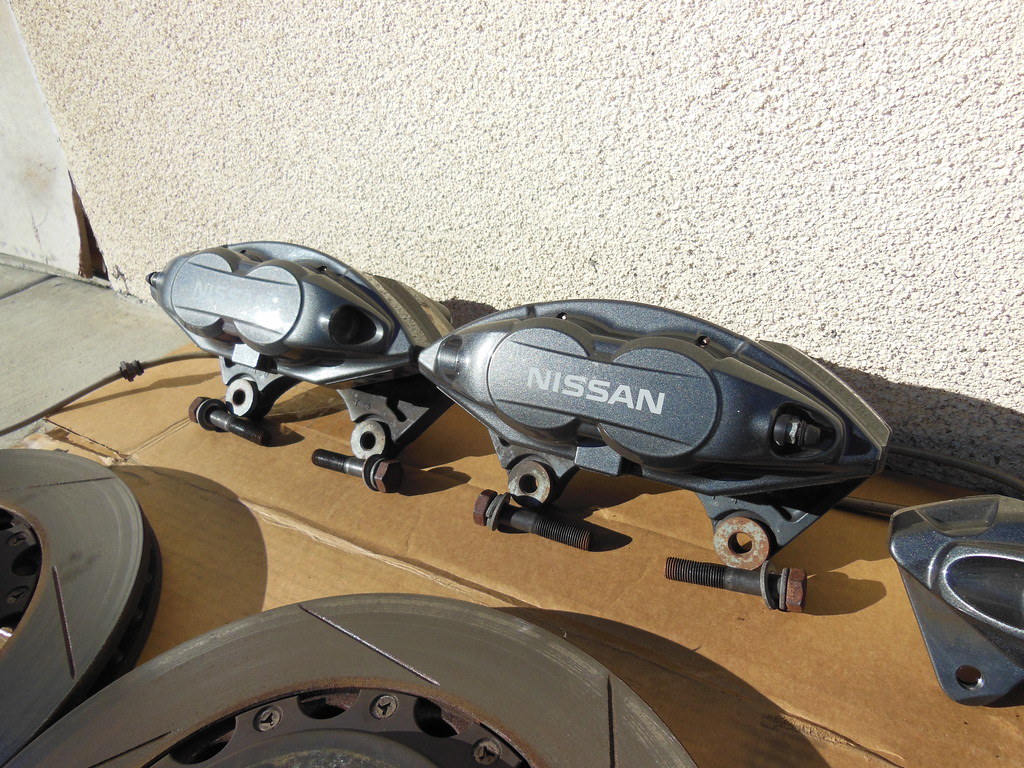 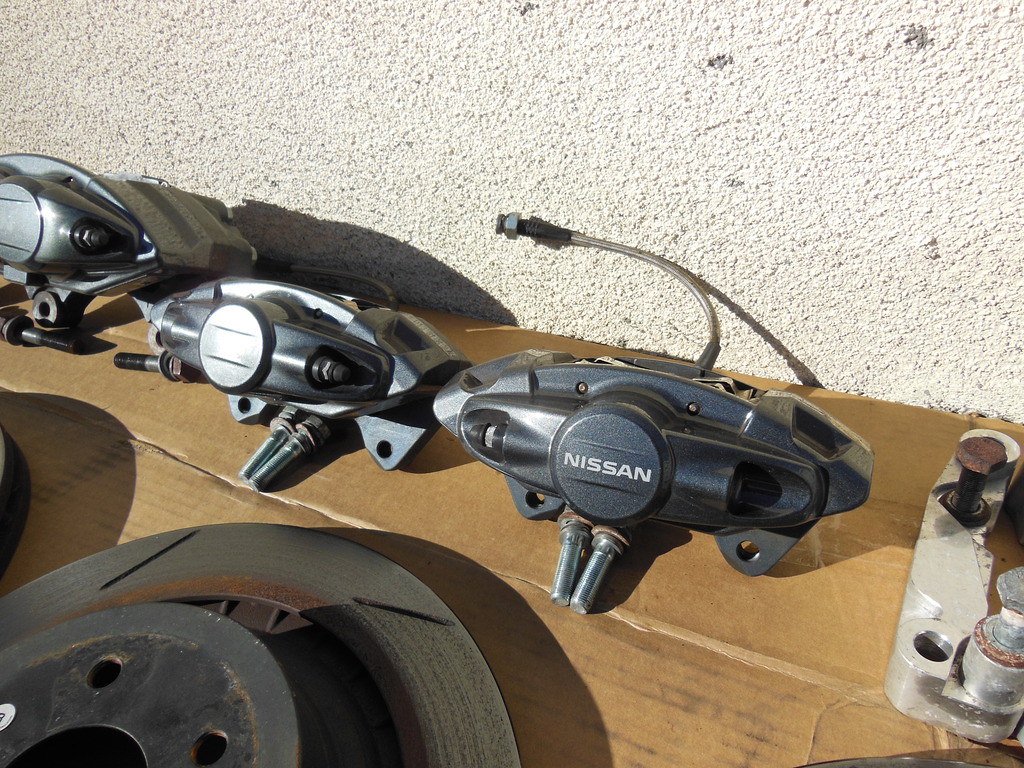 Last edited by hellaslows13; 04-24-2016 at 04:24 PM.. |
|||
|
|

|
|
|
#79 |
|
Zilvia Addict
 Join Date: Oct 2008
Location: Bay Area, CA
Age: 29
Posts: 914
Trader Rating: (28)
    Feedback Score: 28 reviews
|
Here is an update that should have been posted the day before I left for coding bootcamp.
I road tripped to Washington to visit Danny (some of you may know him as pwrmves) to hang out with him and pick up some parts he was getting rid of. I came with the intention of only purchasing the hood, but also left with some shiny rims. Thanks Danny  . Also loved seeing his 326 s14 in person. Can't wait to get mine going... . Also loved seeing his 326 s14 in person. Can't wait to get mine going...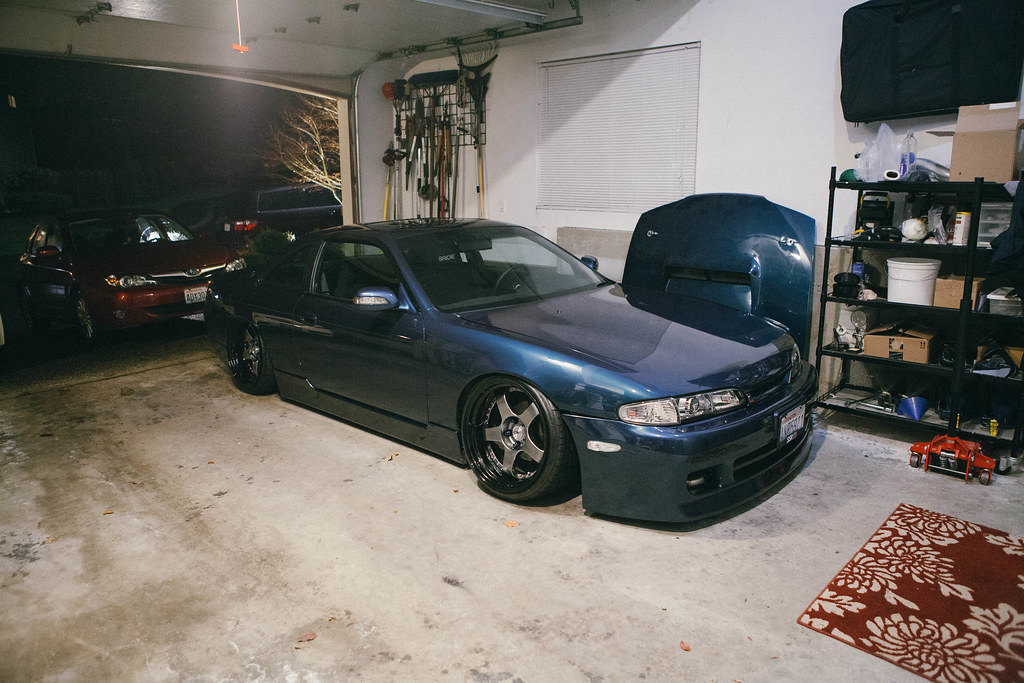 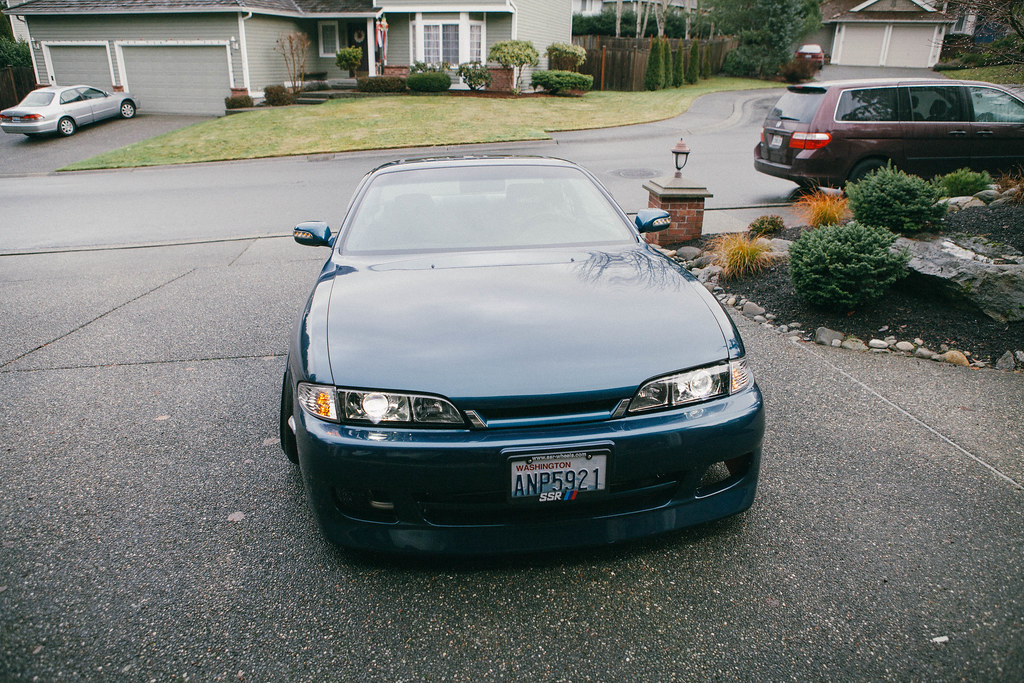 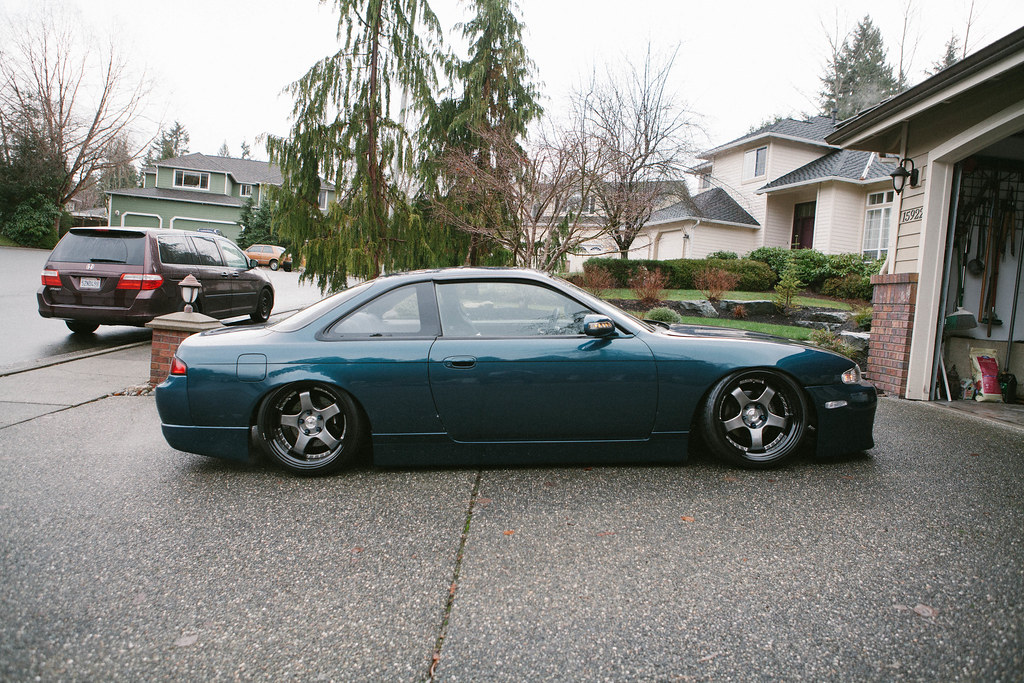 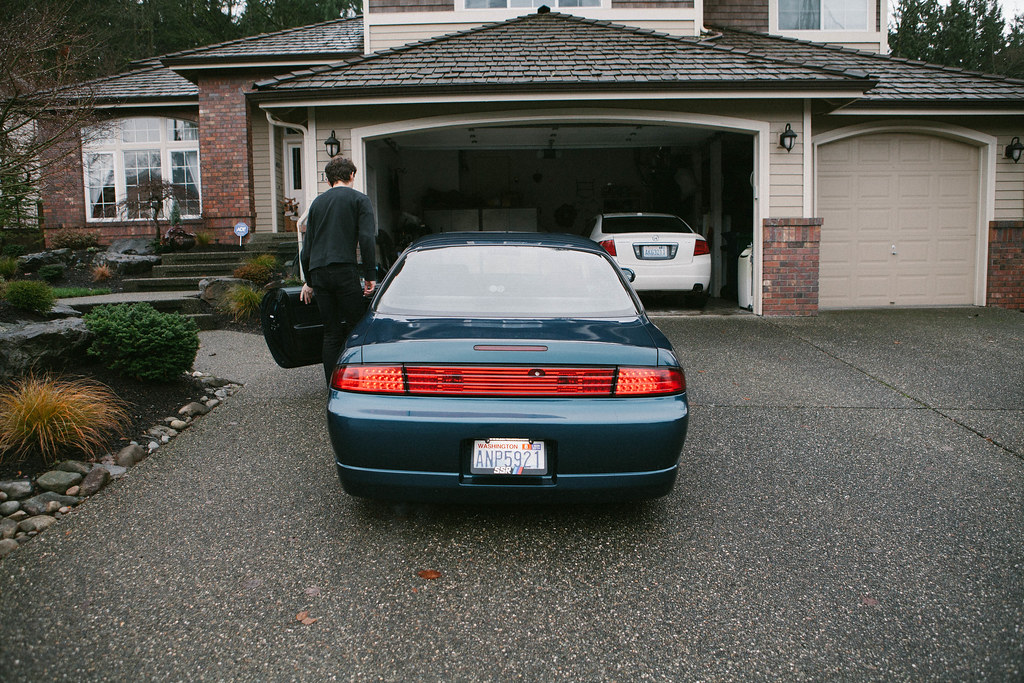 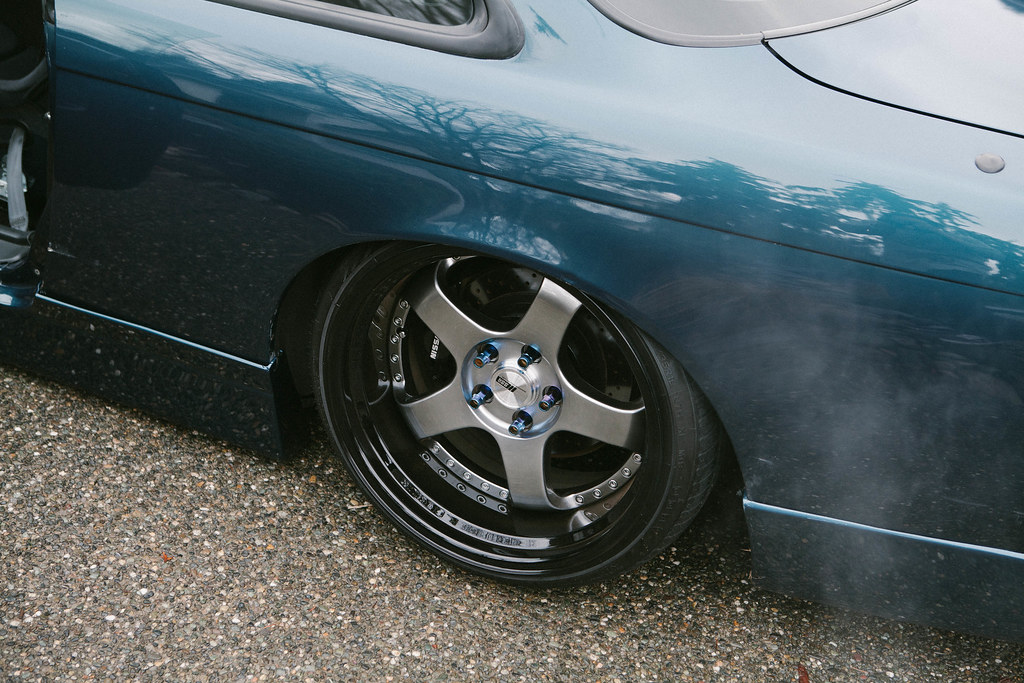 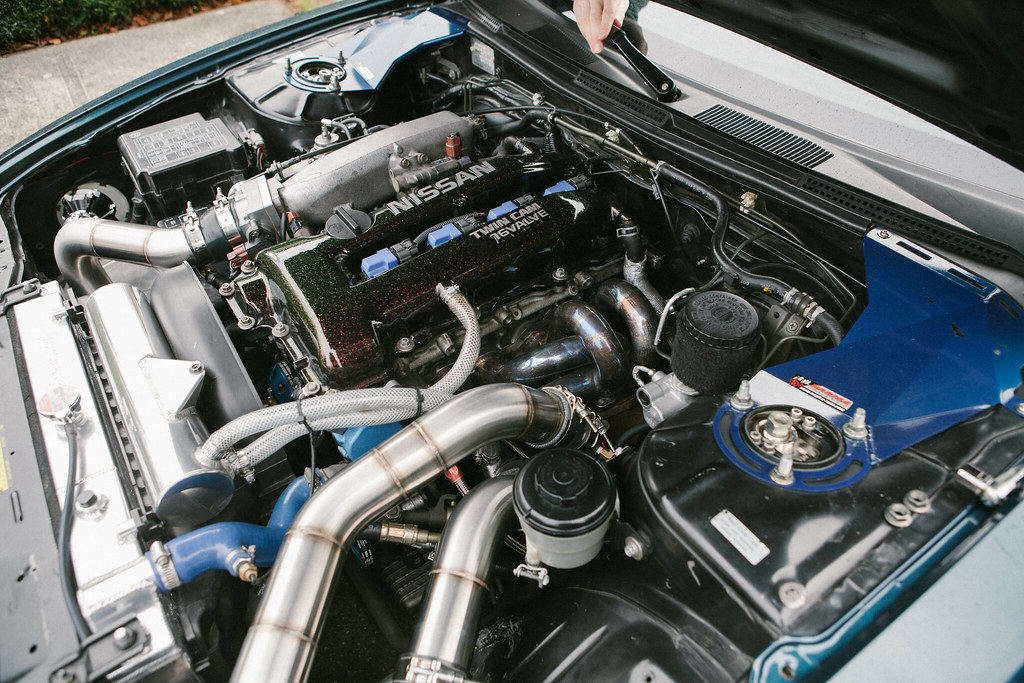 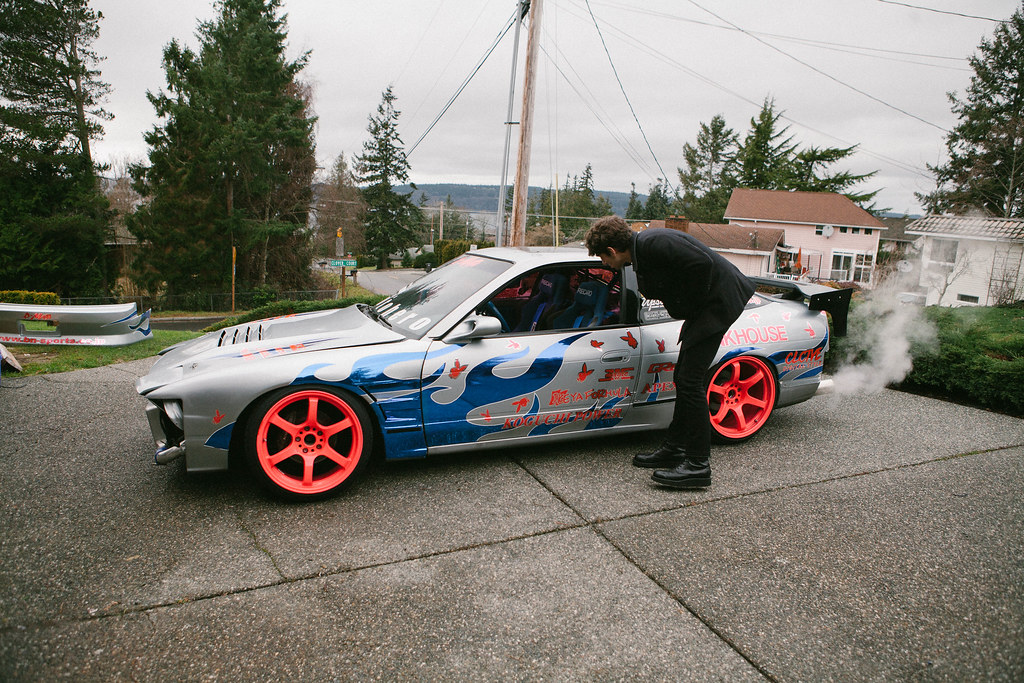 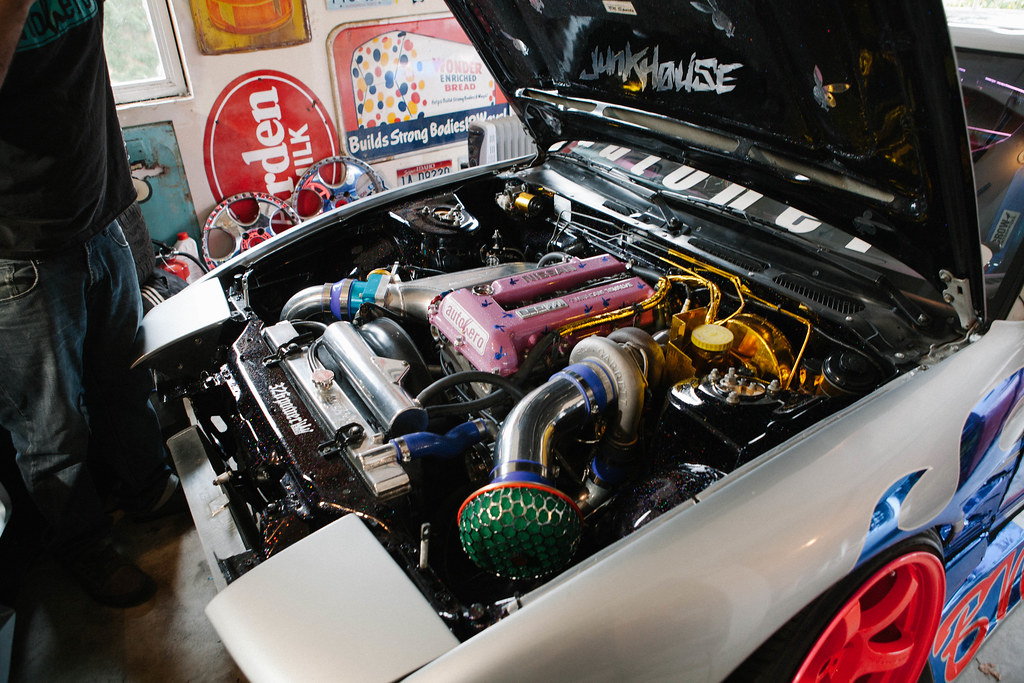   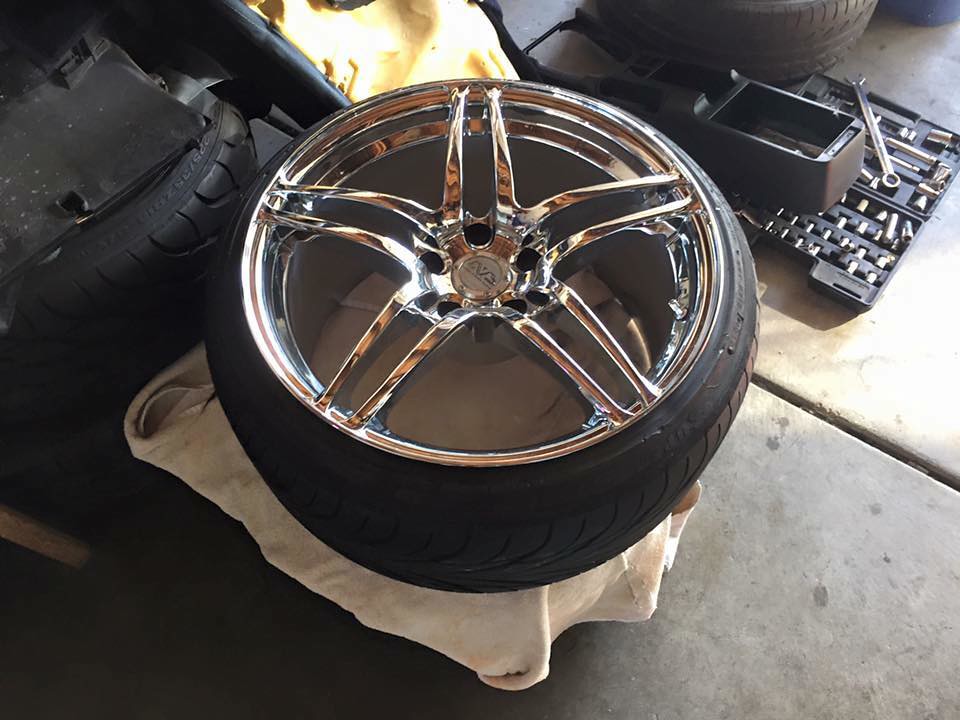 Last edited by hellaslows13; 04-24-2016 at 04:24 PM.. |
|
|

|
|
|
#81 |
|
Zilvia Addict
 Join Date: Oct 2008
Location: Bay Area, CA
Age: 29
Posts: 914
Trader Rating: (28)
    Feedback Score: 28 reviews
|
I'm finally back. Updates coming your way...
First things first I started by installing the ATI super damper pulley I had sitting in the box for days now... 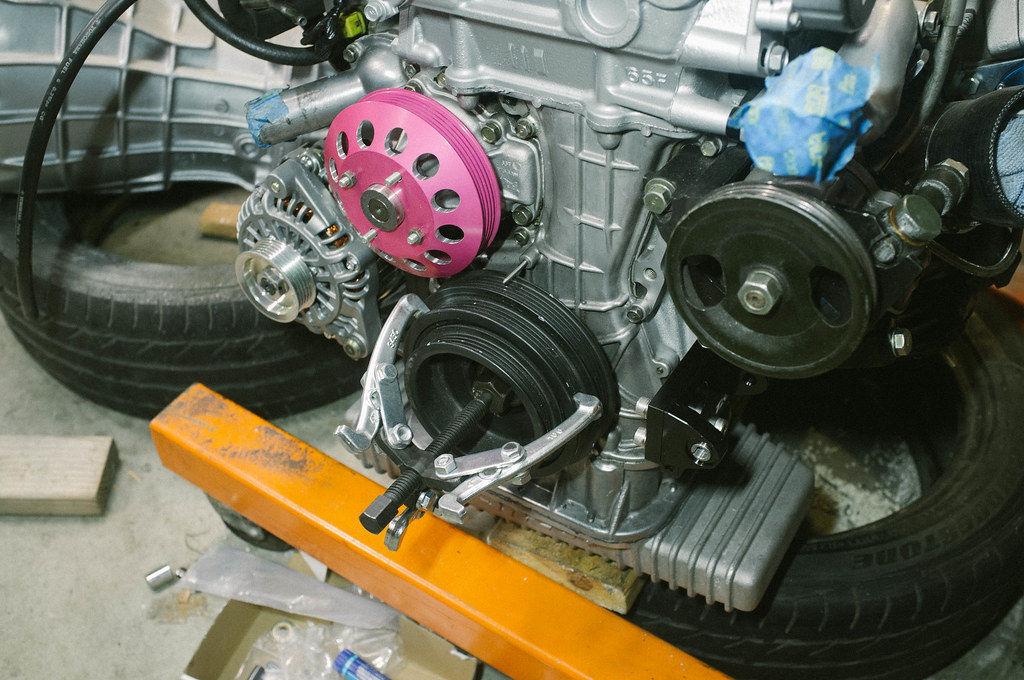 My buddy angel came over to chill and watch me work. Thanks for handling the camera Angel! 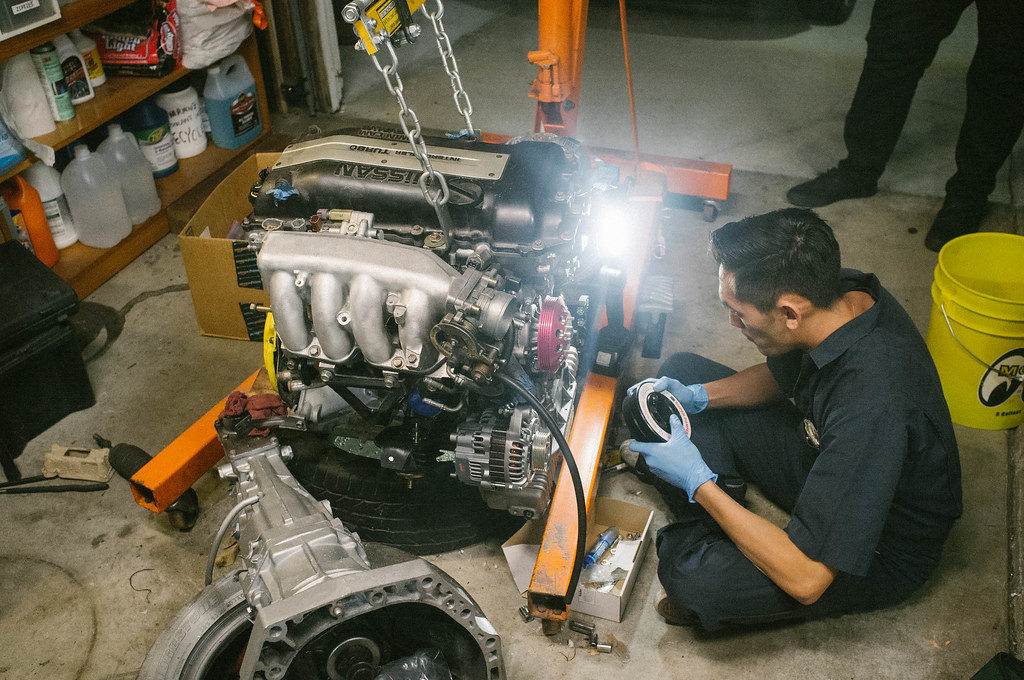 Got the damper on. Not too bad... 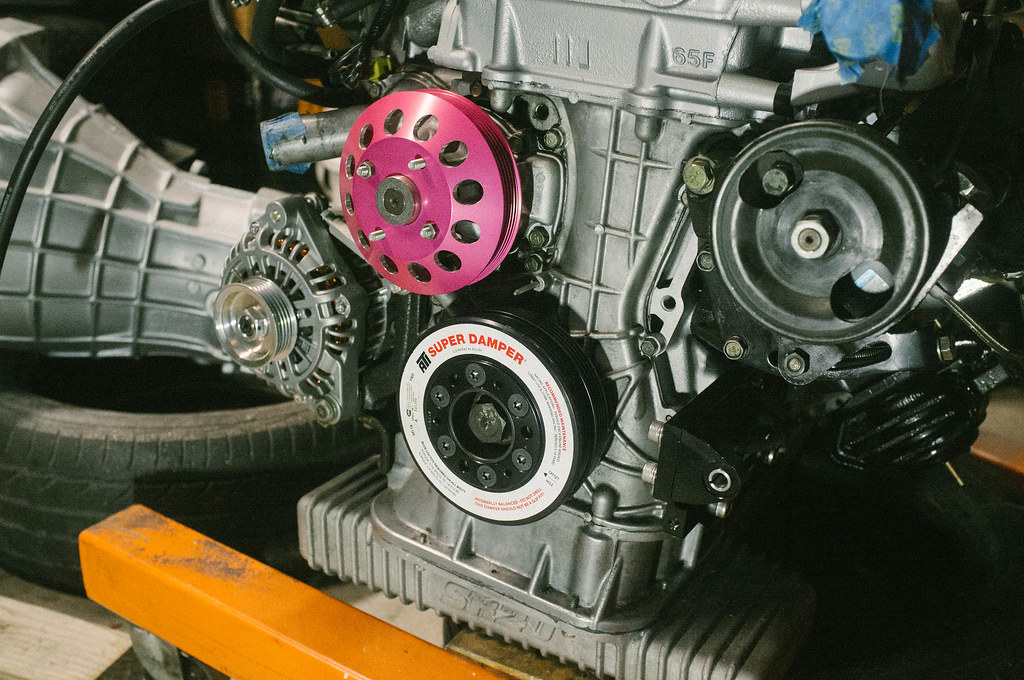 Also got the Taarks power steering relocation bracket. I had clearance issues with my turbo and the power steering fitting (see previous posts) so I just decided to relocate the power steering to where my AC used to be since I am not running AC (removed it to make space for the parts shop max high mount intercooler). 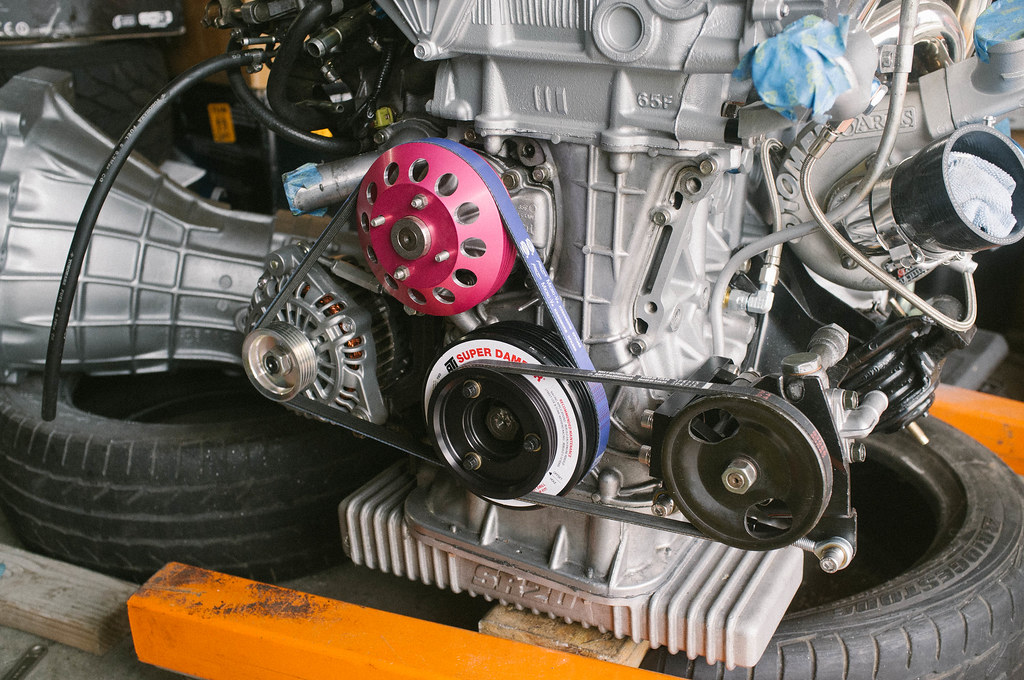 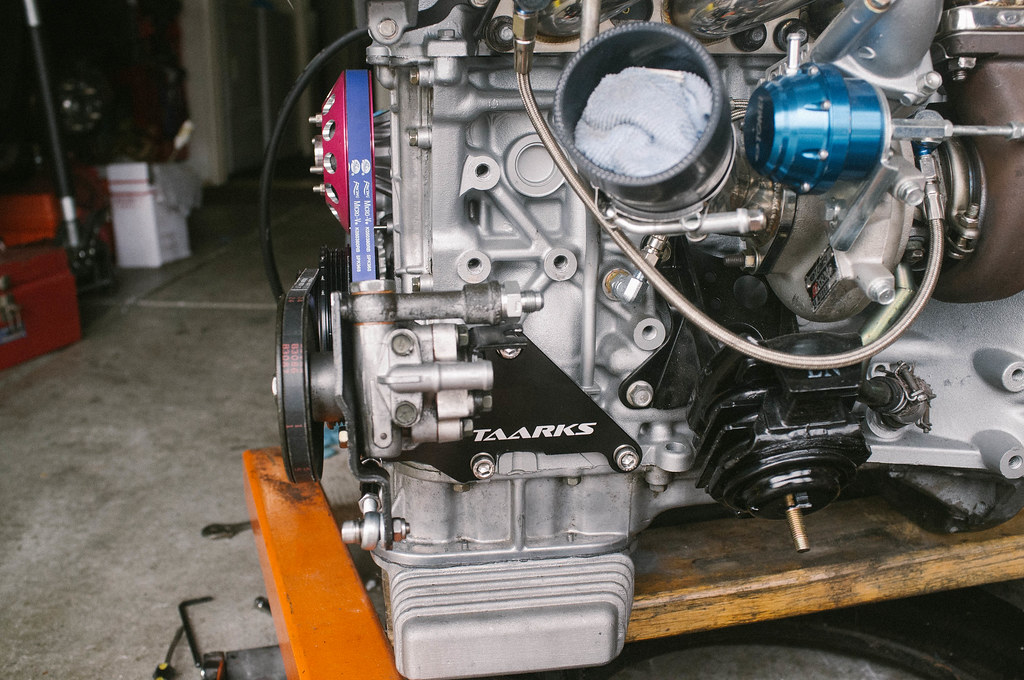 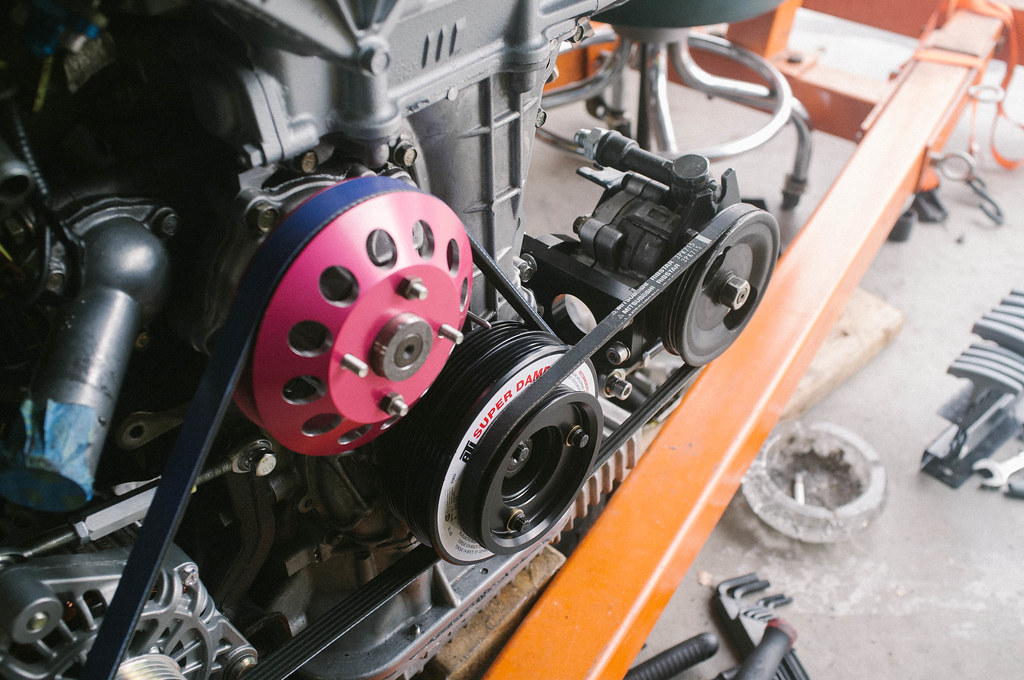 Hey look, I found more parts still in the box. Decided to test fit the GKtech fan blade. It looks alot cleaner and is also more efficient (supposedly). 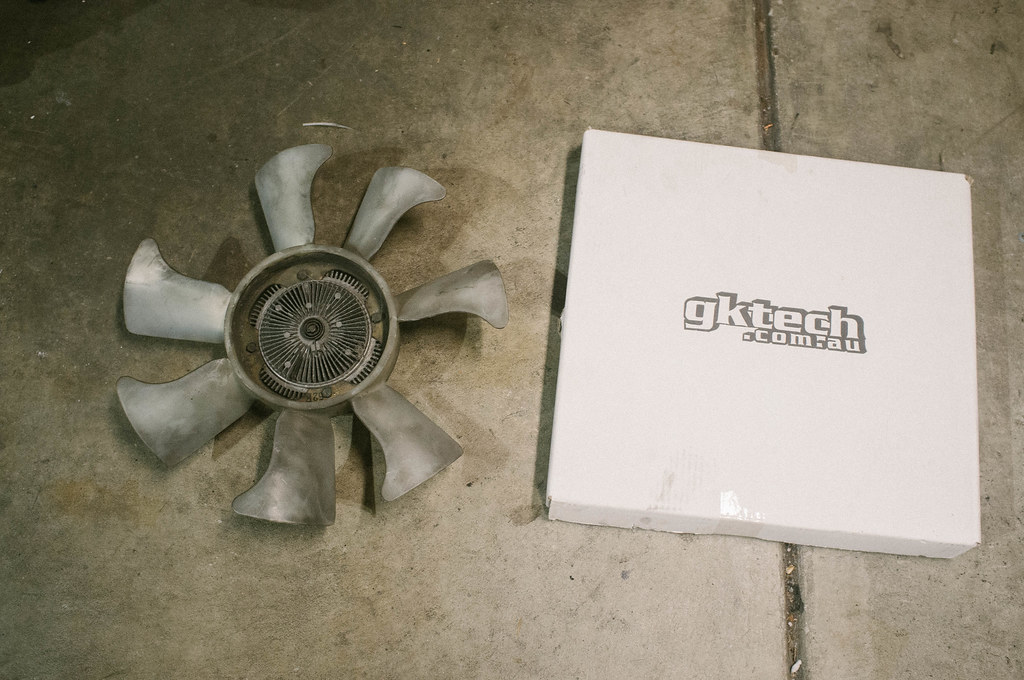 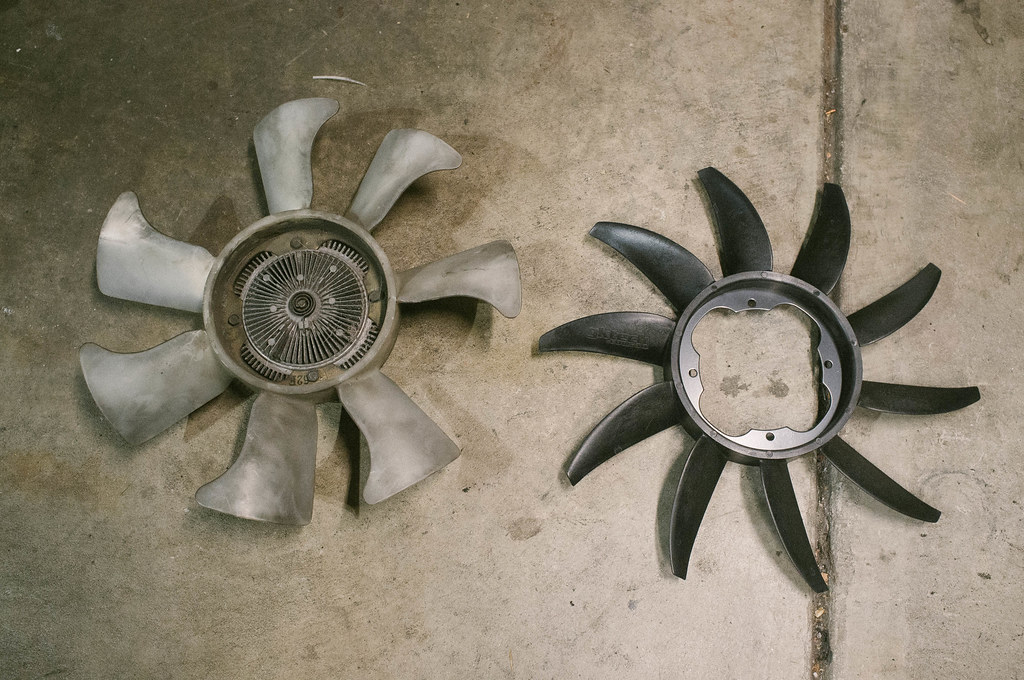 |
|
|

|
|
|
#82 |
|
Zilvia Addict
 Join Date: Oct 2008
Location: Bay Area, CA
Age: 29
Posts: 914
Trader Rating: (28)
    Feedback Score: 28 reviews
|
Today is the big day... finally dropping the SR into my car. Huge thanks to another one of my buddies Justin who spent his Sunday giving me a hand dropping the motor into the car.
Honestly would have took me 2x the time if tackled the task on my own. Super thankful to have friends who are down to lend a hand. 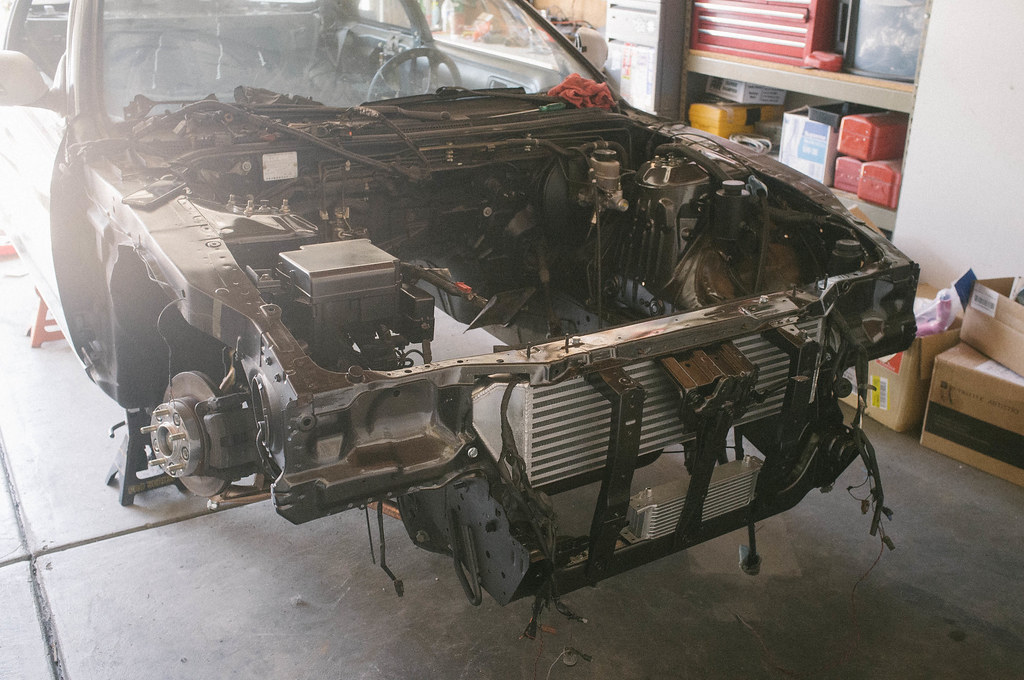 Not looking forward to putting my interior back together... everything is EVERYWHERE!!! I can't remember where anything goes either... 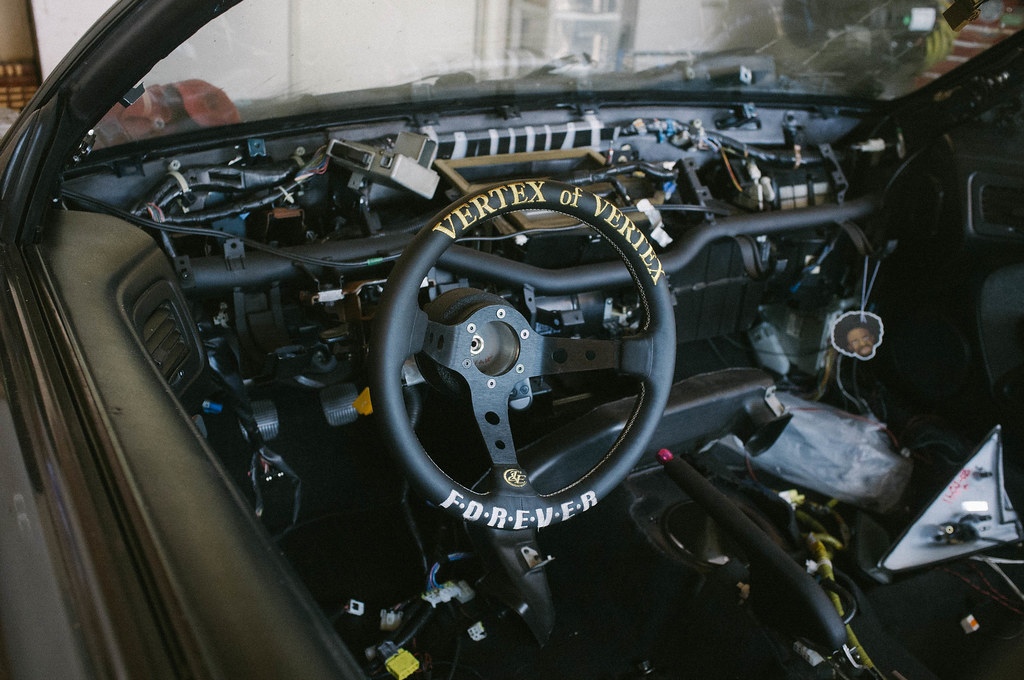 Before dropping the motor in, I decided I wanted to bolt down my power steering cooler. 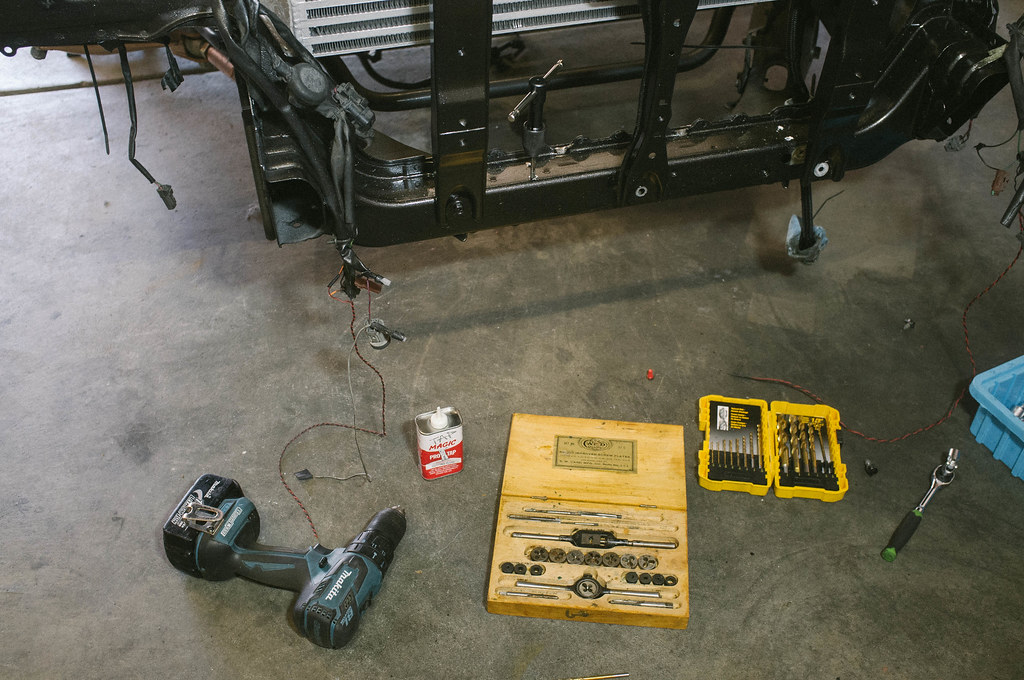 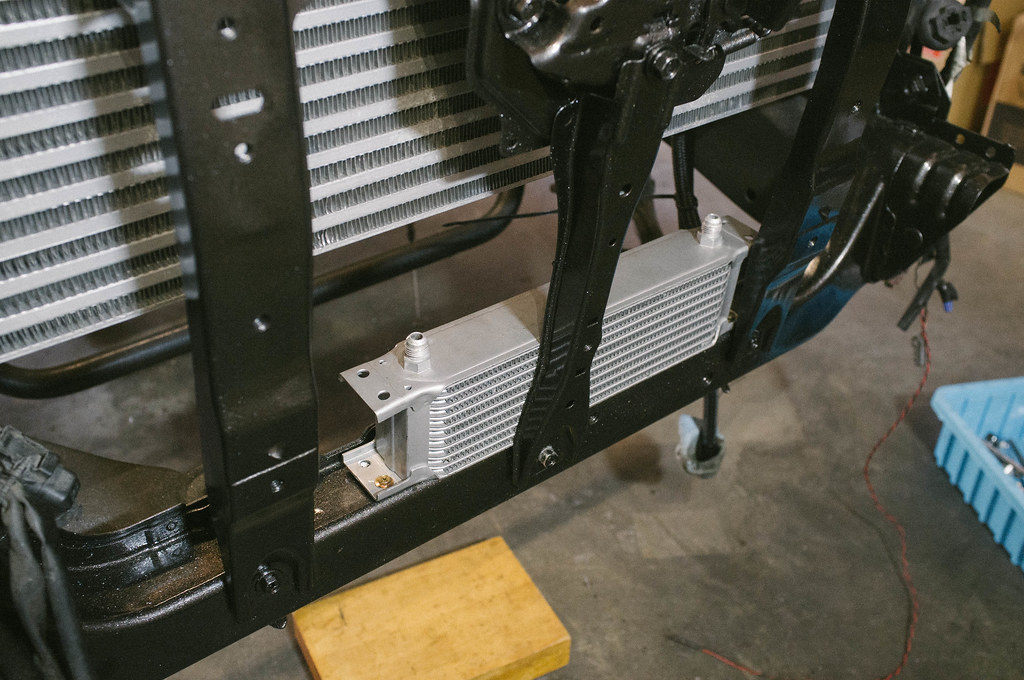 I have no idea what I'm doing. (obviously, I should have been using a torque wrench) 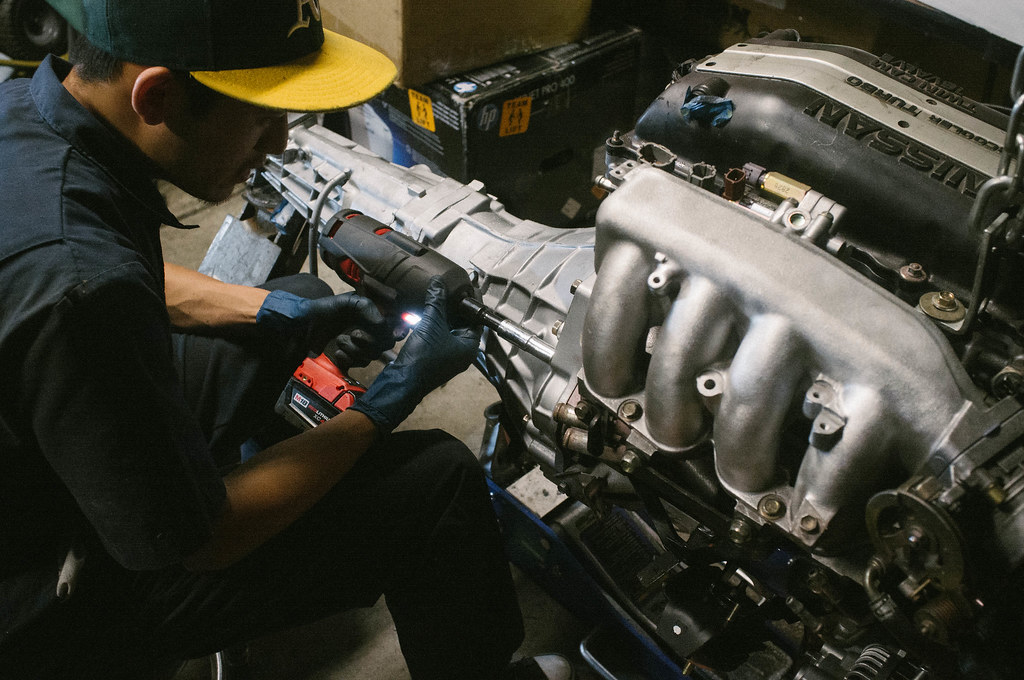 My buddy justin like "wtf wheres the engine at?" 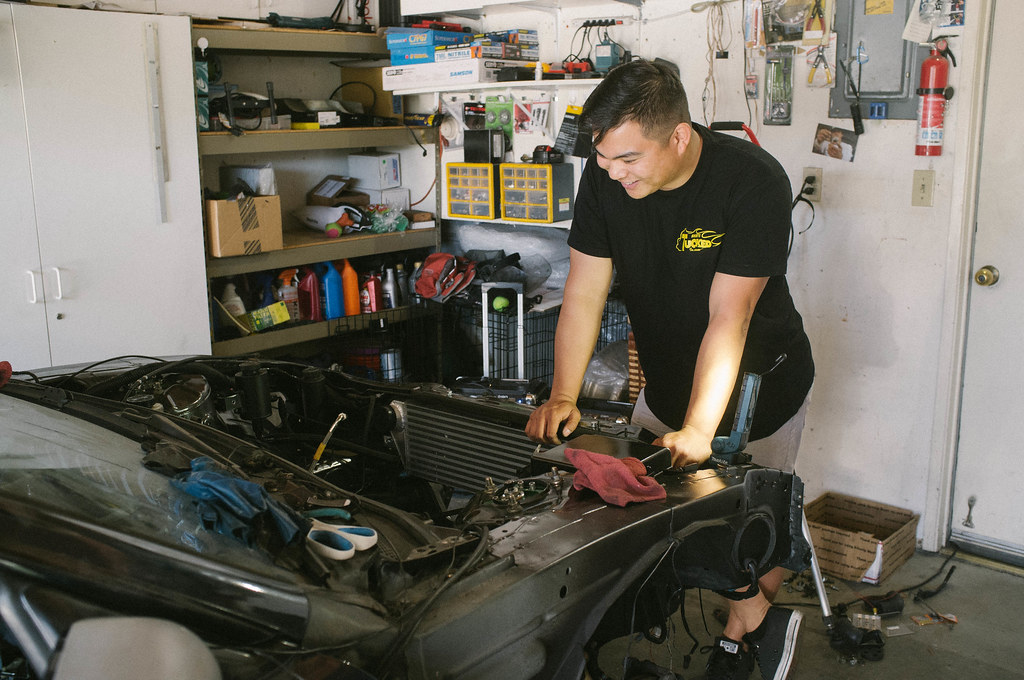 She's ready to go 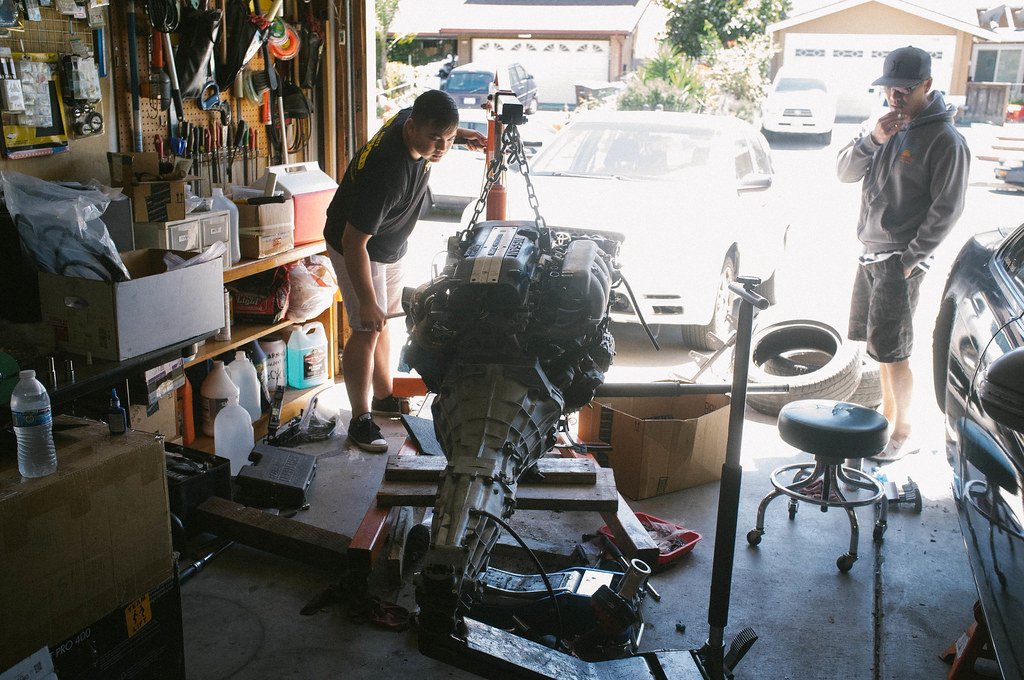 So purdy 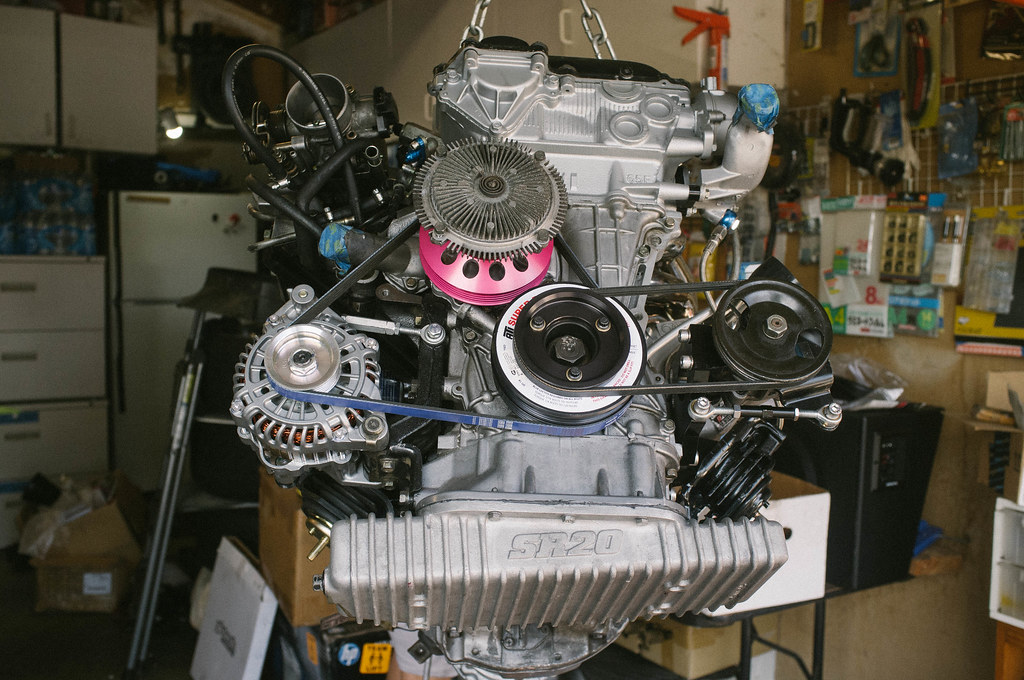 Another view 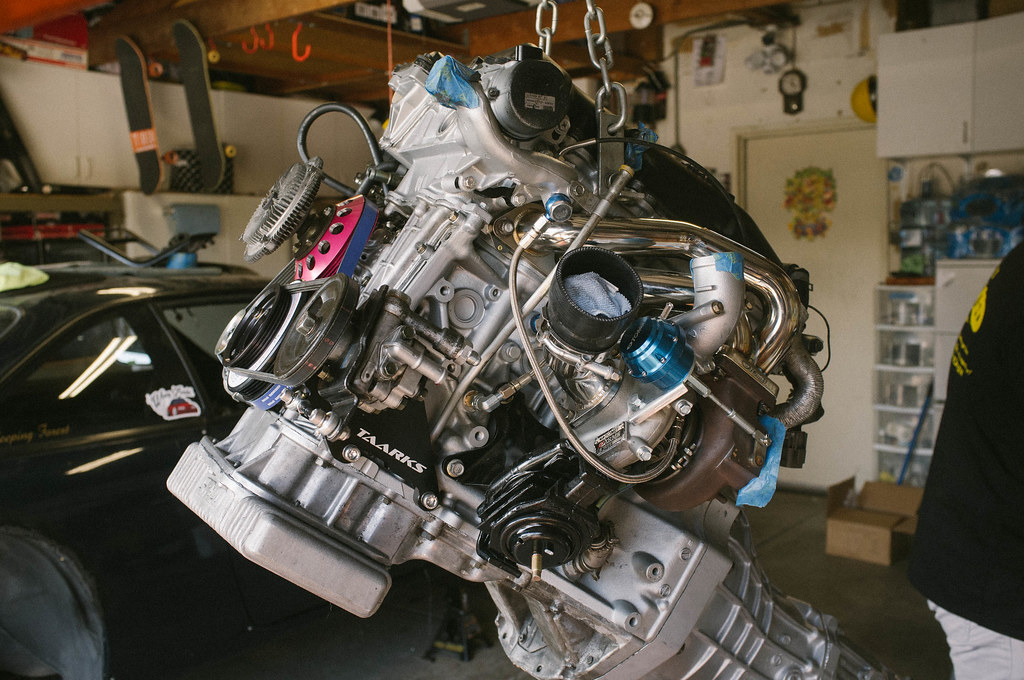 Drop it like its hot  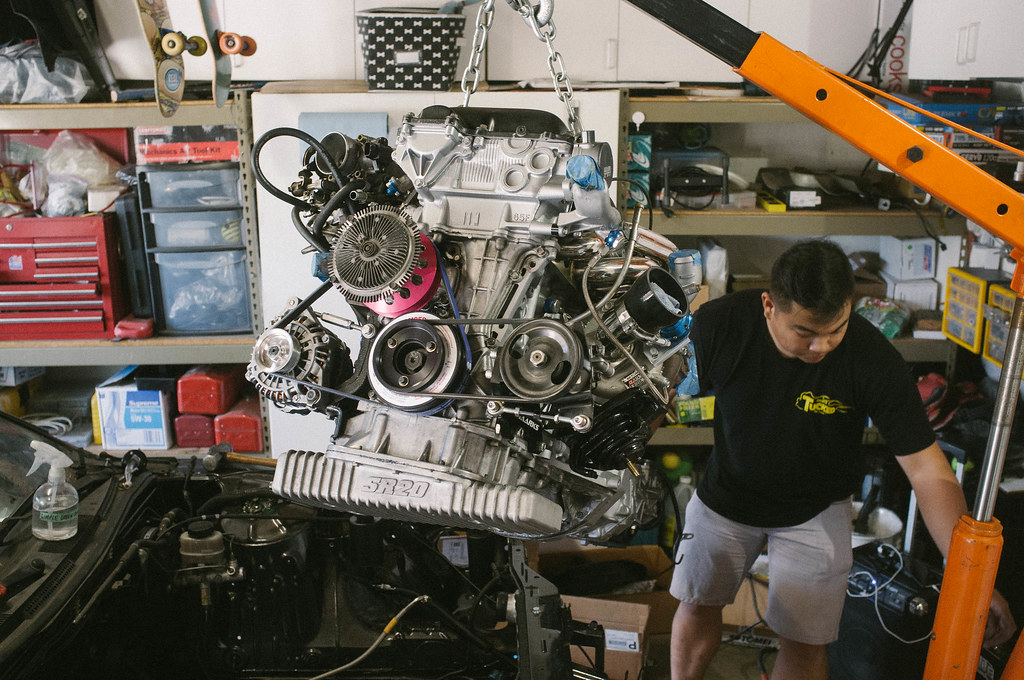 Aaaaaaaaaannnnddddd shes in. 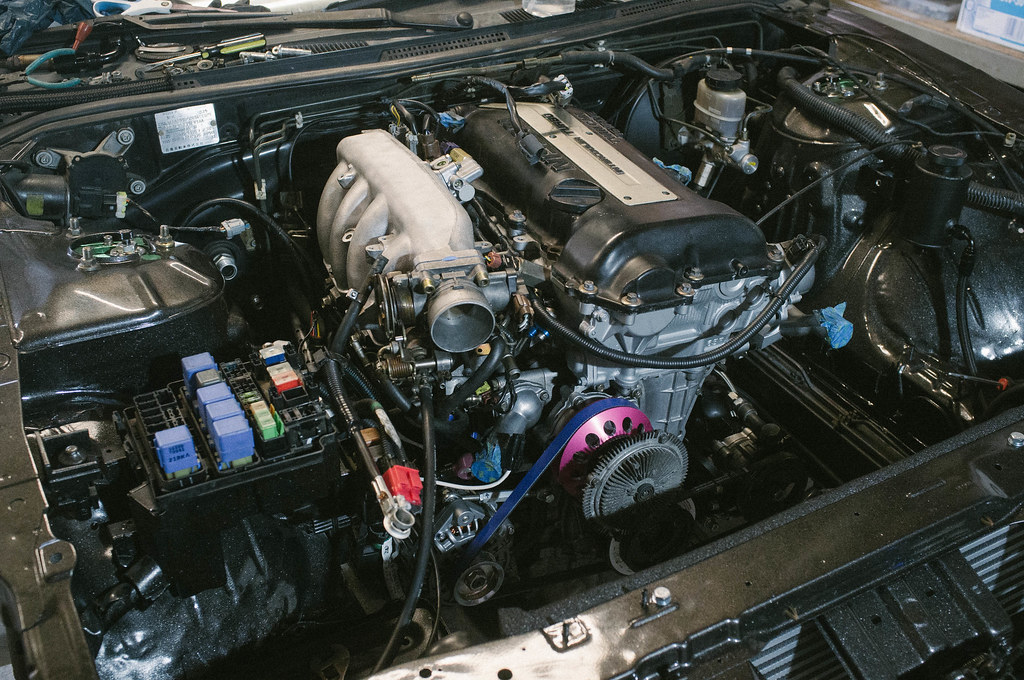 |
|
|

|
|
|
#83 |
|
Zilvia Addict
 Join Date: Oct 2008
Location: Bay Area, CA
Age: 29
Posts: 914
Trader Rating: (28)
    Feedback Score: 28 reviews
|
Justin's FRS looking cool with the new wheel setup
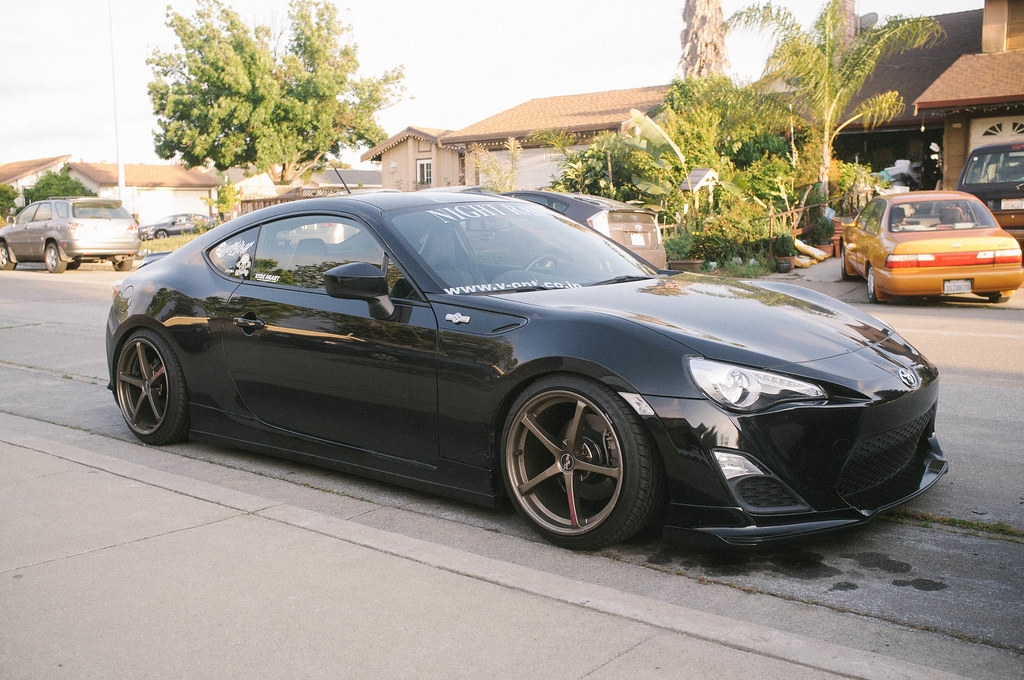 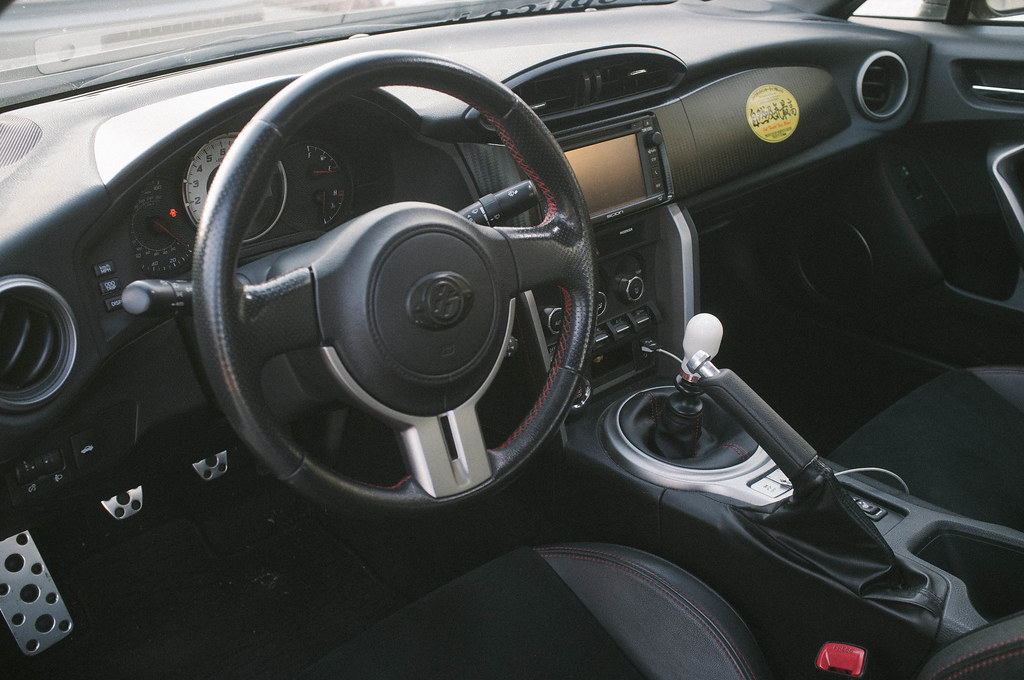 Tried moving the power steering reservoir to a different spot since the hose was too short and did not reach the pump from the spot on the strut tower 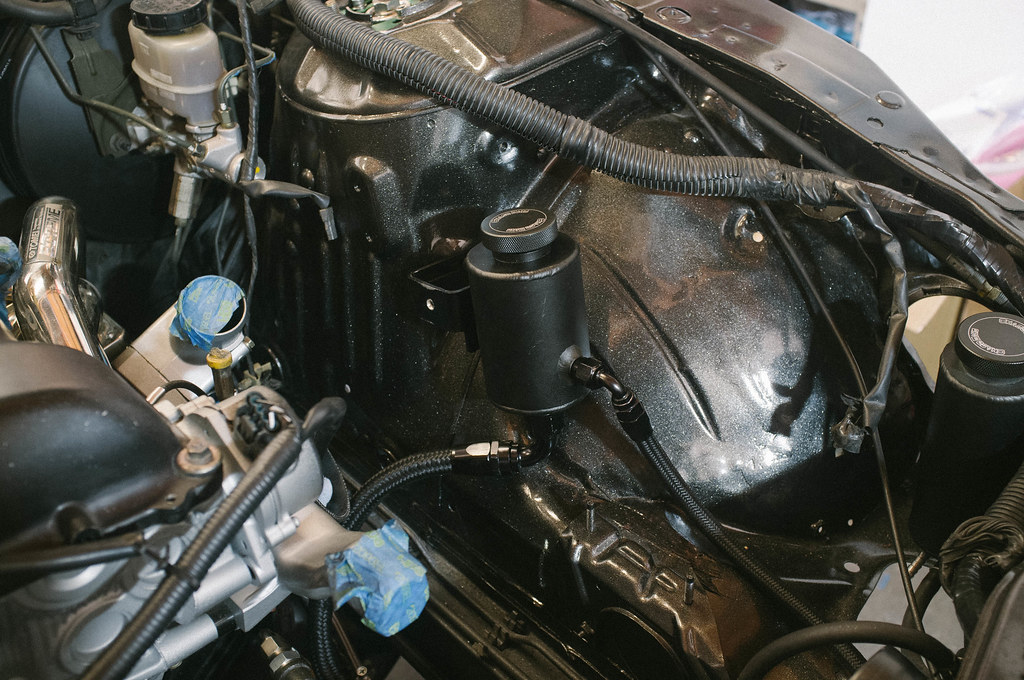 Got the hoses bolted up to the power steering pump 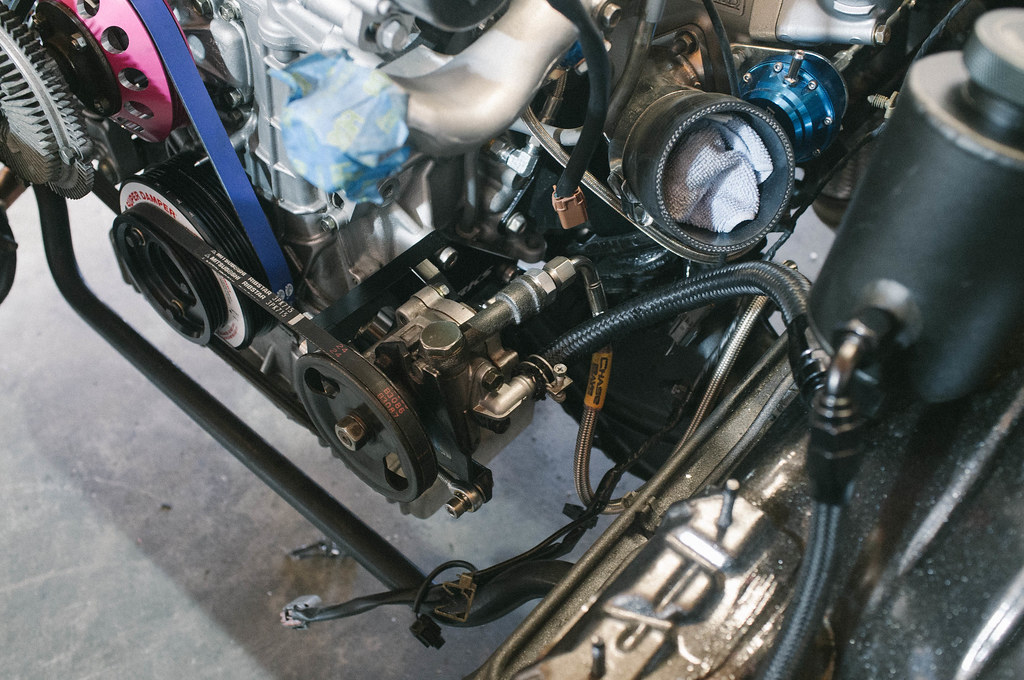 Heater core hoses are longer for the KA. You will need to trim them to get them to fit on the SR20 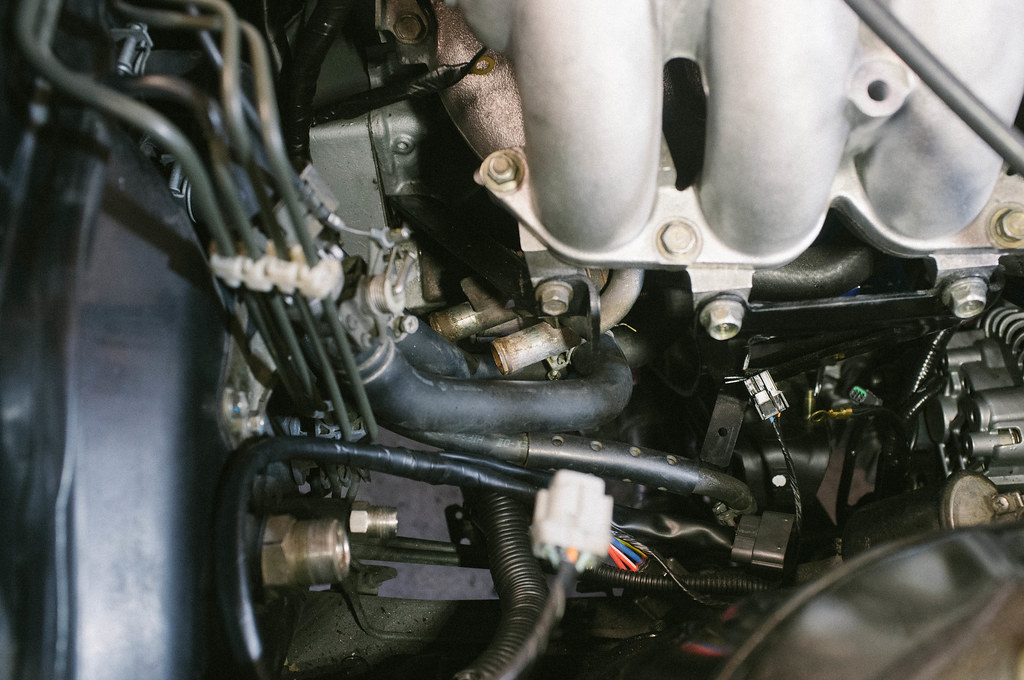 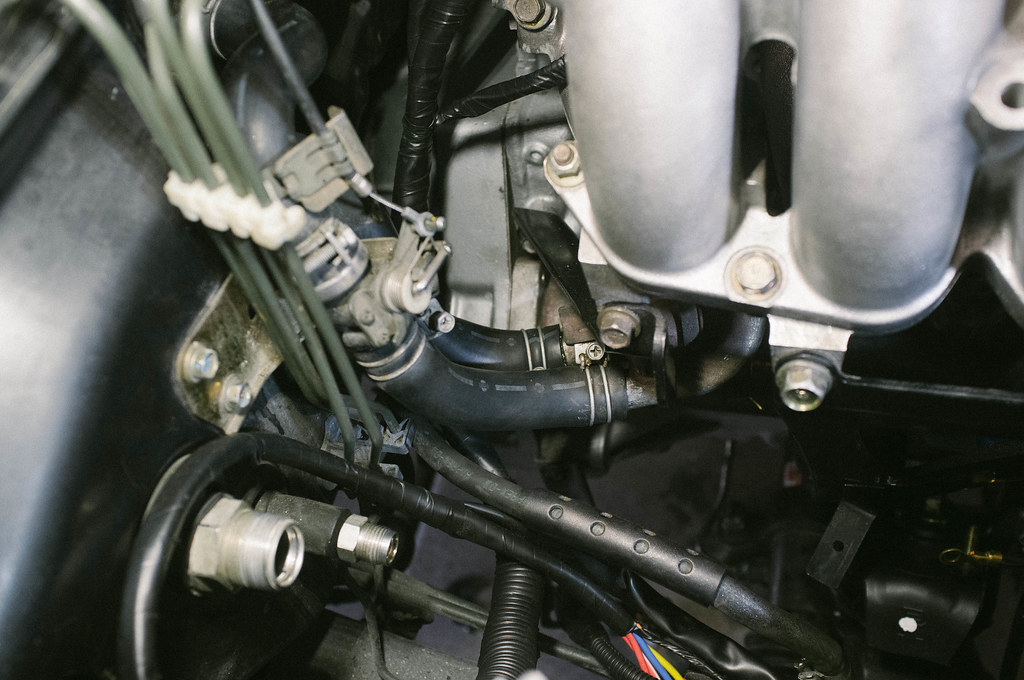 Installing the GKTech throttle wheel 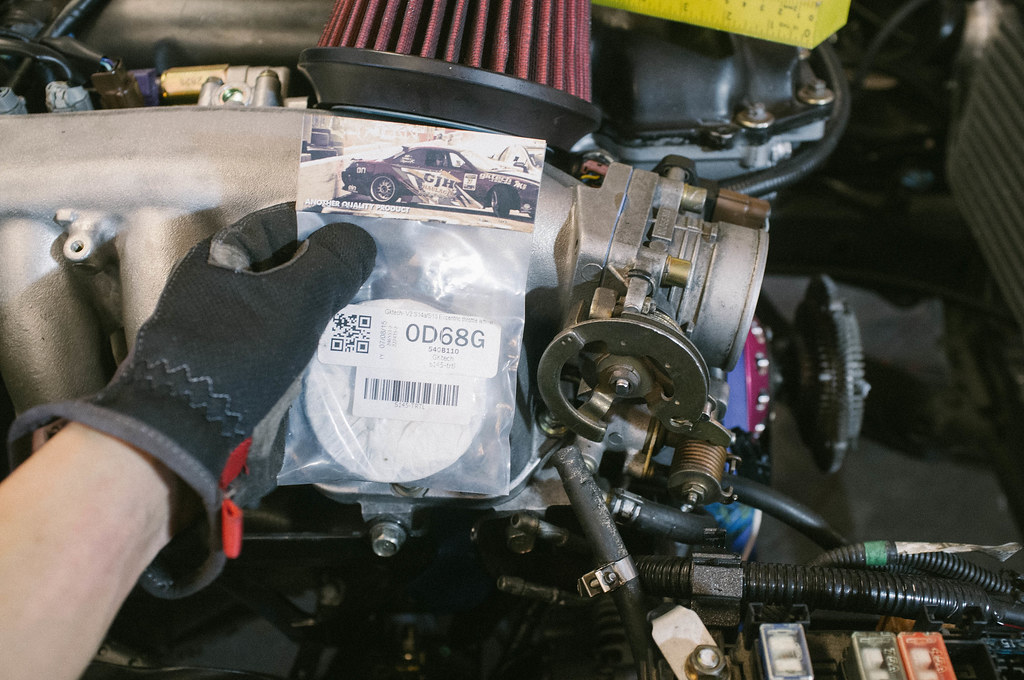 My stock CAS cover is all dirty and ugly, so I replaced it with an aluminum one 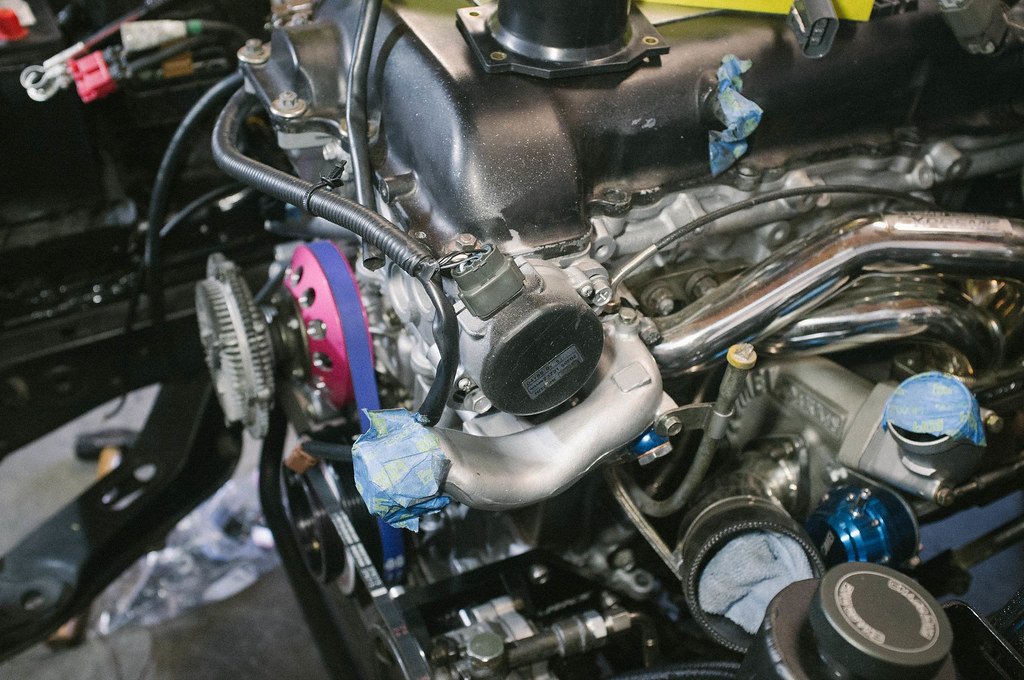 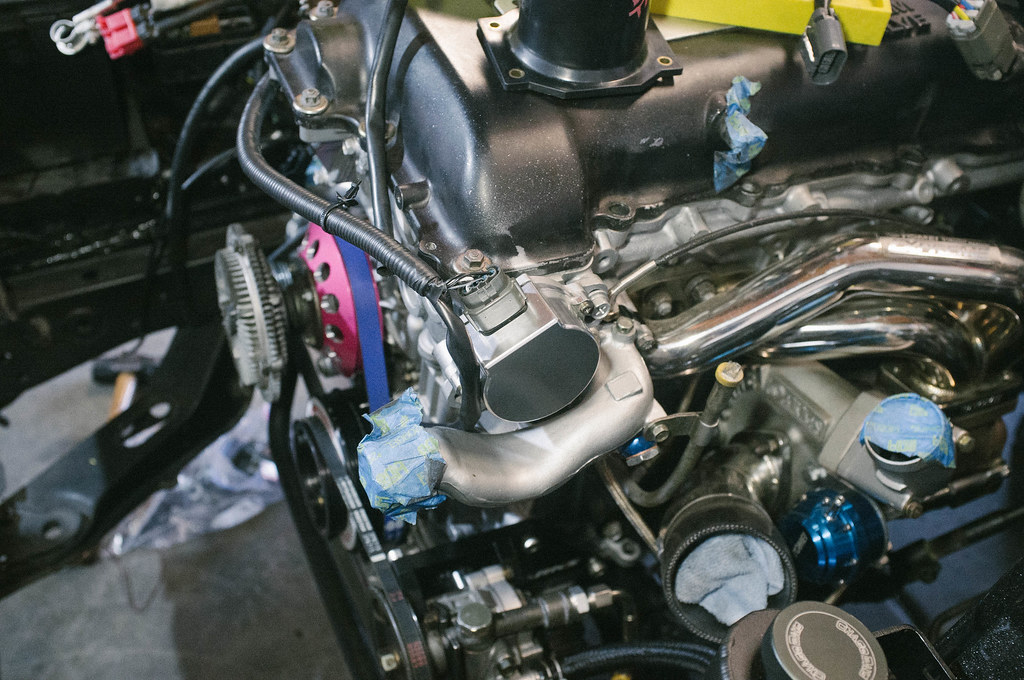 Mocking up the piping for the parts shop max high mount intercooler 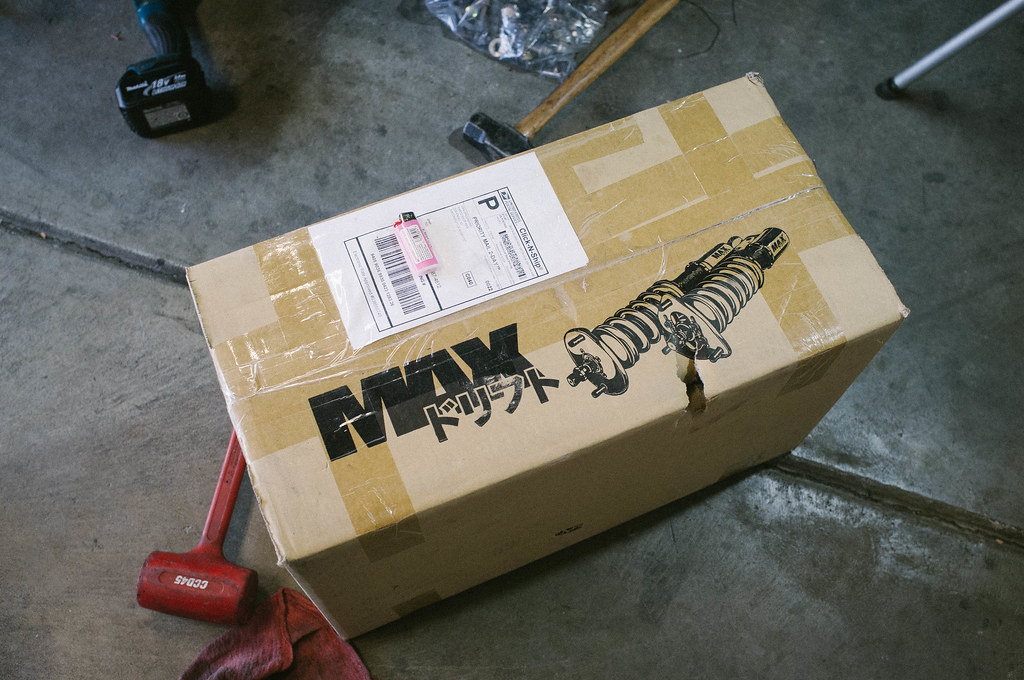 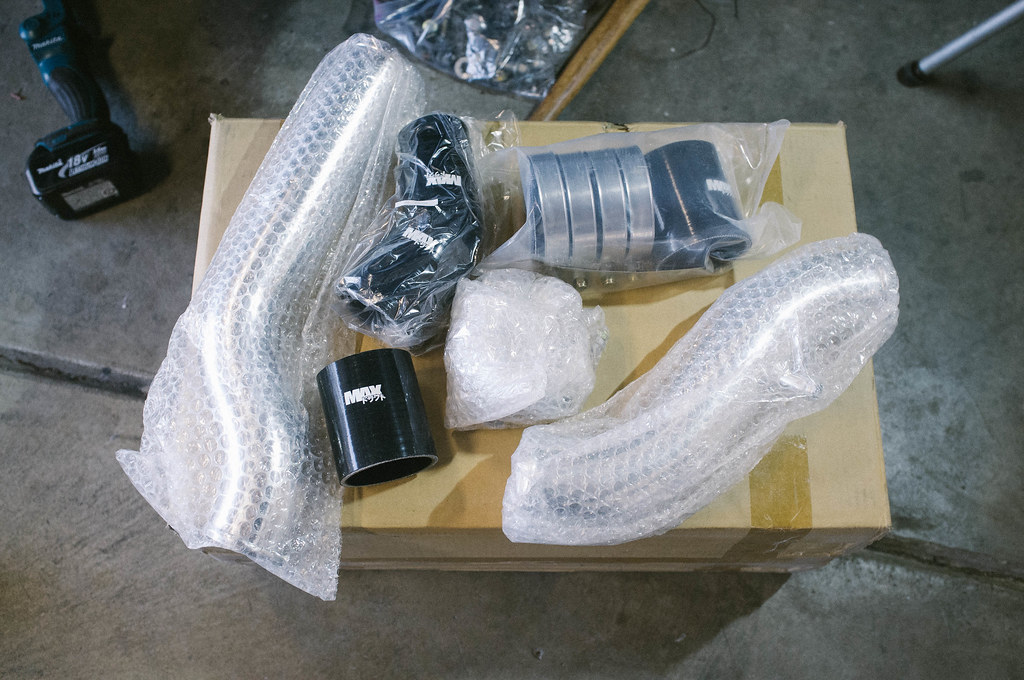 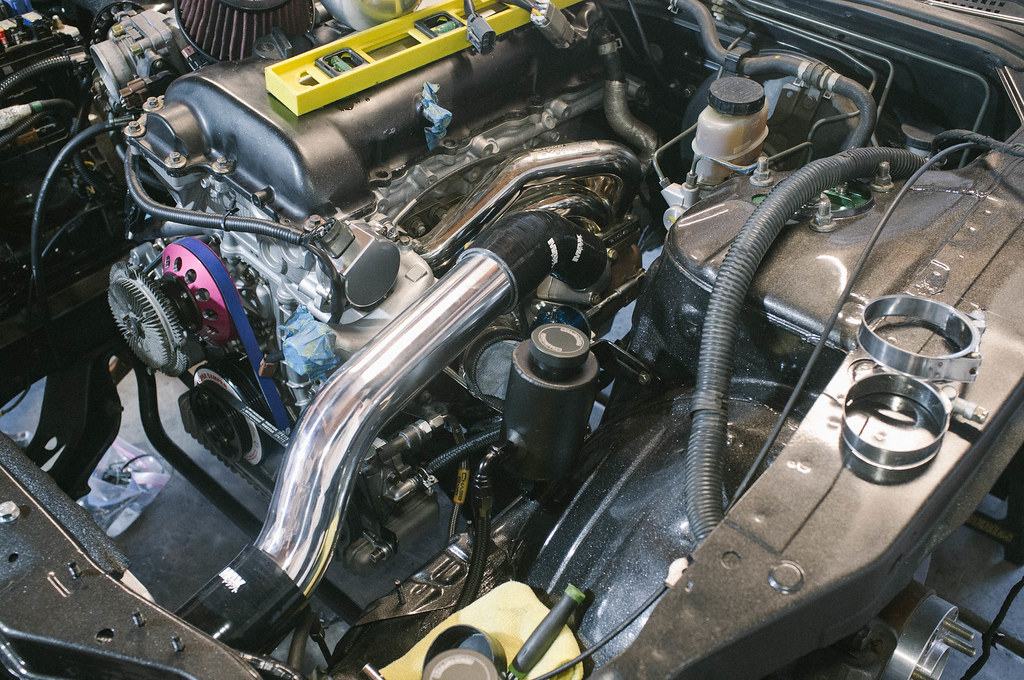 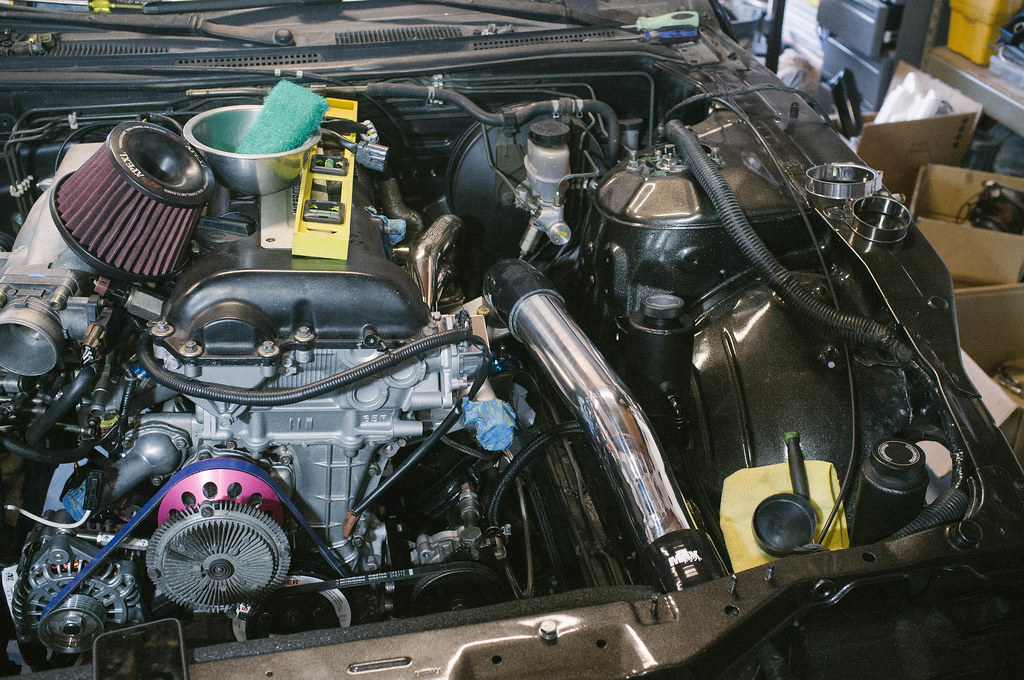 My car is filthy... one year of sitting will do that. 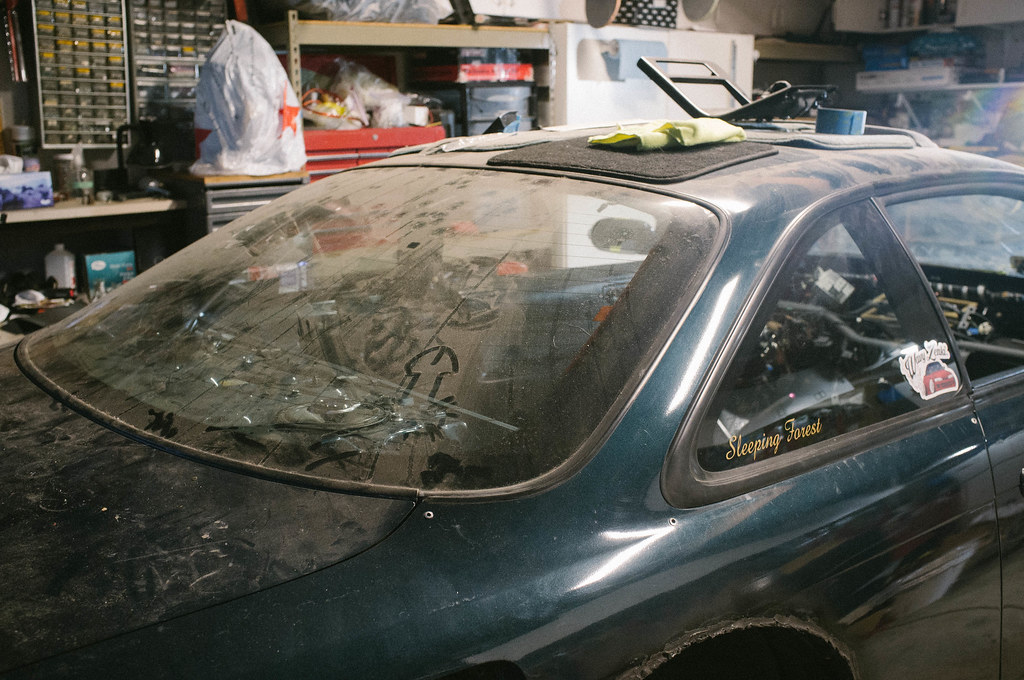 |
|
|

|
|
|
#84 |
|
Zilvia Addict
 Join Date: Oct 2008
Location: Bay Area, CA
Age: 29
Posts: 914
Trader Rating: (28)
    Feedback Score: 28 reviews
|
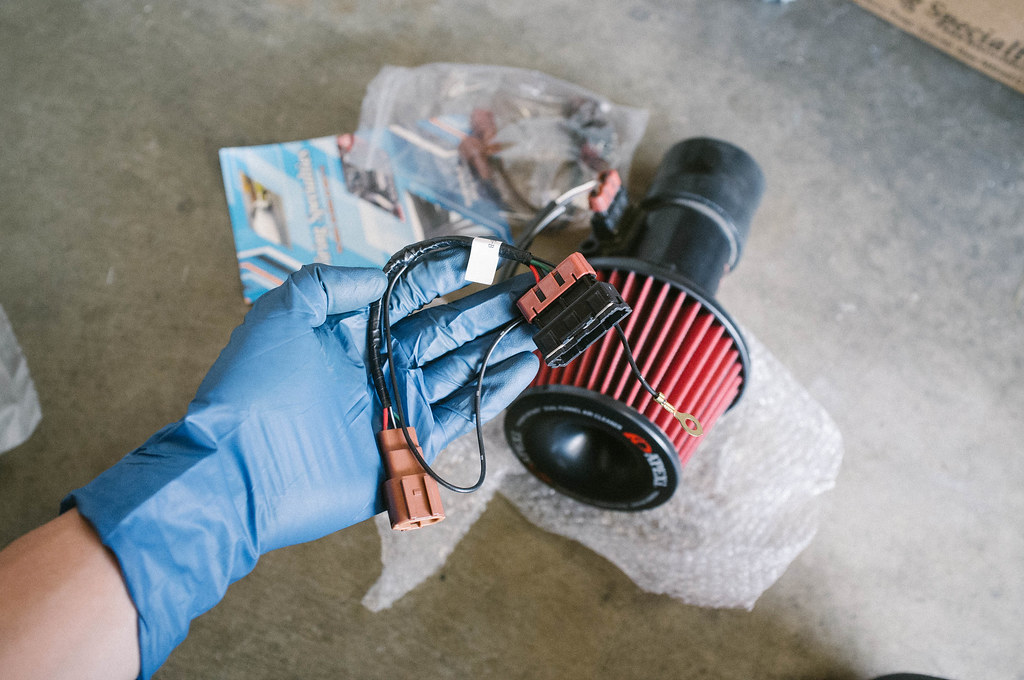
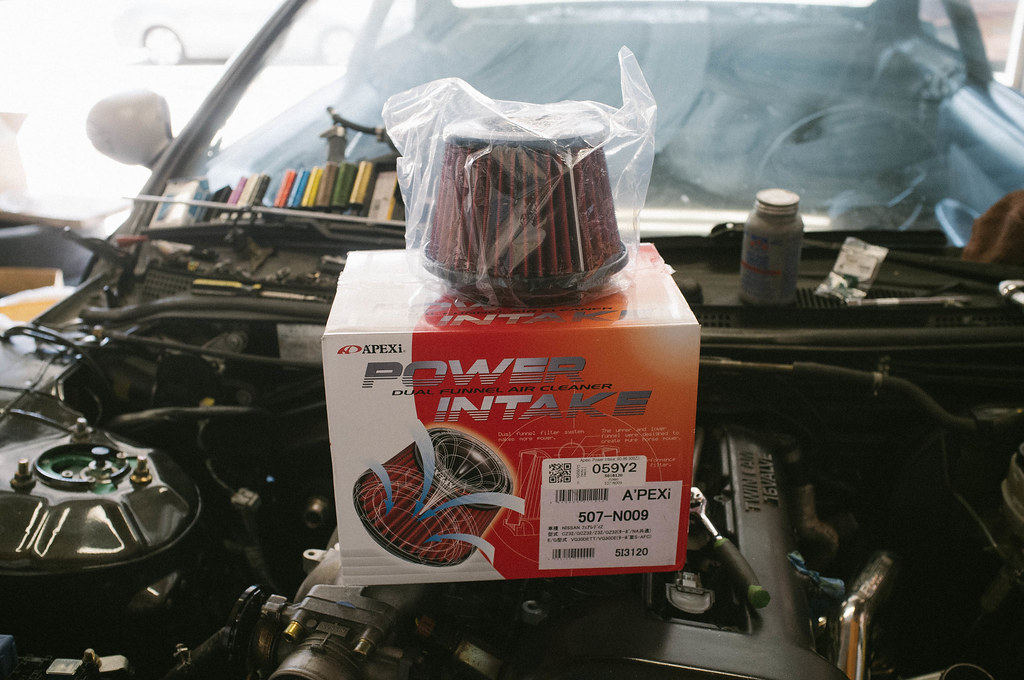
Finally got around to unboxing this. The motor came with an Apexi Power Intake but it didn’t fit on my Z32 maf so I had to order this kit.
  Got the Parts Shop Max Flex Cobra downpipe bolted to the turbo. This thing is quality! 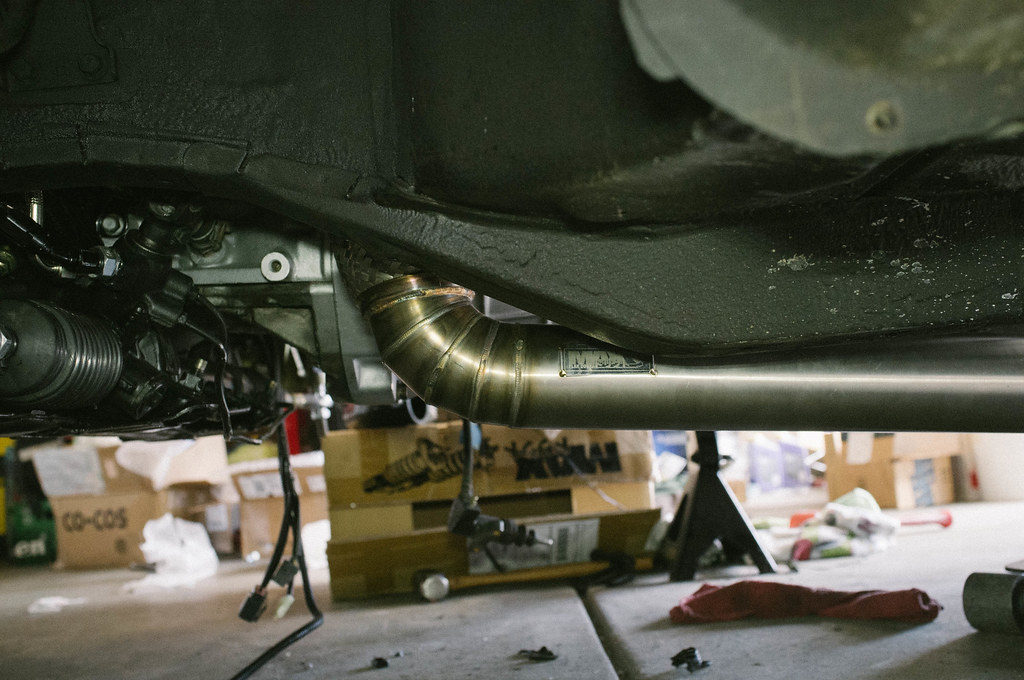 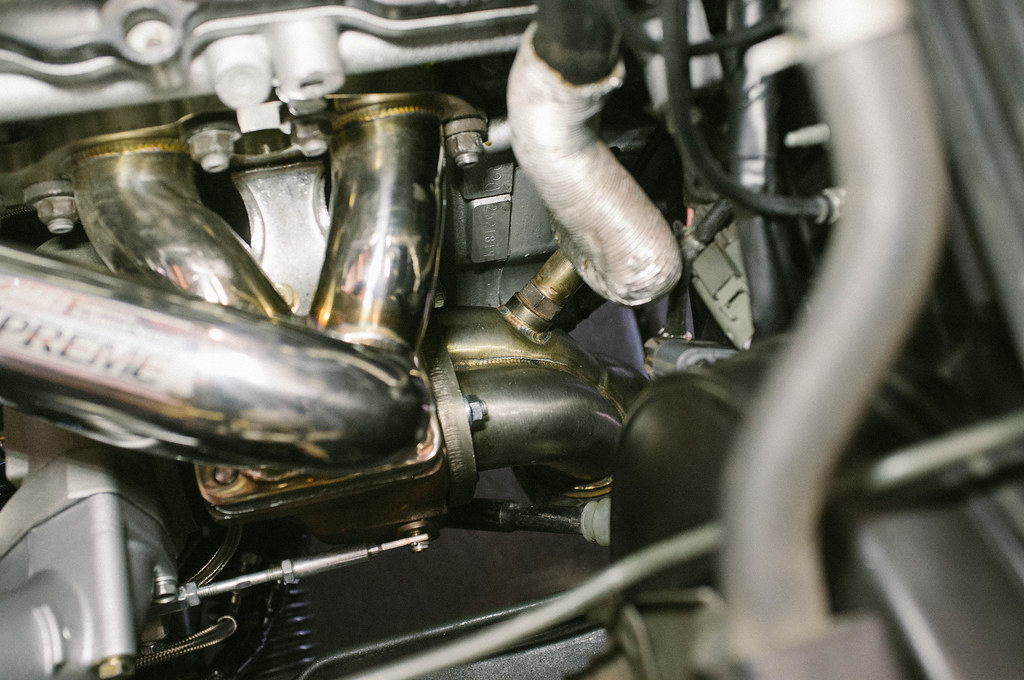 Starting to get the electronics hooked up 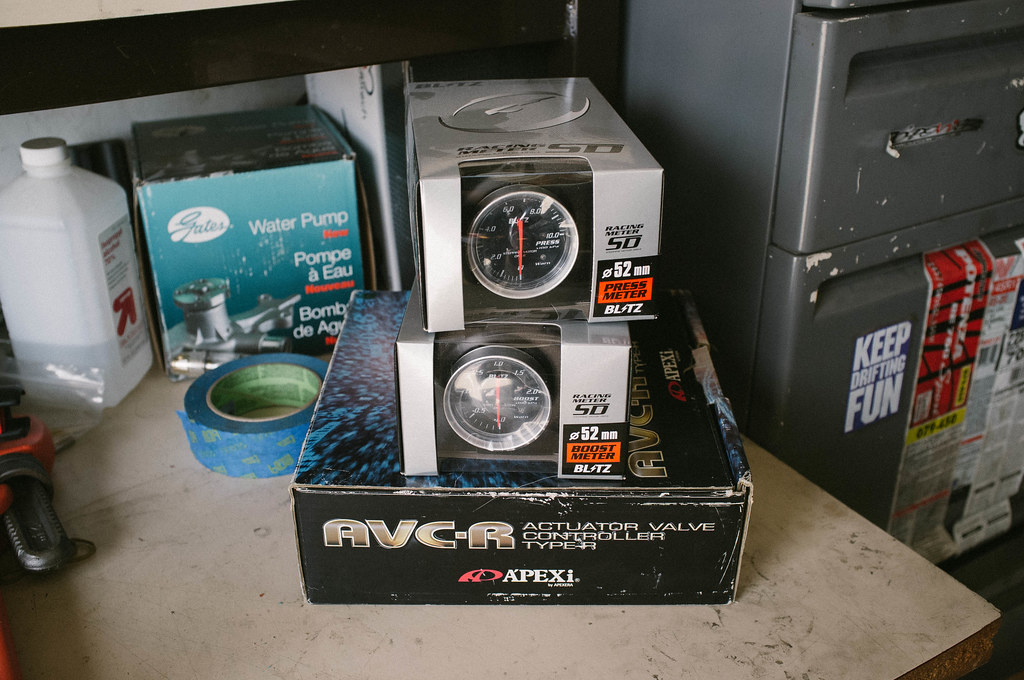 Trying to make something of these Japanese instructions 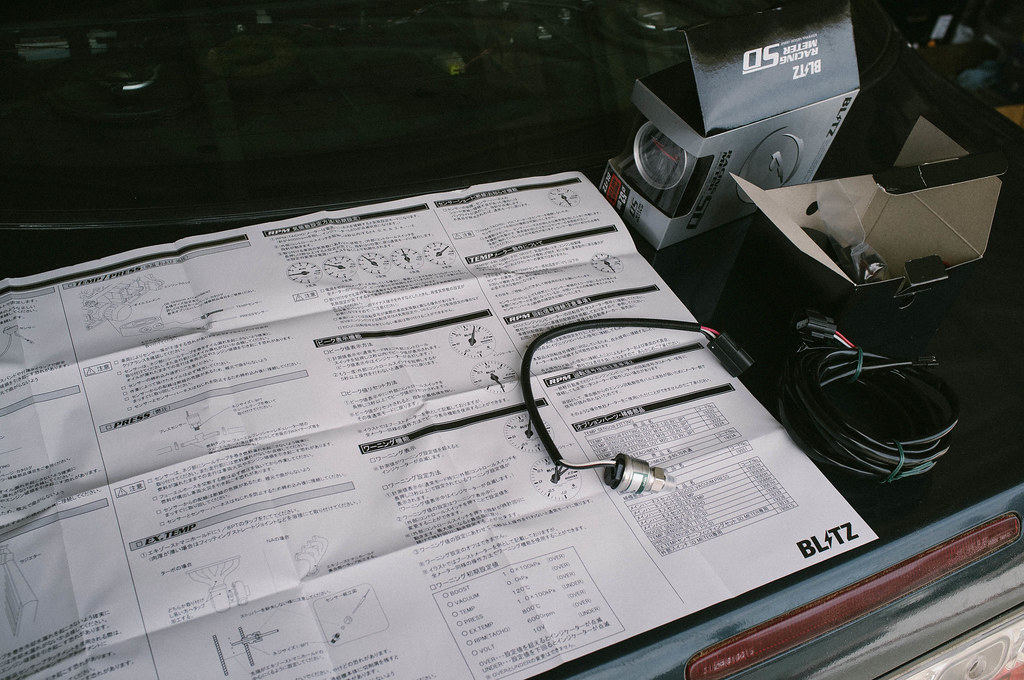 Stock oil pressure sensor vs New Blitz oil pressure sensor 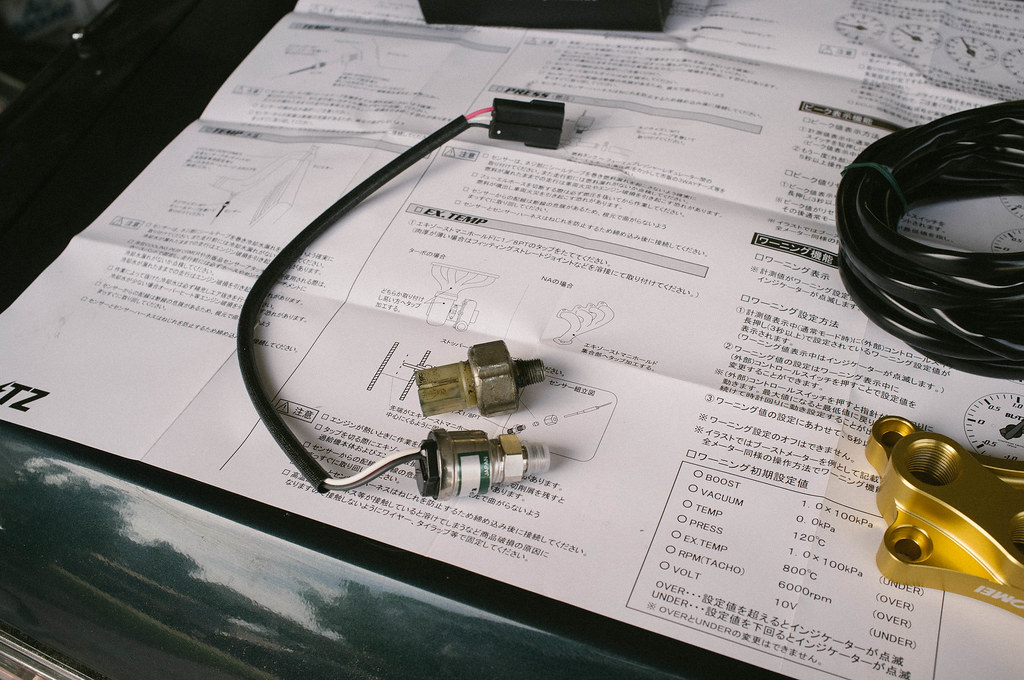 Bolted up the clutch slave cylinder to the transmission with some new hardware 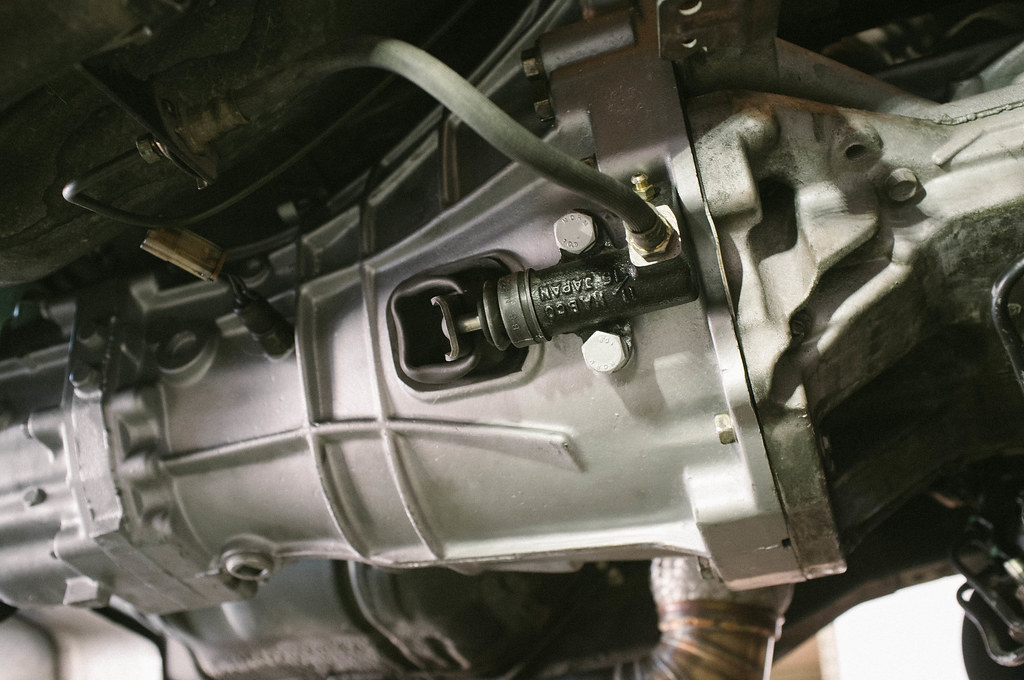 Got this cool new Advan Racing jumpsuit 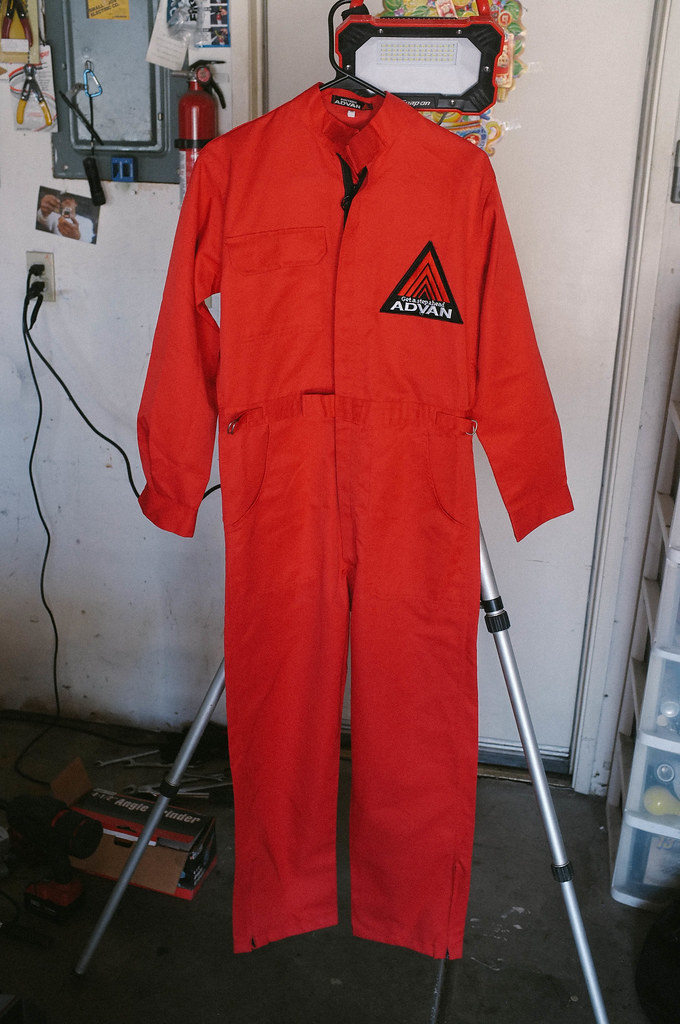 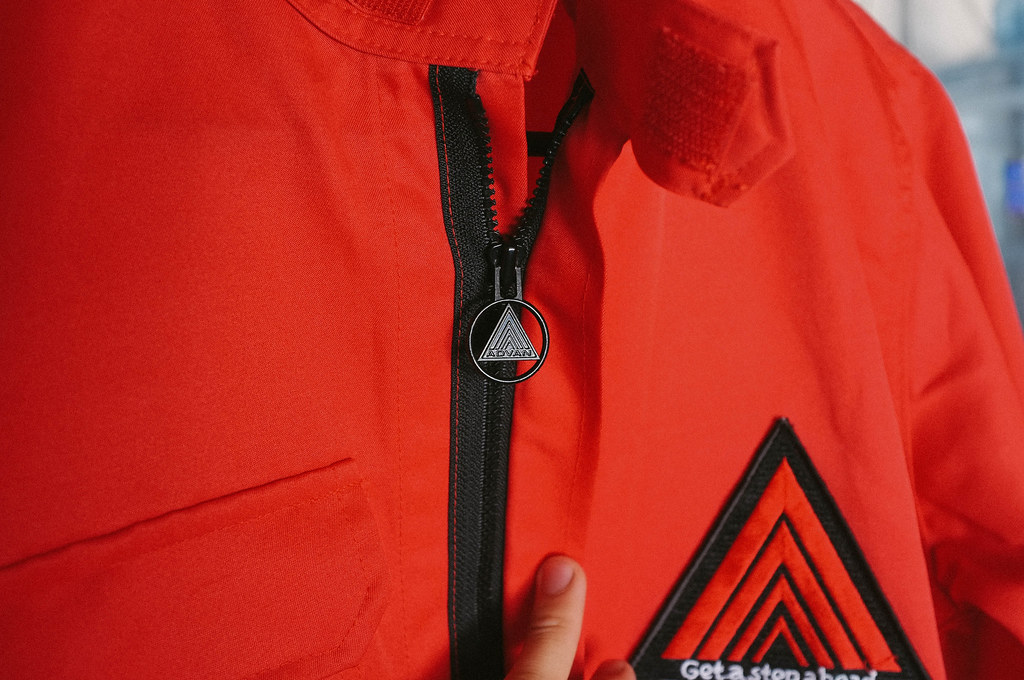 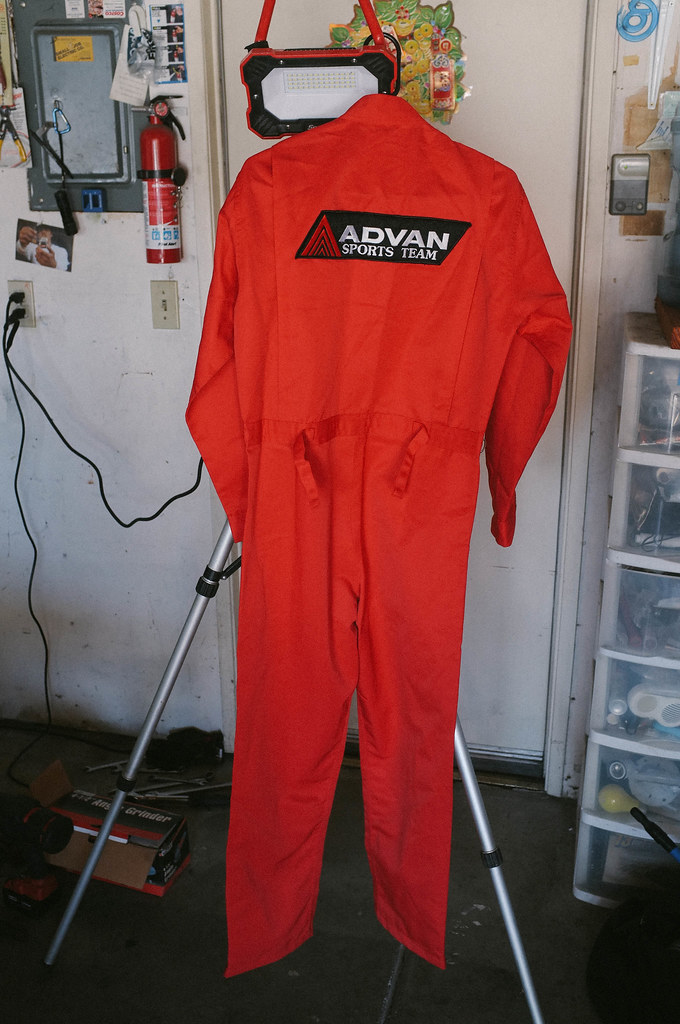 Throttle cable doesn’t hook up directly to the mount on the SR20det. Gotta fab up something... 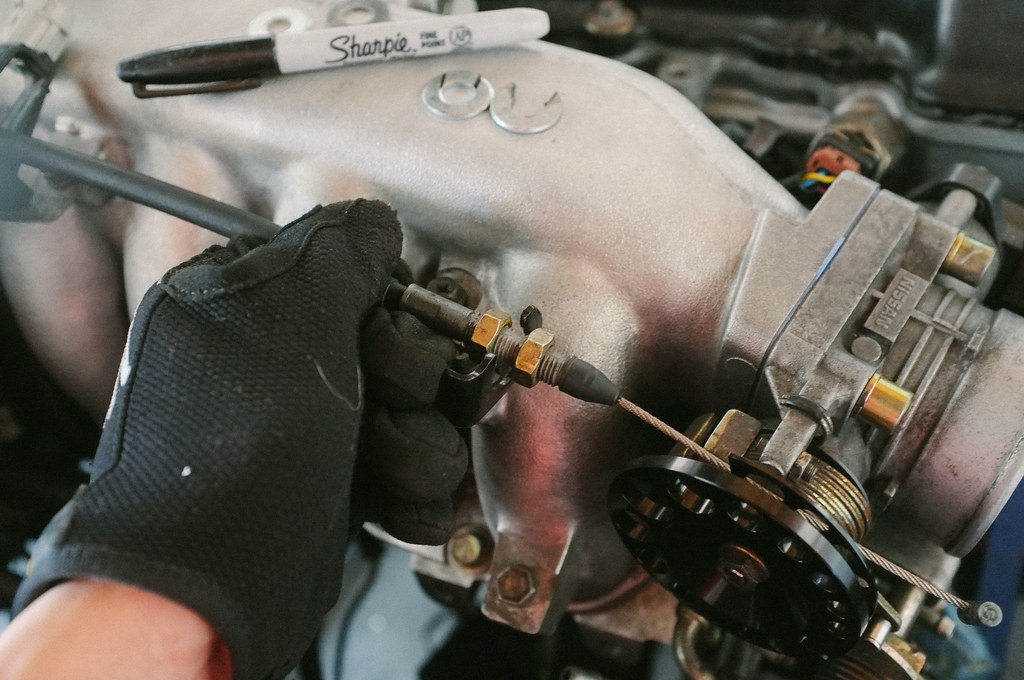 Had to cut up some washers to hold the throttle cable in place. The mounting point is different than on the KA24de motor 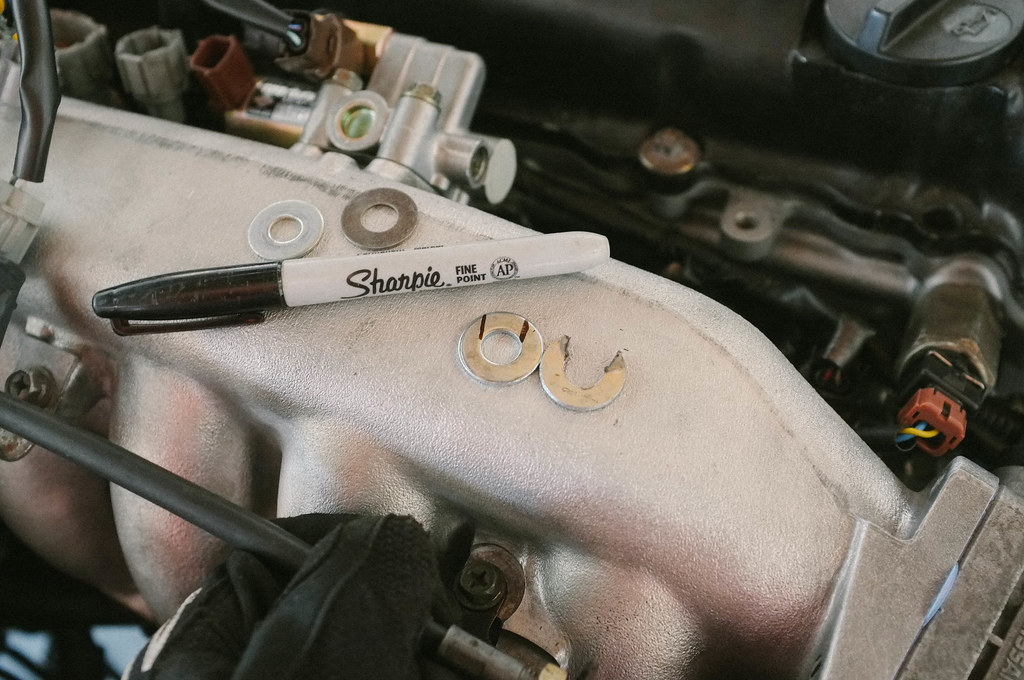 Throttle cable installed snug. Gktech throttle wheel looking nice too! 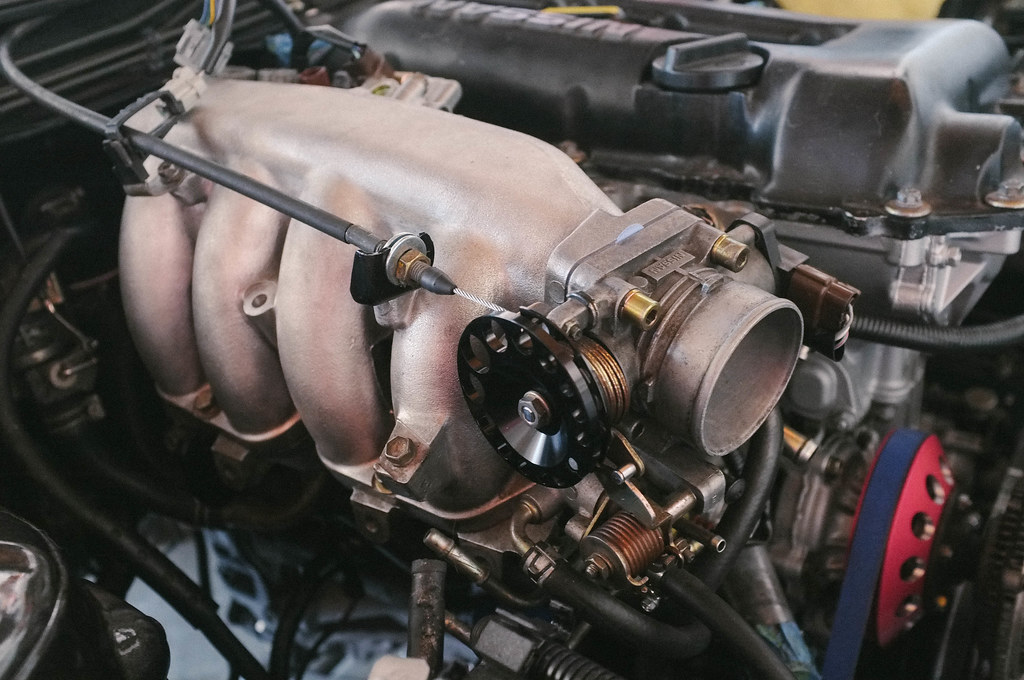 |
|
|

|
|
|
#86 |
|
Zilvia Addict
 Join Date: Oct 2008
Location: Bay Area, CA
Age: 29
Posts: 914
Trader Rating: (28)
    Feedback Score: 28 reviews
|
Some Redline MT-90 for the transmission. Roughly 3 quarts I believe.
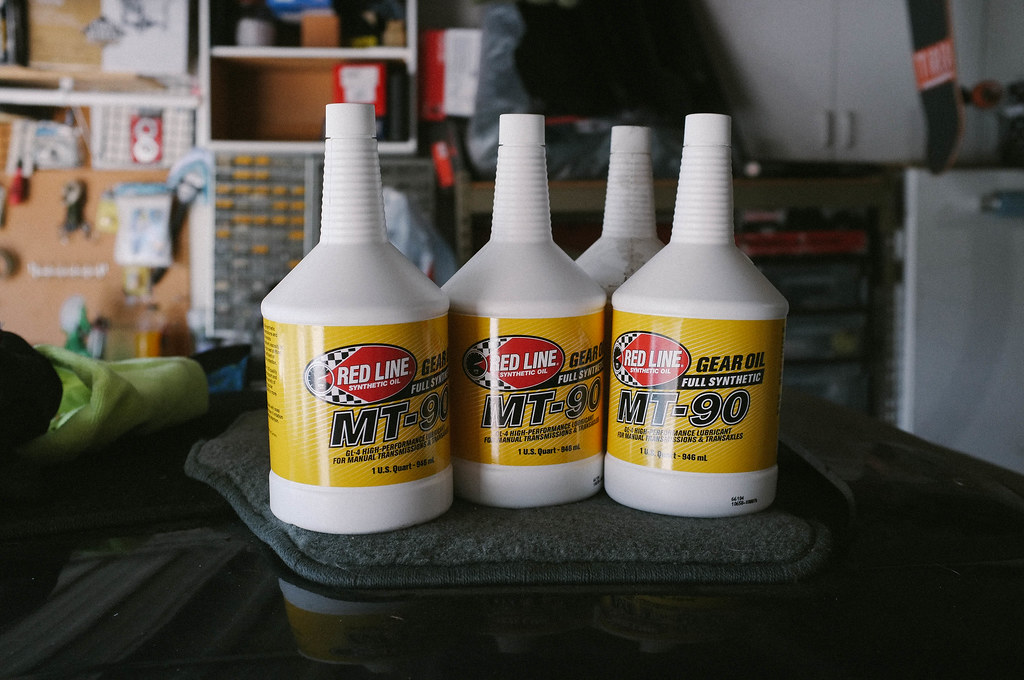 Mail from Chasebays [img]https://c2.staticflickr.com/8/7275/27900901330_ee369f247d_b.jpg[/img Had to order this overpriced braided hose from Chasebays since the one that came with my swap was way to short after I relocated the power steering pump 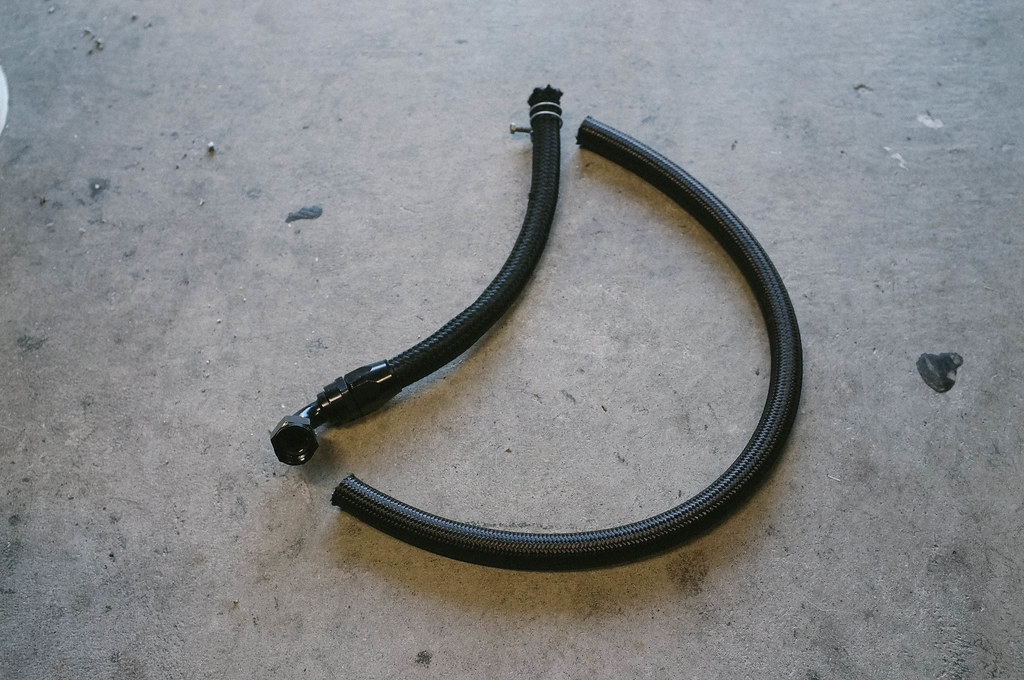 Power Steering hose installed 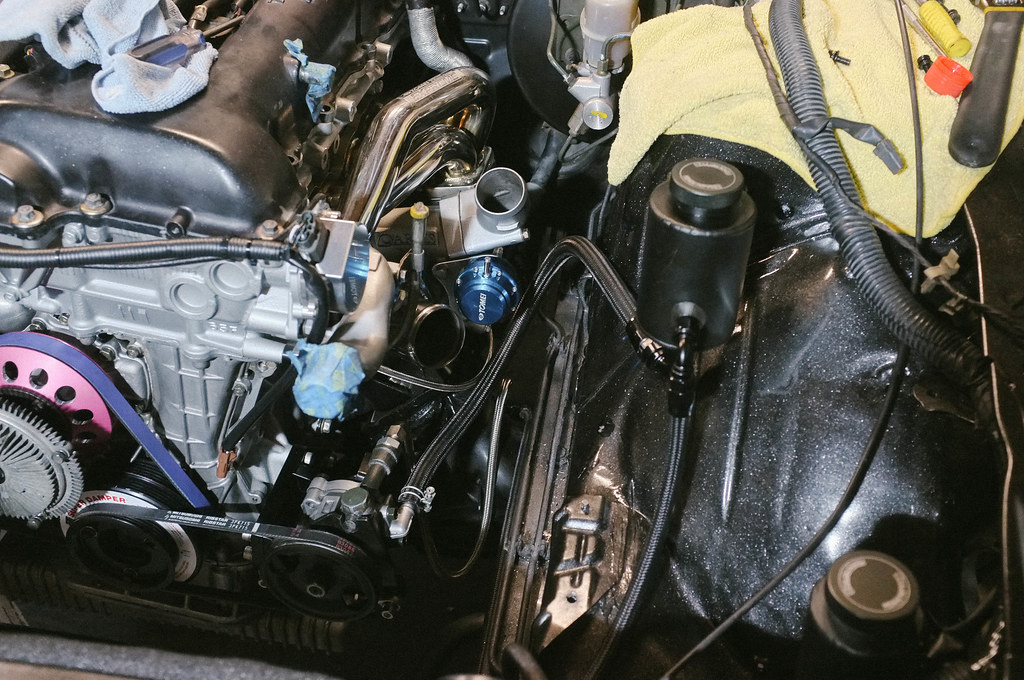 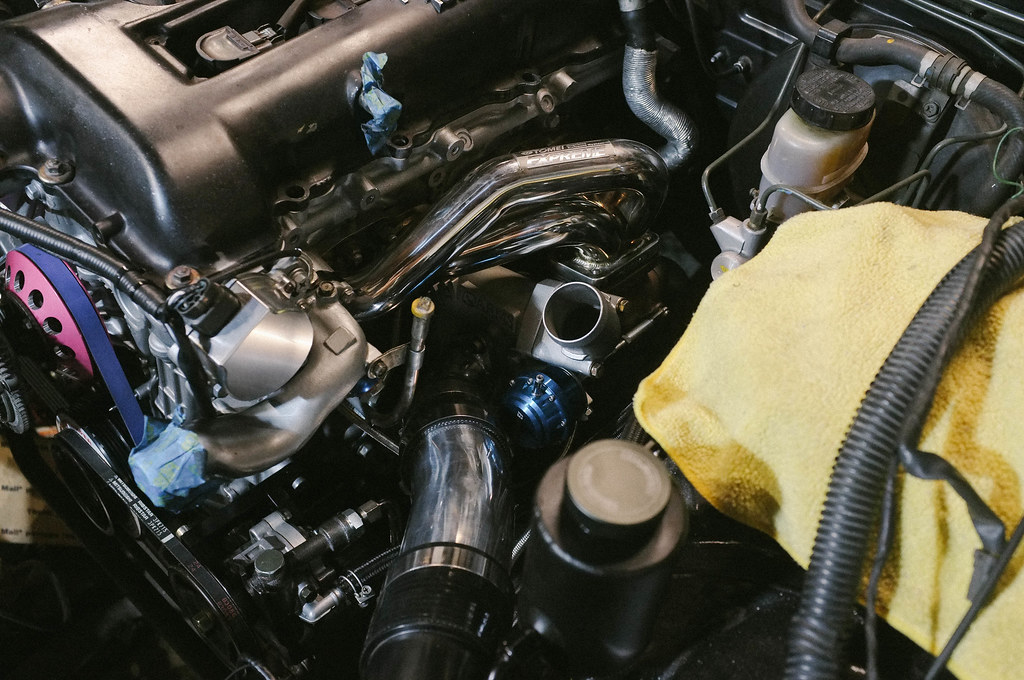 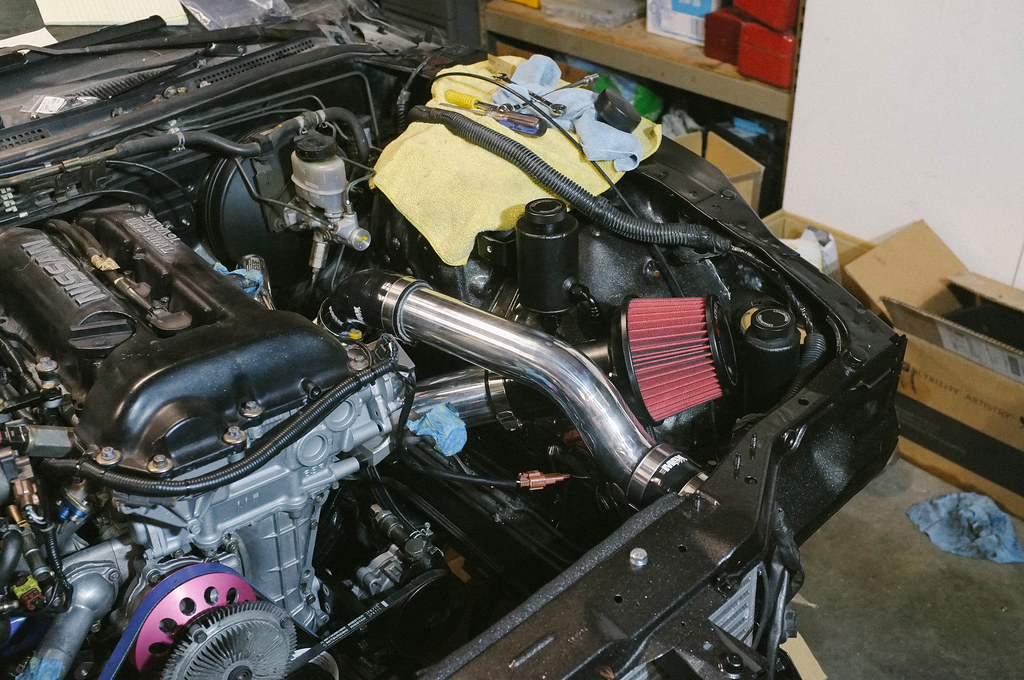 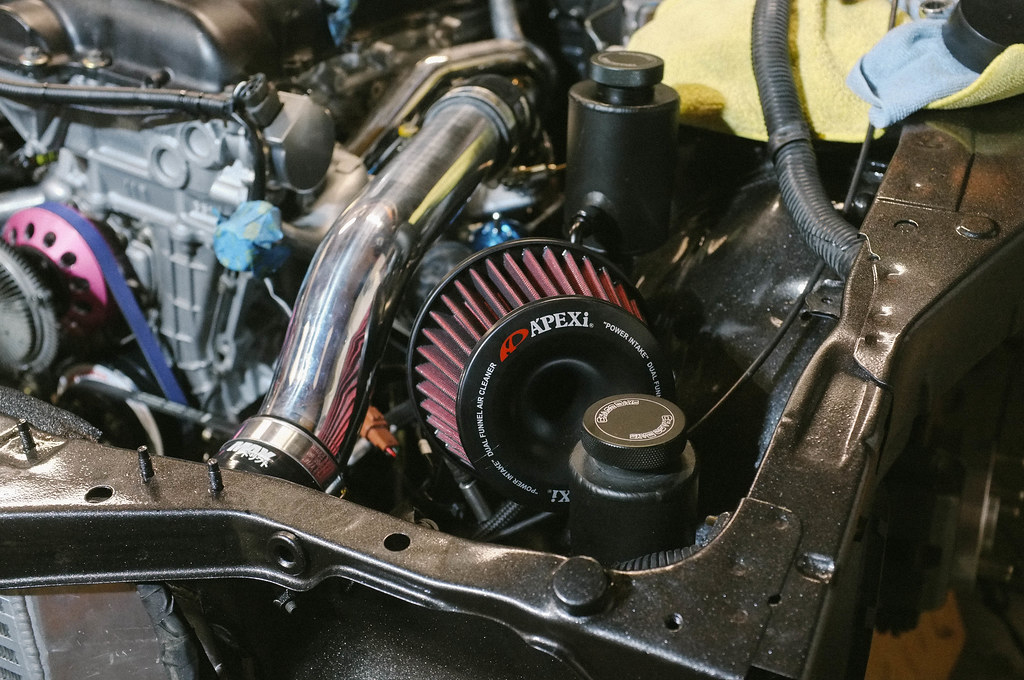 Mail from Summit Racing 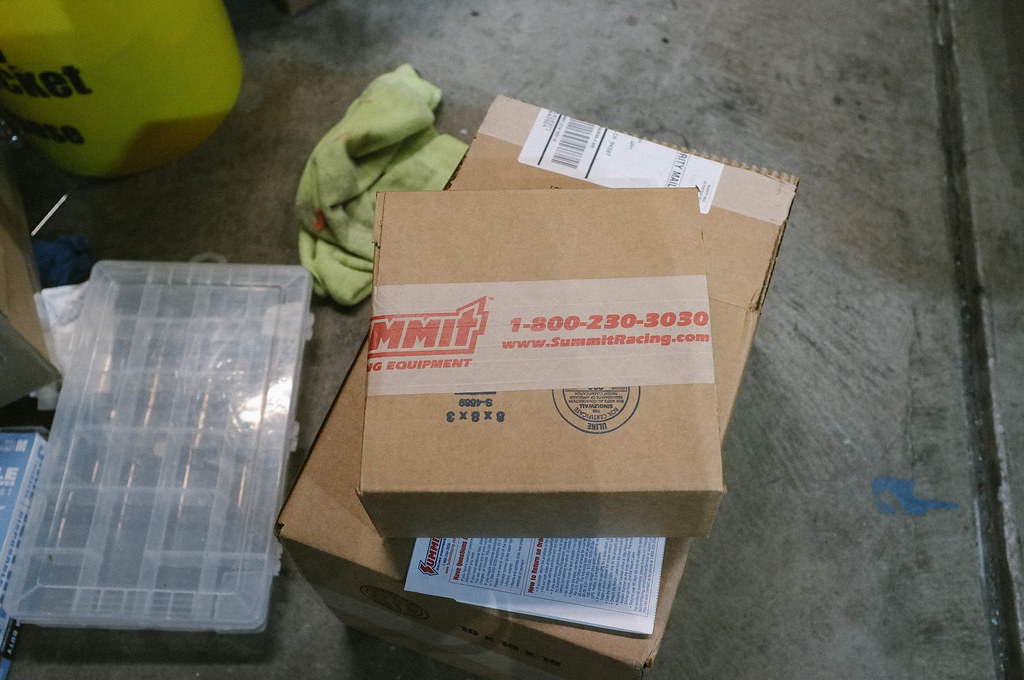 Braided fuel hose cut with AN fittings installed. Ready to connect up to the FPR and fuel rail. You’ll never guess how I had this hose cut (thanks pops) 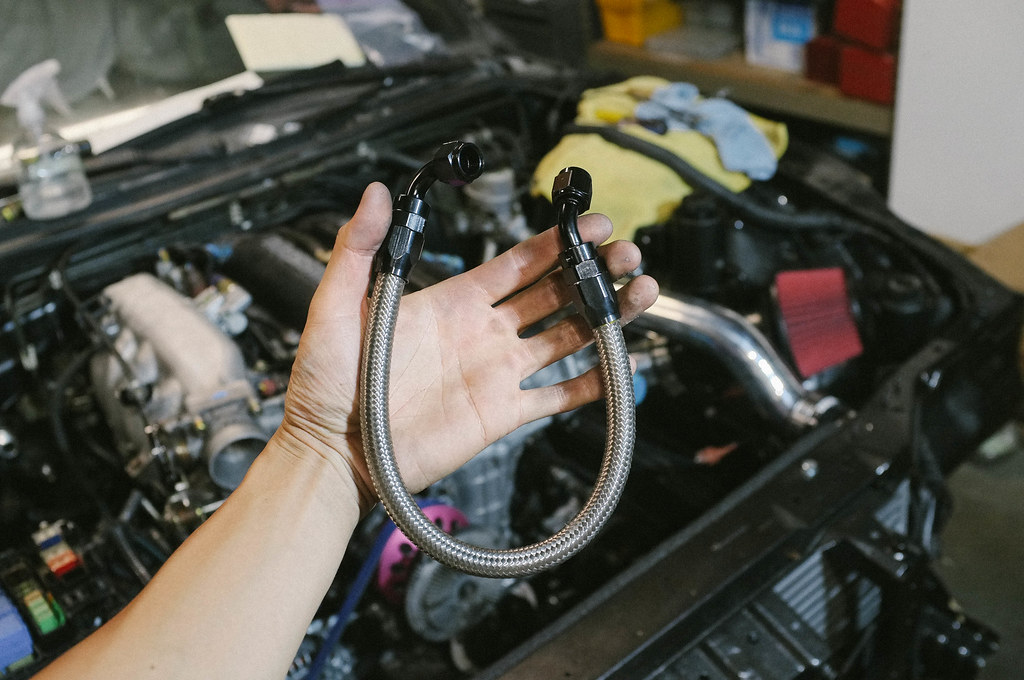 Fuel pressure hose installed onto the fuel rail 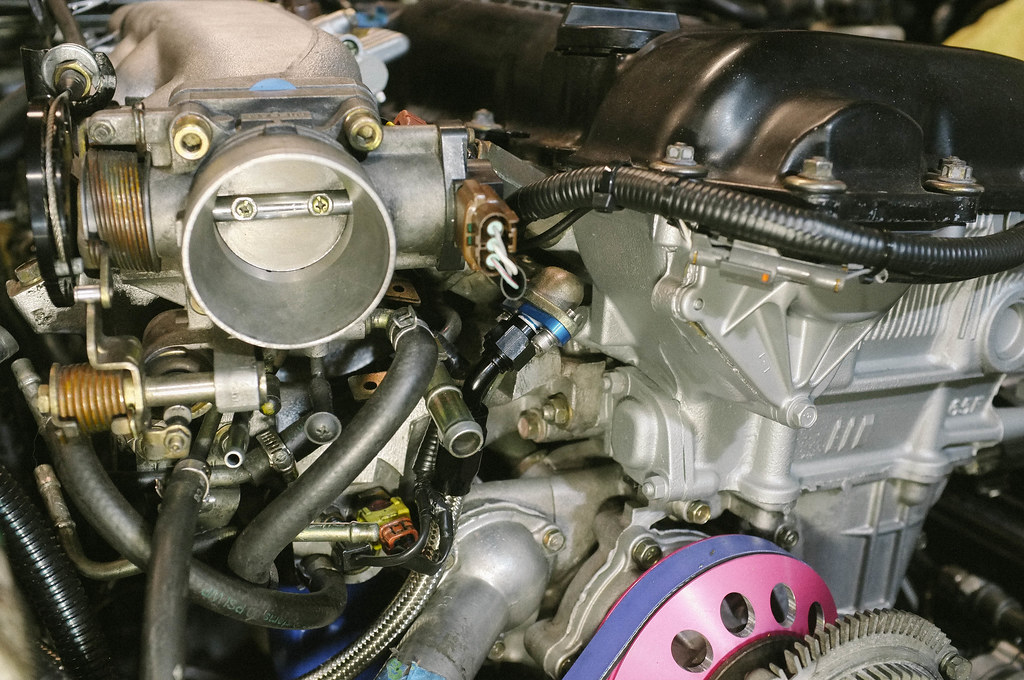 Been waiting forever to drop this new dipstick in... 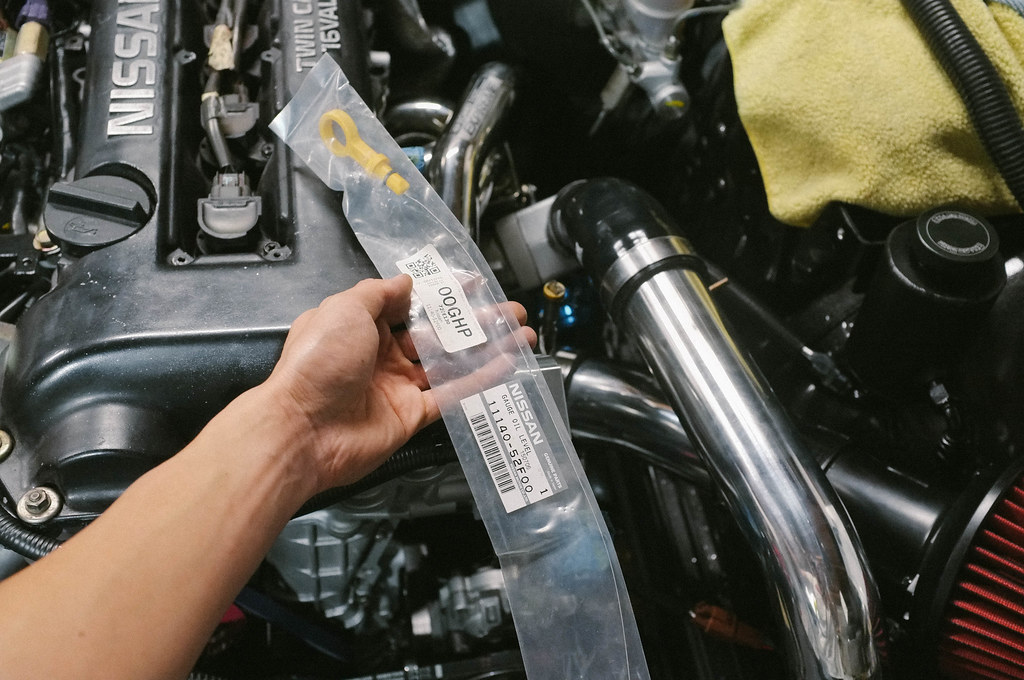 New dipstick looking sweet 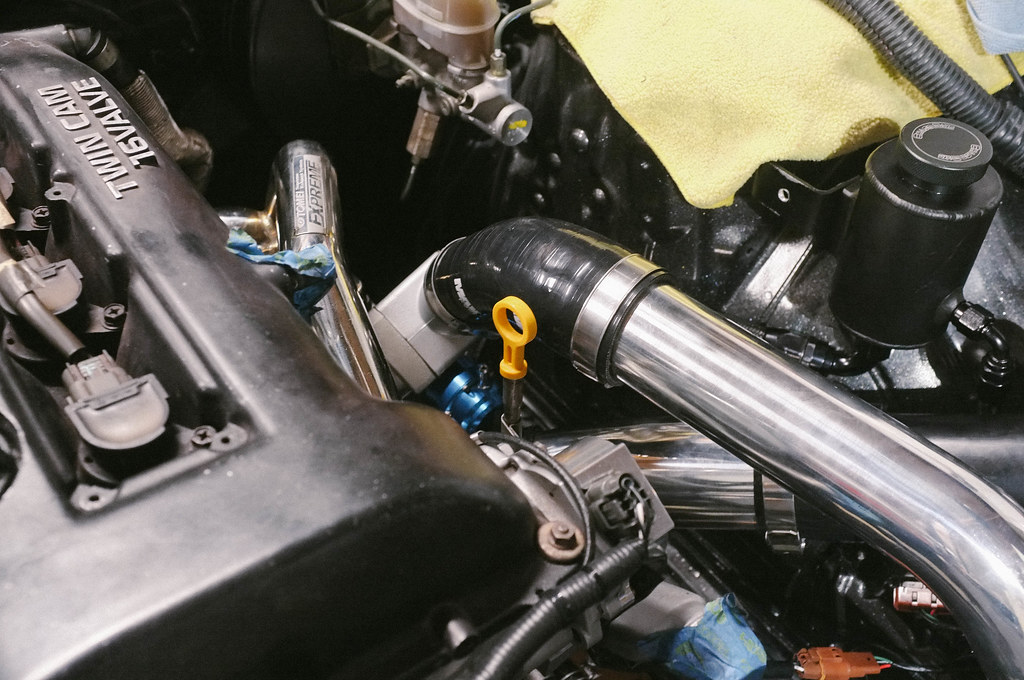 Some friends came over to give me a hand! Yall might know these dudes @lild415 @roushman90 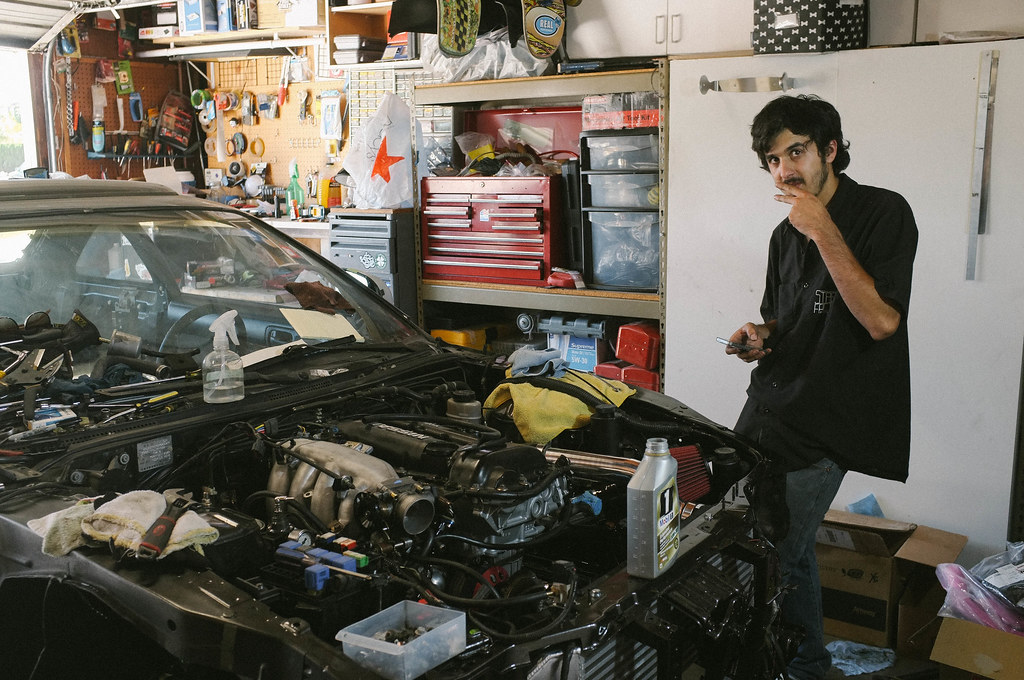 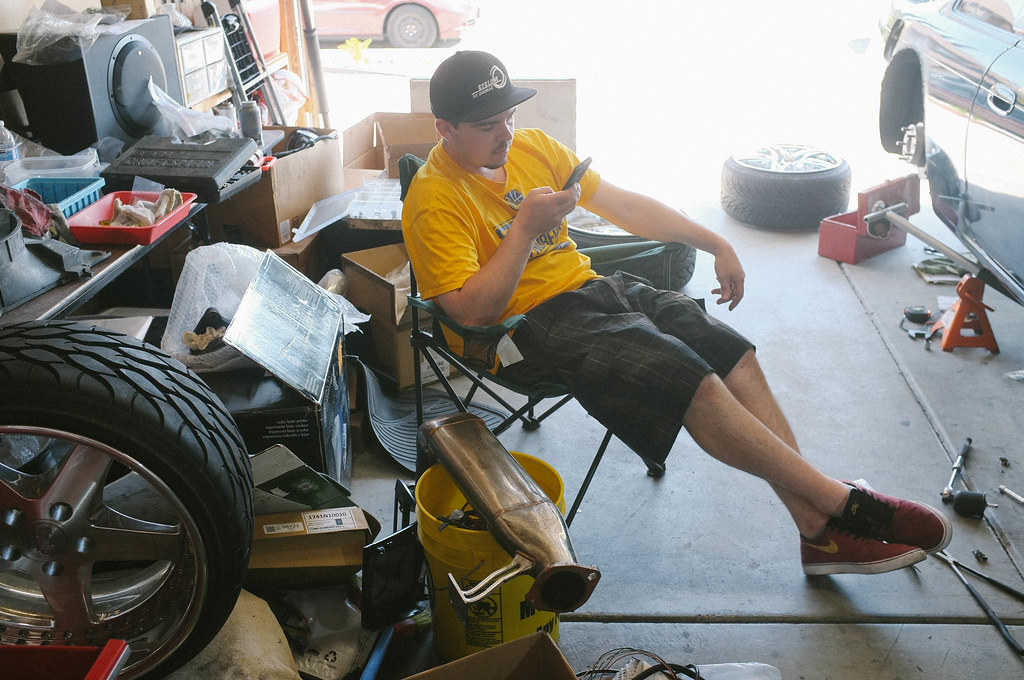 ooOOooo shiny 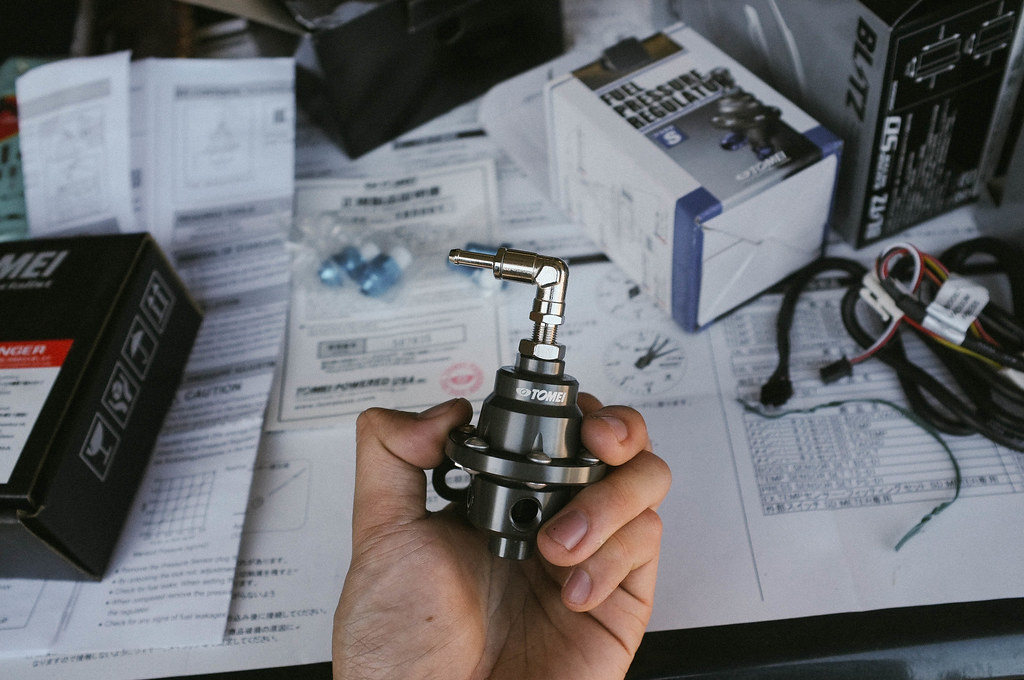 Tomei FPR installed 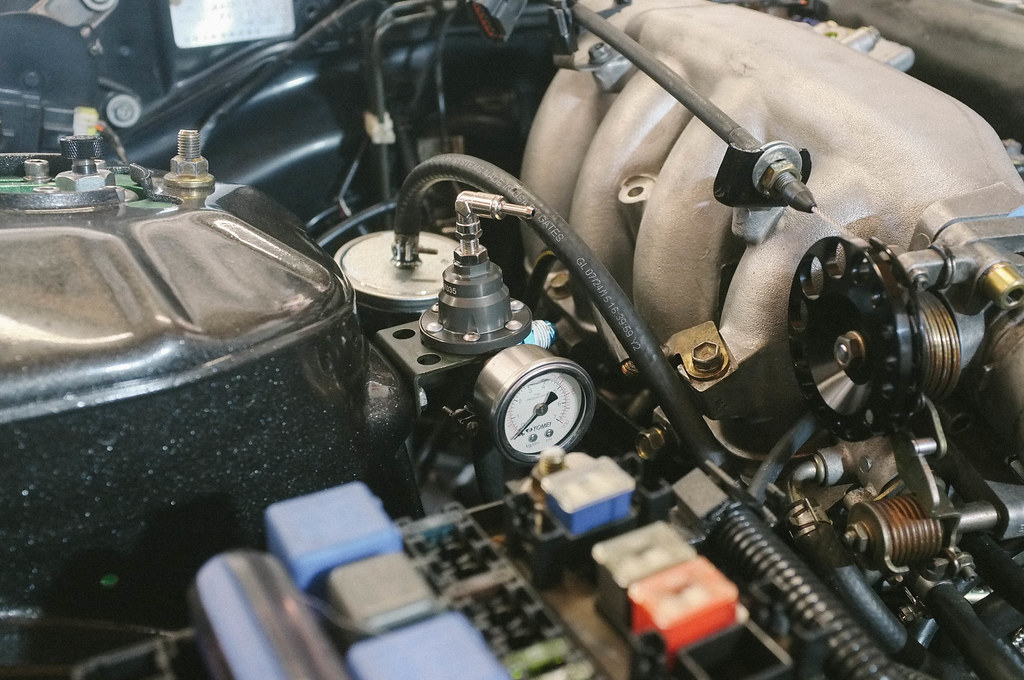 About to unbox this brand new Koyo Radiator 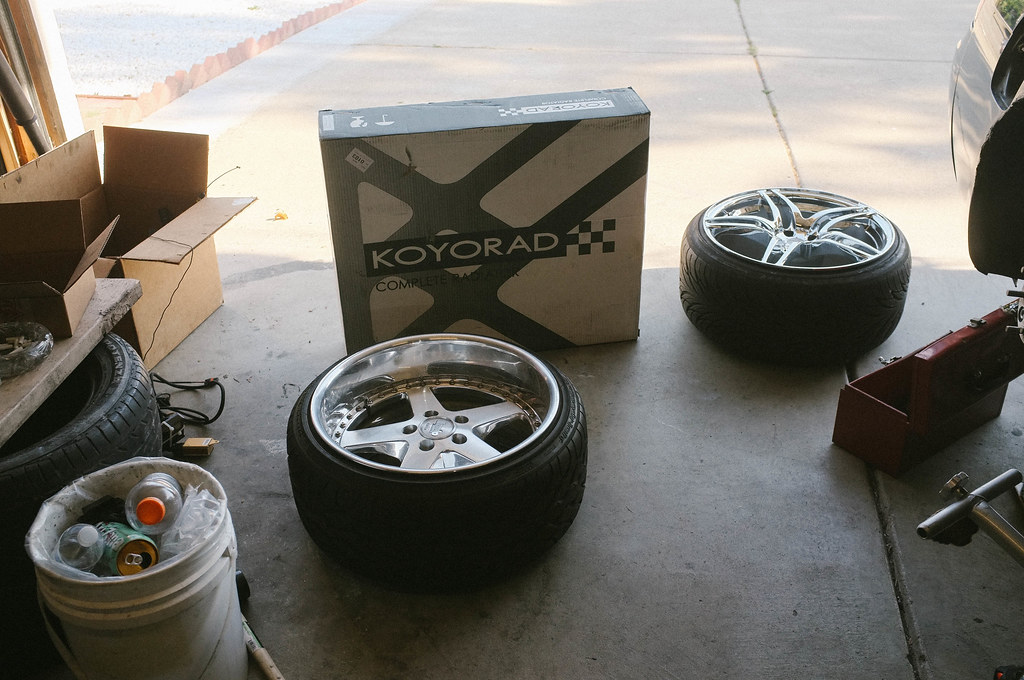 I love new parts 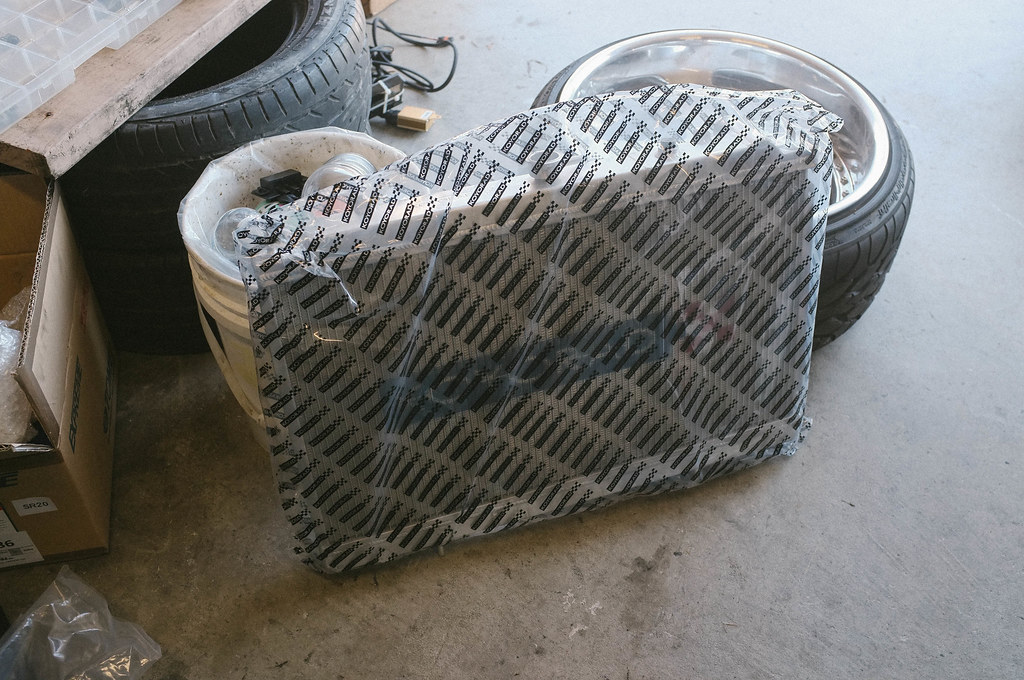 |
|
|

|
|
|
#88 |
|
Zilvia Addict
 Join Date: Oct 2008
Location: Bay Area, CA
Age: 29
Posts: 914
Trader Rating: (28)
    Feedback Score: 28 reviews
|
Finally got the radiator bolted up and stuff
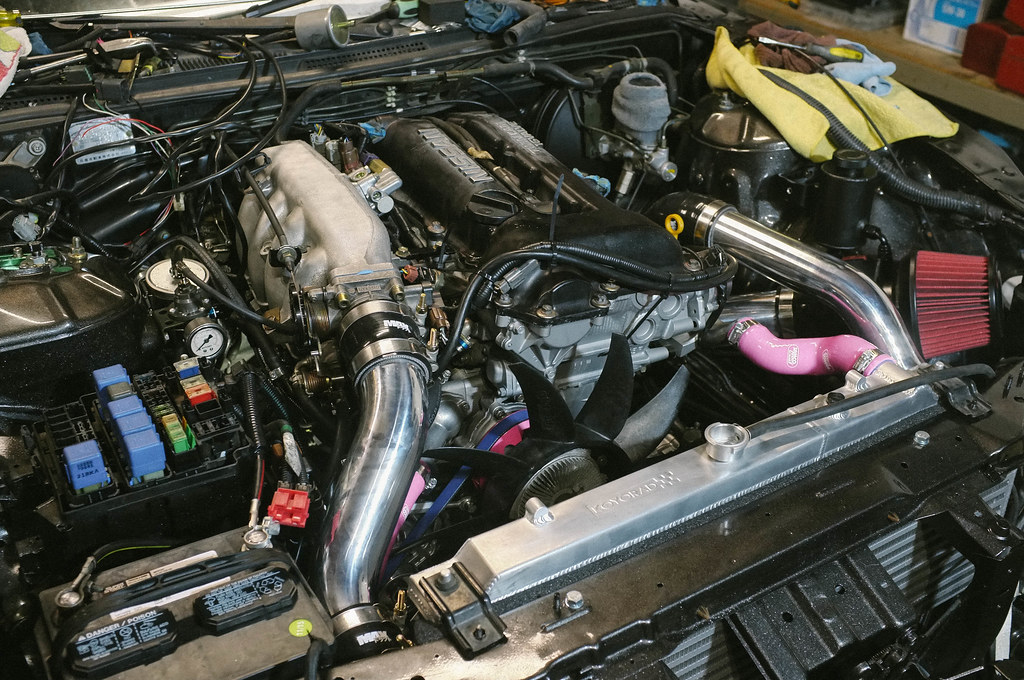 Much cooling 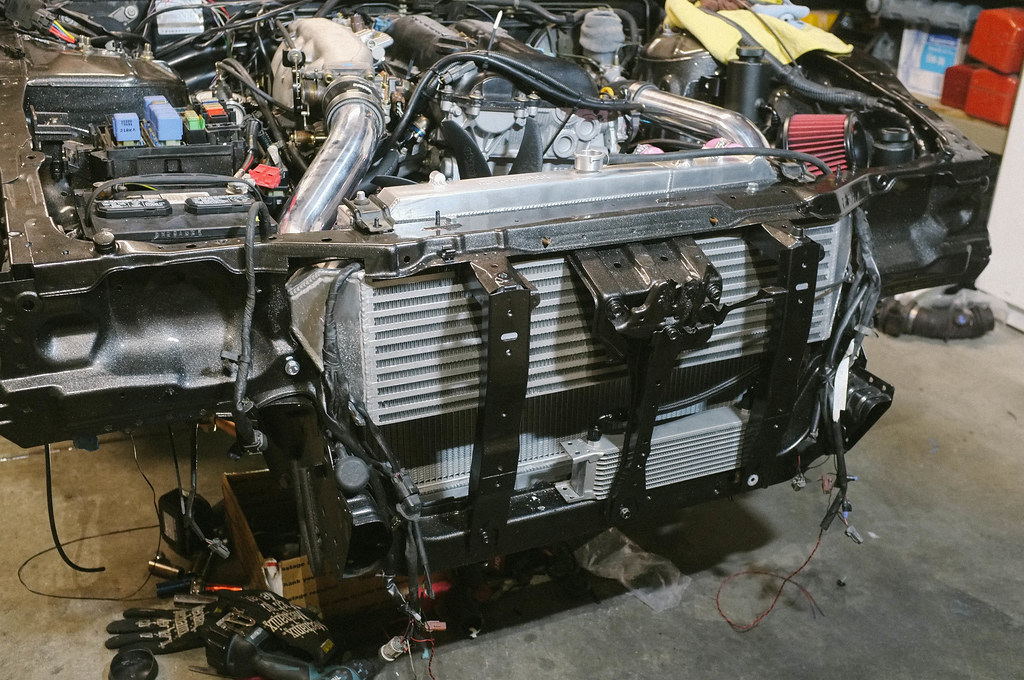 Filling her up water wetter and distilled water 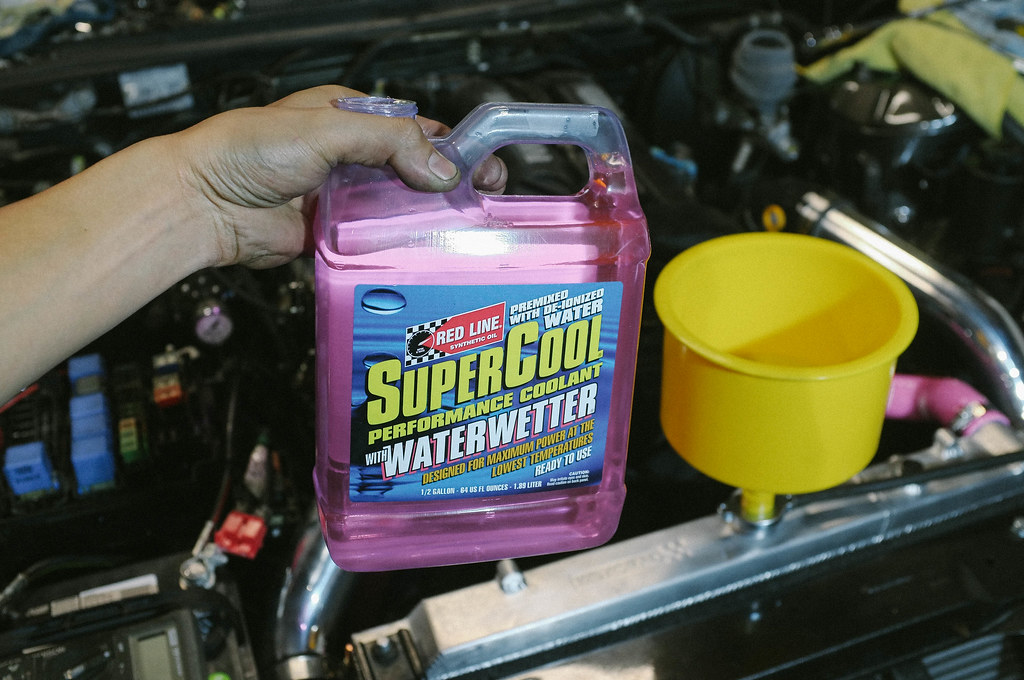 More cool parts 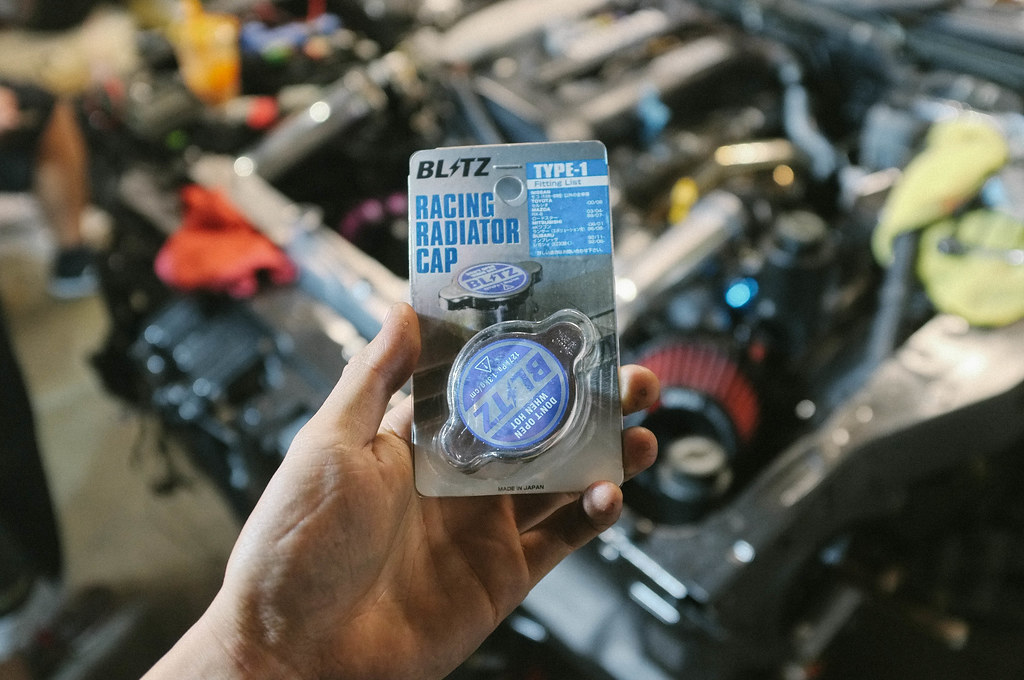 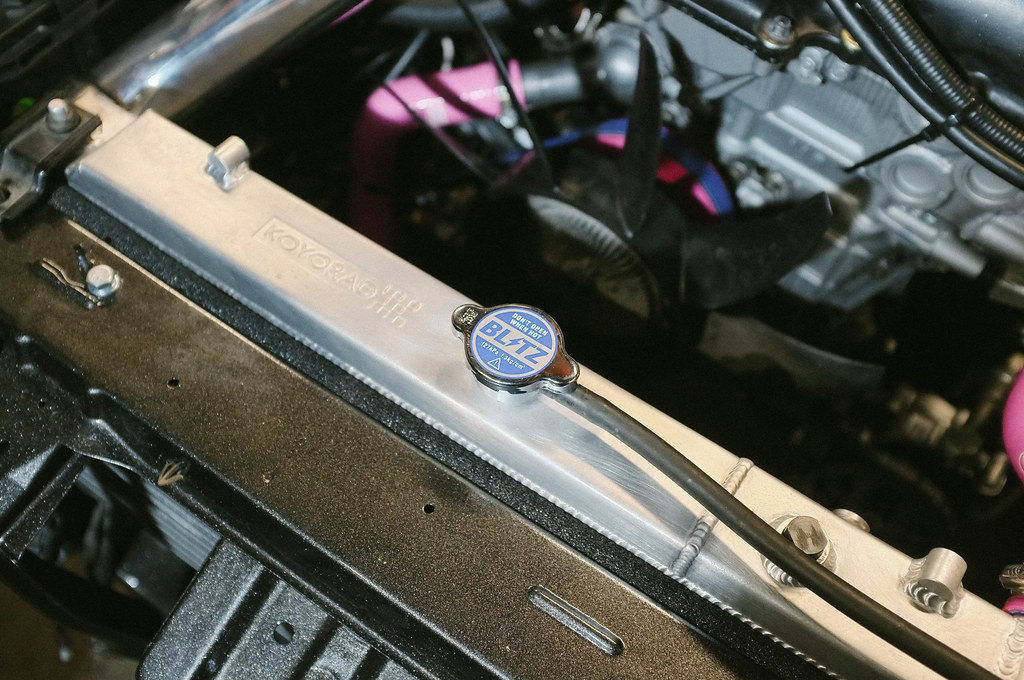 More sleeping forest friends came over to chill and give me a hand 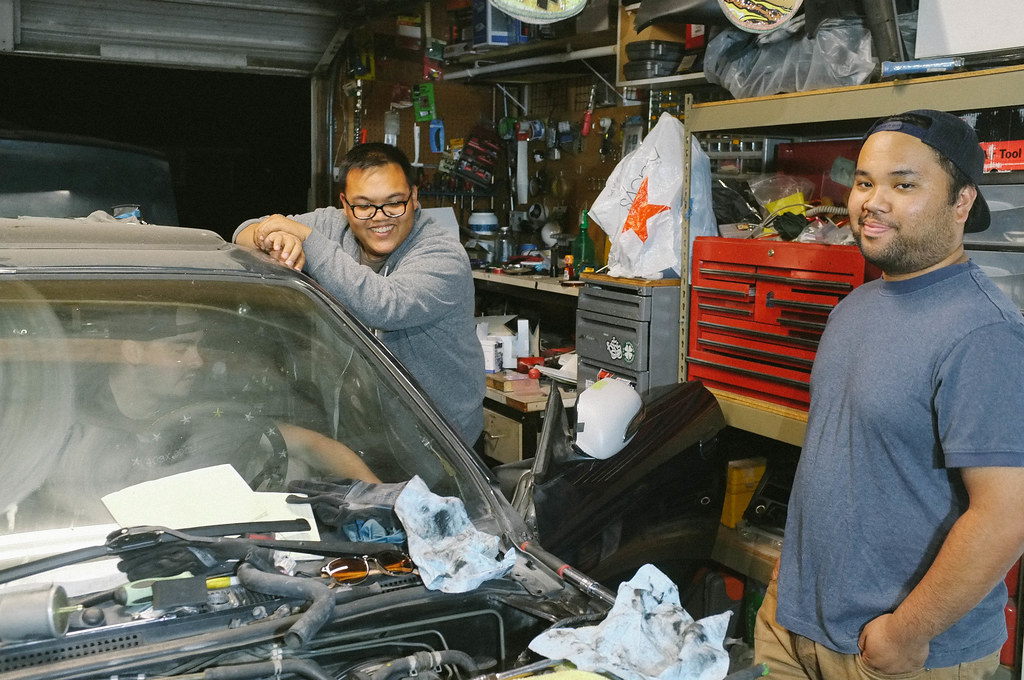 Removed this box thingy used for HVAC to run my wires from my engine bay through the firewall into the cabin. I believe this is the condenser for the air conditioning, which I no longer have. 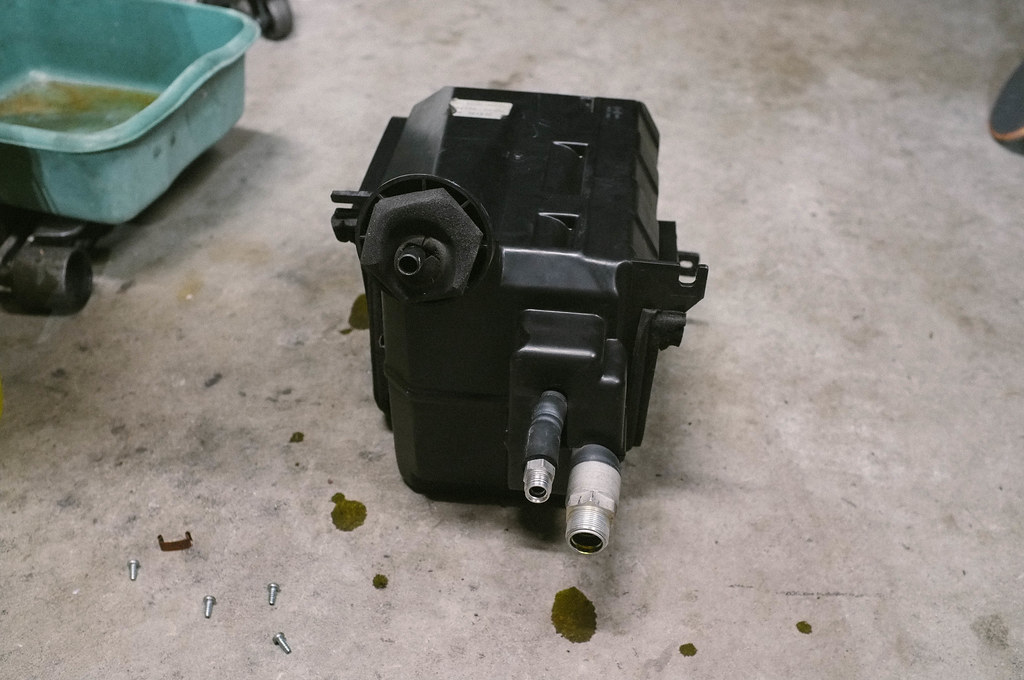 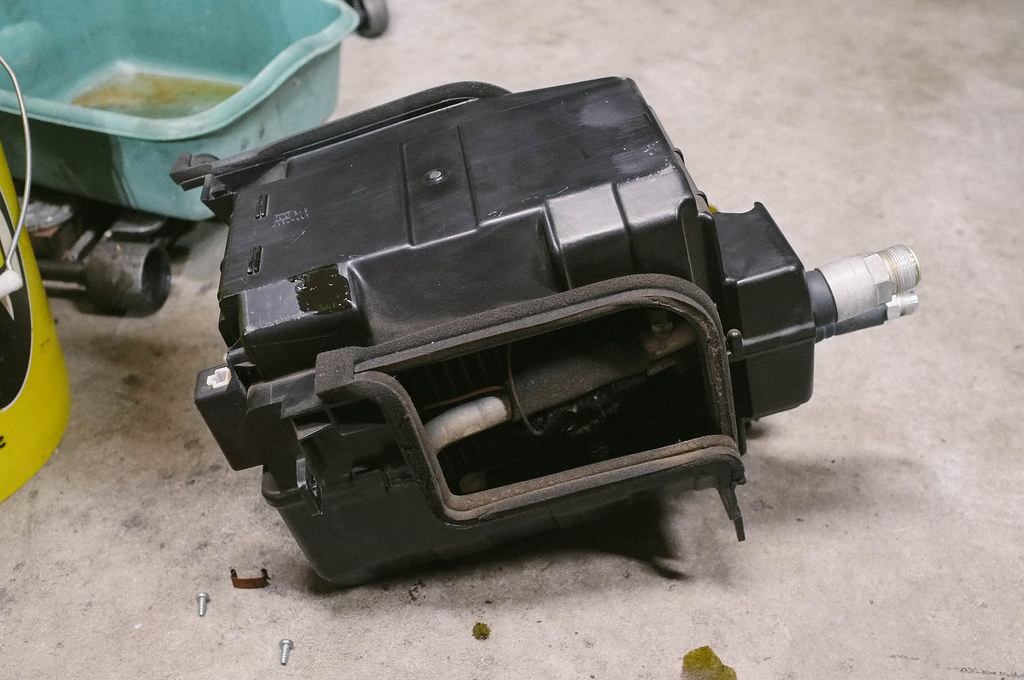 Removed the cooler and wiped down the plastics 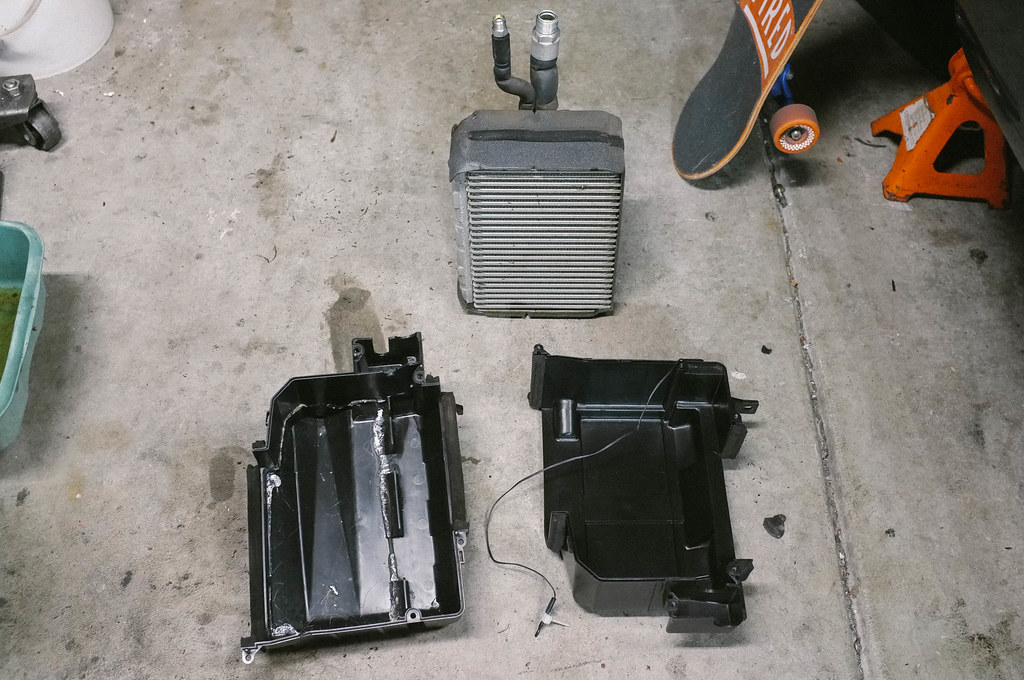 Gutted. Wires will be ran through the holes and firewall. 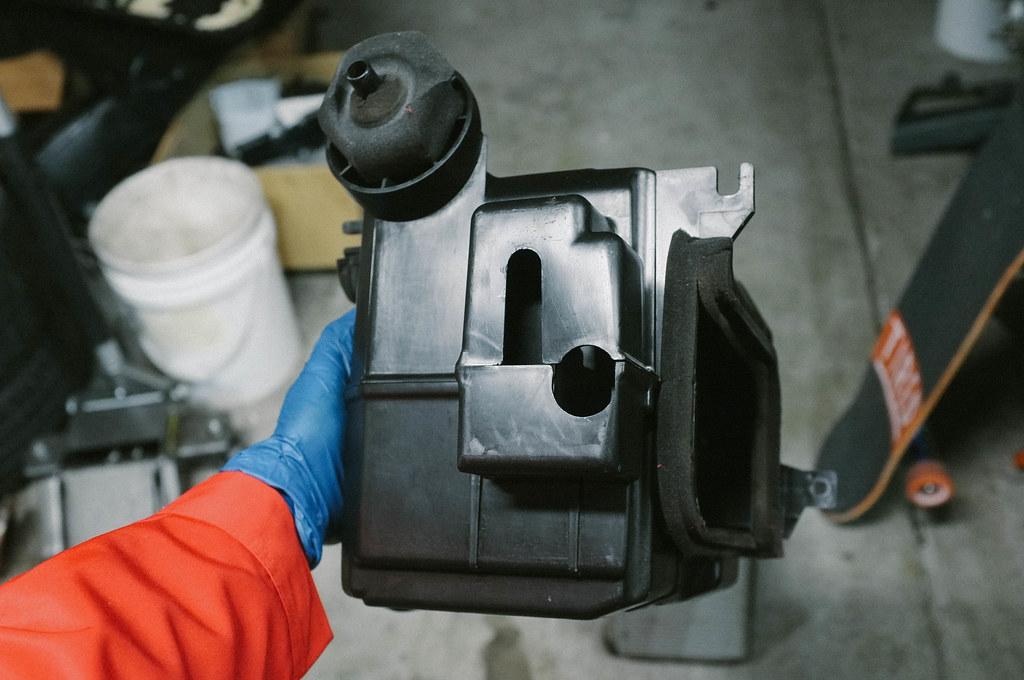 Love getting packages in the mail 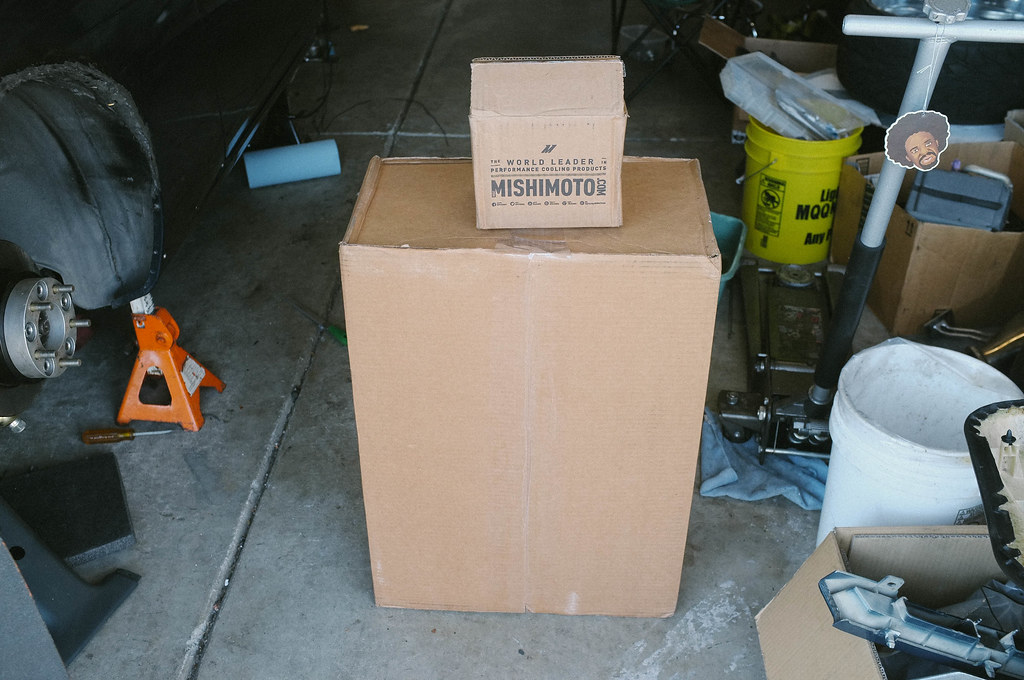 Fan shroud and Mishimoto coupler arrived 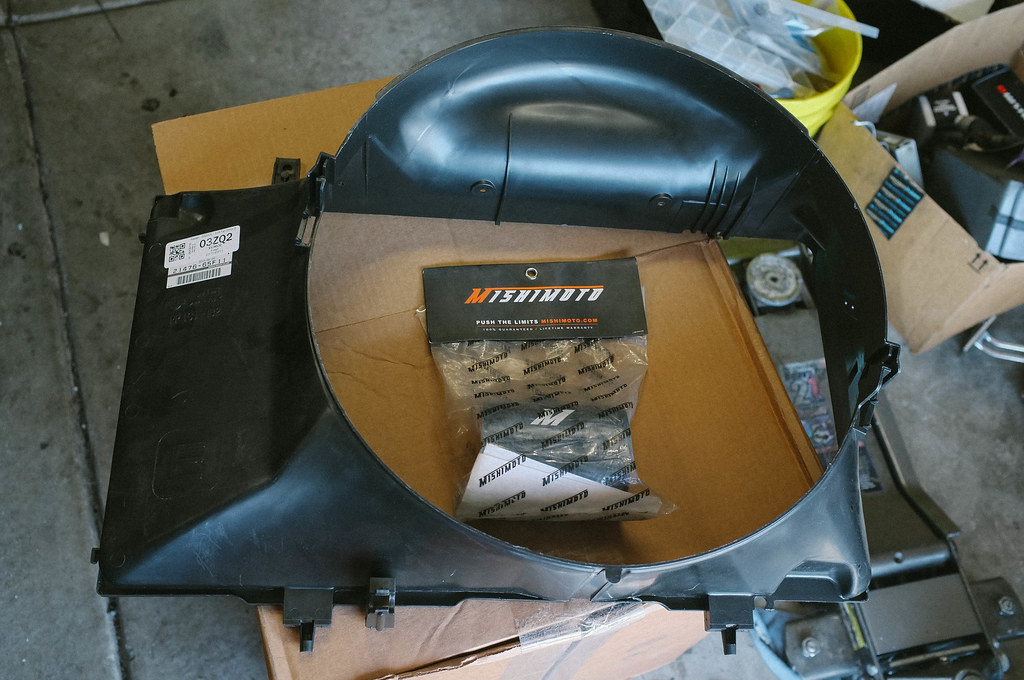 Fan shroud installed. Might lay some paint on this down the line to match the valve cover (black w/ metallic flake) 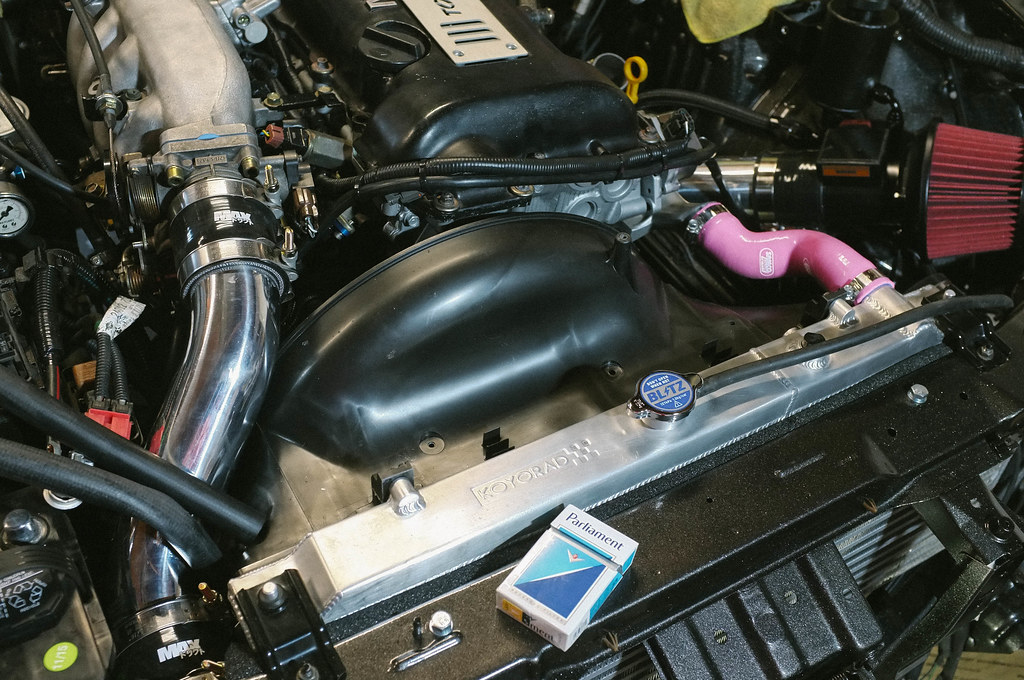 The box cutter is mightier than the sword 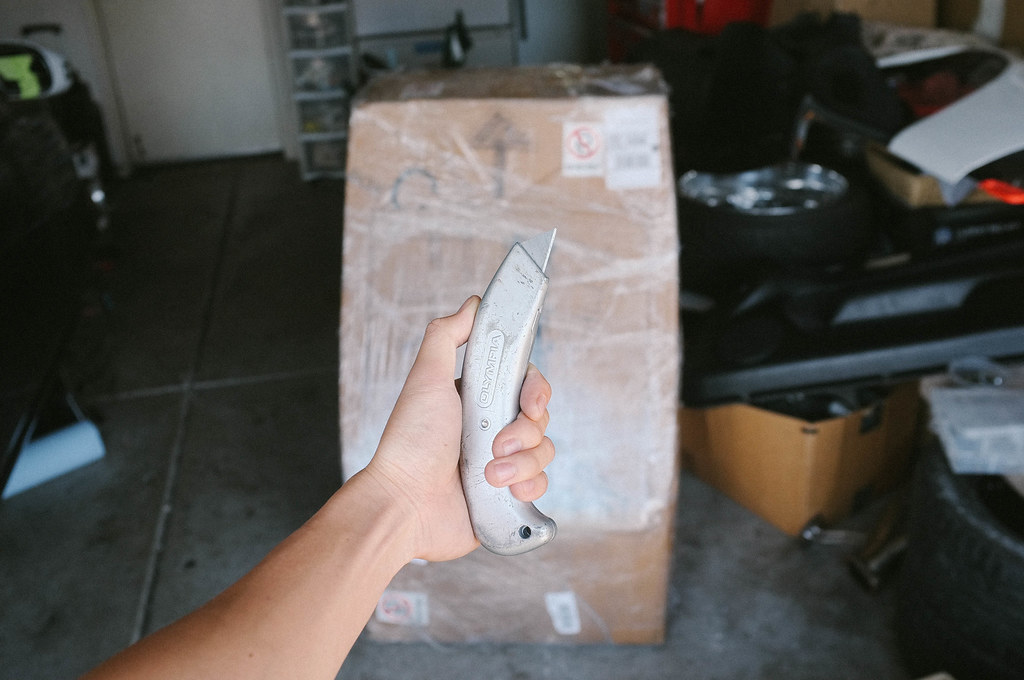 That's quite a box 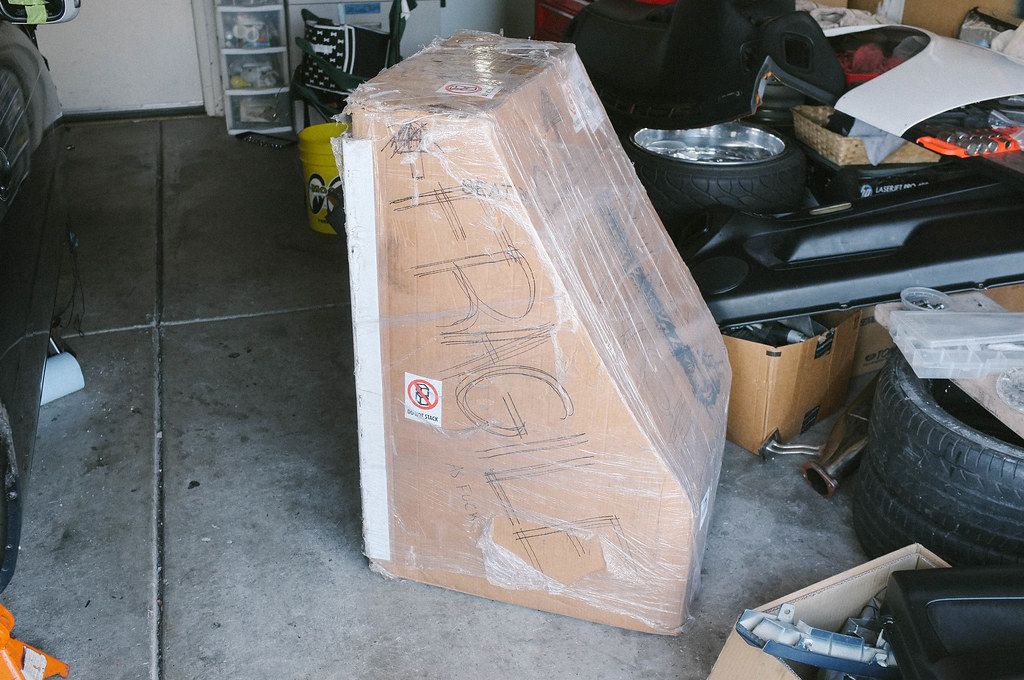 Lmao 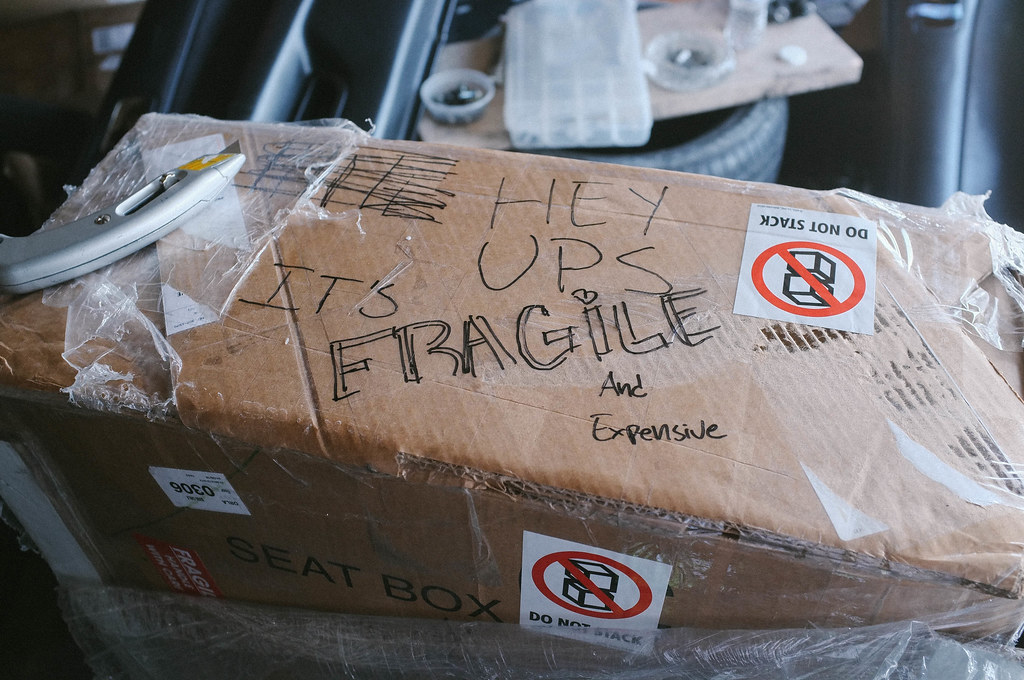 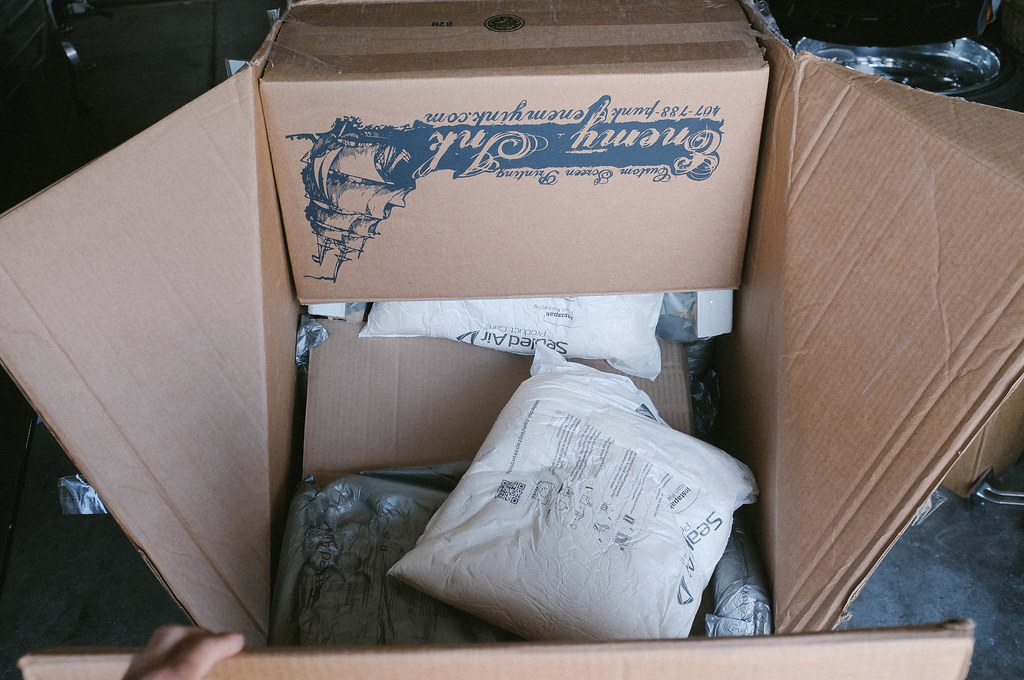 This packaging is next level 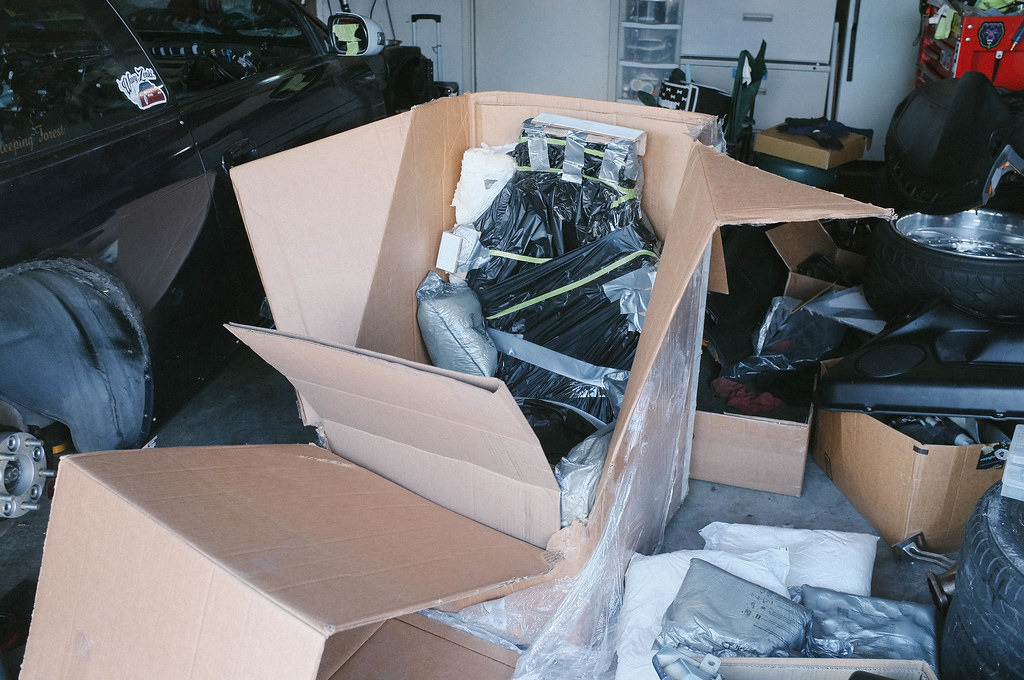 Bride tuning pads 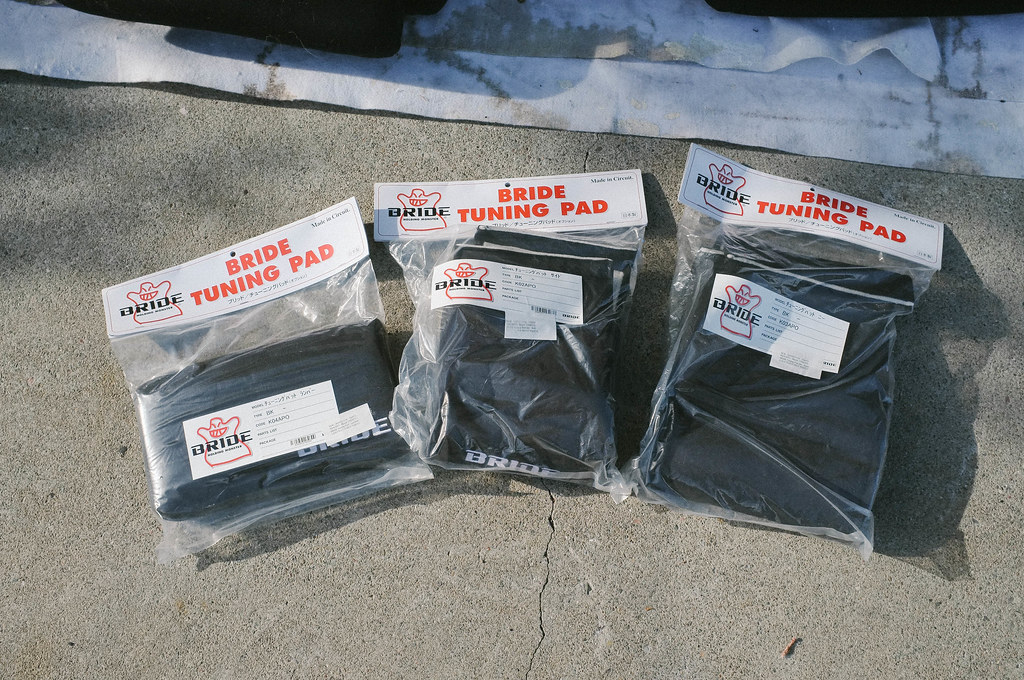 The dynamic duo 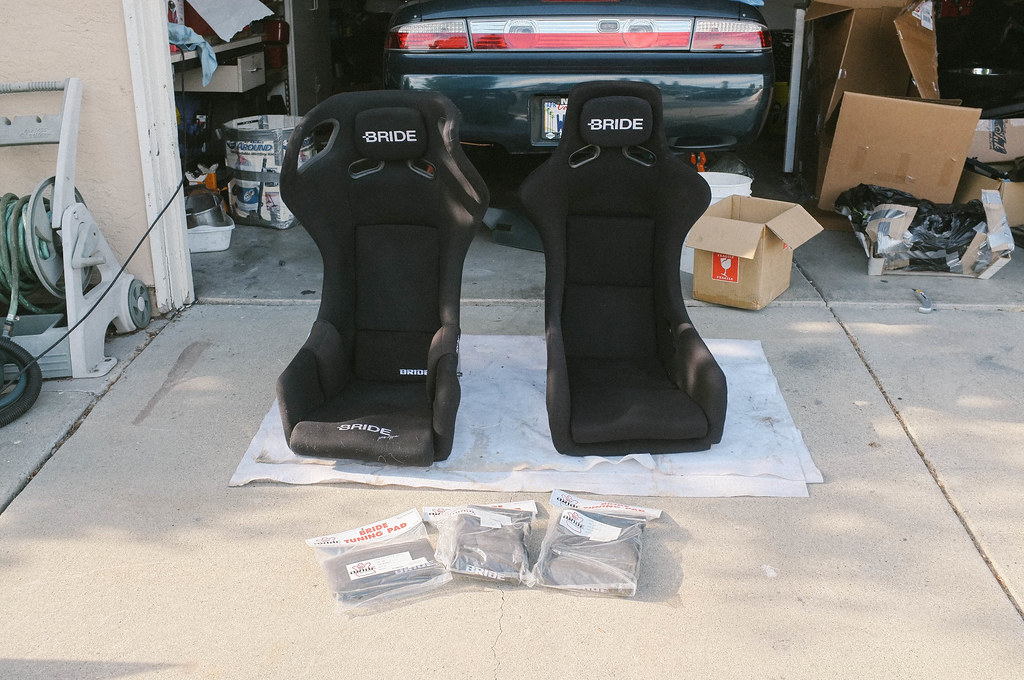 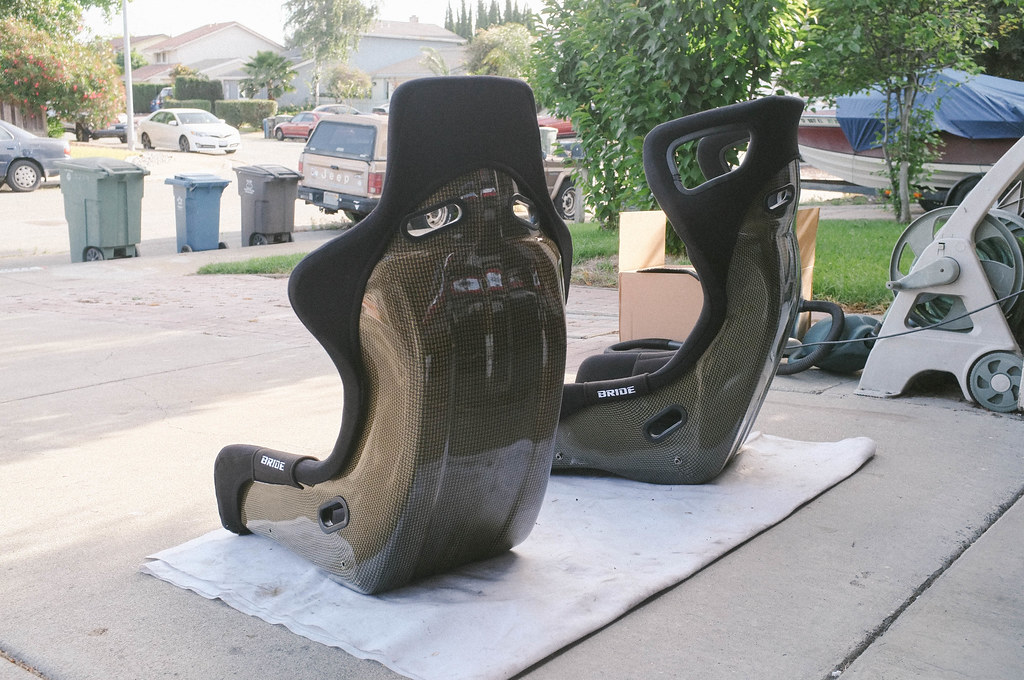 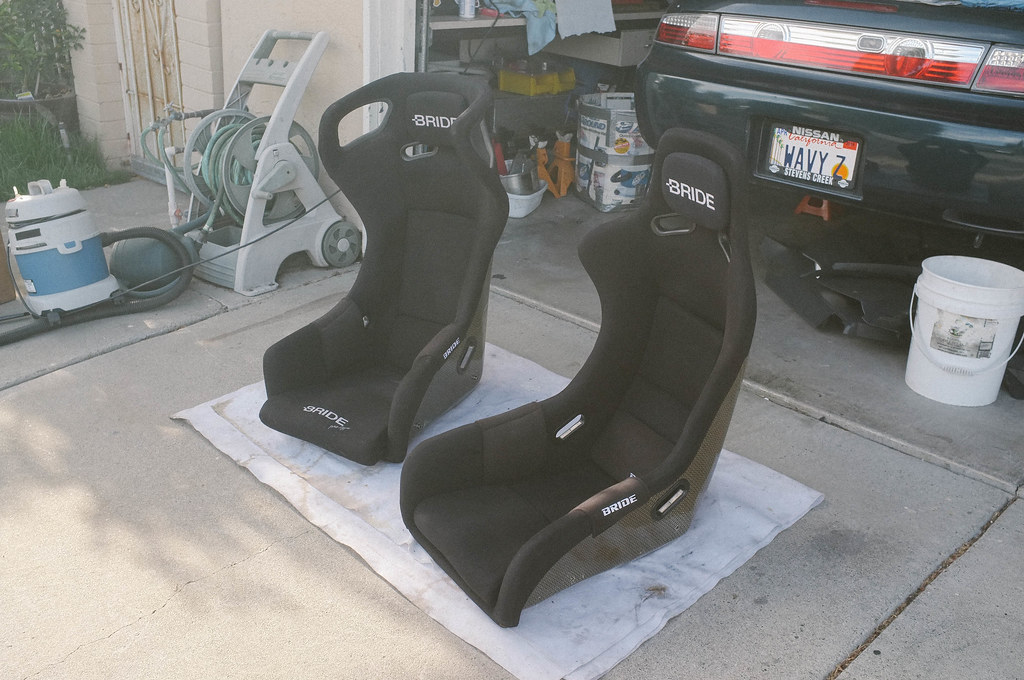 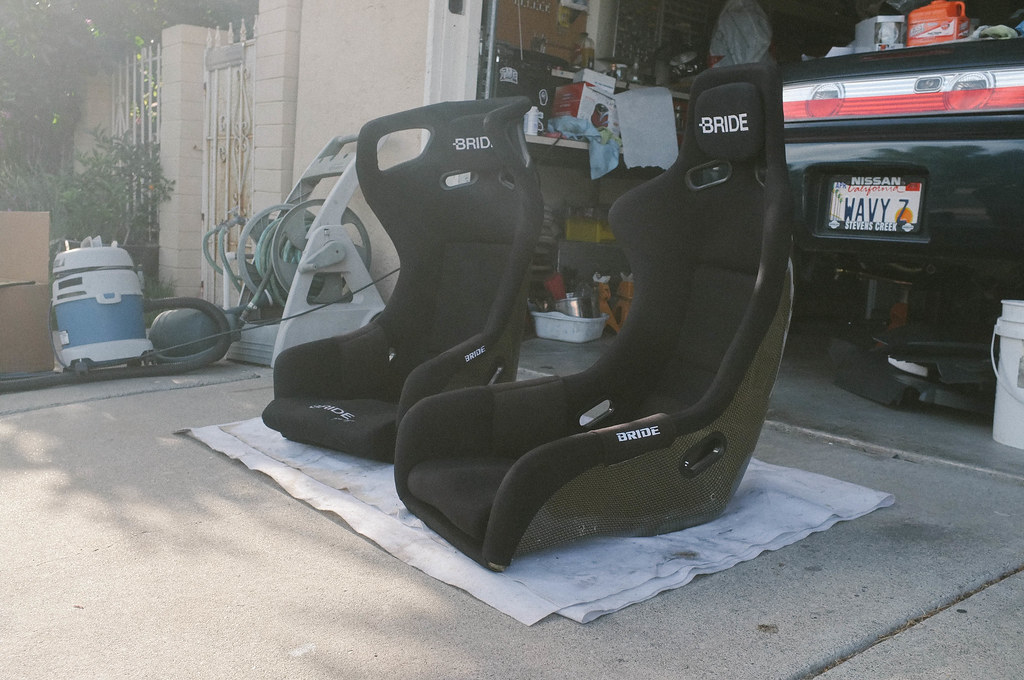 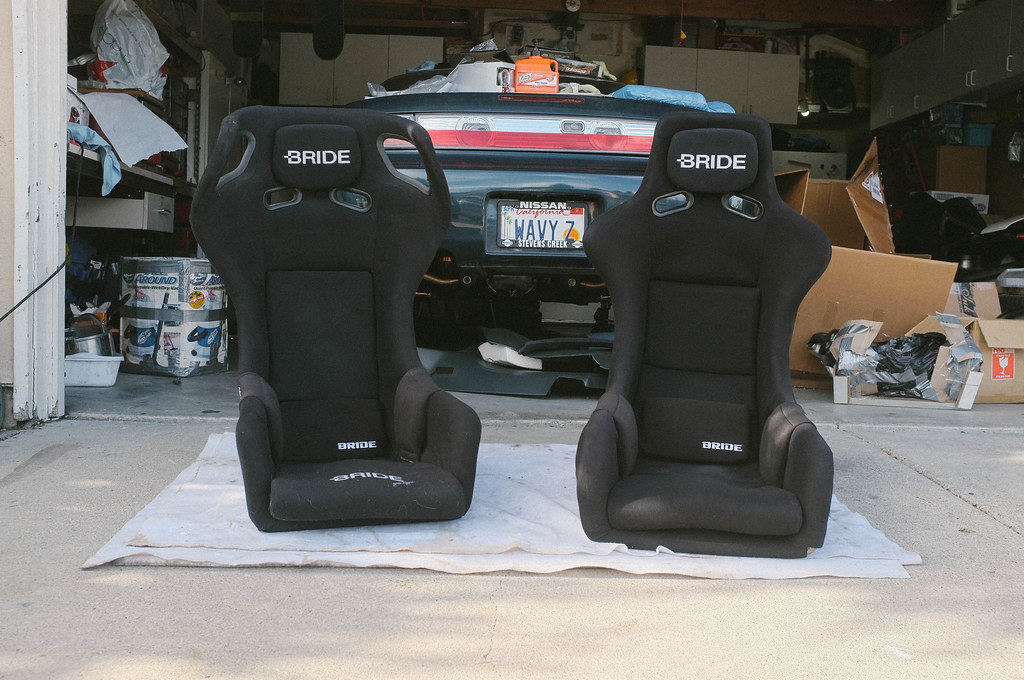 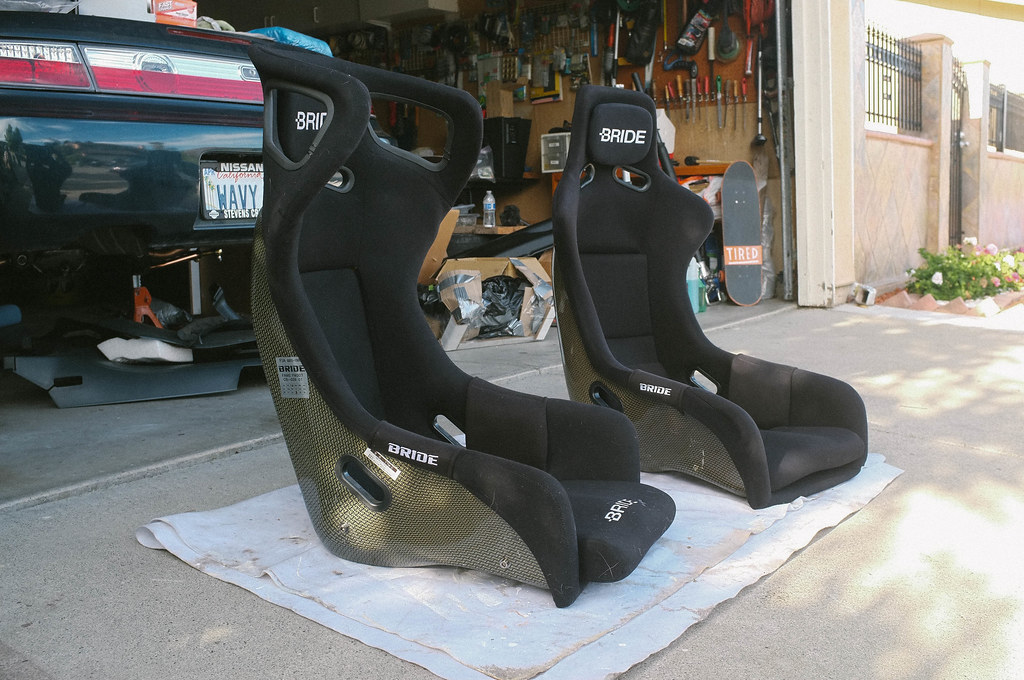 GKtech oil catch can 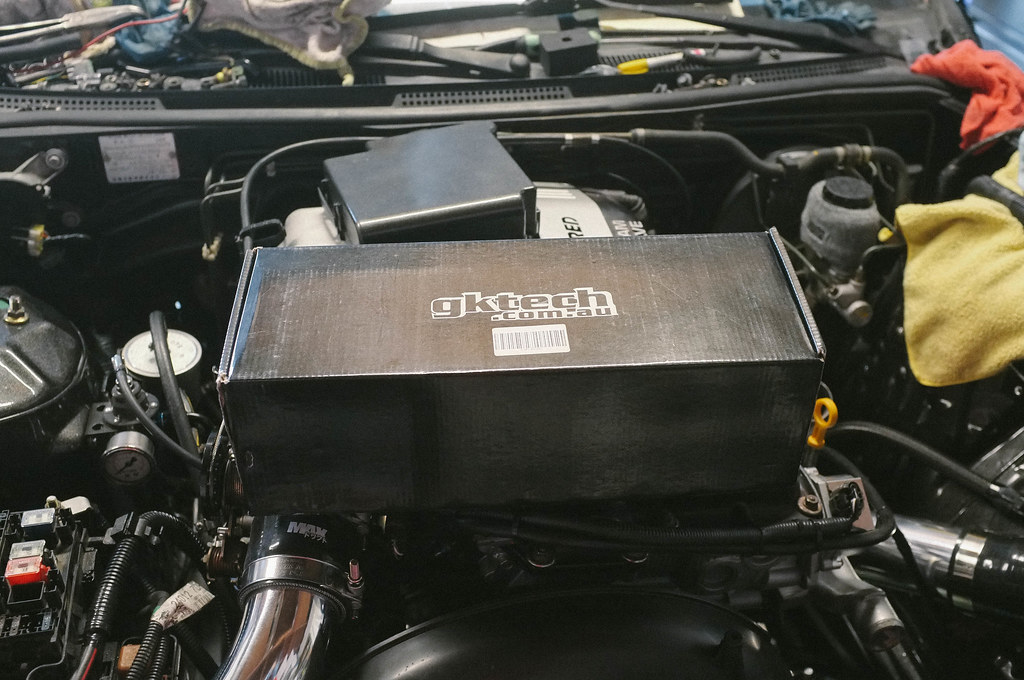 Got the mishimoto coupler w/ bung installed 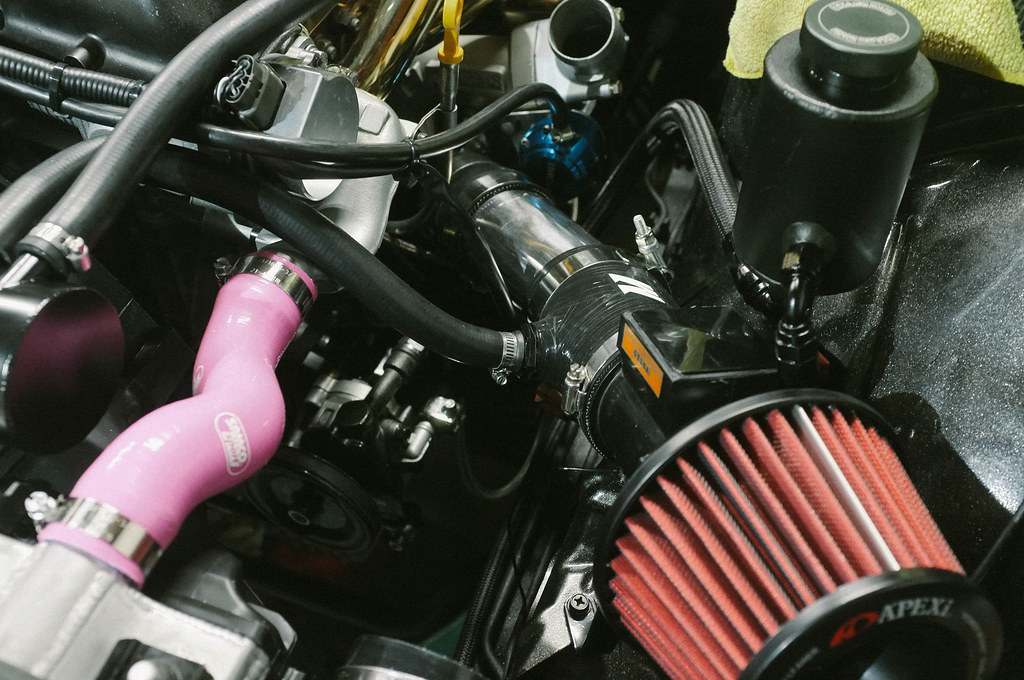 Gktech oil catch can and apexi power intake filter installed 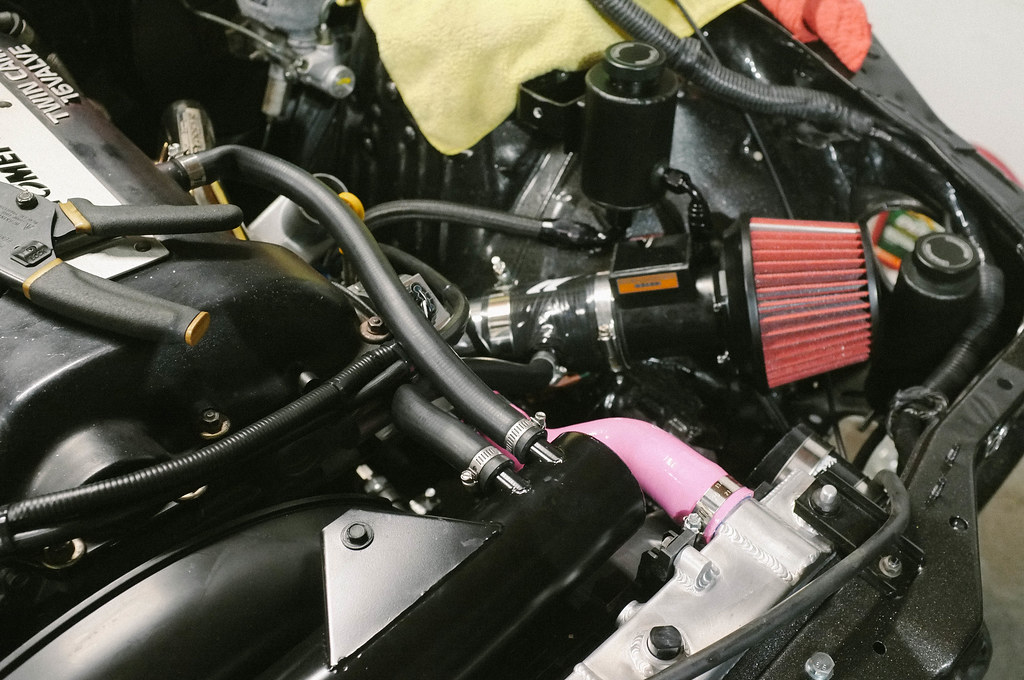 Can't wait to get the valve cover painted 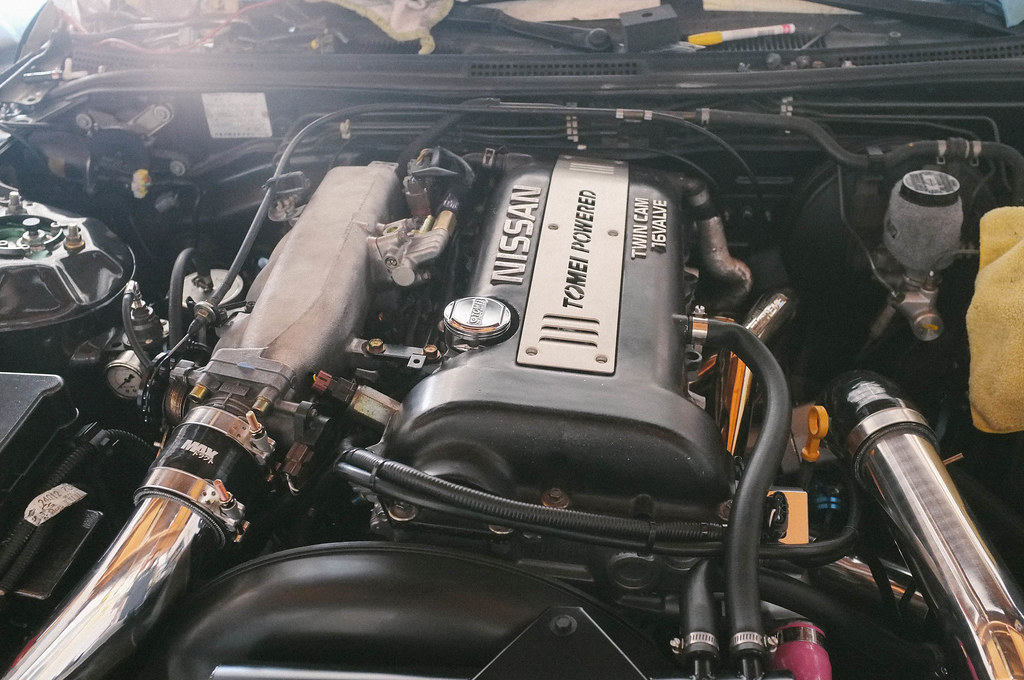 Burpin the radiator with Derek 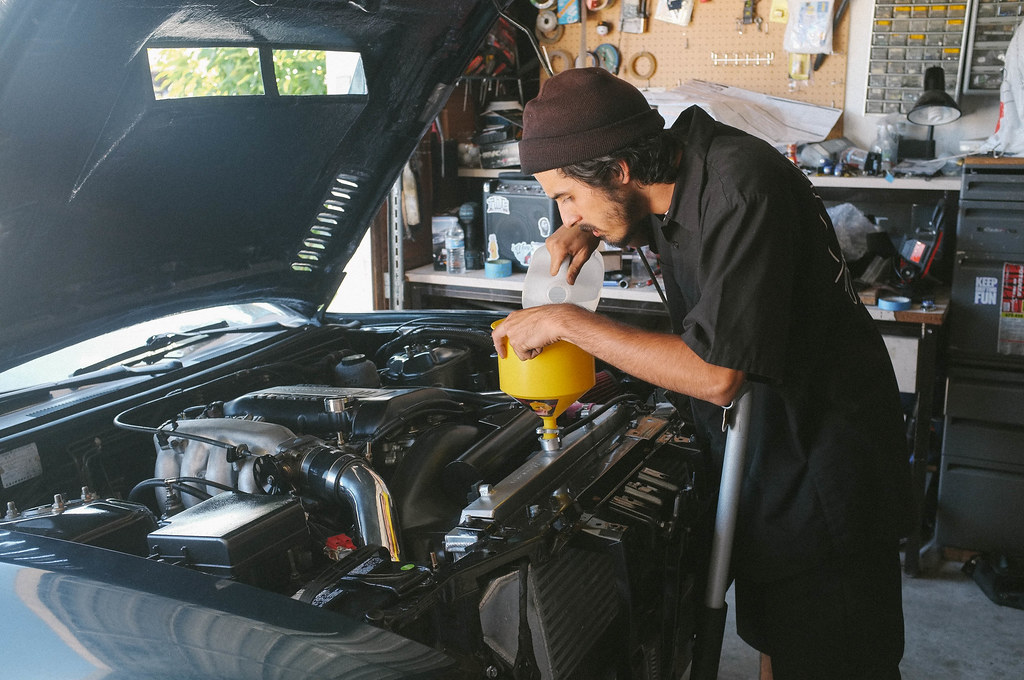 Ugly duckling 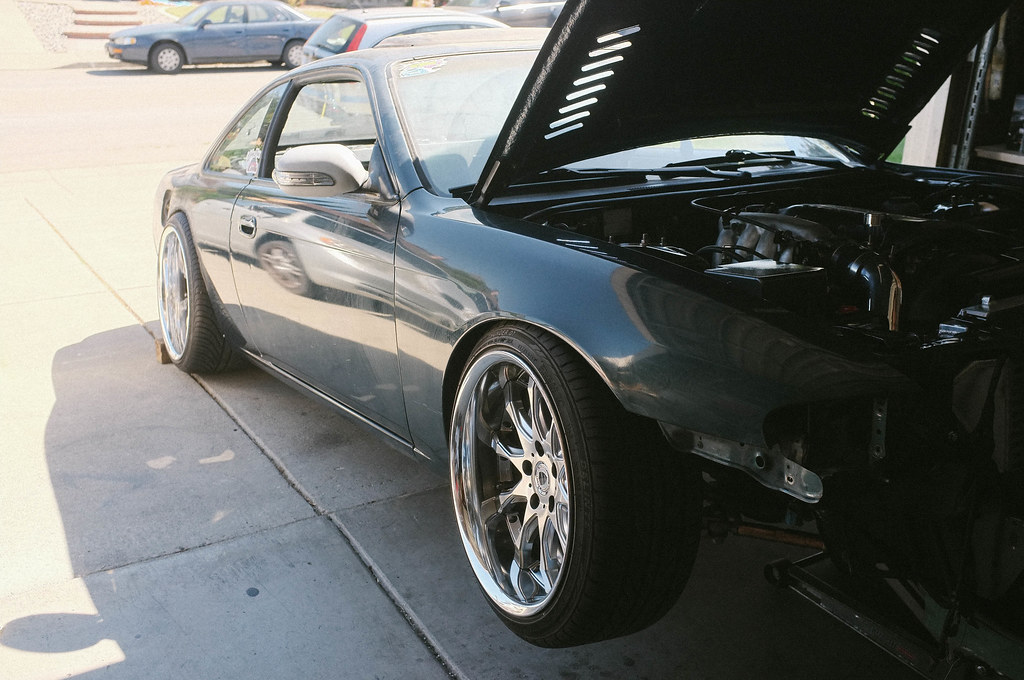 Another motor shot 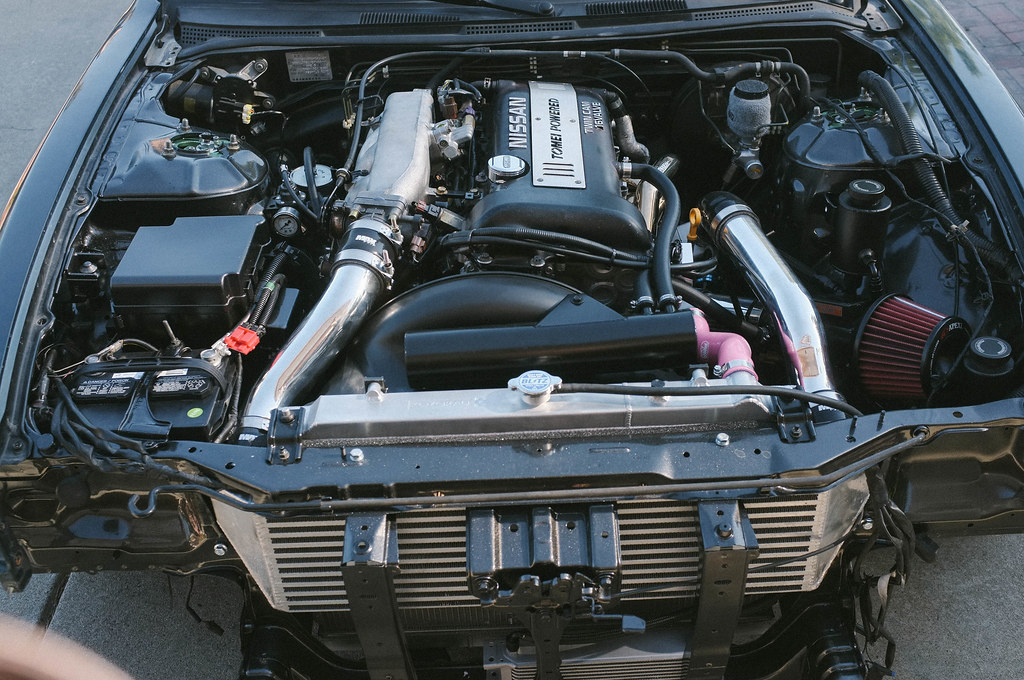 Tomei... 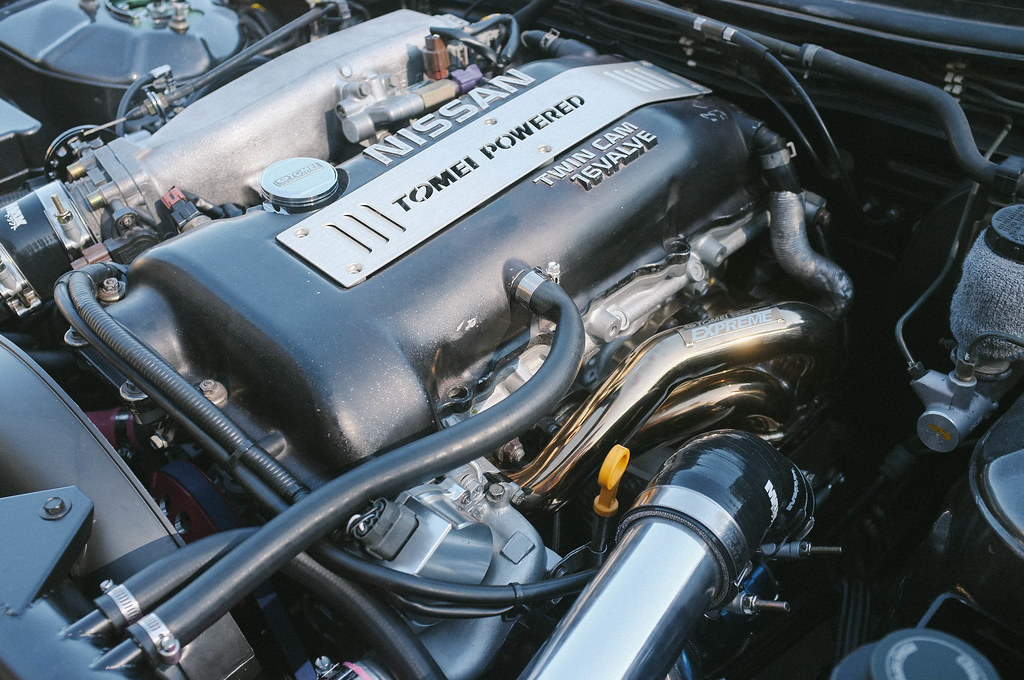 Throwing some shade  Last edited by hellaslows13; 07-08-2016 at 10:20 PM.. |
|
|

|
 |
| Bookmarks |
| Thread Tools | |
| Display Modes | |
|
|