
 |
|
|||||||
| Home | Rules & Guidelines | Register | Member Rides | FAQ | Members List | Social Groups | Calendar | Mark Forums Read |
| Builds (and builds only) Got a build thread? It goes here, build threads anywhere else on the forum will be locked and never moved. |
 |
|
|
Thread Tools | Display Modes |
|
|
#32 |
|
Zilvia Member
 Join Date: Jun 2009
Location: Toronto, Canada
Age: 33
Posts: 161
Trader Rating: (2)
 Feedback Score: 2 reviews
|
thanks guys.
been real busy lately with some other stuff. trying to pick a color to paint the engine bay. i could stick with the white like the interior but a cool color could look nice. Hopefully ill make some progress with that this week. |
|
|

|
|
|
#35 |
|
Zilvia Junkie
 Join Date: Aug 2009
Location: Toronto
Age: 29
Posts: 455
Trader Rating: (0)
 Feedback Score: 0 reviews
|
Cage looks beautiful! His shops 10 mins from my place, he'll do my cage one day. i've wanted to see a close look at how its done, this is great!
__________________
BNR32 connoisseur // 1990 GT-R |
|
|

|
|
|
#37 |
|
Zilvia Member
 Join Date: Jun 2009
Location: Toronto, Canada
Age: 33
Posts: 161
Trader Rating: (2)
 Feedback Score: 2 reviews
|
so i had an issue with the 4.3 final drive swap. I was told if i got an r32 gtst pumpkin all i would have to do is take out my 2 way from my s13 non abs and throw it in the r32 one. turns out the ring gear bolt holes are different. so i would have to machine my 2 way? anyone have experience with this? i noticed the axles are different on each pumpkin. where as one friend i talked to told me how his were the same and he just swapped carriers ?
anyone? |
|
|

|
|
|
#38 |
|
Zilvia Member
 Join Date: Jun 2009
Location: Toronto, Canada
Age: 33
Posts: 161
Trader Rating: (2)
 Feedback Score: 2 reviews
|
well for now a temp solution is im going to run the diff that came in the r32 and weld it up. not ruining the 2 way. ill keep it on the side until i find the correct gear set that mounts to my 2 way.
who knows i may like the welded diff life better. anyways just sanding the engine bay on the s13 hoping to go grab some primer and get that done tomorrow.. until further updates heres a shot of the z33 from yesterday 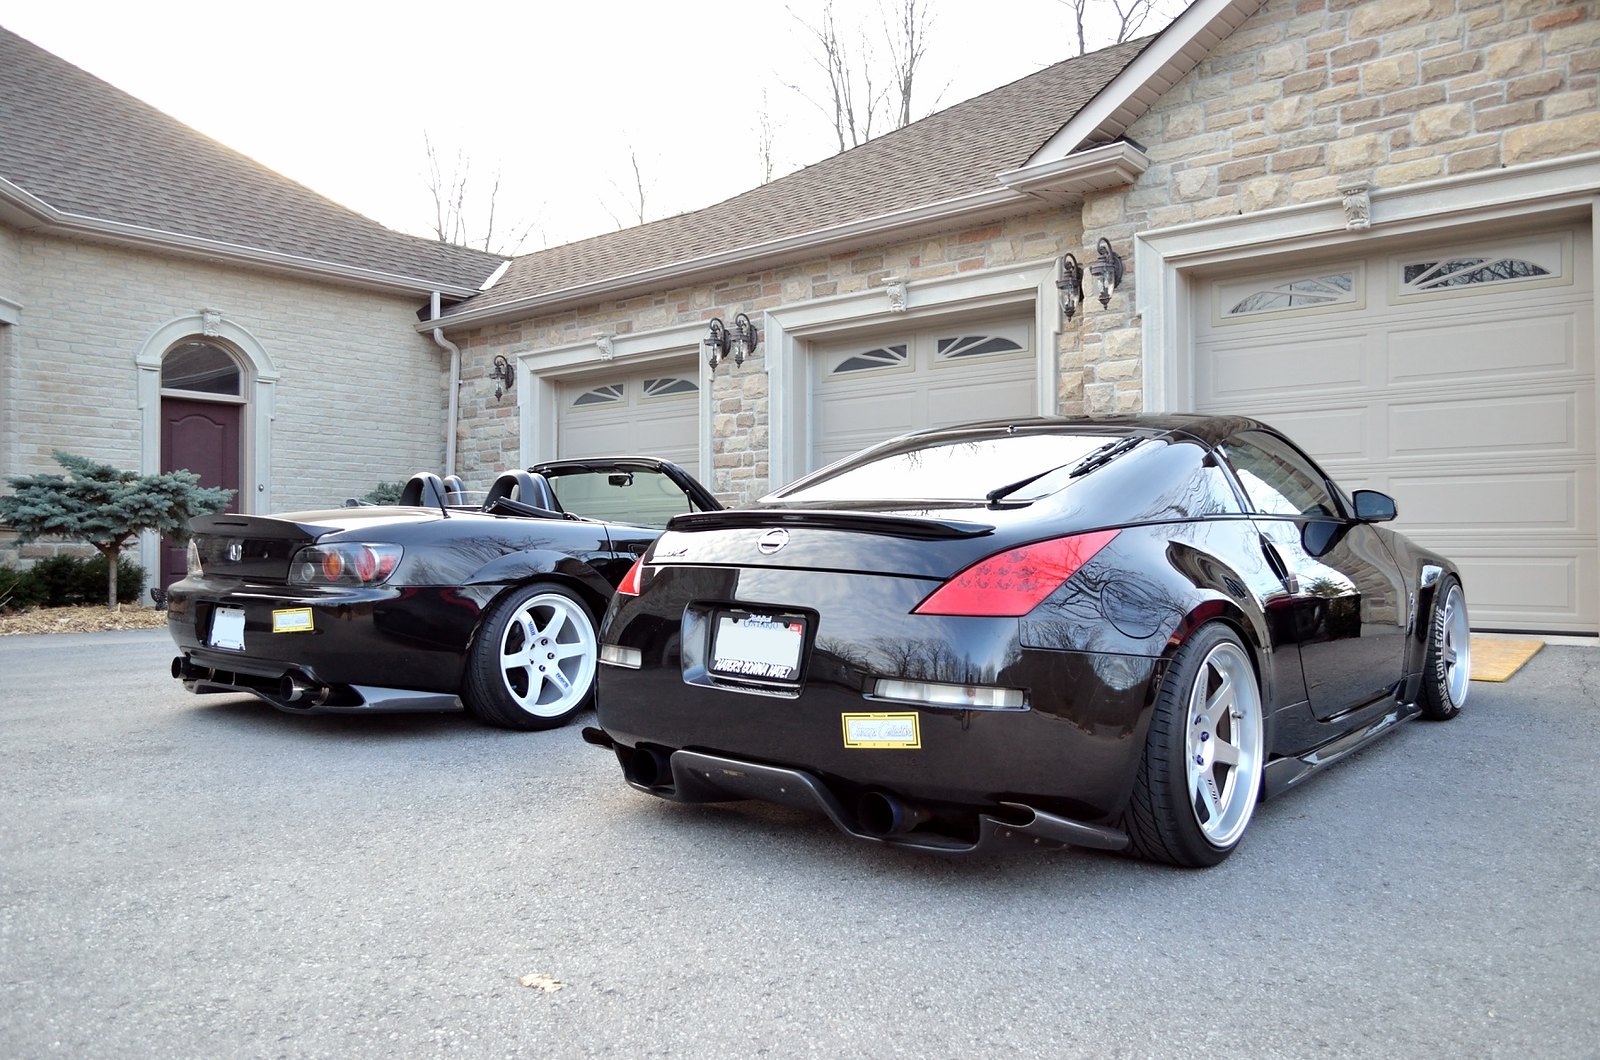 |
|
|

|
|
|
#39 |
|
Zilvia Member
 Join Date: Jun 2009
Location: Toronto, Canada
Age: 33
Posts: 161
Trader Rating: (2)
 Feedback Score: 2 reviews
|
paint prep can blow me. this took way to long lol.
its all sanded, Next step is wash/degrease the engine bay, but its like 0 degrees out here which is bullshit. so im not gonna bother today. tomorrow is going to be nicer. After that going to build a quick tarp style booth to cover the area, mask everything and spray the primer i got today. im looking forward to the next picture i post it will look a lot cooler. also i still dont know what color to go with for the bay. i dont wanna give it away but the outside of the car is going to be dark brown metallic shown in this next pic. 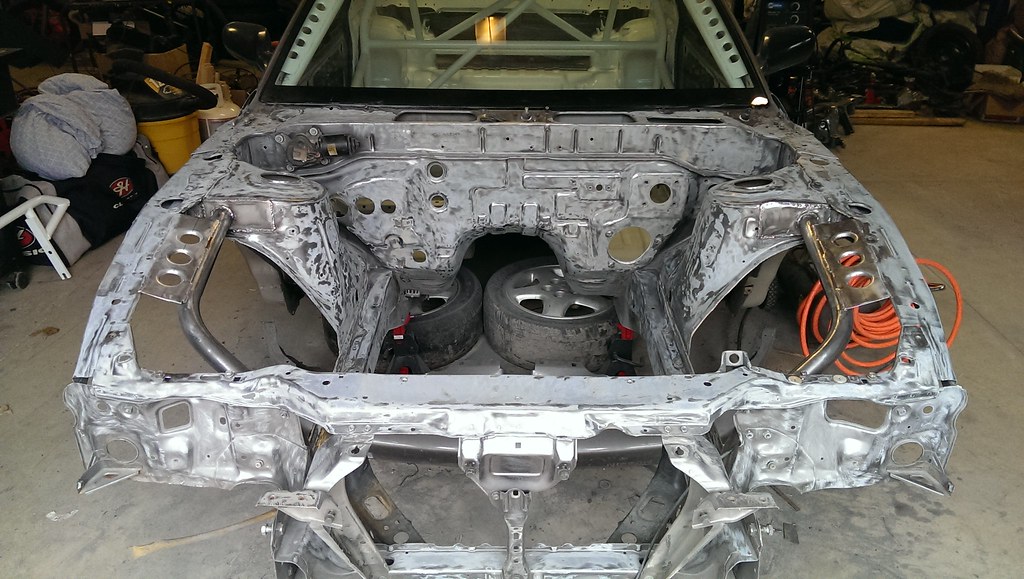 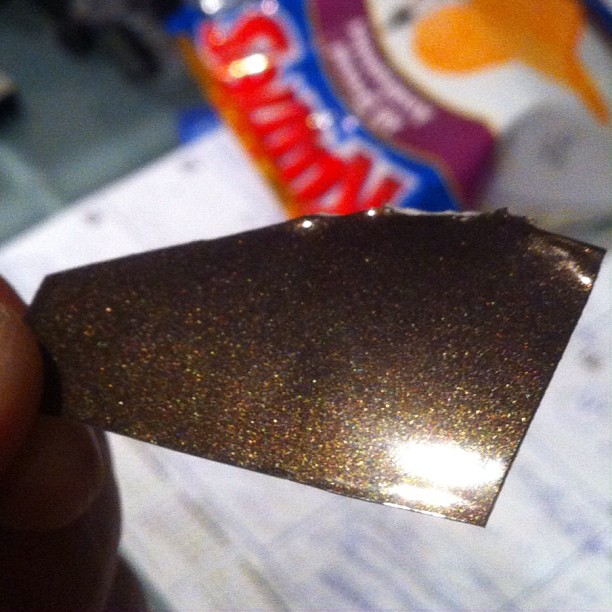 |
|
|

|
|
|
#40 |
|
Guest
Posts: n/a
|
Cant wait to see it painted. Good luck man!
|

|
|
|
#42 |
|
Zilvia Member
 Join Date: Jun 2009
Location: Toronto, Canada
Age: 33
Posts: 161
Trader Rating: (2)
 Feedback Score: 2 reviews
|
thanks guys!
Done the first layers of primer. I need to decide on a color asap. Some ok ideas -Audi Grey (nimbus grey?) -light pink (I dunno..) -pastel yellow -white It's got to be a light color. maybe i can throw some metallic or sparkly clear coat ontop 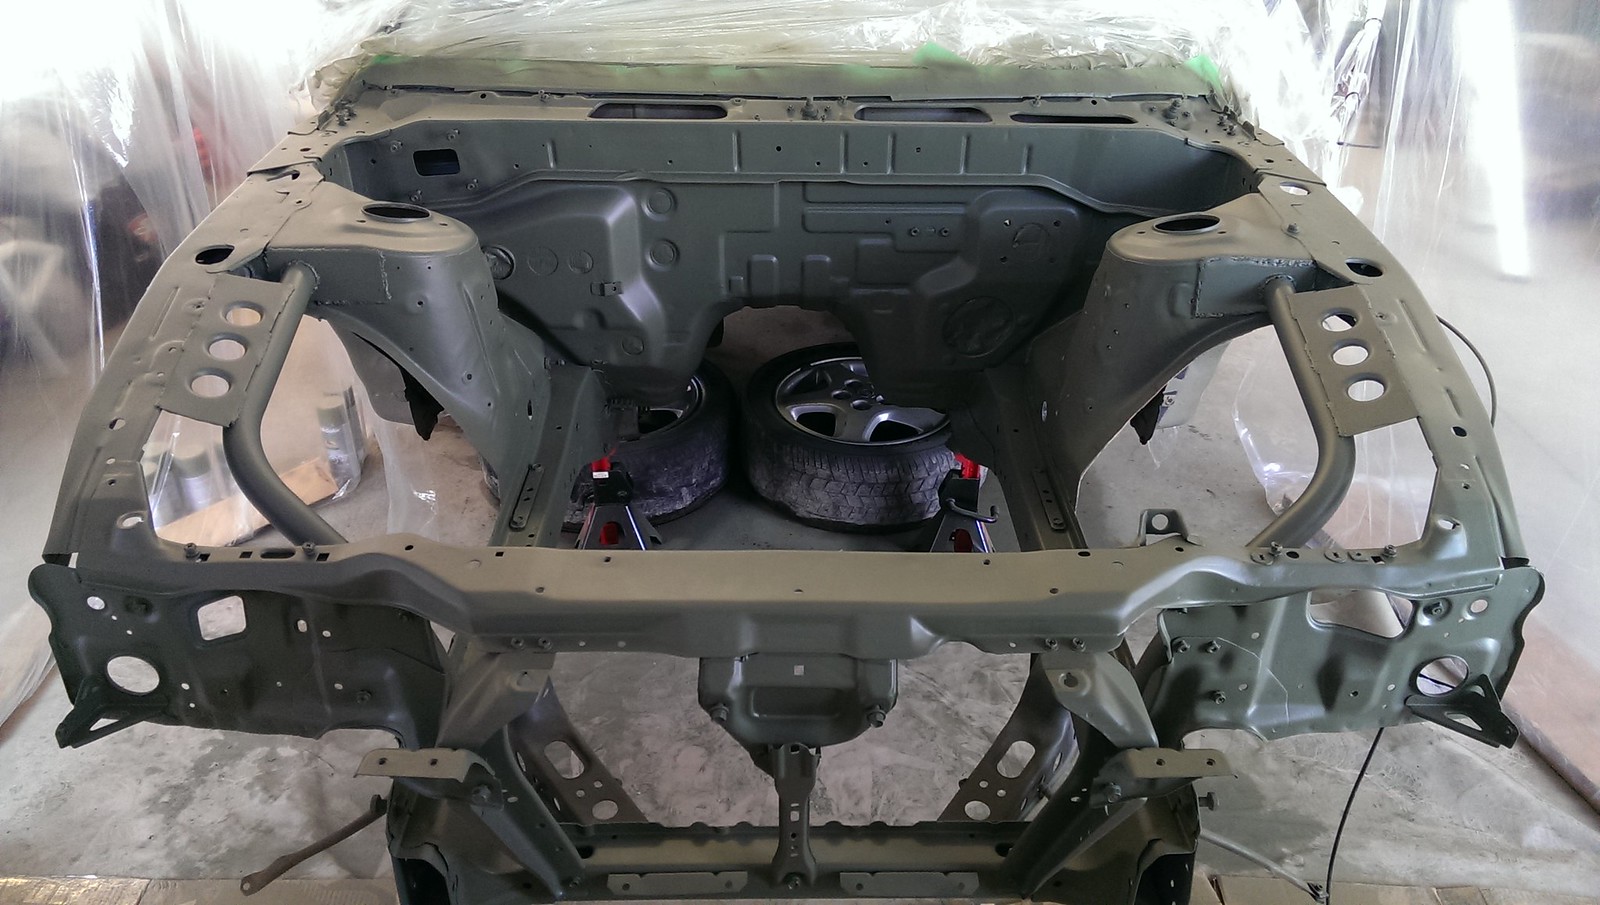 |
|
|

|
|
|
#46 |
|
Guest
Posts: n/a
|
+1 to what tricky said. white or grey. I just looked at that audi grey and I would def go with that.
|

|
|
|
#47 |
|
Zilvia Member
 Join Date: Jun 2009
Location: Toronto, Canada
Age: 33
Posts: 161
Trader Rating: (2)
 Feedback Score: 2 reviews
|
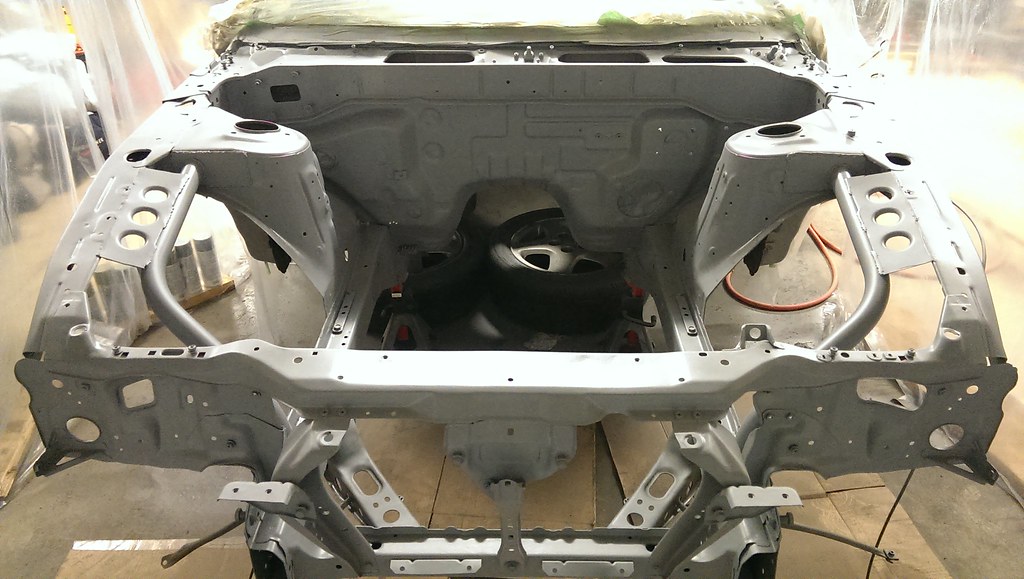 all the primer is done. going to spray the rest friday after work. deciding on a color tonight lol. i have no patience for paint lol but i learned a bit more doing this engine bay. |
|
|

|
|
|
#52 |
|
Zilvia Member
 Join Date: Jun 2009
Location: Toronto, Canada
Age: 33
Posts: 161
Trader Rating: (2)
 Feedback Score: 2 reviews
|
a few more pics of the finished engine bay, now we had a few issues.
one the base kept spitting out some shit i dunno if it was sitting for a while but when we strained it lots of thick stuff appeared. some must have gone through the strainer. two there is a few spots where there must have been some chemical residue and it made the paint basically slide off those tiny areas. so i will have to try n touch up unfortunately one is right on the weld on the shock tower and its big. this shit is very tedious. all that aside it looks cool and the color came out how i like. we mixed two paints together to get this. the mid clear we put on looks awesome with the speckles in it. mind u this was all done on budget and in a rush. inside a garage made booth in 0-10 Celsius. ive def learned some stuff doing this paint job 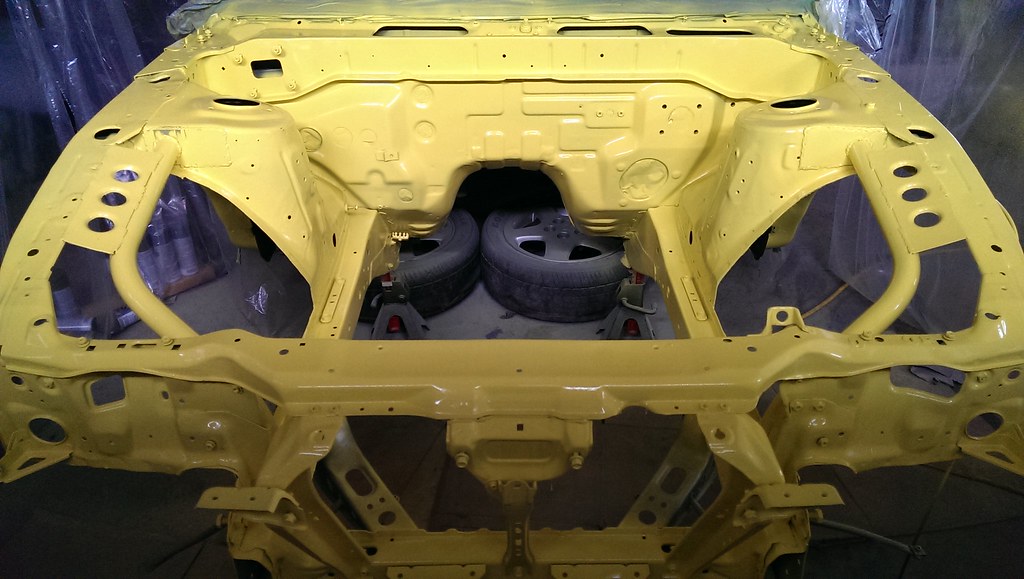 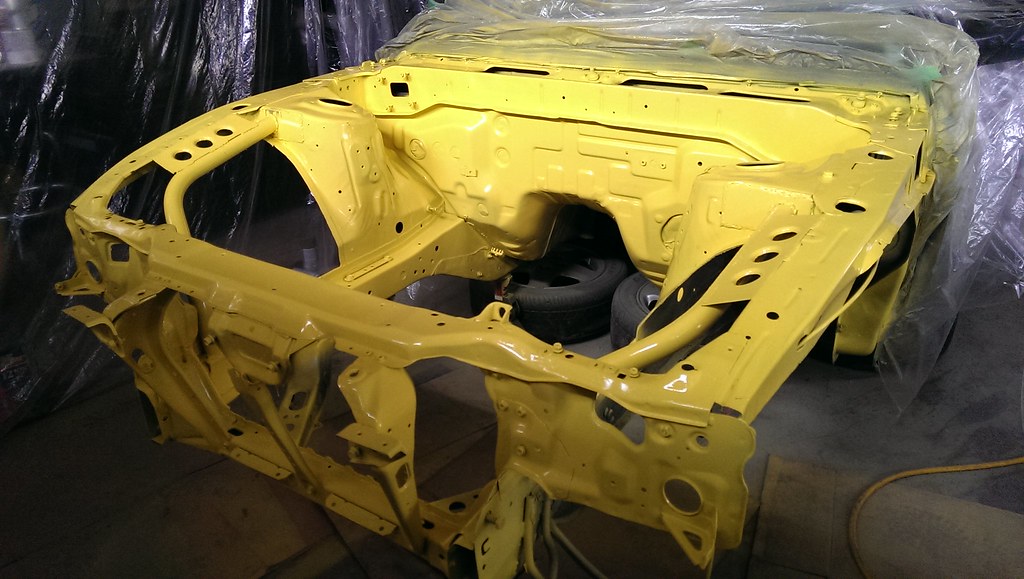 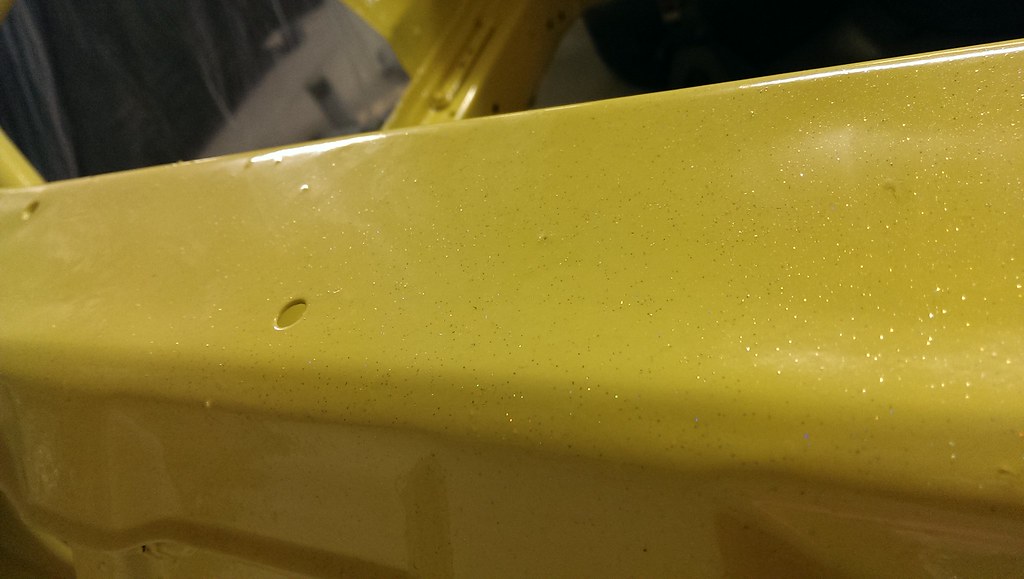 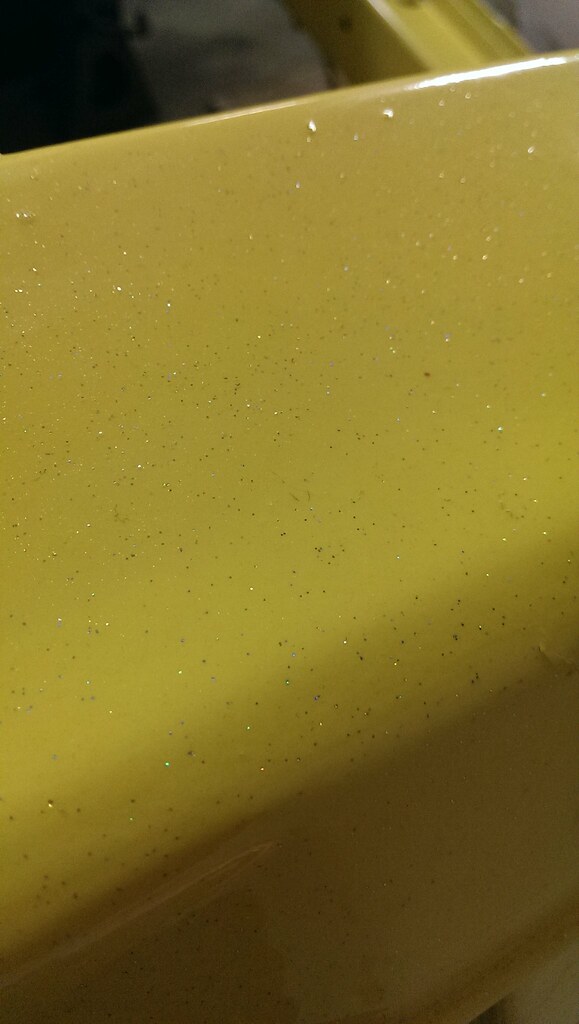 |
|
|

|
|
|
#53 |
|
Zilvia Member
 Join Date: Jun 2009
Location: Toronto, Canada
Age: 33
Posts: 161
Trader Rating: (2)
 Feedback Score: 2 reviews
|
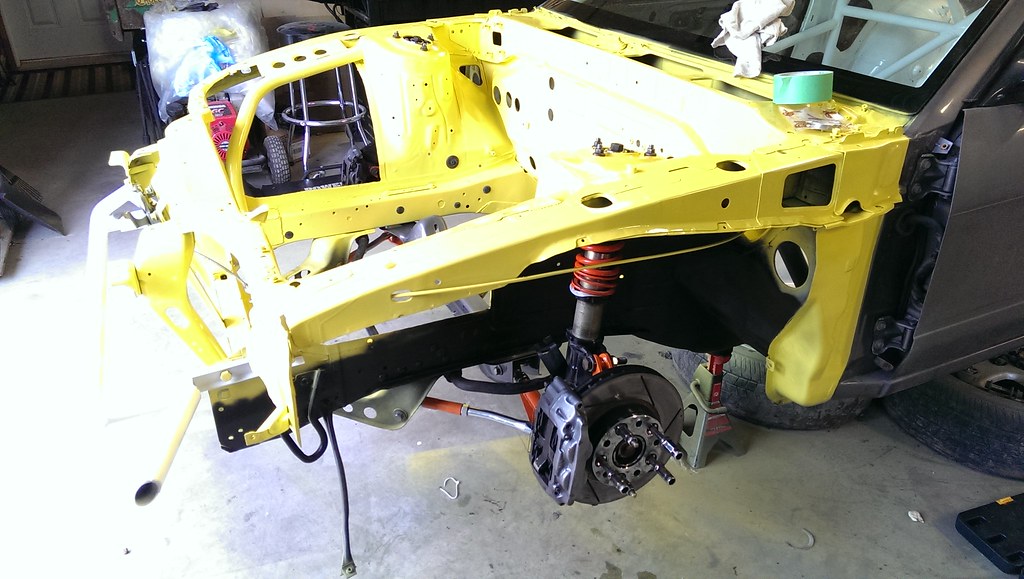
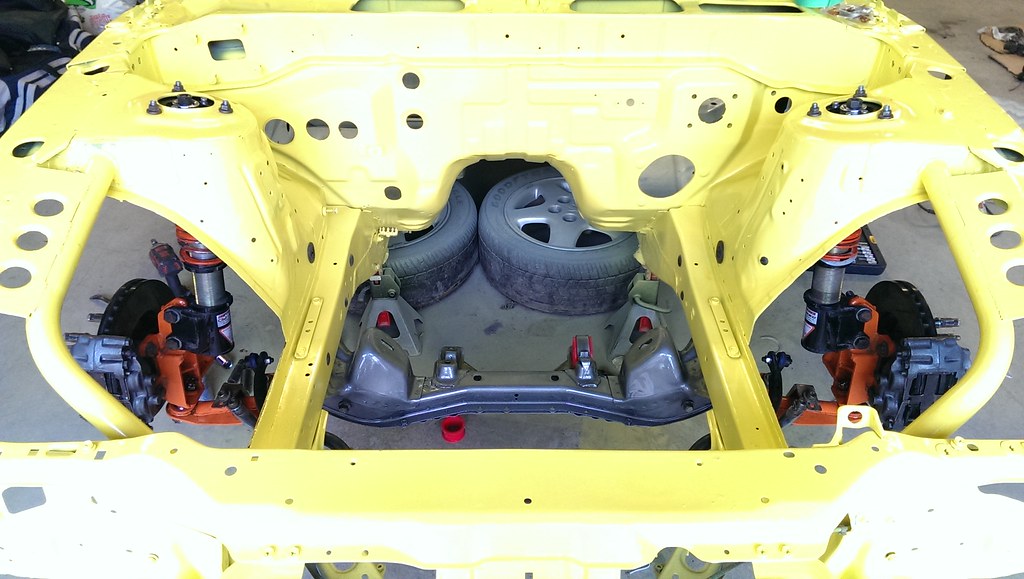
i have some free time now so tonight i just got started. next few days shit should get rollin nicely. i know theres a few bolts here and there i have to get but everything else should be good to go. waiting on a few more engine parts and then that will be ready to drop in.
   |
|
|

|
|
|
#54 |
|
Zilvia Member
 Join Date: Jun 2009
Location: Toronto, Canada
Age: 33
Posts: 161
Trader Rating: (2)
 Feedback Score: 2 reviews
|
ok started today by installing the fuel pump (walbro) and mounting the battery in the trunk.
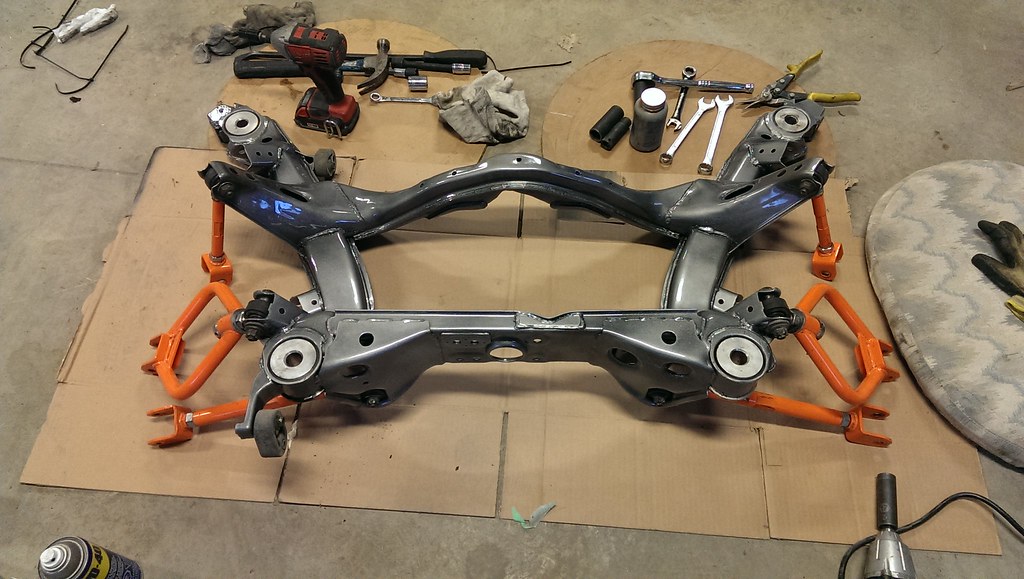
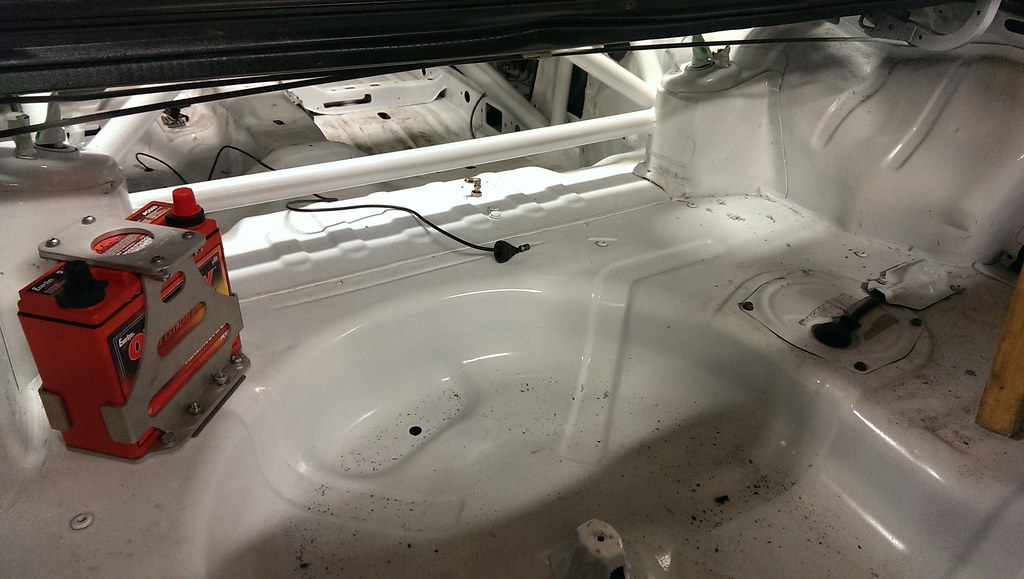 after that did some plumbing. new braided fuel lines, routed the lines for the factory brakes inside the car and here you can see where it comes out for the rear. tried to keep it neat. i still have to run the line down for the second calipers in the rear. i have the line all bent and ready to go but i want to make sure it doesnt interfere with anything so im going to install the subframe first. hopefully thats the right move. 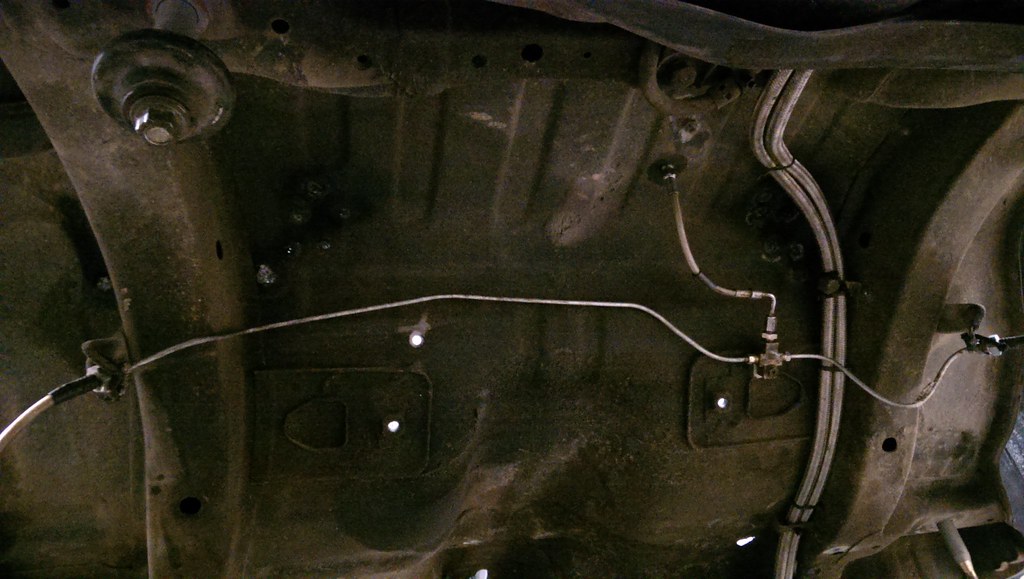 put the Chase bays master back on need to secure the lines in place. put the clutch master back in as well. same thing need to clip the line in place...have to go find some clips. 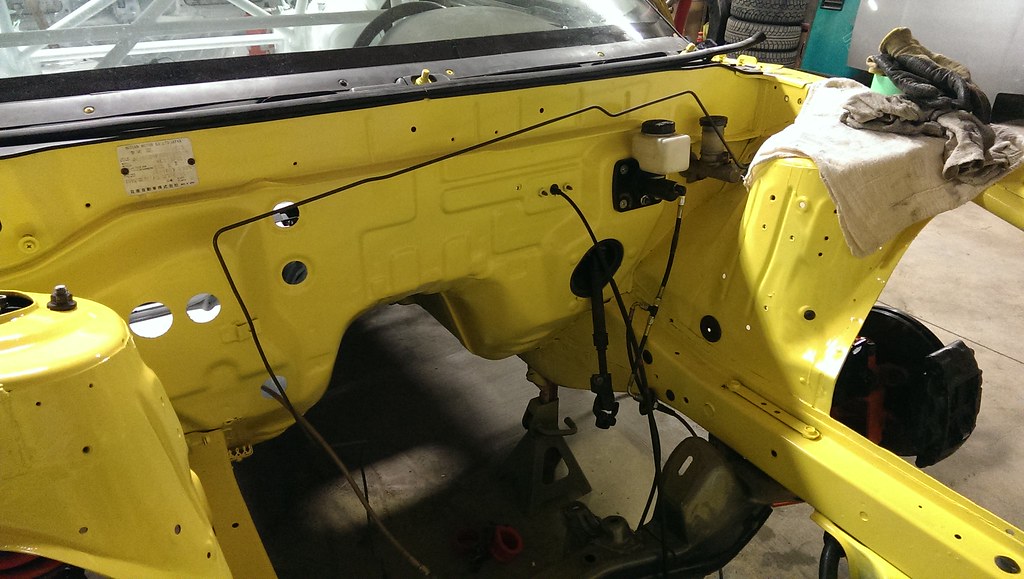 next put all the pedals back in and the steering column. then spent a bunch of time cutting up this old dash i had. this way i can just make one or two nice cuts on my finished dash and know i wont fuck it up. im excited to see the interior done its going to look nice. 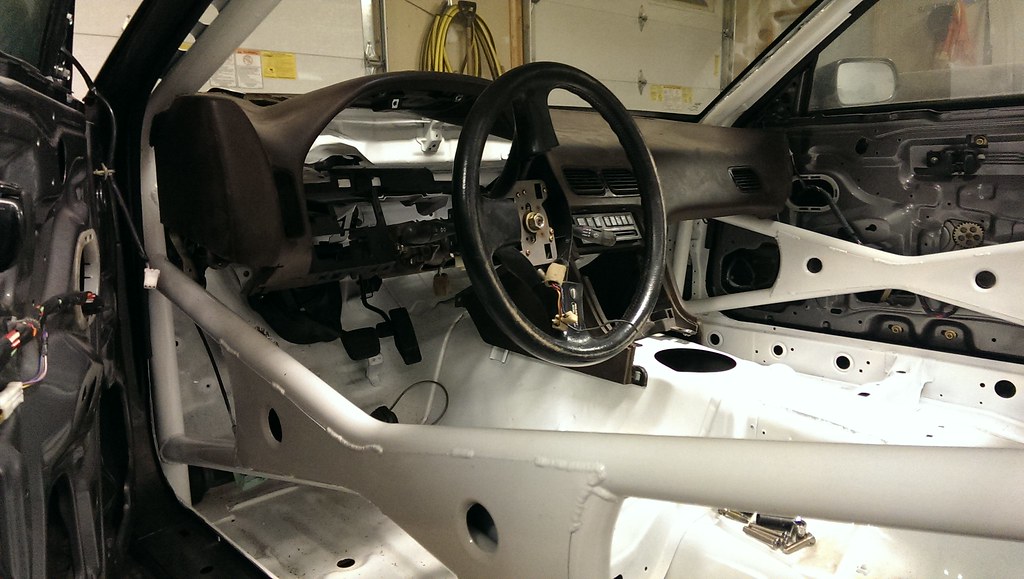 ok now the rear subframe. for the diff im just running and r32 gtst diff with a welded. i was tryingto use my 2 way from the s13 but unfortunatly it doesnt work with the ring gear out of this pumpkin. so this is temporary until i get a 4.3 out of a s13 with ca18det or figure out another way. who knows i might like the welded better. another thing is the LCA and knuckles. money is tight so i have to run the oem ones for now. which is ok. but i plan on getting the driftworks ones soon. i just need to get this thing drifting, fast. so here it is assembled ready to be put in ill do that tomorrow. 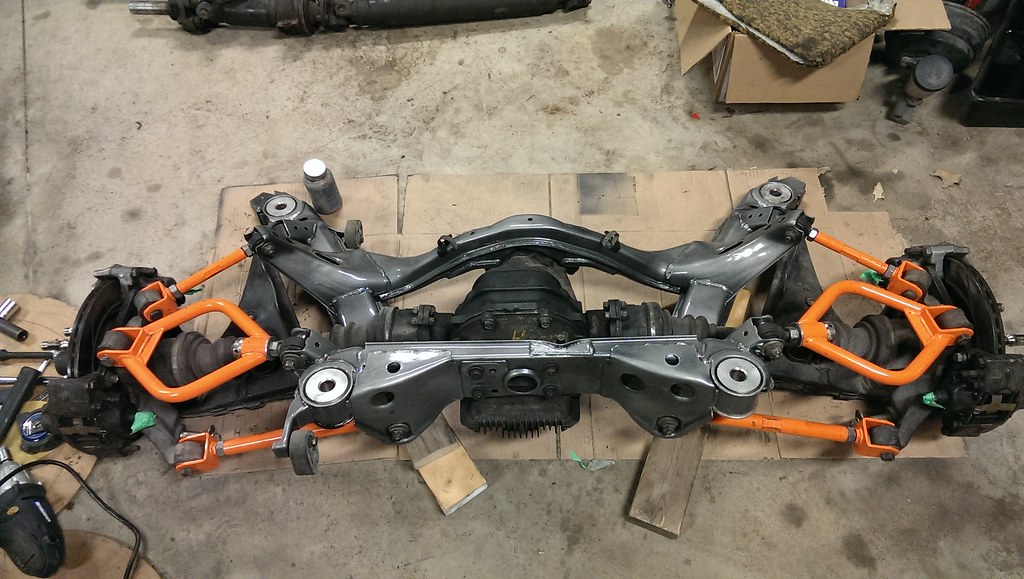 lastly heres a shot of the dual caliper kit. its the one the george guy sells off of here. not bad i had a fucked up issue with mine where i had to shave the caliper a little as well as an issue with getting one of the caliper bolts in. i made a solution but itll be hell to take off the calipers for the hydro lol. anyways works good i used it last year. 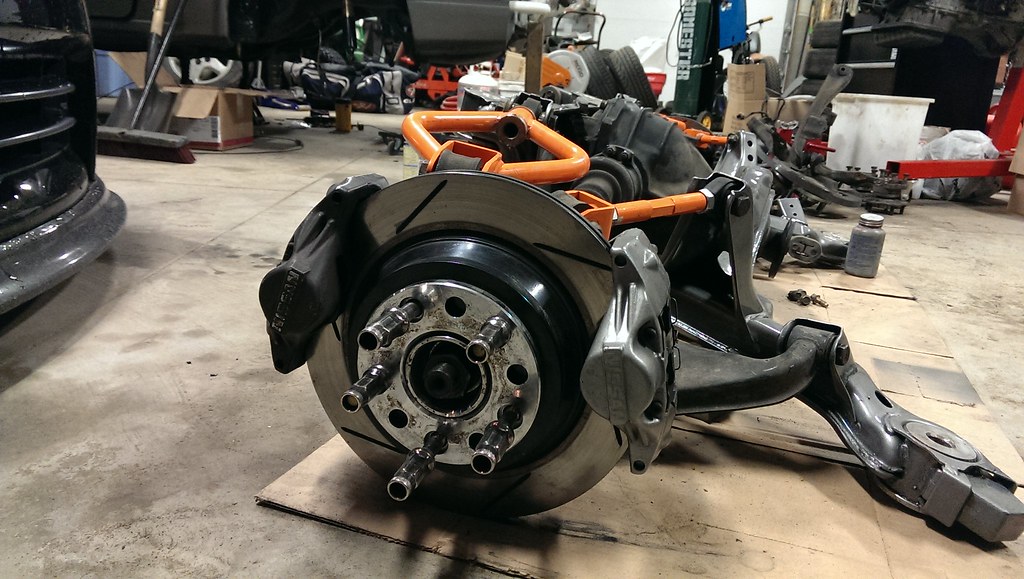 |
|
|

|
|
|
#55 |
|
Zilvia Member
 Join Date: Jun 2009
Location: Toronto, Canada
Age: 33
Posts: 161
Trader Rating: (2)
 Feedback Score: 2 reviews
|
its coming together. cut the dash got it in today looks nice on the white. and some bullshit wiring work going down. need to route everything nicely and tie it down.
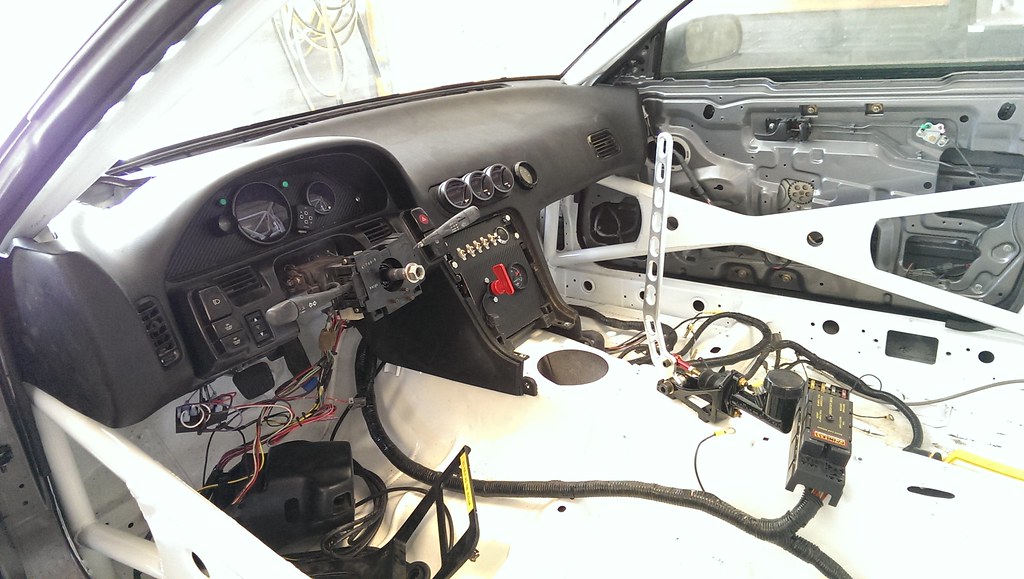 rear sub frame is in so its officially rolling now.. also has the 4 factory brake calipers working as well. 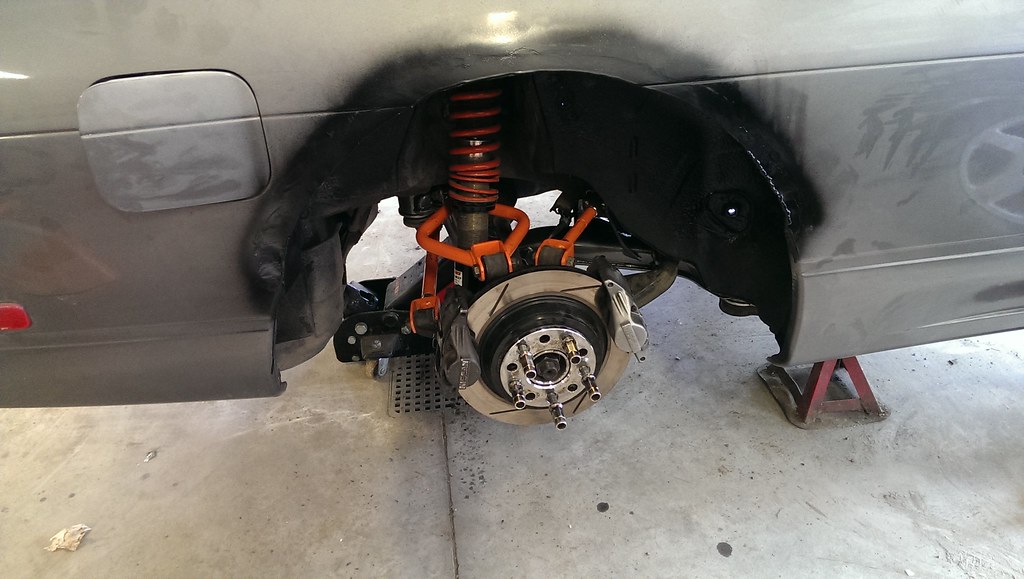 |
|
|

|
 |
| Bookmarks |
| Thread Tools | |
| Display Modes | |
|
|