
 |
|
|||||||
| Home | Rules & Guidelines | Register | Member Rides | FAQ | Members List | Social Groups | Calendar | Mark Forums Read |
| Builds (and builds only) Got a build thread? It goes here, build threads anywhere else on the forum will be locked and never moved. |
 |
|
|
Thread Tools | Display Modes |
|
|
#33 | ||||
|
Zilvia Member
 |
Quote:
Quote:
Quote:
Quote:
 and finish welding them in. and finish welding them in. Thank you, I think they're OEM Chuki skirts. |
||||
|
|

|
|
|
#35 |
|
Zilvia Member
 |
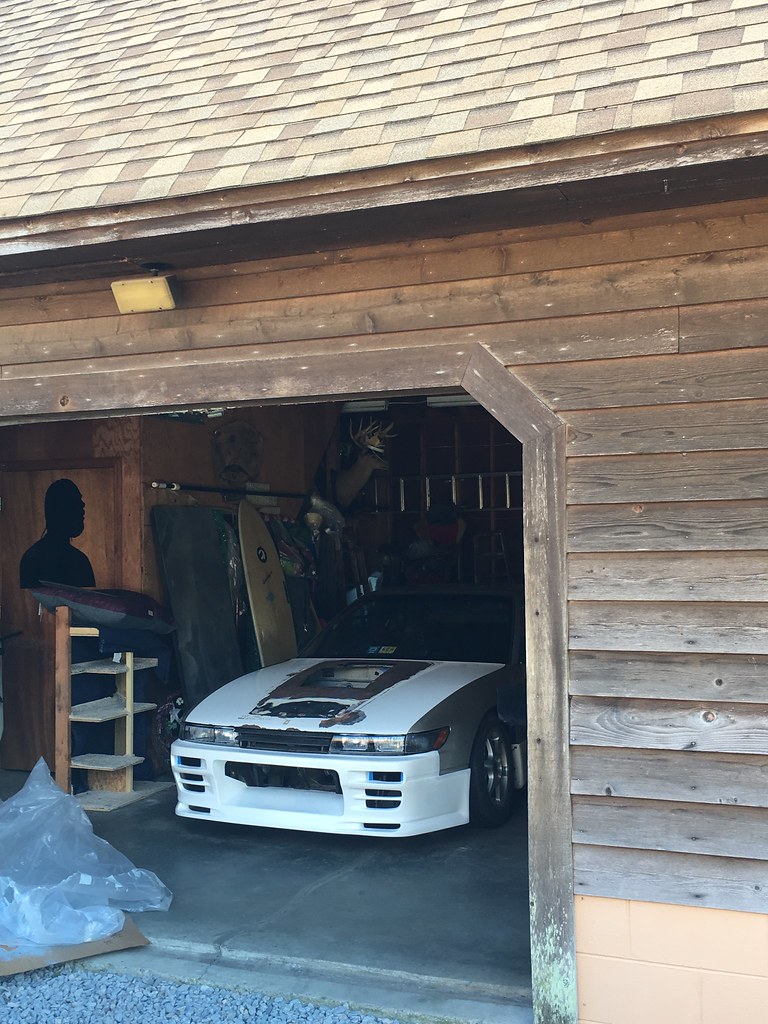
Earlier this year I picked up an OEM Silvia hood that had seen better days.
 After I started power washing away all the mossy mess.  I found the hood has multiple layers of bondo/primer/paint  Test fitted the hood, it lines up pretty well.  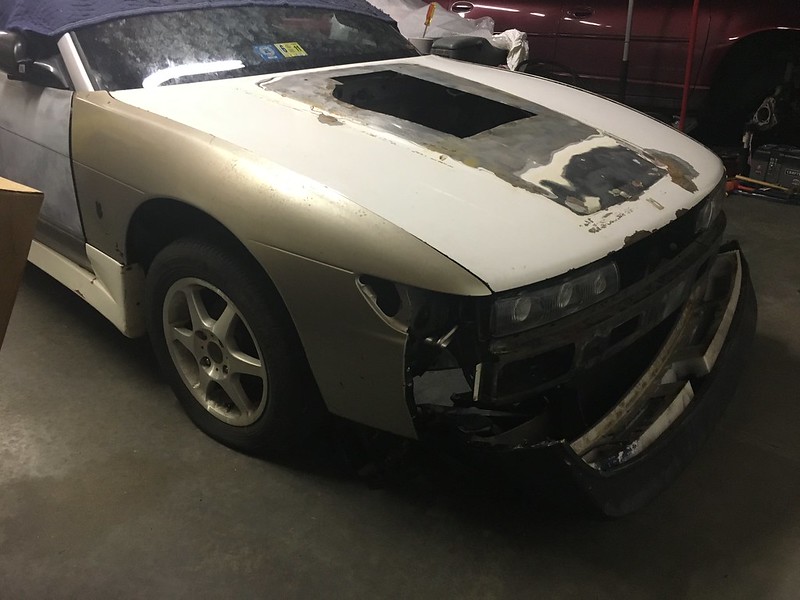 I'm thinking about either just replacing the hole with new sheet metal or going with the TBO hot dog vents. I also found the culprit who decided to cut Missouri into the hood.  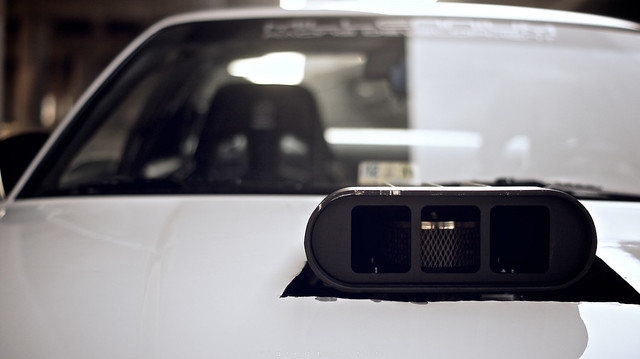  The next update will include all the work I did to re-do the tubs. |
|
|

|
|
|
#40 | |||
|
Zilvia Member
 |
Quote:
https://www.facebook.com/YocumsRodShop/ Quote:
 Thank you! Thank you! Thank you! Quote:
 But for real that's a good question, when it comes time to mount it I'll make sure to do a small write up. |
|||
|
|

|
|
|
#41 | |
|
Zilvia Member
 |
Quote:
Mounts like this and that real decent sorta double sided tape will be the move |
|
|
|

|
|
|
#42 |
|
Zilvia Member
 |
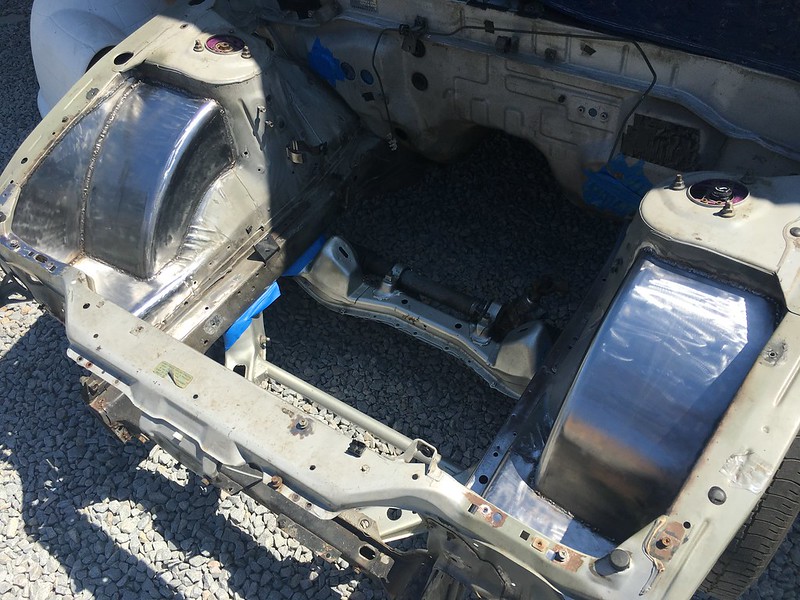
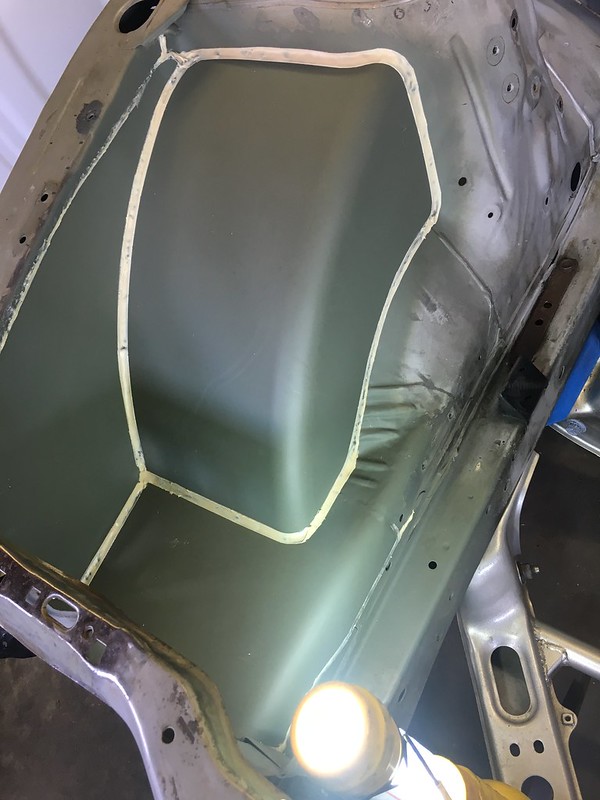
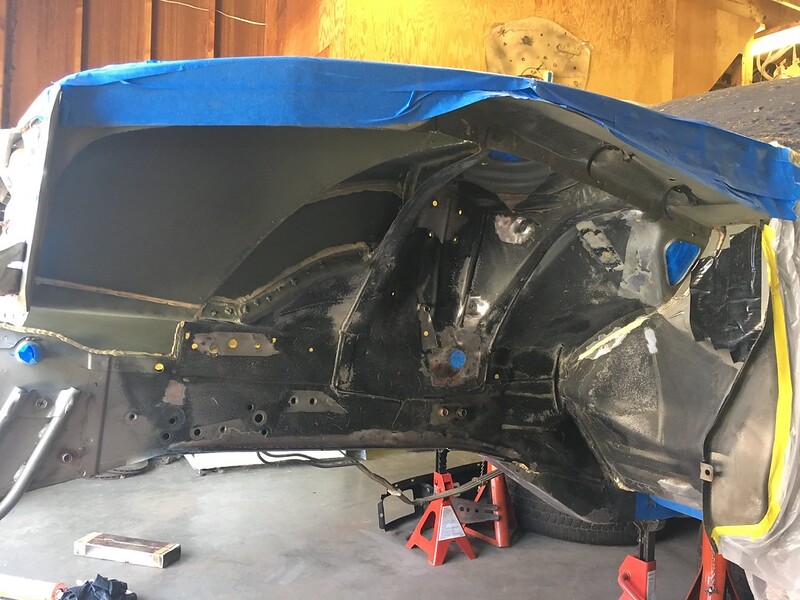
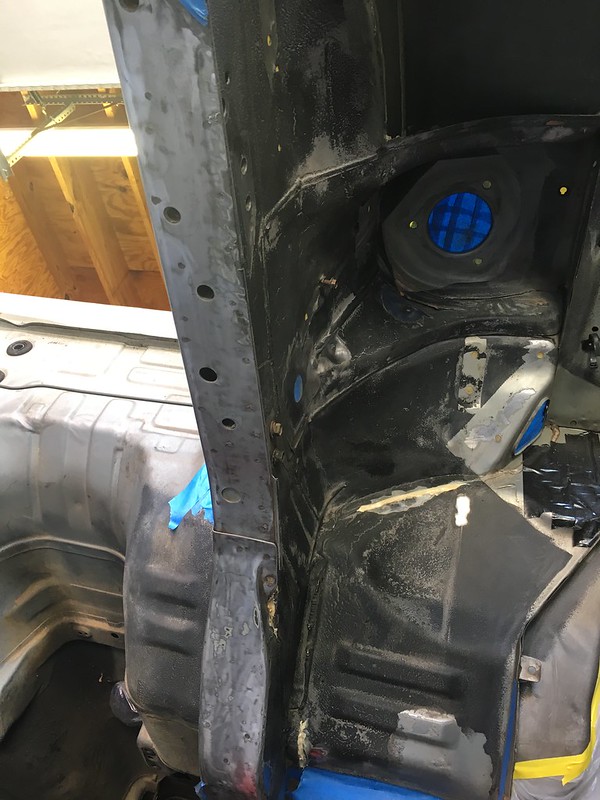
Small update but heavy with photos. Late April - Early June I wasn't happy with the overlap design of the tubs. Soooo I cut the vertical pieces out and proceeded to fully weld the tubs in so they were flush. I seam sealed everything up and I hit the front wheel wells with bed liner.
 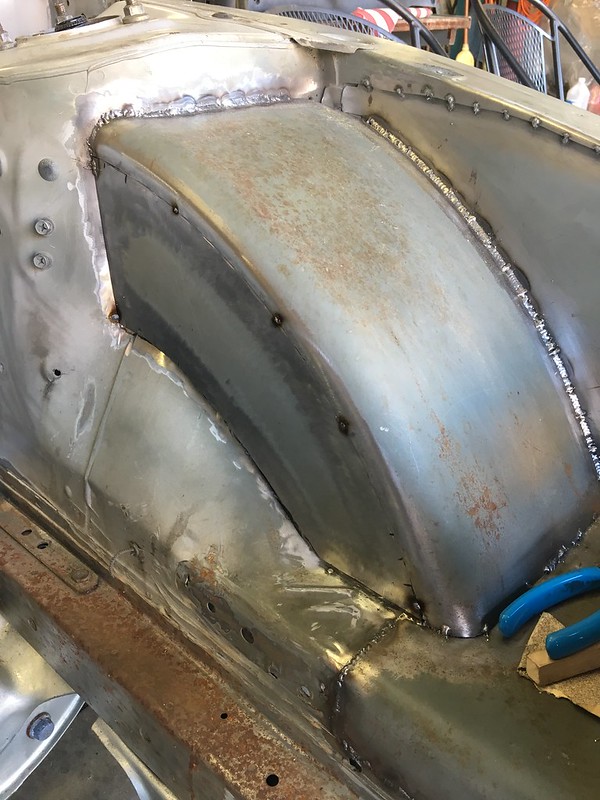  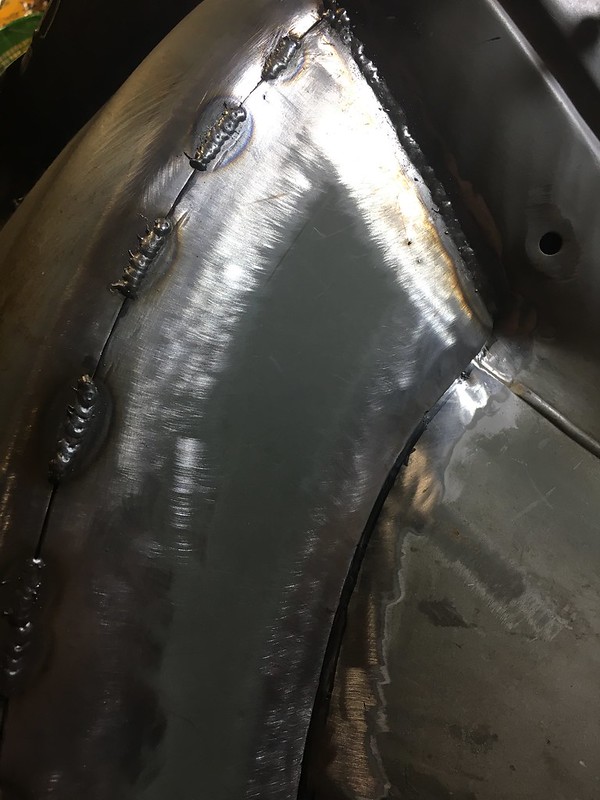         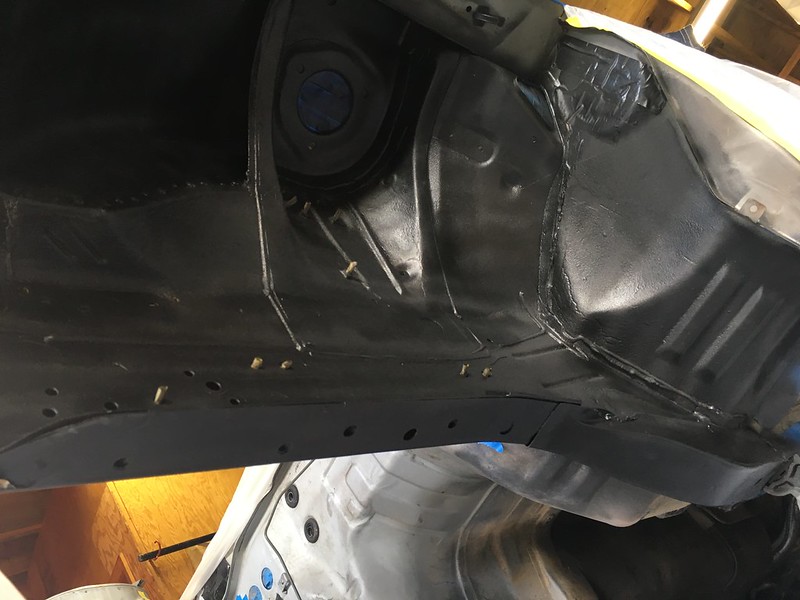 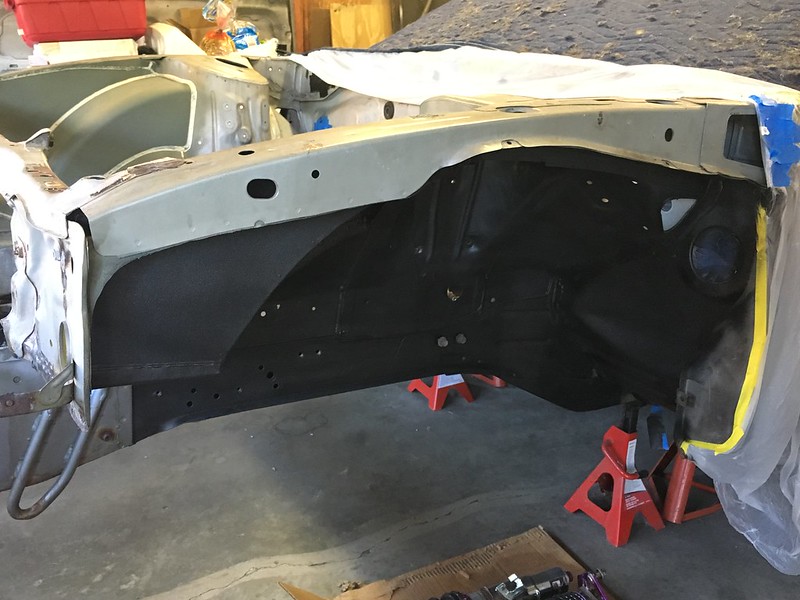 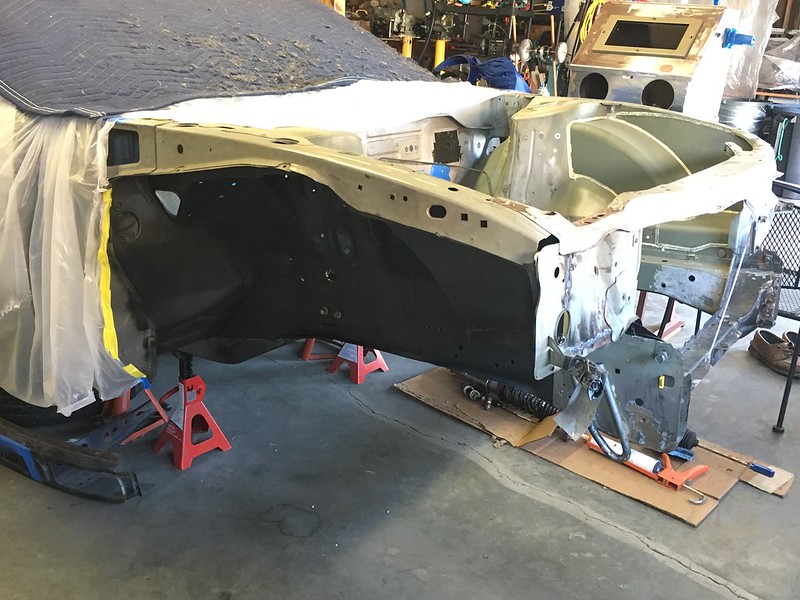 |
|
|

|
|
|
#45 |
|
Zilvia Member
 |
|
|
|

|
|
|
#47 |
|
Zilvia Member
 |
I've just been knocking out some small stuff during the course of the summer and early fall. The time has been spent cleaning up more rust in the engine bay, SEM dying the rear seats black, painted the steering rack and finished cleaning the transmission.
 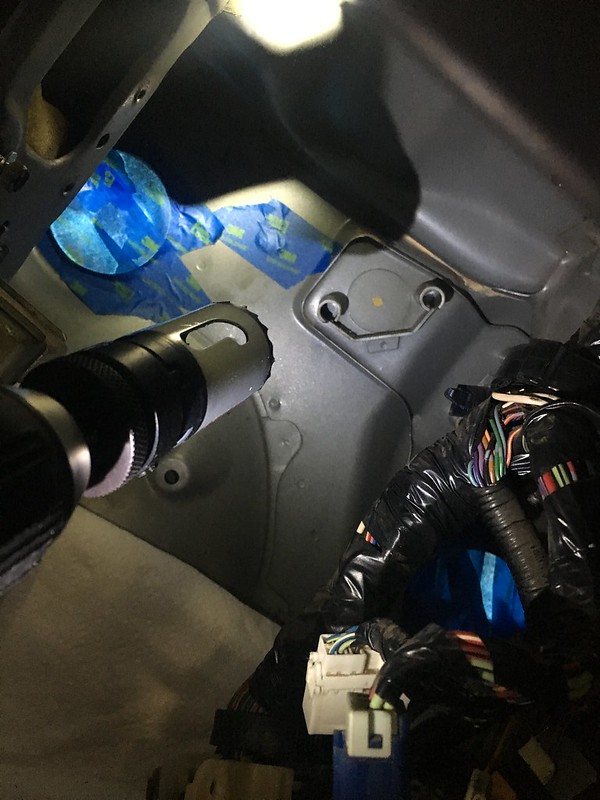 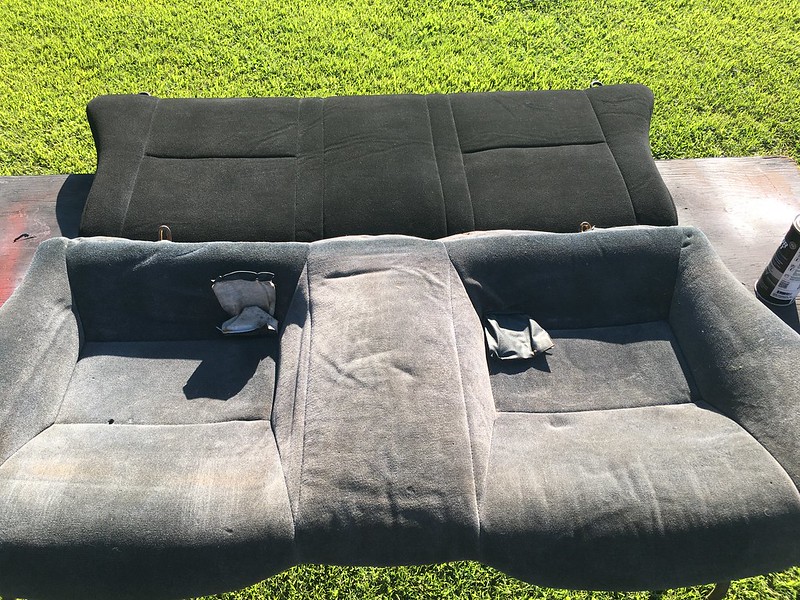 What're hog rings?  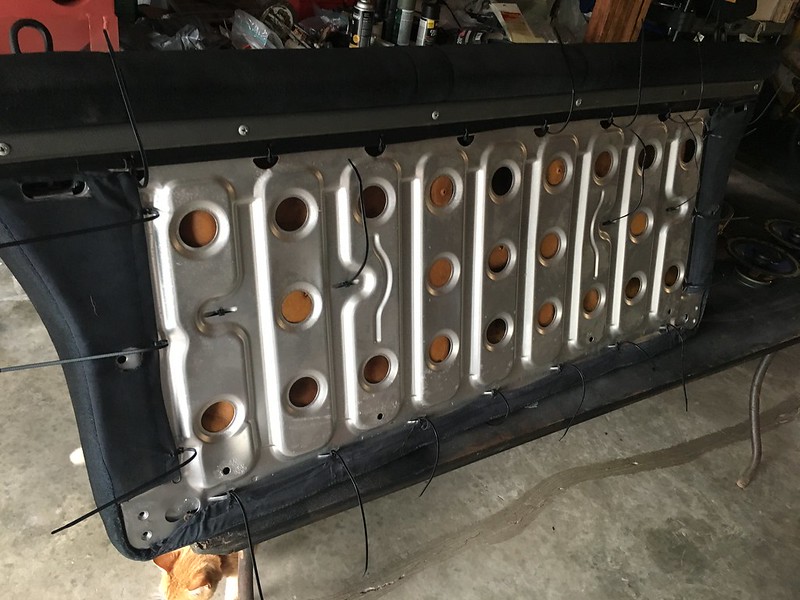 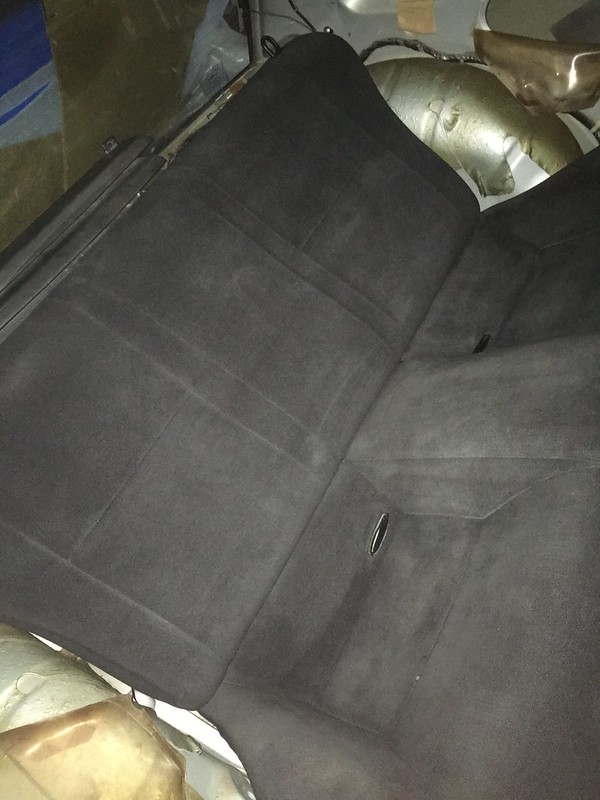 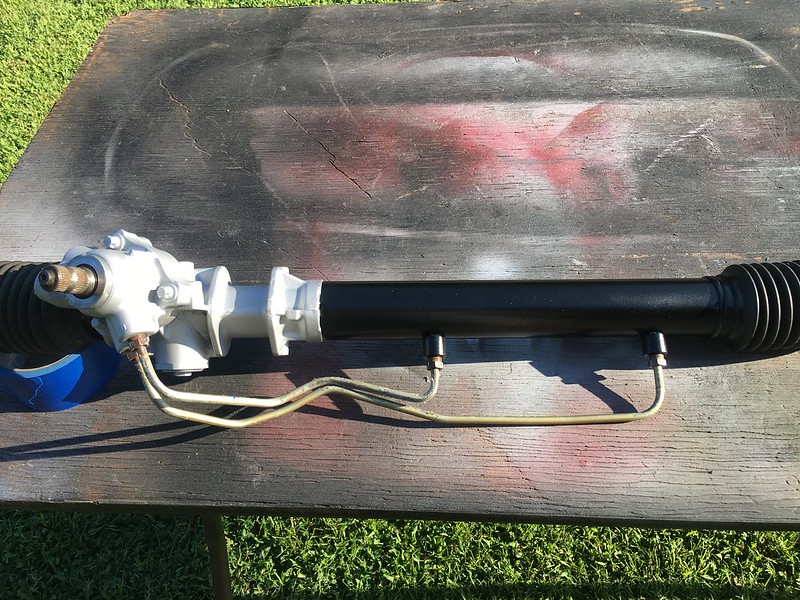    I painted the trans with VHT silver but I forgot to take a picture  it'll probably break anyways it'll probably break anyways  I picked up a set of Stance GR+ coilovers, I took some time to apply new anti-seize and installed new boots on the rear. The rear subframe was pulled once again to install the GK tech bits (arms, weld in plates and axle spacers.) I painted the knuckles, replaced the front wheel bearings, installed GK tech RC correction bits and I resprayed the front subframe and tension rod bracket to match the rear subframe.   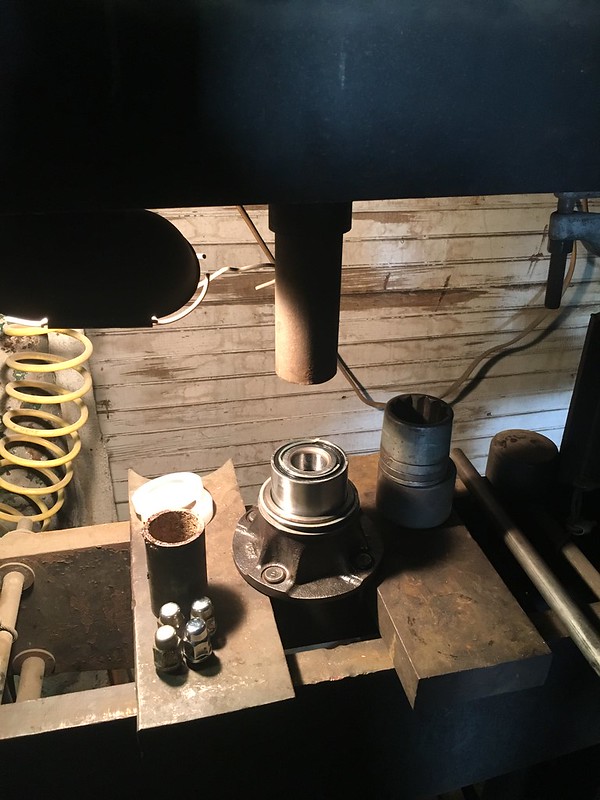 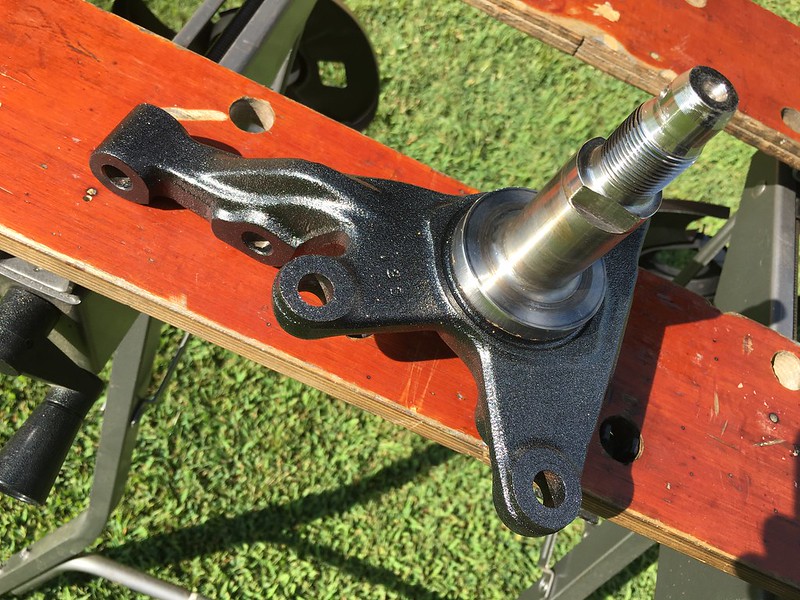  ] ]  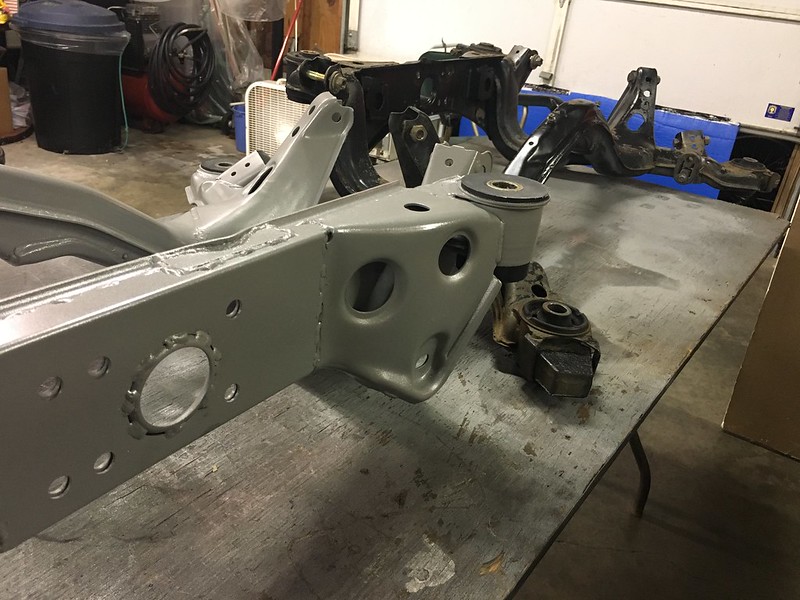   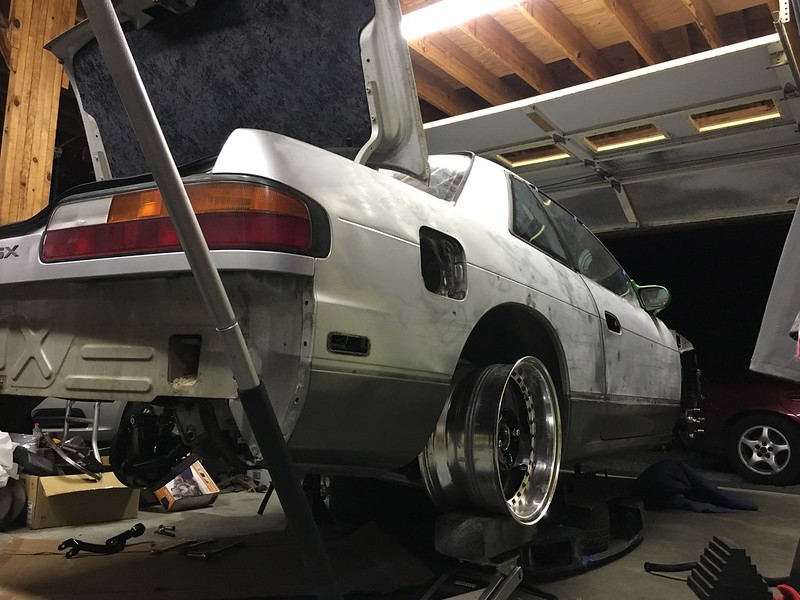 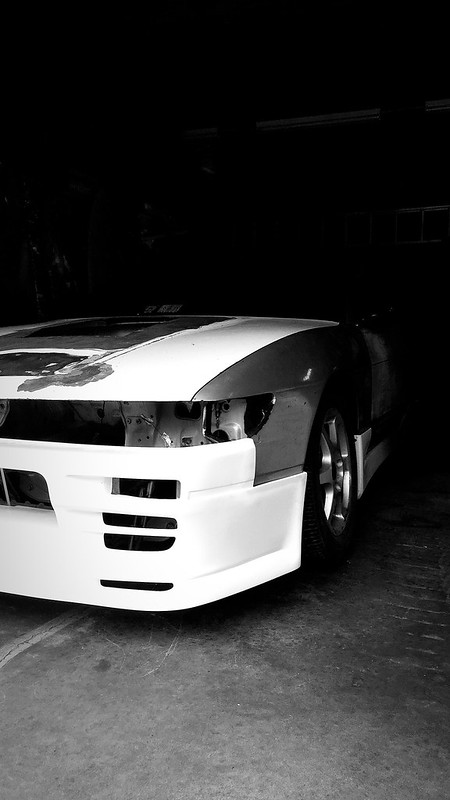  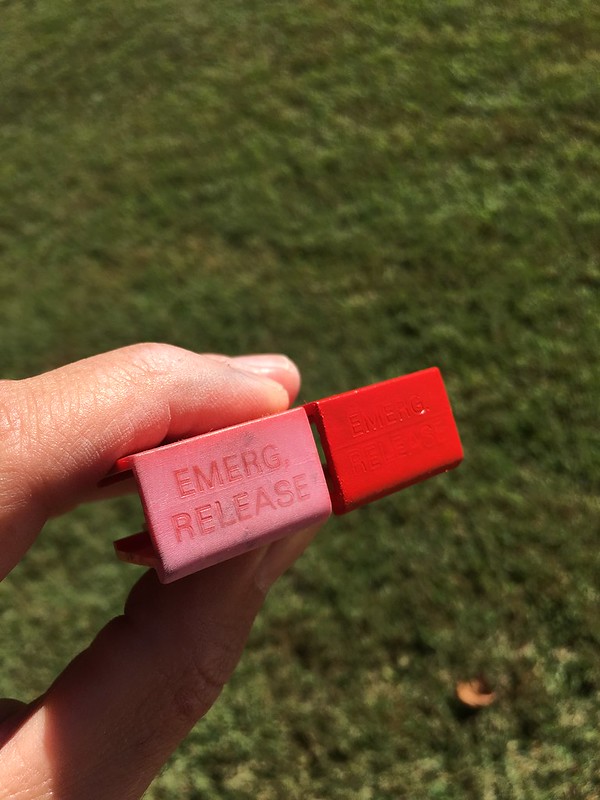 |
|
|

|
|
|
#48 |
|
Zilvia Member
 |
|
|
|

|
|
|
#49 |
|
Zilvia FREAK!
 Join Date: Jan 2010
Location: SHOW ME WHAT YOU GOT
Posts: 1,115
Trader Rating: (1)
           Feedback Score: 1 reviews
|
im not sure how old those coils are, if you bought them used, but keep an eye on the rear lower bushings. the lexus stance coils look like they have the same lower bushing and they are known to fail.
http://www.shopfigs.com/v3/IS300-BSHCO-38-4522-23 |
|
|

|
|
|
#50 | |
|
Zilvia Member
 |
Quote:
|
|
|
|

|
|
|
#51 |
|
Zilvia Member
 |
Small update from last year. I won a set of bricks (with all the tabs, lock rings and rubber seals) on YAJ and picked up the corners from 1gr8bar10der. For the first time in a long time I'm steadily employed so the car will be done sooner than later... lol
  |
|
|

|
|
|
#52 |
|
Nissanaholic!
 |
This build is awesome. Exact route I were to take if I were to build a coupe.
|
|
|

|
|
|
#53 |
|
Zilvia Member
 |
|
|
|

|
|
|
#55 |
|
Zilvia Member
 |
Well it hasn?t gone far and for a while there was very little progress. The start of a new job took up nearly 11 hours of my day, including commute. Needless to say the motivation to continue work on the project was running low. The car sat untouched from winter 2018 until March 2020, thanks to becoming a remote worker.
I had previously sold the 4 lug Yokohama Advan AVS VS6s and really wanted a more aggressive set. By fall 2019, I was able to purchase a set of them in a square 17x9 +18 spec. Shout out to Fedex for dragging my wheels everywhere and basically giving them all curb rash. Opening up a claim with Fedex literally resulted in the worst headache and them acting like I never existed.  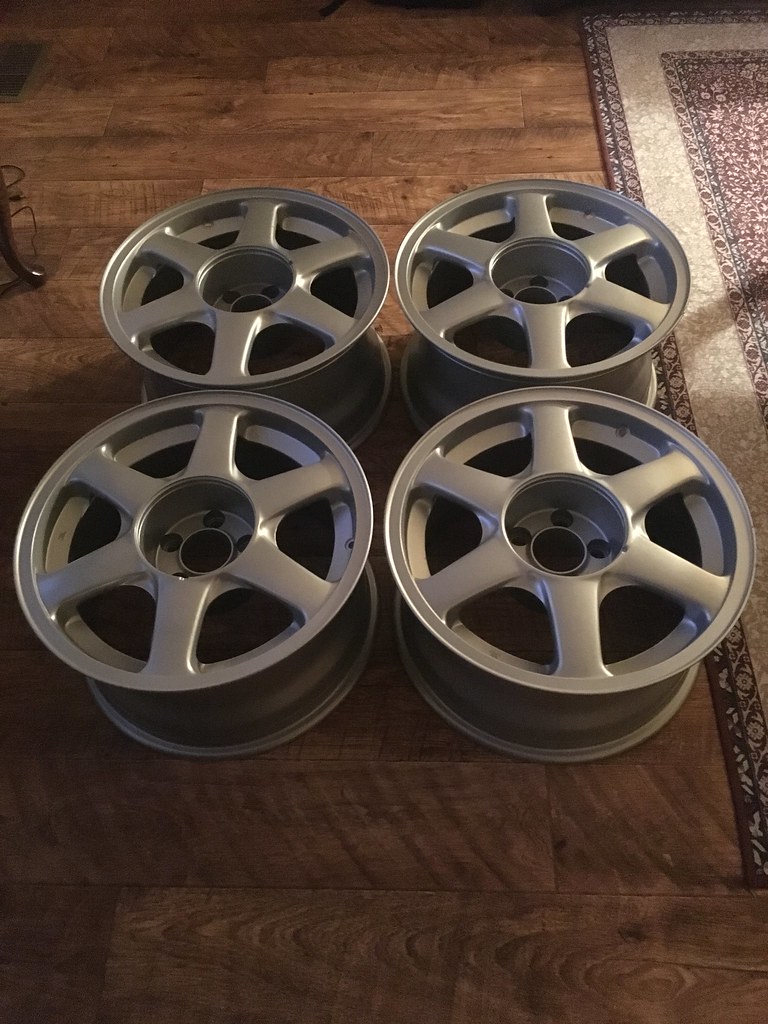   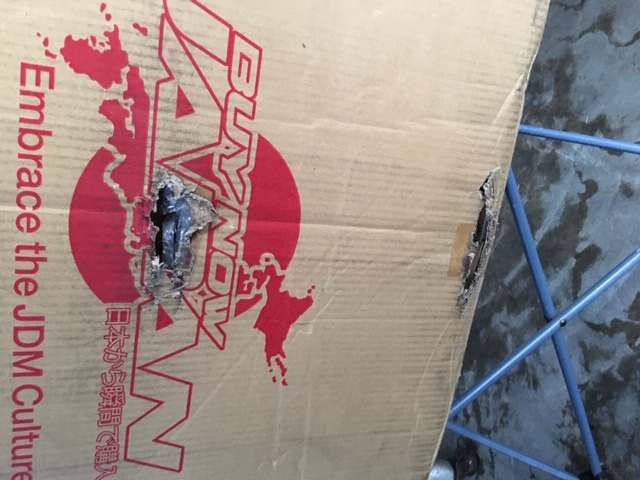 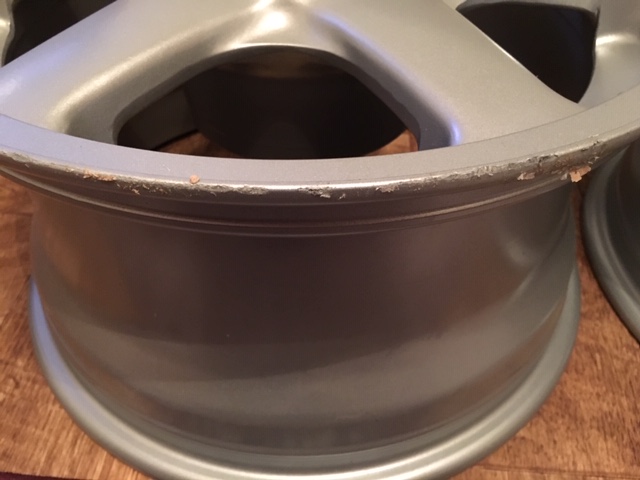 The interior was 95% complete for the car but I had yet to wrap the visors. This was my second attempt and I?m fairly happy with the outcome. I hotdog bunned them together, stapled them down to set the glue and sewed them together.   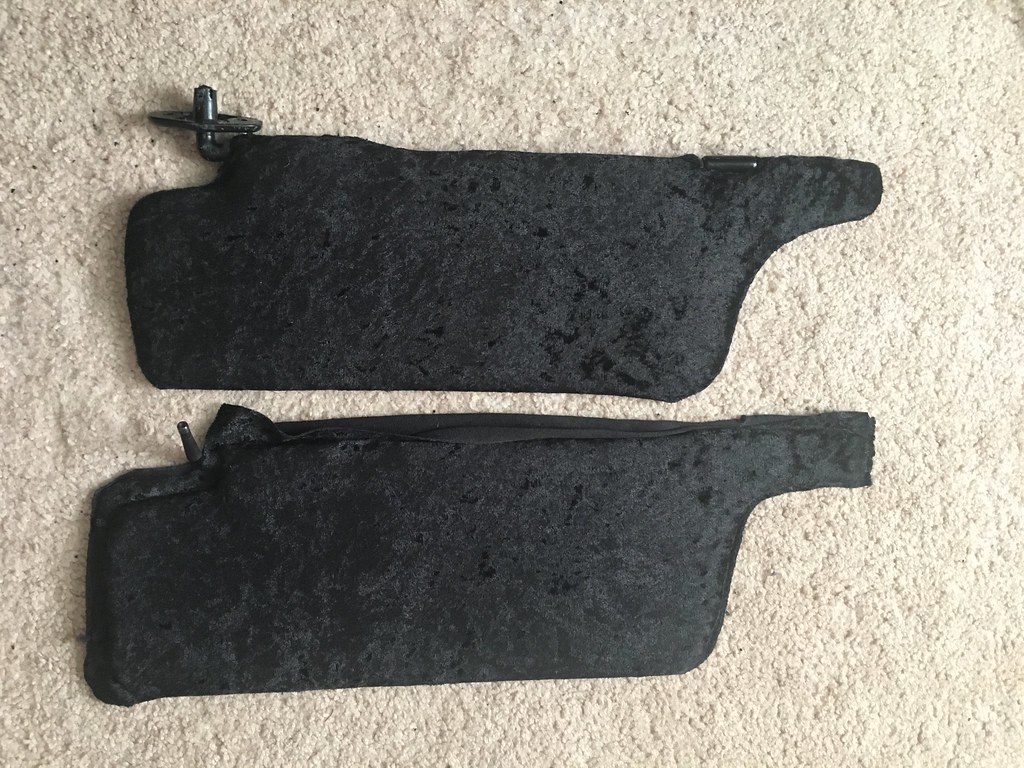  Eastbear mirrors, thanks to Streeter. They happened to be repainted multiple times. While sanding them down I found maybe 10 different layers of paint. I took them all the way down to the plastic in preparation for some minor repairs and paint. Wet sand, wet sand, wet sand.  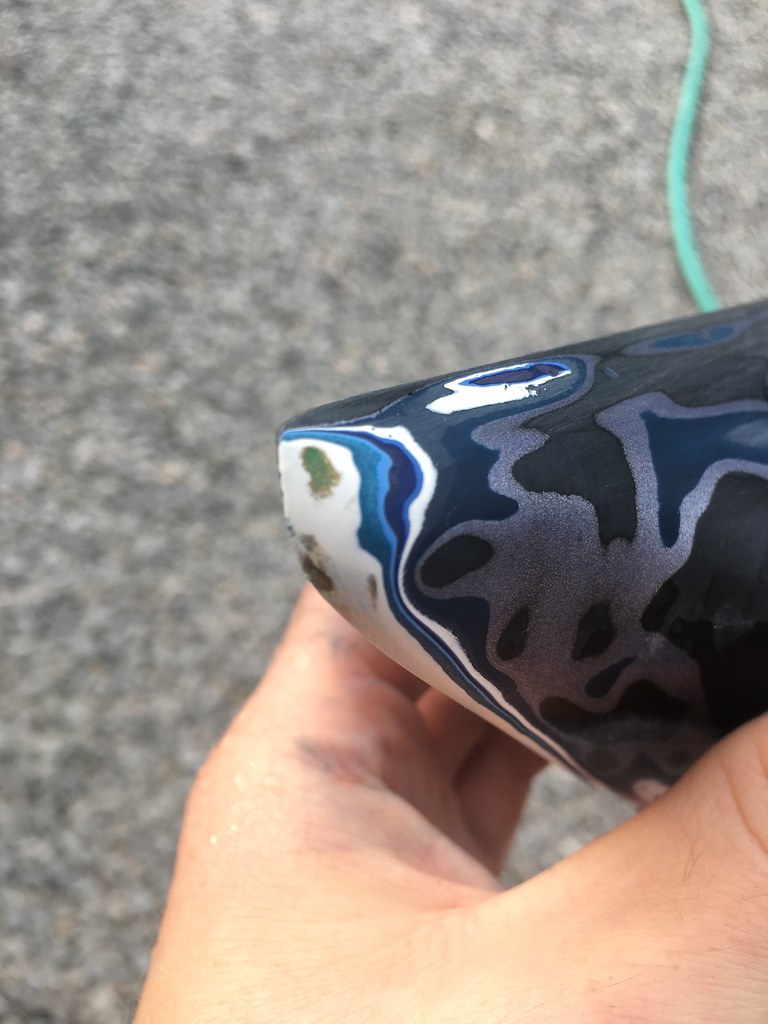  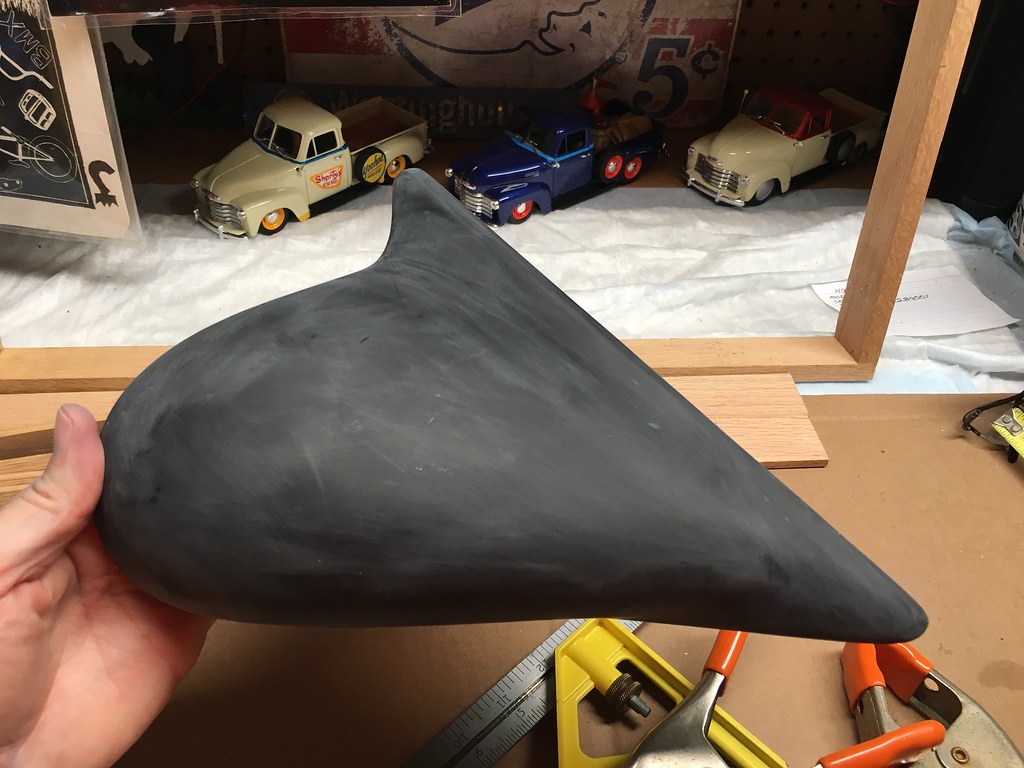 Ahh the engine bay, yes, the biggest waste of time during this whole project. I wish I would have just moved on after the last pictures I posted of it etched, primed, and seamed sealed; but alas, I decided to make it perfect. There was rust beginning to form under the etch primer which resulted in me taking it back to bare metal. Eventually I got a decent base primer on it and used filler? to even out my fabricating skills. Not exactly the best direction, but after spinning my wheels, I think it?s going the right way and looks pretty good for a tin can. 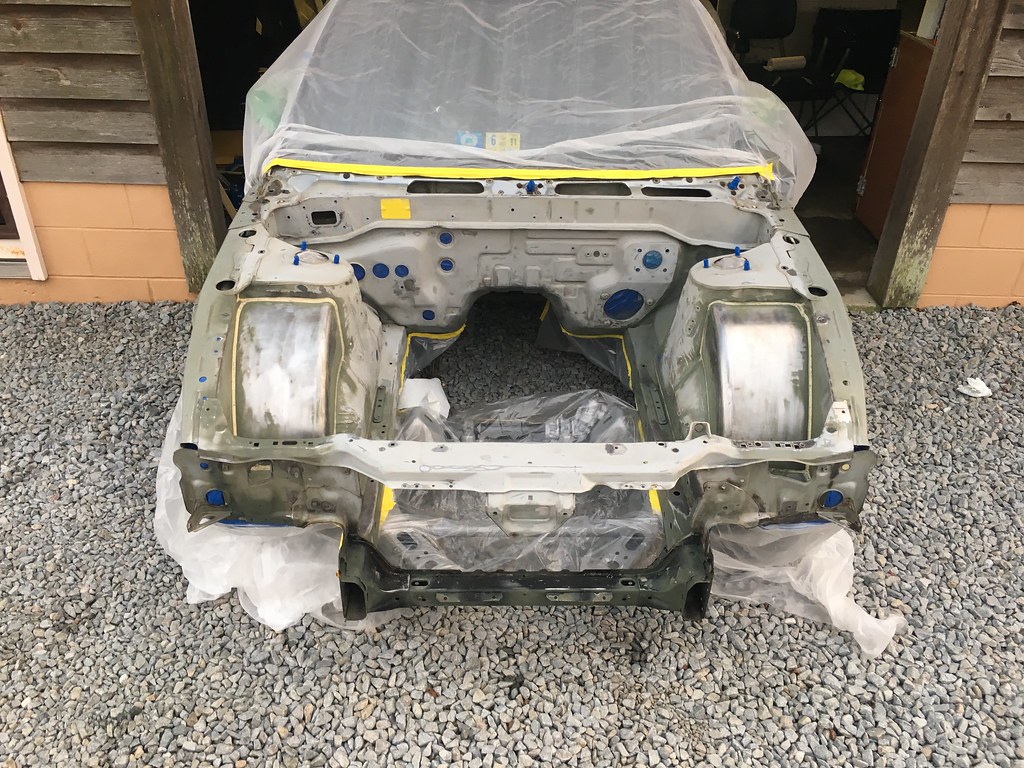 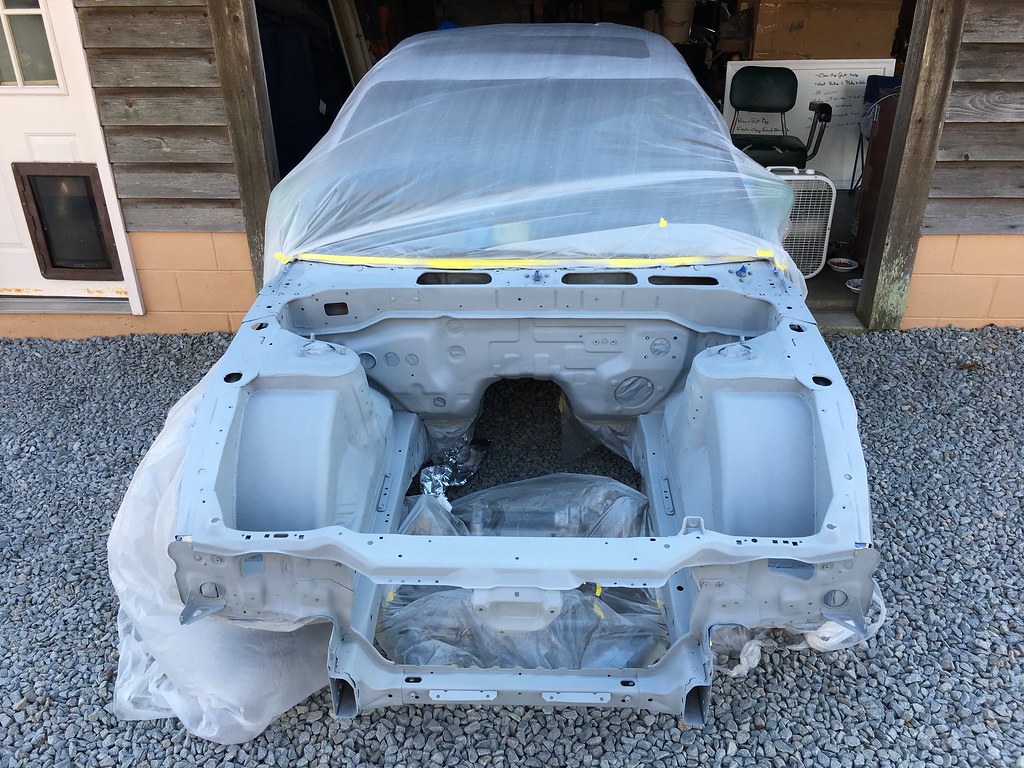 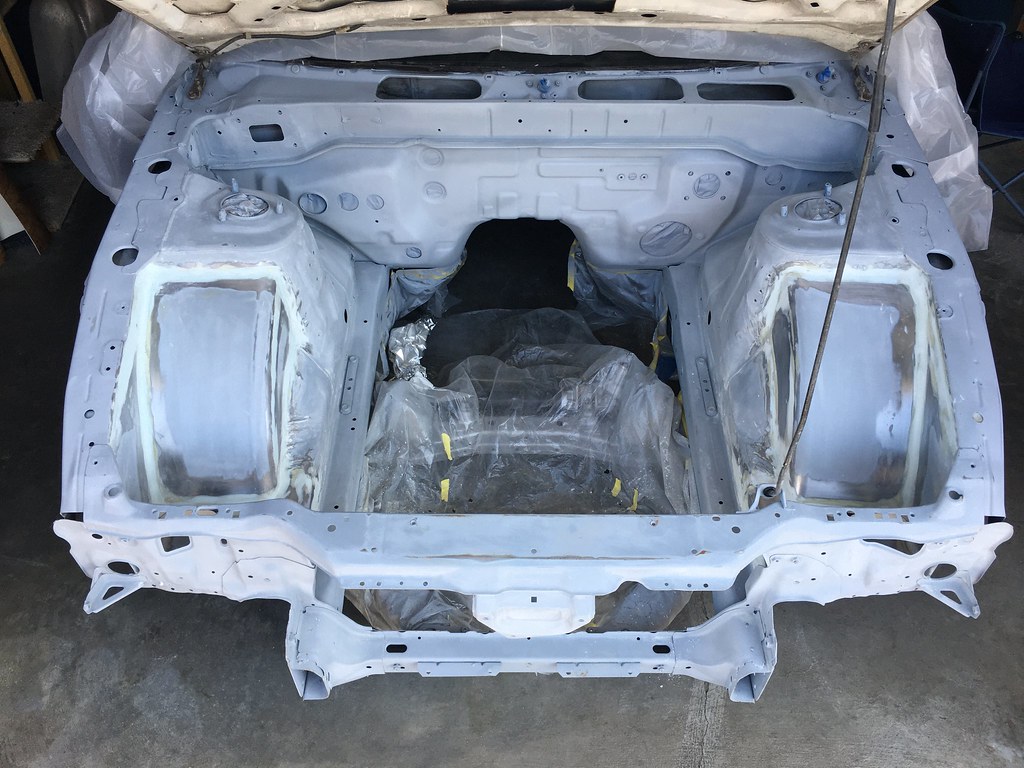 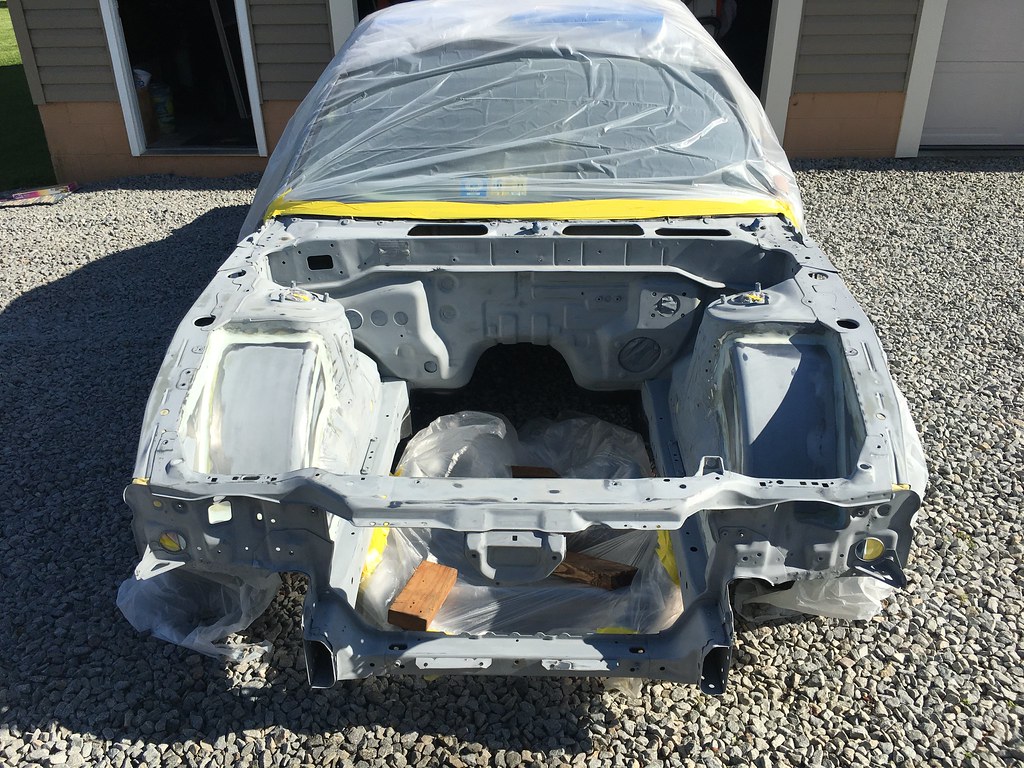 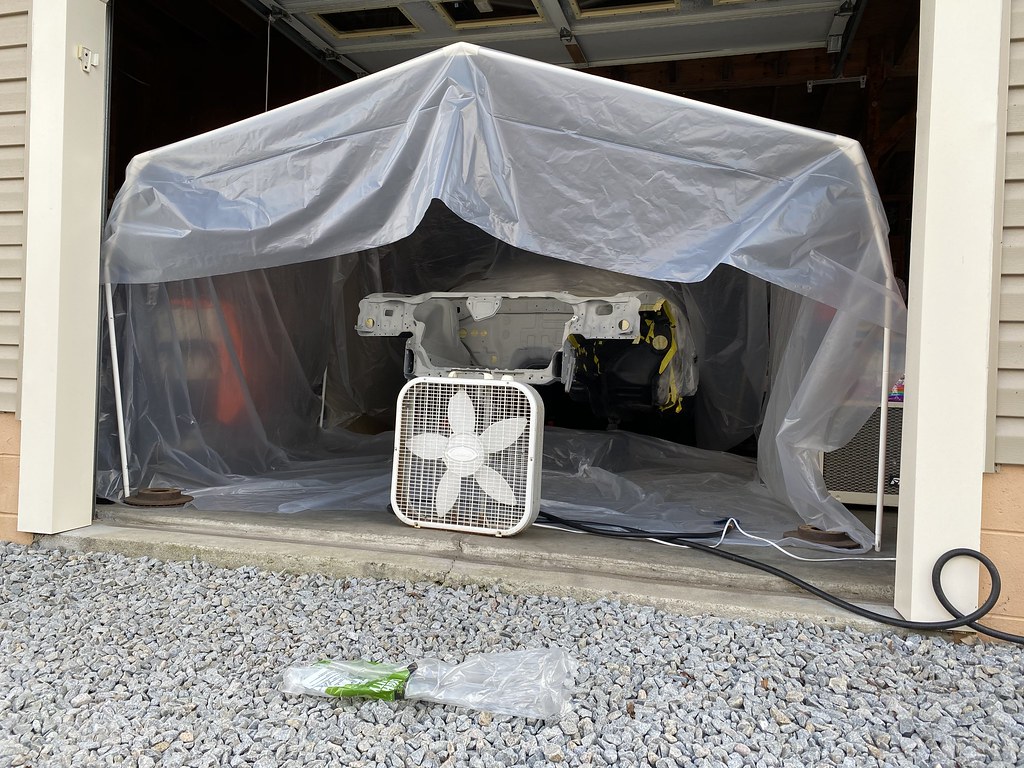  In late April, my friend Nick told me that a buddy of his wanted to sell a running KA24DE out of a 95 auto. The price was right and the LS bug bit another one. In the interest of keeping things simple, I did a quick refresh on the engine and took care of the leaky oil pan. I plan to have the car ready to drive soon so maybe a turbo build down the road is in order for my spare engine. 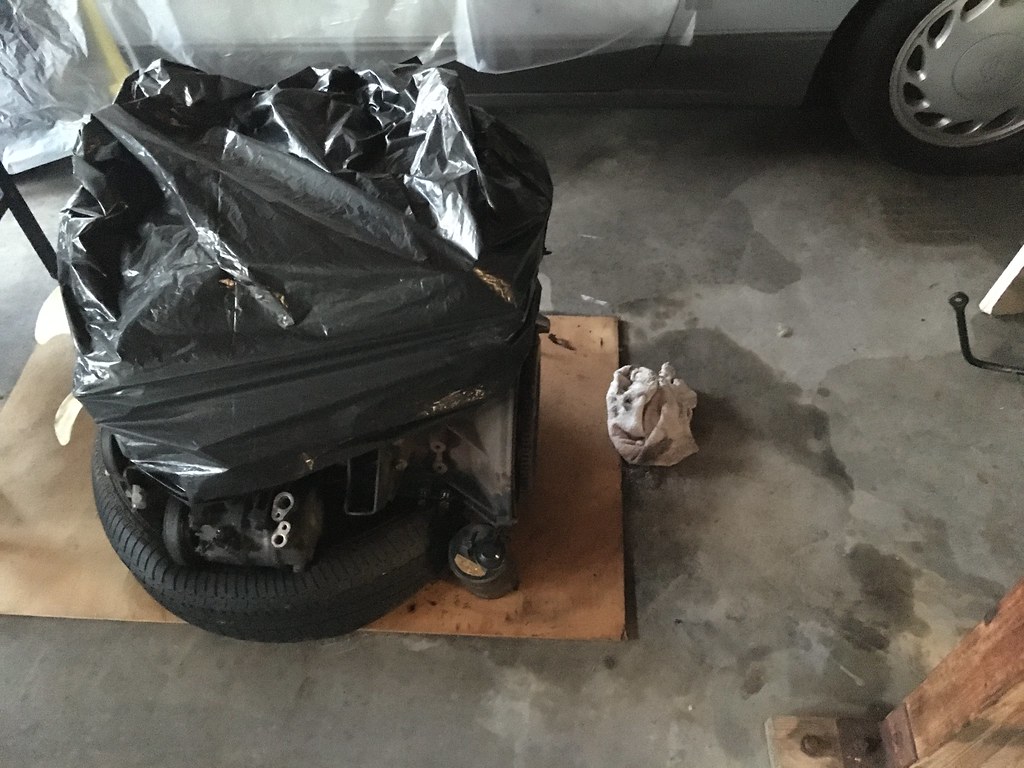      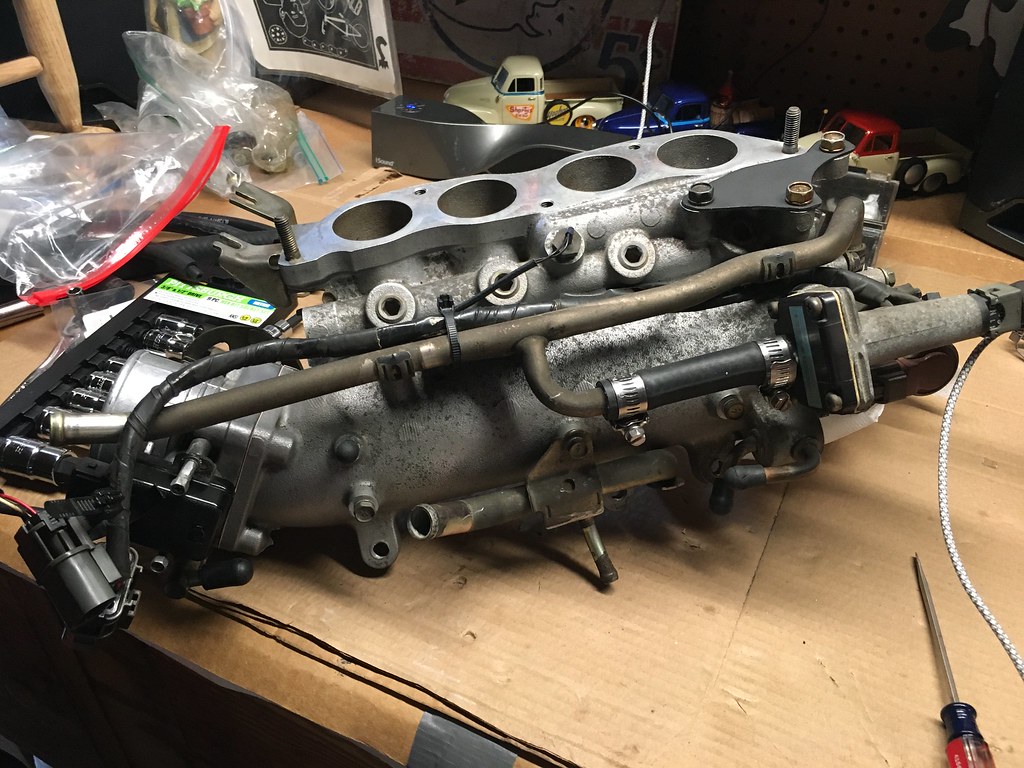  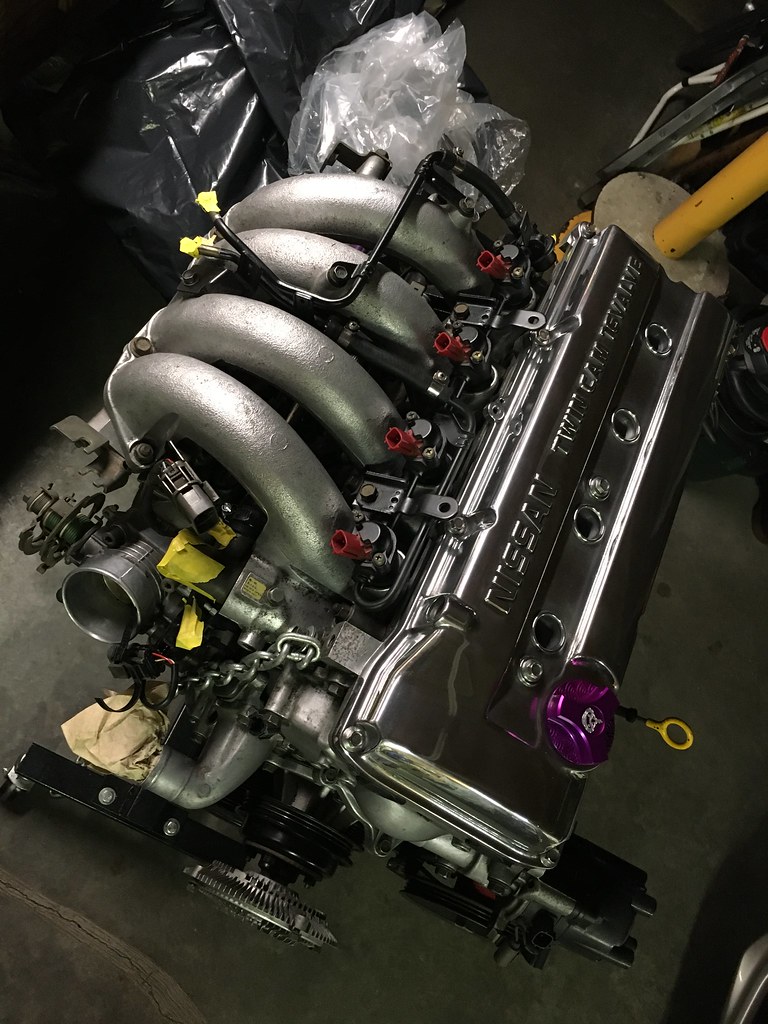 With picking up the new Advans, I went down the rabbit hole of a 5 lug swap and Z32 brake upgrades. I went with the Part Shop Max calipers front and rear. I was also lucky to score a set of rear aluminum calipers from the junkyard. This time around, I decided to press in the new bearings myself using a rented press? what a time.   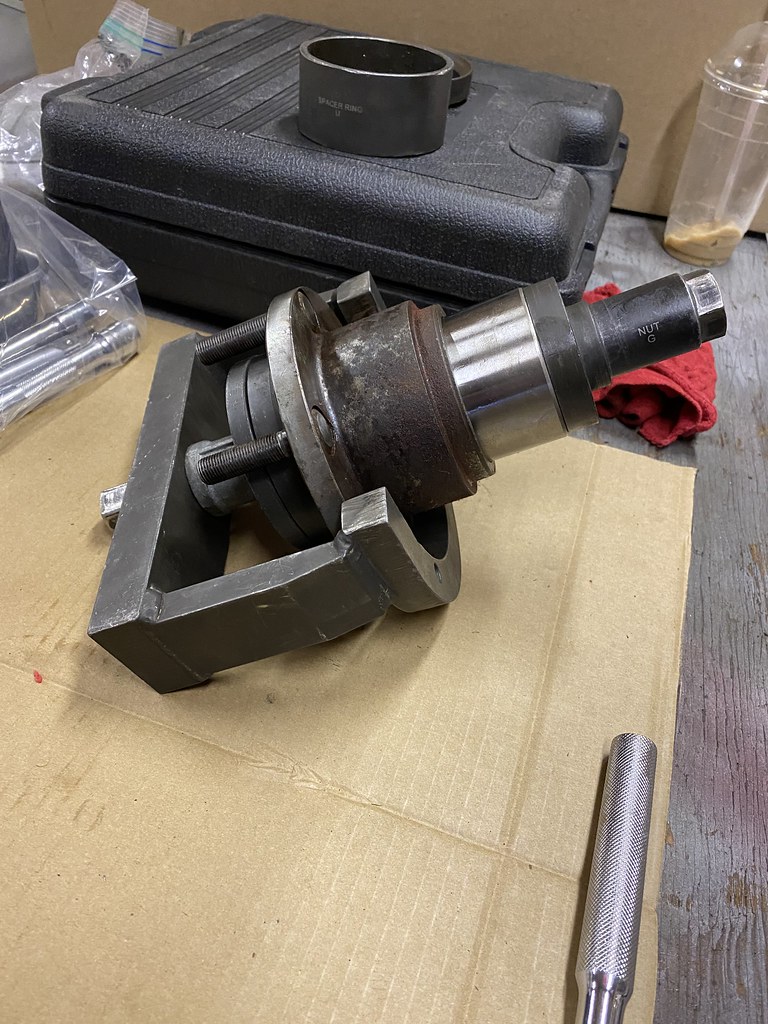 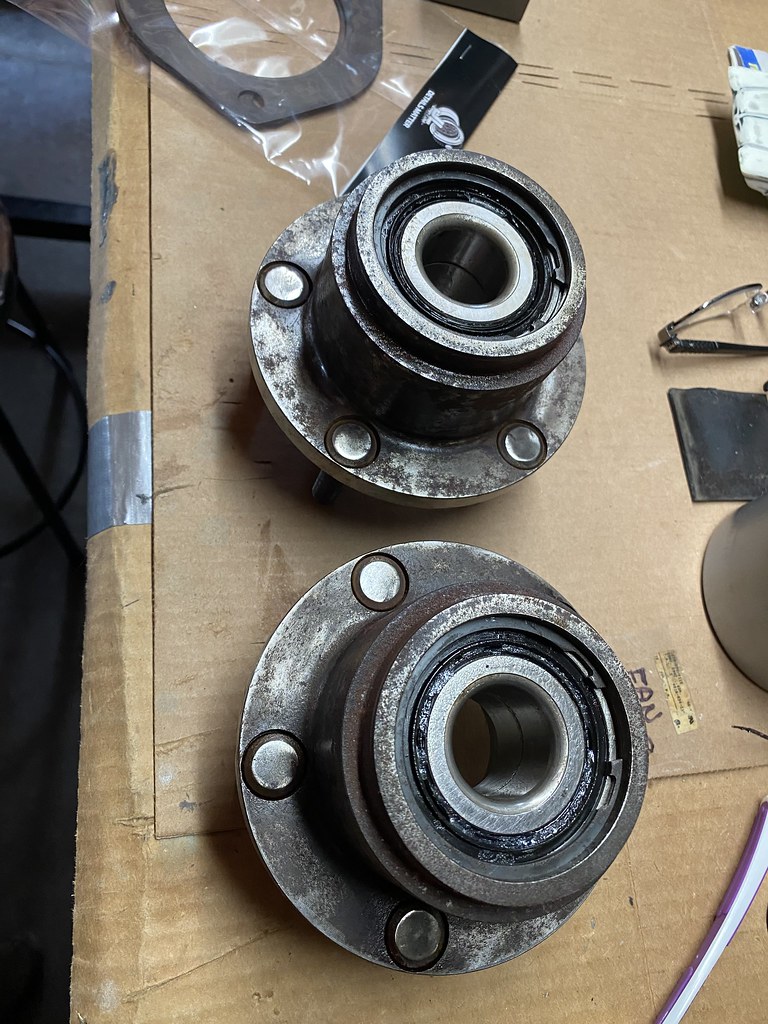  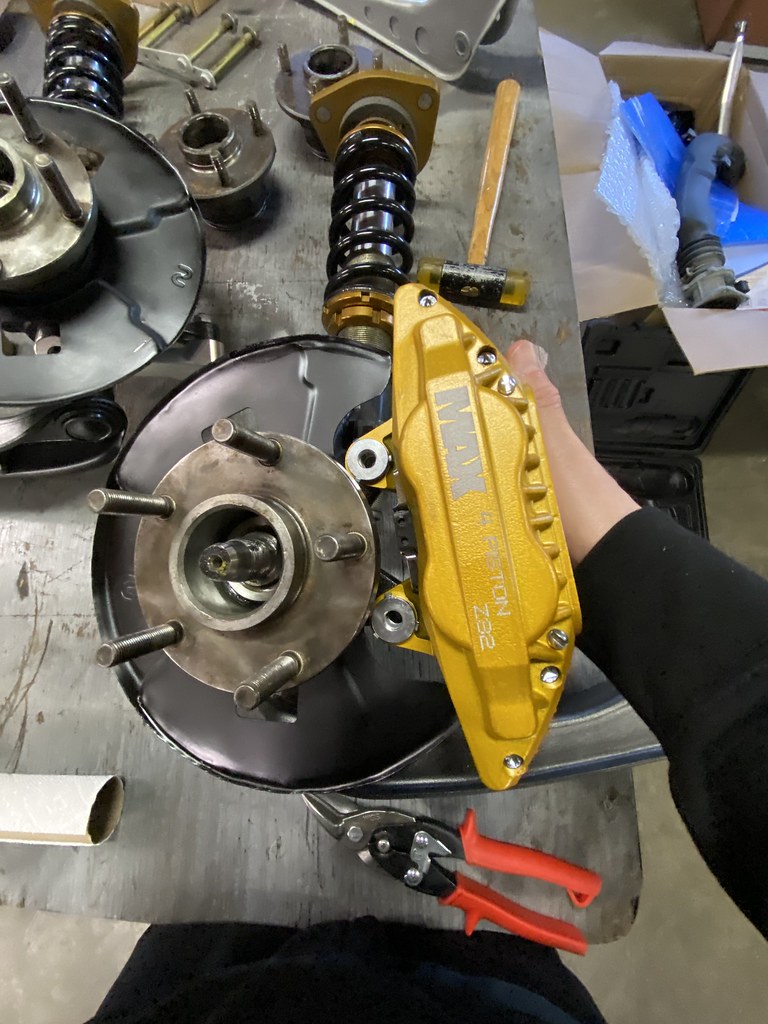    In early December, another set of VS6s came up for sale with Falkens already installed and I couldn?t resist. The drive to PA for them was definitely worth it; the powder coat finish is amazing. I made a stop along the way and picked up a Nismo strut bar as well. The wheels' specs are okay: 17x9 +35 and 17x9 +18. I?m currently going to just run a 10 mm slip on spacer to make the fronts work. 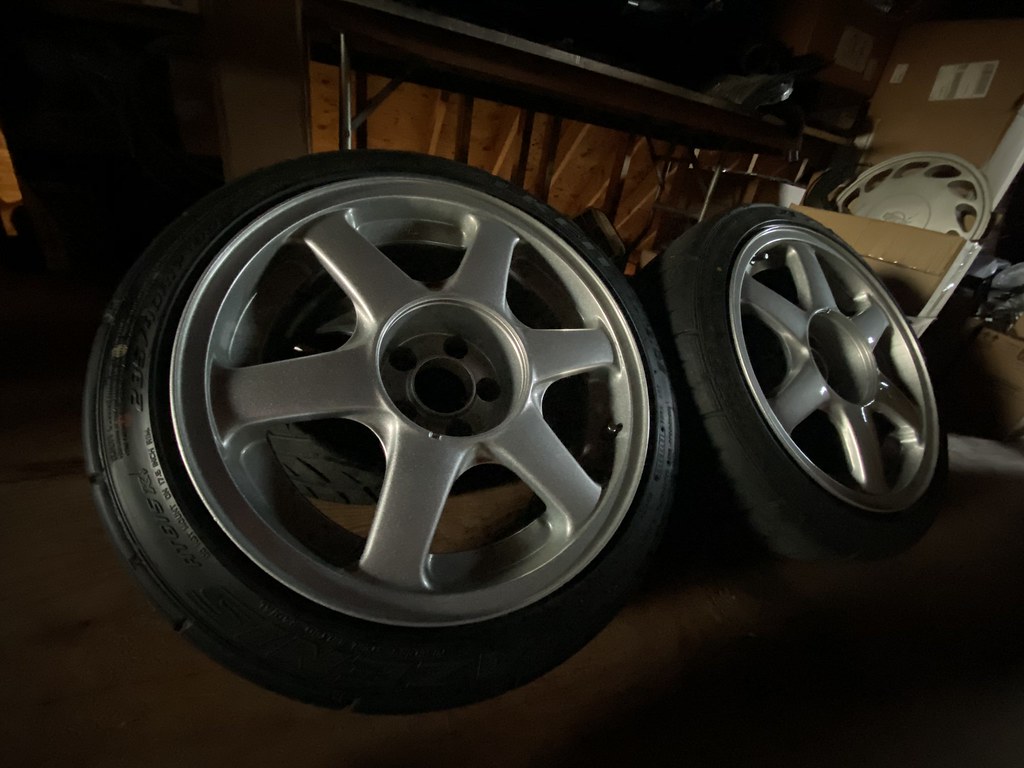  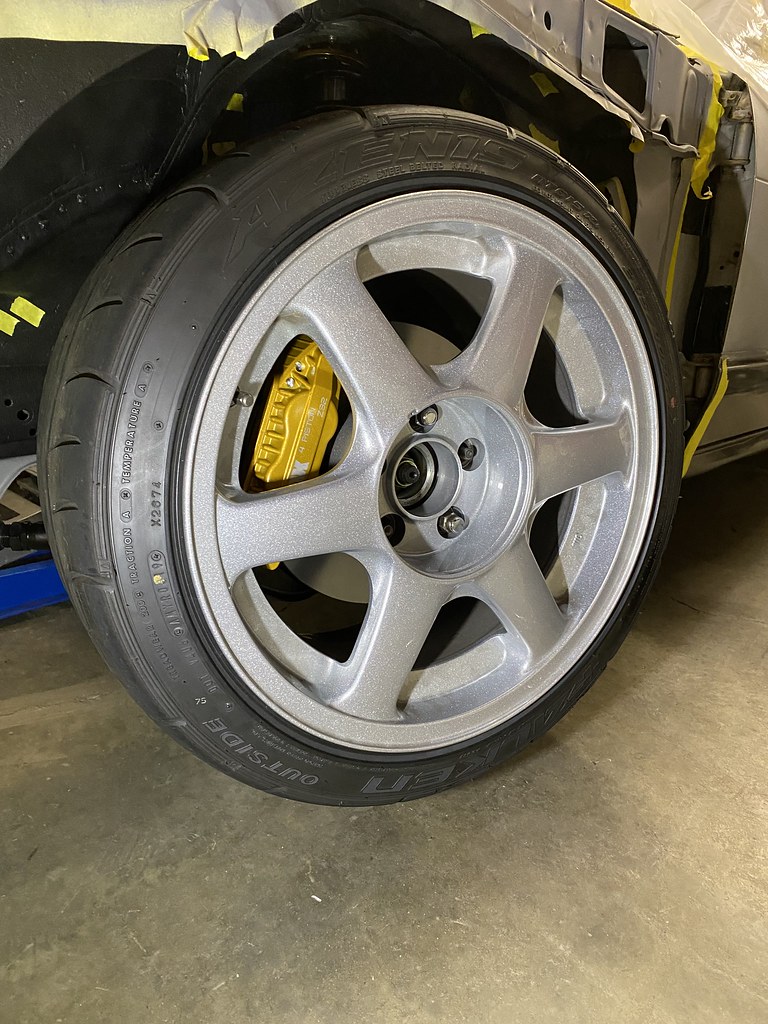   Hopefully by late spring I?ll have a lot more accomplished and another update. As always I appreciate the support of this community a ton. |
|
|

|
|
|
#56 |
|
Zilvia Member
 Join Date: Feb 2010
Location: Virginia Beach
Age: 31
Posts: 222
Trader Rating: (2)
 Feedback Score: 2 reviews
|
Over the years I always want to do a clean bay and shave/tuck everything. But my worst fear is going down a hole and never get it running again. I hope you over come it and make it work. You been a lot with this one. Hope it will finish soon bud.
|
|
|

|
|
|
#58 | |
|
Zilvia Member
 |
Quote:
 Great progress so far! Also, great choice re-stripping your bay and putting a new coat of primer. Etch primer isnt great, a better product you want for bare metal is a 2k epoxy primer, which seals the metal from moisture, especially in an engine bay that sees a ton of moisture and isn't sealed like the inside of the car. I'll be following to see your progress! Bring this to Spirit.JP once it's done  |
|
|
|

|
|
|
#59 | ||
|
Zilvia Member
 |
Quote:
You know it! Keeping on the work almost everyday right now. That light at the end of the tunnel might exist haha Quote:
So that's what I ended up spraying. I had some of it flash dry and stick into the wet primer. I've got filler primer over it and I'm trying to wet sand down all the nubs of paint without cutting through the epoxy. Frustrating to say the least. I'm planning to spectate Spirit.JP later this summer, hope I'll catch you there! No telling if the car will make it though ahah but that is the goal. |
||
|
|

|
 |
| Bookmarks |
| Thread Tools | |
| Display Modes | |
|
|