
 |
|
|||||||
| Home | Rules & Guidelines | Register | Member Rides | FAQ | Members List | Social Groups | Calendar | Mark Forums Read |
| Builds (and builds only) Got a build thread? It goes here, build threads anywhere else on the forum will be locked and never moved. |
 |
|
|
Thread Tools | Display Modes |
|
|
#61 | ||
|
Zilvia Member
 |
Quote:
Quote:
its the spray can 3M undercoating i was using. recommended by the paint supply shop. i'll try to get a picture of it later on. very easy to use. i just wire brushed the surface to clean up any dirt or mud, compressor air to blow it off and finish cleaning it with a wet tower. then just spray it on. i wouldn't use primer on this. coating stays pretty well even on bare metal. excellent product from 3M. |
||
|
|

|
| Sponsored Links |
|
|
#63 |
|
Zilvia Member
 |
lol thanks man. i worked in a shop for two years but not anymore. got couple of ASE licenses and dropped off. learnt a lot of basic from those two years but most of my knowledge are from self learning. asking questions on zilvia.net and got flame, ls1tech, silviav8forum, google, youtube etc. and of course Todd @ fueled racing and Yuri @ wiring specialties answered most of the swap related questions.
|
|
|

|
|
|
#64 |
|
Zilvia Member
 |
week # 14
the weather has been taking away a lot of my project time here and there. I have to plan out my days real good so I can get the job done for the week, especially painting. this 03 Z06 shown up at work as a trade in and I got a chance to drive it 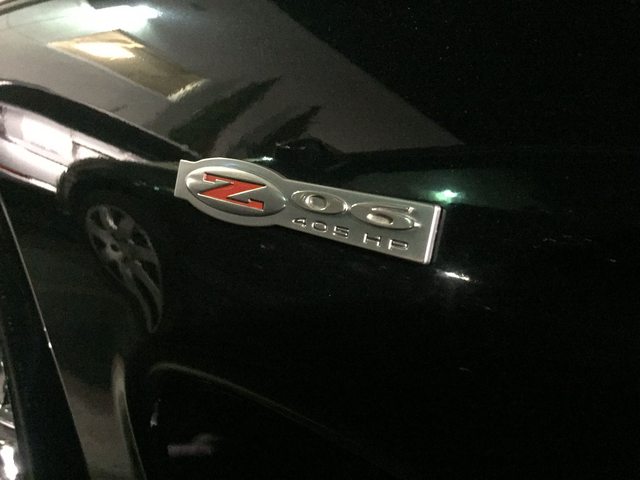 I've been dreaming of how my car will feel like after the swap. but the project is just taking forever. its good that I can feel the power of the 405hp LS6 so it motivates me to speed up on my project. this thing pulls!!! 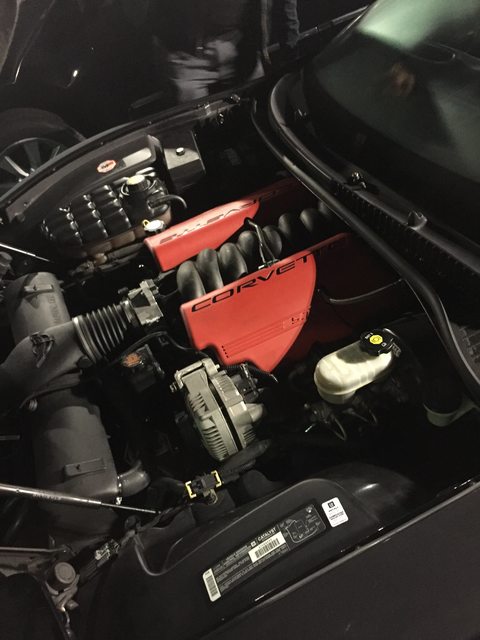 also couple of the battery relocation parts came in. and I got my redtop optima battery. 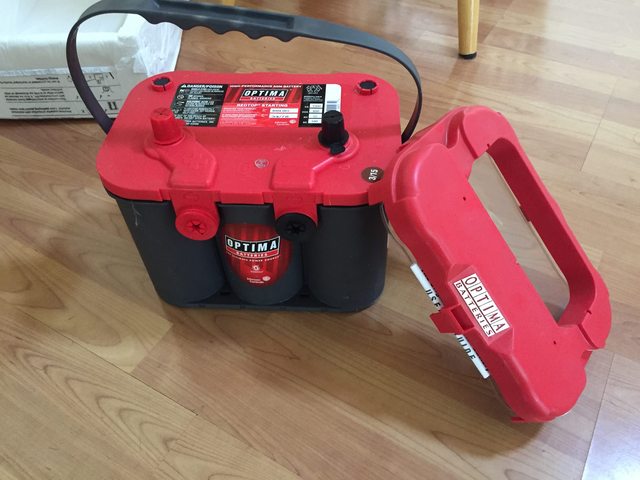 down to business. final sand down the primer, mask and get ready to paint. 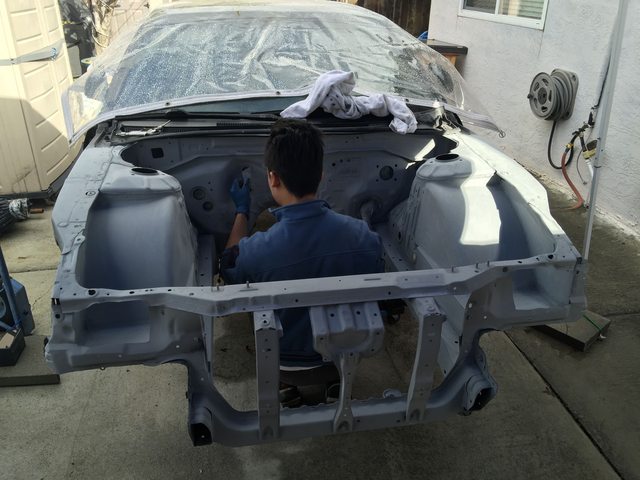 cant do much the first day, have to wait till the sun comes up on the second work day after everything dries off. 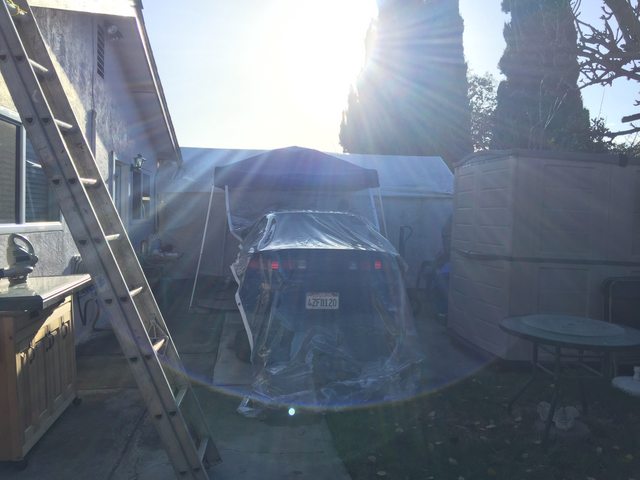 factory black for the engine bay, wanna keep it simple. nothing crazy like green or gold, just not my type. 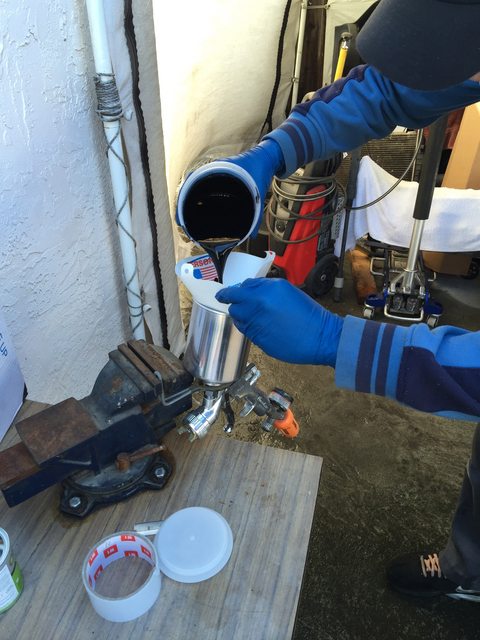 here we go. 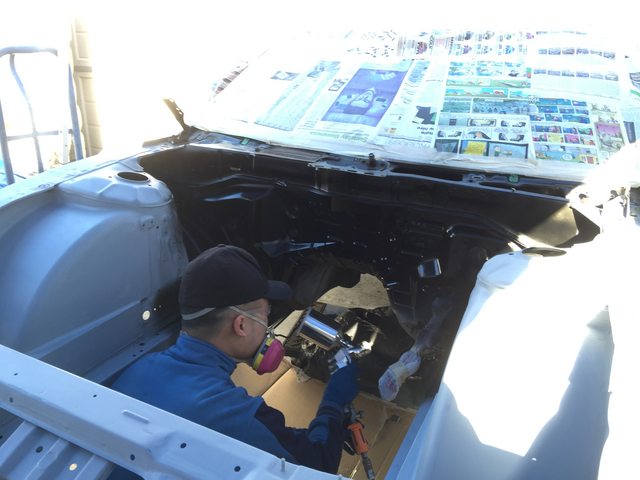 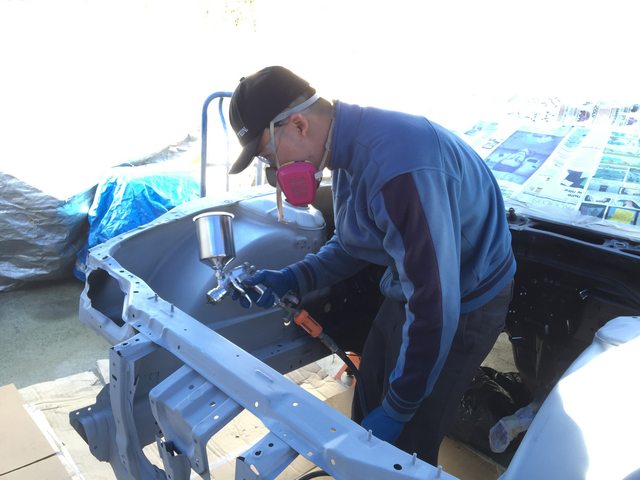 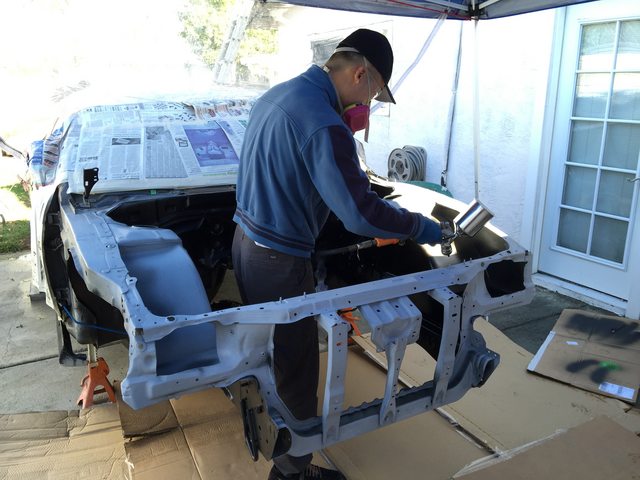 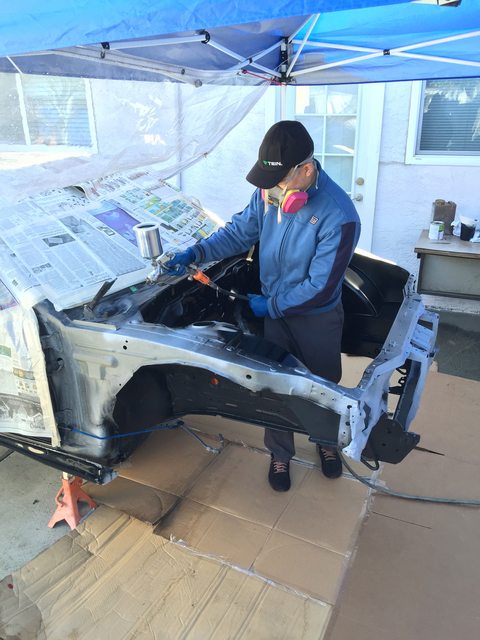 i did 3 layer of base coats. 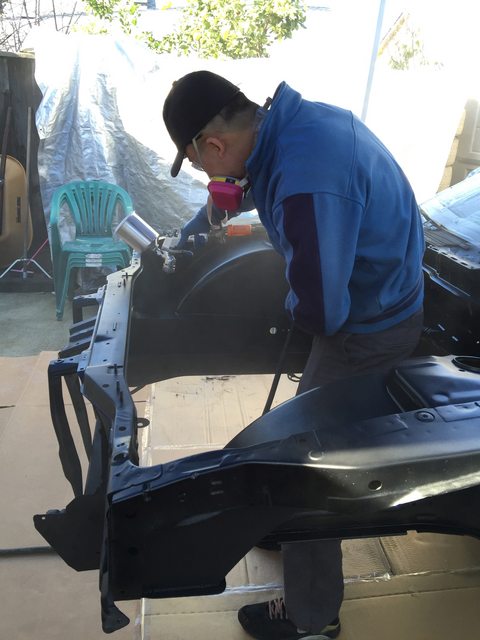 now for the clear coat. 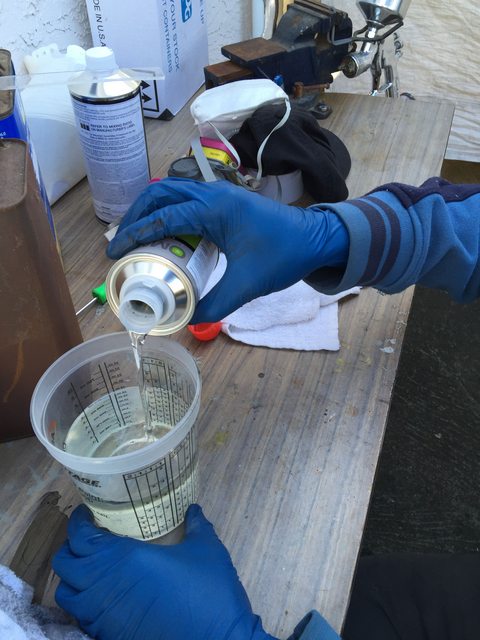 cant take picture while shooting the clear cus the clear coat is floating all over the places, but here's after the clear. 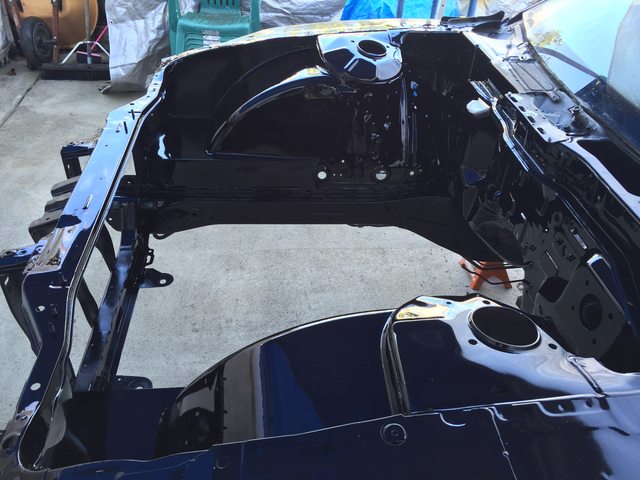 turns out alright. its just difficult to make it perfect as there's a lot of uneven spot in the bay. or just my skill level isn't there yet. some wet sand and buffing will make it perfect but I'm not gonna do that. i think its good enough. 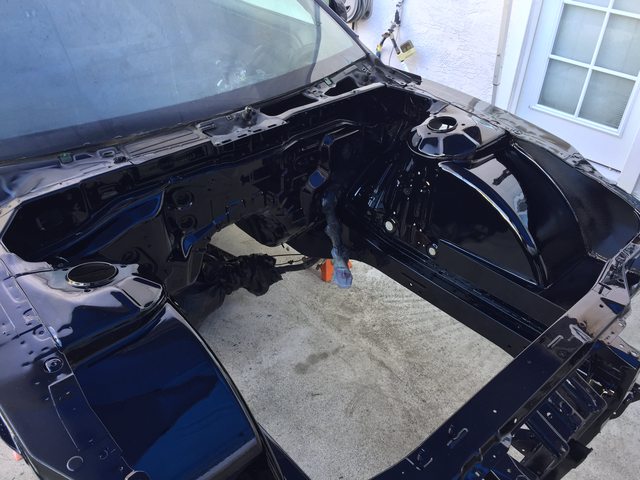 and here is a quick summary of this 2 months almost. 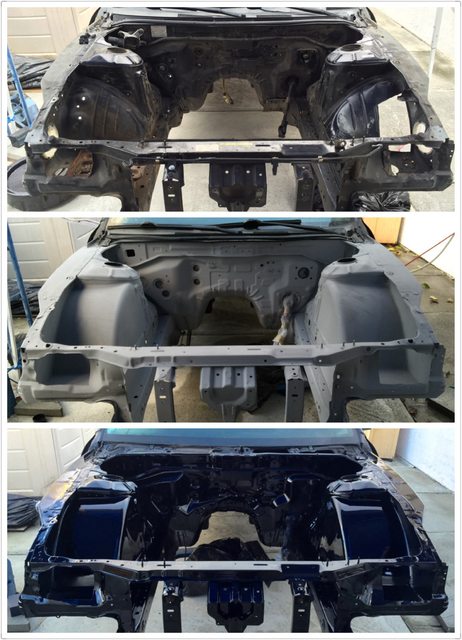 i'll let the paint dry for a week until i do anything on it next week. looking to finish the fuel system, heat insulate the tranny tunnel and wiring work. i also just dropped another $2.5k for some more goodies. I'm excited! thanks for watching. Last edited by SR2oD3T; 03-13-2018 at 07:41 PM.. |
|
|

|
|
|
#65 |
|
Leaky Injector
Join Date: Nov 2011
Location: Louisiana
Age: 35
Posts: 90
Trader Rating: (0)
 Feedback Score: 0 reviews
|
The bay looks mint in the pictures bud. I am guessing we have to wait to see what the goodies are? This is definitely one of my favorite build threads this year.
|
|
|

|
|
|
#69 |
|
Zilvia Member
 |
week # 15
got some work done this week but ls1 is still not in yet. lets start off from some goodies I mentioned. finally pulled the trigger on the pbm pro coilovers. I wanted to replace my old tein ss for a while just didn't get a chance. my rear upper arm is rusted preventing me from getting lesser camber than -2, toe arms are off brand from pre owner. its just about time to replace them all together. 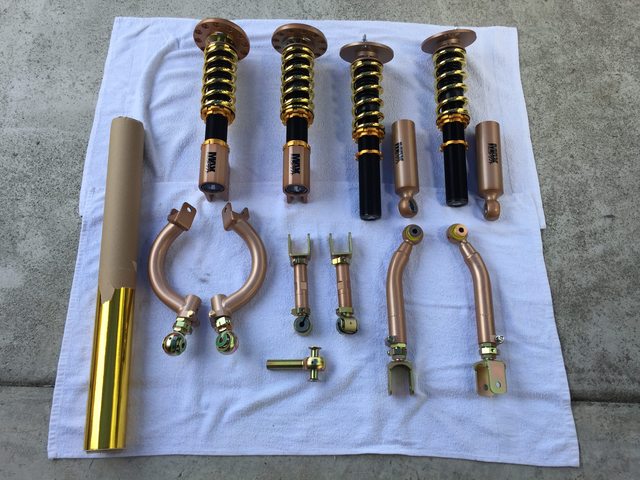 also the gold reflective heat insulation from Thermal Protection Inc arrived. most people go with DEI but from my research, this is more legit. its not cheap either. but i'll rather go with the best that I can get. here's the link and they show a good comparison. http://www.thermalprotectioninc.com/...ive_Films.html I wanna finish the fuel system first. I got the long fuel kit from fueled racing to completely replace my fuel line from the fuel pump. even tho Todd told me I don't need to drop the tank or anything, I still dropped my subframe for easier access and I need to do my rear suspension arms anyways. 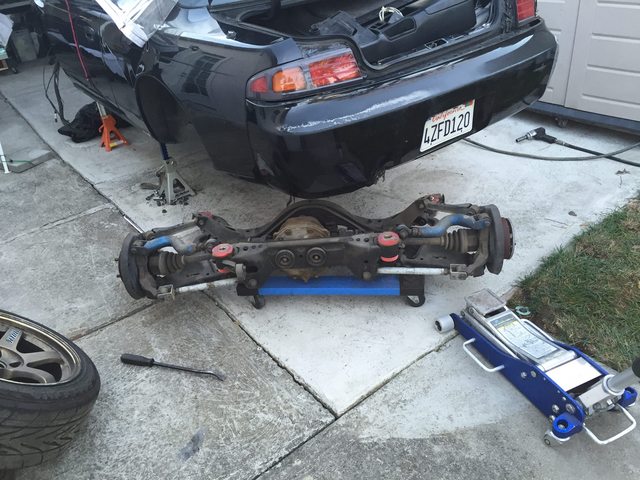 I wanna be super careful on this so I marked everything and verified with todd before I take off anything. but the fuel pump already have a small arrow pointing the direction of the fuel goes. 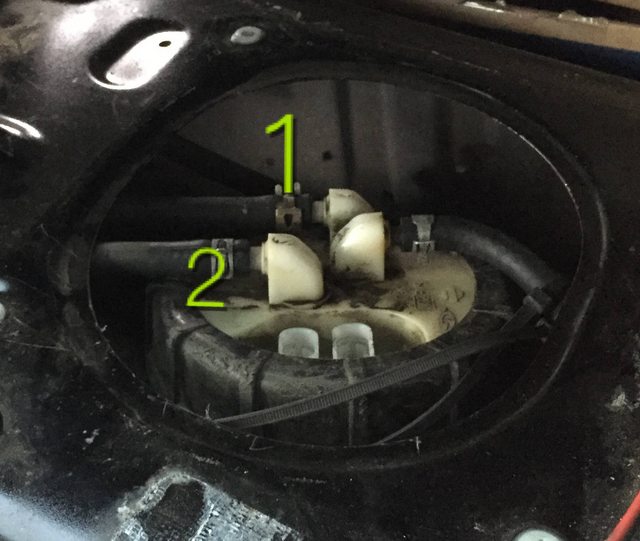 there were four lines here. rear brake, fuel feed, fuel return and fuel venting. 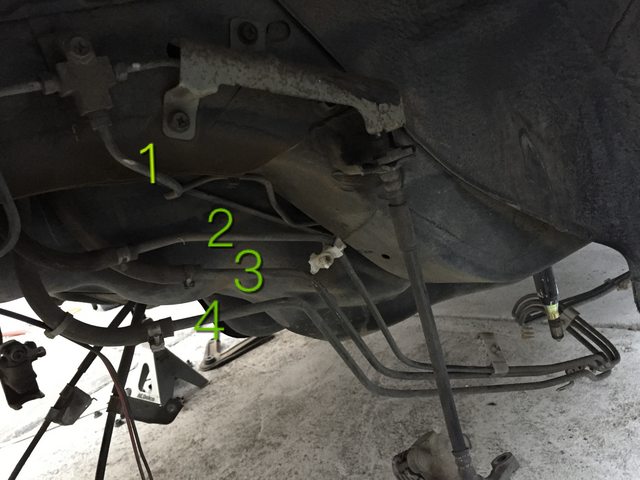 factory hard lines out. both feed and return. 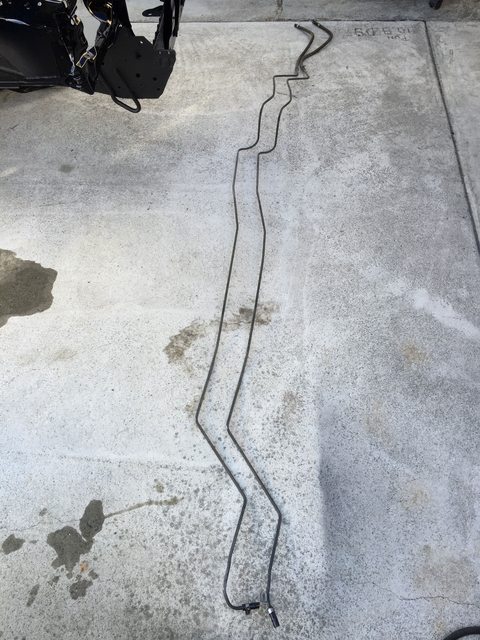 wasted some time on cutting the braided lines. hard to get a clean cut and put on the fittings. long story short, went home deport got some right tools and line goes in. 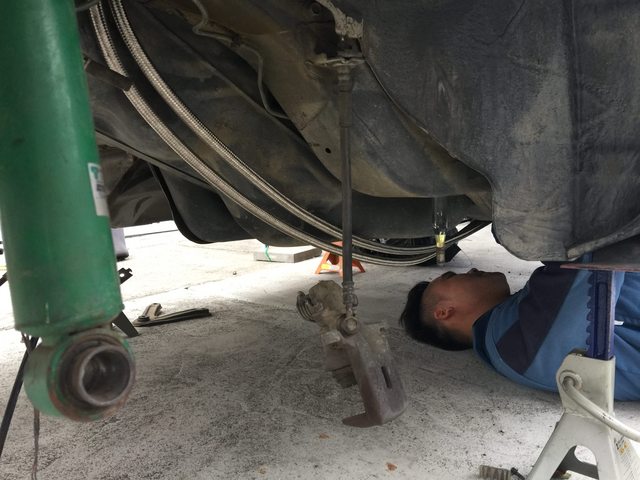 for the new filter location, no one can really give u any advise of where to put it for liability reason. I installed mines next to the frame rail. I might fab a under tray later on to protect it just in case. 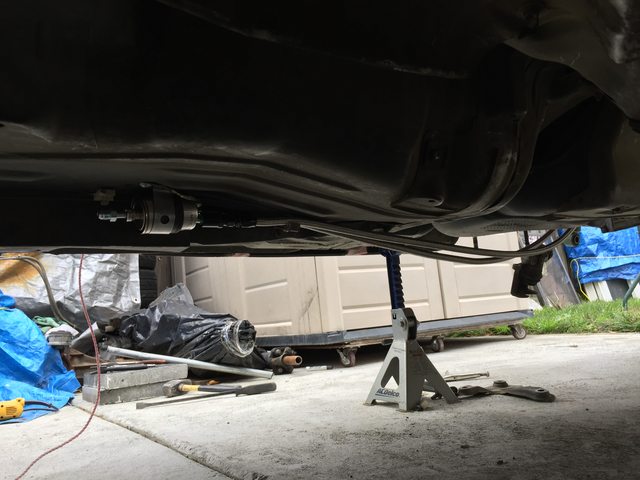 while going under the car, I got my wife to sand down the booster. ready for some fresh high heat paint. 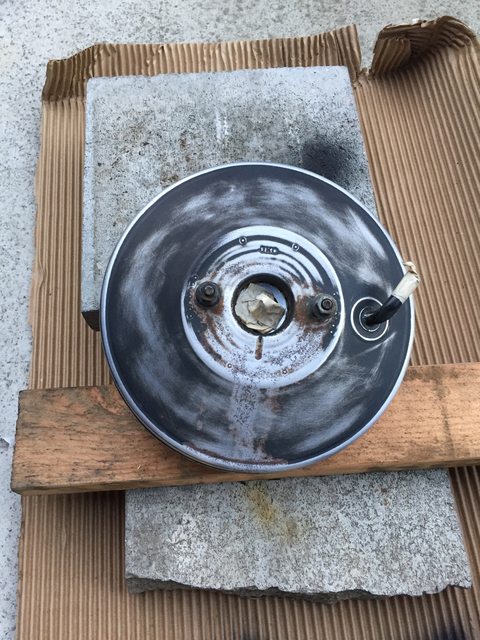 after couple months of taking part off the car. here comes the first assemble part. new wildwood clutch master from fueled racing. 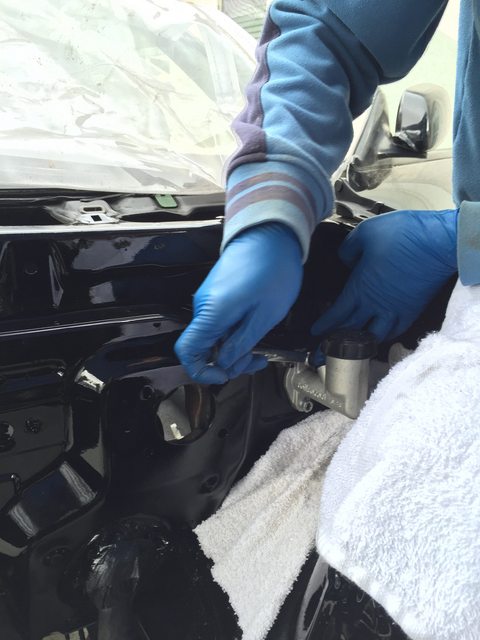 brake booster and lines went in. along with wiper motor and factory vin plate. 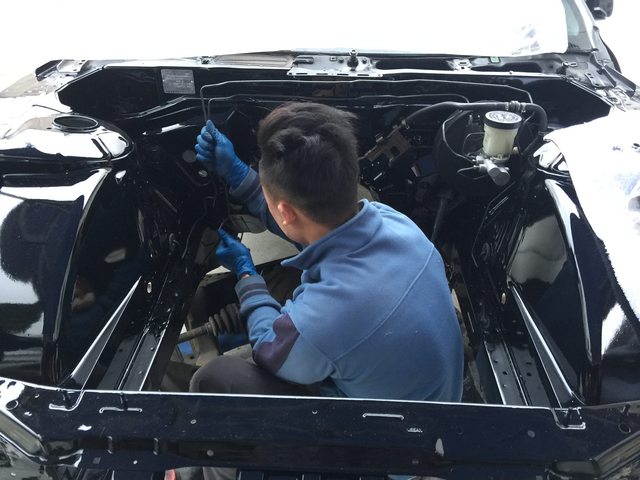 now back to the motor. taking the t56 out to install clutch line and re check all bolts. got into the first speed pump when I was trying to install the rack onto the crossmember. the fitment is so tight that the rack is touching the oil pan. I swear I read someone mentioned that before. but long story short, i just need to put everything in the engine bay before i try to align anything. theres no way that i can align the crossmember now. (ignore the cake) 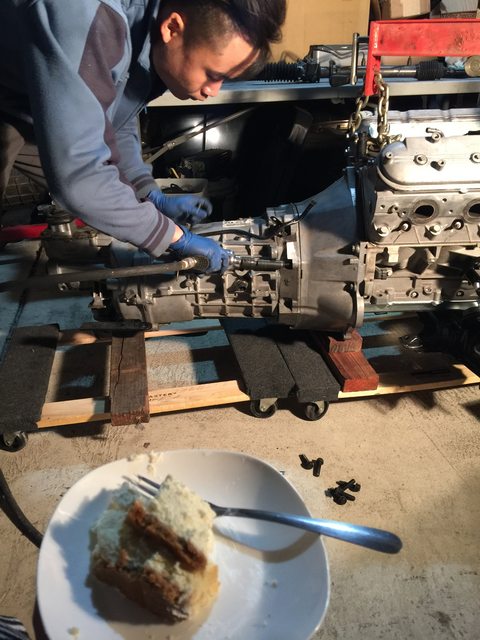 as usual, here's how it sits, waiting for the new heart... 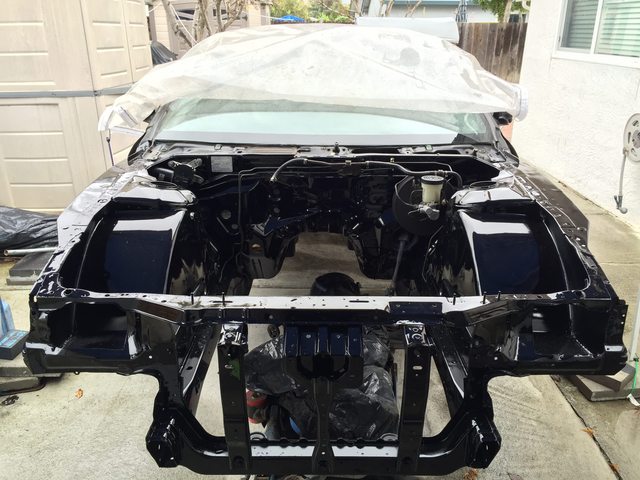 looks like weather is gonna take away one of my project day again this week. but for sure the swap will be in no matter what. just cant do anything until the swap is in. then will come wiring depends if the schedule allow. was hopping to have it fire up in 2015, but i think its gonna be in early 2016. thanks for watching. Last edited by SR2oD3T; 03-13-2018 at 07:49 PM.. |
|
|

|
|
|
#71 |
|
Zilvia Addict
 |
From your pictures it looks like you are using the pushon style fuel fitting.
You should use this style because you wont be relying on the plastic little insert. 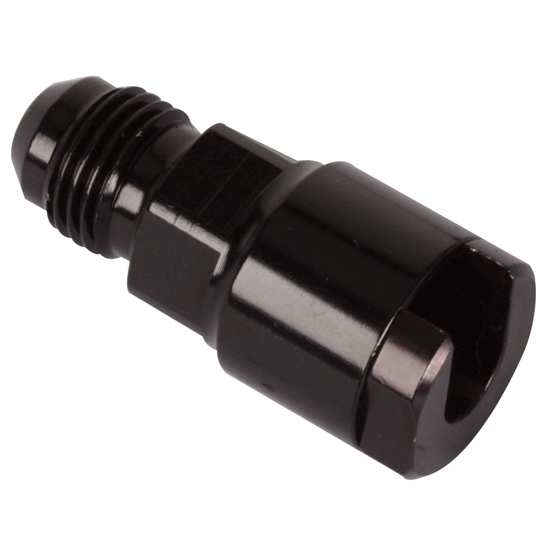 Trust me. I dont know why that old style is still being sold. This was my car and EVERYTHING in this swap was brand new and quality except the engine/trans. |
|
|

|
|
|
#72 |
|
Zilvia Junkie
 |
Quote:

__________________
89 S13/2JZ Silvia(Project Phoenix) IG @awrperformance FB awrperformance |
|
|

|
|
|
#73 |
|
Nissanaholic!
 Join Date: Apr 2003
Location: Austin, TX
Age: 37
Posts: 2,183
Trader Rating: (33)
 Feedback Score: 33 reviews
|
I made a thread about this and referenced it before. Unfortunately Anderson's car was one of many that it happened to. I setup a thread on in the Techical Forum to help avoid this issue. Such a shame that a beautiful S13 or any other car would be ruined cause of a silly failure of design.
|
|
|

|
|
|
#74 |
|
Zilvia Member
 |
oh DAMN!! that is NOT gonna happen on my car. that is crazy to see all the hard work got burn down in front of u. im gonna take a picture of the one that I have later on this week and see. also I m so getting a fire extinguisher inside the car after seeing this. sorry to see your loose and thanks for the heads up.
|
|
|

|
|
|
#78 |
|
Zilvia Addict
 |
Honestly a fire extinguisher would have not helped one bit. As soon as it caught I got out of the car, went to the front to pop the hood and the interior was already engulfed. The only hope I had in this instance was a plumbed fire supression system. Fuel fires are the worst.
|
|
|

|
|
|
#80 |
|
Zilvia Member
 |
|
|
|

|
|
|
#81 |
|
Zilvia Member
 |
this build thread is getting longer and longer as there are some good suggestions from many people. the start up day is just keep pushing back in a good way cus the build will be more solid and problem free. christmas week was wet and cold. i still spent 2 days working on it. knock down some task, ran into some more speed bump.
installed clutch lines, double check all bolts, tranny back together. 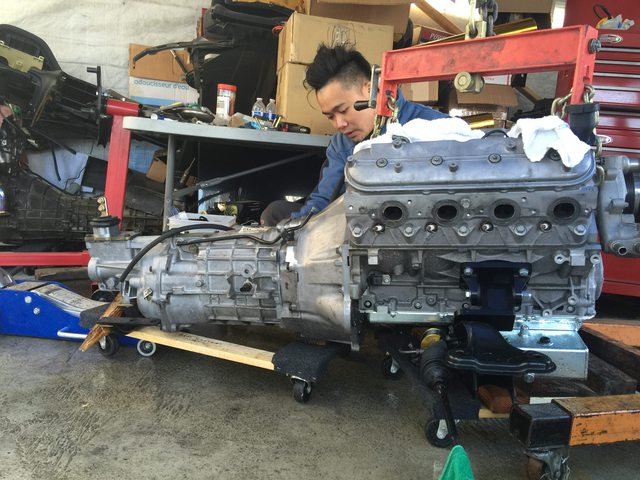 MGW shifter installed. i don't see i have much room after the swap is in if i don't do this now. 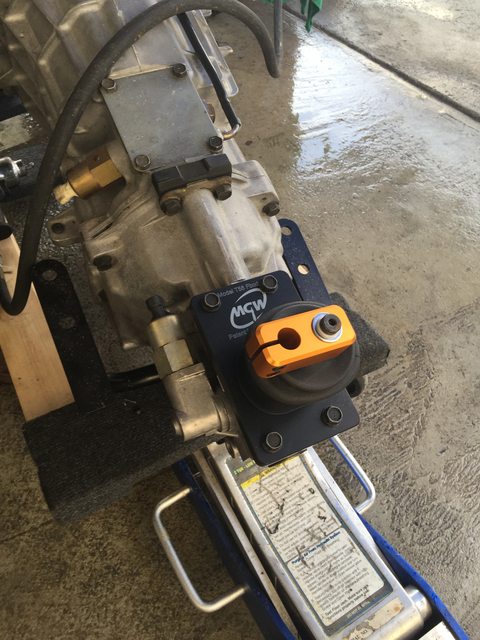 putting heat insulation in the tranny tunnel. the toughest part of it was raining and damn cold laying under the car. 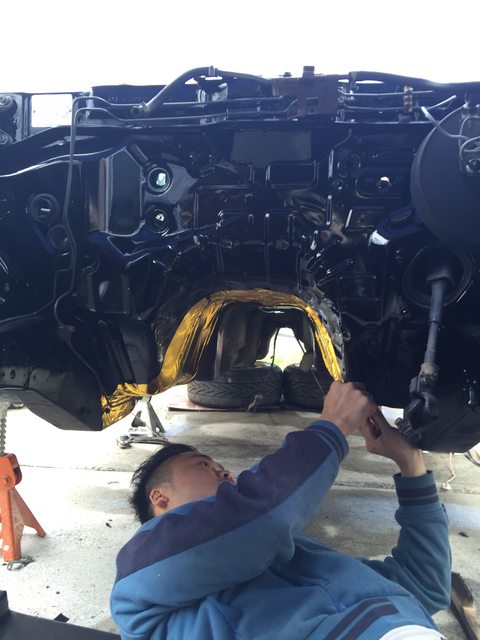 found a good place to put my hot chocolate to keep myself warm. 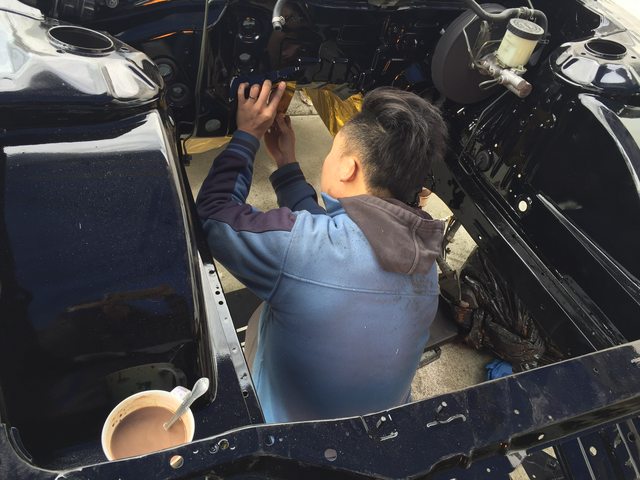 not pretty but got the job done. 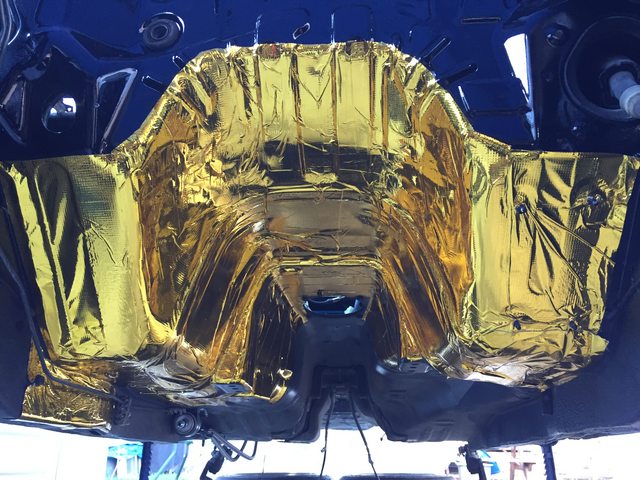 i think the heat most people get are from the header on both side not the tranny getting too close to tunnel as the header will seat right under the panel without heat shield from factory. but we'll see. 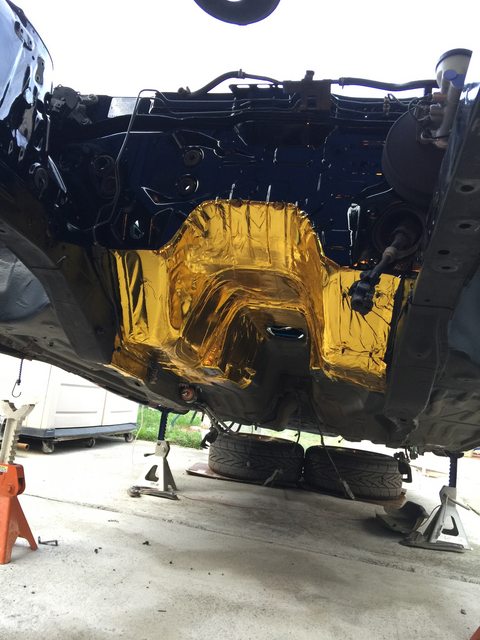 the swap quickly goes back in. i leave the crossmember loosen while dropping it in. still fighting for properly aligning the swap. cus there's many ways to adjust it and the fitment is tight. 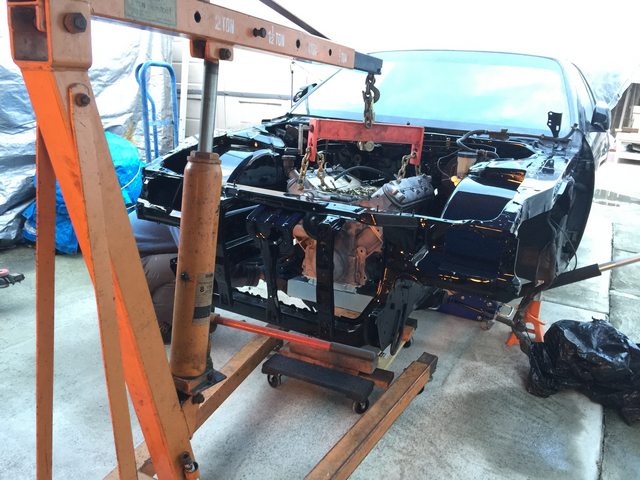 while the ls1 is in the bay just sitting on the crossmember, i spent some time repairing the harness. a common problem for lowered 240sx. get it ready to tuck in the driver side fender. 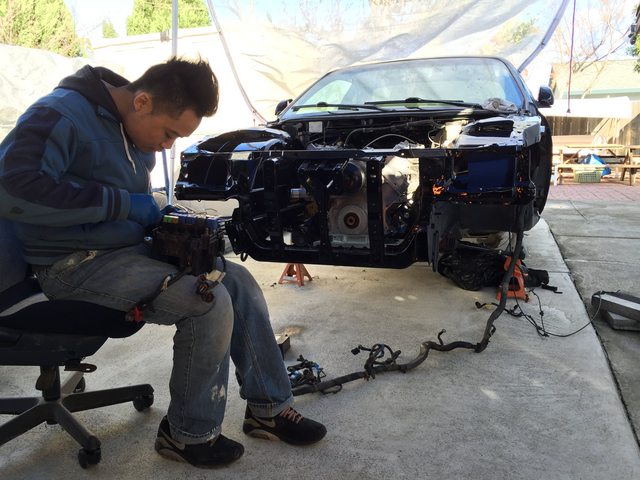 also put on all pbm control arms. all bolts are un tight now as i just ordered SPL eccentric lock out bolts to replace the factory cam bolts. 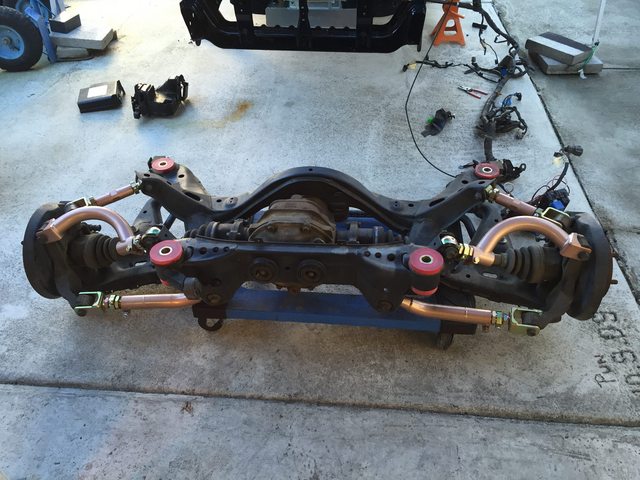 trying to replace my inner joint on my pbm lower control arm. 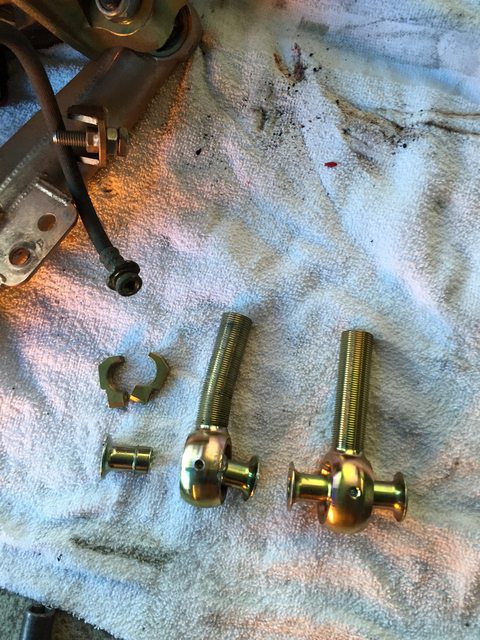 also spent some time to take off the masking tape i put on almost 4 months ago on the manifold holes. it was PITA as the tape got dried up and came off in pieces. spent like an hour just on cleaning that up. 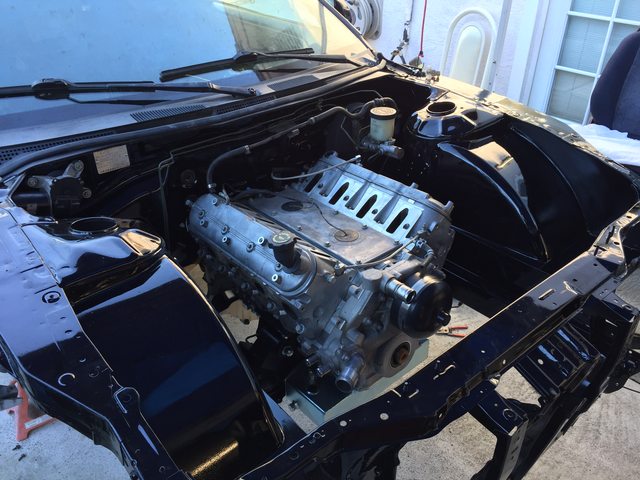 how it sits now after week 16. 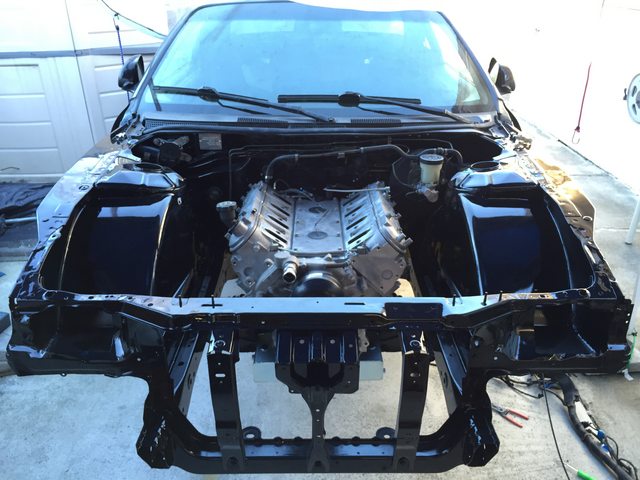 not sure how much i can do on the coming week as i only got one day off. also waiting for some small parts to move forward. waiting for packages on come in on christmas days is gonna take forever. got a small shipment shown delivered but never got it. other package just delay and delay. i think i will spend some time to proper adjust my crossmember and the swap. looking to finish up tucking the factory harness and get it ready to wire up. order screw on type fuel fitting. finish relocating the battery in the trunk. i'll just do what i can. thats it for this week. thanks for watching. merry christmas and happy new year everyone!! Last edited by SR2oD3T; 03-13-2018 at 07:55 PM.. |
|
|

|
|
|
#87 | ||
|
Zilvia Junkie
 |
Quote:
Quote:
__________________
89 S13/2JZ Silvia(Project Phoenix) IG @awrperformance FB awrperformance |
||
|
|

|
|
|
#88 | |
|
Zilvia Junkie
 |
Quote:
SIkky Fueled CXracing Cooks ebay etc.
__________________
89 S13/2JZ Silvia(Project Phoenix) IG @awrperformance FB awrperformance Last edited by drewr4411; 01-04-2016 at 07:50 AM.. |
|
|
|

|
|
|
#89 |
|
Post Whore!
 |
If I remember correctly, the CX Racing kit had all sorts of Oil pan clearance issues.........and not to mention inconsistent header fitment, tranny tunnel clearance issues, etc. By the time you spend all the money and time making the kit fit to ones OCD level, you could have bought a kit that fits properly.
CXRACING LS swap kit for 240sx |
|
|

|
|
|
#90 | |
|
Zilvia Junkie
 |
Quote:
http://zilvia.net/f/showthread.php?t=461019&page=12 Tons of issues with the initial kits but they seemed to listen and make changes as the kit sold more and more. I will need to continue reading to see what the final conclusion is of the kit. Sorry OP for the off topic convo. Im just not as baller yet to buy the fueled racing kit lol.
__________________
89 S13/2JZ Silvia(Project Phoenix) IG @awrperformance FB awrperformance |
|
|
|

|
 |
| Bookmarks |
| Thread Tools | |
| Display Modes | |
|
|