
 |
|
|||||||
| Home | Rules & Guidelines | Register | Member Rides | FAQ | Members List | Social Groups | Calendar | Mark Forums Read |
| Builds (and builds only) Got a build thread? It goes here, build threads anywhere else on the forum will be locked and never moved. |
 |
|
|
Thread Tools | Display Modes |
|
|
|
|
#1 |
|
Zilvia Member
 Join Date: Oct 2016
Location: South Carolina
Age: 23
Posts: 150
Trader Rating: (3)
          Feedback Score: 3 reviews
|
Teddy's Southeast 180SX Build
I've been debating creating a build thread for this car for awhile now. I figured I've procrastinated long enough, and to just go ahead and pull the trigger on it while I'm still relatively early in the process.
From early on in my childhood, I had always loved the look of the S13 fastback. In my early teens I began saving towards a 240 hatch. Over the years I began to realize the s-chassis scene was extremely saturated. I still loved the look of the car, but I wanted to be more unique at the time, so I started looking at 180sx's. After two years of saving, searching, sourcing, and consistently browsing the online auctions, as well as US importer inventory everyday, I finally came across a 180 that had some potential. I was looking for a clean 180sx, with a factory sunroof and SR, preferably in white. I came across this car at auction in early January of 2017. It was a 1989 model that originally came with the CA18DET, HICAS II, ABS, and was originally dark metallic grey. At the time of auction, the car had been SR swapped, repainted white, and HICAS, ABS deleted. It had a replica Type X kit, and some Grenade GX01's. 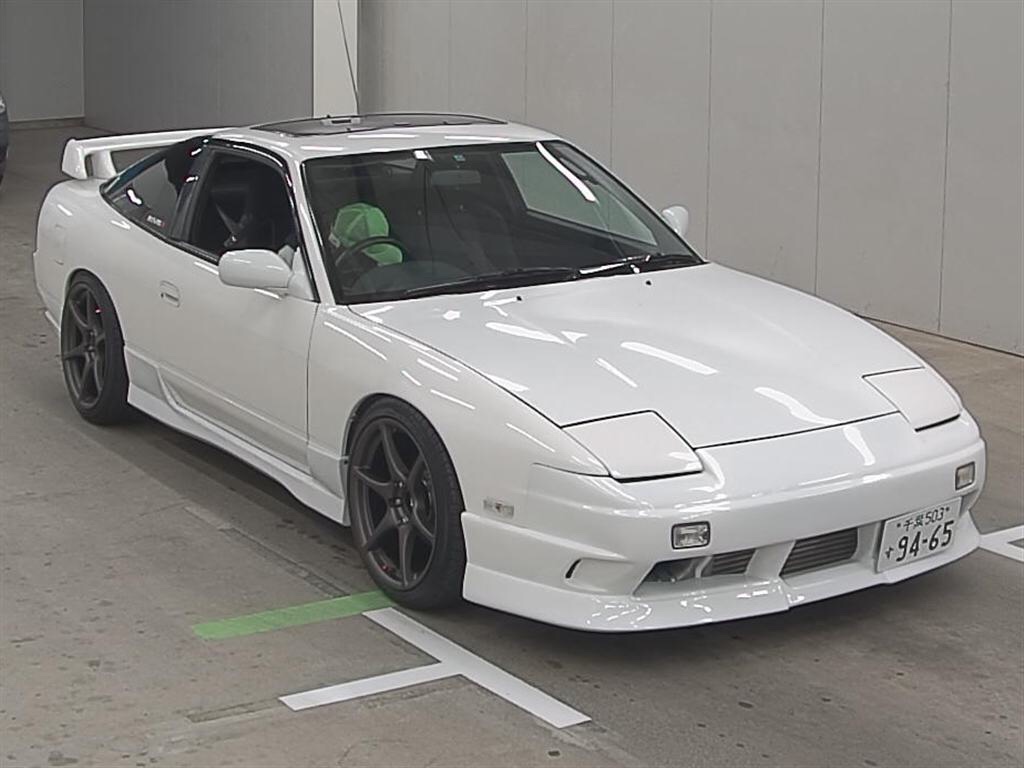 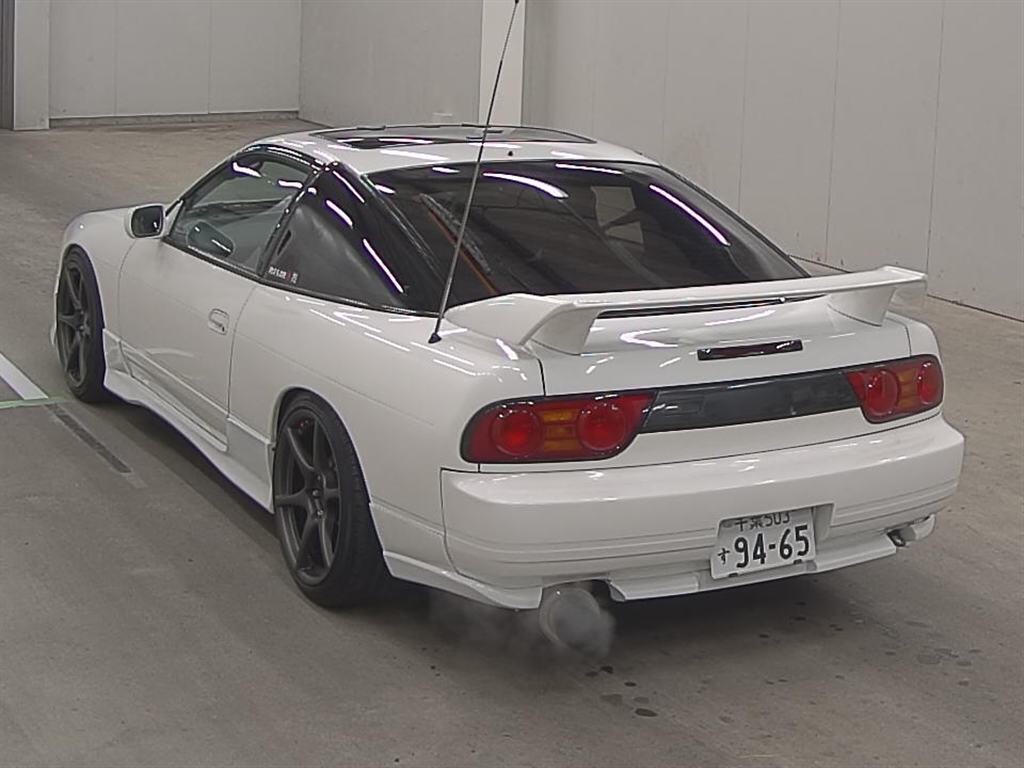 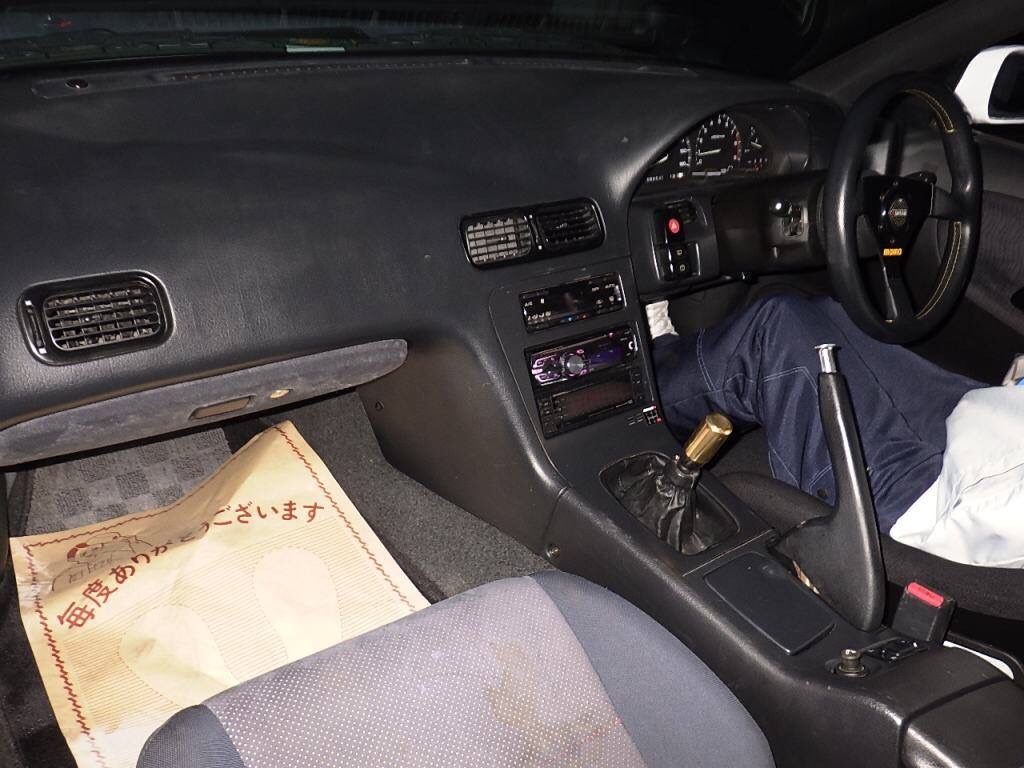 I decided to go ahead and bid on the car, it was the first 180 I had seen in two years legally for sale that met my specifications. I ended up winning the car, and worked with a Florida based import company to ship the car to the US. 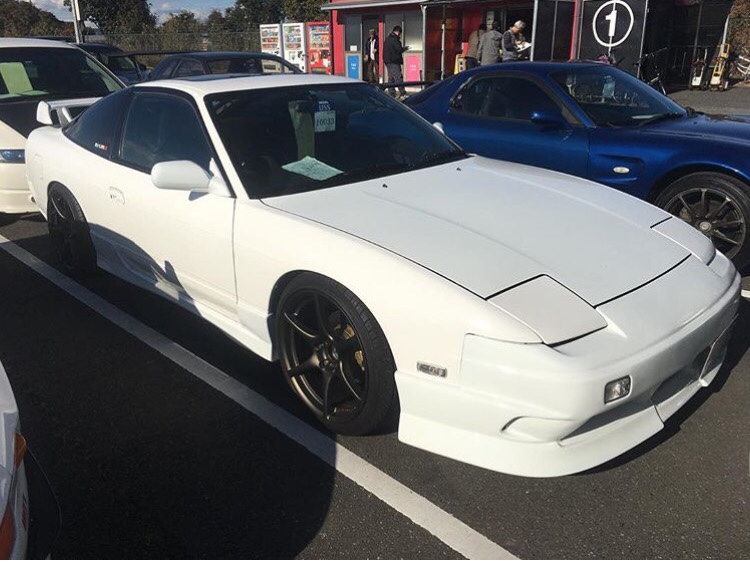 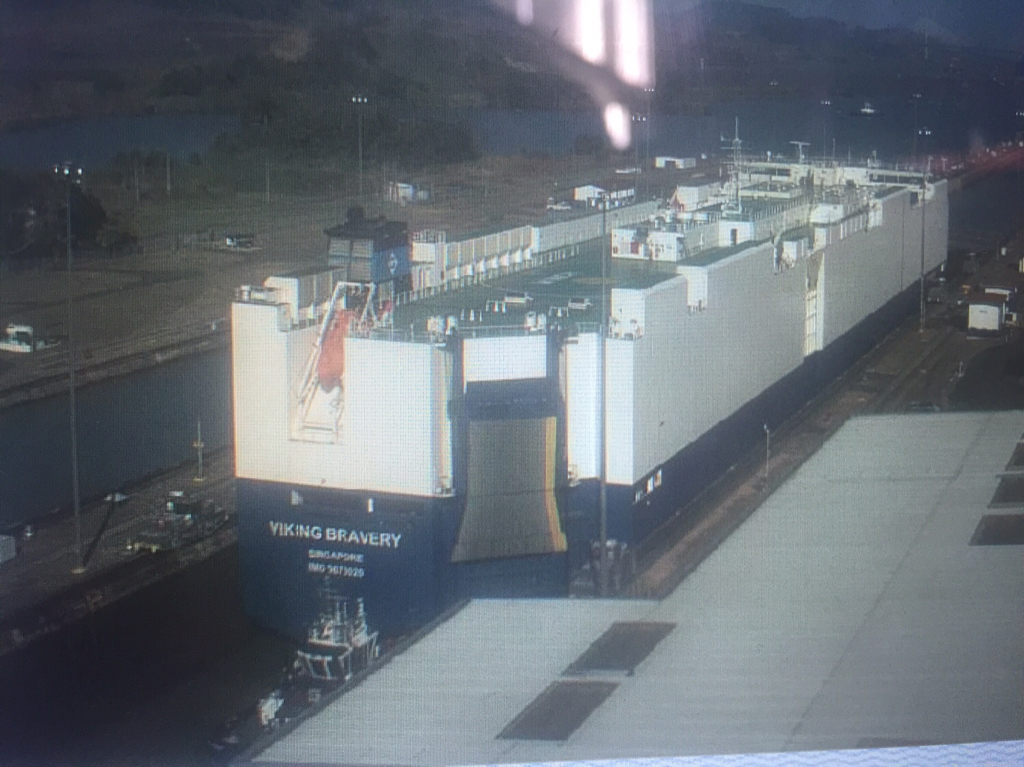 While the car was shipping, I got bored and bought some things I could tell it didn't have from the pictures. I got a carbon Kevlar rear center garnish, OEM kouki front bumper, extensions, extension brackets, front emblem, and some maintenance items. 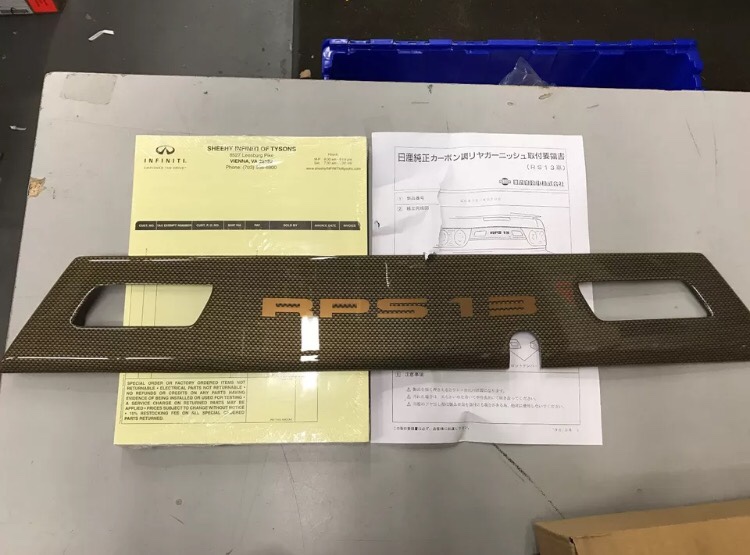 Okay, enough of the backstory. I picked the car up in late April 2017. Upon driving it for the first time the next morning, I discovered the fitment of the wheels needed some work. All 4 wheels would rub fenders constantly. One trip around the neighborhood filled the interior with smoke from rubbing tire. I realized the only suspension modification that had been done was some CST Zero coilovers. The stock rear upper control arms were maxed out on negative camber, and still couldn't let the Grenades clear the previously cut rear quarters. 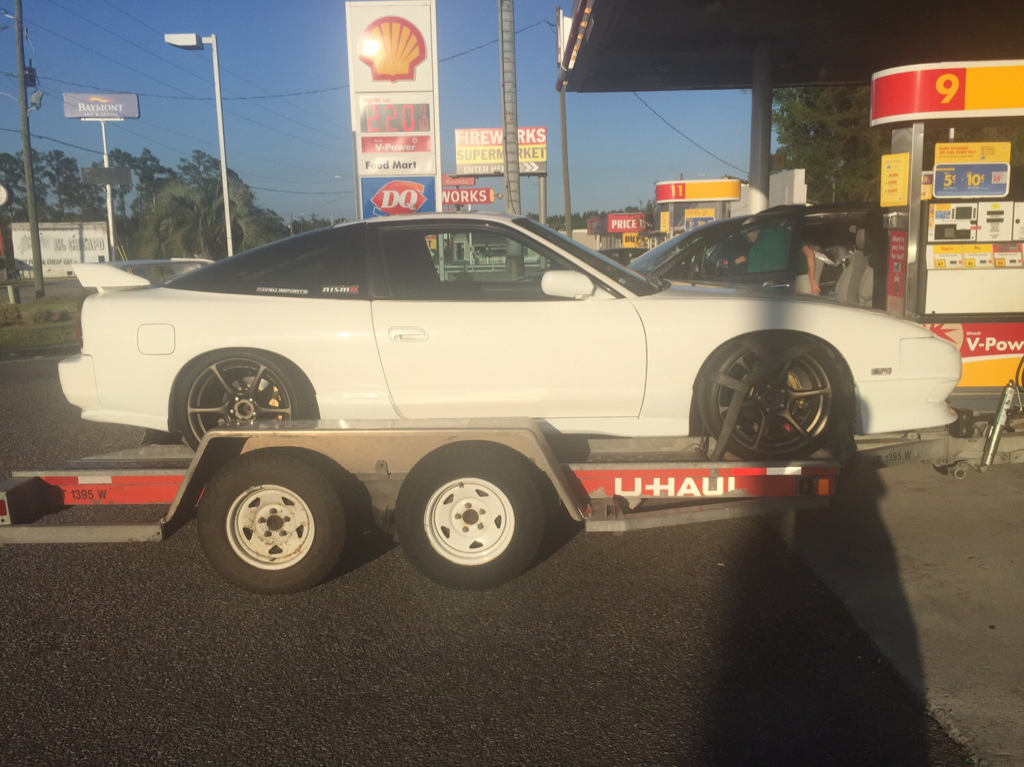 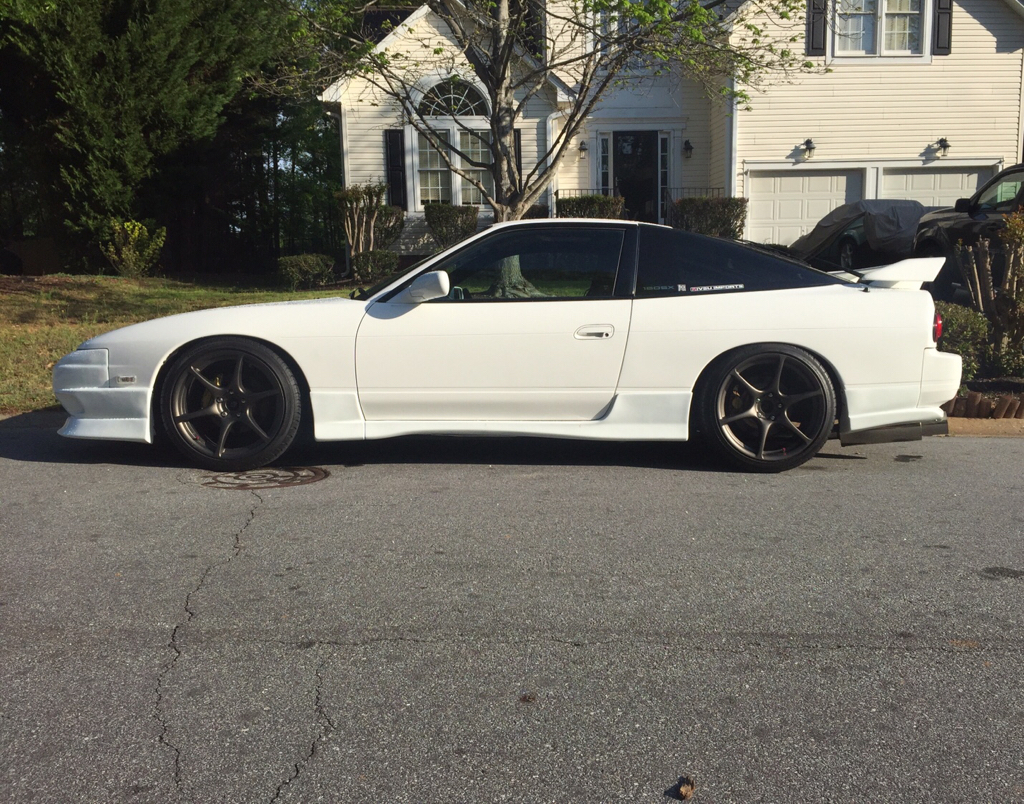 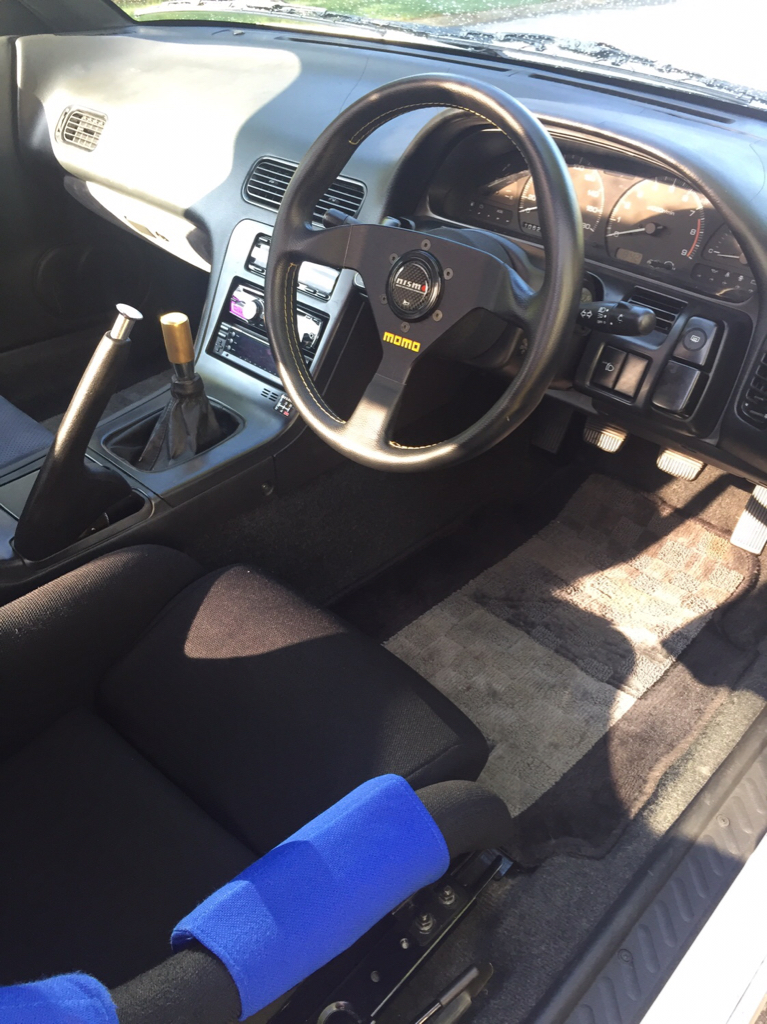 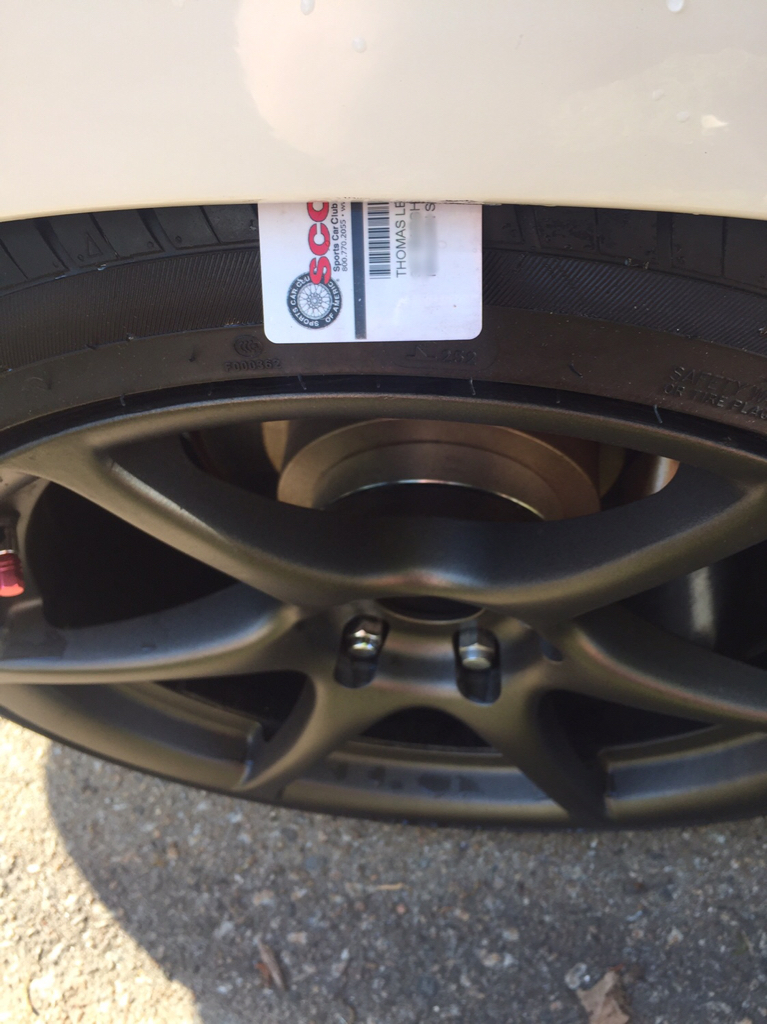 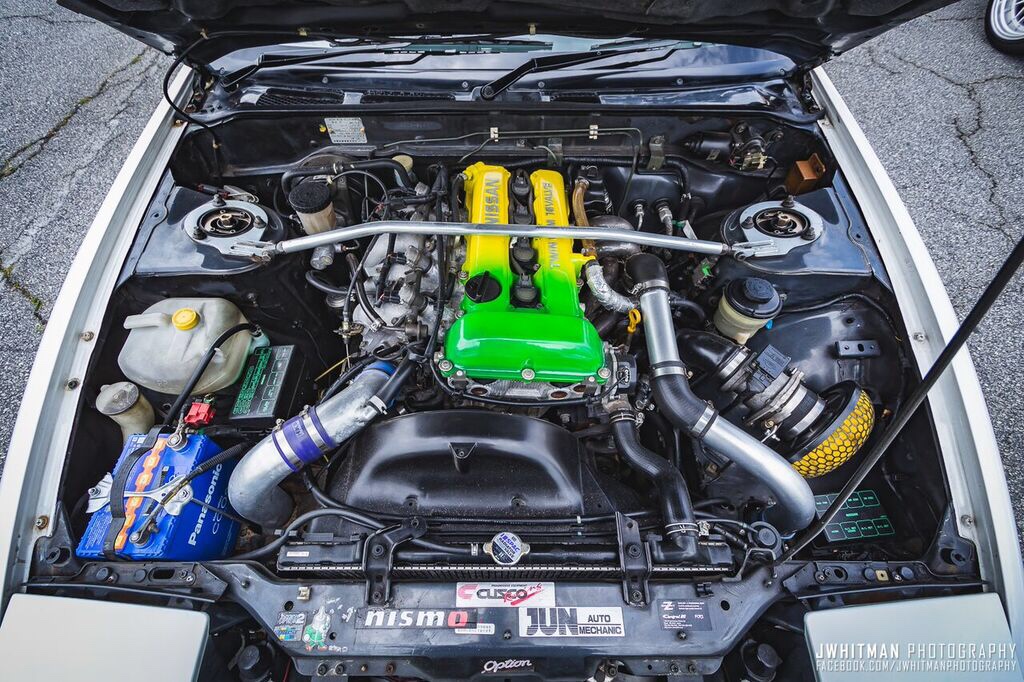 I picked up some Kazama RUCA's and toe arms to give me some more adjustability to clear the rear quarters. As for the front, I just raised the coils a little to reduce rubbing. 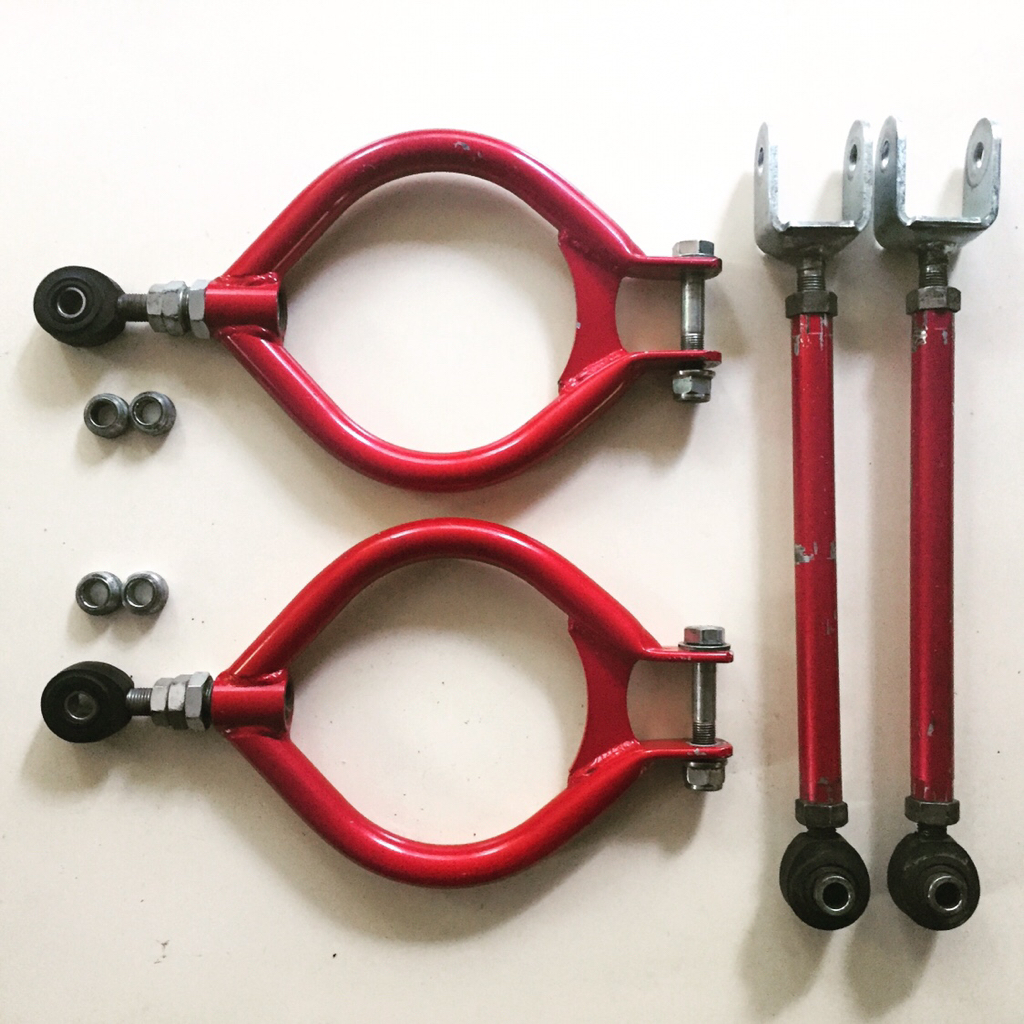 Next up were the seats. The driver seat was some cheap Naniwaya/Nagoya REV bucket seat. It was extremely uncomfortable, and sized for a kindergartener. The passenger seat was an Autech S15 seat, which was cool, but it didn't fit the style I wanted. I swapped them out for some OEM Type X seats. Luckily the rear seat was already the kouki 180 seat, so everything flowed very well. 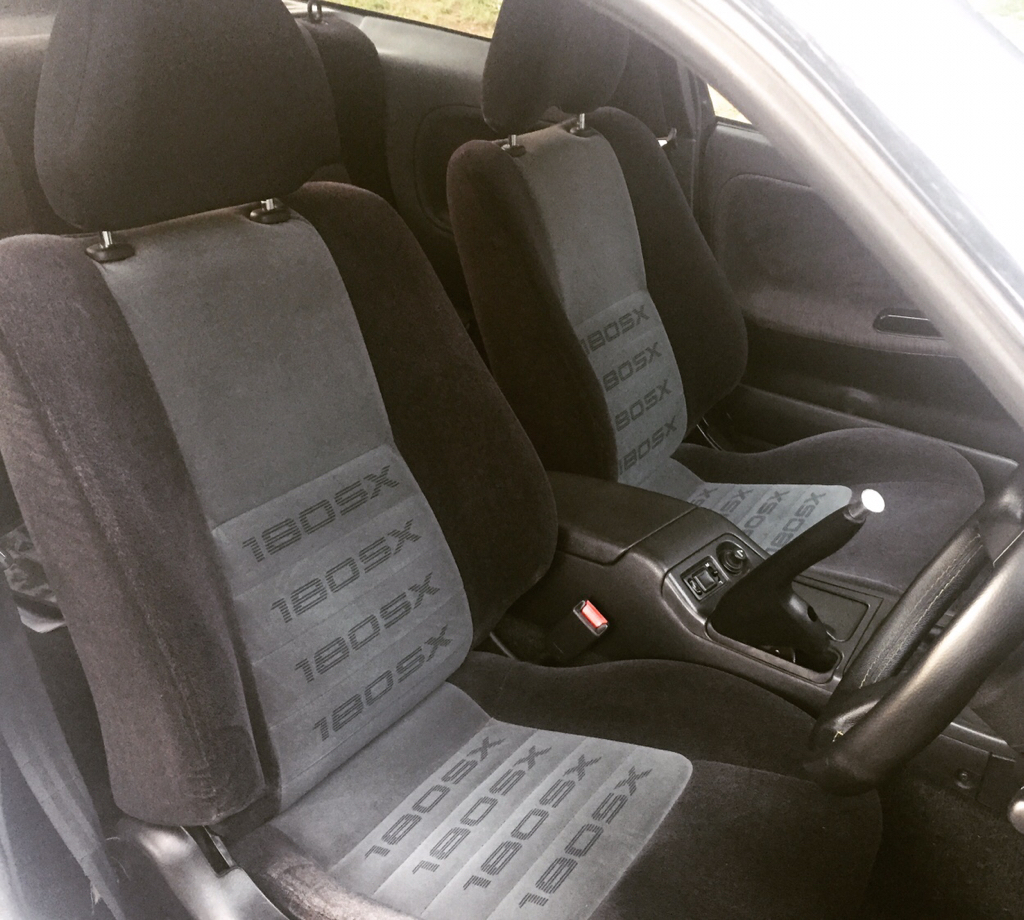 I drove the car like this for a few months. I was fairly content with how the car looked, although deep down I knew the wheels and replica kit were killing me haha
__________________
Garage Abstract IG: @teddylesshq |
|
|

|
| Sponsored Links |
|
|
#2 |
|
Zilvia Member
 Join Date: Oct 2016
Location: South Carolina
Age: 23
Posts: 150
Trader Rating: (3)
          Feedback Score: 3 reviews
|
Teddy's Southeast 180SX Build
From about June to August 2017 I started really cranking down on 180 research. I fell in love with the early 2000's style of Koguchi, Itai, and Ito. The simplicity and style of that time period really grew on me. After enjoying my car for a few months, I started making a list of things I needed. I was debating between OEM Type X and HotRoad. I loved the rarity and uniqueness of old school parts. I started obsessing over hard to find and extremely expensive parts haha.
I finally got rid of the Grenades, and ended up buying two full sets of bronze TE37's. I combined the two to create the iconic 17/18 staggered setup, and sold the remaining staggered set. 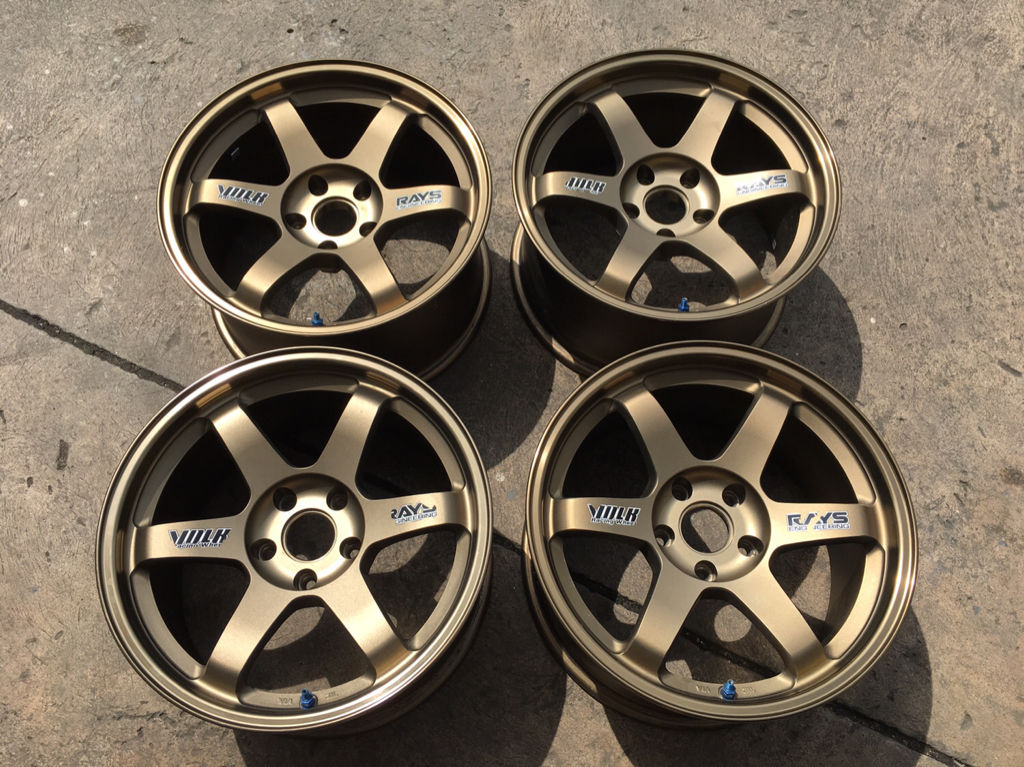 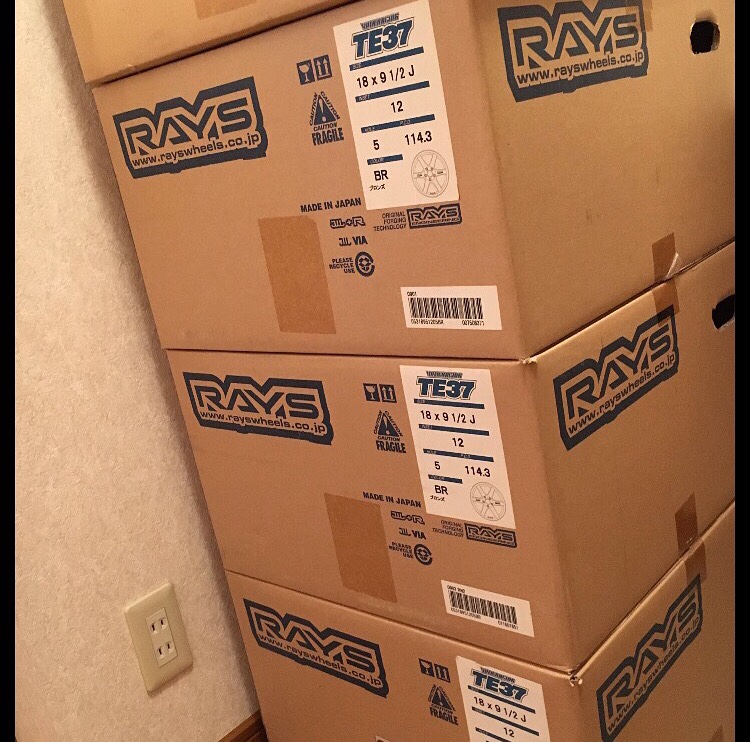 After spending a day at the shop installing the new TE's and playing with the fitment, I discovered the CST coilovers couldn't go low enough! I maxed them out and ran them for the time being. 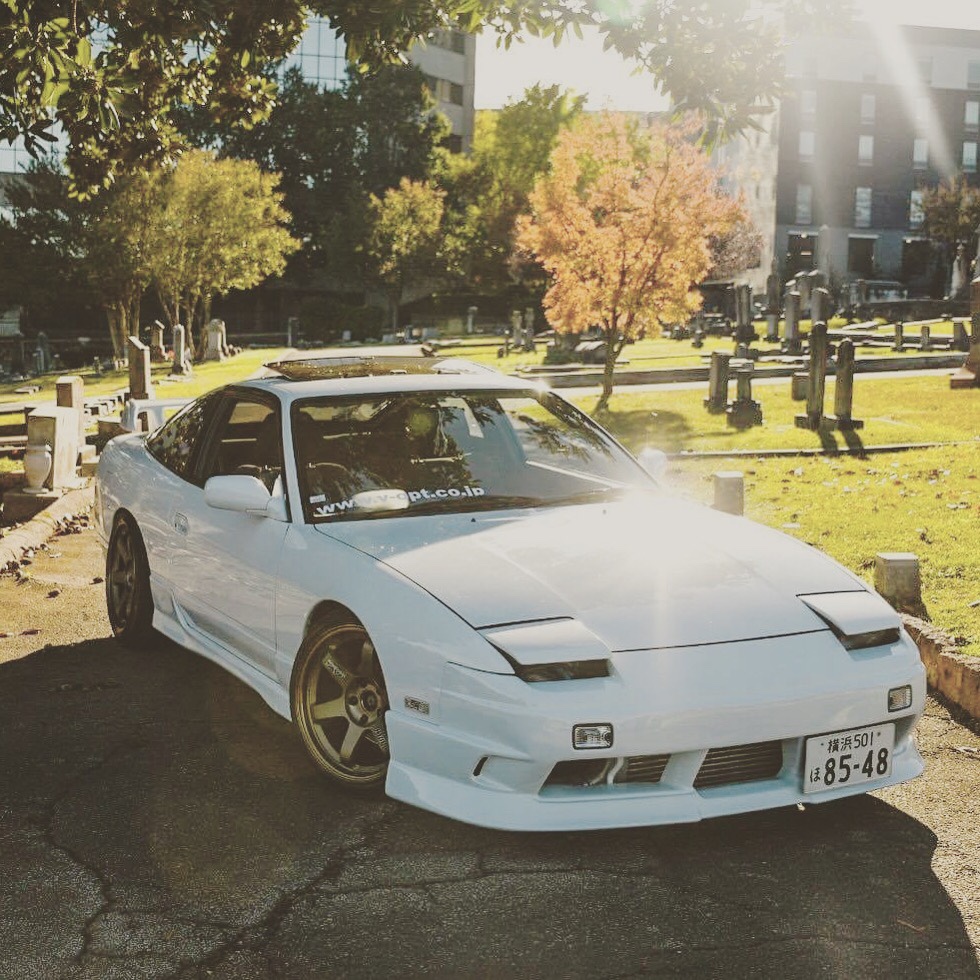 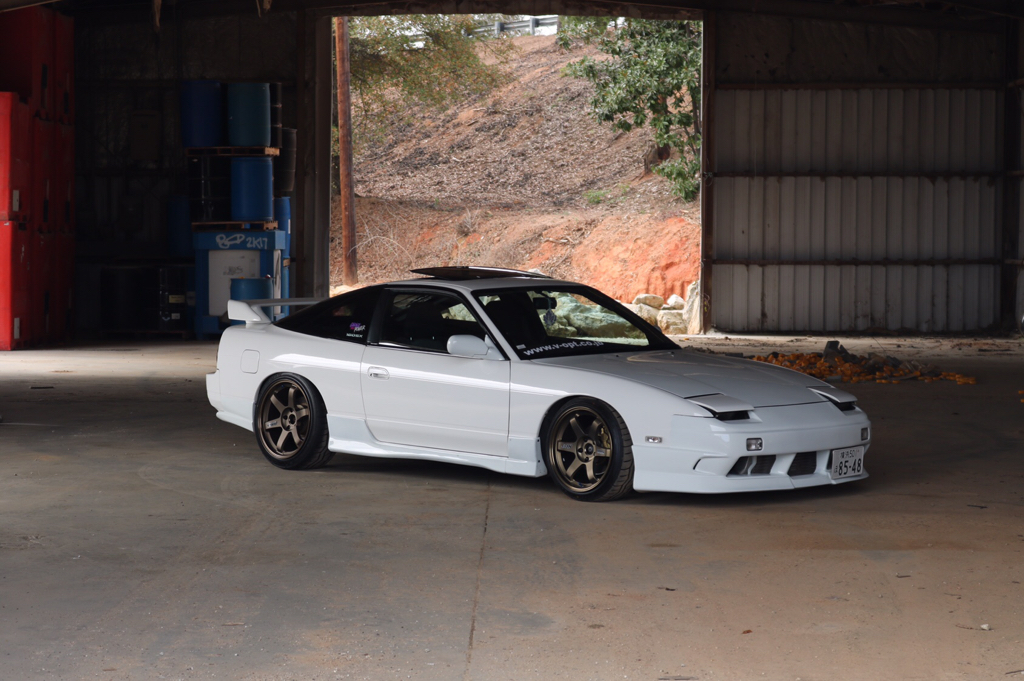 I found a crackless RHD S13 dash in North Carolina, and decided to go ahead and swap out my old cracked dash. (Picture of the old dash) 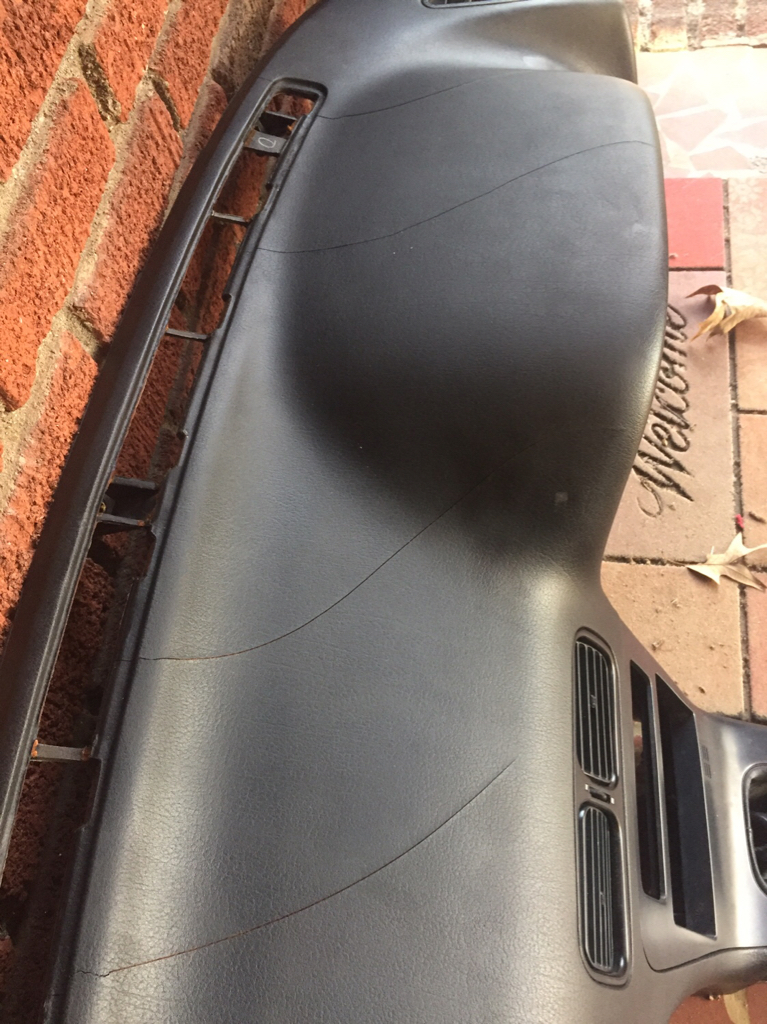 I threw on some 25mm extended FLCA's and new extended inner + outer tie rods, along with some rack spacers to get the angle and stance I was looking for in the front. 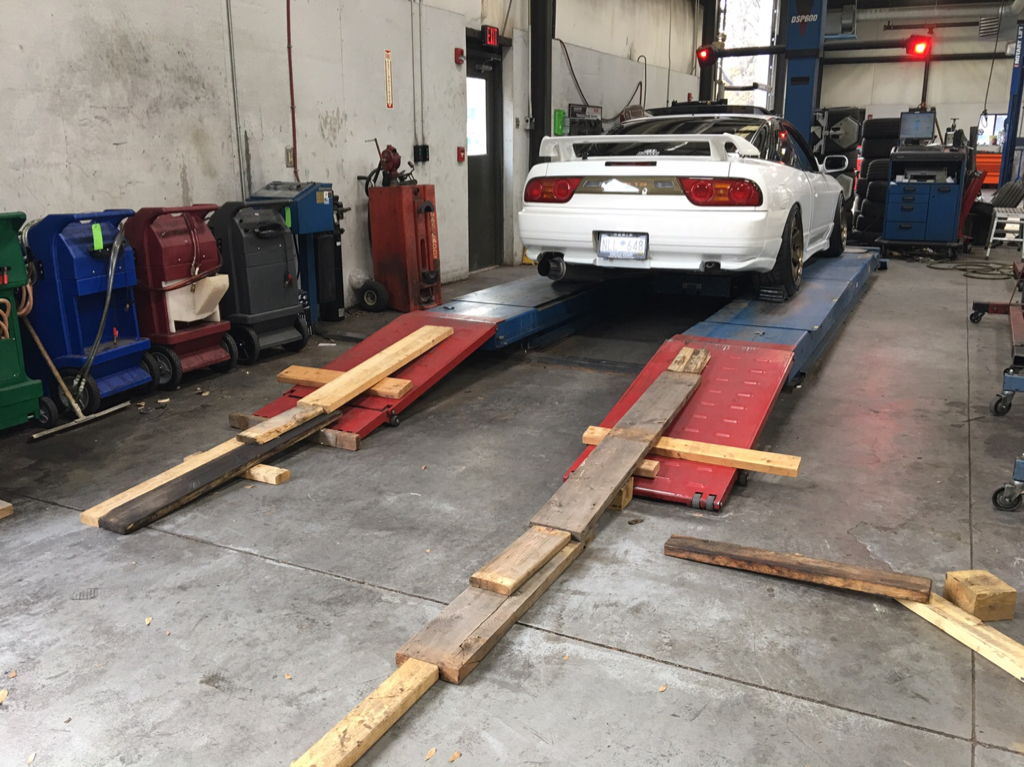 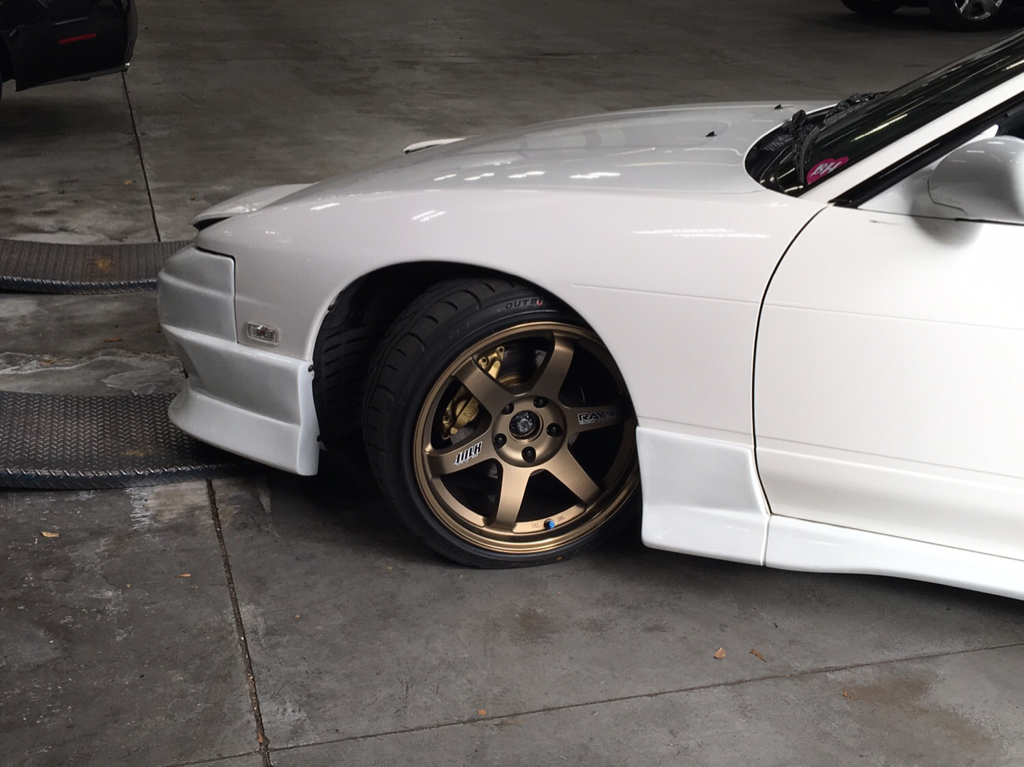 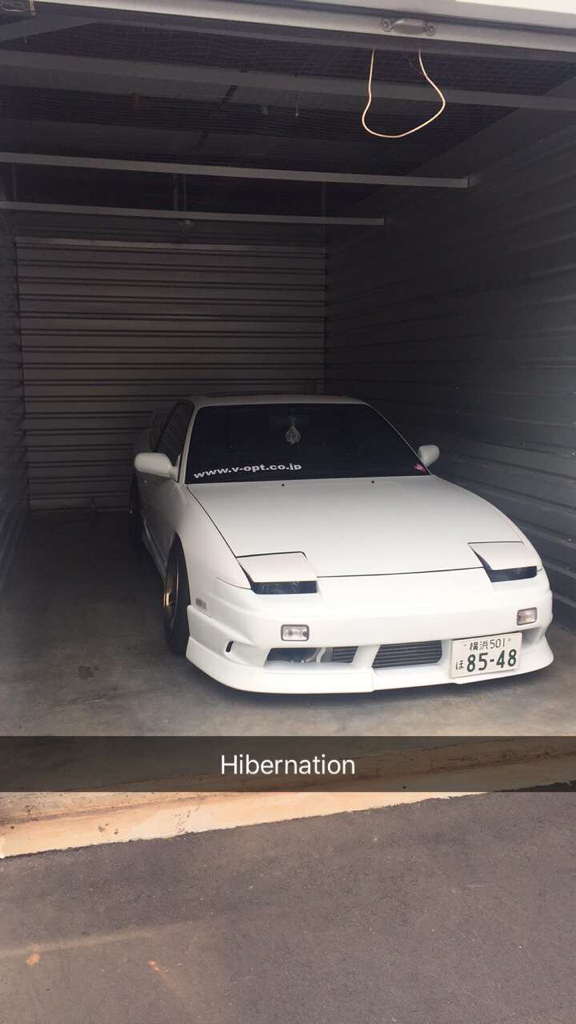 I parked the car for about a month, and started sourcing parts. First up were Ganador power mirrors. I ended up buying a brand new right side S13 mirror and a set of used S13 mirrors with the right side missing the glass. Of course I put the incomplete right side mirror aside. I may sell it, or use it as a replacement one day, not completely sure. 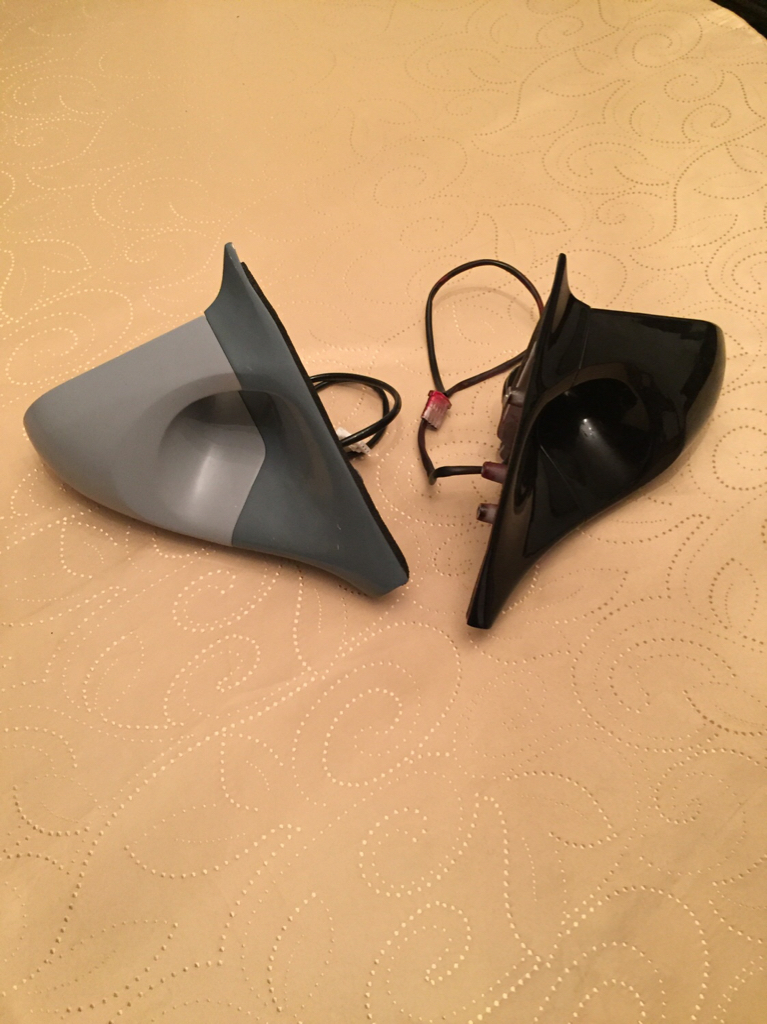 I sent the mirrors off to paint. During that time I sold off the replica kit and discovered the paint on the rockers had some pretty bad chips. The 180 was looking "like it got hit by a truck" as one of my coworkers said. 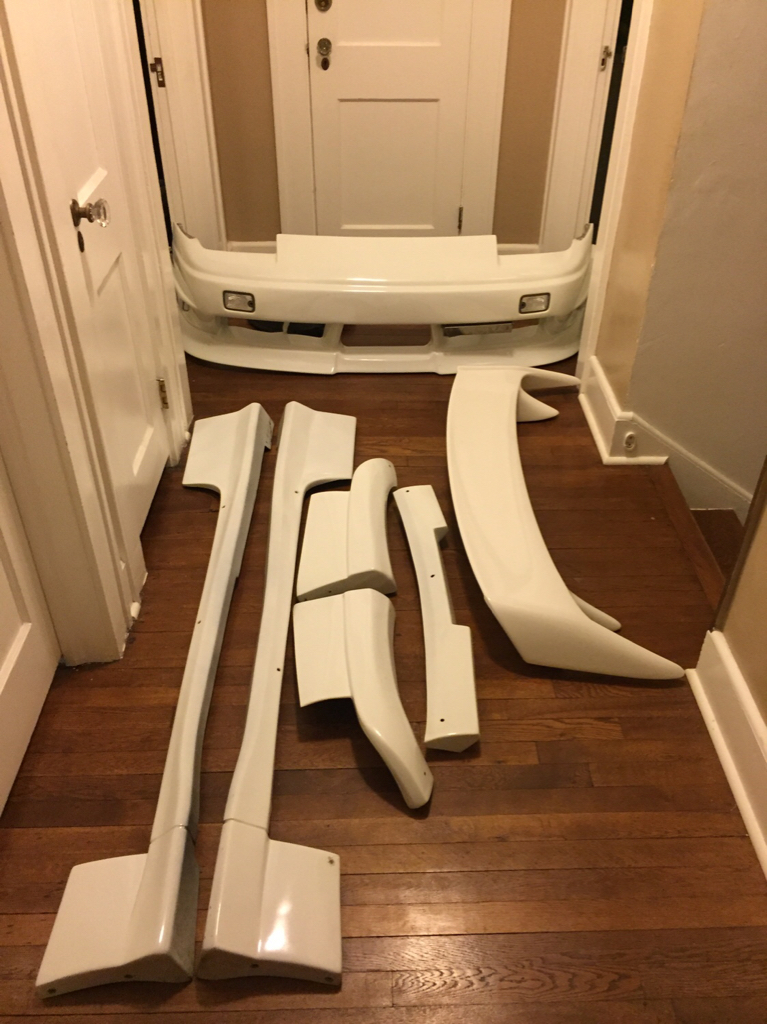 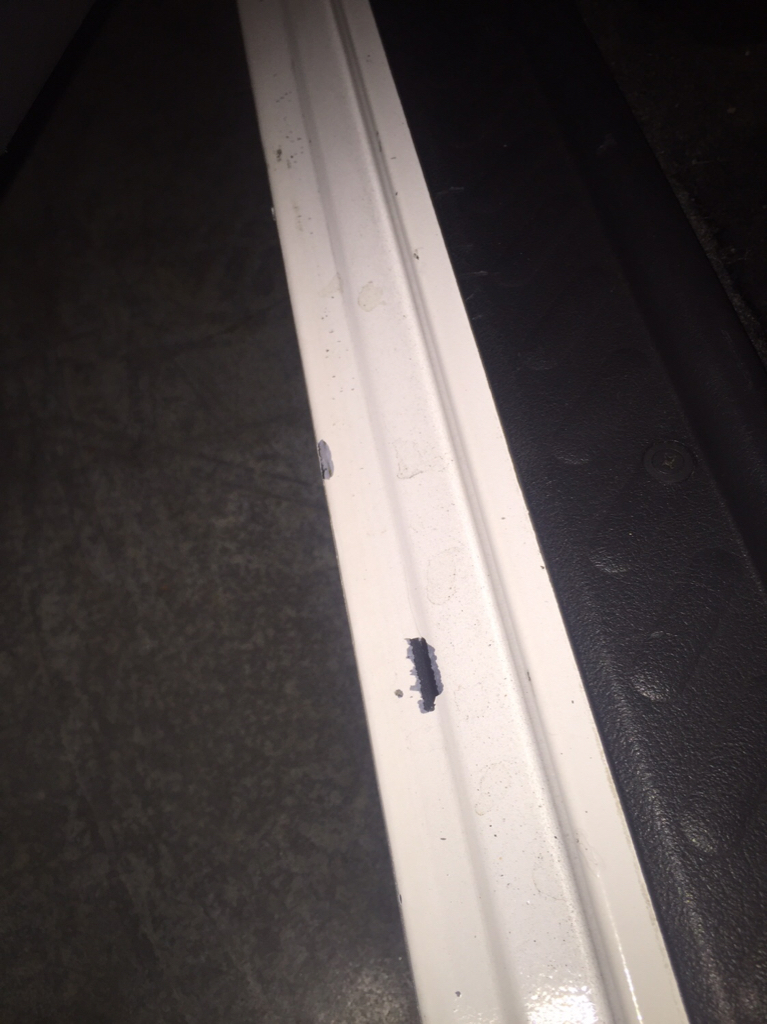 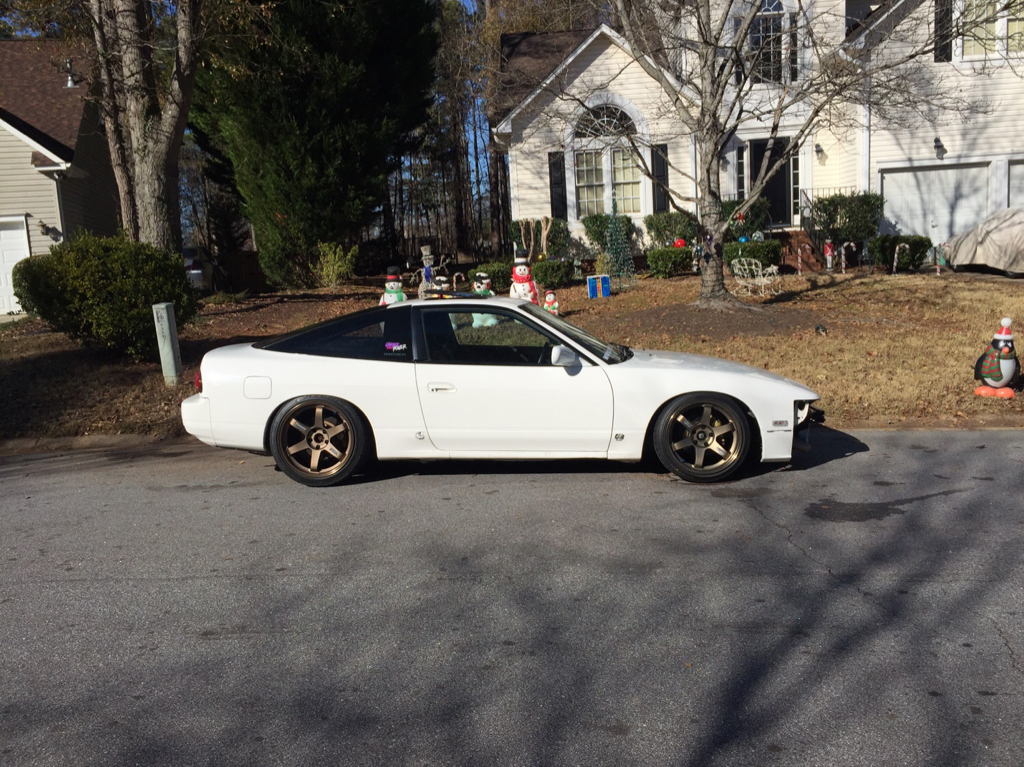 The next weekend I got a good deal on some Z32 wheels, and decided to have some fun! 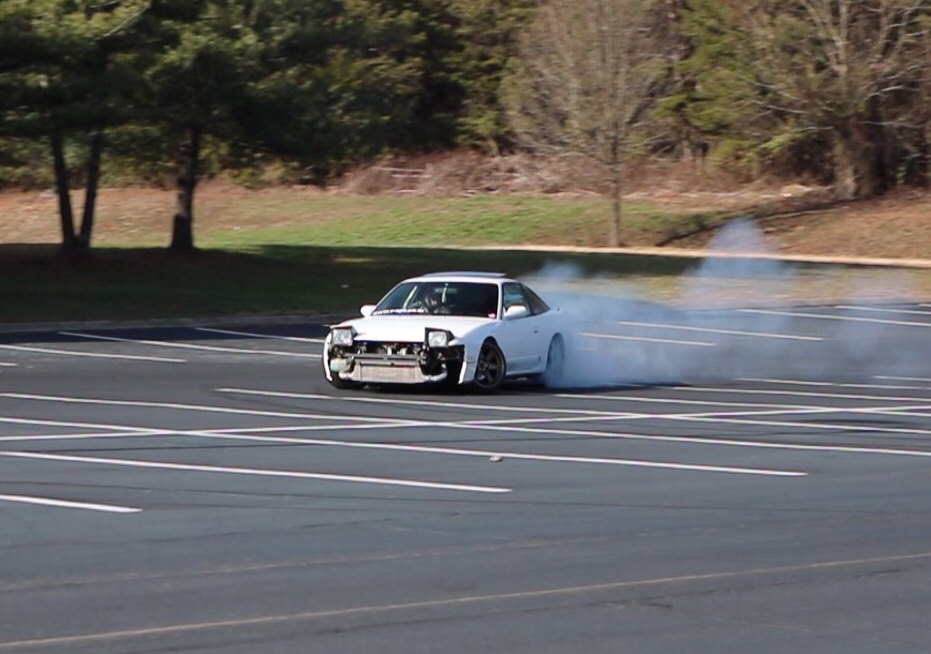 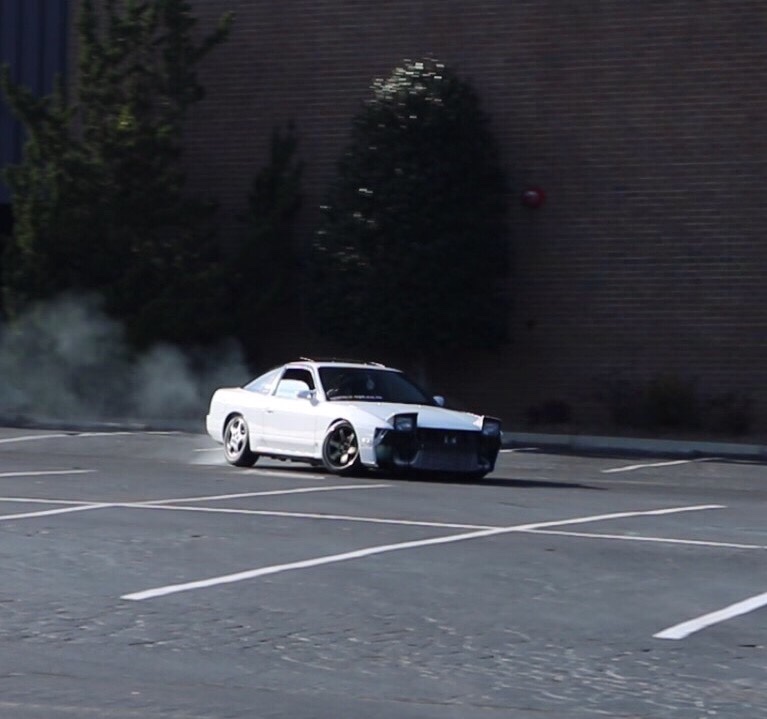 Of course that ended after about 5 minutes when the left front tire caught a inner fender mounting tab on my left fender and bent the whole fender outward, slashing the tire in the process. I didn't take any pictures after it happened lol. I took a screwdriver and bent the fender back as best I could (and did a pretty damn good job), and was able to drive it home. 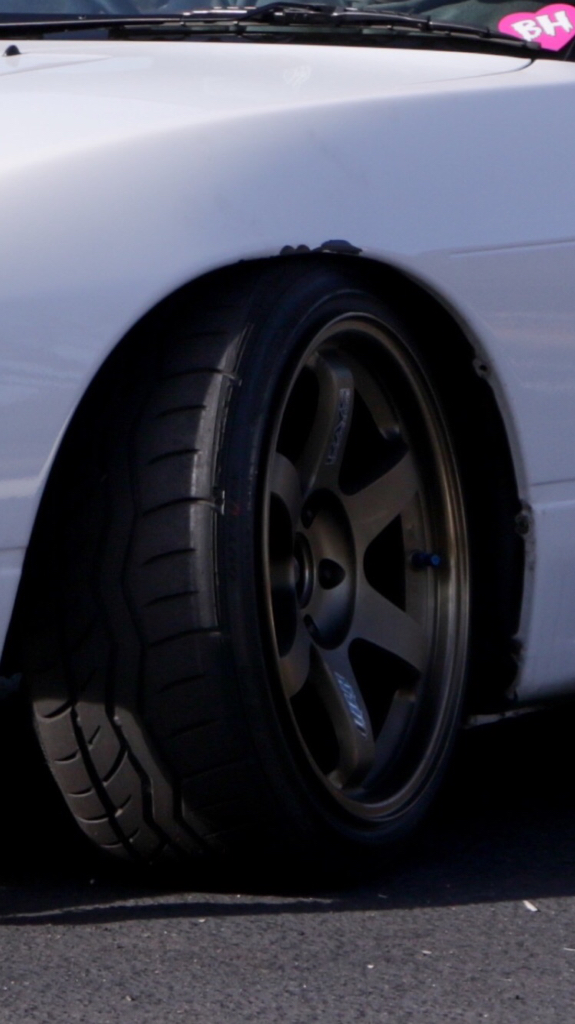 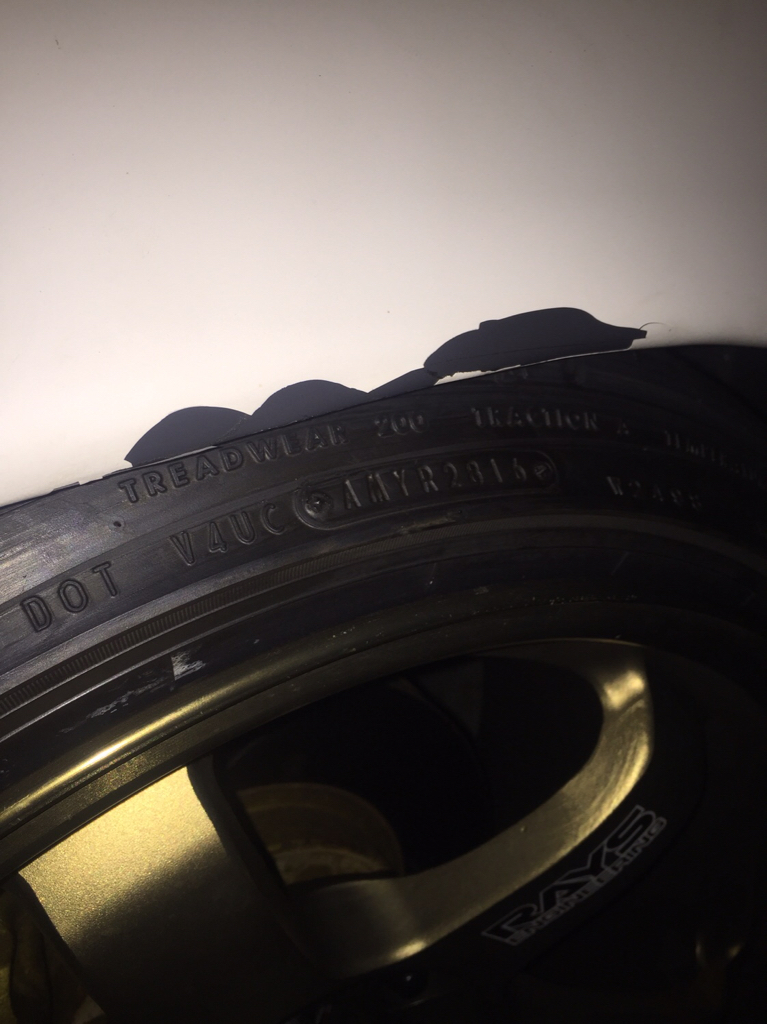 Next up was the OEM Type X kit. I picked up the front corner lights, signal lights, rear wing, side skirts, and rear valances. I opted to go for a DorkiDori urethane replica front lip, and N1 vents because I couldn't afford OEM at the time. 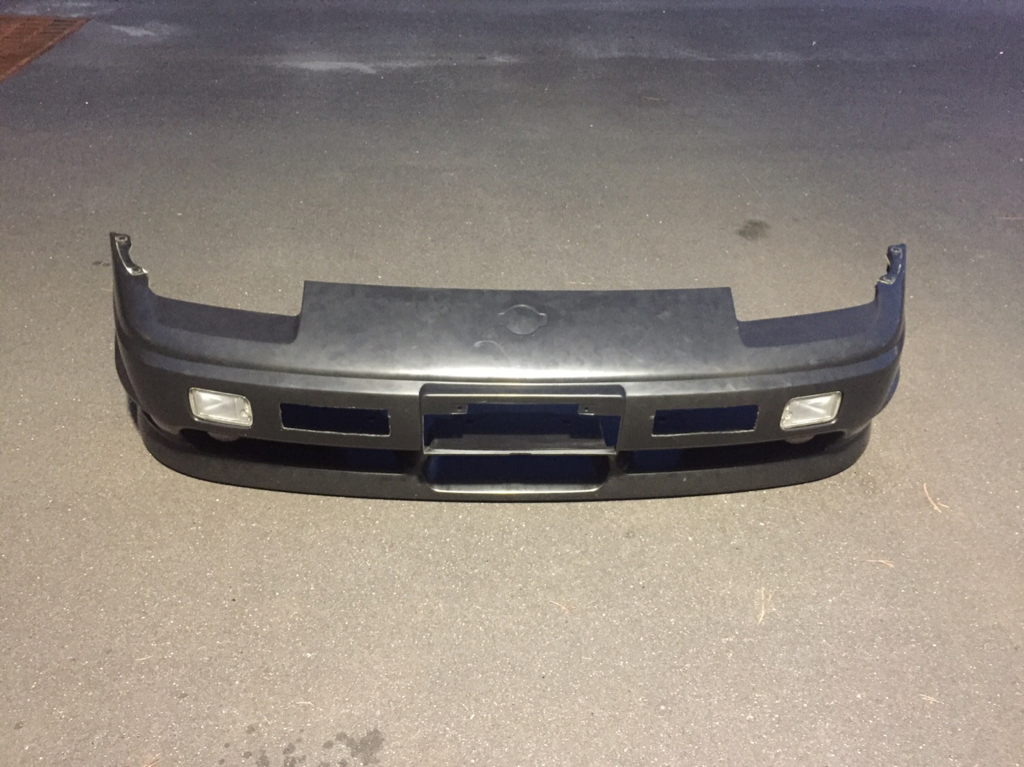 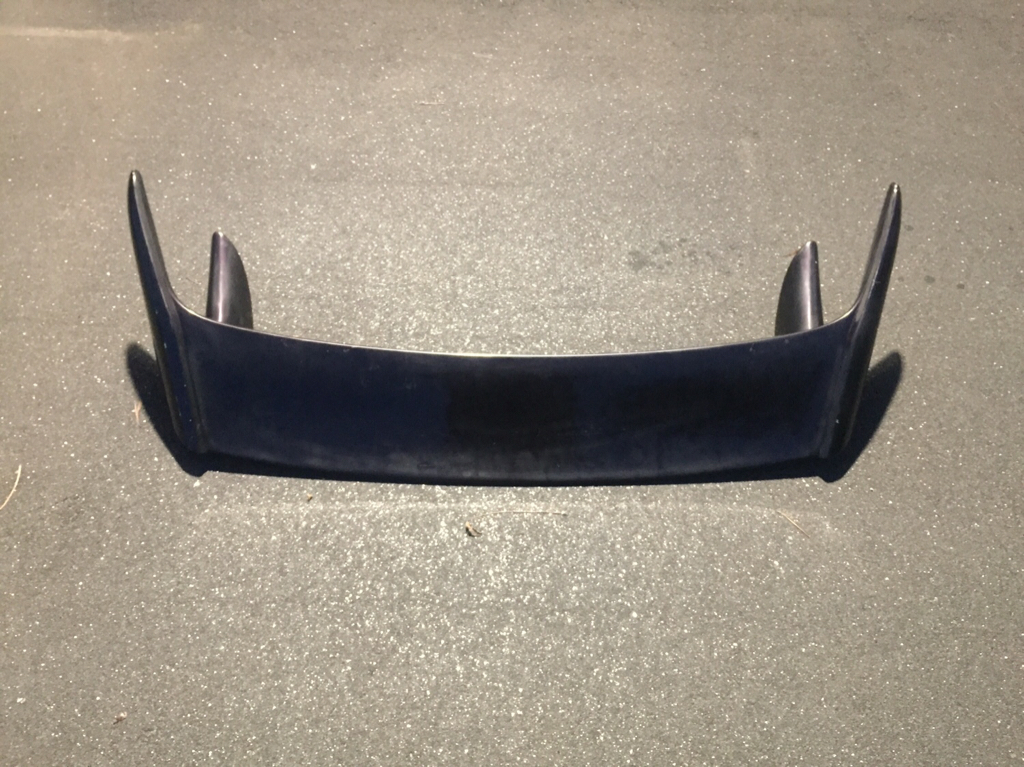 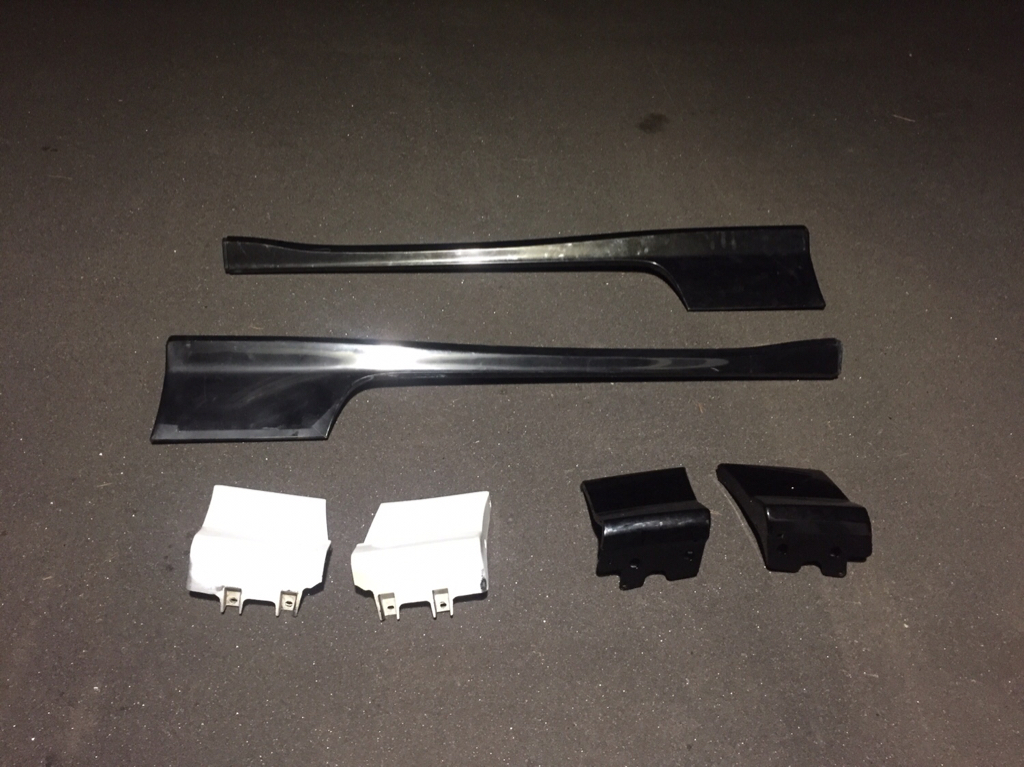 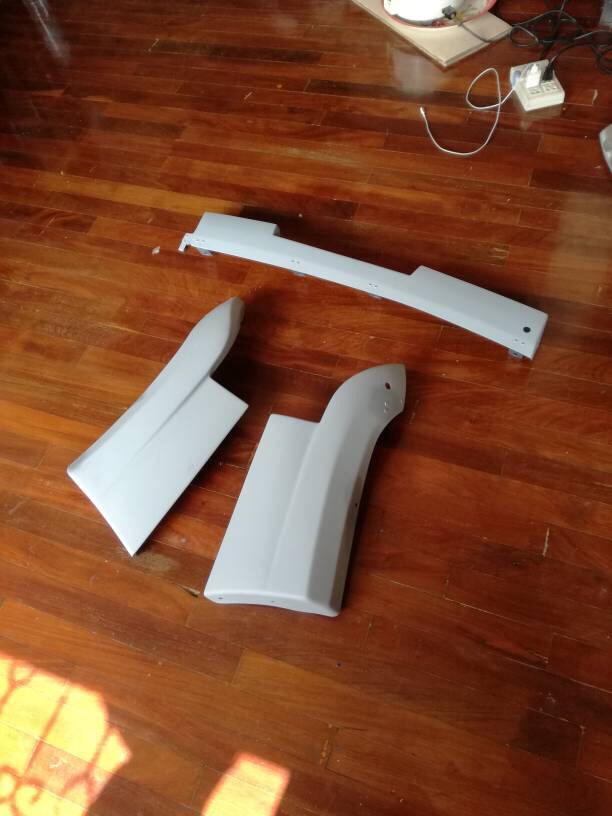 I put my freshly paint matched Ganador mirrors on, and headed out to one last Cars and Coffee before I parked the car for three more months. 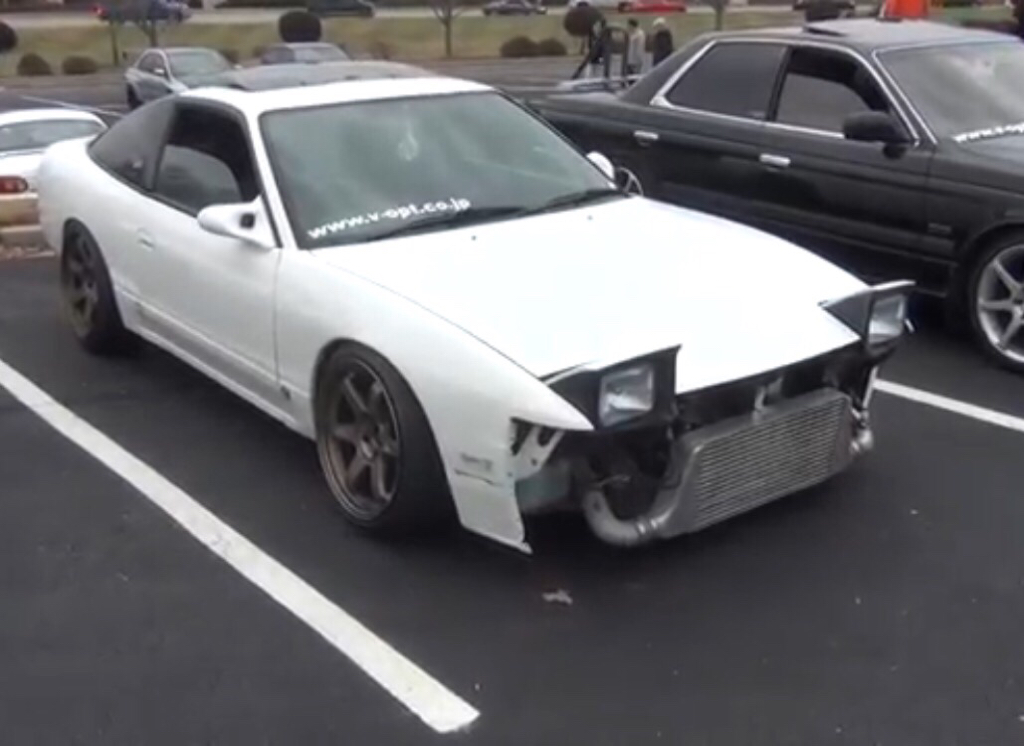 On the way back, a rock from the highway flew up and chipped the paint off my A pillar. 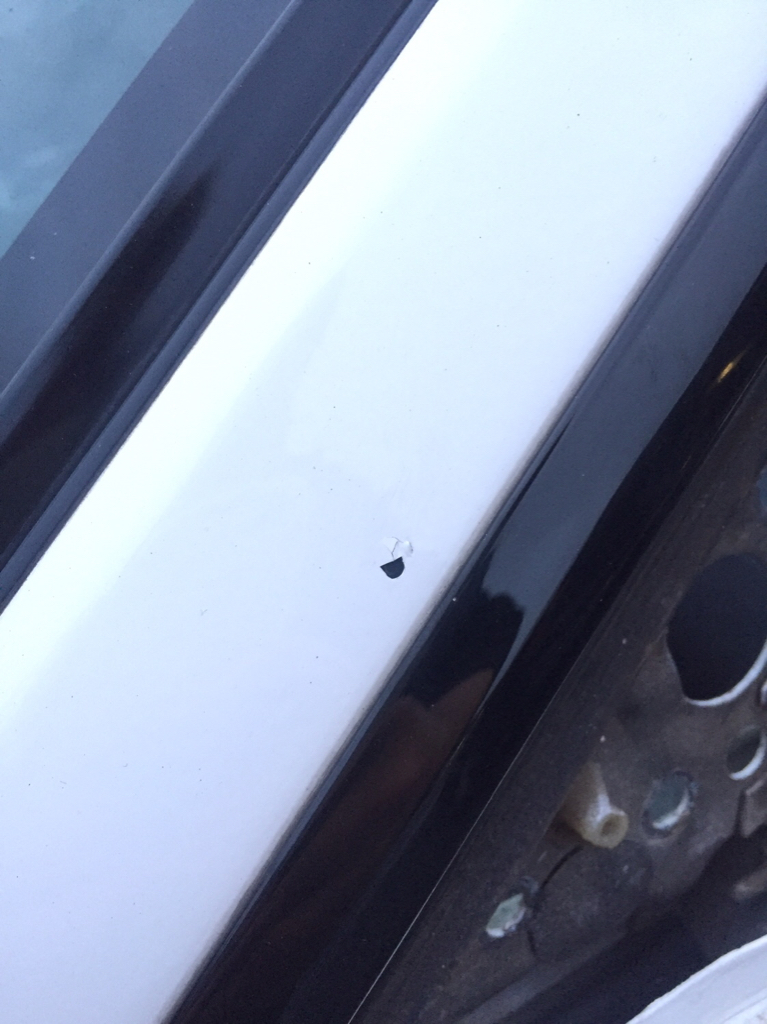 The Type X kit needed to be painted, along with the left front fender, rockers, and now the A pillar. So I decided to go ahead and send the whole car off to be repainted. Now I didn't know if I wanted to stay white, or go with a different color.
__________________
Garage Abstract IG: @teddylesshq Last edited by Teddyless; 03-28-2018 at 03:12 PM.. |
|
|

|
|
|
#3 |
|
Zilvia Addict
 |
I'm in for updates.
__________________
|
|
|

|
|
|
#4 |
|
Post Whore!
 Join Date: Oct 2008
Location: MI
Age: 35
Posts: 3,913
Trader Rating: (131)
           Feedback Score: 131 reviews
|
Absolutely LOVE what you have done with this thing so far sir. You're living out the dream for me right now... imported 180 with subtle OEM improvements and bronze TEs. Classic look! Can't wait to see more.
|
|
|

|
|
|
#5 | |
|
Zilvia Member
 Join Date: Oct 2016
Location: South Carolina
Age: 23
Posts: 150
Trader Rating: (3)
          Feedback Score: 3 reviews
|
Quote:
Thank you for the support! Your build has definitely been an inspiration for me!
__________________
Garage Abstract IG: @teddylesshq |
|
|
|

|
|
|
#6 |
|
Zilvia Member
 Join Date: Oct 2016
Location: South Carolina
Age: 23
Posts: 150
Trader Rating: (3)
          Feedback Score: 3 reviews
|
Teddy's Southeast 180SX Build
I liked white on the car, but it seemed boring to me. I didn't want anything necessarily flashy, but I didn't want a boring looking paint either. Above all, I wanted a color that looks good on the car, something that really pronounces the lines of the body. After about a week of looking at every color s-chassis in existence, I had figured out what I thought the best looking color was- white. Lol. I chose WK0 Nissan OEM Aspen White Pearl Glow. This will give the paint the extra little pizazz I was looking for.
So that settled it. I spent the next two days tearing the car apart to send to paint. 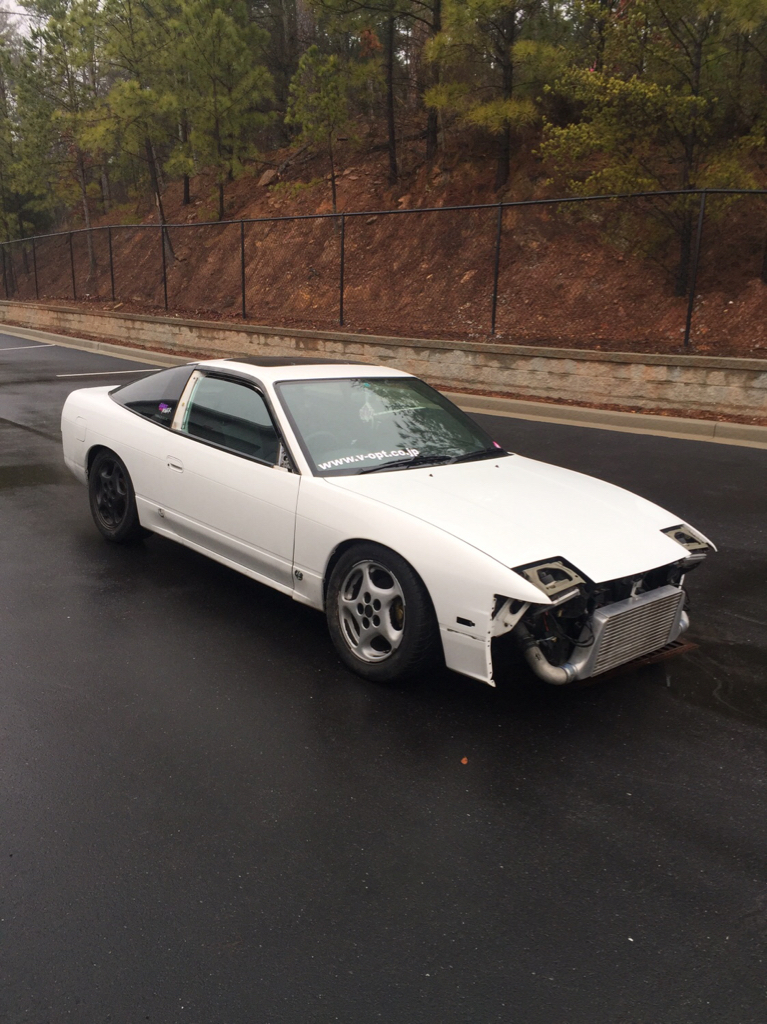 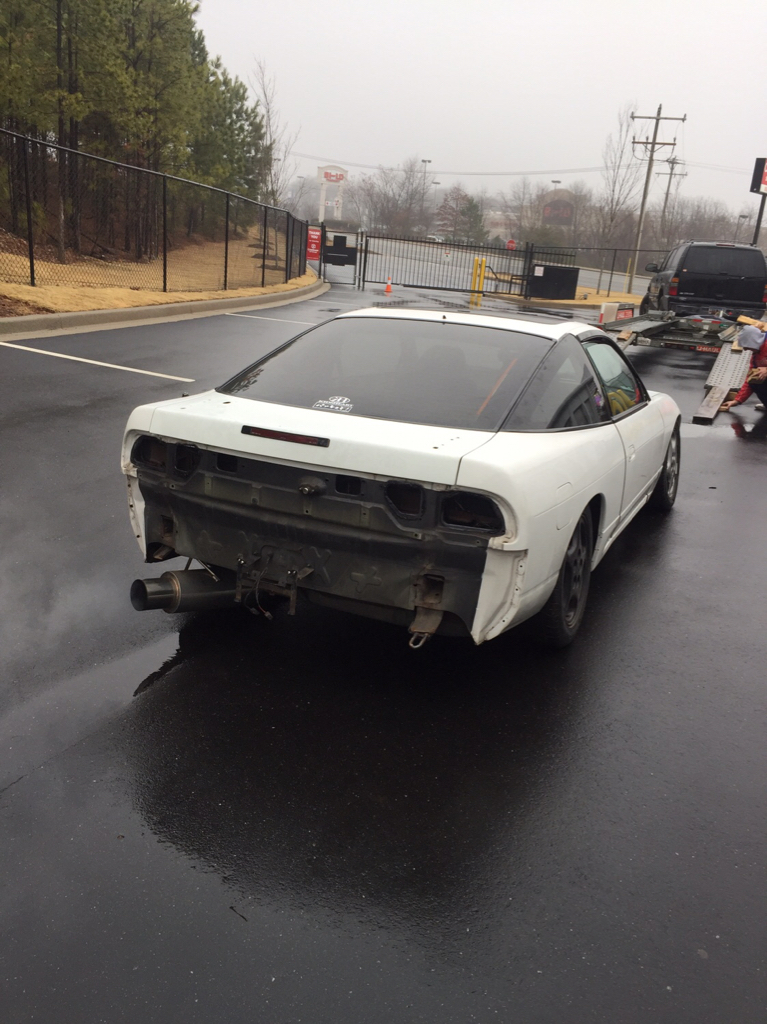 And the car was dropped off at paint the following weekend. 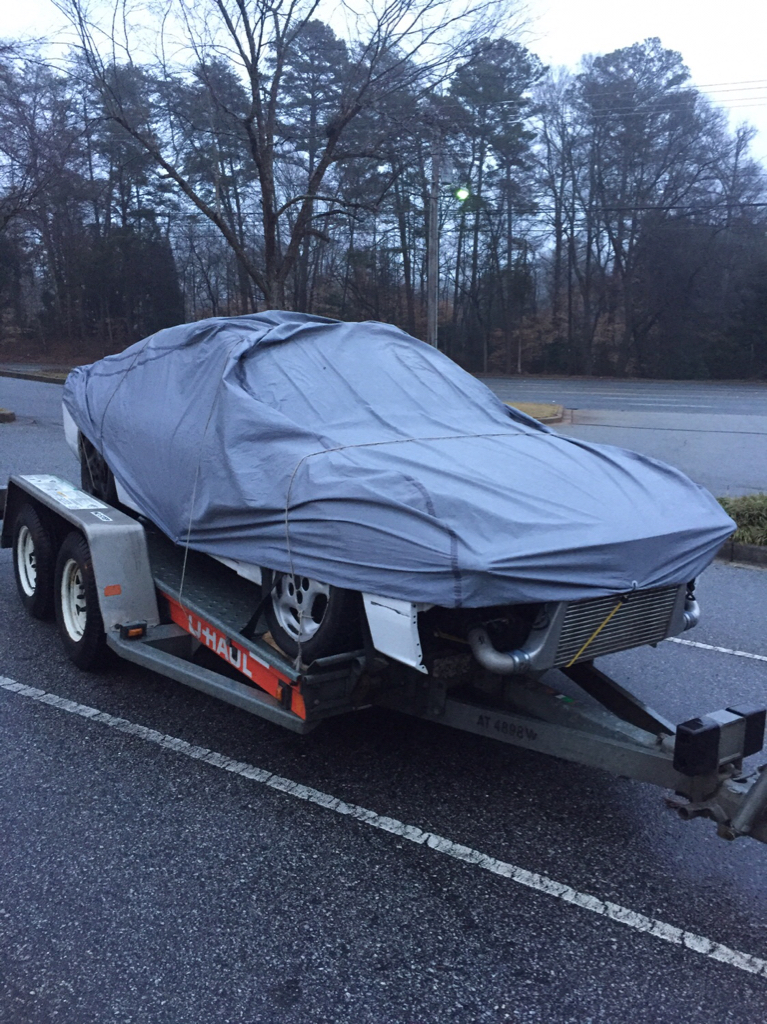 Although the OEM kit was extremely clean (not common these days, 2018) it had seen its fair share of scratches. Everything was sanded and filled smooth. 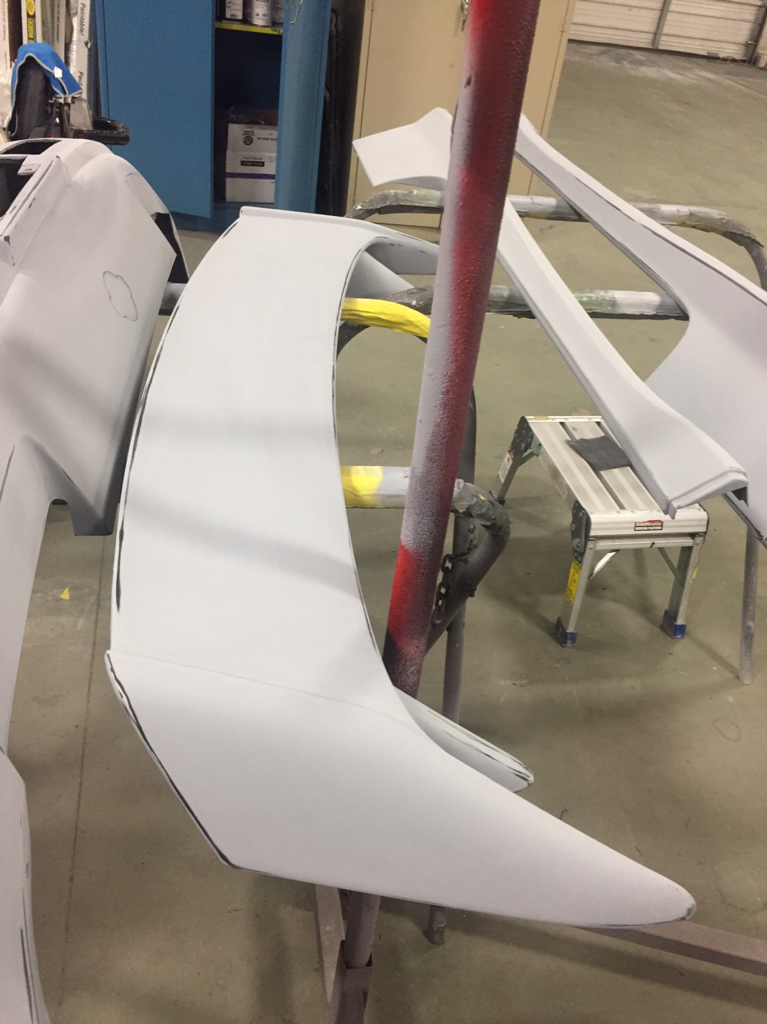 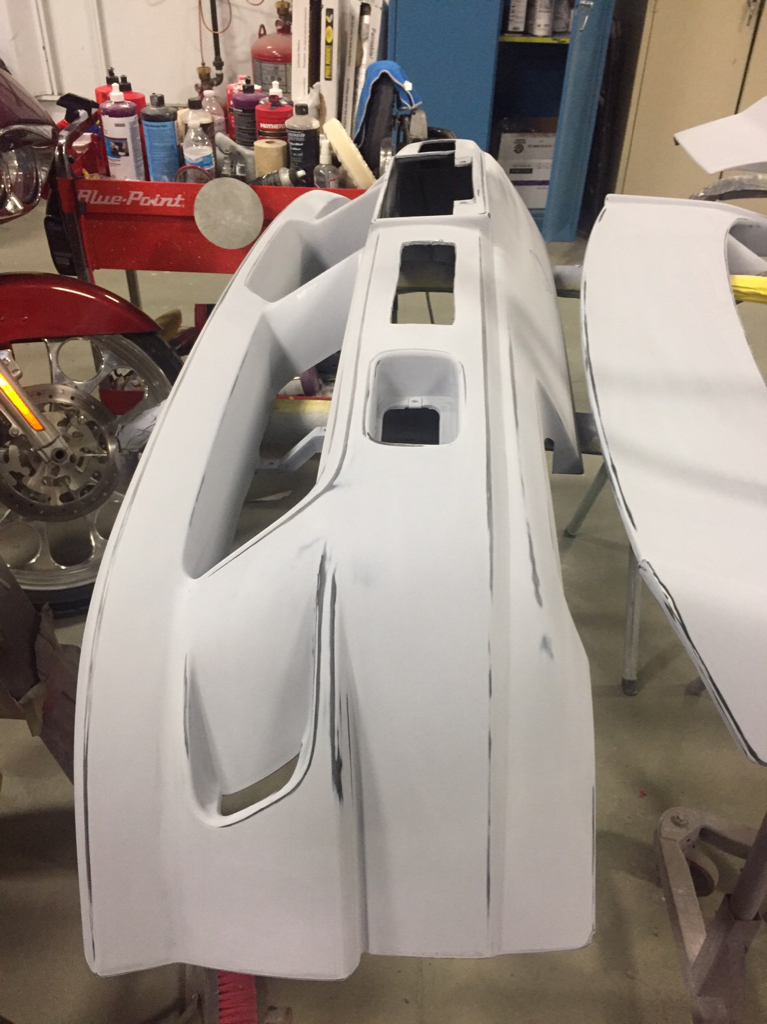 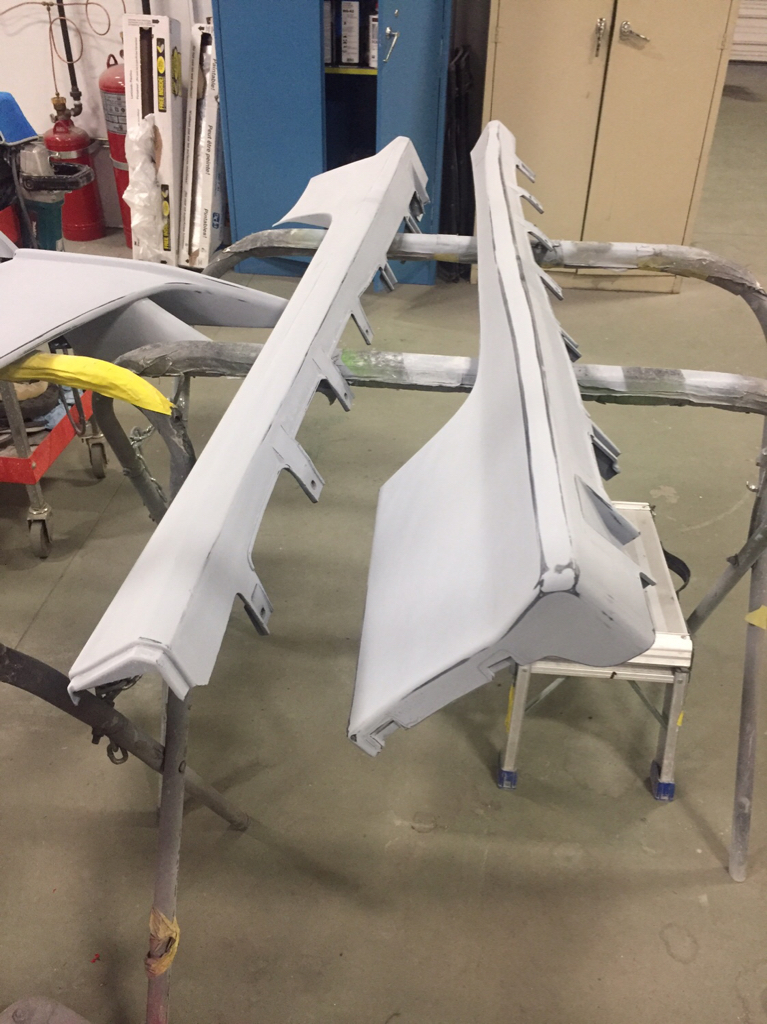 The body was prepped, sanded, primed, and ready for paint! 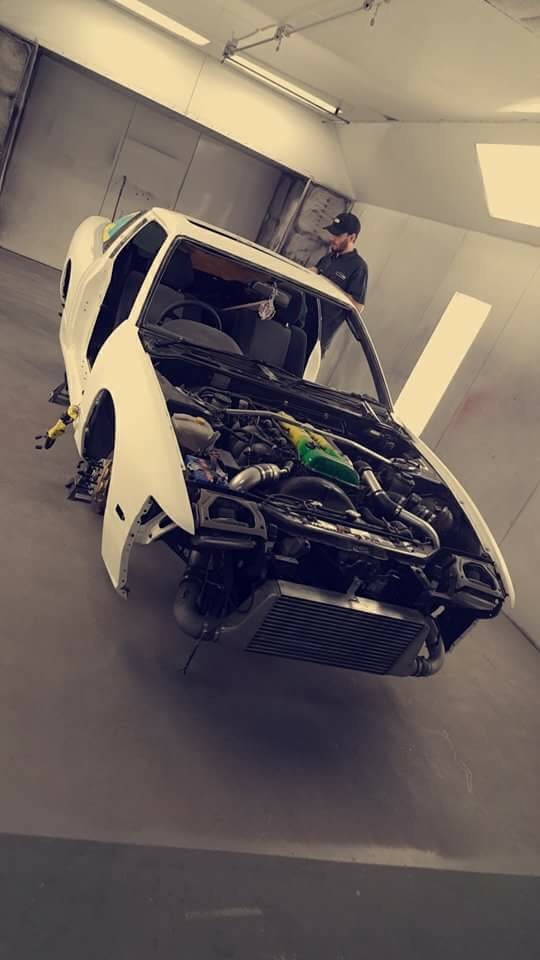 While the car was out of my hair for awhile, I travelled to Columbia and picked up a real '98 Type X front clip and a ton of extra 180SX/SR20 goodies. You never know what you may need in the future! 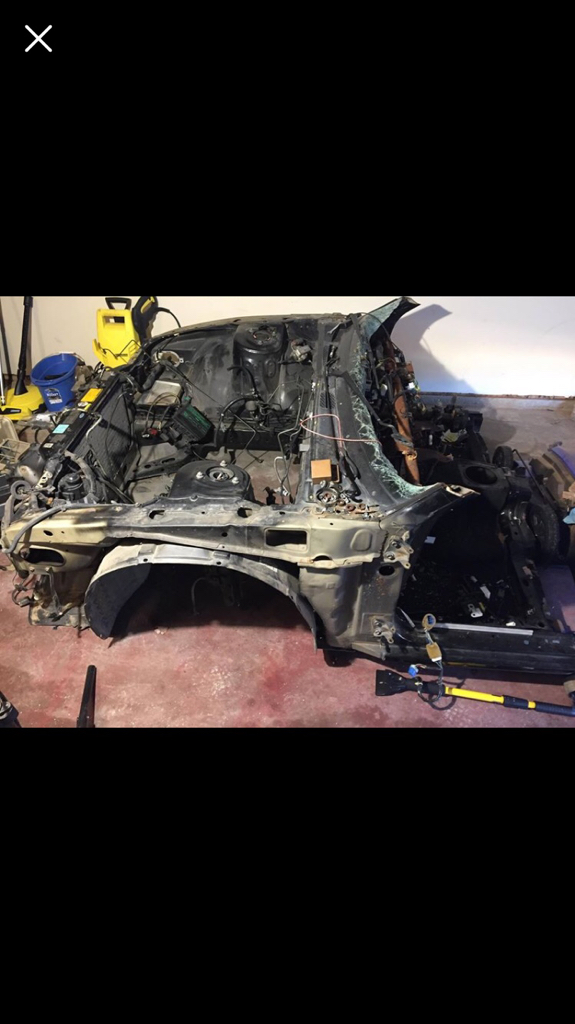 I also picked up a set of rear PBM coilovers to get the rear ride height where I want it, and eliminate that ridiculous rake. Another thing I haven't mentioned is that I got a GREX shift knob, a Nardi Classic 330, and two Hoshiko EB48 cup holders to make the interior more period correct. 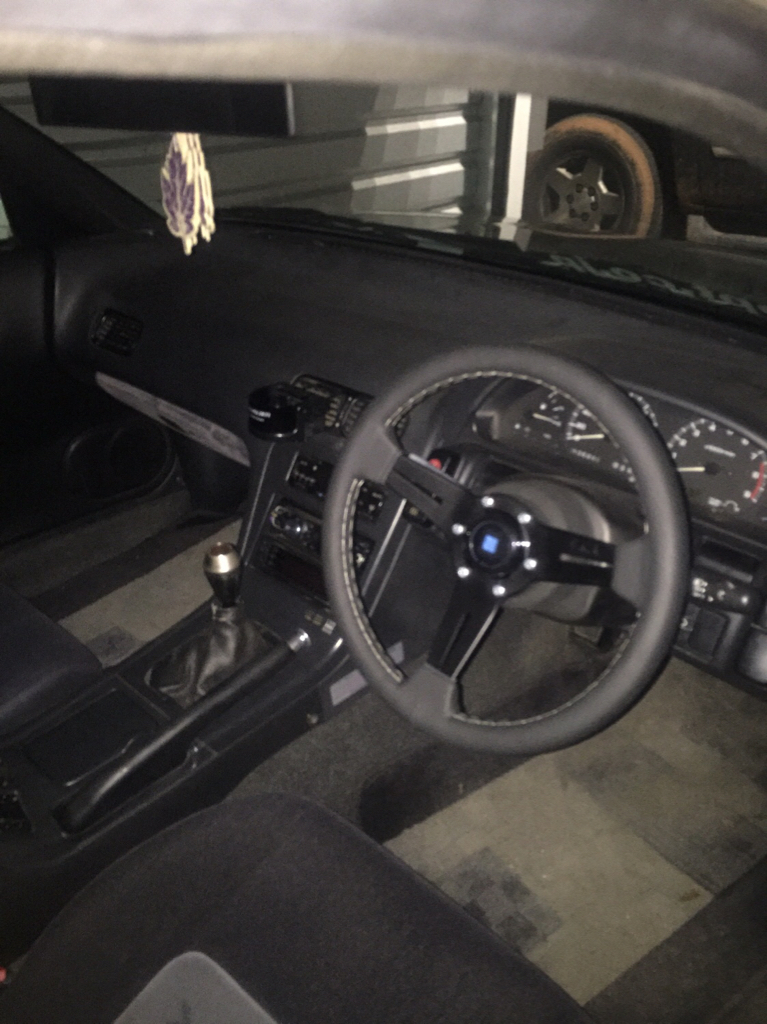 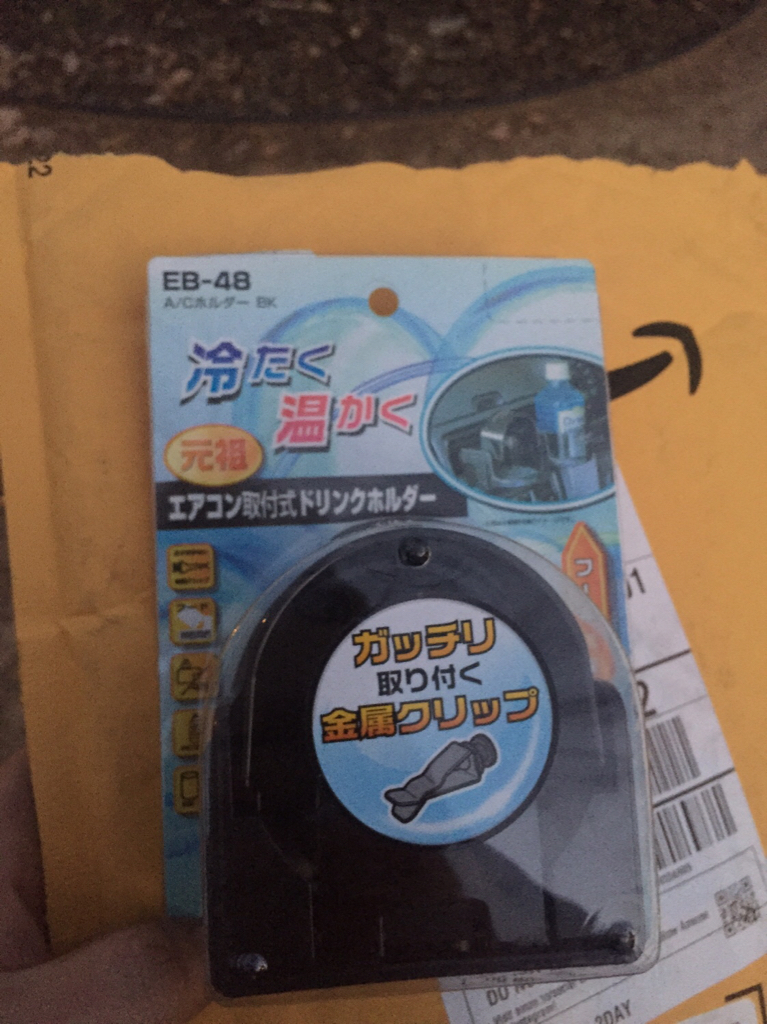 Okay, okay, back to the car. I got it back a month later, and immediately started reassembling it. 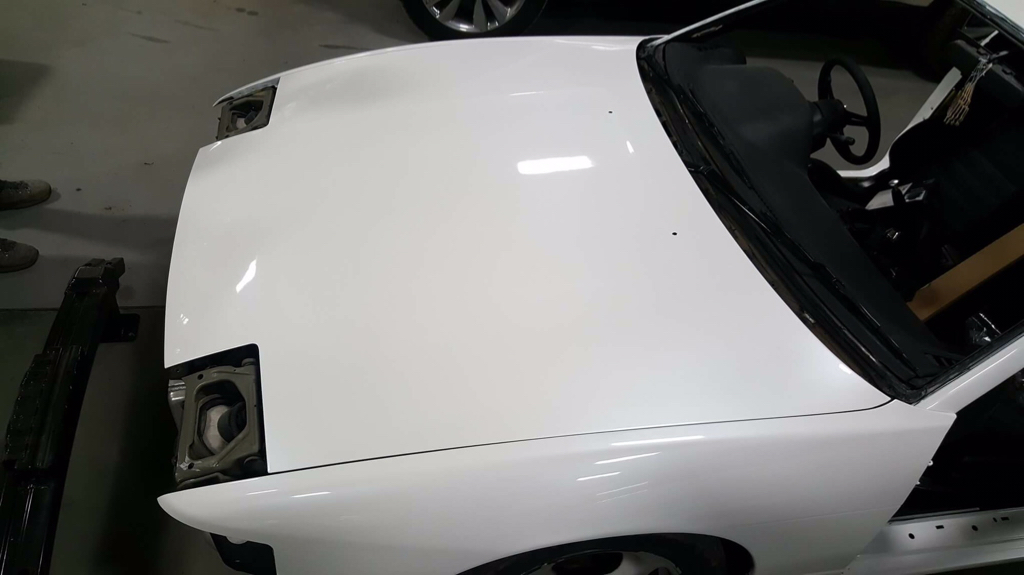 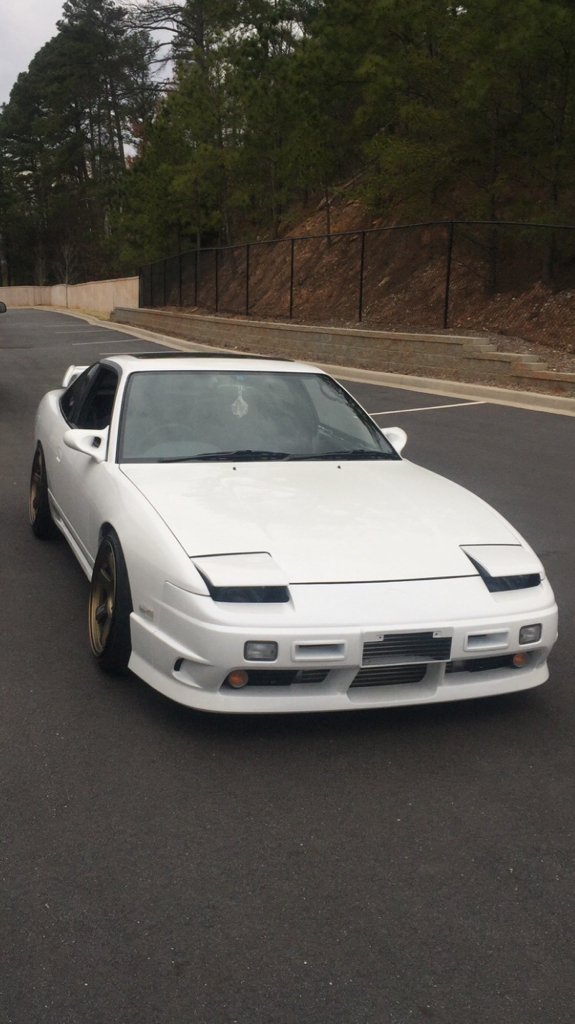 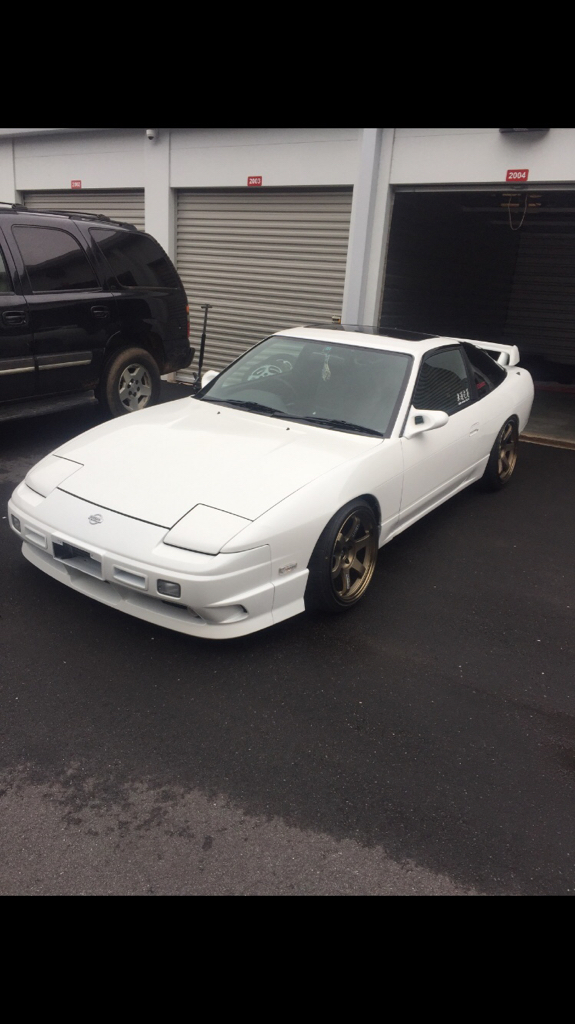 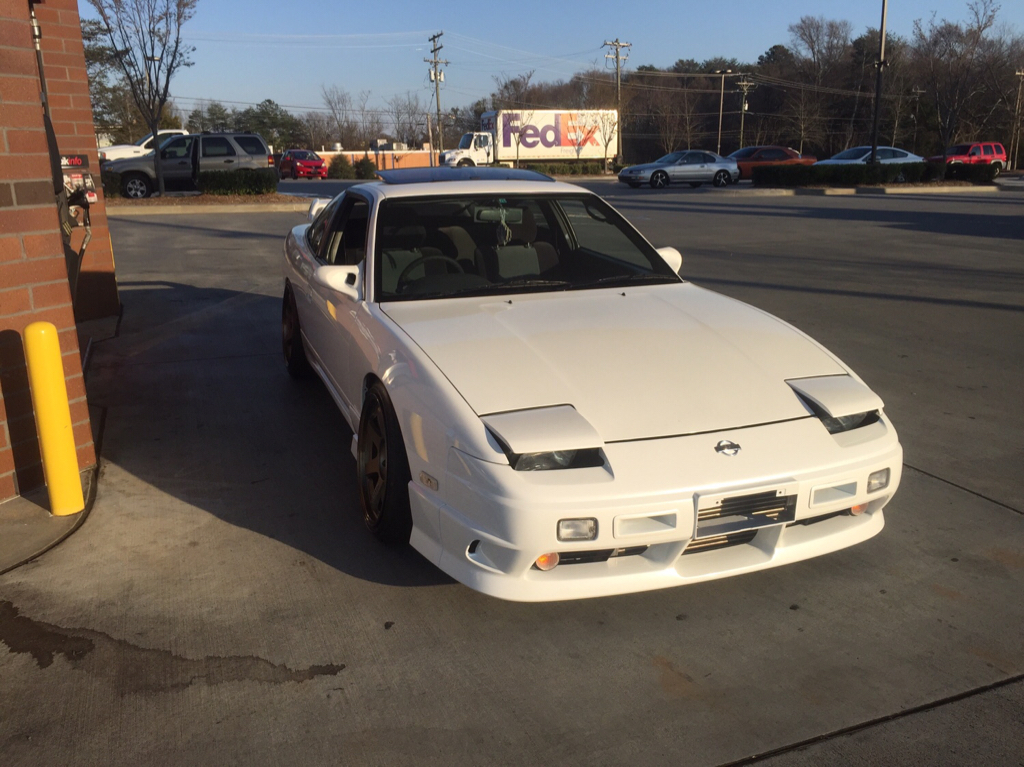 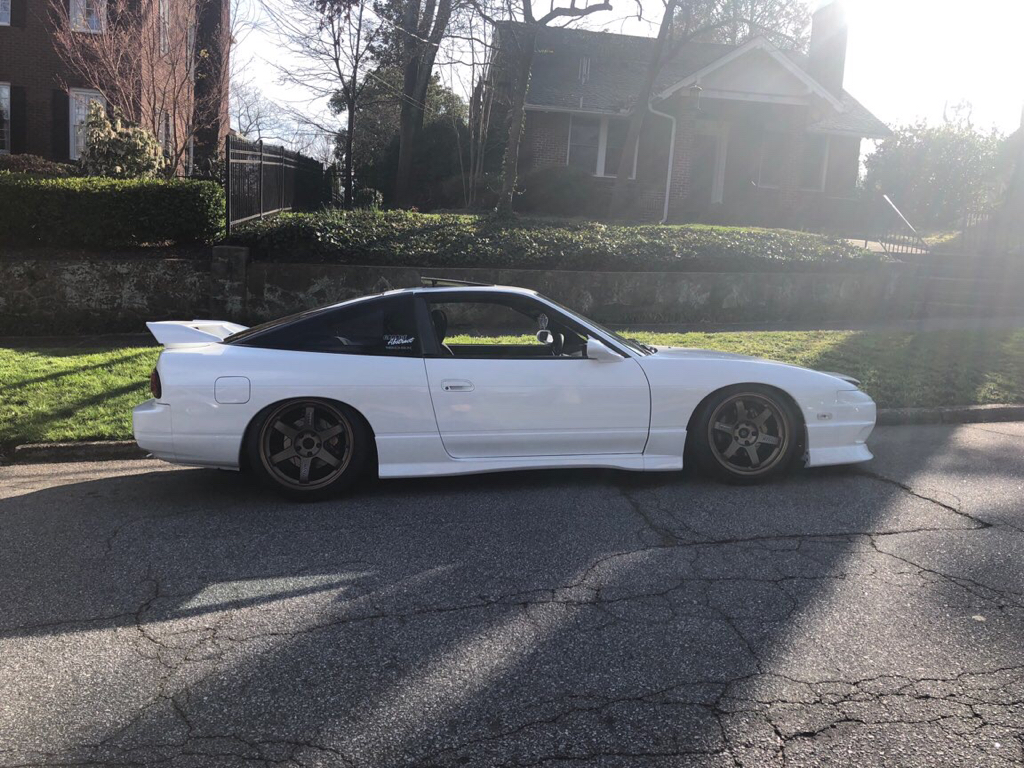 The car was almost finished, and I decided to bring it down to Lanier Raceplex for Excite GP Volume 1, a little grassroots drift competition. 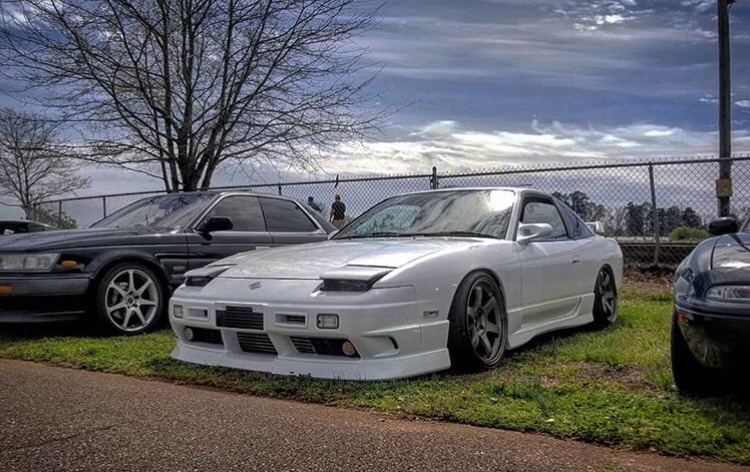 The next week I finished putting the rear valances on, and spent about 2 days washing, waxing, vacuuming, and wiping down the car to bring it to a show in Atlanta. 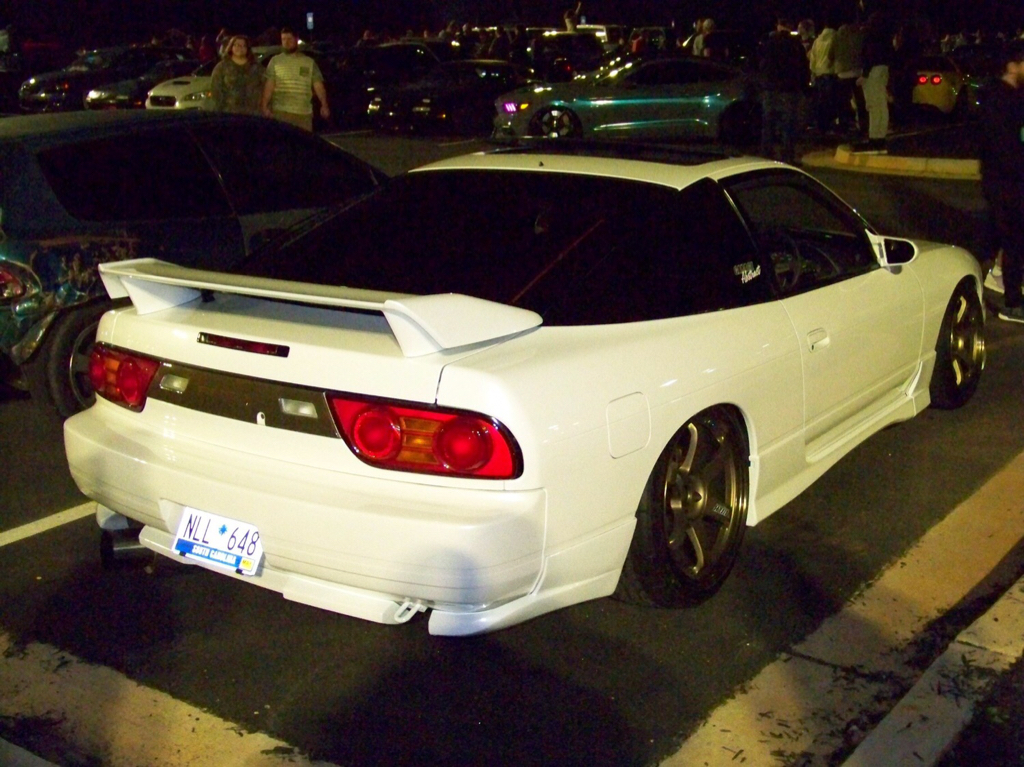 A few days before the show, my starter burned out. Fortunately, I had an extra one I picked up with the front clip! Me and some friends headed down to ATL for the show. I caught a flat tire bringing it into the show on day 1, but luckily the leak wasn't bad enough to cause a major inconvenience. I had a great time! 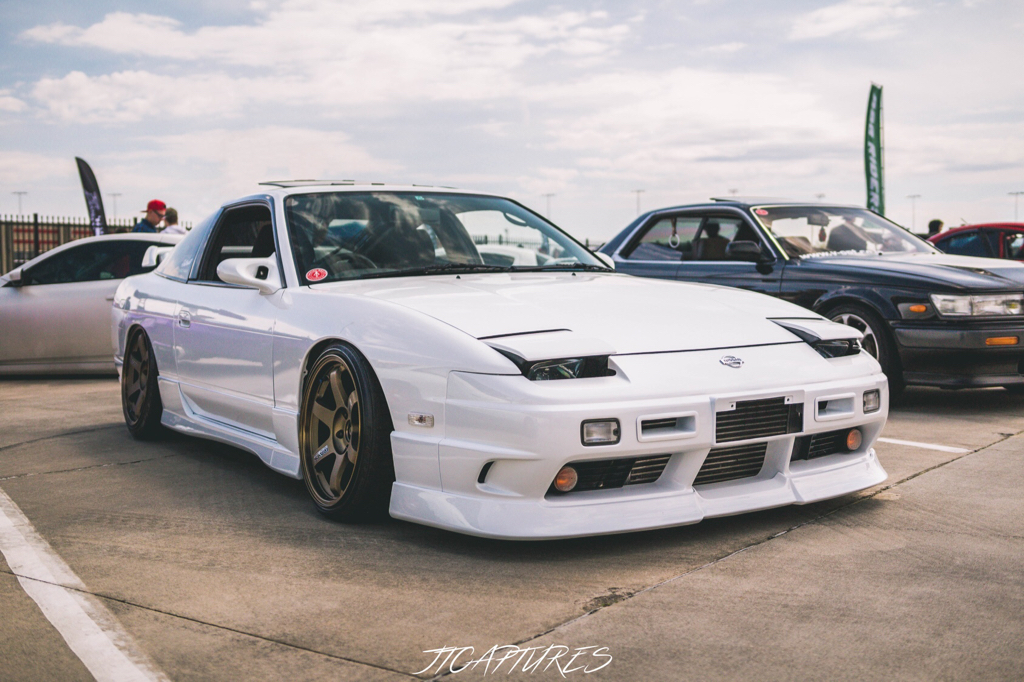 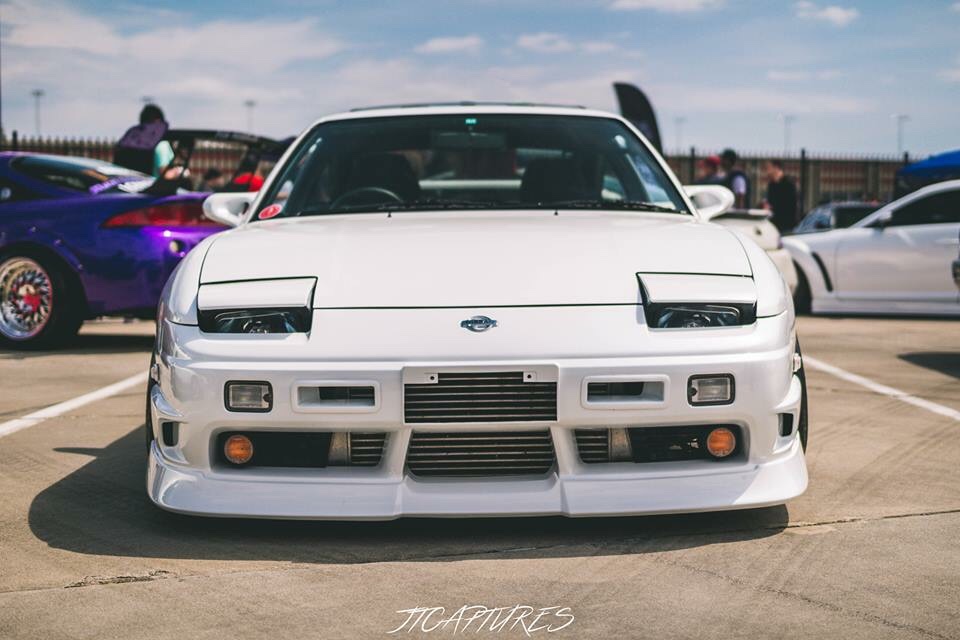 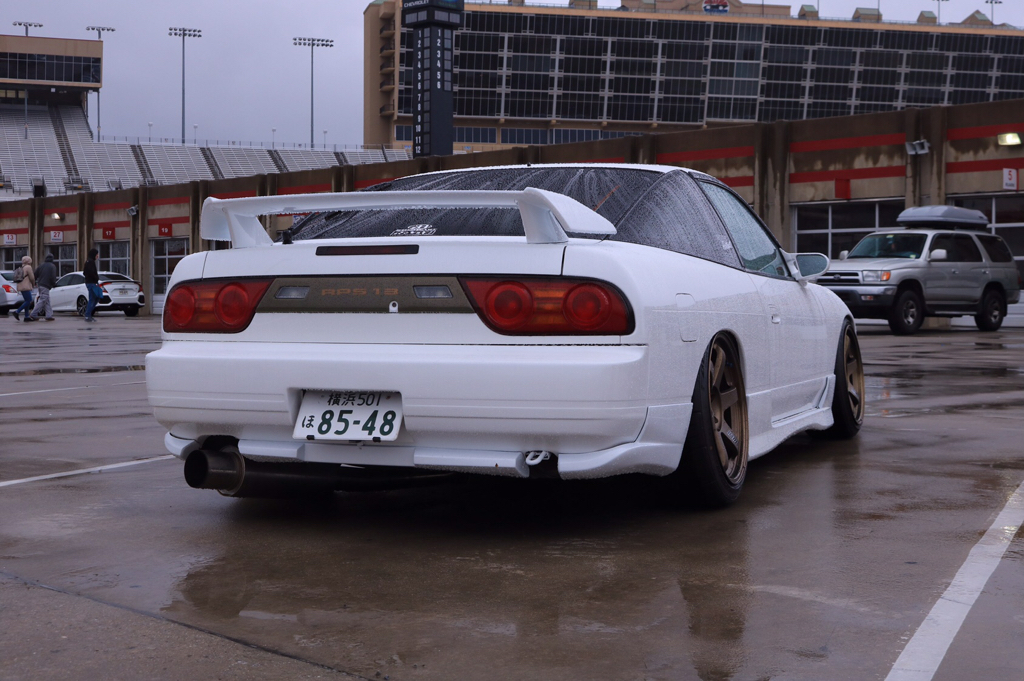 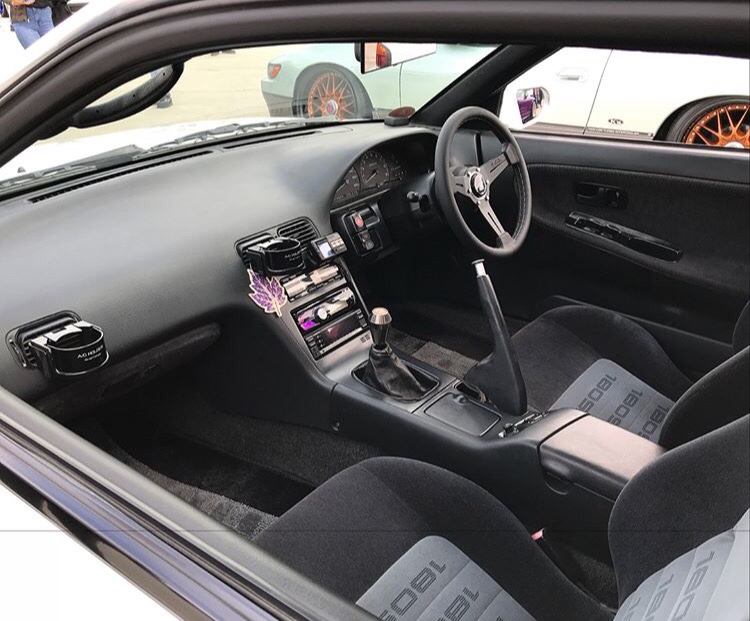 Well, I'm sure I'm forgetting a ton of things, but that pretty much brings you up to speed on my 180SX build throughout the past year! Many, many things to come in the future, and I look forward to writing about it! Sent from my iPhone using Tapatalk
__________________
Garage Abstract IG: @teddylesshq |
|
|

|
|
|
#9 |
|
Zilvia Junkie
 |
Wow man, so beautiful. Wish i had the money to get a set of bronze te’s. Love everything you’ve done to the car! Especially the interior. It’s crazy how so many people can do a type x different. Deff gonna start my build thread soon!
Sent from my iPhone using Tapatalk |
|
|

|
|
|
#10 |
|
Zilvia Member
 Join Date: Jul 2012
Location: Georgia
Age: 30
Posts: 292
Trader Rating: (3)
 Feedback Score: 3 reviews
|
Excite GP was dope, this years first round was killer too, my parents live near atlanta but i live in columbia haha I was like WHOA I know exactly what he is talking about and what meets etc.
|
|
|

|
|
|
#14 |
|
Zilvia Member
 Join Date: Feb 2017
Location: Lansing michigan
Posts: 154
Trader Rating: (1)
 Feedback Score: 1 reviews
|
cars looking great. same direction im going except i cant afford all oem stuff haha. im curious how much negative camber your are running in the rear? i have xt7s i believe same size and offset(18x9.5+12) in the rear as your te37s and they require alot of camber to fit. i run a 225/35 . fenders are rolled but not pulled. im shotting for -2 degrees of camber. but then again,my rear wheels also almost tuck
|
|
|

|
|
|
#15 | |
|
Zilvia Member
 Join Date: Oct 2016
Location: South Carolina
Age: 23
Posts: 150
Trader Rating: (3)
          Feedback Score: 3 reviews
|
Teddy's Southeast 180SX Build
Thanks for all the support guys!
Quote:
Hey Fuglychuki, you do indeed have the same rear wheel size as me. I'm currently running a 235/40, but that may change soon (still playing with fitment). I'm running -4.5* right now in the rear with rolled fenders, although like I said, my fitment can be adjusted a little more. I don't think you'll be able to squeeze those wheels under the rear fenders within -2* without a slight pull. Sent from my iPhone using Tapatalk
__________________
Garage Abstract IG: @teddylesshq |
|
|
|

|
|
|
#16 |
|
Zilvia Member
 Join Date: Feb 2017
Location: Lansing michigan
Posts: 154
Trader Rating: (1)
 Feedback Score: 1 reviews
|
yeah i was pretty much sure id have to pull the rears. i just dont like having a rediculous amount of negative camber in the rear. front sure, but rear not so much. i probably will have to raise the car up some cause my fender is boardline resting on the wheel haha. i guess the swifts on my pbms helped
|
|
|

|
|
|
#21 |
|
Zilvia Member
 Join Date: Oct 2016
Location: South Carolina
Age: 23
Posts: 150
Trader Rating: (3)
          Feedback Score: 3 reviews
|
Teddy's Southeast 180SX Build
Thanks guys! Sorry I've been a little inactive lately, I've been SUPER busy with work and finals. I haven't done too much to the 180 recently, except mainly trying to clean up some small details on the car.
One of my HID bulbs seemed to have popped out of the headlight housing sockets and broke when the headlight popped up. The housing was then melted and singed in the process. I've ordered new RAYBRIG housings and new bulbs for both sides, and they should be here by the end of the week. 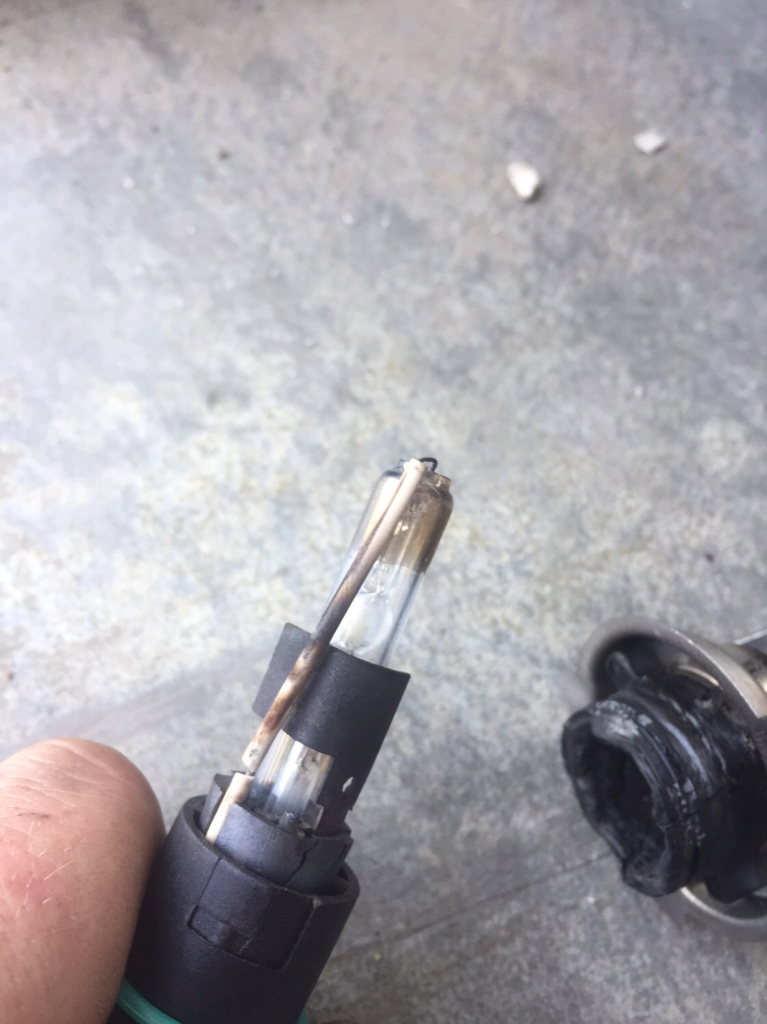 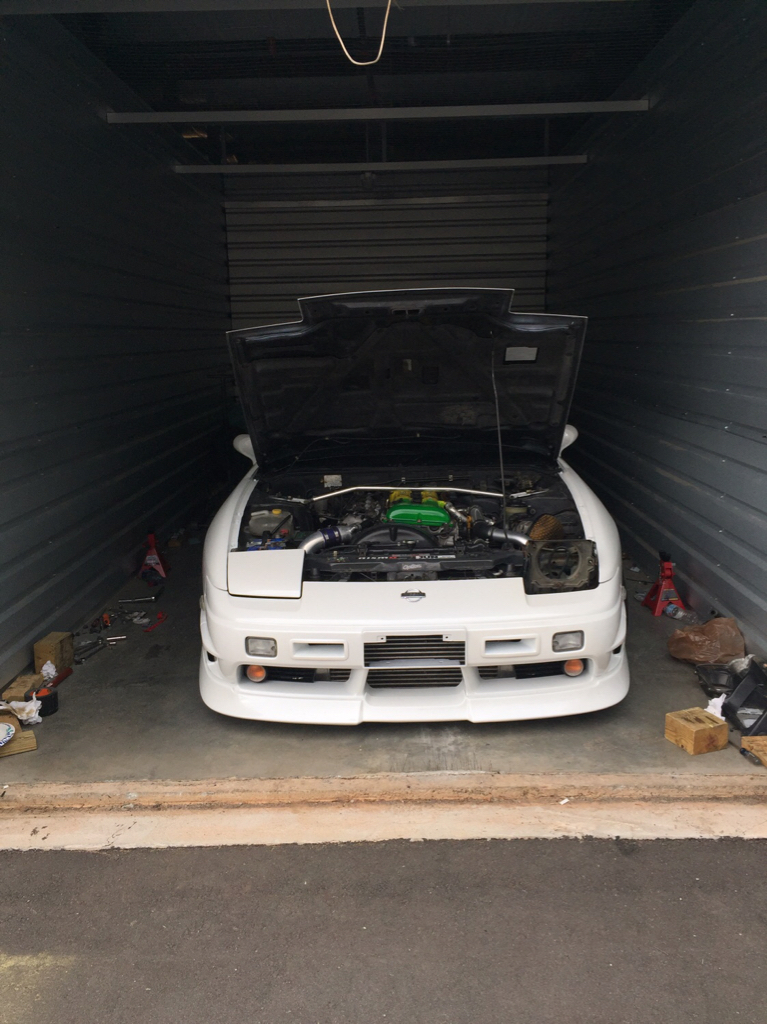 I also have a Kakimoto exhaust on its way here, so I should have that landed in about a month to replace my current catback. I also want to replace my downpipe, but I still need to do more research to find a low profile, quality pipe. 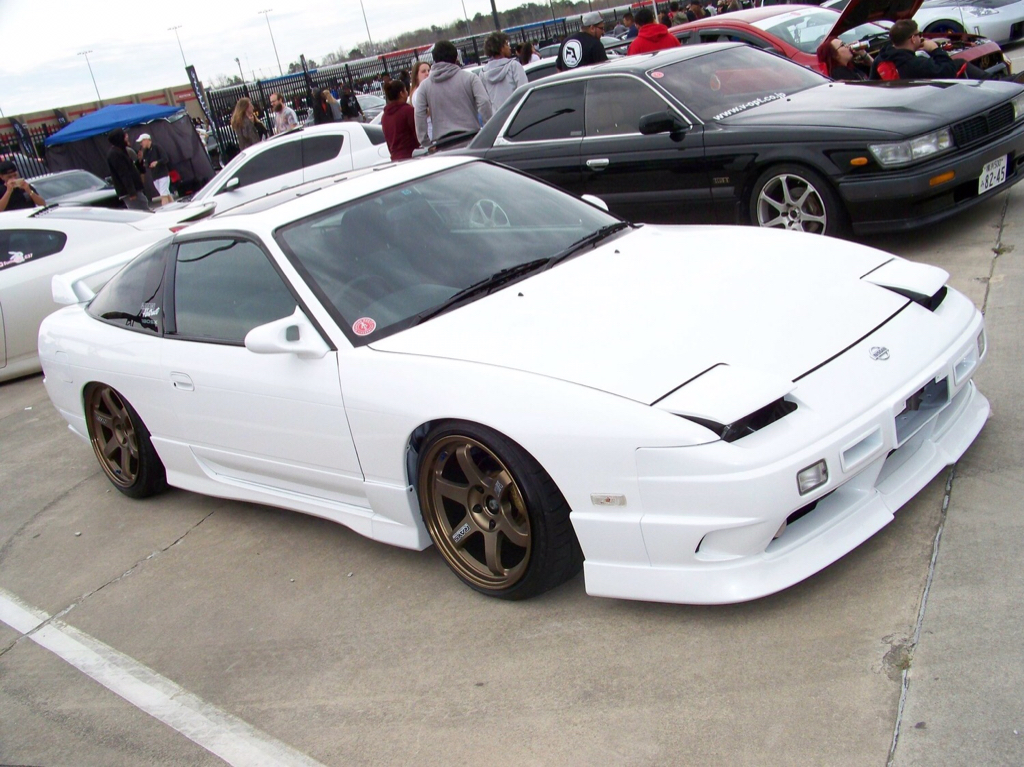 Once I finish cleaning up the little issues, I'm shifting my focus to the interior of the car. I wish I had more to post about, but that's it for now. Hopefully more stuff coming soon! Sent from my iPhone using Tapatalk
__________________
Garage Abstract IG: @teddylesshq Last edited by Teddyless; 04-25-2018 at 09:16 AM.. |
|
|

|
|
|
#23 |
|
Post Whore!
 Join Date: Oct 2008
Location: MI
Age: 35
Posts: 3,913
Trader Rating: (131)
           Feedback Score: 131 reviews
|
Looks amazing as always. I'll drop my recommendation here for the Parts Shop Max Cobra downpipe- pretty nice piece that tucks the exhaust up nicely and eliminates the need for a separate gasket/elbow assembly.
|
|
|

|
|
|
#24 | |
|
Zilvia Member
 Join Date: Oct 2016
Location: South Carolina
Age: 23
Posts: 150
Trader Rating: (3)
          Feedback Score: 3 reviews
|
Quote:
Thanks for the suggestion! I'll definitely look into it!
__________________
Garage Abstract IG: @teddylesshq |
|
|
|

|
|
|
#25 |
|
Zilvia Member
 Join Date: Oct 2016
Location: South Carolina
Age: 23
Posts: 150
Trader Rating: (3)
          Feedback Score: 3 reviews
|
Small update for everyone:
New headlight housings and bulbs came in last week, and threw them on. They give off a nice, bright pure white. Exactly what I was aiming for, couldn't be happier. 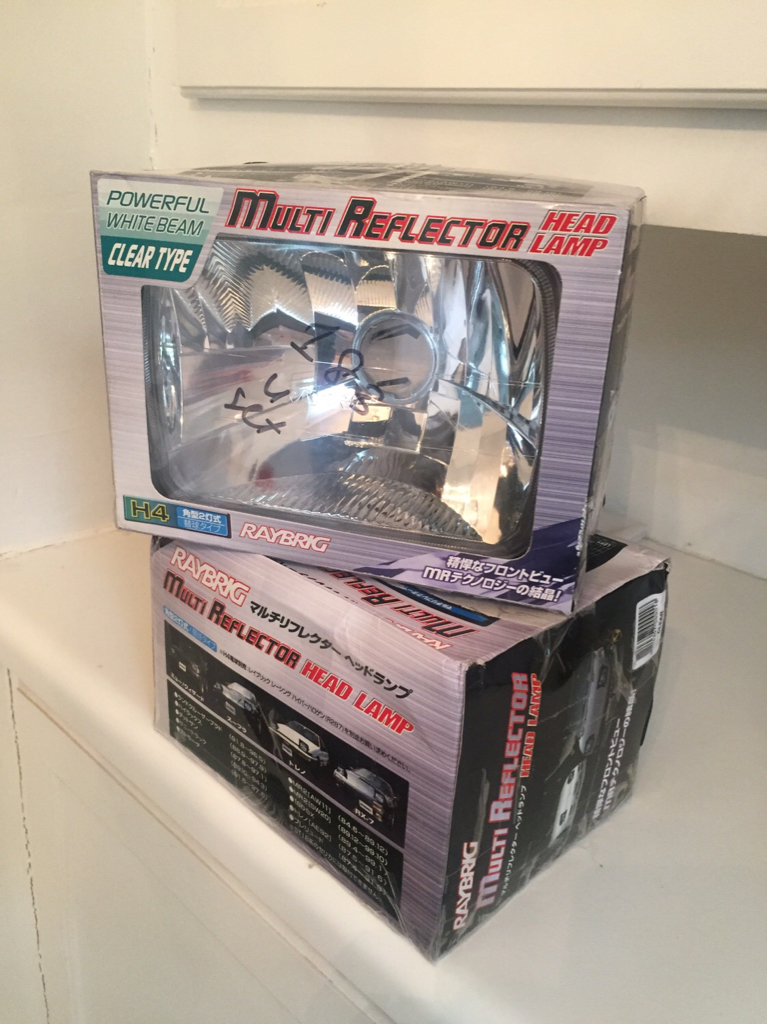 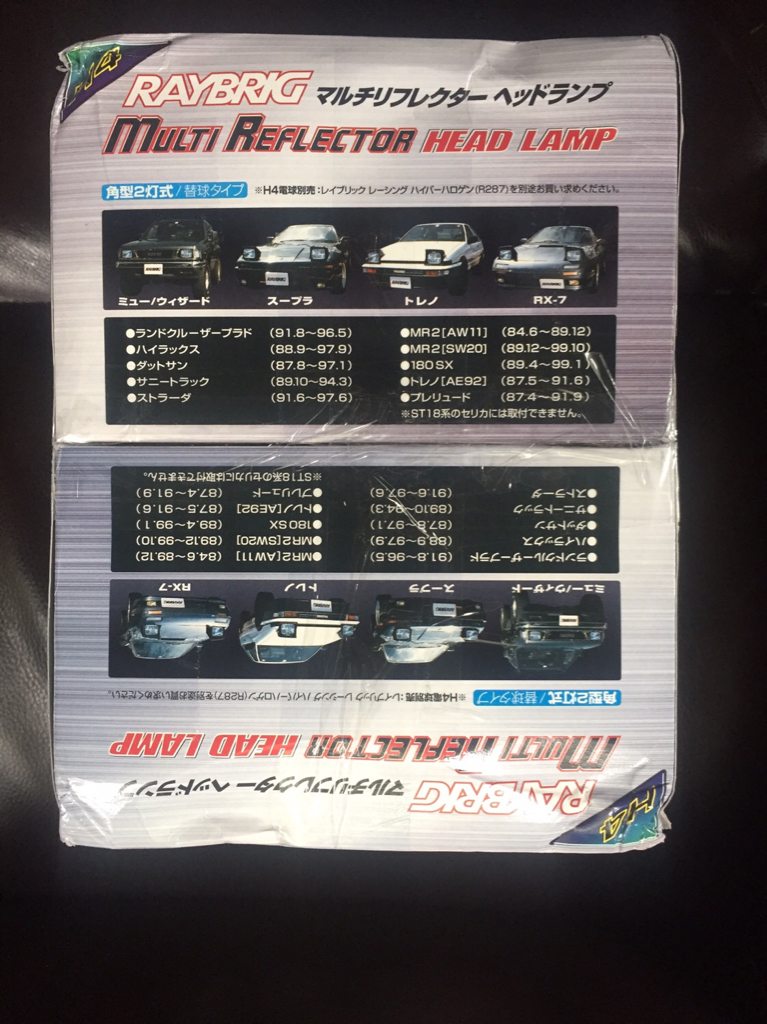 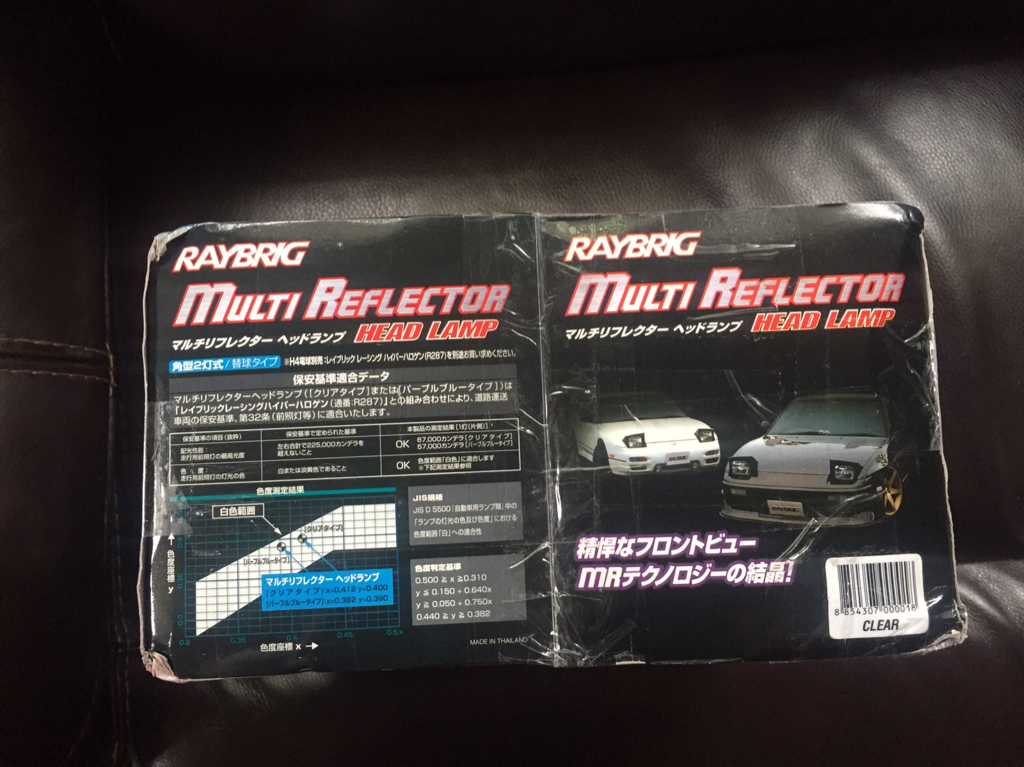 New vs. Old 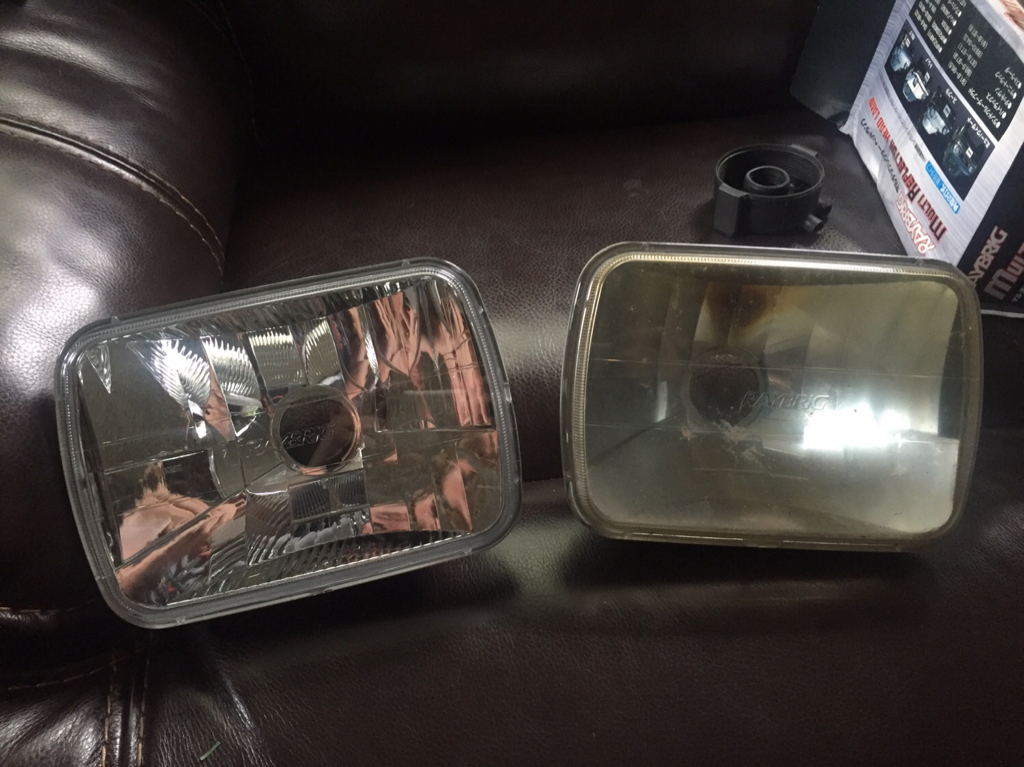 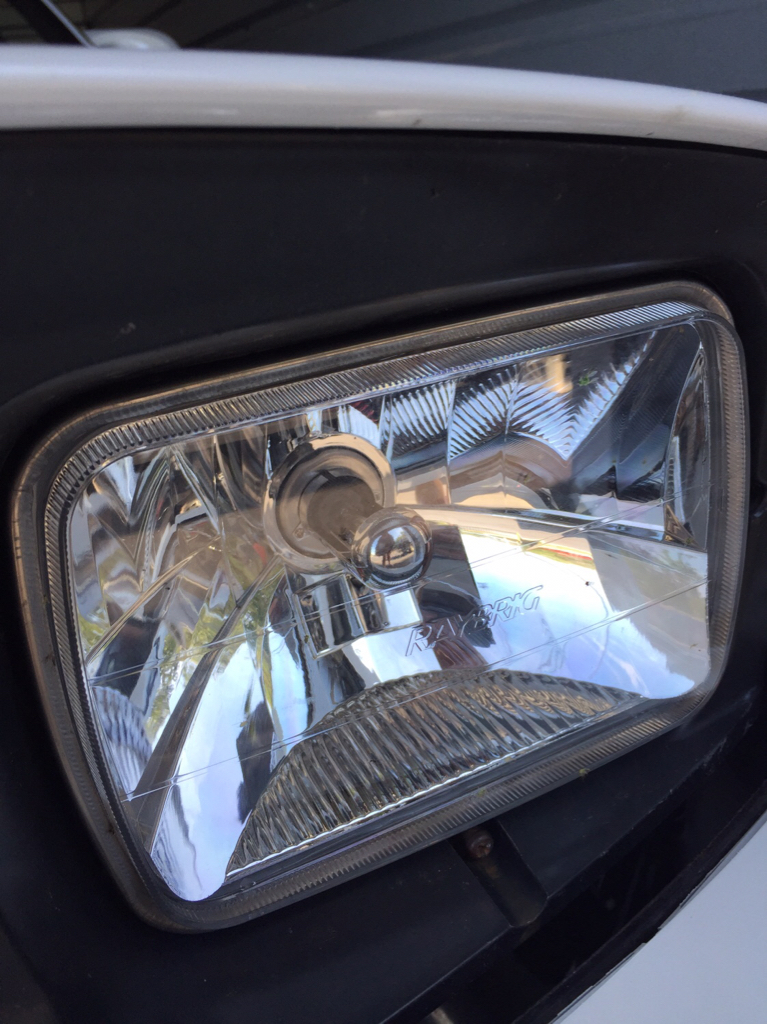 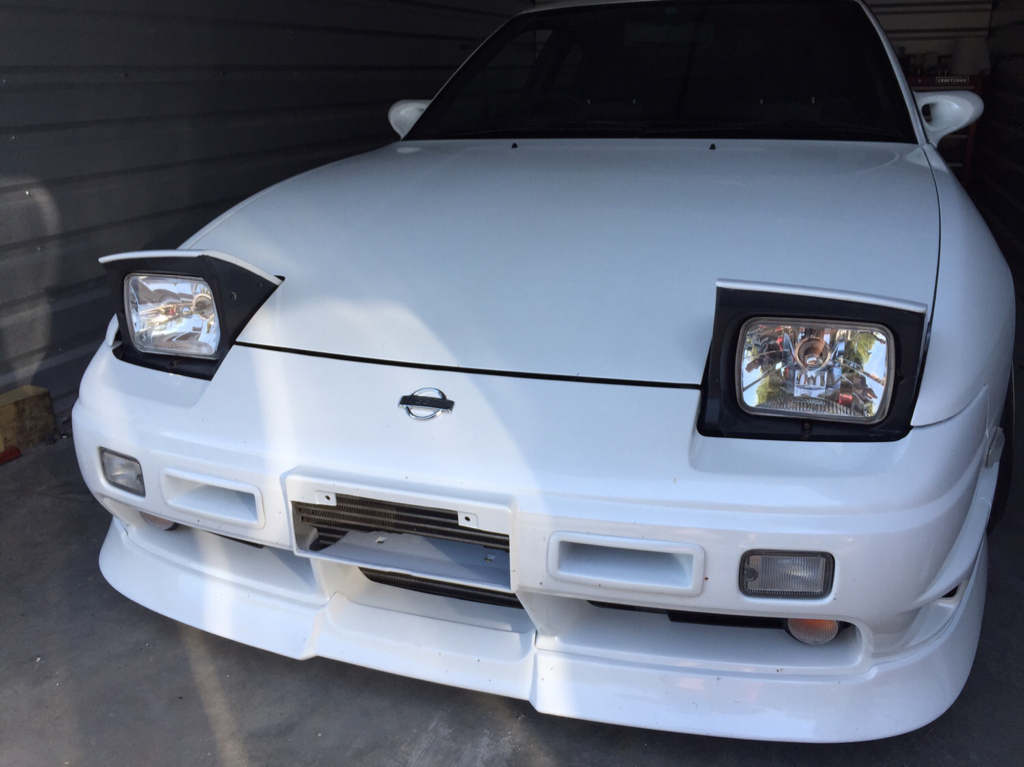 Interior updates next! 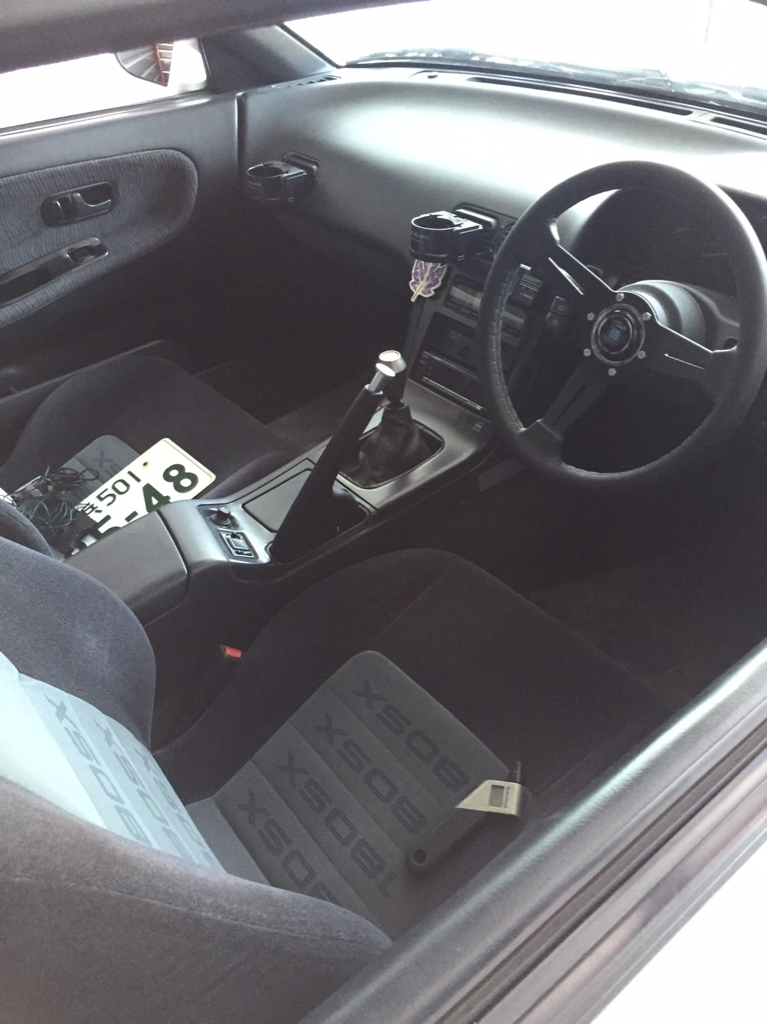
__________________
Garage Abstract IG: @teddylesshq |
|
|

|
|
|
#27 |
|
Leaky Injector
Join Date: Nov 2012
Location: Las Vegas
Age: 26
Posts: 90
Trader Rating: (0)
 Feedback Score: 0 reviews
|
 loving the car so much, makes me want to send mine out to get sprayed ! loving the car so much, makes me want to send mine out to get sprayed !Sent from my iPhone using Tapatalk
__________________
Don’t mind me, I’m just an irrelevant little shit. |
|
|

|
|
|
#28 |
|
Zilvia Member
 |
Looks good! If you want a low profile downpipe, look into the Moonface one piece ones or the PBM ones! Both fit great, the Moonface is more on the expensive "jdm tax" side but the bottom portion is oval and sits level with the frame rail.
__________________
METAL FOR LIFE 
|
|
|

|
|
|
#29 |
|
Zilvia Member
 Join Date: Oct 2016
Location: South Carolina
Age: 23
Posts: 150
Trader Rating: (3)
          Feedback Score: 3 reviews
|
Teddy's Southeast 180SX Build
**BIG UPDATE**
A lot has changed in the past couple months- and not much of it is good change. A few weeks after I assembled my car from being resprayed, my buddy and I were downtown taking some pictures in front of some antique buildings. 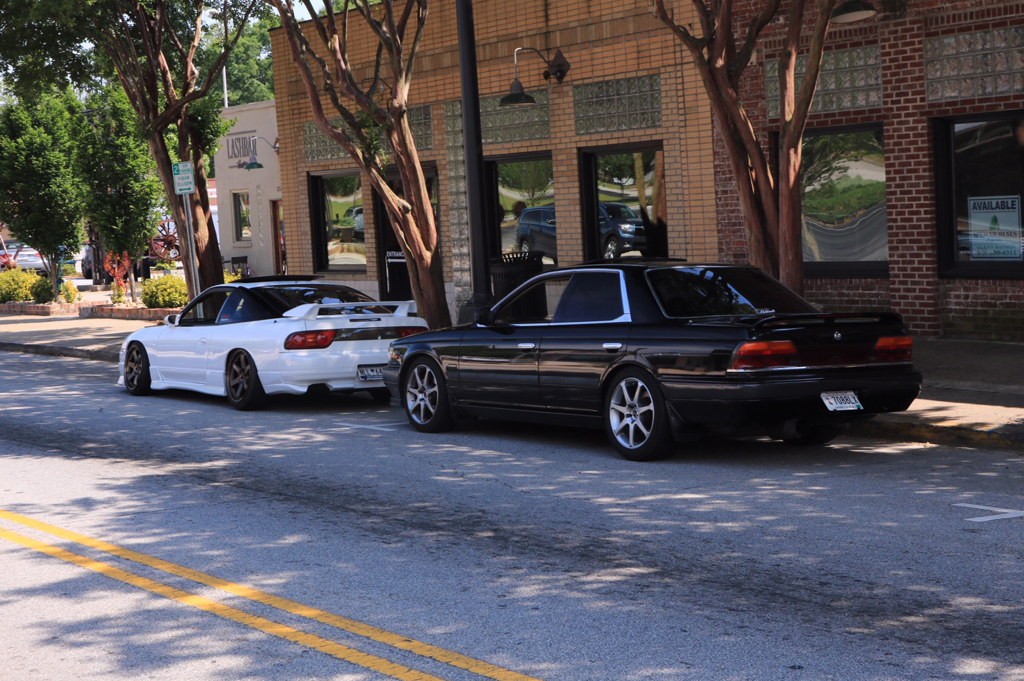 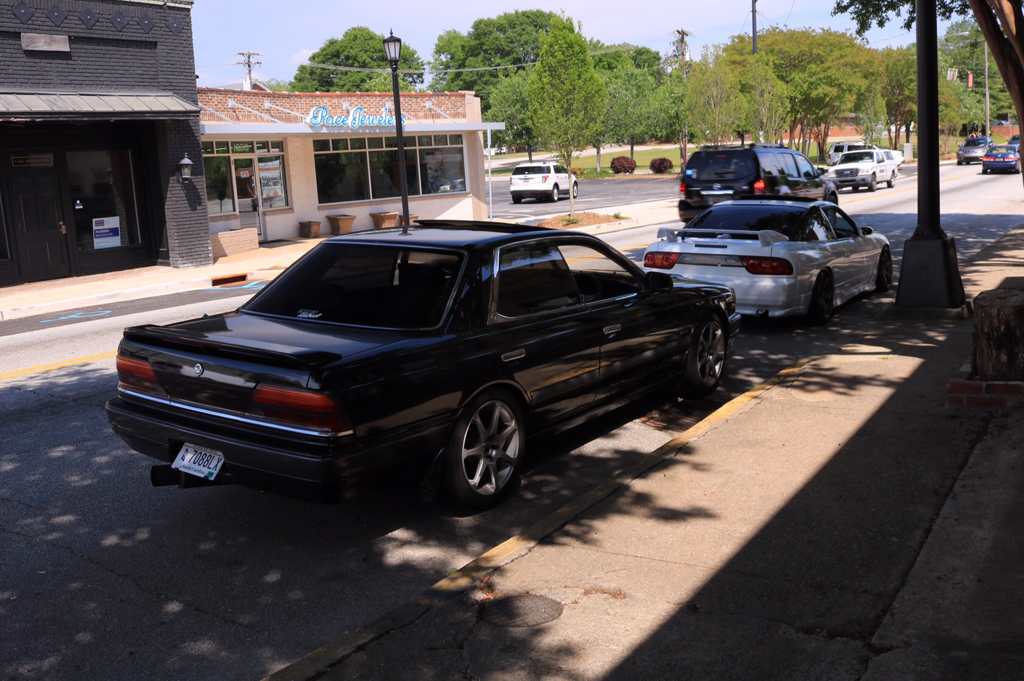 Shortly after these pictures were snapped, the front of my car was struck by an impatient driver in a Nissan Rogue. This is the aftermath. 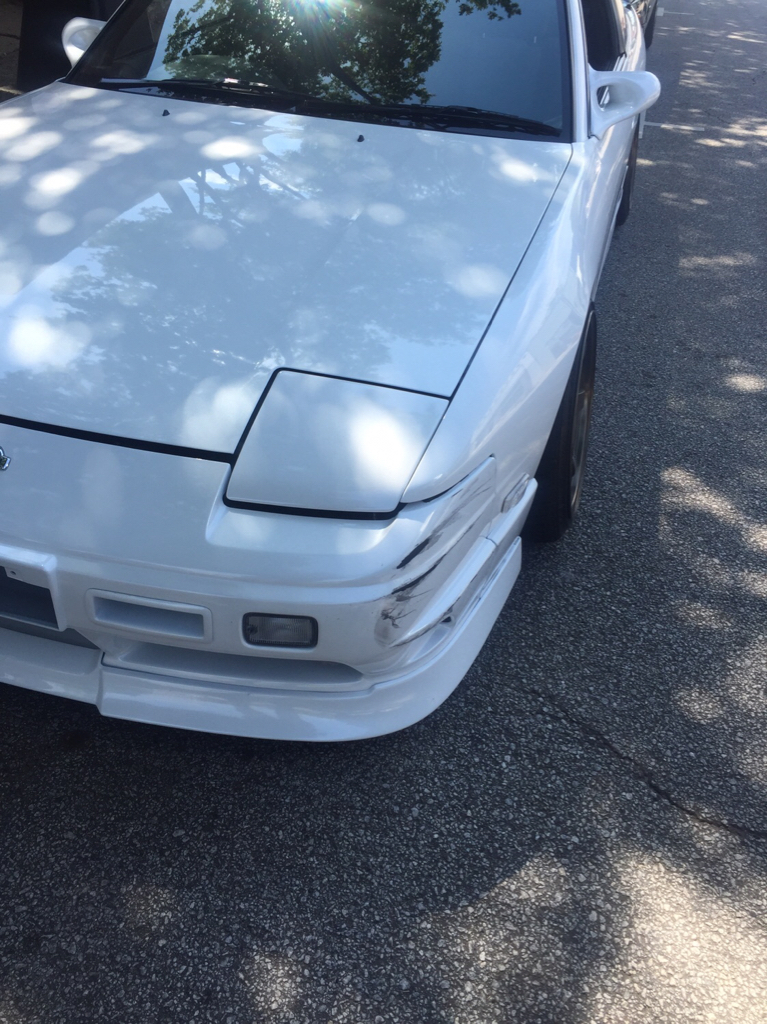 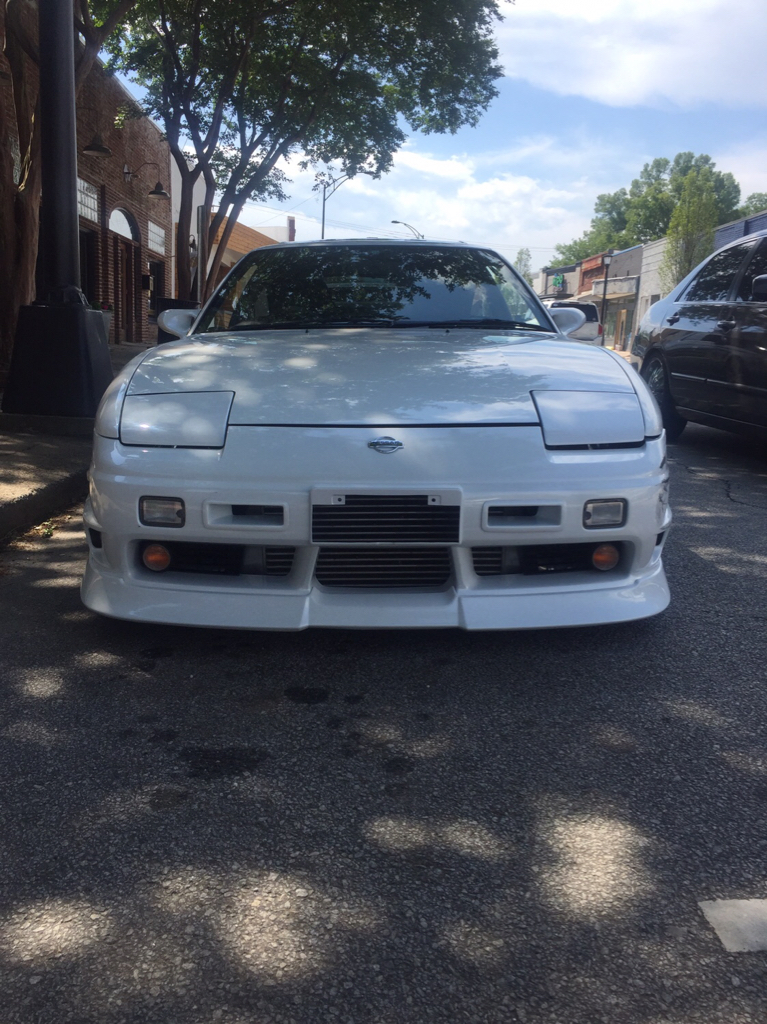 It doesn't look too bad at first glance, and that's what I thought. I called up the bodyshop that had just finished painting my car a month prior, and told them what had happened. The fender was bent and torn, the bumper needed repairing, all the left side brackets were bent, etc, etc. Long story short, after speaking to insurance multiple times about the initial estimate, supplements, and multiple appraisals, the total came out to just shy of $3,000. All of this took 8 weeks from start to finish. I picked my car up from the body shop and was not happy with how things turned out. Bolts were missing and broken, there was overspray everywhere, pieces were left unpainted, multiple drip marks, missing brackets, and the kouki bumper did not line up with the body. On top of that, the paint stripper they used on the DorkiDori lip deteriorated the plastic and ruined the lip. So now I'm on the lookout for an OEM one (oof) But this isn't a rant thread, so I'll move on haha. I was hesitant on bringing the car back, but after I spoke with the owner and he assured me they'll correct everything properly, I dropped the car back off today for the corrections to be made. I picked up a few more things for the 180 including a C's short shifter, Nismo cluster, Nismo kill switch lighter, and optional cool box. Unfortunately, I have a bad habit of forgetting to take pictures of the parts before I install them. Oops haha OEM VS. C's 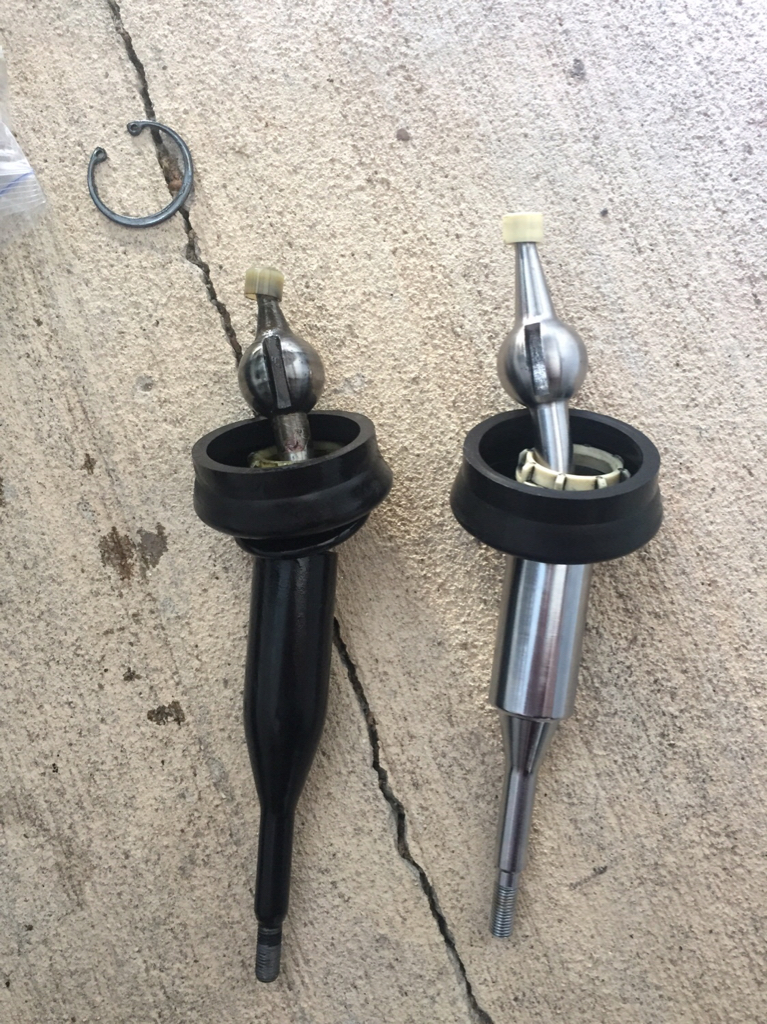 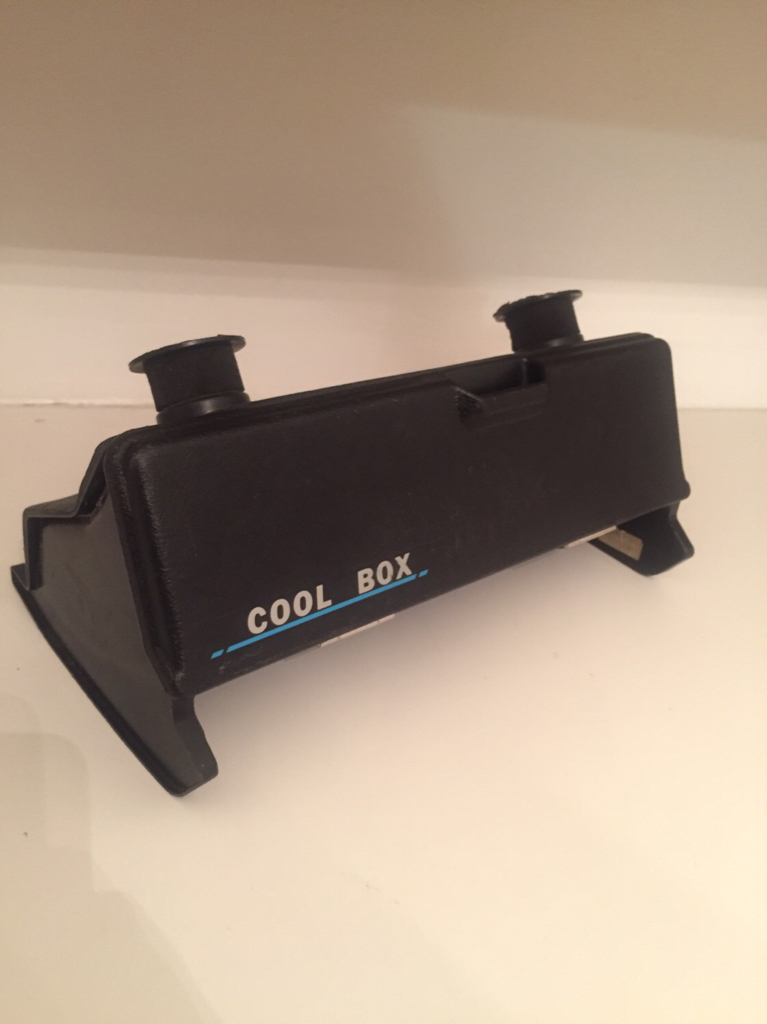 Excuse the dirty floor mats 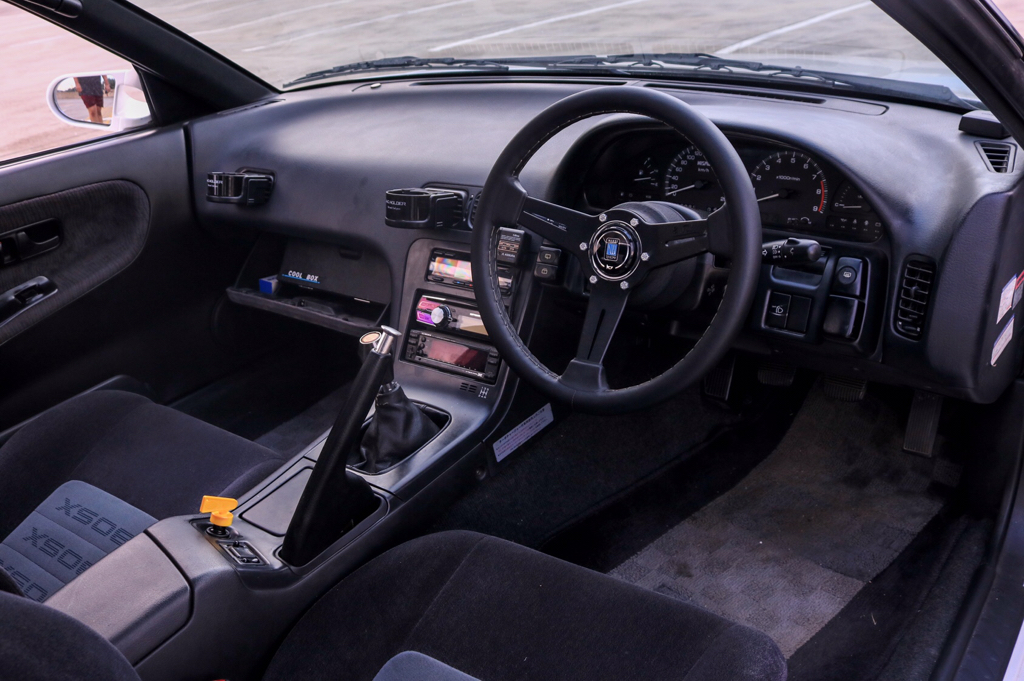 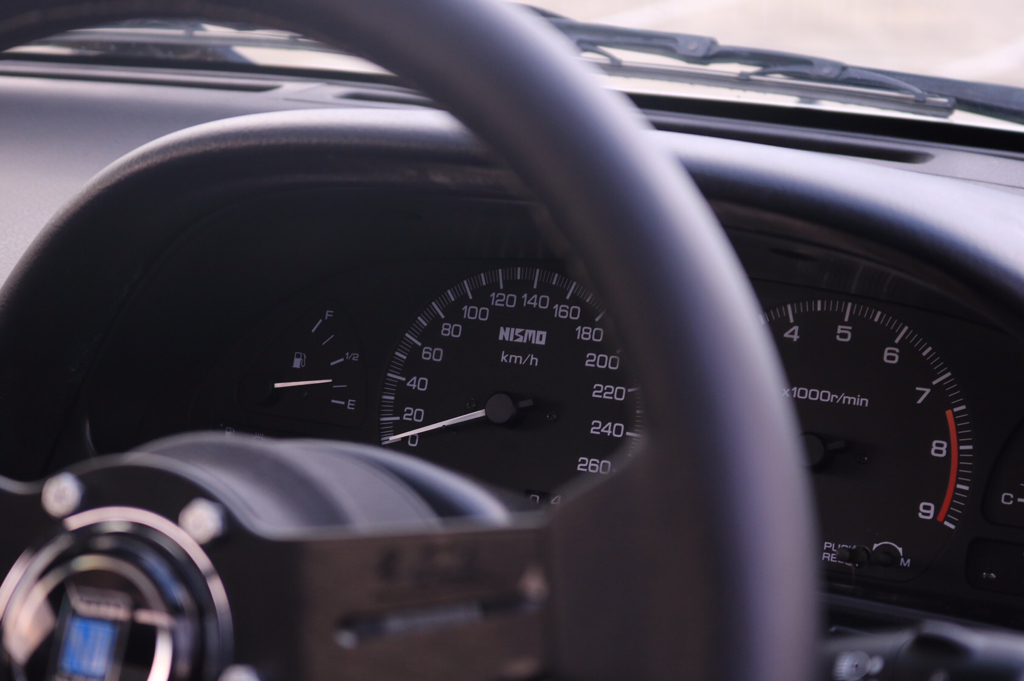 I'll make another update when my car is back from the body shop. Until then, peace! Sent from my iPhone using Tapatalk
__________________
Garage Abstract IG: @teddylesshq Last edited by Teddyless; 09-15-2018 at 11:29 AM.. |
|
|

|
|
|
#30 |
|
Zilvia FREAK!
 |
ARC Titanium Cooling Panel
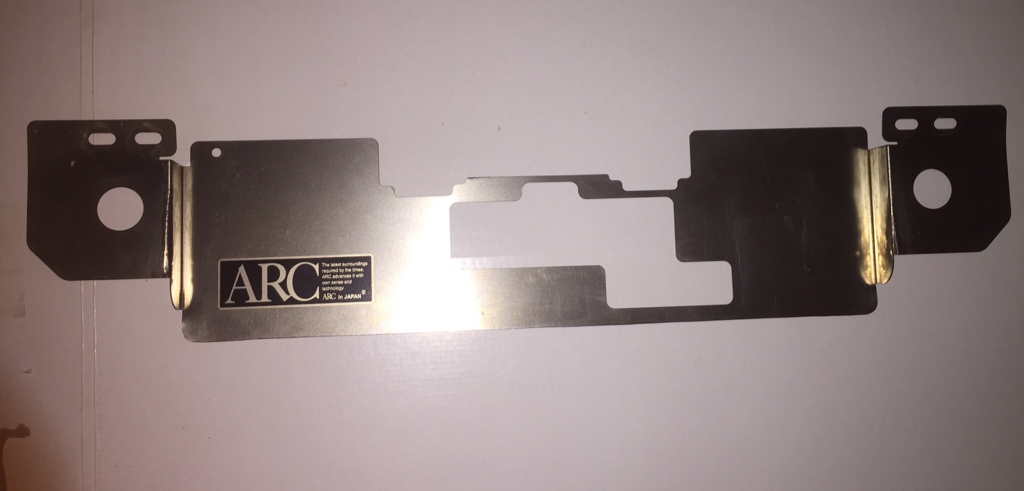 I'll make another update when my car is back from the bodyshop and all the parts are installed on my car. Until then, peace! [/QUOTE] hurry up and install that shit
__________________
 IG Holy_khal Last edited by deadghost; 08-18-2019 at 02:45 AM.. |
|
|

|
 |
| Bookmarks |
| Thread Tools | |
| Display Modes | |
|
|